The threads here about fuel injection (FI) were incomplete or old.
There is a LOT OF WORK & expense involved in doing this. My goal is to make it a repeatable project so others can do so if they think they have the time, money, and ability. Not being a super-wrench and hindsight being 20/20, this thread will include the mistakes I made, and the solutions to them. Constructive comments/suggestions are welcome.
Current status (12/2015): Running, but I ran out of money! Needs final road tuning.
Table of Contents Part 1
Due to the length of this thread, below is a clickable list to go to the relevant thing. Part 2 is linked below.
I'll also try to link/list WHERE to get some of this stuff as well as HOW to do it. If you can't get it (unobtanium) it doesn't matter how it will go together.
Wiring post link (updated to include connectors for GSXR600 harness)
Big bore section-
- Oversize pistons (73.5mm)
- GS1100G cylinder & head (note- I had a head gasket oil leak using the gasket that came with the kit. I used a stock GS1100G gasket with Permatex copper spray coating and this cured the leak)
- Machine shop work
- Reassembly
- Ring compressor post
- Piston & compression math courtesy of member mrl1000l
Fuel injection section-
Throttle bodies-
- Selection: 2001-2003 GSXR600
- More info Pics 1 Pics 2
- Center linkage mod courtesy of member coombehouse (this is the best setup and only required a minor mod by adding a 3/8" block to the linkage), also ST1300 idle adjustment cable
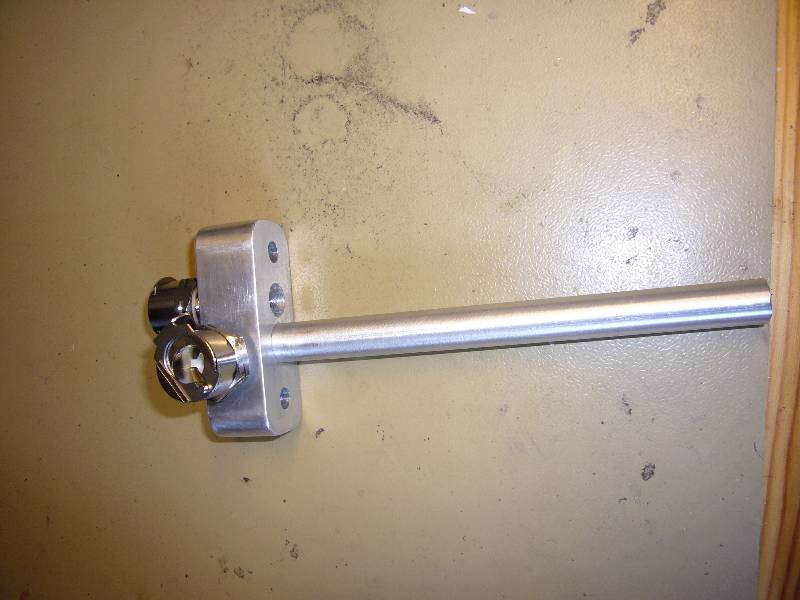
- Spacing, hardware and fuel rail
- Airbox I was able to retain the factory box, and used some 45mm silicone hose with smooth bore clamps at the TB ends. The 45mm hose is available in 3" lengths on eBay for <$5 each, you'll need 4 of them or a longer section you can cut up. It's a press fit through the airbox openings.
- Pods- Use Unifilter UP-4182 if you don't use the airbox. About $15 each on Amazon. More room to mount the fuel pump, but they also have drawbacks such as plumbing in the breather.
- Fuel rail tested to hold 60+ PSI of pressure. Normal pressure is 43.
Control- Microsquirt V3 (found on eBay with 30" harness for about $325)
- Sensors (purchased at Mouser.com unless otherwise noted, put the below part # in their search window and it will take you to the part):
- Coolant temp (thermistor) Spectrum Sensors GC4914A-3-100, good for -25C to 300C (-13 to 572 degrees F), specs listed below. This is about the diameter of a 12 gauge wire and can be mounted in a ring terminal with JB Weld and bolted to the head, or a small chunk of aluminum can be inserted between the fins on the back side of the head and drilled/tapped for a 5mm bolt.
- Inlet air temperature sensor. I used Vishay PN NTCLE400E3222H, good up to 85 degrees Celsius (185 F). It mounts in a single barb nylon fuel filter adapter that was cut off and filled with JB Weld. This part fits into a small rubber grommet in a 1/2" hole in the airbox on the lower right side.
- Post with temp sensor pics
- MAP, GM 1-bar, very universal sensor, <$10 on eBay. GM MAP sensor ID/info page.
- Throttle position (use GSXR600 sensor & calibrate in Tuner Studio)
- Fuel pressure sensor (optional for PWM fuel pressure control, otherwise use adjustable regulator), AEM 0-100 PSI #30-2131-100, $66. Avoid the knockoff that is on eBay for $25, it would not give reliable readings. Jegs sells the AEM part with free shipping.
- Fuel pressure gauge, 1/8 pipe inlet, 0-60 PSI preferred.
- Wideband O2 sensor and controller, Bosch LSU 4.9 or PN 17025 (Amazon link) with Spartan2 wideband controller (BPSX unit originally used had problems and is no longer made). This controller will ONLY work with the Bosch 4.9 sensor. The 4.2 and 4.9 connectors are different sizes. The vendor states the Spartan2 was designed with the Megasquirt in mind and they offer a spreadsheet with Tuner Studio input data.
- Ignition input- After a lot of trial and error, I am using a 24-2 wheel supplied by GSR member ArttuH. Details are on this post for a 24-2 wheel with new VR sensor and mounting plate. I could not get a reliable signal off the coil. I tried the stock pickups, which use 3 wires, and cut the wires. I added in a 4 wire shielded cable to go back to the MS and tried the "dual spark" setup without success. I ended up making a 24-2 and 12-1 trigger wheel, but neither gave a useable signal with the OEM pickups. Member ArttuH's 24-2 wheel is also pictured here. I have designed a plate with timing marks and a more common 36-1 wheel here. That post also has crank sensor info. The plate & wheel are not cheap (over $250 total) if only 1 each are made. Arttu can sell his 24-2 setup for far less if he has any.
- Coil driver- The Microsquirt V3 cannot directly drive coils, so you either buy an ignition module such as the Bosch 0227 100 200 (about $40~50 used on eBay, it fits a 1979-2004 Porsche 911 among others) or make your own. See the diagrams page below for a schematic, and this post for how I converted the old GS ignitor box to house these components.
- Possible Bosch coil driver modules
- Mounting a coil from a Dodge Neon
- Wiring diagrams
Table of contents exceeded maximum post length. I have continued it here.
.png)


 ) I'll rewire them like I did recently for the GSX-G when I added switches from the SFV650 to it. These will give me a flash to pass switch and a 4-way flasher switch on the left control, and the wiring will cut off the headlight when cranking the engine. A preliminary look at the wiring diagram shows many of the wires are the same color/function.
Comment