Announcement

Collapse
No announcement yet.

1983 GS550E: The Long Road

Collapse
X
 
  • Filter
  • Time
  • Show
Clear All
new posts

    1983 GS550E: The Long Road

    Introduction
    This looks like the best place to put this. Let's call it a journal thread, documenting the progress of getting a fairly neglected white and blue 1983 GS550E back to its former glory. How close we actually get to original condition is unclear. It's a long road between here and there.

    I bought this bike because it was cheap. I wanted to try one of these since seeing one for the first time for sale on ADVrider, but I was not sure if I could commit to paying for one in "oh damn!" condition. This one ran fine, but looked pretty rough and clearly wouldn't be long before it needed work. I hauled it home in the back of my truck telling myself that I'd either get my money's worth out of it in enjoyment and just pass it along once it reached project bike status, or I'd fall in love and piece by piece, the clock would slowly start ticking backwards for this old bike. As you can probably guess, the latter happened.

    I went through 3 or 4 tanks before rolling it into the basement last month to begin tinkering. In that time, I had an absolute blast commuting, running errands, and occasionally just enjoying the weather, but I also quickly identified several issues. So far we have:
    • Battery does not charge
    • An intermittent oil leak
    • An intermittent fuel leak
    • Trip odometer gets stuck at 100.6
    • Engine gets stuck at about 4000RPM regardless of throttle until it warms up.
    Still totally rideable even in near freezing weather, but I got sick of bump starting the bike in the flat parking lot at work so into the basement it went.

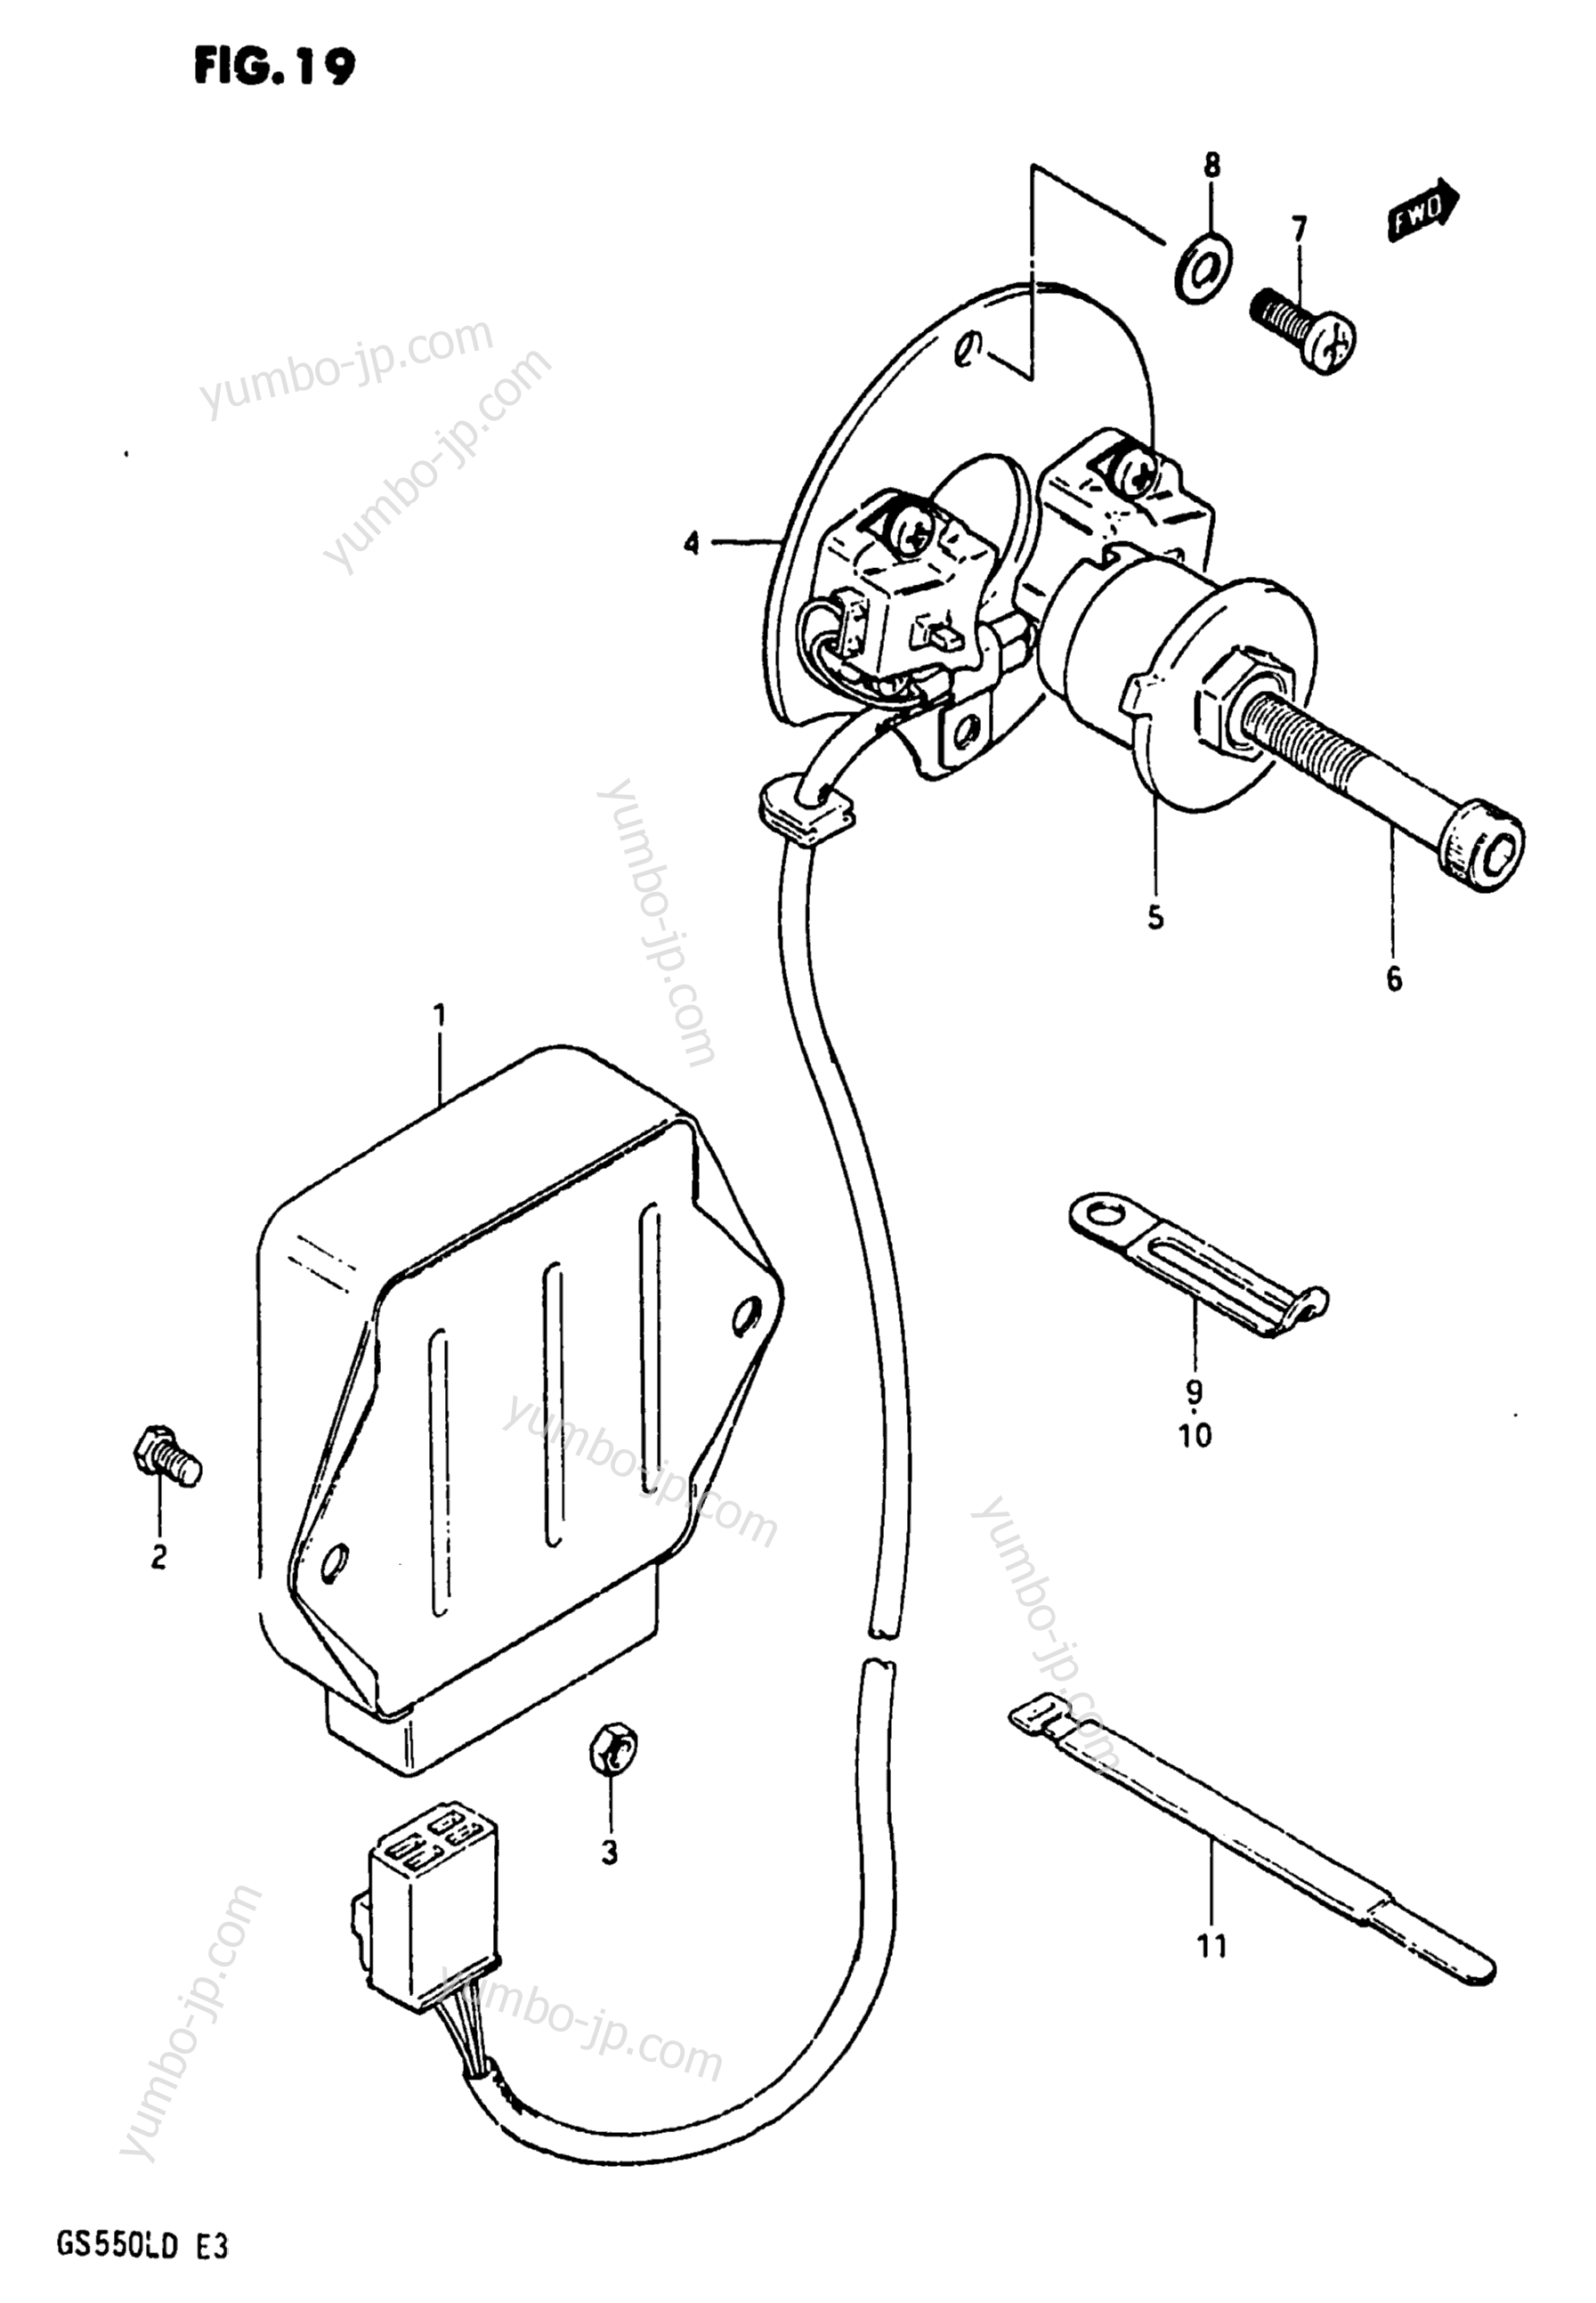
    First up will be the electrical system. I'm going to skip over the LED headlight, tail light, and plate light because that wasn't very interesting, but I'll just note that I did do them.

    Here's a pic to get us started, previously posted in the Owners forum. The bright sunlight washes out a lot of the imperfections and really makes it look way better than it is, almost like a glimpse into the future...

    7TZFr8d.jpg

    #2
    Episode 1: The Charging System

    Long before I bought this bike, I had heard the legends of the GS charging system. A co-worker has a '83 1100E, a real museum piece, that he just recently brought out of storage...after changing out the stator and regulator/rectifier. I was hoping to get lucky, especially as the previous owner's records show he just replaced both components not too long ago. Well, there's more to the system than just those two components.

    I tested the stator wires while running and got one dead line. I'm not interested in messing around with questionable designs, so I went and ordered a nice big RMStator series regulator and a new stator from Electrosport. I stocked up on connectors and wires from West Marine, and started earning points with the wife to cash in for time with the bike instead of the two demanding babies.

    First I went for the stator. That involved oil, so I wanted to do that in the garage before rolling the bike into the basement. That's where I found this:


    Kinda surprised it was running at all, as I saw paths for all 3 phases to short to each other. I imagine they probably did intermittently. I actually ended up deciding to keep the old stator and just repair the wires first. If that doesn't work, I have a new one ready. So I buttoned it back up and rolled it out of the cold garage, down the hill in the back yard, and into the nice, warm, well-lit basement. It snuggled up right next to my other bike, a DR650 that just got a new front tire. Don't worry though, my wife's bikes are fuel injected and therefore still in the garage.

    So here's the plan. The RMStator reg/rec is too big to fit in the stock location, but the ignitor (whatever the hell that is) seems to be enjoying some really nice real estate on the left side. A little customization and I think I can swap the two. The ignitor can move behind the battery, held on by a single bolt


    and the reg/rec can fit in the ignitor's location using one existing hole as-is, and a little help to reach the other one. My plan is to cut a small piece of thin aluminum and make a sort of adapter bracket.


    I ran the new wires around the right side like they sort of were originally. I could probably cut the wires a lot shorter, but I think I'm already saving a lot of length by wiring directly from stator to regulator, bypassing that problematic detour loop through the factory harness.


    Once I test it out and confirm everything is good, I'll put some loom around it and zip tie it all nicely and neatly.

    One thing I need to figure out, though, is what to do with all these now unused wires. Should I just leave them hanging? Should I cut and pull them all out? I've got the three AC wires at the regulator


    and the three AC wires that were the first connection from the stator, on their way into the harness.


    I'll check the diagrams and maybe search the forums for confirmation, but feel free to save me the effort if you know.

    Next step will be to add oil back into the engine (never filled it back up after doing the stator), start it, and see if anything catches fire. I'll probably roll it outside for that.
    Last edited by DR Payne; 01-14-2025, 08:03 PM.

    Comment


      #3
      No disrespect, but I doubt that RM Stator R/R is a true SERIES unit. It may look like it, but it's a china copy of a Japanese Shindengen R/R.

      Another thing, I can't tell based on your post (maybe I didn't read with enough focus) if you bypassed the stator loop going to the hand control? If not, it's critical that you do so. Wire the stator wires directly into the R/R, bypassing the factory harness. Then feed the R/R output into the factory harness and to the battery. I made a diagram on how to route the wires, if you don't already know...
      Ed

      To measure is to know.

      Mikuni O-ring Kits For Sale...https://www.thegsresources.com/_foru...ts#post1703182

      Top Newbie Mistakes thread...http://www.thegsresources.com/_forum...d.php?t=171846

      Carb rebuild tutorial...https://gsarchive.bwringer.com/mtsac...d_Tutorial.pdf

      KZ750E Rebuild Thread...http://www.thegsresources.com/_forum...0-Resurrection

      Comment


        #4
        Originally posted by Nessism View Post
        if you bypassed the stator loop going to the hand control? If not, it's critical that you do so.
        I did indeed! That's why I have a bunch of wires flapping in the breeze that I'm unsure if I should rip out or not.

        Originally posted by Nessism View Post
        No disrespect, but I doubt that RM Stator R/R is a true SERIES unit. It may look like it, but it's a china copy of a Japanese Shindengen R/R.


        No disrespect to me, but maybe to RMStator! I see no reason to believe they are dishonest about making their own products, especially as the first one I bought was actually clearly machined aluminum billet with a red anodize. That one was cool, but I couldn't see it fitting anywhere so I exchanged it for the factory-style one I have now. RMStator seems perfectly legit to me. It's not like they're some shady eBay seller.

        Comment


          #5
          Treat the igniter with care. This is a part unique to the '83-'86 16 valve GS550 series, and is unobtanium, even a used one on ebay..

          As far as the RM Stator reg/rec being a legitimate series regulator, I have no way of knowing for sure without dissecting one. But RMStator seems like a pretty legit company, and for the asking price, it definitely SHOULD be a real series Shindengen style.

          An OEM style shunt Reg/Rec from Rick's or other sources is about 2/3rds that price.

          I used to own an '85 GS550ES. Really fun bikes. Hot cam, short stroke engines. Make some serious power over 7,000 rpms.

          Wind it up, and watch it go...
          GS450E GS650E GS700ES GS1000E GS1000G GS1100G GS1100E
          KZ550A KZ700A GPZ750
          CB400T CB900F
          XJ750R

          Comment


            #6
            Yeah, the R/R could well be SERIES type, but that would be the first aftermarket unit that copies a Shindengen that is. Real deal SH775's can be found for fair prices on eBay, so I don't see the point in buying a copy for more money. Oh well, though. What's done is done...
            Ed

            To measure is to know.

            Mikuni O-ring Kits For Sale...https://www.thegsresources.com/_foru...ts#post1703182

            Top Newbie Mistakes thread...http://www.thegsresources.com/_forum...d.php?t=171846

            Carb rebuild tutorial...https://gsarchive.bwringer.com/mtsac...d_Tutorial.pdf

            KZ750E Rebuild Thread...http://www.thegsresources.com/_forum...0-Resurrection

            Comment


              #7
              Originally posted by Nessism View Post
              Real deal SH775's can be found for fair prices on eBay, so I don't see the point in buying a copy for more money.
              In situations like this where the life and condition of the part are pretty much unknowable, I'd rather go with something new if I can afford it. $150 is not that much for peace of mind, especially with the USD to CAD exchange rate. Not to mention it came with a nice connector kit for easier customization.

              Originally posted by Griffin View Post
              Treat the igniter with care. This is a part unique to the '83-'86 16 valve GS550 series, and is unobtanium, even a used one on ebay..
              Good to know! Maybe I'll see if I can find it a nicer location where I can use both screws. It's very light, but I have no idea what's inside it or what environmental considerations it needs regarding vibration, ventilation, etc.

              But the news of the day is that it all works. With the repaired connectors, the "old" stator is back up and running, putting out voltage between all lines. The DC voltage at the battery is good, topping 14V. Looks like I'm good to tidy everything up, finalize the locations of the regulator and the igniter, and pack up the new stator as a spare which I probably and hopefully will never need now. Pics when it's done.

              Comment


                #8
                Well, it's been a long winter, though apparently not long enough since I was barely able to make time for this bike. Kids...whoa! I am marking this project complete, however. I tidied up the wiring, settled on an attachment method for the igniter, and decided to just tuck away the old unused stator wiring not necessarily because I'm thinking it might be needed later on, but because I just don't have time to dig it all out right now. It's getting warm out!

                I couldn't find a better place for it, so the igniter is nestled in the old R/R location. It's only held on by one bolt, but it's rather securely wedged between the plastic battery box and the bottom of the seat. I put a strip of adhesive-backed high strength silicone rubber that I had on the back to keep it from rattling metal-on-metal, and to further keep it from moving about. Overall I wish I could find a place to use two bolts, but really this is probably just fine. It's a lightweight part with no moving internals, held at multiple points by some sort of polymer. I think it's safe.


                The new regulator/rectifier takes the igniter's place on the left side with the aforementioned aluminum adapter plate I made. The wires are nicely bundled together and go through to the right side as they did previously. The length is pretty much perfect.


                Then on the right side, the wires go straight to the stator via the same route the old wires did, up over the intake and back down on the left side. The old wires were simply tucked up under the tank where they were previously. Maybe some day I'll properly delete them, but this seems just fine for now.


                I waddled it out of the basement and off-roaded up to the driveway to get ready for a test drive. I had forgotten which way was which on the choke and made it much more difficult than it had to be, but while fumbling about I immediately noticed that the starter was much more vigorous than it ever had been before, even with the battery at full charge. I wouldn't think it would have made a difference, but it ran faster and much much longer without draining the battery than with the old burnt out wiring and old R/R. I'm not sure why, but it was quite a difference.

                Then I drove it. Wow. It was like a new bike. I can't quite put my finger on it, but the throttle was noticeably more lively even before it was fully warmed up. I think even the brick wall it used to hit in the 3000-4000RPM range was gone. It seems a fully functioning charging system affects more than just how long until your battery dies!

                Before I give it a spot in the garage, I've got to do a little plastic repair. One of the studs on the right side cover is breaking off, and the previous super glue repair is not enough. I'm going to try some plastic weld, maybe reinforced by some additional glue on top. After that though, we're riding! I had wanted to overhaul the carbs over the winter, but it ran so well coming out of hibernation that I no longer feel I need to right now. I also don't want to. I just want to ride!

                Comment


                  #9
                  Episode 2: Carbs
                  It is time.

                  This happened a couple times last year, but I thought it was just some old fuel lines leaking between the tank and the carbs. It's gotten worse lately, bad enough that I really should stop putting it off and finally service the carbs. It seems to be more of a short trip problem, but what happens is the left carb starts dripping fuel at idle and eventually floods, sometimes enough to stall the engine entirely. It doesn't seem to happen on longer trips that really bring the engine up to full temp, but most of my daily driving is short trips that make this issue hard to ignore. Soooo let's take a look.

                  What a pain to get these things off. I eventually took out the battery and unbolted the battery box to get a few extra millimeters of clearance to wrestle these things out of the engine side boots, and slowly wiggle the twins out the left side. Traditionally this is where I'd break something in my blind hulk rage, but I really got lucky today.


                  Pretty battle worn, but I'm kinda starting to like the beat up look of this old beast. Not to mention if I repaint this, then I kinda gotta commit to repainting everything... Anyway, everything looks OK from the outsides, so with my handly Clymer manual, I separated the pair and began tearing down the problematic left one first.

                  The slides and needles look a little coated, but otherwise in great shape. No real unusual wear patterns or damage that I can see.


                  Same goes for the bores and generally all of the inside.


                  Pretty clean if you ask me, probably because this isn't the first time they've been opened since leaving the factory in 1983. There are some pretty clear tool marks on the jets suggesting they were either pretty well stuck or just taken out with a crappy screwdriver. No real signs of any obvious issues, however. I'm no expert in carbs by any means, but my best guess is maybe the needle valve O-ring is too loose, allowing the bowl to overflow? Is that even how that works?


                  The left needle valve (above) came out pretty easily with very little drag from the O-ring, while the right side took a little more tugging on. I don't know, otherwise everything looks pretty clean and within spec. In comparison with the right needle valve (below), the O-ring is maybe sorta kinda visibly smaller in the OD with some flat spots.


                  Other than that, I'm really not sure what the left side's problem is. In fact, the right side is the one that seems to have some issues. I don't think there's anything that could amount to a functional issue, but someone clearly had a bit of a rough time in here at some point. I got a lot of info on previous service when i bought the bike, but nothing on carb work so I'm not sure when or by whom. The first thing I noticed is on the needle valve there are a couple dings that I do not understand. Why would you even be putting tools on that edge??


                  One of the main jets took a little more torque to unscrew, and the threads looked correspondingly ugly. At least it came out! Then I looked at the other side and holy cow, what happened?! Did you try to bang the needle jet out with a rock?!


                  Again, probably not a functional issue since they still separated just fine and the jet itself looks untouched, but I could see this potentially being a problem in future cleanings or worse, a source for metal flakes to jam up the system!

                  Still, everything looks pretty good to me on both sides, so I'm going to just do the standard overhaul and hopefully that'll do it. A friend offered to ultrasonic the bodies which certainly would be a nice touch, but I'll still do a good detail cleaning with some VOC's on the more critical bits. Not a lot of people talking about these carbs on the internet so I don't know if there are any secrets about them that could help, but I did see a couple conversations that make it seem like I'm on the right track with the needle valve O-rings. They certainly don't look like pics of new ones! And other than that, this bike runs like an absolute dream so I don't think there's really much to do beyond what Clymer says. Judging by tutorials for the carbs on your 1100's, these guys actually seem easier to service and tune!

                  Comment


                    #10
                    Those o rings are dead. The fact they didn't fight you is an indicator of that.
                    the emulsion tube should be fine I recall a Fibre gasket at the joint???
                    the marks on the needle valve seats may be a notch to seat a holder can't recall.

                    a simple thorough cleaning replacing all o rings also the one at the ends of the connector pipe.

                    gasoline has a wondrous physical that facilitates. Leaks.
                    dodgy dessicated o rings that barely keep fuel in when parked show themselves under vibrations.
                    1983 GS 550 LD
                    2009 BMW K1300s

                    Comment


                      #11
                      Originally posted by Griffin View Post
                      Treat the igniter with care. This is a part unique to the '83-'86 16 valve GS550 series, and is unobtanium, even a used one on ebay..

                      As far as the RM Stator reg/rec being a legitimate series regulator, I have no way of knowing for sure without dissecting one. But RMStator seems like a pretty legit company, and for the asking price, it definitely SHOULD be a real series Shindengen style.

                      An OEM style shunt Reg/Rec from Rick's or other sources is about 2/3rds that price.

                      I used to own an '85 GS550ES. Really fun bikes. Hot cam, short stroke engines. Make some serious power over 7,000 rpms.

                      Wind it up, and watch it go...
                      Cant imagine trying to find one now.
                      there was an obscure yt vid on reporting to replace the common failure point in these.
                      1983 GS 550 LD
                      2009 BMW K1300s

                      Comment


                        #12
                        Originally posted by Cipher View Post

                        Cant imagine trying to find one now.
                        there was an obscure yt vid on reporting to replace the common failure point in these.
                        I was quite surprised, but I actually found one Japanese site that allegedly still has one for sale!
                        YUMBO | on our website you can find and order the necessary spare parts by yourself for yours vehicle in group SIGNAL GENERATOR для SUZUKI GS550L 1983 year

                        I saw somewhere else that seems to make a modernized version too, but it was still like $400 or something. It was smaller too, so if I had to I'd probably go that route myself. Mine seems to be happy in its new location so hopefully I won't have to make that choice.

                        That site also seems to have an oil hose, one of the two with the crimped-on connections, which looks like it's the source of a slow oil leak I've been having. There are.a handful of those still out there, thankfully, because I have no idea how else to repair that.

                        Oh, and you called it with the fuel tube O-rings. They look worse than the needle valve O-rings, actually kinda surprised they aren't leaking.

                        Comment


                          #13
                          So I ended up just hand cleaning the carbs and parts since they really weren't that dirty. Not that I've rebuilt many carbs in my life (or any, really), but I found it a bit surprising how clean they were compared to how brittle those needle valve O-rings were. Anyway, I took my time and got it maybe a little cleaner. I made sure to blow carb cleaner and compressed air through every fuel passage, though I didn't always make sure that there wasn't a flow path pointed directly at my face. I used a toothbrush to get all the contours of the bowl, up and down the slide bores, around the throttle valves, etc.

                          I spent a good amount of time wiping down the slides because they looked dirty at first and some of the black did rub off on the rag I was using, but then it occurred to me that no other components were that color and perhaps this black coating was actually supposed to be there and was simply wearing away and perhaps I shouldn't accelerate that process. It is definitely wearing thin, but all four slides easily fall through their bores when the carbs are rotated so I think there's enough left. Since these carbs are not very common, I couldn't find a solid answer on what that coating is (or really even a definite yes that it is intentional) so I'm not really interested in trying to figure out how I can have them recoated.

                          What was certain, however, was that the O-rings on the needle valve bodies were both in need of replacement. Only one seemed to be leaking, but the other was probably going to be soon. The fuel cross-tube O-rings actually were still in decent shape, but it wouldn't make much sense to not take this opportunity to replace them too and just start fresh. They are not listed on parts sites, so I was on my own to size them up which was a bit tricky because I was measuring old O-rings of unknown shrinkage. So I guessed based on the dimensions of the parts they go into, and compared to common sizes. The needle valve O-rings and choke O-rings were available so I went with an official source so I could know what size they are. So what I've got is:
                          Thickness (mm) ID (mm) OD (mm)
                          Fuel tube 2 6 10
                          Needle Valve (13374-35C00) 1.5 7.5 10.5
                          Choke (13278-47091) 1.5 10 13


                          Again, not entirely sure what the fuel tube size is and I actually ordered a couple sizes that could do the job, but 2.0 x 6.0 seems to be the likely choice. If anyone knows otherwise, let me know.

                          I also replaced the main jet with the buggered threads. I could not find a new needle jet, so I just gently chased the threads with a tap. The fit with the new jet felt pretty good, so I'm happy with the "repair". I made sure to do all that before cleaning so any brass shavings would for sure get washed away. Then of course new float bowl gaskets, followed Clymer's recommendation for blue thread locker, and measured the float height. It looked perfectly in spec, so I put the whole mess back together feeling pretty good about getting out on the road again!

                          Buuuut, while the carbs are off, I might as well take care of a couple other things. For one, this seems like a good opportunity to check valve clearances. Second, this oil hose clearly looks like it's leaking.


                          I doubt the angle is supposed to be that sharp. I don't know if this is the sole source of my slow oil leak, but it certainly looks like AN oil leak! Two Japanese suppliers lied about having these in stock, but CMSNL claims to have one for over $100 (it was less a couple weeks ago...). I think I'm going to try my hand at rebuilding the one I've got as I've seen others do, but good to know I may have a backup plan. That'll hopefully be this weekend's project.
                          Last edited by DR Payne; 06-28-2025, 04:00 PM.

                          Comment


                            #14
                            What ever did we do before the Dremel? I actually wore my eye protection this time, thank goodness. I cut just above the highest crimp, and I think I nailed it. It leaves a little recess to snug the new hose up into which makes it look pretty nice and clean.


                            This sure as hell looks like a leak, and the position makes perfect sense. It's right where the crimp was holding on as the hose was being stretched away from it. There was just no need to put it at that angle. Might have held on a few years longer.


                            The inside tube is smooth, so I followed what I've seen elsewhere and tried to flare the ends to help in retention, but this is definitely harder than brake line. I struggled to get a good flare on the upper fitting, but it's there and I can feel it gripping the new hose. The lower fitting came out pretty good.


                            I don't know exactly what size the original hose was, but I went with 3/16" fuel hose. It feels like a good fit, and if anything is a hair smaller in ID than the original tube, though it's tough to judge the original dimensions of 40+ year old rubber hose. Screw clamps don't get this small, so I found some spring clamps which should be good enough. This isn't a high pressure line, and.I think the end result is probably even better than the original crimp.


                            One small oversight is that those little rubber spacers are no longer the right size to keep the spring protector thingy centered or even stationary. I actually found after installing the hose back on the engine that I'd rather have it offset high and wrap an extra piece of larger fuel hose around the bottom. This helps keep the spring from contacting a metal surface (I think the oil pump?) in the new orientation that has all the angles gentle enough to hopefully not have to do this again. If anything, I probably could have made the hose an inch or so longer to have even more gradual angles, but I went with maybe 1-2mm longer than original. I'll probably add a pic of it installed later. I ran out of time and had to wrap things up quickly.

                            The carbs went back in too. A pro tip, should anyone read this entire rambling journal before attempting servicing their '83+ GS550E carbs: remove the battery box. There is just not enough room even if you completely unbolt the airbox and battery box. Take the damn thing out, the airbox comes back several inches, and the carbs all but slide right in. I wrestled them out with the box in place, but I was not in the mood putting them back in. Yeah, it's an extra few steps, but I'll take a few easy steps over one massively obnoxious, difficult step with tons of opportunity to break something. And don't forget the lube!

                            Fingers crossed my family allows me to adjust the valves today!

                            Comment


                              #15
                              Those clamps? Iirc the oil pressure maxes at 65 psi.

                              you would be wise to get new hoses made up by an hydraulics shop.

                              while you have the carbs out remove the boots and replace the o rings.
                              at this age they'll have shrunken and lost elasticity.
                              1983 GS 550 LD
                              2009 BMW K1300s

                              Comment

                              Working...
                              X