Announcement
Collapse
No announcement yet.
Jennifer's Makeover
Collapse
X
-
Flyboy
Indeed I will Dale, ops normal, just saw her mention to Psyguy, I think it was to drop her a mail, and she would discount the shipping overseas maybe even do it gratis, depending on location, just thought, if that is the case, could save 70 - 80 bucks, no harm in asking, think she would take it kindly if we shipped the stuff at your place to her to include in the package.....
-
Nice work Stan! That rear guard is looking smoooooth... as for the tail piece, being patient and doing that prep work will make you very happy with the end product.1982 GS450E - The Wee Beastie
1984 GSX750S Katana 7/11 - Kit Kat - BOTM May 2020
sigpic
450 Refresh thread: https://www.thegsresources.com/_foru...-GS450-Refresh
Katana 7/11 thread: http://www.thegsresources.com/_forum...84-Katana-7-11
Comment
-
GateKeeper
Hey Flyboy....what paint did you use for the rear fender ? was it something specific ?
and is it a metal fender, or plastic, I guess that is why I am asking, cause I have some plastic parts I want to paint but not sure what to use, so looking for some insight
Comment
-
Flyboy
Thanks Pete, we try buddy, we try, but just a little inside info, that tail is as good as it gets, paint is going on there, no doubt my guide coat will have a few surprises and have me back with sanding block in hand, which is not half as much fun as .........never mind, Oi, what you doing here anyway, havn't you got a bike to ride?
Sod off now, shoooo, go ride that nice bike of yours, out, shooo, out, out out.
GK, nothing special there, just your common garden variety gloss black, it is a plastic mudguard, ABS, I imagine, same as yours.
I have been mucking about with seeing best how to change the sheen of the various black paints, until now we were pretty much stuck with Matt Black, Satin Black (best invention known to man) and Gloss Black.
Now as anyone who has done some cleaning up of motorcycles knows, none of the above match the natural black colour of the Suzuki plastics, it is somewhere inbetween Gloss and Satin, to me, it is closer to gloss black but with a touch of the sheen and shine removed, not quite as toned down as satin black though.
So I came up with a brain wave, or brain fart, depending on how you look at it. Why not introduce the very same thing that takes the sheen and shine off your car's paint, scratches, see, it's all about light and how it hits the paint, scratches scatter the light in all directions and remove the high shine, but not so much so that it dulls right down. Just look at the diffirence in shine between a car that has just been washed, and one that has been detailed, only diffirence is, the one that has been detailed has had the swirl marks and scratches removed.
So instead od getting the base super smooth, as normal, I sanded with 220 grit paper just before laying down the paint, to introduce fine scratches, then painted. It leaves it a little textured, but not so much that it is not acceptable, it is quite acceptable, but just breaks the high shine of the gloss black, and is about as close to damnit is to a swear word as you will get to the OEM plastic look.Either that or you can have it specially mixed up for big money, I'm cheap.
Jeez, I almost sounded clever there for a minute, but nothing the paint guys havn't known for years, I bet.
Psy, What can I say, my female hormones raise their ugly head when it comes to retail therapy in a bike shop, tool store or pilot supplies shop.
Comment
-
Woodsy
Looking good flyboy! Wow you actually get replies from Ashley at Boulevarde ive been waiting 2 months for them to send me a paypal invoice so i can buy my parts
Comment
-
Flyboy
Thanks Woodsy, nah, not yet, hoping to on Tuesday though when Ashley gets into work, sounds like I shouldn't hold my breath from what you tell me.
Comment
-
Woodsy
he replied to me quite quickly initially, but when i asked if the parts were readily available all communication stopped from them
Comment
-
Woodsy
-
Emailed parts list and got reply back straight away from Ashley with total price plus $40 shipping cost. Paypal completed and now awaiting response re order and shipping details. Bad time of the year posting things around the place, I didnt like ordering before new year but the price of parts are about 10% cheaper whilst on the 3 day sale.
Also slightly cheaper than partshark during the sale.GED
1980 GS850G (BLACK) http://www.thegsresources.com/_forum...d.php?t=185562
1980 GS850G (RED) http://www.thegsresources.com/_forum...d.php?t=219169
1980 GS850G (SILVER) (Coming soon)
There are old riders and there are bold riders but there are no old bold riders!!!!!!
Comment
-
Originally posted by Flyboy View PostThanks Pete, we try buddy, we try, but just a little inside info, that tail is as good as it gets, paint is going on there, no doubt my guide coat will have a few surprises and have me back with sanding block in hand, which is not half as much fun as .........never mind, Oi, what you doing here anyway, havn't you got a bike to ride?
Sod off now, shoooo, go ride that nice bike of yours, out, shooo, out, out out.
Commuted to work and took a lunch time ride as well, I'm lovin' having her back on the road
Originally posted by Woodsy View Posthe replied to me quite quickly initially, but when i asked if the parts were readily available all communication stopped from them1982 GS450E - The Wee Beastie
1984 GSX750S Katana 7/11 - Kit Kat - BOTM May 2020
sigpic
450 Refresh thread: https://www.thegsresources.com/_foru...-GS450-Refresh
Katana 7/11 thread: http://www.thegsresources.com/_forum...84-Katana-7-11
Comment
-
Originally posted by psyguy View PostSo, be careful not to order a pet cock !
Or, a shaft !1982 GS450E - The Wee Beastie
1984 GSX750S Katana 7/11 - Kit Kat - BOTM May 2020
sigpic
450 Refresh thread: https://www.thegsresources.com/_foru...-GS450-Refresh
Katana 7/11 thread: http://www.thegsresources.com/_forum...84-Katana-7-11
Comment
-
Flyboy
Little update time, I have not been very busy on Jennifer over the Christmas/New Year period, just inikering really, with little odds and ends, nothing really news or picture worthy.
Just making sure I get something done to keep the steam roller going.
Woodsy, you and me both, yet to hear back from Ashley at Boulavard Suzuki after sending her an email during the sale, oh well, so much for that...
Scratch that off the vendors list.
Just been assembling the rear fender back together and buffed up the turn signal lenses, as they were really dull and scratched from old age, but otherwise good, so I saw no need buying new ones.
Before and after, photos don't really do justice.
I know this is probably old news to most the folks on his forum, but I figured they may be a few folk who would like to refresh thier plastic/Acrylic lenses back to new and save a few bucks by not having to buy new ones.
So I did a little photo essay as I went along for those who are interested, it is pretty easy and cheap enough.
The whole idea is to sand out the scratches and the old oxidised top layer to get down to new material, or level out the scratches, not unlike wet sanding and polishing a paint job.
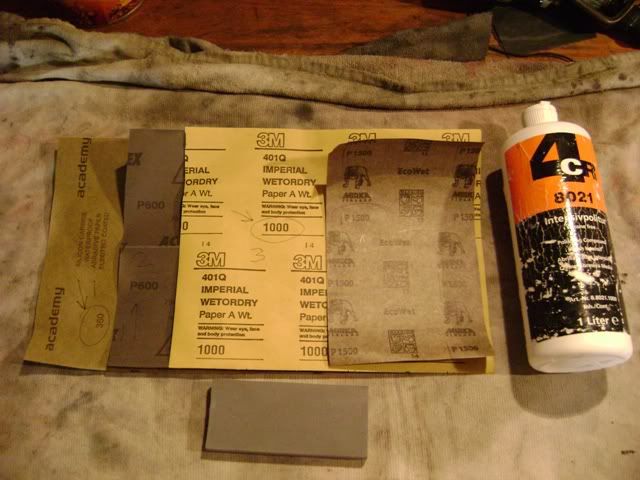
Firstly you need;
Bucket of clean water, with a squirt or two of Simple Green in it
Wet and dry Sand paper, various grades
Sanding block
Polish
Elbow grease
Time
I use four steps as I am too lazy to use more, and it works just fine
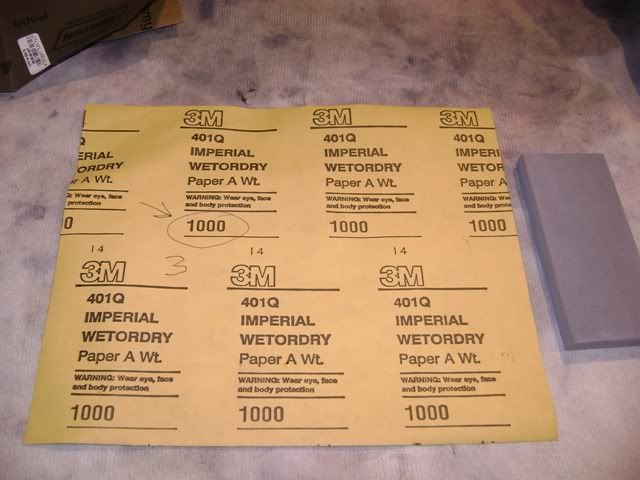
I start with 360grit wet/dry for initial sanding, this will take off the outter layer and remove most imperfections without taking forever and without scratching the plastic too deeply.
Followed by 600 grit to clean up the 360 grit scratches.
Followed by 1000 grit and finaly finish off with 1500 grit.
All sanding is done wet.
From left to right...360 600 1000 1500 polish.
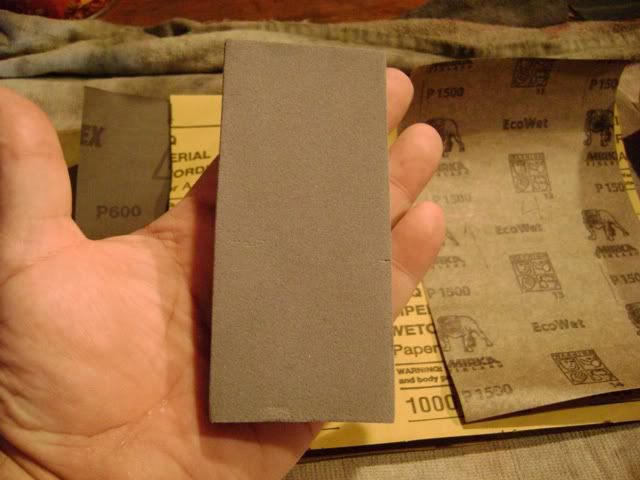
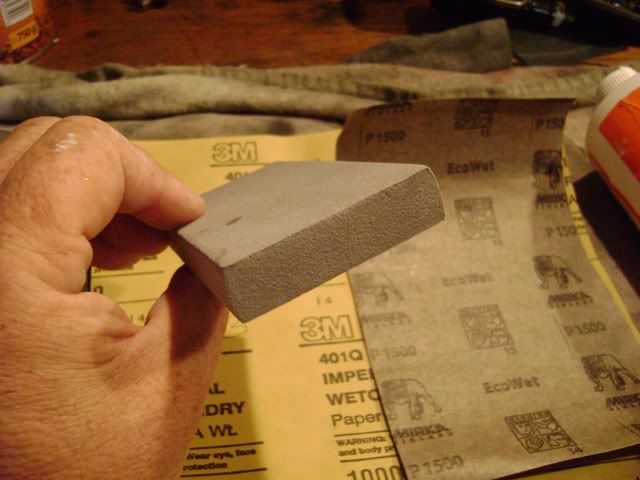
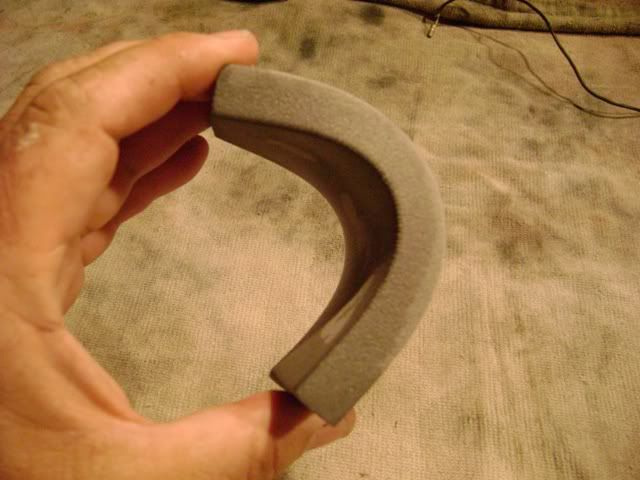
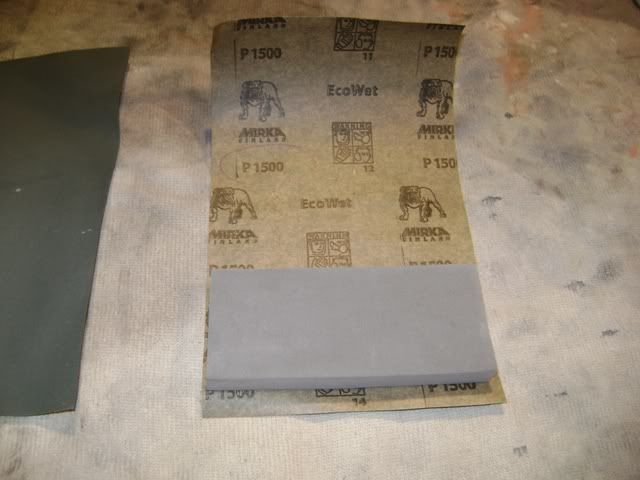
My favorite sanding block is a piece of high density foam, which works extremely well and is dirt cheap.
It is flexible enough to follow contours and sturdy enough to flat large straight areas.
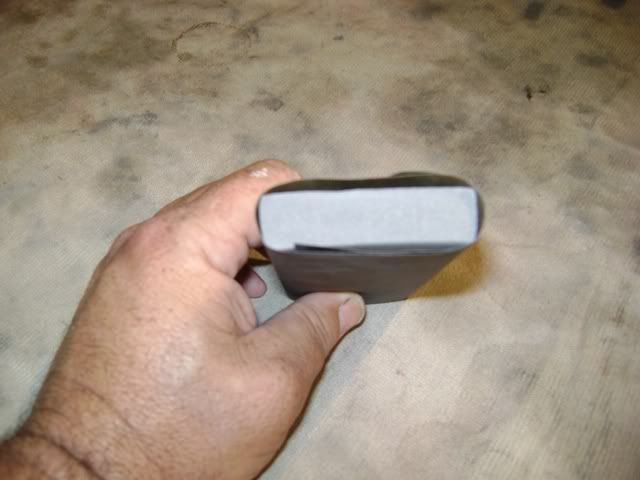
Mine is about 5 inche long, 2 inches wide and about 1 inch thick, which makes it a perfect size for half a sheet of wet/dry.
Start with a full sheet of wet/dry, fold it in half, from left to right, not from top to bottom, this will give you the perfect size, cut in two pieces.
Wrap the wet/dry around the sanding block, it ia laways best to leave it in the water for a while to soften up and permiate right through first, about 10-15 minutes is fine.
Comment
Comment