Announcement

Collapse
No announcement yet.

Jennifer's Makeover

Collapse
X
 
  • Filter
  • Time
  • Show
Clear All
new posts

    #31
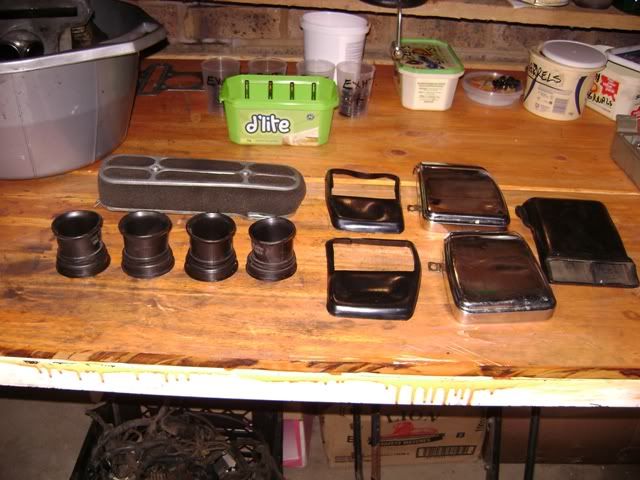
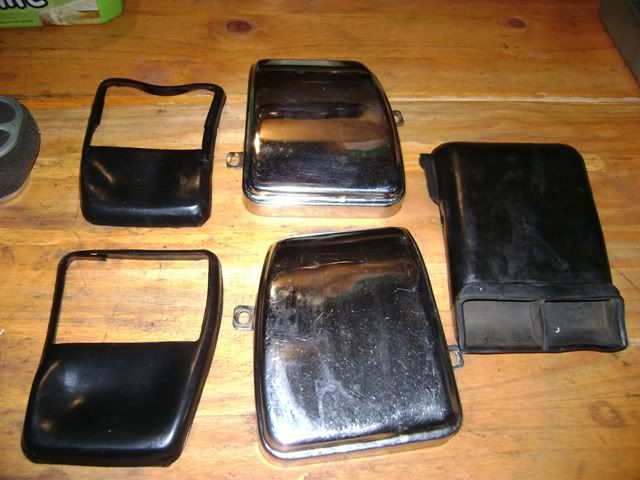
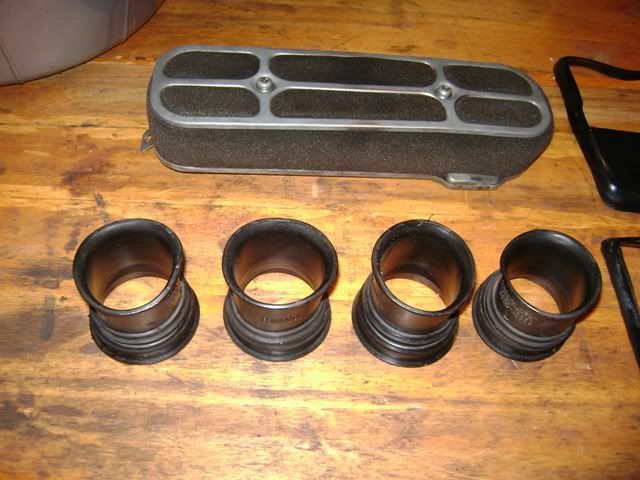
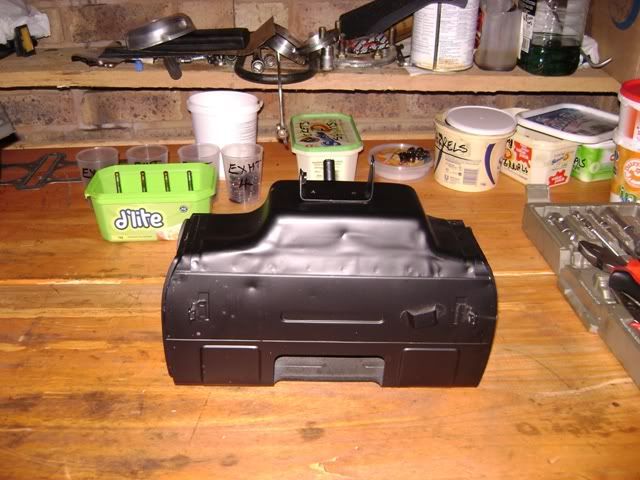
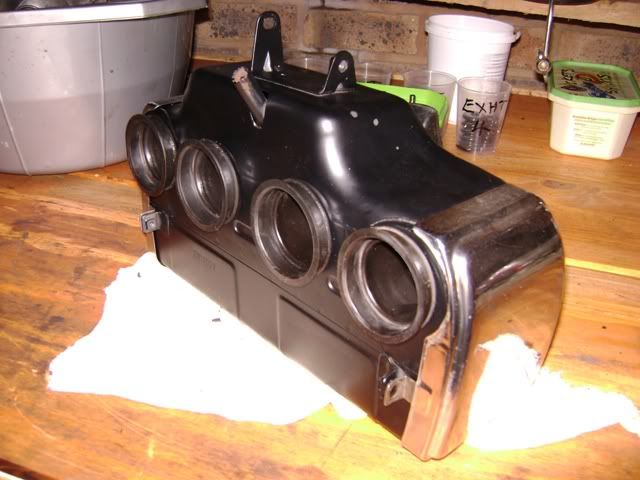
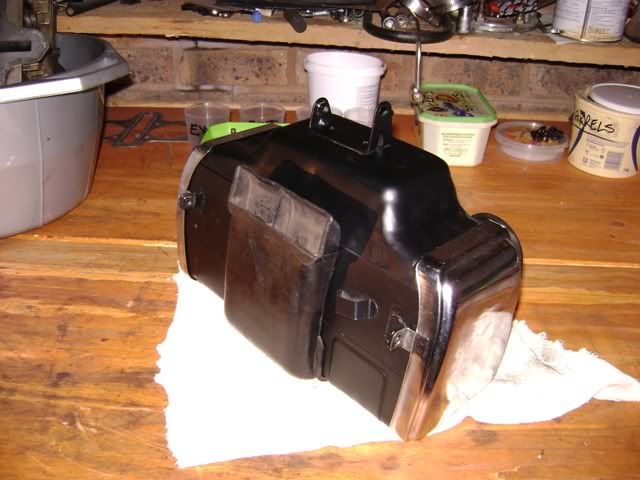
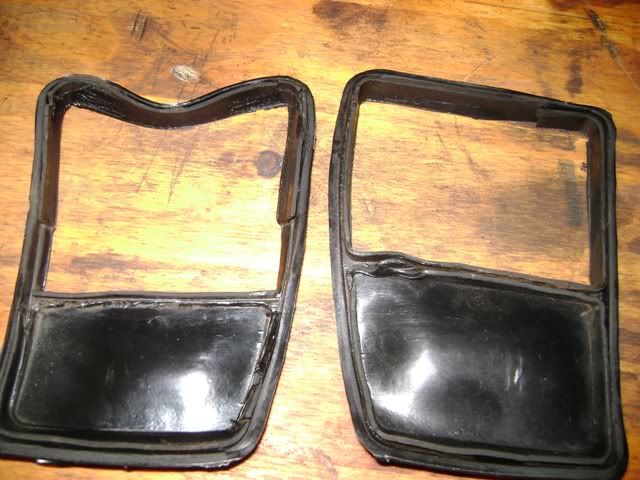
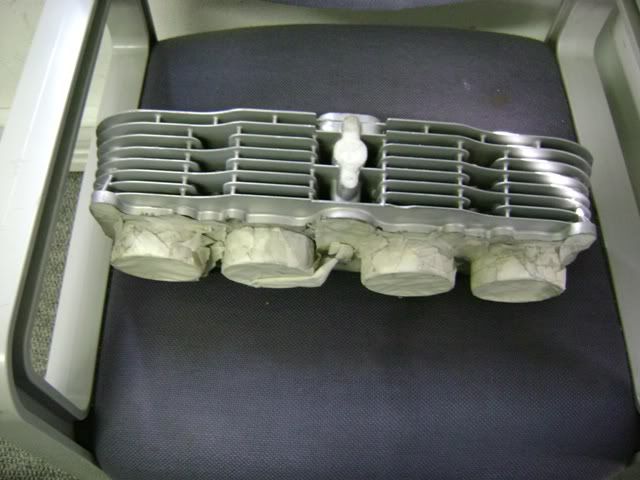
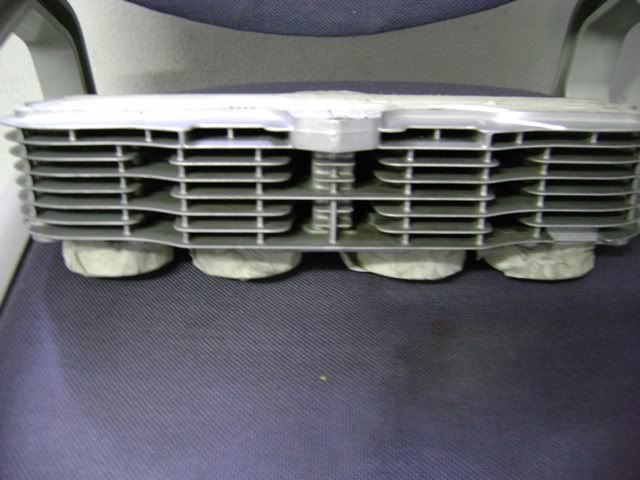
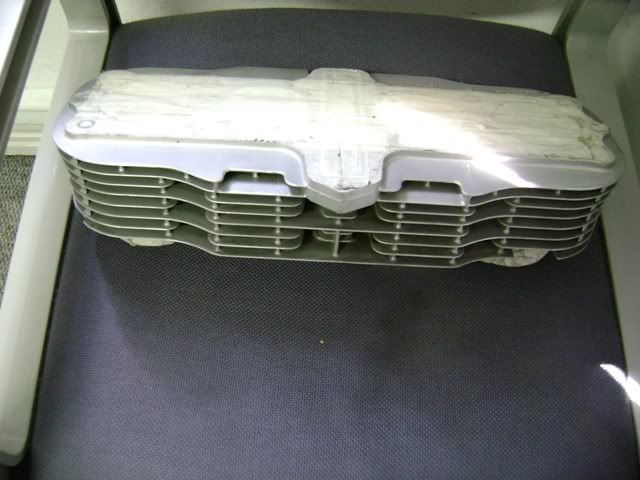
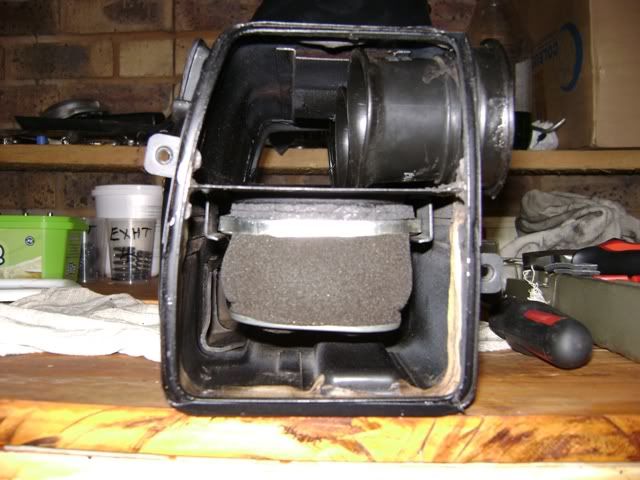
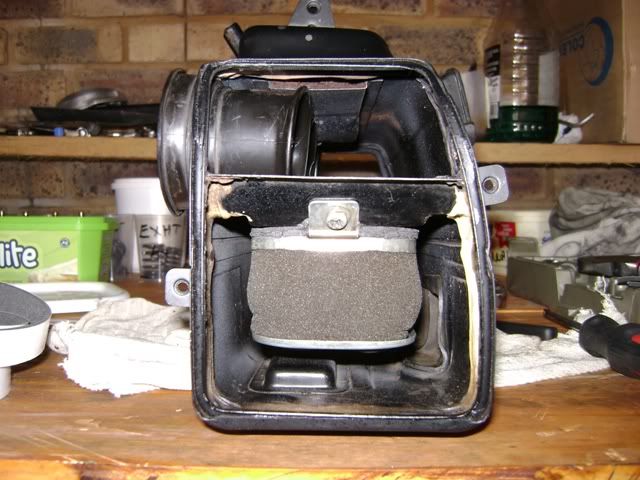
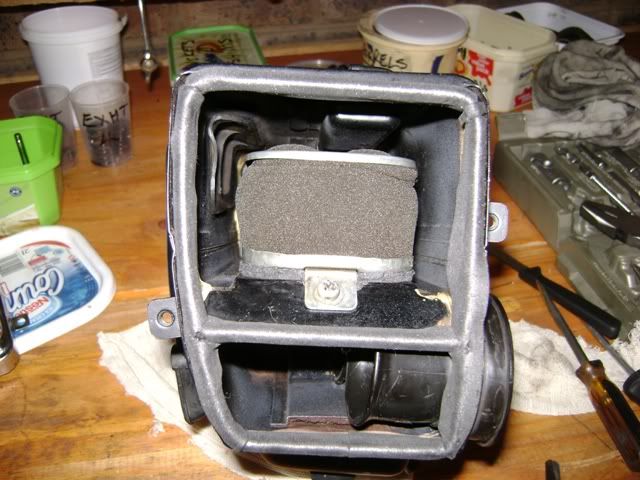
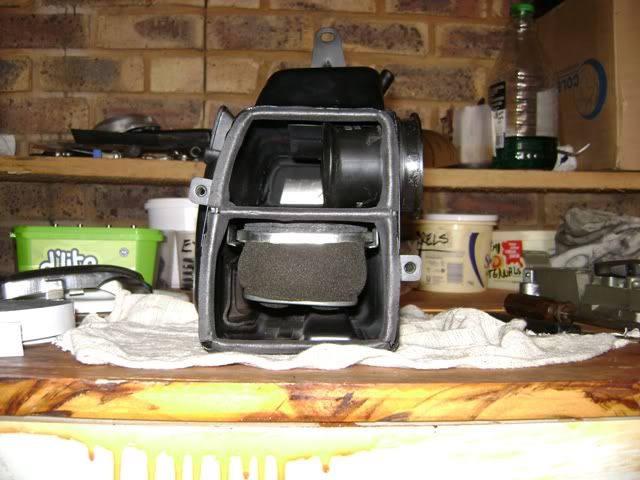
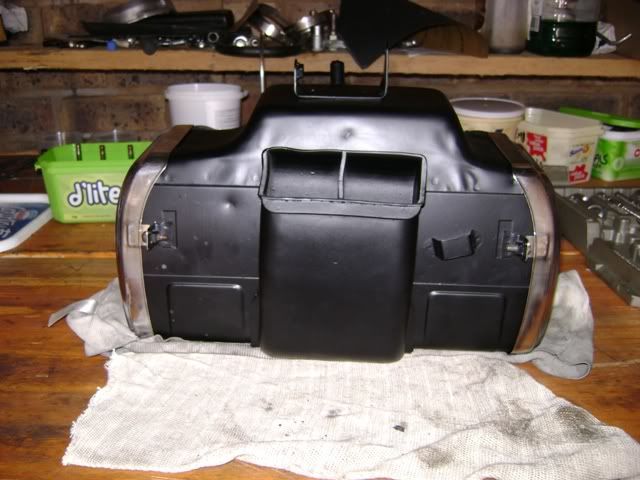
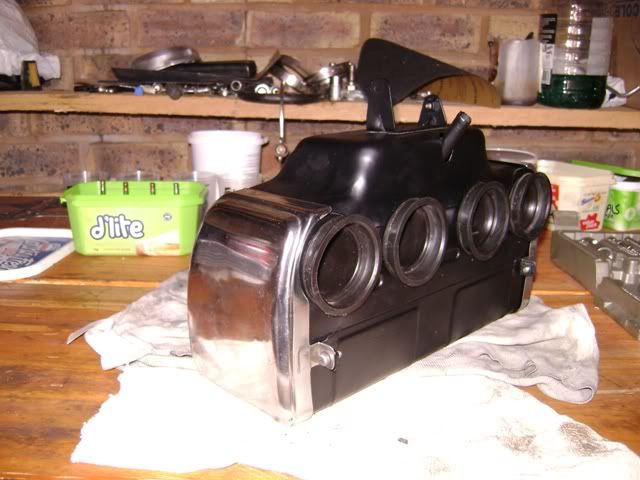
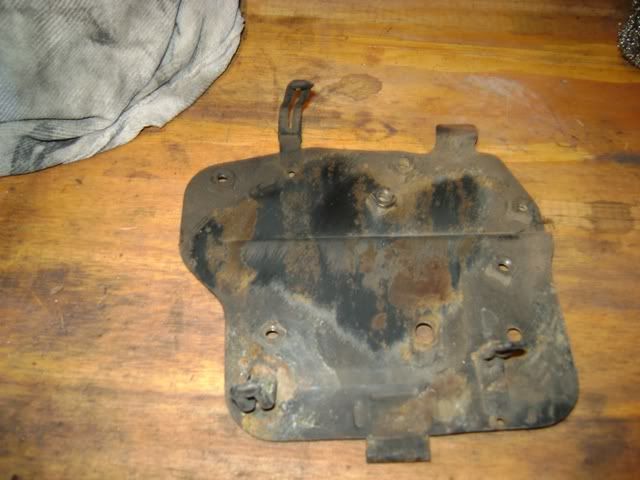
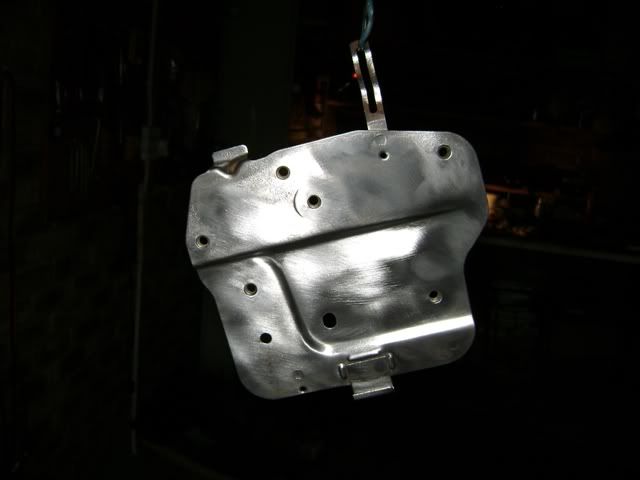
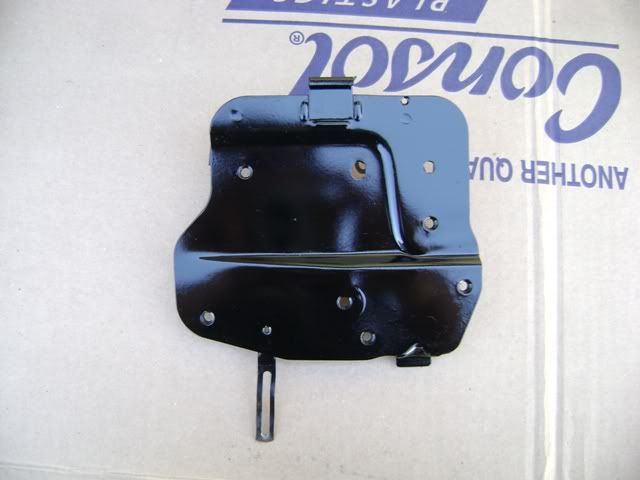
    Got to do some cleaning today, and partially assembled the air box, will have to get some weather strip before I can put it all together, although the rubber gaskets on the sides are still there, they are some what shot, so I would rather replace them.
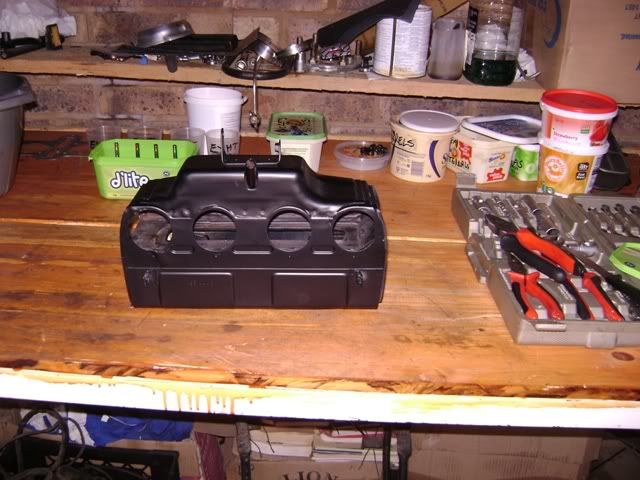
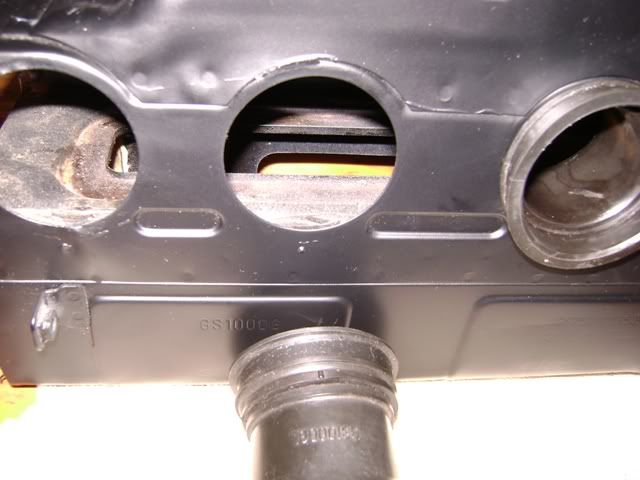
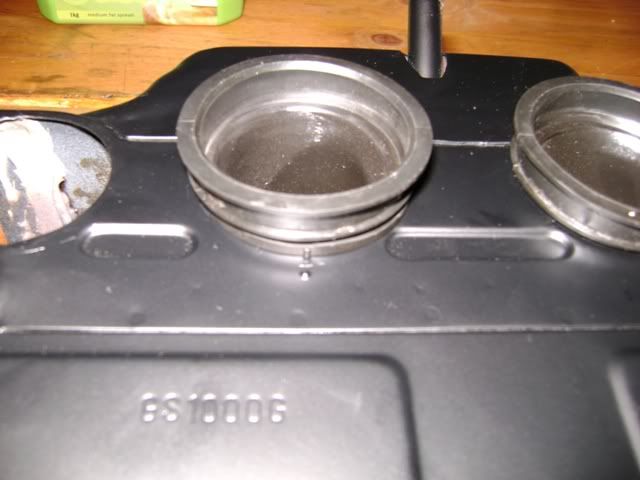
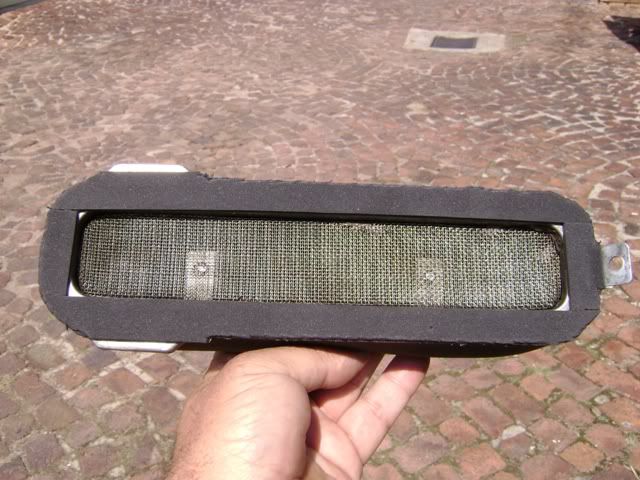
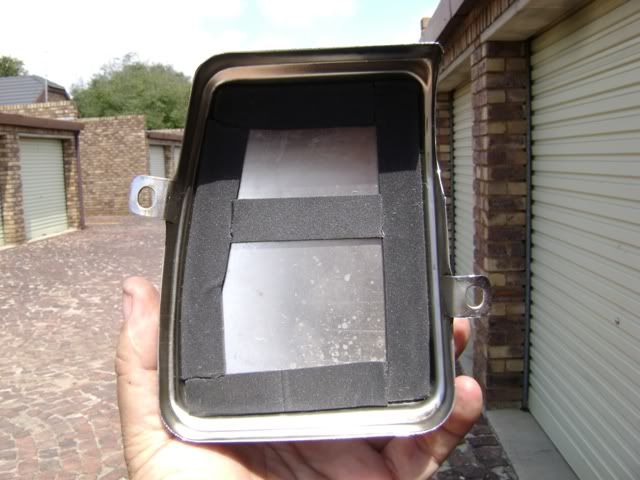
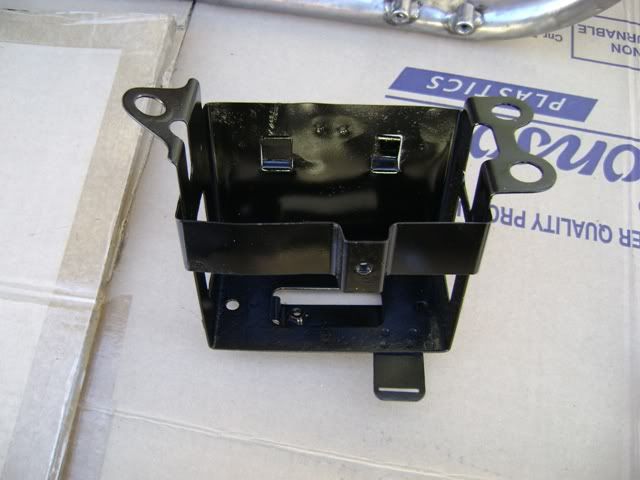
    I also need to put some fresh weather strip between the element and the airbox, as the original foam seal, kind of came apart when I was scrubbing it down for painting.

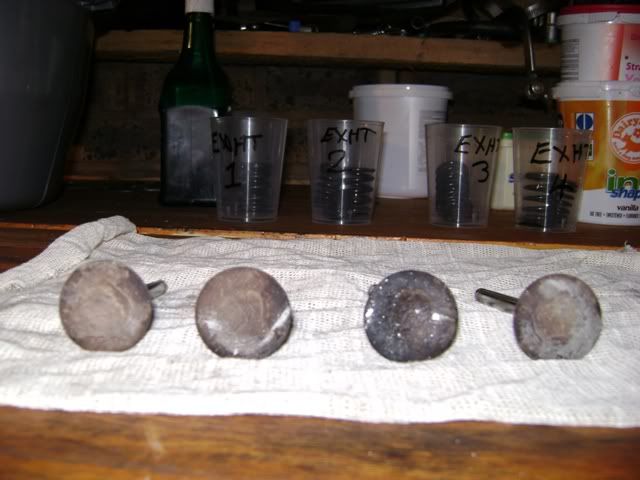
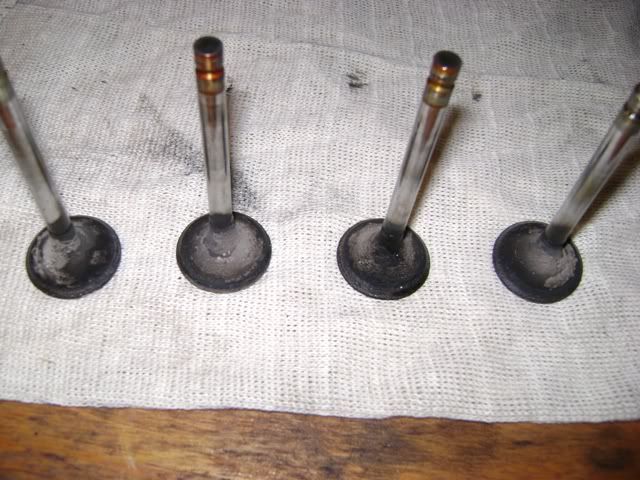
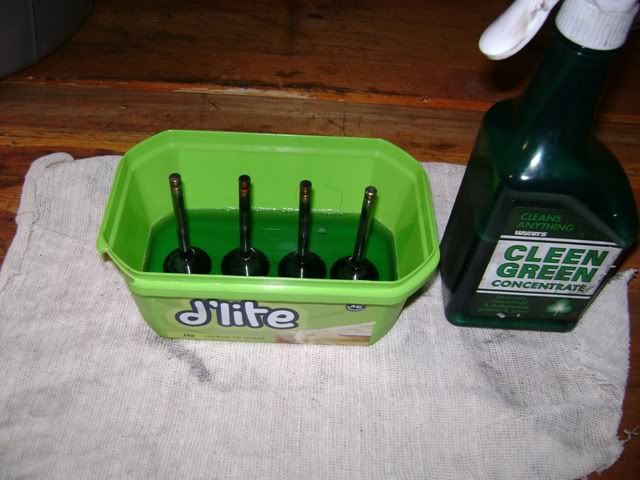
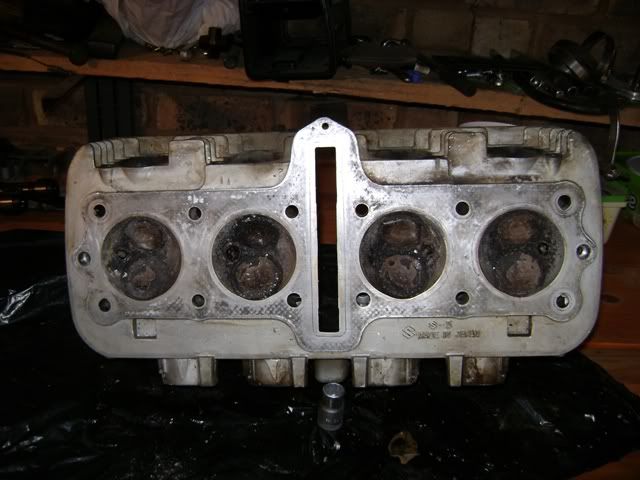
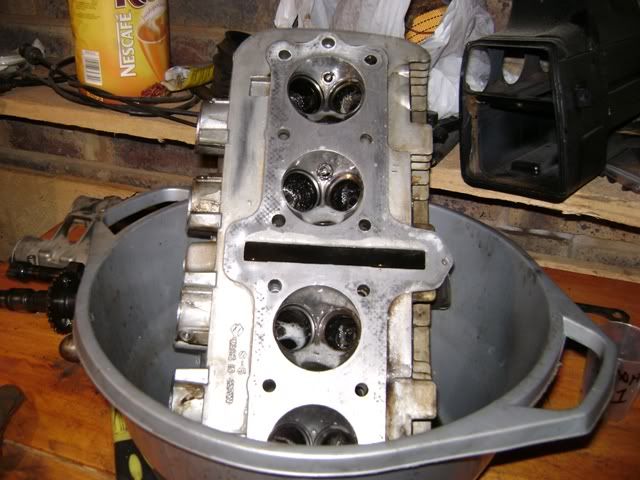
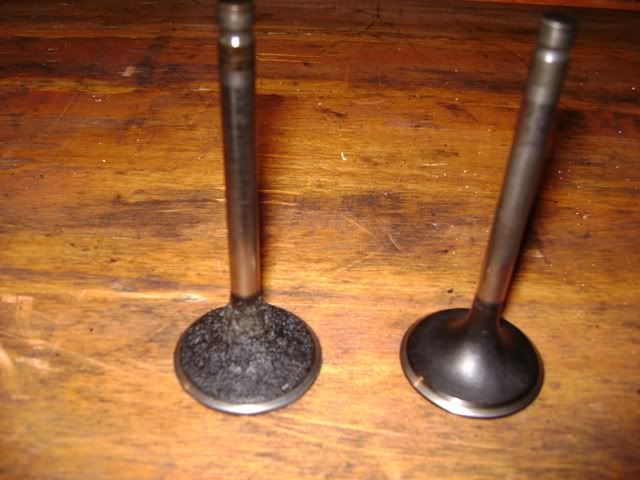
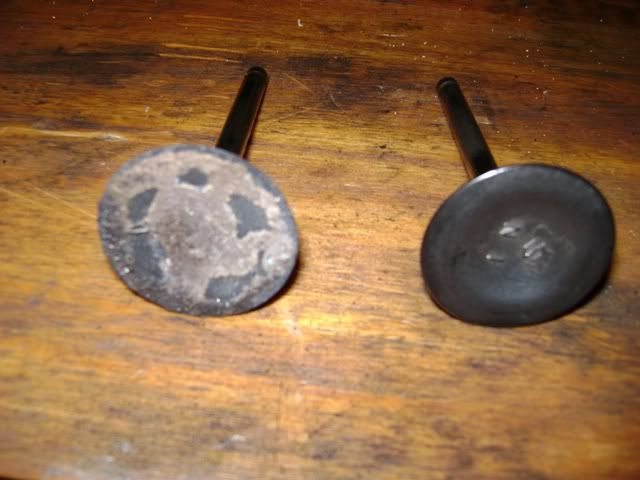
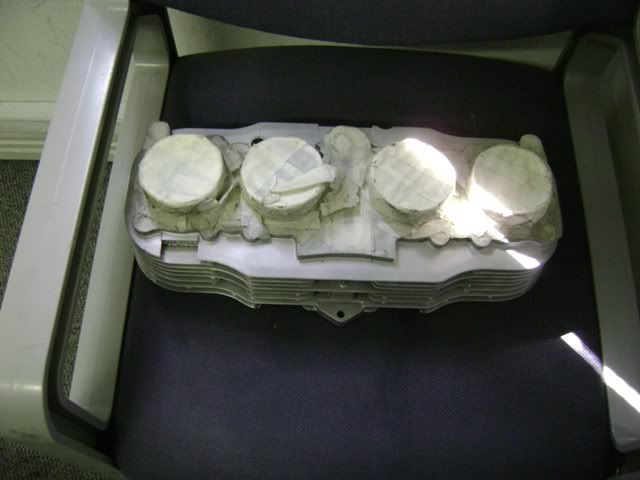
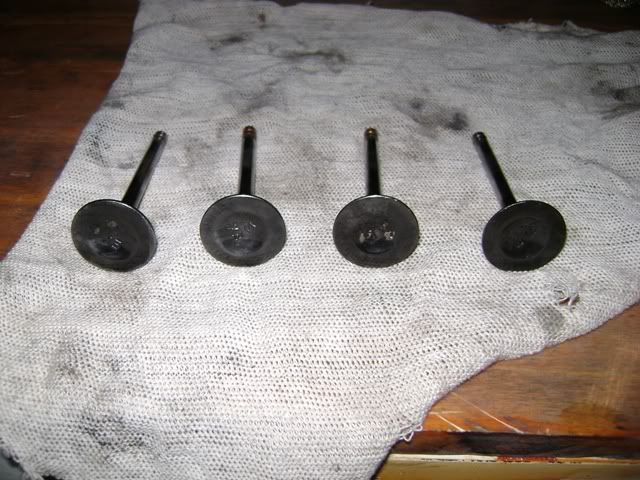
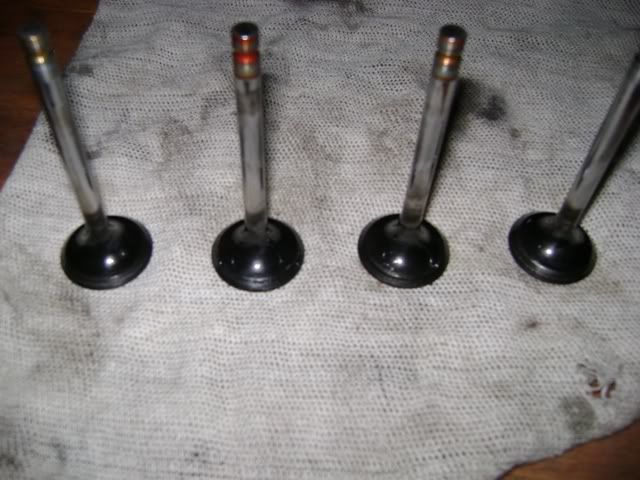
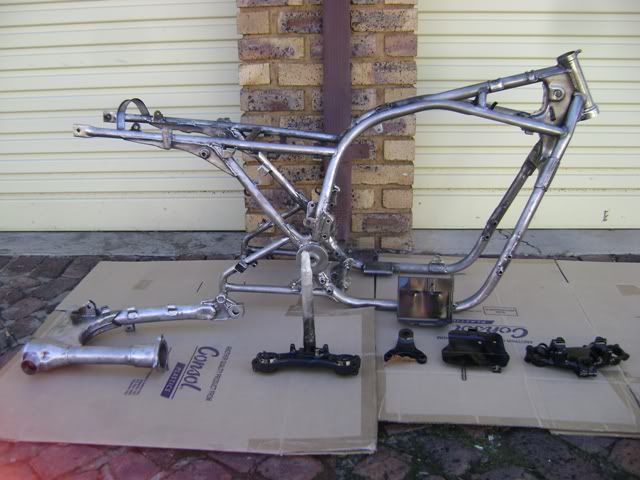
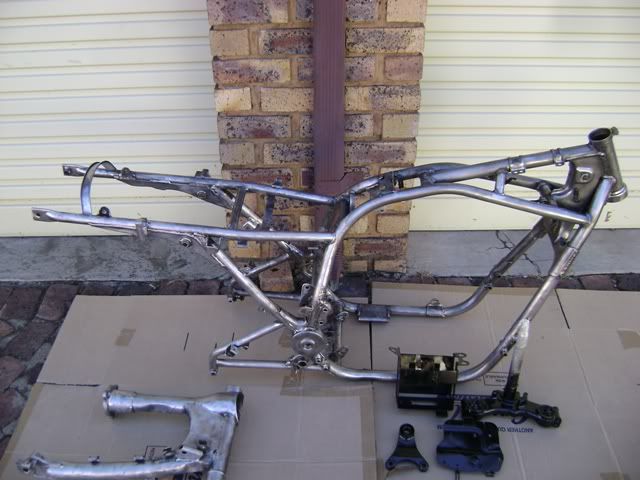
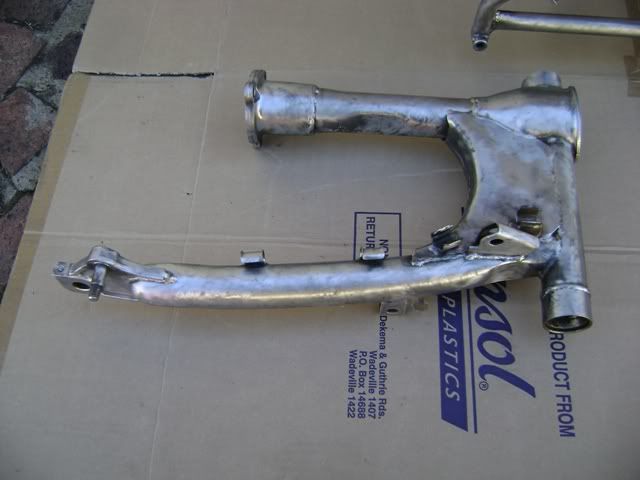
    Cleaned all the Intake valves of carbon, as well as the combustion chambers, and have got the ports soaking in Cleen Green, to try and loosen the carbon in them, as well as the exhaust valves, the carbon on those is like welded on, my rotary wire brush on my drill wont even budge it.

    Will put up some pics tomorrow from work.

    Comment


      #32
      Here are the pic. as promised.

      first order of business was to clean the valves and the head, at least that just requires elbow grease and not pots full of $$$$

      They looked quite sad, full of carbon, one can only imagine how it restricts the flow into the cylinder.


      The exhaust valves were the real bears to try and get clean, even my wire brush on the drill was having a hard time of it, nobel prize to the inventor of Cleen Green, together with duct tape, and zip ties, they hold the world together, so in they went for a good soaking.


      And while I was about it, the head went for a good soaking of the same magic muti, to try and get the ports claen of carbon, combustion chambers cleaned up nice.
      Before and after


      And the valves came out pretty nice too.


      Before and after


      Comment


        #33
        Just how long did you soak those valves in Cleen Green?

        TIA,

        Daniel
        Last edited by Guest; 03-28-2011, 02:48 AM.

        Comment


          #34
          Then I tinkered around with the airbox for a while, again, something I could do without having to spend $$$

          I painted it a while ago, and it has been lying in pieces in the house for some time, so I started assembly.

          I know the original was gloss black, and I know that I said the bike was going back to original spec, but I think the satin black just looks a lot nicer and less gaudy, so satin black is what I painted it.

          Here are all the componets that make up the airbox


          Now this is for those of you that always have problems lining up your boots with your carbs, and then come on to the forum and scream and shout and damn Suzuki to hell for their kak engineering, and swear pods are the only way to go.

          Besides having a great big L and R on the left and right boots, you need to line up the dot on the airbox with the nipple on the boot.


          Like this


          Then you will find that it all goes together, no mess, no fuss.
          And when it is all done, it should look something like this.


          In the last pic, you can see the snorkel that we keep talking about, I know there was someone asking about it here earier last week.

          Although I will have to replace my rubber gaskets with some good weather strip, as they are a little past thier sell by date now, and I don't need headaches and air leaks


          So, that is it for now, any advise or comments welcome, please, share your thoughts.

          Comment


            #35
            Hi Daniel, they still in there 
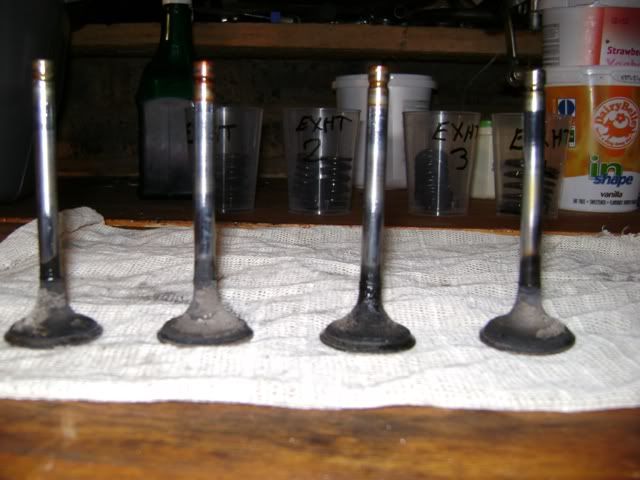
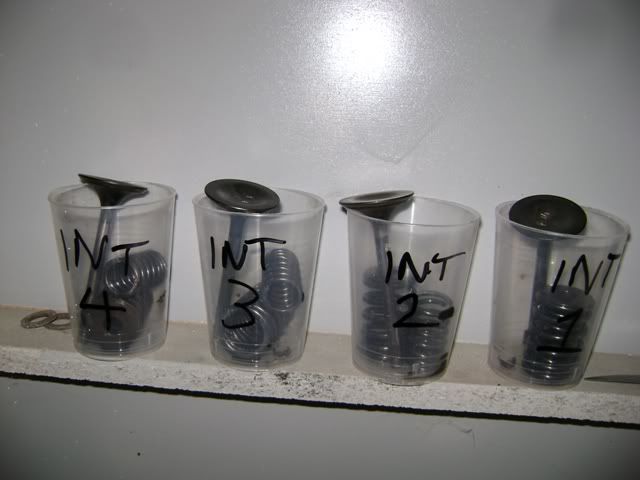
, will maybe take them out tonight and see.

            Comment


              #36
              Here are the Barrels, all cleaned up and ready for paint.


              Comment


                #37
                Nice work Flyboy, that's really looking good!

                I couldn't get my valves to clean up at all but I had to get them faced so the guy doing the facing gave them a quick bead blast before facing them and they came up real nice.
                1982 GS450E - The Wee Beastie
                1984 GSX750S Katana 7/11 - Kit Kat - BOTM May 2020

                sigpic

                450 Refresh thread: https://www.thegsresources.com/_foru...-GS450-Refresh

                Katana 7/11 thread: http://www.thegsresources.com/_forum...84-Katana-7-11

                Comment


                  #38
                  Yesterday I got around to finishing off the airbox, well, except for the little fastners that hold the side plates on, I will buy new ones in due course.

                  First thing was to put weather strip on the airfilter itself, after one layer I thought it was still a little loose to my liking, so I doubled up and put two layers on, it is now, nice and tight and snug in place in the box.


                  Then came the sealing of the box itself, I was not taking any chances, so weather strip went onto the box, as well as onto the end caps.


                  All buttoned up and tight as a rats ass, no air leaking through this baby, where it shouldn't be.
                  Ready to be bagged and shelved.


                  Comment


                    #39
                    Also got to clean up the exhast valves.


                    And prep the plate that holds the electrical goodies for paint.


                    Much better


                    I then put a coat of primer and a coat of paint down, but it came out really horrible, so I will have to do it again, maybe it had something to do with this


                    Comment


                      #40
                      Got a bit more work done this weekend and today again, slowly, slowly, but as long as I am doing something every weekend, we will get there.
                      By far the most tedious task so far, stripping the frame of paint for its new coat, I could not afford to pay silly money to have it blasted, so it was me, the wire wheel on the drill and many, many hours.
                      But I got it finished today, also got a few of the small bits painted as well.
                      I think they came out quite nice, better than stock OEM for sure.

                      Here is the frame and the swingarm, ready for primer and paint.


                      Naked Swingarm


                      The small bits.....well some of them


                      Upper Triple Clamp


                      Lower Triple Clamp


                      Rear brake caliper torque arm


                      Rear caliper hanger


                      Plate for mounting all the electrical goodies


                      Battery Box


                      Thats all for now folks.

                      Comment


                        #41
                        Looks great... im inspired for my build. thanks.

                        Comment


                          #42
                          Have you been able to do much more on this?
                          Cowboy Up or Quit. - Run Free Lou and Rest in Peace

                          1981 GS550T - My First
                          1981 GS550L - My Eldest Daughter's - Now Sold
                          2007 GSF1250SA Bandit - My touring bike

                          Sit tall in the saddle Hold your head up high
                          Keep your eyes fixed where the trail meets the sky and live like you ain't afraid to die
                          and don't be scared, just enjoy your ride - Chris Ledoux, "The Ride"

                          Comment


                            #43
                            Wow, makes what I'm planning to do look shameful. at most I was planning on just degreasing the lot and wire wheel the exposed metal on the frame and then repaint it.

                            Comment


                              #44
                              Originally posted by 2BRacing
                              Yes, that was original colour scheme. Sent you some bigger photos on your e-mail address - too big for here (or maybe I just don't know how to post three 1MB photos here!)
                              Get software to resize it down and save the images to either another directory, or rename them, you don't want to go overwriting your originals accidentally! I use Fastone and after the brief teething period while i figured its editing abilities and file renaming out, it's fantastic!

                              Comment


                                #45
                                Tagging along for the ride, progress looks great so far!

                                Comment

                                Working...
                                X