Announcement

Collapse
No announcement yet.

Summer Project Weekend! 83 GS650GL

Collapse
X
 
  • Filter
  • Time
  • Show
Clear All
new posts

    Summer Project Weekend! 83 GS650GL

    Hey all, had a big list of projects going on this weekend.

    New tread on the rear tire
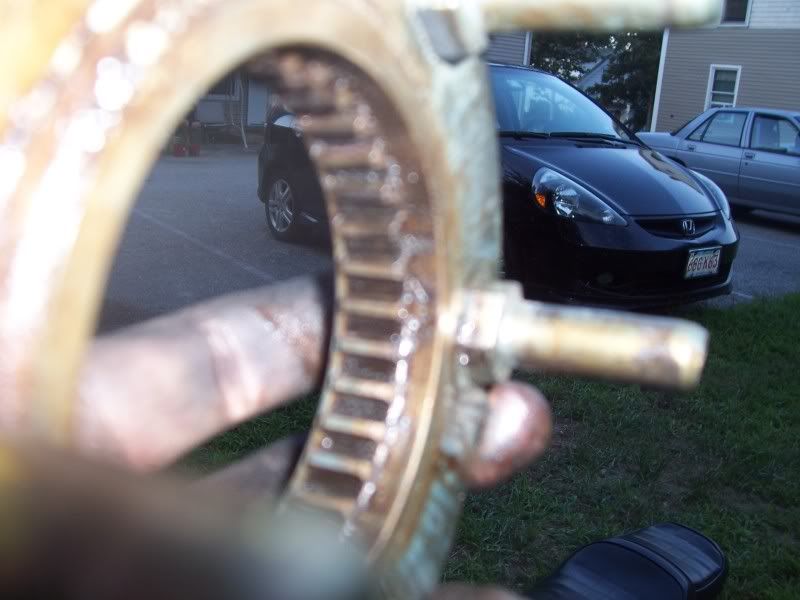
    Replace rear spline
    Replace rear shocks
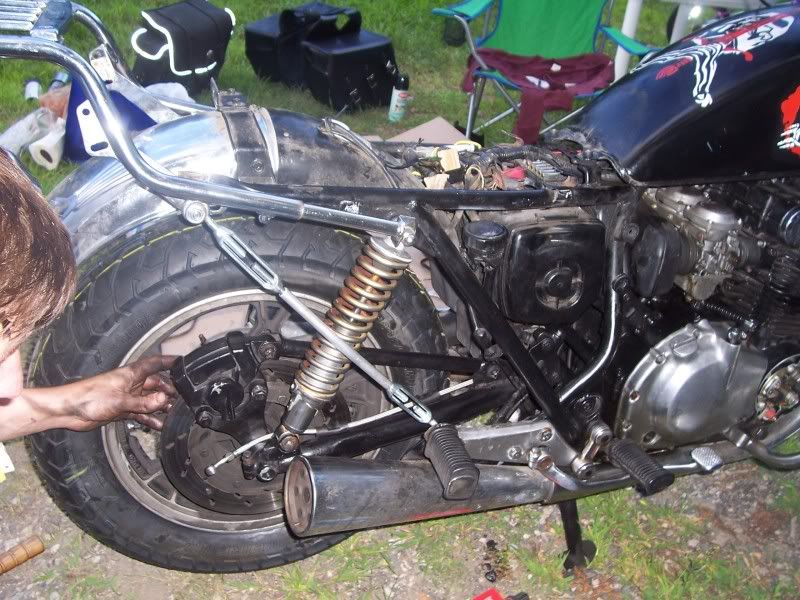
    New Stainless Steel back brake line
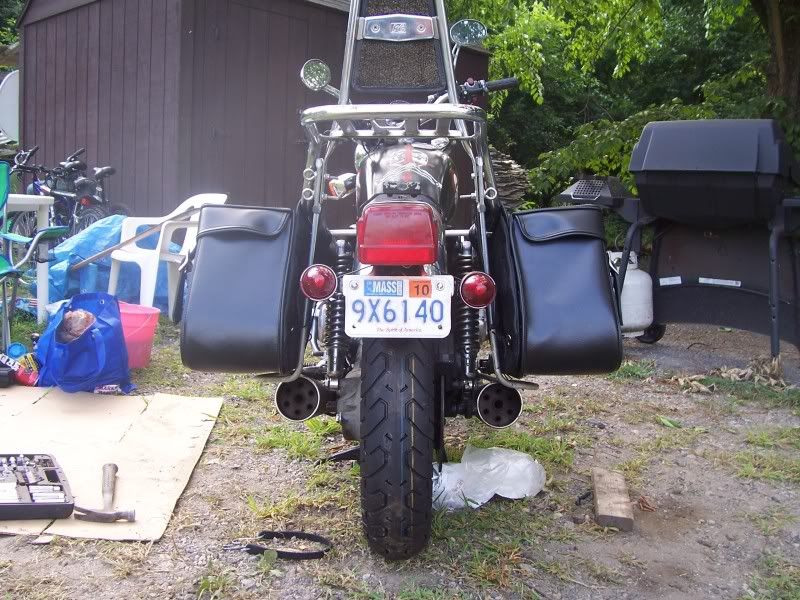
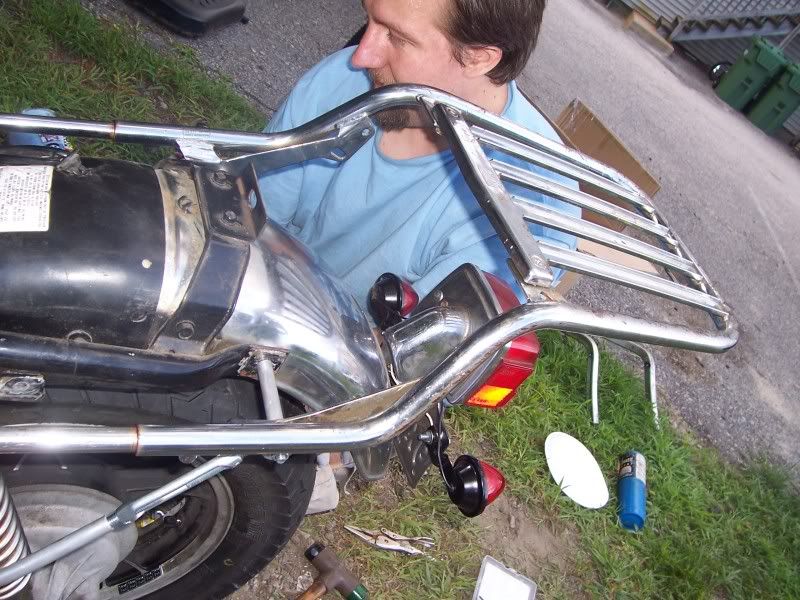
    New rear blinkers, mounted on license plate
    Brackets for saddle bags
    New saddle bags
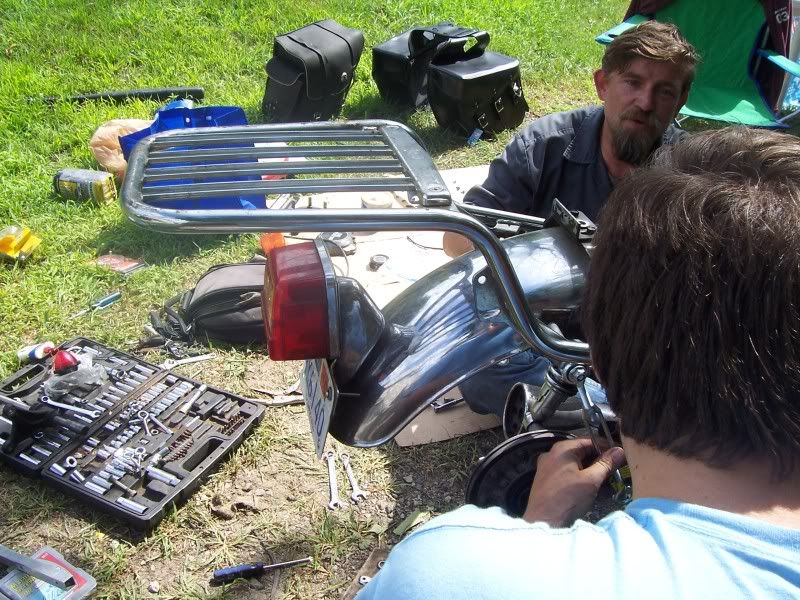
    New rack and sissy bar
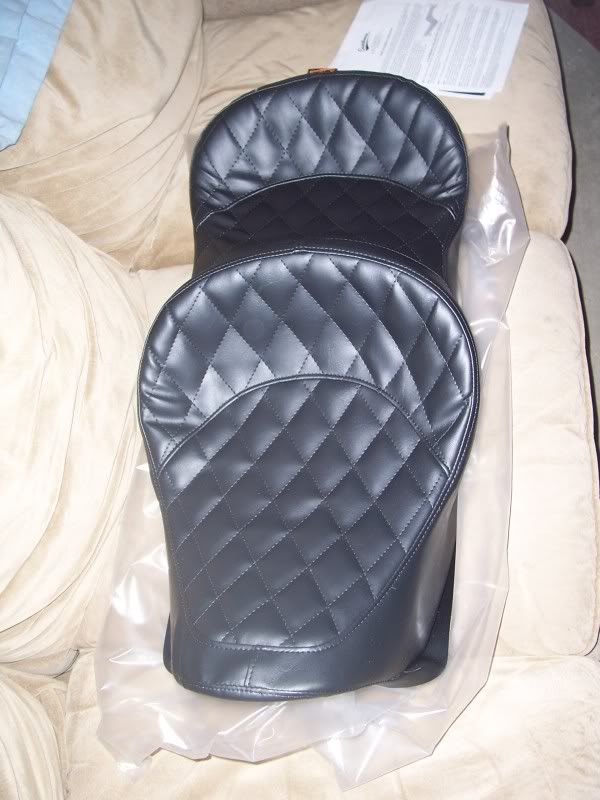
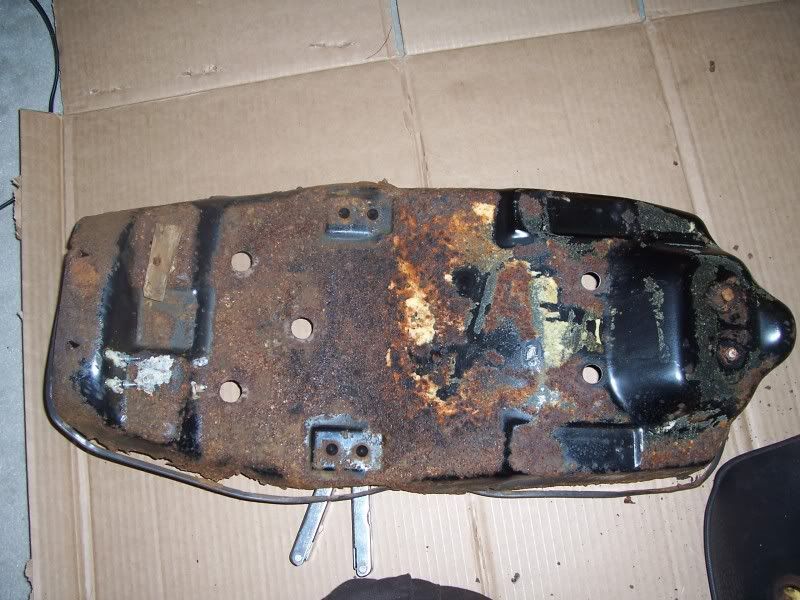
    New seat foam and cover, king/queen (remove rust on pan & fix mounts)

    Front / Engine stuff
    Check valve shims
    Top end rebuild with new base & head gasket (added new valve cover gasket... need to order)
    New clutch springs

    So far got the valve shims swapped out and measured, was 13k miles since last but all where in spec but on low end, now all are .08-.05 range

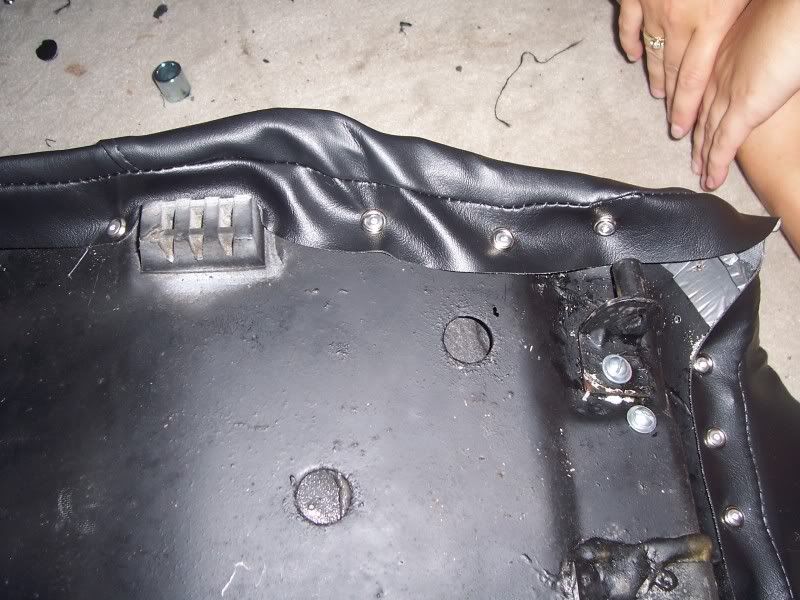
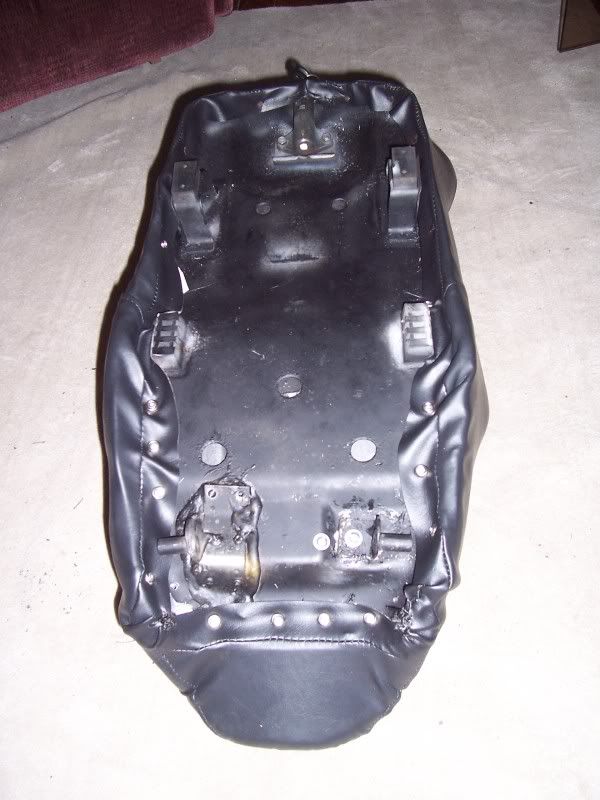
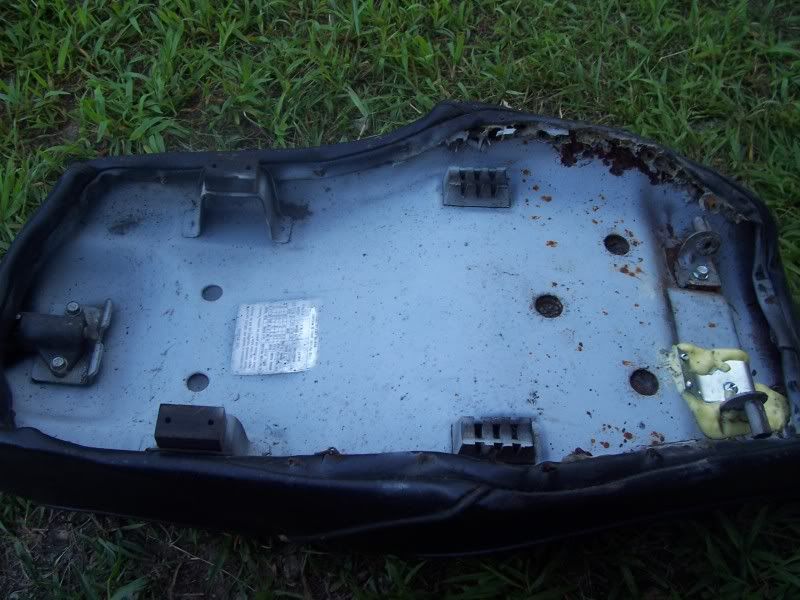
    Got most the back end work done but seat pan will take a bit longer to do right, got rust cut off, sanded down and paint with rust inhibitor spray.

    A big help was fellow GS member "machinest" came over to lend a hand or two at times.

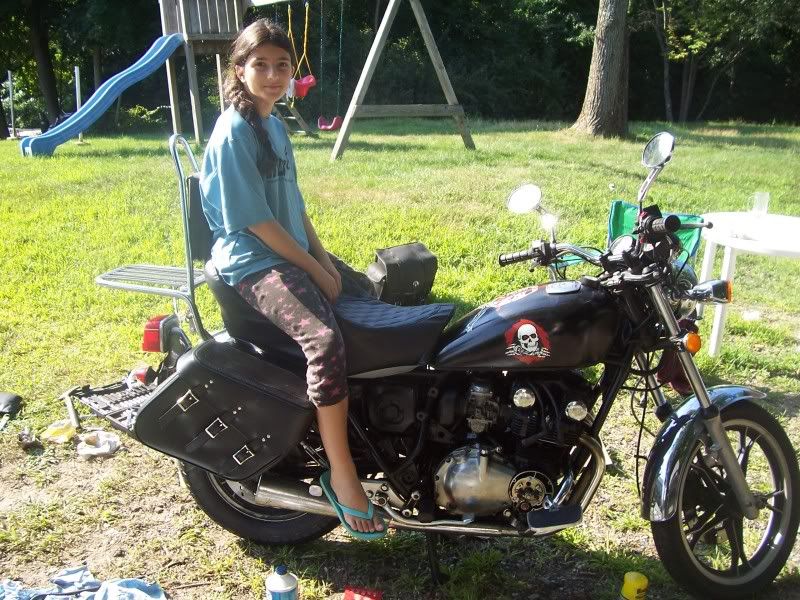
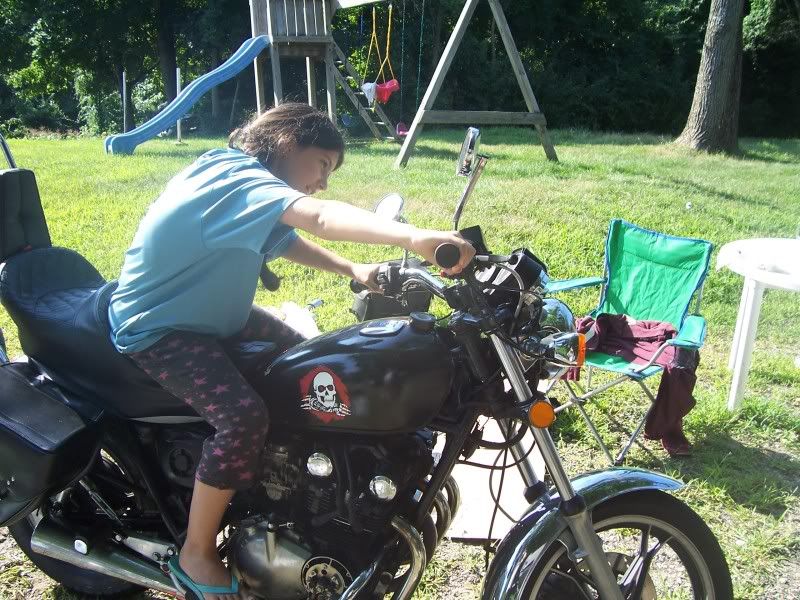
    Here are some pics, no real order... Daughter did most the pic taking and she did all the math on the shims and turned the engine for me. Sorry Steve no need for the excel spreadsheet with a 5th grader ready to do the math. (I did check them after but she got them all right)

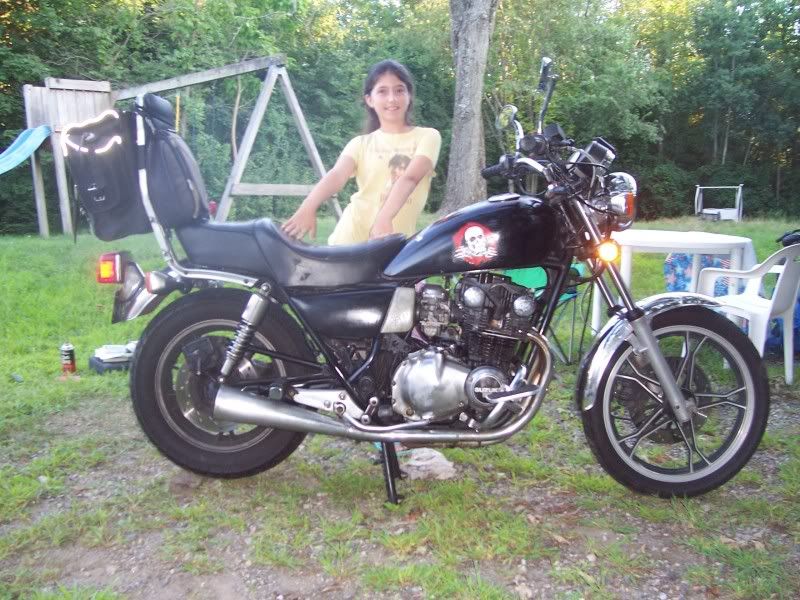
    Before:


    seat pan:


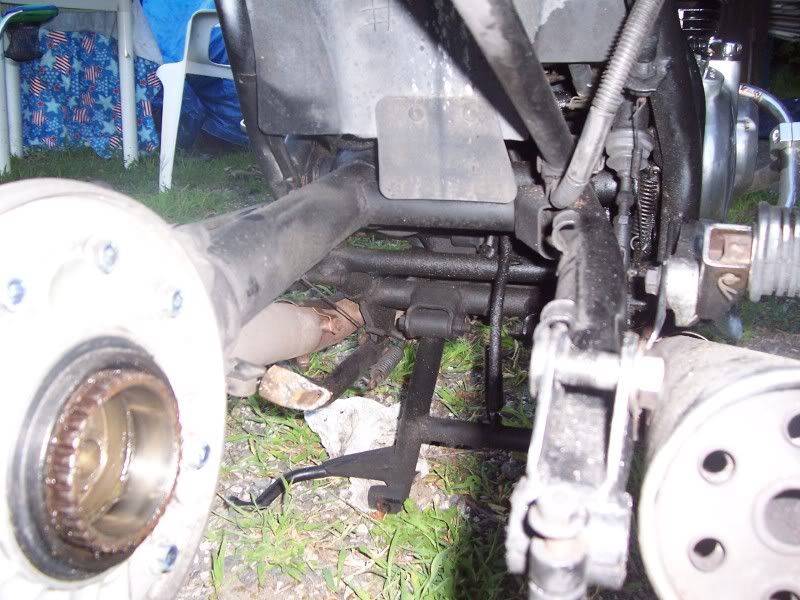
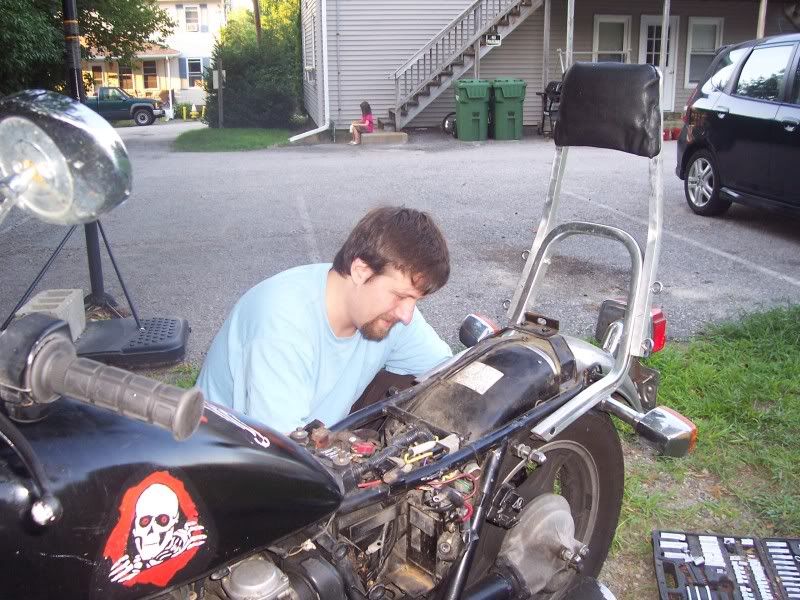
    taking back wheel off:


    Spline after 31k miles (actually very good shape but had the black one already)


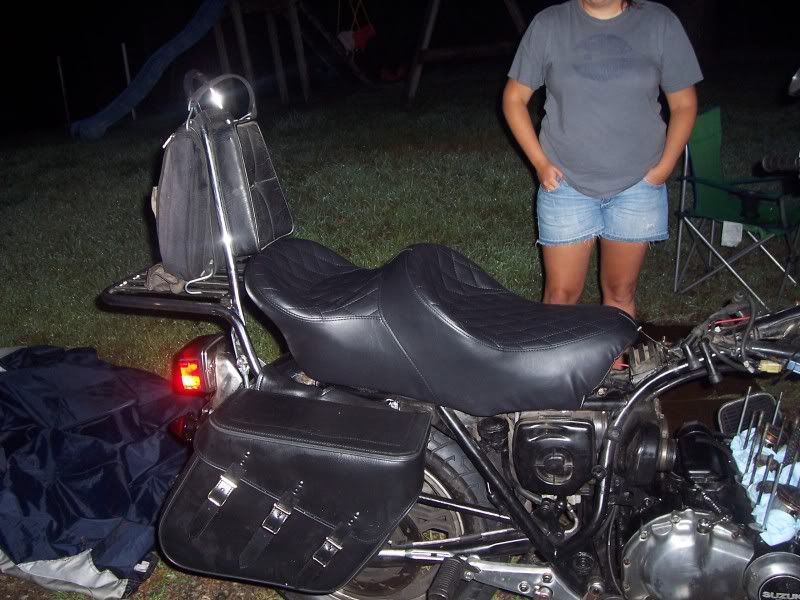
    New seat:

    bottom of pan:


    Rack getting fit up:


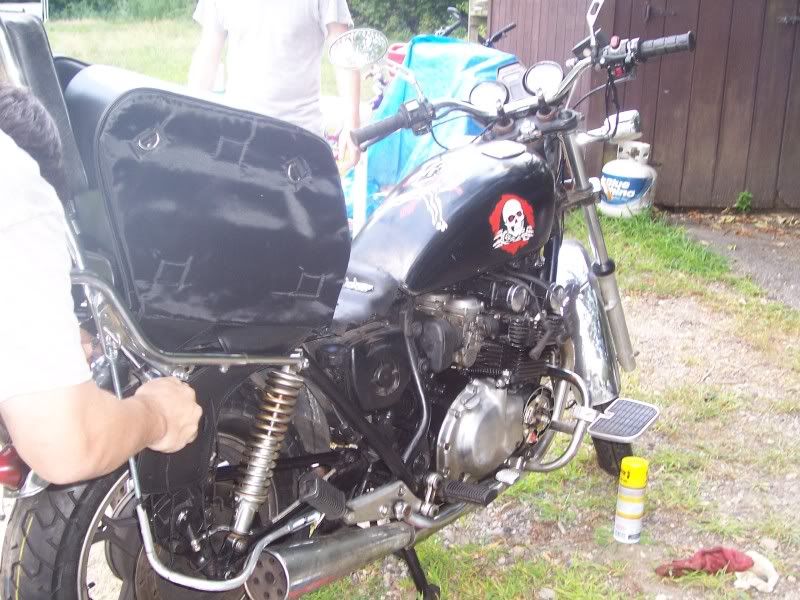
    Relocated blinker and brace to keep bags away from shocks:

    Stainless steel lines going on back (did front earlier in year)


    The bracket is not holding the rack, just to keep the saddle bags out. Oh and it is mounted at the bottom to the foot peg bolt, it almost looks like its on the swingarm in that view.
    Last edited by Guest; 07-31-2010, 09:51 PM.

    #2
    Dang ! thats a LOT of work .

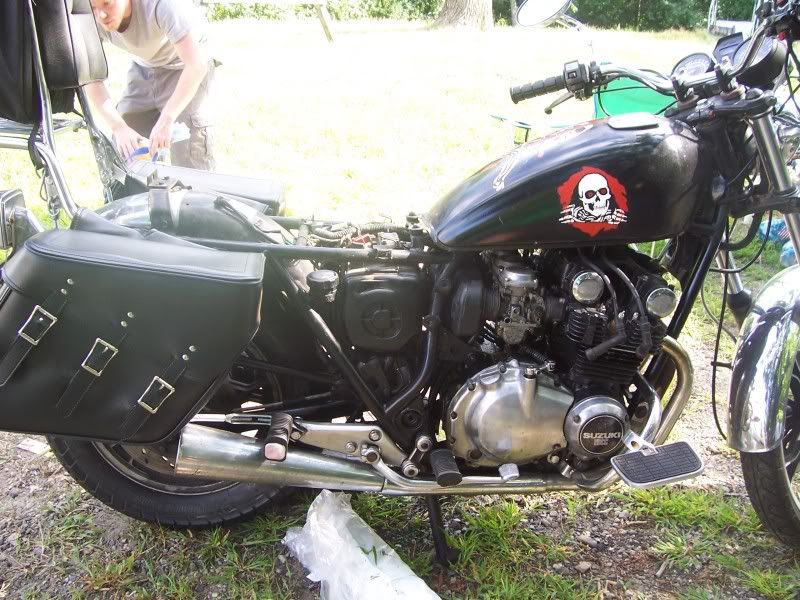
    I dig the tank art ya got on that thing

    Rat

    Comment


      #3
      Thanks, for the sake of not ignoring the kids all weekend (and needed to order a valve cover gasket) I think I am stopping short of the engine work but hope to wrap up the back end soon.

      The blinkers blink now with a $6 electronic flasher, the bags needed to go back further than I thought once I mocked up the seat and them and found my daughter could not hit the pegs with the bags to far forward. I will need to adjust / make a new support bracket for that location. The pan looks better but is a mess. Im not to worried though, just ground most the rust off and sprayed it up with some rust blocking / kill paint. Going to just rivet the new cover through the bottom of the pan up and call it good.

      The seat cover is made for a gs850 so its a bit longer, but mocked up tucks right up to the KG sissy bar. The supports on the rack are a 100mm bolt, but I put an aluminum spacer in to tighten it up and if the weight is not overdone should be fine. I might find a way to brace it more...

      Anyways, thanks for the comments on the tank its a bit messy now as I never got a real clear on it or wash it but the graphics are from the 83 Powell Perallta skateboards.

      Oh my stock grab bar, signals, and "custom" sissy bar are available free for shipping to anyone that wants them. The grab bar is best with the sissy bar as they are drilled out to match each other. I can post better pics later in the parts section but you can see it in the before pics.
      Last edited by Guest; 08-01-2010, 12:35 PM.

      Comment


        #4
        PM sent on the parts

        I feel ya on the bags , I am trying to fab up something for a set of small throwover bags on my 850 , Suzuki didn't have bags in mind when they designed the exhaust

        Rat

        Comment


          #5
          Sent a pm back on the parts, should work out fine.

          I separated the bags and attached them further back off the side support of the KG rack system. This worked better but required redoing the "support" for bags. Its pretty much over the exhaust and right behind it.

          So the back end is pretty much done other than attaching the seat to the pan, can do that at night pretty easy... The engine will also have to be night projects as the next 4 weekends are already booked, and cant wait that long to ride. I think 1 night break down, then the next night rebuild... wish me luck on that lol.

          Comment


            #6
            I'll try to get some more pictures up, valve cover gasket is on order and will attempt the top end work tonight with Thursday after work being my overflow time if needed.

            Comment


              #7
              Looks like you managed to get a fair chunk of the 'ol laundry list done on the weekend.

              Are you planning on being able to easily remove the bags on the sides? If not, you could cut a small plate of steel to go in behind, and one to go inside, and sandwich the bags with a bolt through the inside to the mounting bolt on the rack. Kind of hard to explain, but works well as long as you have a good mounting point to bolt it to.
              Just an idea for you to consider.

              Comment


                #8
                Ammo Cans FTW!!!!!!

                Comment


                  #9
                  The bags are not really required to be removable, I got them up pretty good now... I have been taking lots of pics but to busy during the week to get them up.

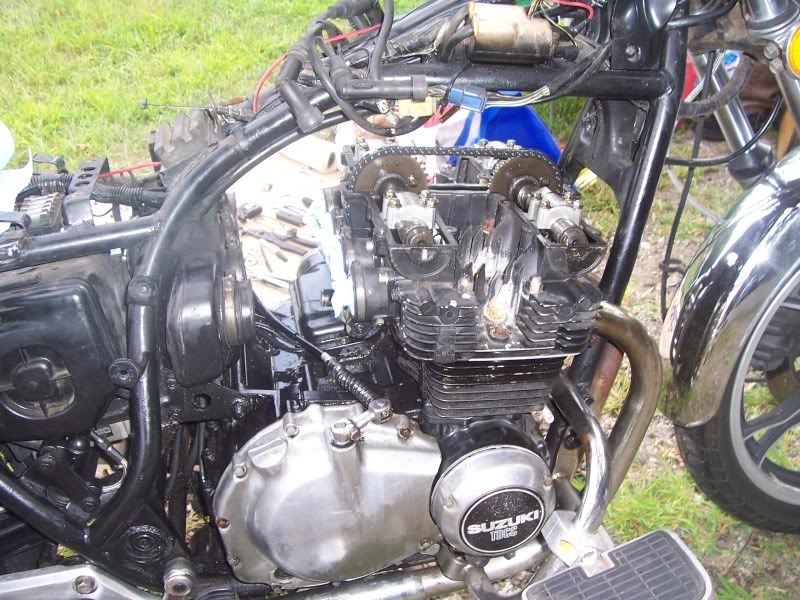
                  I got the top end taken apart last night, no broken bolts, exhaust separated at the pip in the middle... but went pretty good. The head gasket leak seemed to be from me um... missing 2 orings on the reinstall, but I am almost certain my "kit" only came with the 2. The new gasket has 4 (at the corner bolts). The base gasket was another story, had a few chunks completely torn and missing, it did not last well at all.

                  My one big issue was while using the compressor on cyl #2 the next one over got caught and cracked a ring. I need to go fishing for the 1/2" piece that I think fell down as I could not find it in the rag. I called it a night on that, should I replace all the rings on that cyclinder or all of them? The engine is up to 31k miles and I really just wanted the leak to be done... I really dont know much about rings and such, can I put new rings in without any other engine work?

                  Sorry for lack of pictures, they are on the camera at home.

                  Comment


                    #10
                    Originally posted by Skateguy50 View Post
                    My one big issue was while using the compressor on cyl #2 the next one over got caught and cracked a ring. I need to go fishing for the 1/2" piece that I think fell down as I could not find it in the rag. I called it a night on that, should I replace all the rings on that cyclinder or all of them? The engine is up to 31k miles and I really just wanted the leak to be done... I really dont know much about rings and such, can I put new rings in without any other engine work?

                    Sorry for lack of pictures, they are on the camera at home.
                    Other engine work is required for new rings, specifically, cylinder work. The taper should be measured, you should make sure what you have on the bike, whether they are STD or oversize (I would expect STD with the low mileage you have). The ridge at the top of the cylinders needs tobe removed with a ridge reamer and the cylinders need to be honed to a fine crosshatch pattern to remove the cylinder glaze so the new rings will seat properly.

                    Comment


                      #11
                      Thats what I was afraid of... but thanks for the info.

                      Dealer has the hones and will do it for $45. Rather than buy my own and risk doing it wrong I might just bring it in and have them do it for me. So once its all together I will have to break in the new rings on a new rear tire
                      Last edited by Guest; 08-04-2010, 09:34 AM.

                      Comment


                        #12
                        Not much done since, but here are some pictures:

                        Bags first location, mock up with seat:

                        The back end pushes a few inches lower once its mounted right, but her leg hits the bags before she gets on the bag peg.

                        She had to try out the other seat before getting off:


                        Modified location and support:


                        Much better:


                        Back view:

                        going to cut the thread rod a few inches on the back mount then reinstall to lift it a bit higher off the pipes.

                        The "FUN" begins:


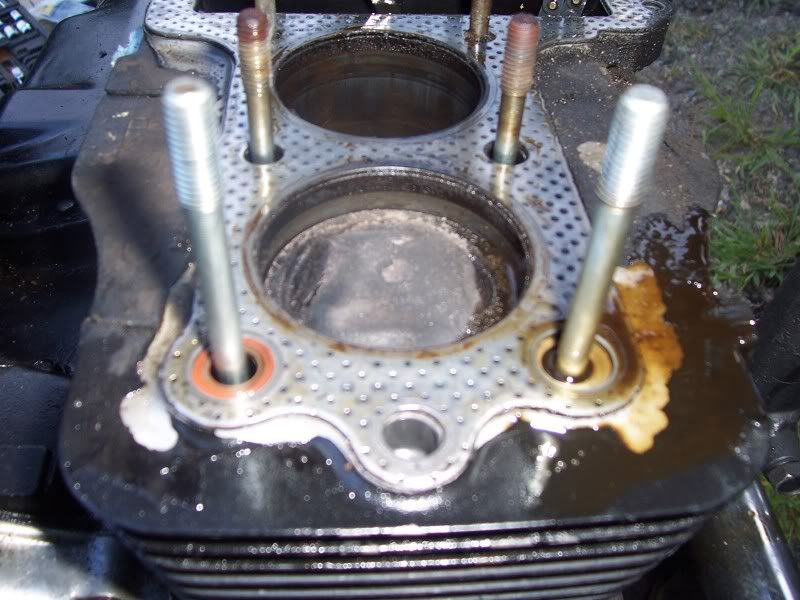
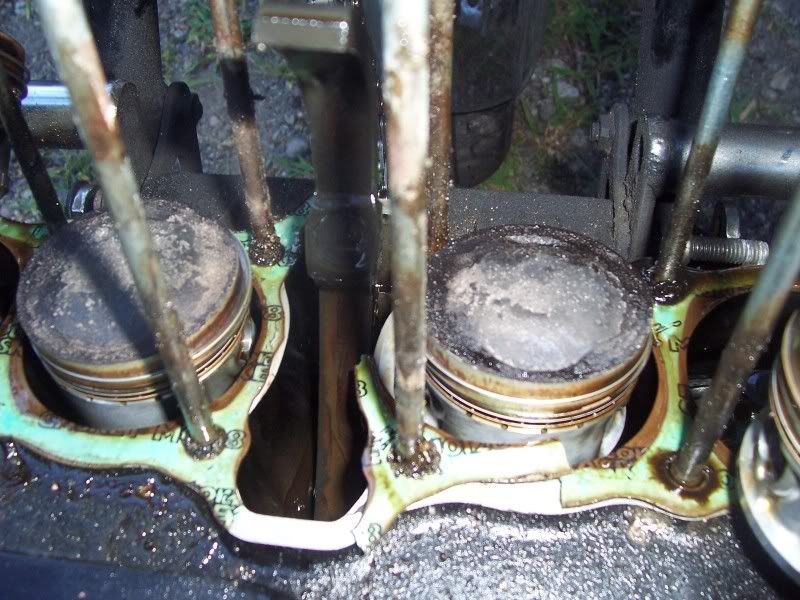
                        No turning back now, found head gasket leak...


                        Now my "kit" back then only had 2 of those washers, the new one has 4 but they are simple black orings. I think those ones worked pretty good... the ones I had. Should I use the 4 black orings on reinstall since it came with the OEm gasket, or try to find 4 like the ones I had?

                        Leak on base gasket... no wonder I had issues.

                        Comment


                          #13
                          Dang , leaking a tiny bit of oil I see , did the base gasket " blow " out in use or was it a assembly error ?

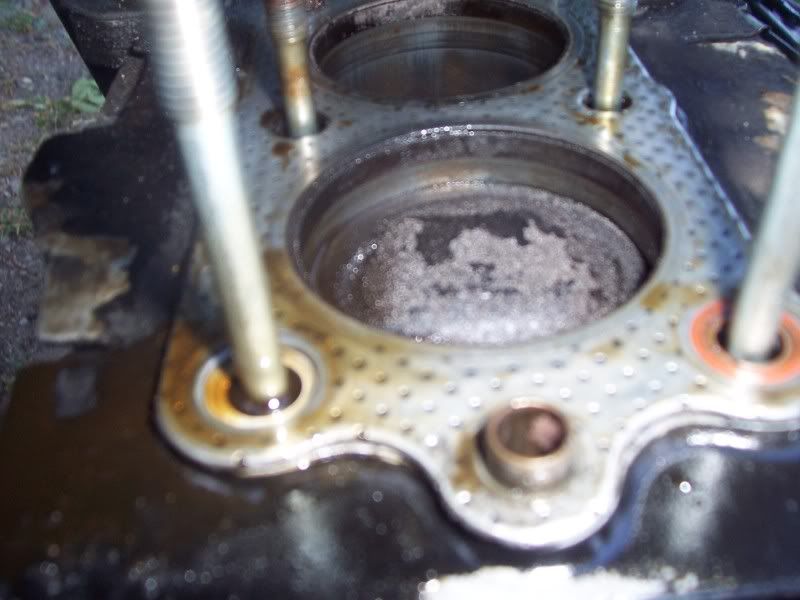
                          I would go ahead and spring for the shop to at least look at your cylinders . Heres why . ( snitched your photo )


                          See the cylinder to the rear of the picture ? that mark UNDER the normal carbon ring on top . does that have any kind of depth to it ? If so it will kill the rings on that cylinder . Hopefully that is just a oil pattern .

                          Since you were talking about re - ringing any way . NOW would be a good time to remove the pistons , get that carbon off the tops , and get the ring lands squeaky clean ( one little chunk of carbon under the new rings will make re assembly a pain )

                          Myself , I am a bit anal about not mixing the pistons ( #1 piston now goes back in the #1 position on re-assembly ) . and keep things oriented as they were ( front side of the piston NOW goes back in the same way ) .

                          Just my 2 cents , Good Hunting

                          Rat

                          Comment


                            #14
                            The base gasket leak started some 4k miles in so assume if it was assembly error it would have happened sooner. Now the head gasket didnt leak till the end but you can chalk that up to assembly error not having the orings in.

                            Also I am bringing the cylinders in to the shop and did plan to clean the tops of the pistons off and the spots for the rings, I will see how easy they come off and yea I will keep all the parts going back where it came from.

                            One thing I am a bit afraid of is pulling the valves apart to replace the oil seals, I checked my parts from the kit last summer and I got the new seals here so I really should man up and get that done too.

                            Comment


                              #15
                              No engine work last night, but I might get brave and attempt the oil seals on the valves while I wait on the rings.

                              What can I use for the carbon on the valves and pistons? Can I use a regular wire wheel on the drill? I will probably remove the pistons for setting the rings anyways so thought about getting a metal paint pan and soaking them with the heads down in some carb dip... would that be to much?

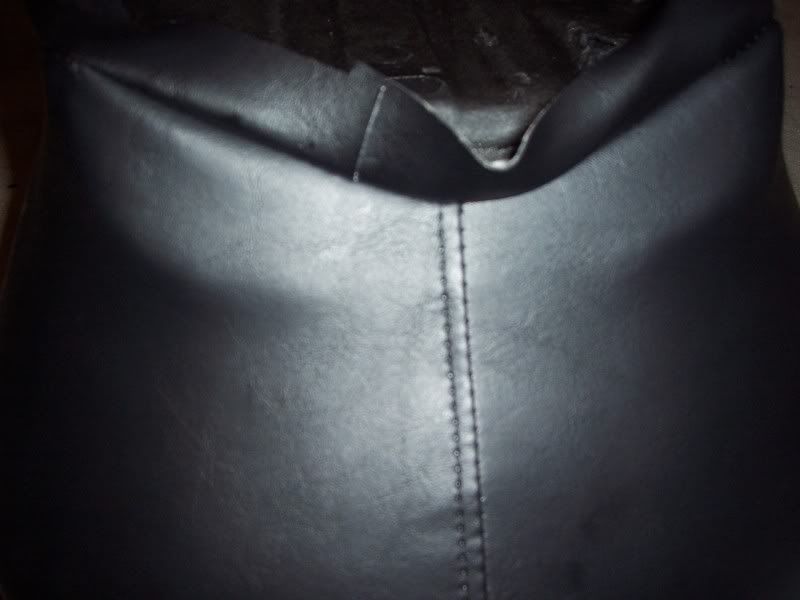
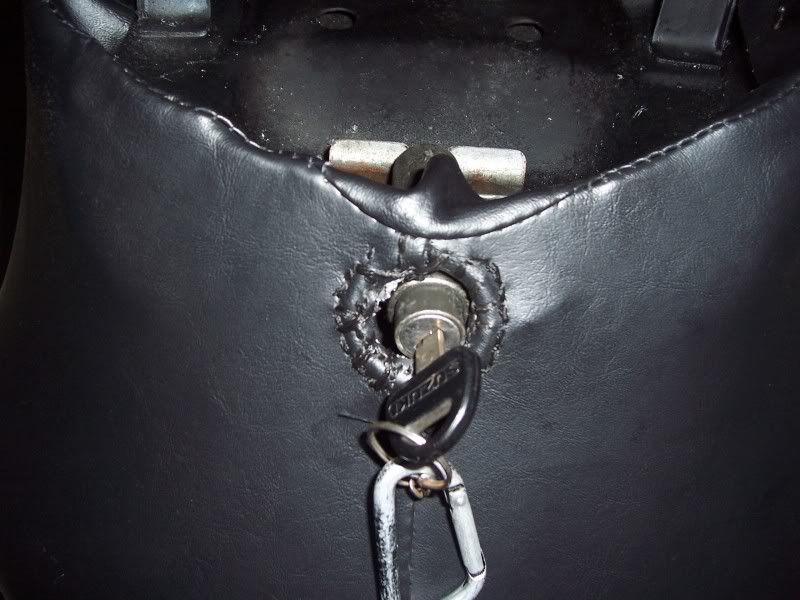
                              Anyways got the seat on the pan. I reused the plastic edge that was on the pan but secured it with some duct tape so it wont slip while I get the cover on. I left the rotted sides low where I cut it to have enough cover material to rivet it flat to the base, its not perfect but worked. I used 1/8" rivets with washers to hold in that side and had enough metal tabs in the back to do it the normal way. Also since the cover was for an 850 it didnt have a grommet in the back for the key, so I cut a small hole then stitched it up around a metal ring to give it a solid shape. I went overboard on the sewing but you cant see it in place so just wanted it to be solid. Also where the seam was cut I pulled the thread back a few stitches, tied it off and restitched it to match, maybe went back 1" but its solid and again under the rack so no big deal to me.


                              Cant see the line without the tank or side panels on, but its more about function for me, this will be nice on long rides.

                              Comment

                              Working...
                              X