Announcement
Collapse
No announcement yet.
Testarossa's 1980 GS750L Project
Collapse
X
-
 Hoosier Daddy
 -
 Testarossa
So true. I have a good buddy over at the KZ forum who had a running 78 KZ1000 that he purchased for $400. He was doing a valve adjustment like a good boy, when his bucket tool slipped out. It bounced off the top tube of the frame and down in the valley for the cam chain. Wouldn't fall into the pan, so he wound up tearing the whole motor apart. Now he's in the process of installing a single sided swingarm from a speed triple, and a solid year into the project. Funny the path that life leads you down some times.Originally posted by Hoosier Daddy View PostA wise man said "Any 15 minute job is just one broken bolt away from an engine removal".
Comment
-
 Testarossa
One quick update tonight. I took inventory of my painting supplies, and it appears that I have enough left over from my last paint job to shoot the GS. So on the way home today I stopped off at the paint store and picked up a pint of color. Needless to say the green is long gone. I got all the rattle can junk stripped off today. Yuck! Hopefully I can generate something worthy of some pictures this weekend.
Comment
-
 Testarossa
I managed some progress today. First, I discovered the issue with my fuel tank sending unit. There is a should be a wire connecting the rheostat to the insulated connector. I guess this would be the "+" wire. It was very corroded and fell apart as soon as I touched it. Also the corrosion affected all the electrical contacts, so I cleaned all that stuff off. Now that it makes solid contact, it ranges from almost no impedance to about 200 ohms. Does this seem right? I need to get a short piece of small fuel line to insulate the new wire that I will solder in place.
I got the bodywork all sanded and primed today. I shot two coats of PPG epoxy primer and four coats of PPG High build. Unfortunately I doubt that the weather will cooperate for further painting for a little while. We have a cold front rolling in tomorrow.
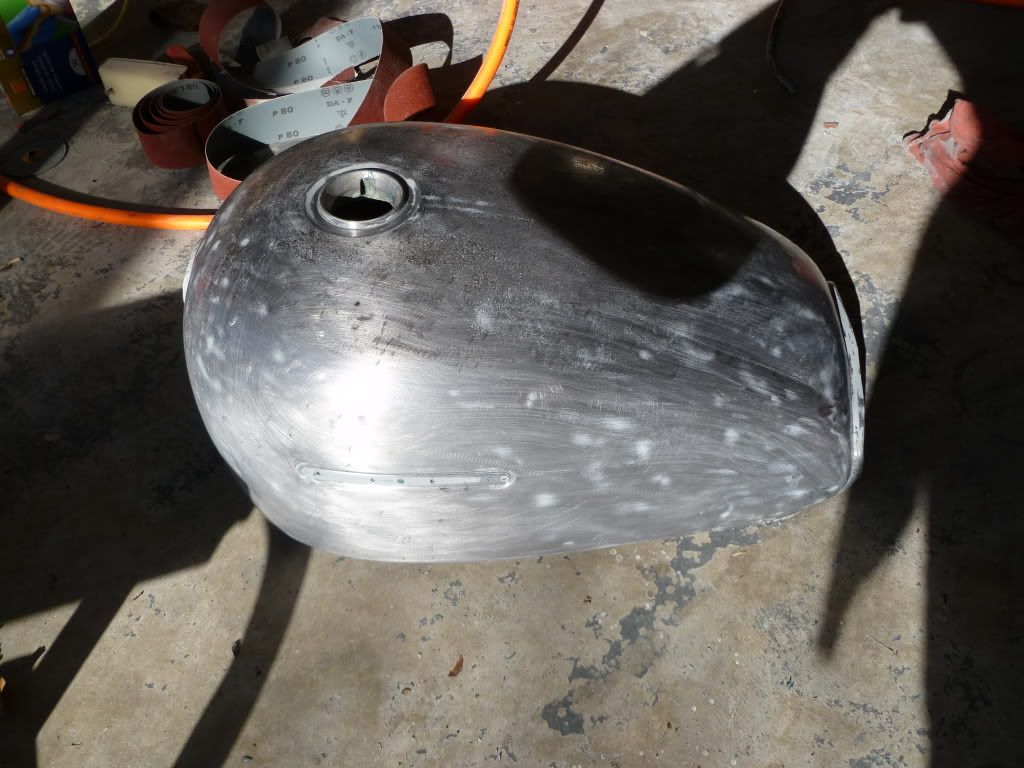
Here's the tank in epoxy prime. I know it's hard to see. Last pic that I got before I lost the camera battery. I'll try and shoot some better pics tomorrow.
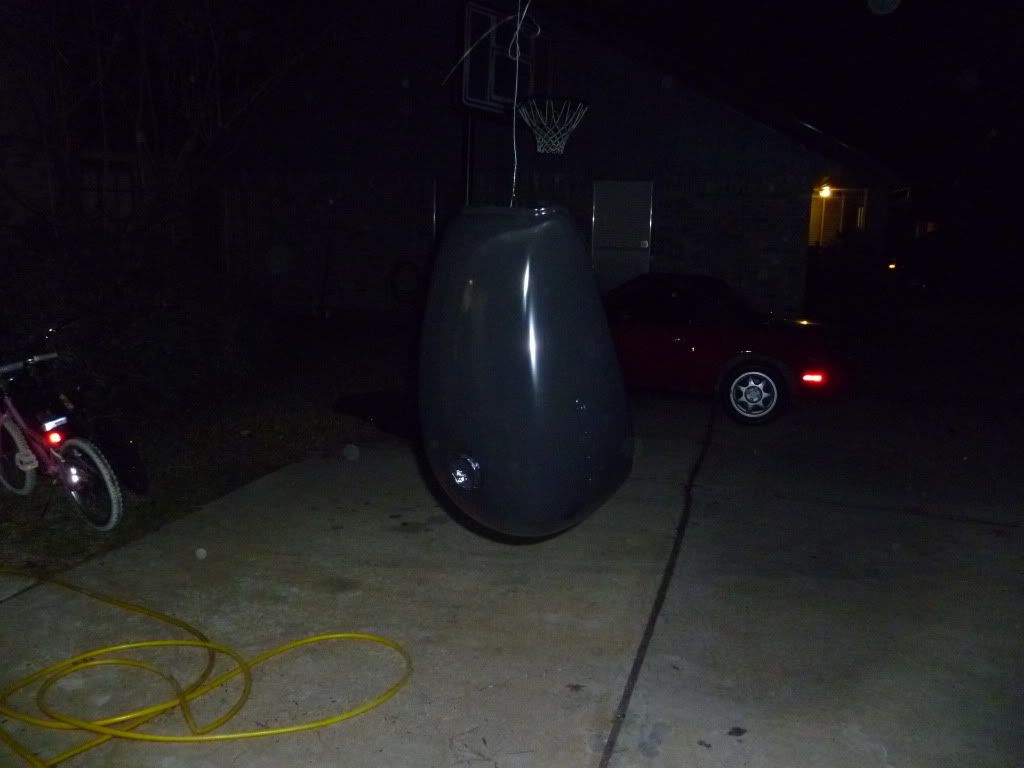
Comment
-
 Testarossa
I also got one of my parts orders in today. This one had grips, all the fuel tank seals, and the o-ring for the base of the front master cylinder. My other parts should be here Tuesday.
Now for some more body work pictures. I had a small stress crack in one side cover.
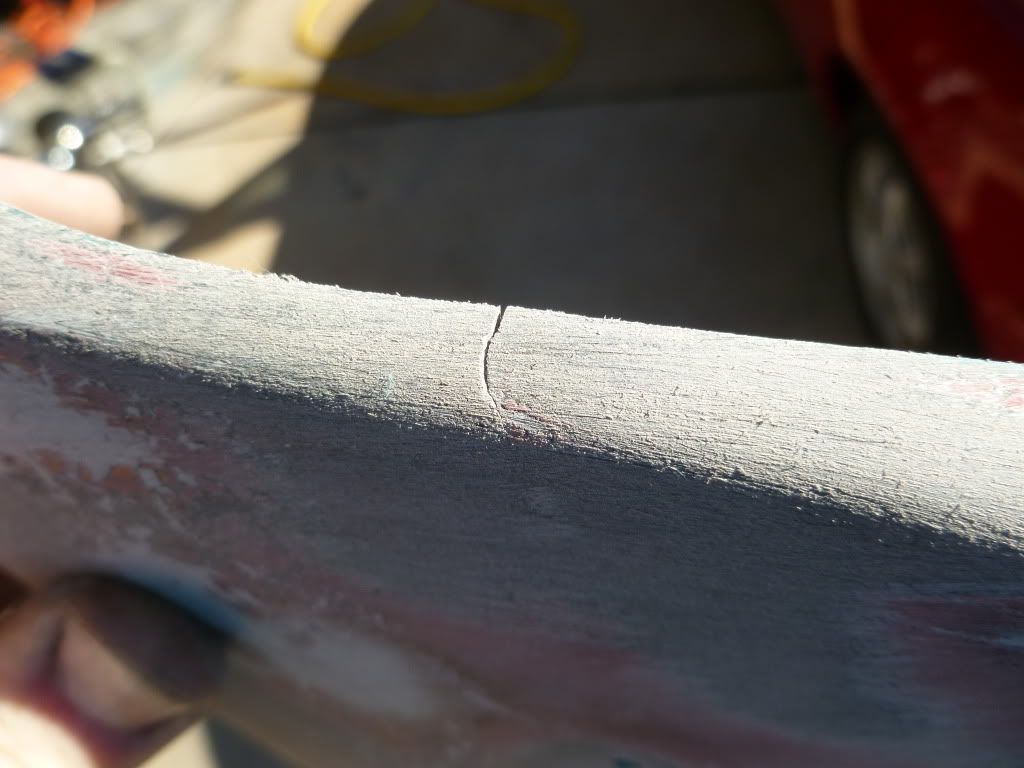
I repaired it by welding it back together with my soldering gun using a spade tip. I then added in a little additional ABS from a scrap KZ750 tail piece. This was done to fill in gaps and hopefully cover any marks from the soldering gun.
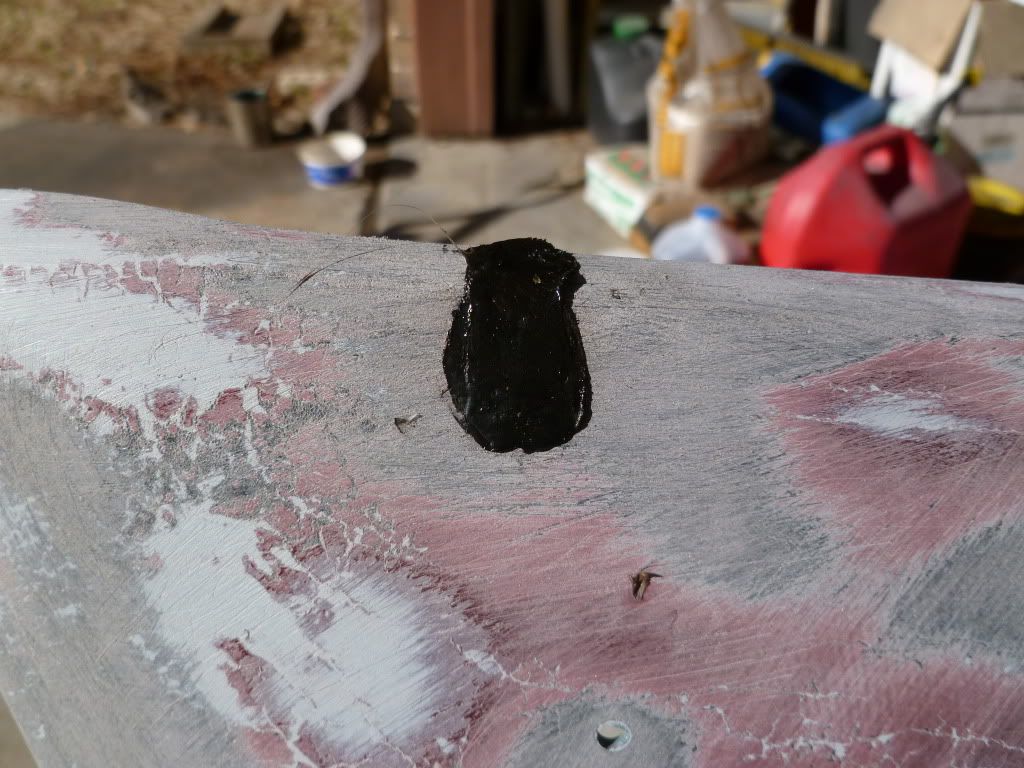
File off the excess:
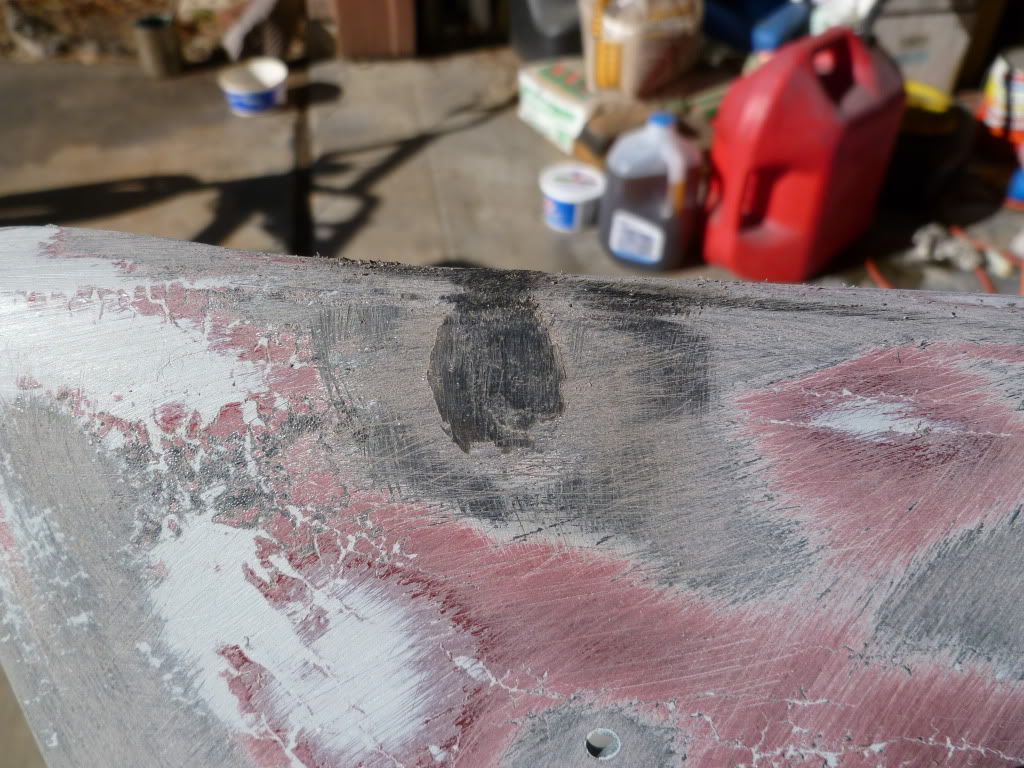
Then block sand it level with 80 grit:
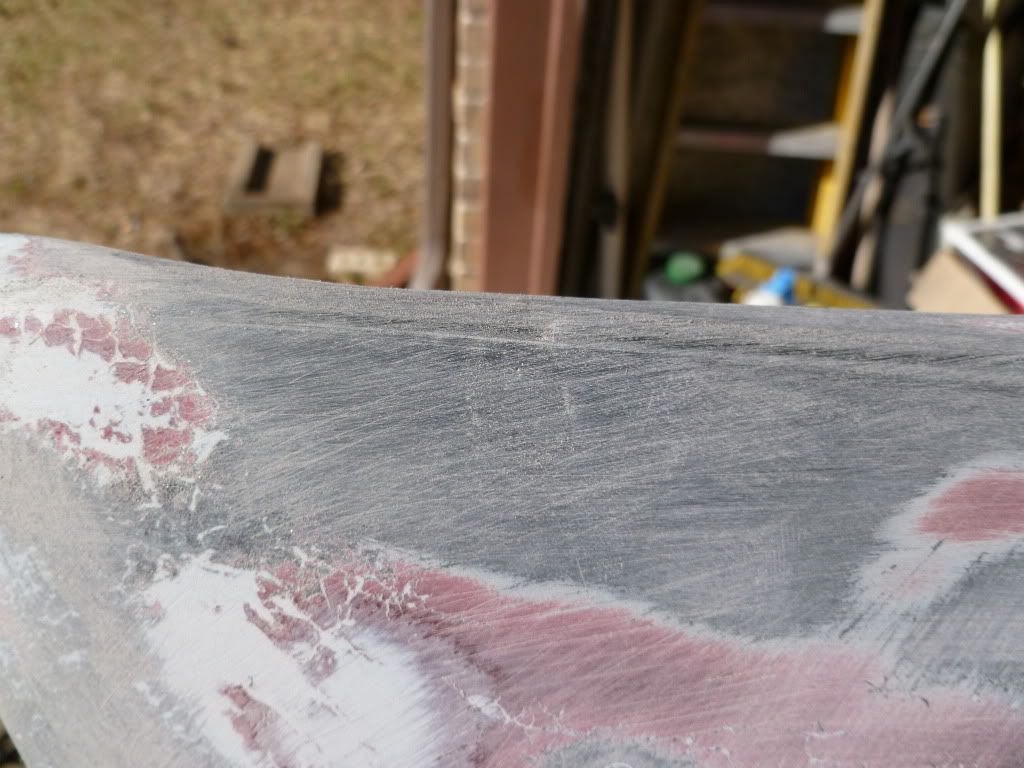
I did the same thing on the back side in hopes of making a strong repair. Any remaining evidence of my repair should be hidden under the high build primer.
Comment
-
 Testarossa
My new handlebars got here today. Here's a few pics of the new bars, and the primed body work. Sorry about the dark pictures. Hopefully the sun will come out this week and I can get a better shot. You can't really see the bars here.
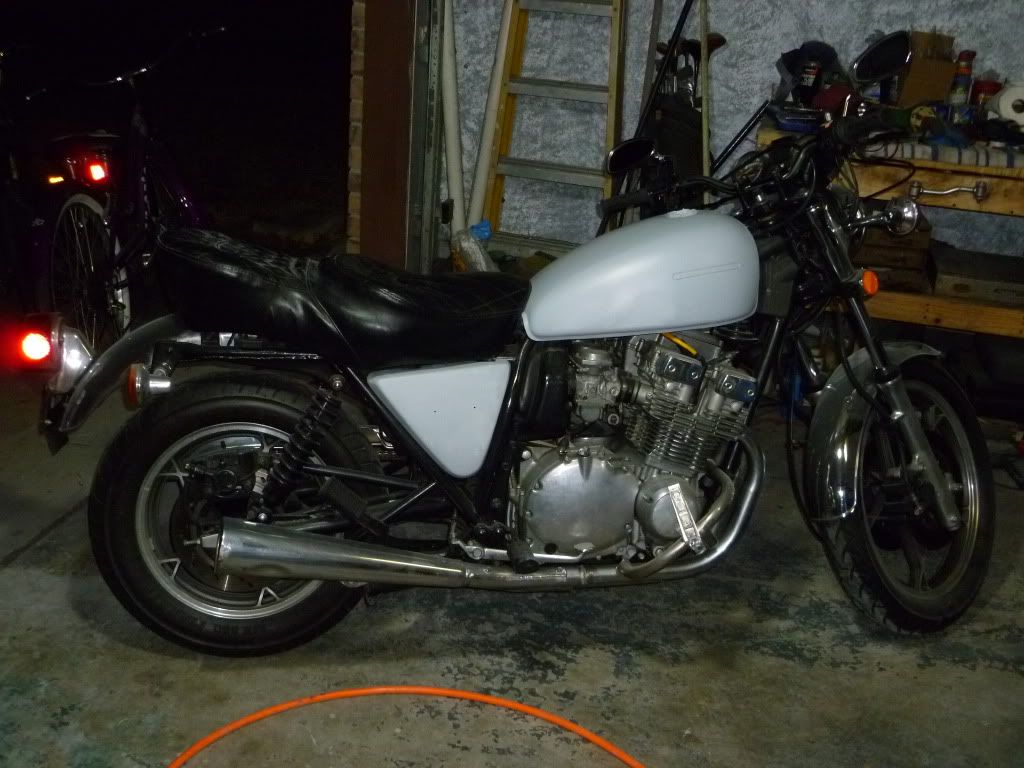
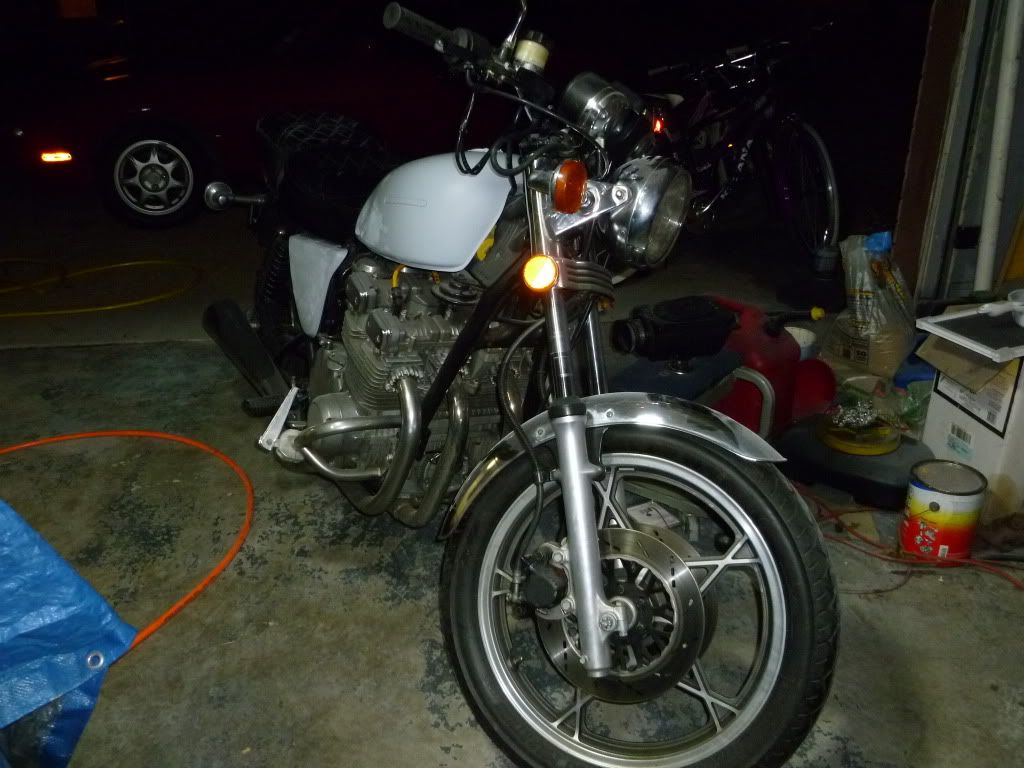
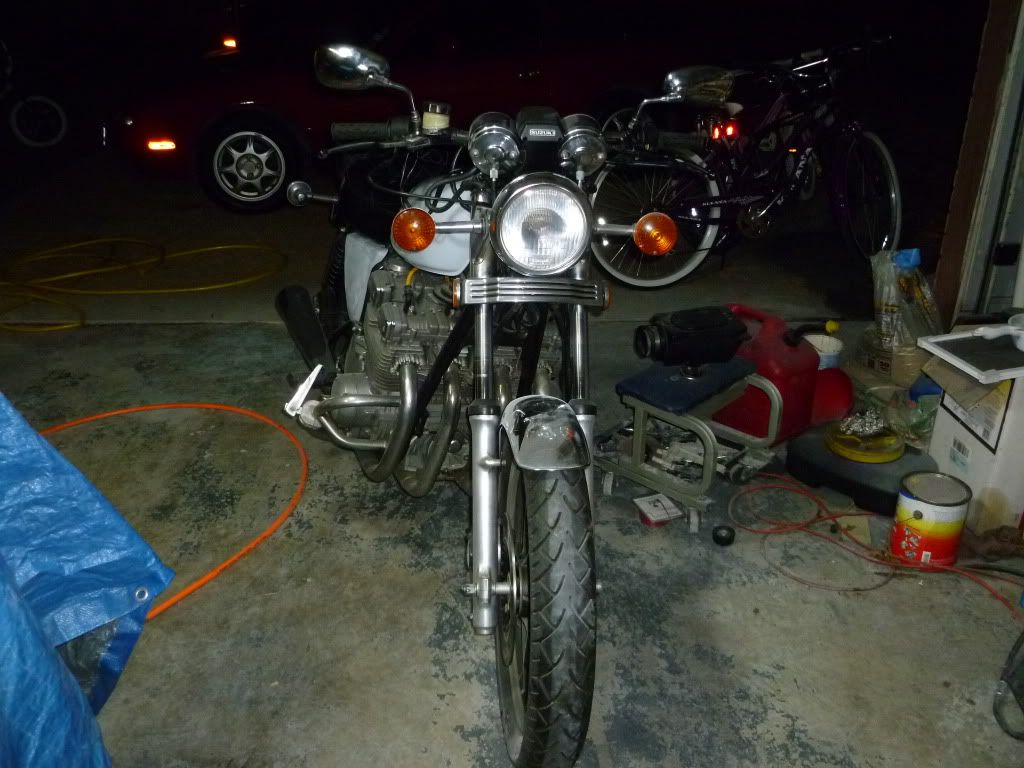
I sure wish it would warm up so I could paint.
If I were to order an E model clutch cable and brake hose, would that the correct length for the superbike bars? My L model cable and hose are quite a bit too long for use with these bars.
Comment
-
 Hoosier Daddy
Comment
-
 Testarossa
The sun came out today, so I decided to get a daylight shot or two of the bike with the new bars in place:
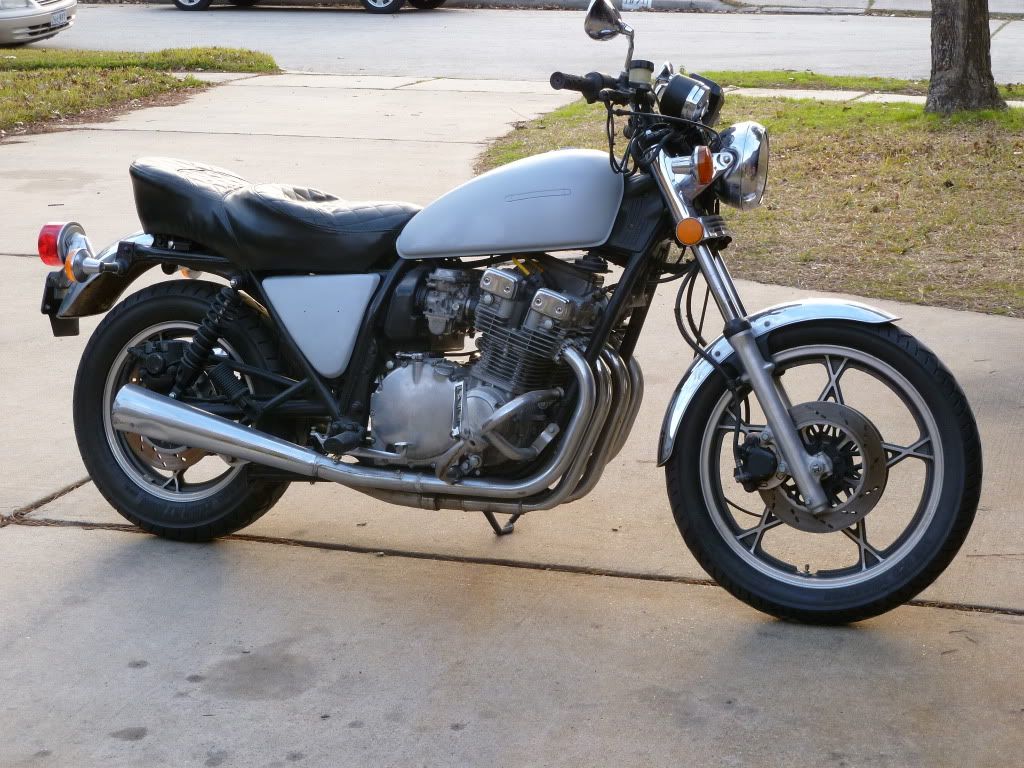
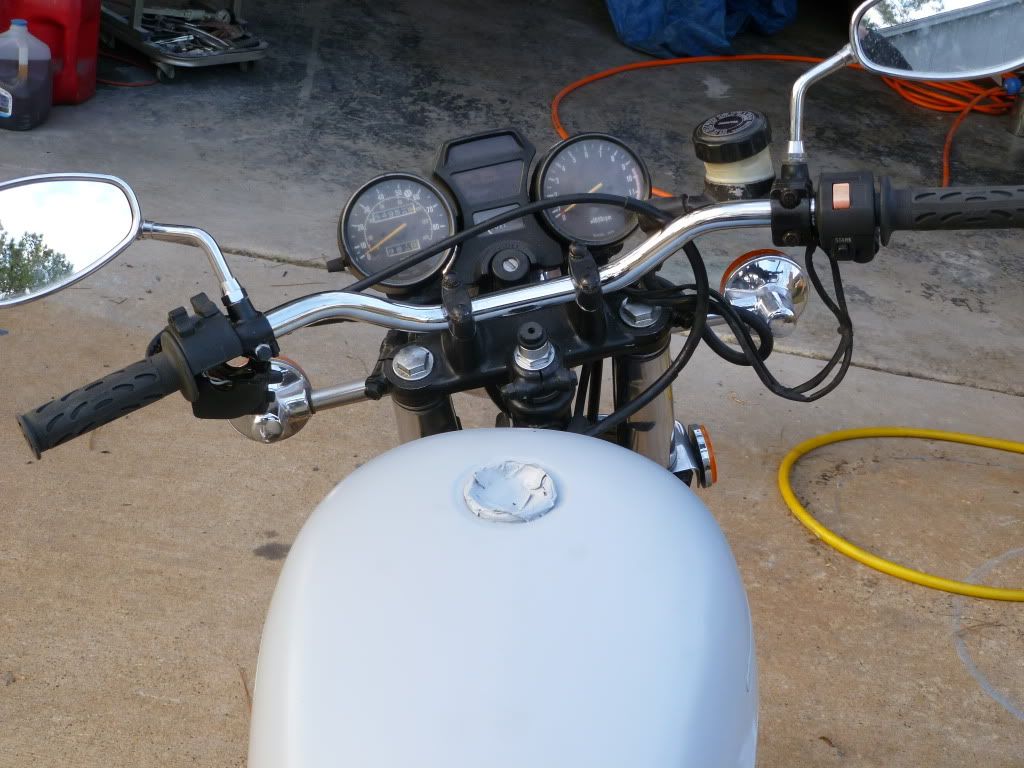
As you can more clearly see in the second photo, the clutch cable is way too long, and so is the brake line. Hopefully, someone at Z1 Enterprises will know what cable to run, I was looking at pictures of the E model bikes, and even those bars look tall compared to the superbike bars. Suggestions?
Also, I popped off the valve cover, and took a crack at adjusting the valves. Thanks mostly to BikeCliff's Website, this was really easy. Mr. Basic's PDF does a killer job of explaining what to do. I started out thinking that I already had all the tools that I needed, but after I adjusted the first valve, I realized that I needed to make the tool that Mr. Basic suggests with the wood screw. That simple tool is genius. Makes it so much easier to adjust and hold while tightening the locknut.
The PO had suggested that he had the valves adjusted with a "paper thin" clearance. Now I don't know what weight paper he was using, but normal notebook paper is usually about 0.003" and doesn't hold up to oil very well. As it happens, I was right to check it, because all the valves were too tight. I didn't spend much time checking the current clearances, but lets say that my 0.003" feeler wasn't getting in. So I set them all to 0.005" and closed her up with a new valve cover gasket.
It was also nice to verify the presence of the Dyna S that the PO claimed was installed. Sounds like the guy was pretty square with me on this deal.
Comment
-
 haggisbasher
Looking good,
I'm following the same path so I am grateful for the pics. My superbike bars arrived today. I've never painted anything so looking forward to that. I also need to figure out the best cables.
Thanks for posting
Tom
Comment
-
 Testarossa
What do you think of my new paint job? I'm going for the road warrior look.
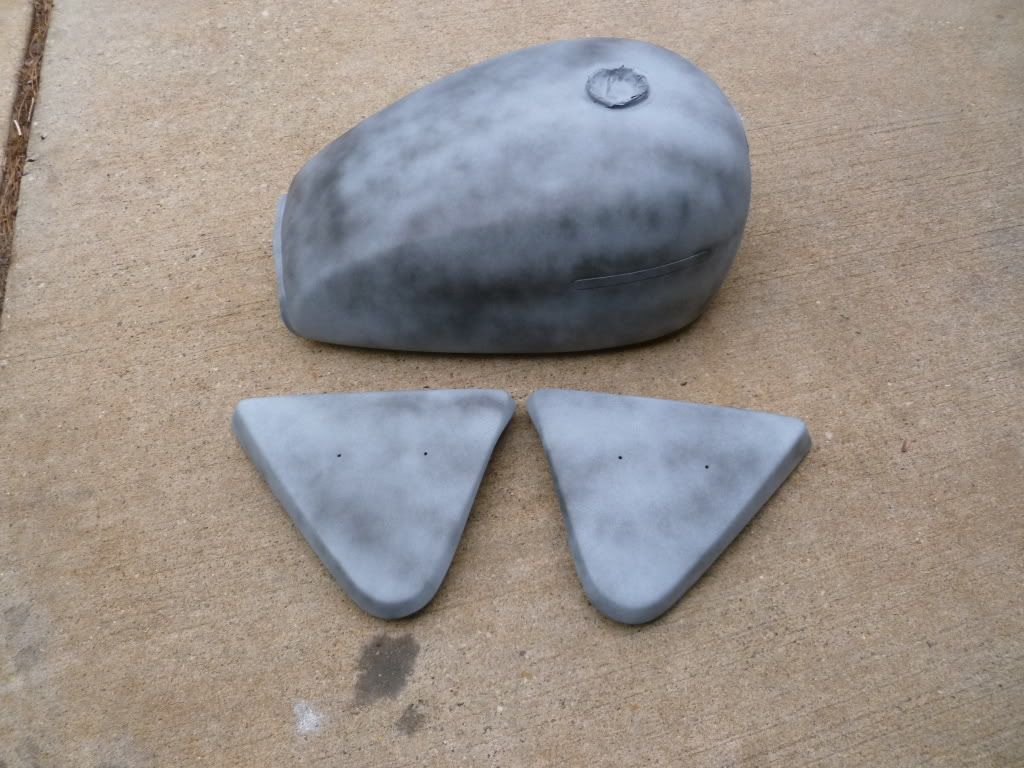
Just kidding, that's just the guide coat. For those unfamiliar with painting, a light coat of contrasting paint is dusted over the high build primer. This allows you to easily see the low spots in your part. When you sand with the block, the higher areas get sanded and the black is removed. Low areas will appear as black spots, since the sandpaper won't touch them.
So I got all three body panels block sanded today. I also got my oil changed. It smelled just like that bad gas that was in the tank.
Hopefully we'll see some warm weather in the next week, so I can shoot some paint.
Comment
-
 Testarossa
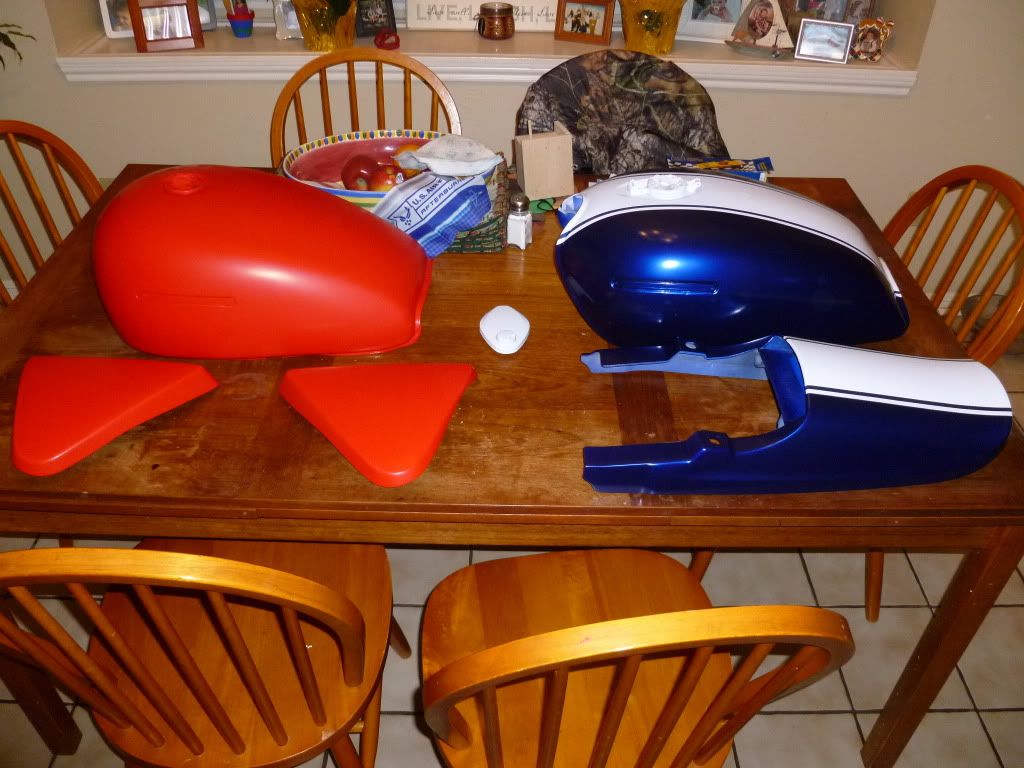
It seemed warm enough to do some painting today. I got all of my body work in base coat, and hopefully I should be able to spray some clear coat tomorrow.

Comment
-
 Hoosier Daddy
OH you LUCKY Texan!!! It was so cold here yesterday I didn't know if the paint stripper was going to even work. 10 when I woke up!
Man those tins look AWESOME. I like the fact you can swap attitudes on the bike, schizo personality change. Are you going to color sand them before the clear?
Comment
-
 Testarossa
Originally posted by Hoosier Daddy View PostOH you LUCKY Texan!!! It was so cold here yesterday I didn't know if the paint stripper was going to even work. 10 when I woke up!
Man those tins look AWESOME. I like the fact you can swap attitudes on the bike, schizo personality change. Are you going to color sand them before the clear?
I guess that I should clarify one thing. The blue and white parts are for my KZ1000. Before you ask, I did try the tank, and no it does not fit. The backbone of the frame on the KZ is significantly more narrow than the GS. I was just painting them at the same time, so I included them in the picture.
Comment
-
 Bad Kaw
Great work! Subscribed! This is what should happen to an "L" ...my opinion!
What are the plans on the seat, fenders, and other cosmetics? Any "down-the-road" plans...
...sneaky of me to draw this out of you on your own thread, huh!
Comment
.png)
Comment