I'll check 'em... I'll be looking at those item code #'s with a little more interest.
Announcement
Collapse
No announcement yet.
77 550 cafe project - couple questions.
Collapse
X
-
 DCrippa
Thanks that's a crucial tip. I didn't think to check a place with an online microfiche like part shark or http://www.babbittsonline.com/home
I'll check 'em... I'll be looking at those item code #'s with a little more interest.
-
 Hoosier Daddy
Yep, if I can't find the pinch bolt I removed from front fork for the leading axel, part # 01500-08507... I'll be going to Fastenal and buying a 8 x 50 replacement.
Now about that thread pitch... I knew I saw it somewhere!
Originally posted by mriddle View PostSuzuki uses standard metric thread pitches up through 8mm:
3mm x .5
4mm x .7
5mm X .8
6mm X 1
8mm X 1.25
When you get to 10mm fasteners, Suzuki usually uses fine pitch threads:
10mm X 1.25
12mm X 1.25Last edited by Guest; 07-17-2011, 06:58 AM.
Comment
-
 DCrippa
Thanks again. I know something like this probably is pretty obvious to you more seasoned guys - kinda like how a master mechanic can pick out the right socket in one take... instead of trying a couple or three like I sometimes do to find the right one that fits lol...
You're right - most of the bolts have been 1.25 pitch. Hope you find that one it's pretty important.
Comment
-
 DCrippa
So I finally got around to sourcing the missing bolts... it may seem pretty obvious and easy to you guys but it was pretty frustrating and a real pain in the ass. Numerous trips to various hardware stores... lists with caliper readings and then figuring out the pitch.
I finally got around to hammering out the tank - didn't get to snap a pic but will update soon with some... put the knee dents in on it and flattened the welded seam - just need to remove the paint off it now. It's nice to make decisions and finally move forward... I've decided on a paint scheme - basically it'll be the stripped metal tank clear coated with the same lines that were on the stock tank - I got an airtech seat (ducati 750) will take quite a bit of modification to get that to work... so that's the next step aside from getting the bugger running. I'll have to find a gun metal gray paint to match the look of the exposed metal tank.
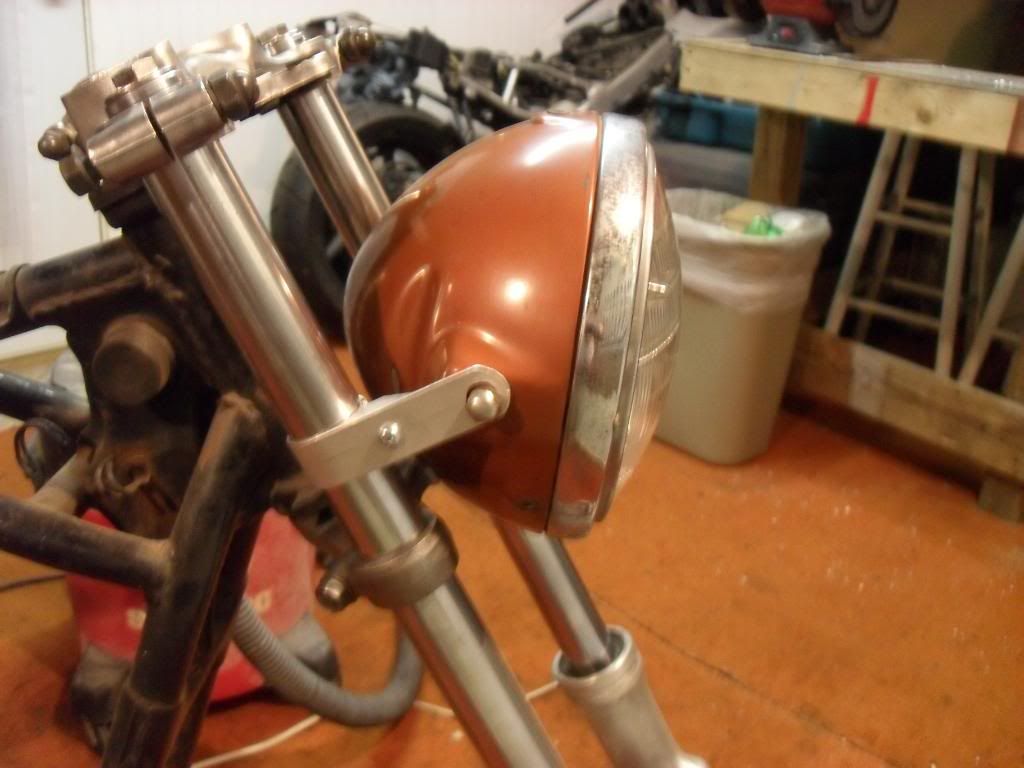
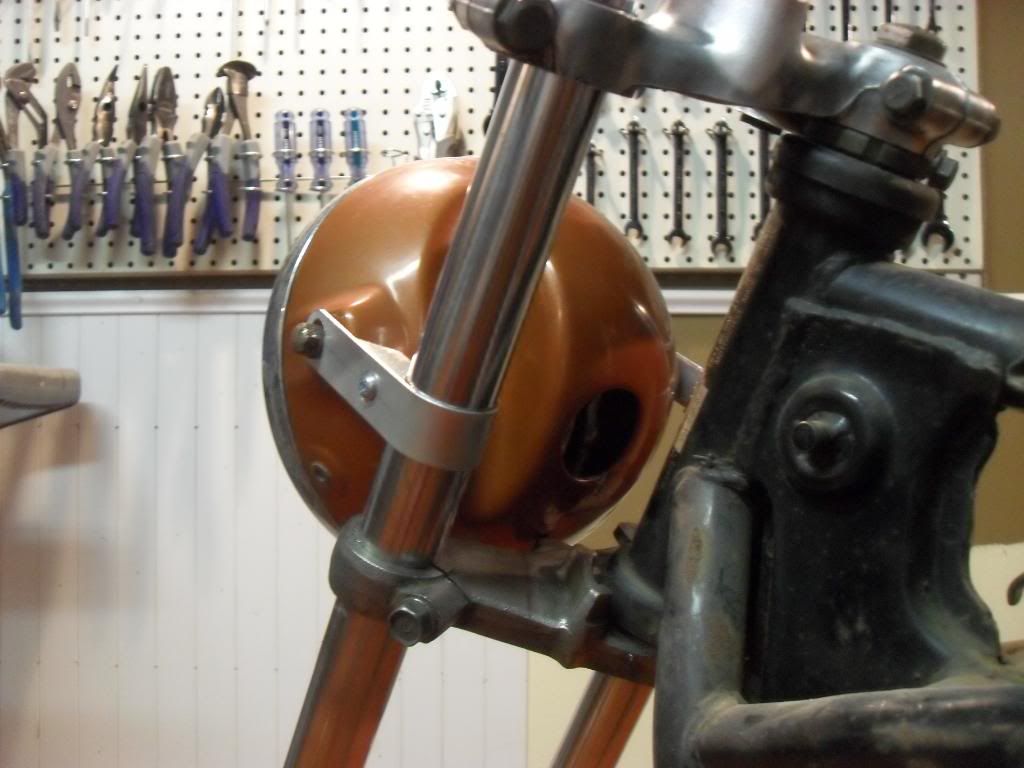
Due to clip ons - the stock headlight mounts don't work - so I've been trying to make some steel straps work - they've been really hard to bend - it's not quite at the circumference needed but I think if I wrap rubber or leather around the fork tube to make up the difference I'll be able to bolt it on.
I bent the stock guages so that they lay flat and give it a sleeker look - wiring it will be difficult as I'm trying to make sense of the wire harness.
Overall I think it'll look good once I get her together. Still have to make the electrics tray that I'm going to hide under the seat leaving the engine bay / pods with an open look. Would also love to get some rear sets eventually...Last edited by Guest; 08-03-2011, 11:26 AM.
Comment
-
 ChicagoBob
Cheap cafe headlight ears
I use the $15 steel headlight ears available from Mike's XS and others. Available in chrome or black. Also, be careful not to bend the gauge cables too much by tipping the clocks back. I tried it and had a little wobble in the needles.
I have run Tarozzi clip-ons on my '78 550, and they don't hit the tank if you don't angle them back too far.Last edited by Guest; 01-11-2012, 11:49 AM.
Comment
-
I know I'm a bit late on this one but a quick ebay search found this. Don't know anything about the seller or the product.
I did however buy an awesome bolt kit from an ebay seller(cant remember the name) for my 78 1k. All the parts were separated in individual bags labeled with which part they went. It was a no brain'r(good for me).
For your issue with the headlight mounting.. I have heard of guys using PVC pipe as spacers on the forks for easier mounting. Just cut to size and slip it on your forks between the upper and lower tree. Paint it black of course or it'll look kinda odd.
sigpic
82 GS850
78 GS1000
04 HD Fatboy
...............................____
.................________-|___\____
..;.;;.:;:;.,;.|__(O)___|____/_(O)|
Comment
-
 DCrippa
Thanks!
Hopefully I'll come across $15 for the ears... but in keeping it to the as cheap as possible theme I made the ears from the straps and will try the pvc tip may just do the trick... or maybe cut up some old rubber off an old tire and wrap that around the tube to make up the difference.Last edited by Guest; 08-04-2011, 10:46 AM.
Comment
-
 Hoosier Daddy
These home made headlight ears are from "tWistedWheelz" over on Dothetone.com, didn't link to the thread because I don't know if you have to be registered to view it... hope this works!
[quote author=tWistedWheelz link=topic=6496.msg129207#msg129207 date=1266504595]
Less than $10 headlight ears!
Well it may cost you a little more, but you will have left over material!
Supplies:
1 Aluminum C Channel (see photos)
2 nuts
2 bolts/screws
1 cereal box
Tools:
Hacksaw
benchgrinder/file set
drill/drill bits
razor knife
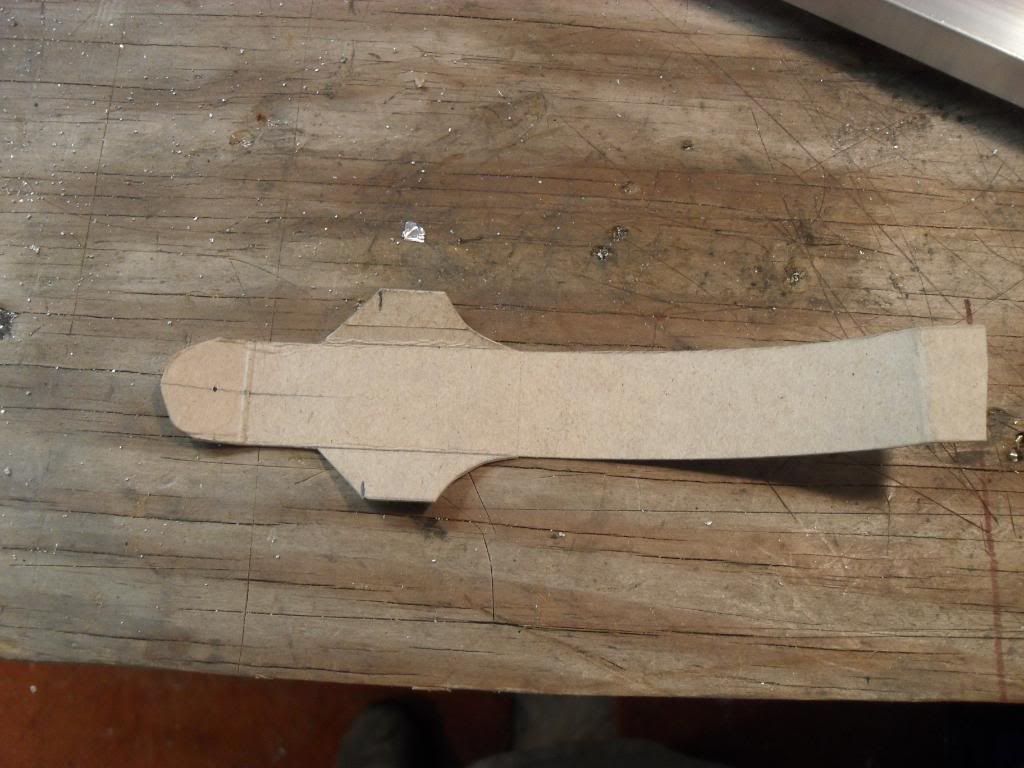
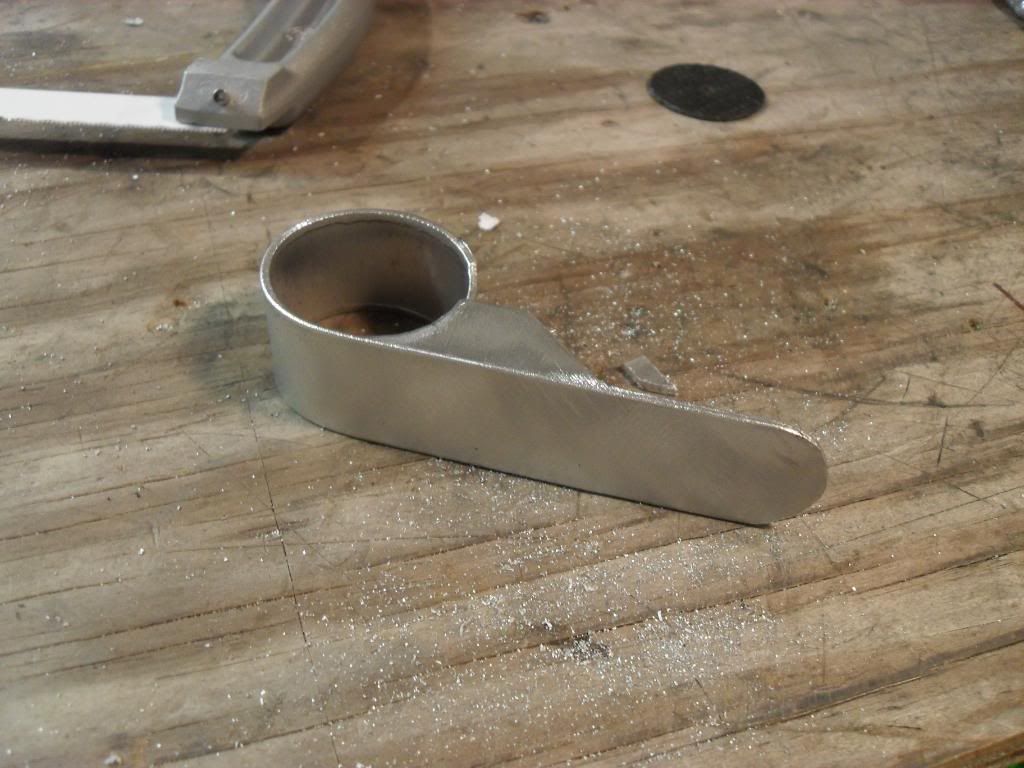
1) using the cereal box cut you basic template shape
2) test fit it to the forks and headlight
3) transpose template to C channel
4) Cut away undesired material with hacksaw
5) clean up the cuts with the grinder or files
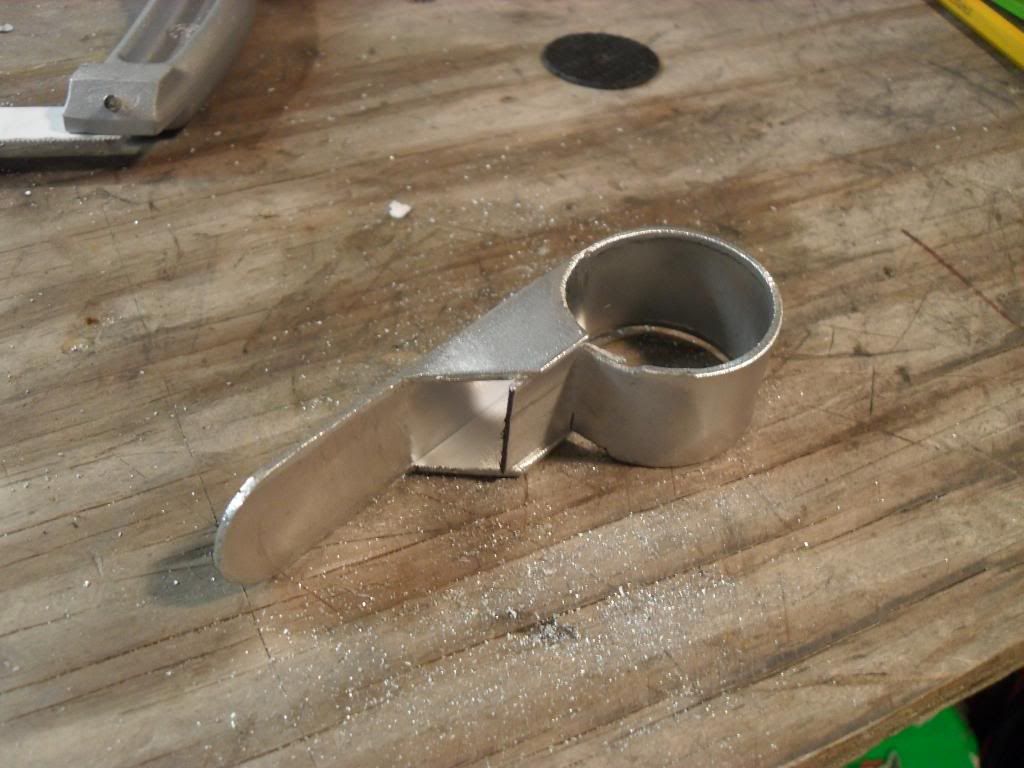
6) bend your mounting tab out 90 degrees away from the C channel
7) clamp the bracket to the fork tube with a clamp and force the long end around the tube by hand until mounting tab comes all the way around
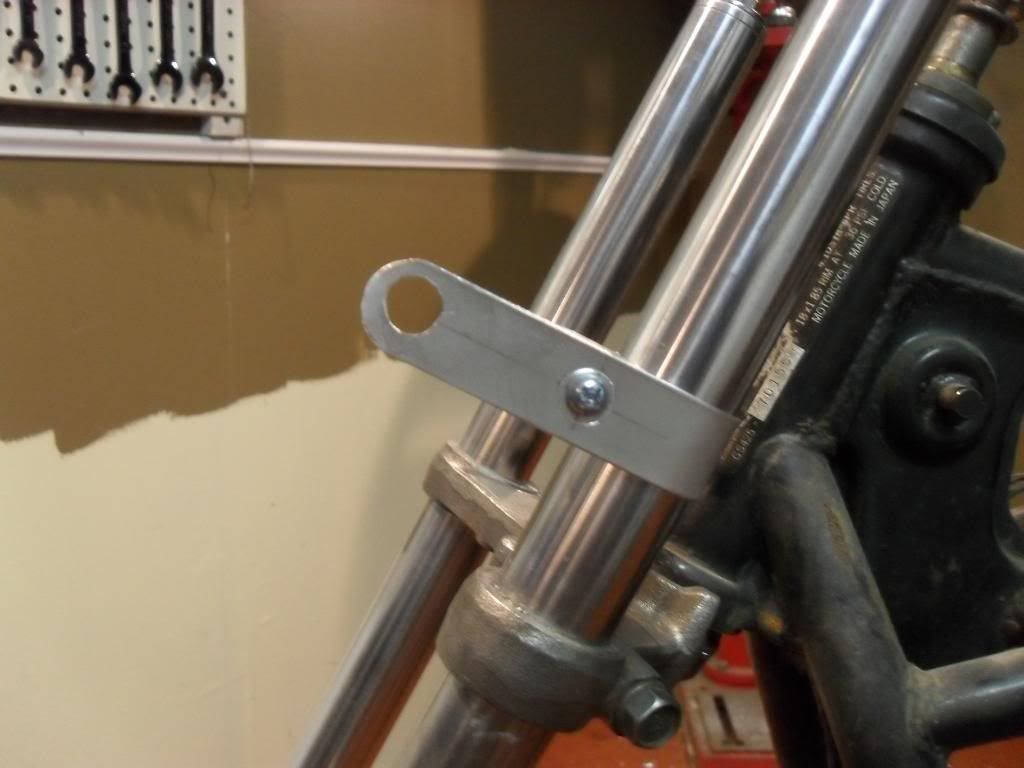
8) drill holes for securing screw and headlight mount
9) mount and RIDE!
C channel purchased from Lowes for like $8 total!
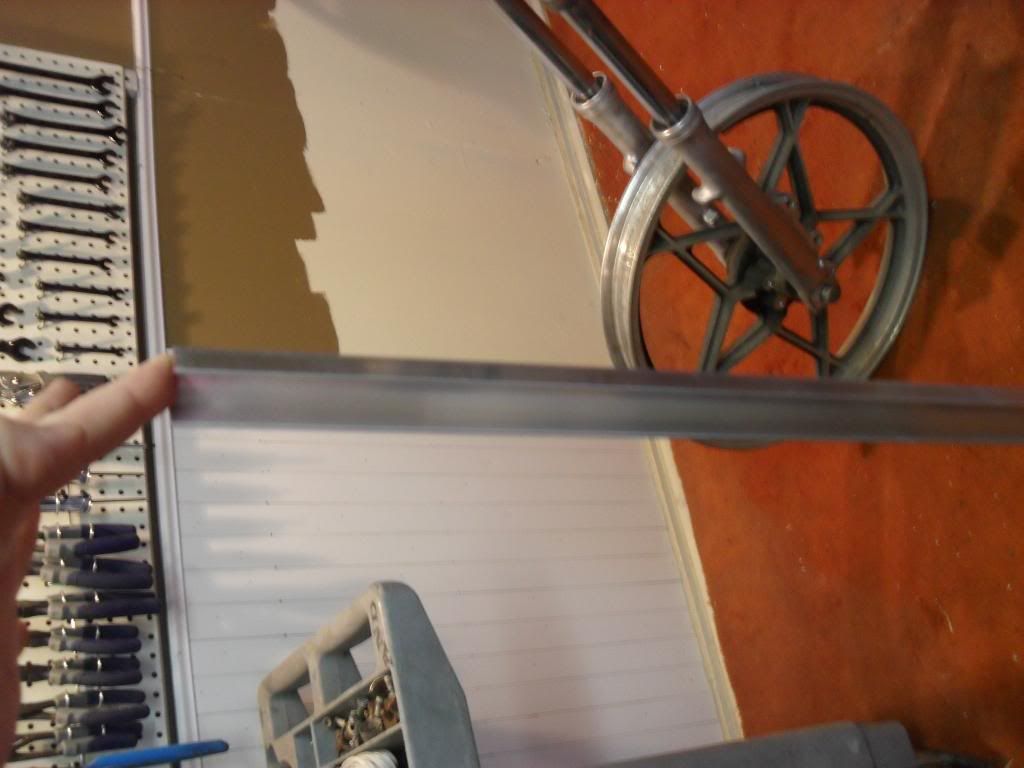
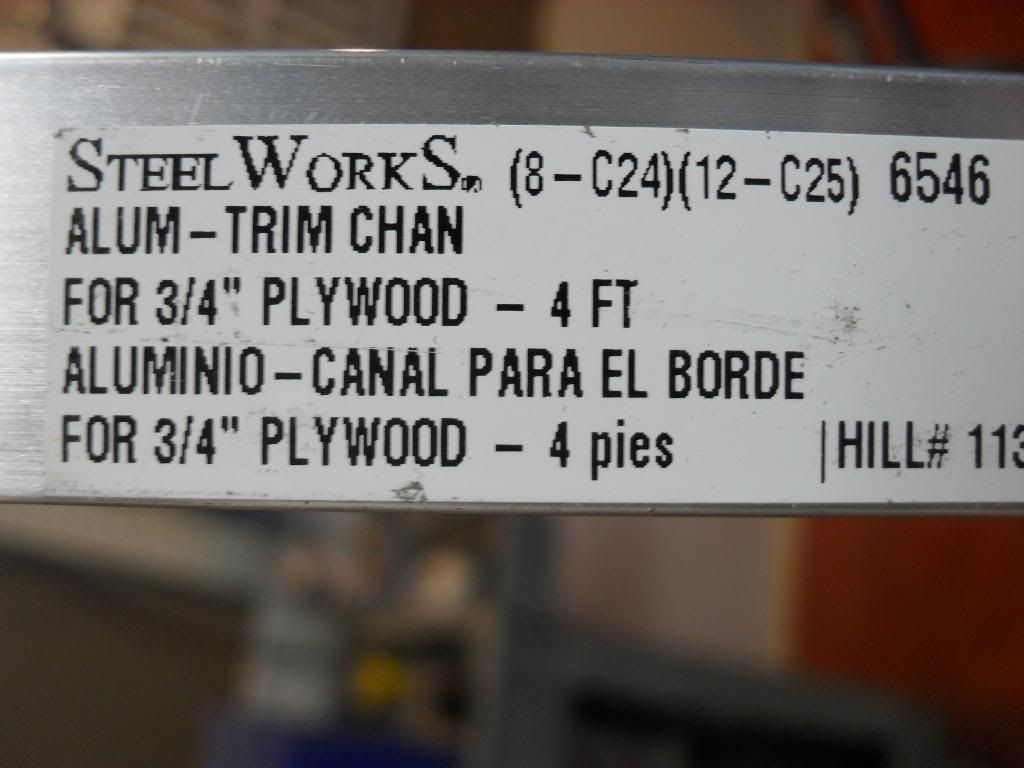
Template
After cut and bent
Drilled and on
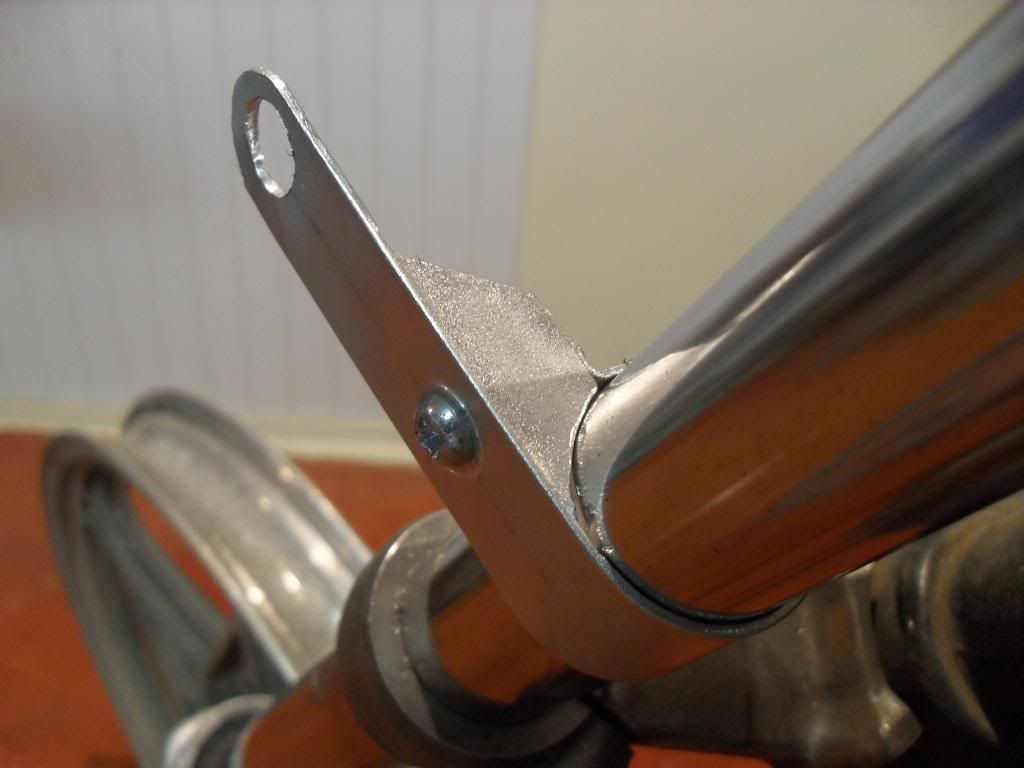
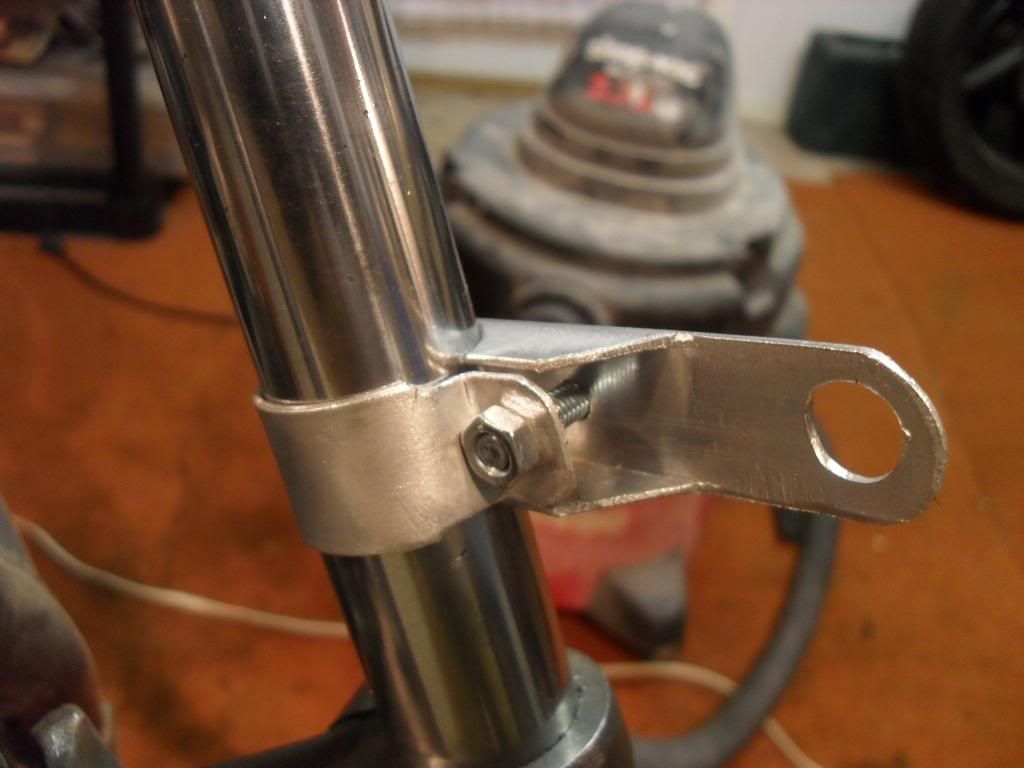
DONE! they will require a little more cleaning up and some finish work, but you get it!
I will be replacing the screw with a button socket head bolt on my build, it looks better than the screw.
Cheap and fairly easy!
I hope it helps some of you out there!
BUILT NOT BOUGHT!
[/quote]Last edited by Guest; 08-04-2011, 12:16 PM.
Comment
-
 ChicagoBob
PVC pipe would be good, if the clip-ons didn't interfere, and you could use PVC glue to attach some PVC plate, which you could carve into some cool custom headlight ears or turn signal mounts, then paint.
Comment
-
 DCrippa
Thanks for the ideas guys - Hoosier-D that is a lot cleaner than what I got going on... Was tinkering for a bit today here's where it's at... but after seeing your suggestion I may seek those materials out and give it a shot if this doesn't hold.


Hammered out the tank a bit... thinking of doing wells by where the clip ons come near the tank - top left of the picture.

little blurry

Comment
-
 DCrippa
So as you can see I need help with the wire harness.
What do the two big white connectors at the top left of the ebay pic connect to? ...
I've sorted out the RR and ignition - but the rest of the wires coming from the handle bars have me scratching my head as to where they are supposed to connect... and I do not see any matching connectors for the two big white ones next to the battery box in the picture in the link above...
What originally connected to that as I don't see similar ends from any of the wiring in the front of the bike.
I do have a manual / wire diagram and have checked out the links in basscliff's site including the simplified diagrams - but it hasn't helped much with the physical lay out of the harness... pics as to how things are located would help immensely I can't seem to locate where they're supposed to live on the frame...
The left handle switch has a bunch of bullet style crimps on it done by the PO - what should they attach to? I also don't see the corresponding plugs for the guages and am starting to think I should look for another harness.
Any help or advice would be appreciated - I bought spade connectors and some wire - not against rewiring new dedicated runs if need be and crimp or soldering ends.Last edited by Guest; 08-09-2011, 02:45 PM.
Comment
-
 Hoosier Daddy
I checked the harness on my '80 750 project. (I know, apples to oranges) I have it labled "hand controls". It is to be located under the fuel tank, to the right of the center backbone of the frame... HTH
Comment
-
 DCrippa
Thank you that really helps a lot. I figured it was most likely the gauges / hand controls... mine has two blocks like that... and currently I have it backwards - as that piece is currently dangling down by my rear tire...
Given that the PO put bullet ends on thet left control end I'll have to either cut off that block and put a bunch of bullet ends to match what the PO did - or find the complimentary block connector for the other end and cut off all the bullet connectors the PO did. Is this a common block connector that could be found at autozone and the like?
Comment
-
 DCrippa
So I still have to find time to finish the electrical... and last night I started a mock up out of cardboard for the electric tray which will go under the seat. I also got around to pulling off the points cover - only to discover the bike was powered by Beehive technology!
luckily I do have the points laying around in a parts box but it seems I'm missing the cam lobe that triggers the points - any one know where to get that? If not I may be looking at going Dynatek S but that's $130 I don't have right now....
(I now have the points cam) will be using points till I can afford upgrade to dyna-s

Here's a few mock up shots with the airtech seat... gotta make a seat pan too..


I was able to turn the engine - by hand and the valves move... but the kick start doesn't turn it... just clicks... so I'm going to have to split open the case to see what's going on with that... any ideas? it just makes a clicking sound on the way back up after I push it...Last edited by Guest; 02-06-2012, 10:57 PM.
Comment
.png)

Comment