Announcement

Collapse
No announcement yet.

1980 GS1000S Progress!!

Collapse
X
 
  • Filter
  • Time
  • Show
Clear All
new posts

    #46
    Originally posted by Vmass View Post
    Actually......those are the original brake lines. I have not selected a supplier of new lines. I am hoping to find some NOS ones before spring rolls around.
    The problem with NOS rubber parts is that they are new-OLD-stock. Some rubber parts are less critical than others, but brake lines are fairly critical.

    Look into satinless steel braided lines, they have them available in black and you can specify the finish on the hardware to replicate the stock hardware. The end product will look just like stock lines, but be 100% better and more reliable.

    I think Suzuki reccomends that stock brake lines be replaced every 2 or 3 years? Does that sound right?

    Comment


      #47
      Originally posted by kawfeedave View Post
      The problem with NOS rubber parts is that they are new-OLD-stock. Some rubber parts are less critical than others, but brake lines are fairly critical.

      Look into satinless steel braided lines, they have them available in black and you can specify the finish on the hardware to replicate the stock hardware. The end product will look just like stock lines, but be 100% better and more reliable.

      I think Suzuki reccomends that stock brake lines be replaced every 2 or 3 years? Does that sound right?

      I've never seen a stainless line that looks like a rubber line. The rubber lines are typically much larger in diameter. Can you please provide a link so I can check out the lines you reference?
      Ed

      To measure is to know.

      Mikuni O-ring Kits For Sale...https://www.thegsresources.com/_foru...ts#post1703182

      Top Newbie Mistakes thread...http://www.thegsresources.com/_forum...d.php?t=171846

      Carb rebuild tutorial...https://gsarchive.bwringer.com/mtsac...d_Tutorial.pdf

      KZ750E Rebuild Thread...http://www.thegsresources.com/_forum...0-Resurrection

      Comment


        #48
        Originally posted by Nessism View Post
        I've never seen a stainless line that looks like a rubber line. The rubber lines are typically much larger in diameter. Can you please provide a link so I can check out the lines you reference?
        They may not look exactly like the originals, but the black lines don't stand out nearly as much as the regular ones.

        You can see one example HERE.
        ("Zoom" the photo for a better look.)

        .
        sigpic
        mine: 2000 Honda GoldWing GL1500SE and 1980 GS850G'K' "Junior"
        hers: 1982 GS850GL - "Angel" and 1969 Suzuki T250 Scrambler
        #1 son: 1986 Yamaha Venture Royale 1300 and 1982 GS650GL "Rat Bagger"
        #2 son: 1980 GS1000G
        Family Portrait
        Siblings and Spouses
        Mom's first ride
        Want a copy of my valve adjust spreadsheet for your 2-valve per cylinder engine? Send me an e-mail request (not a PM)
        (Click on my username in the upper-left corner for e-mail info.)

        Comment


          #49
          Originally posted by Nessism View Post
          I've never seen a stainless line that looks like a rubber line. The rubber lines are typically much larger in diameter. Can you please provide a link so I can check out the lines you reference?
          That's all I've seen for SS lines as well - a lot thinner. There are one or two places you can still get the rubber hoses identical to OEM (more expensive than SS so for show bikes only I suppose).
          79 GS1000S
          79 GS1000S (another one)
          80 GSX750
          80 GS550
          80 CB650 cafe racer
          75 PC50 - the one with OHV and pedals...
          75 TS100 - being ridden (suicidally) by my father

          Comment


            #50
            Originally posted by hampshirehog View Post
            That's all I've seen for SS lines as well - a lot thinner. There are one or two places you can still get the rubber hoses identical to OEM (more expensive than SS so for show bikes only I suppose).
            I just ordered the two front lowers from my local dealer, I have to imagine they will NOT be NOS. If the date code says "79", I will send them back.

            The upper line is discontinued, but I will find it.

            Comment


              #51
              I just picked up the two lower front brake lines, available at the dealer.

              Date code 8/11

              Comment


                #52
                Seat Cover From Pit Replica

                Although I cannot give an actual review of the seat cover, due to the fact that I am still waiting for it to arrive from Bangkok, pictures of the seat cover can be seen on Ebay at the link below.

                I compared it to some pictures I took of mine, prior to sending it to them.

                It looks like it is close. I will follow up with some pictures of the cover when I receive it.

                Find many great new & used options and get the best deals for SUZUKI GS1000ST GS1000 ST 1980 (USA) STEPPED SEAT COVER [STLA] at the best online prices at eBay! Free shipping for many products!

                Comment


                  #53
                  Cover looks good. I paid $165 locally to have one made.
                  Ed

                  To measure is to know.

                  Mikuni O-ring Kits For Sale...https://www.thegsresources.com/_foru...ts#post1703182

                  Top Newbie Mistakes thread...http://www.thegsresources.com/_forum...d.php?t=171846

                  Carb rebuild tutorial...https://gsarchive.bwringer.com/mtsac...d_Tutorial.pdf

                  KZ750E Rebuild Thread...http://www.thegsresources.com/_forum...0-Resurrection

                  Comment


                    #54
                    Steve stopped by!

                    Steve was kind enough to swing by my place this weekend to give me a hand.

                    During his visit we (mostly he):

                    1) Checked valve clearance and adjusted, as needed. This also took care of the leaky valve cover gasket and cam caps.

                    2) Put the 4 in to 1 back on.

                    3) Synced the carbs.

                    4) Pulled the clutch basket and inspected, replaced springs and snugged everything up.

                    5) Adjusted clutch cable.

                    6) Replaced choke cable.

                    What a great learning experience.....Steve gave me lots of good tips for my upcoming tasks.

                    Thanks Steve, it was much appreciated and a pleasure!!

                    Comment


                      #55
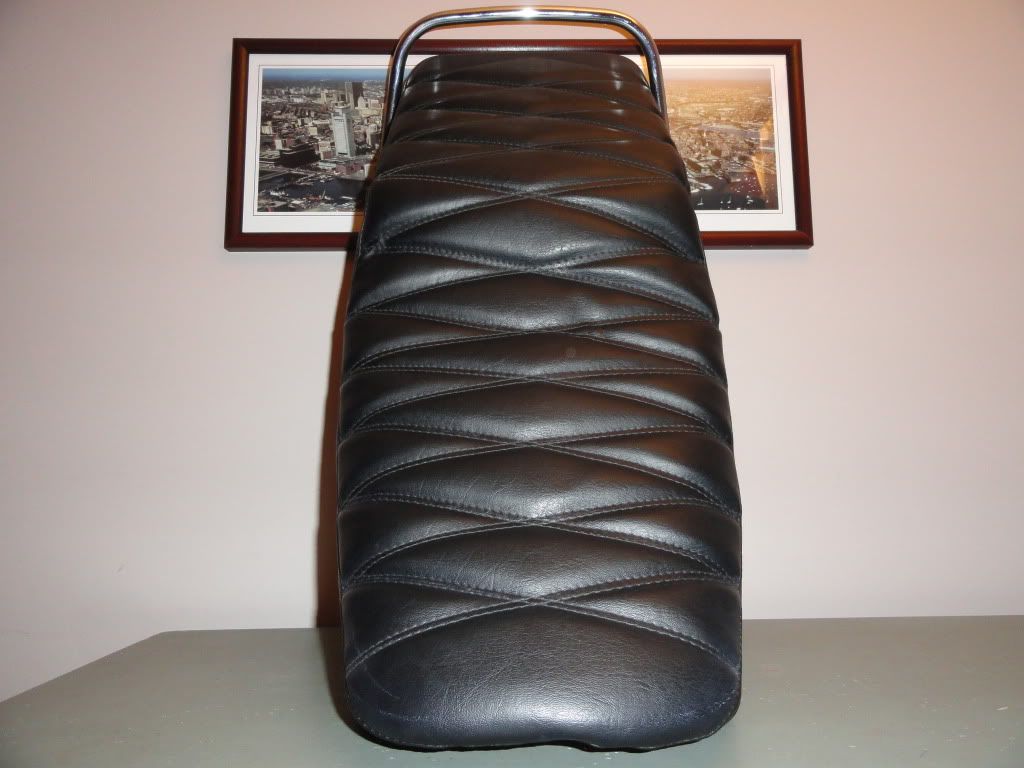
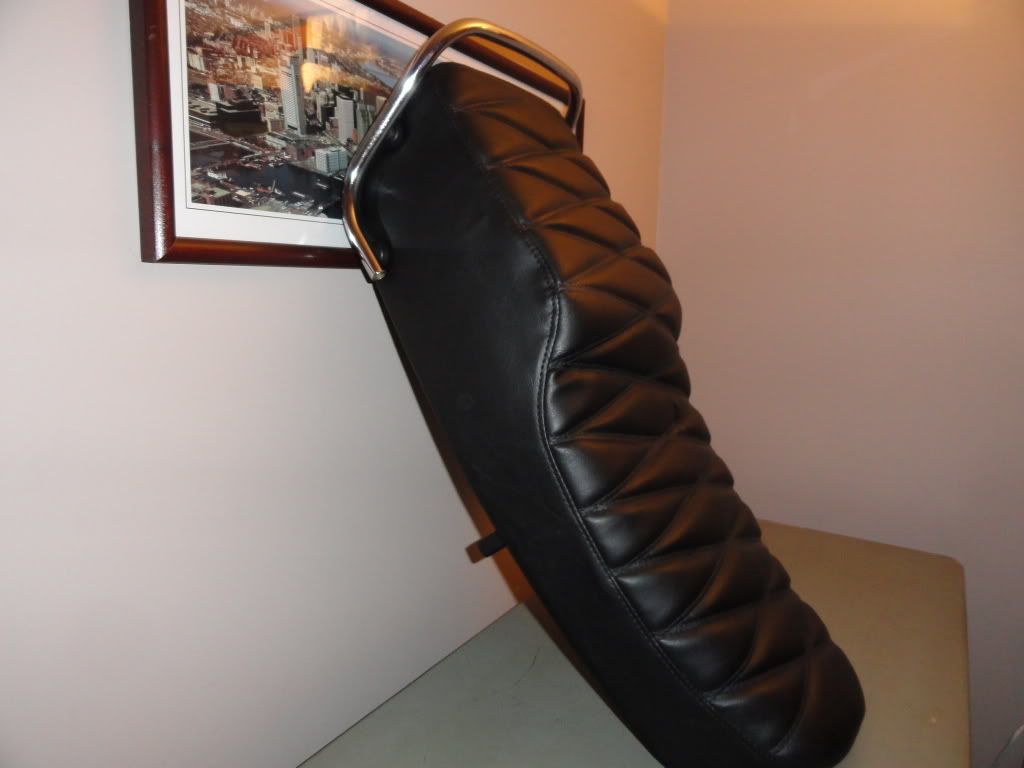
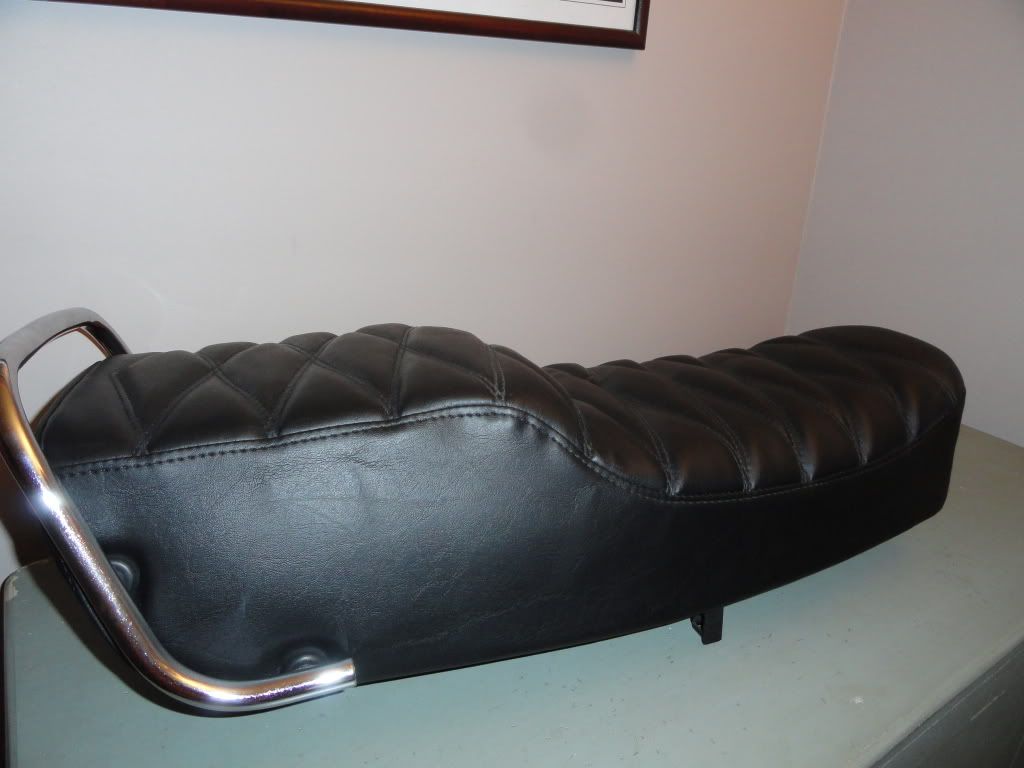
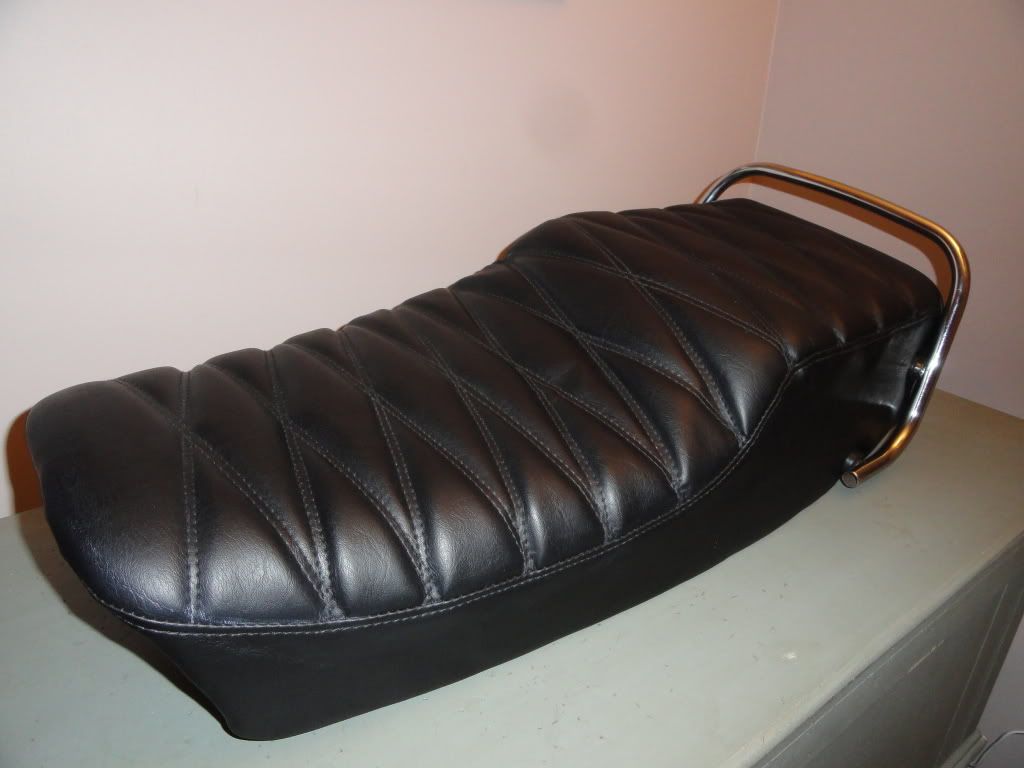
                      Pit Replica Seat Cover Installed

                      Here are some pics of the Pit Replica seat cover. Installation is not too difficult. I am not sure what the best location is for bending the hooks, prior to starting. I opted to have them facing straight towards the center of the bike. Keeping them pointed down slightly may also be a viable option.

                      The material bunched up a little in the front corners. I suspect it will be a little battle when I go to put the plastic base back on.

                      The quality of the seat cover is very good and the look is as close as I think you can get. Once on the bike, it is unlikely it will get any negative attention, even from the purest S fan!

                      I may tweak it a little bit as time goes on, maybe a little pull here and there will be in order.

                      Overall, I think Pit Replica did a great job.


                      Last edited by Vmass; 11-14-2011, 09:14 PM. Reason: Adding Pictures

                      Comment


                        #56
                        Wow, that cover looks good. Does it feel as thick as the original cover?
                        Ed

                        To measure is to know.

                        Mikuni O-ring Kits For Sale...https://www.thegsresources.com/_foru...ts#post1703182

                        Top Newbie Mistakes thread...http://www.thegsresources.com/_forum...d.php?t=171846

                        Carb rebuild tutorial...https://gsarchive.bwringer.com/mtsac...d_Tutorial.pdf

                        KZ750E Rebuild Thread...http://www.thegsresources.com/_forum...0-Resurrection

                        Comment


                          #57
                          Every bit as thick. They did a great job backing it with foam and stitching it in. I should have taken a picture of it before installing it.

                          However, they do show the back side in their Ebay listing.

                          Comment


                            #58
                            That looks STUNNING!!!!! WTG!!!

                            Daniel

                            Comment


                              #59
                              Wow, that seat is gorgeous, you can be proud to put that on your bike.
                              If my, new to me seat does not clean up to scratch, I will definately get me one of them from Pit Replica.
                              Yeah you lot have a God send in Steve, your own field service tech with a passion, good man that.

                              Comment


                                #60
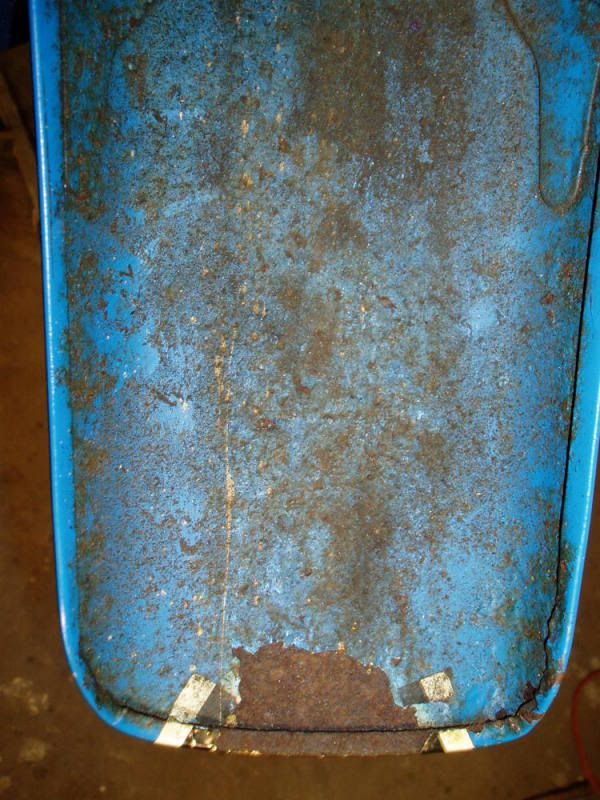
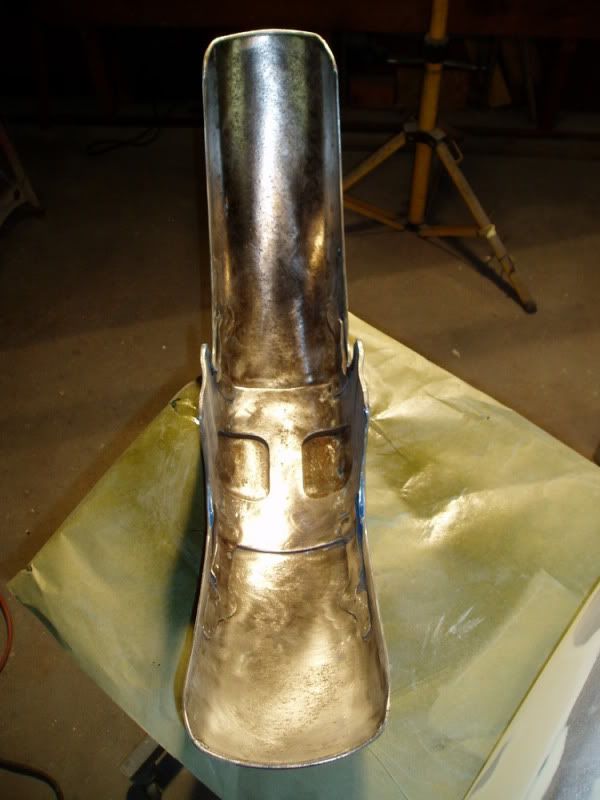
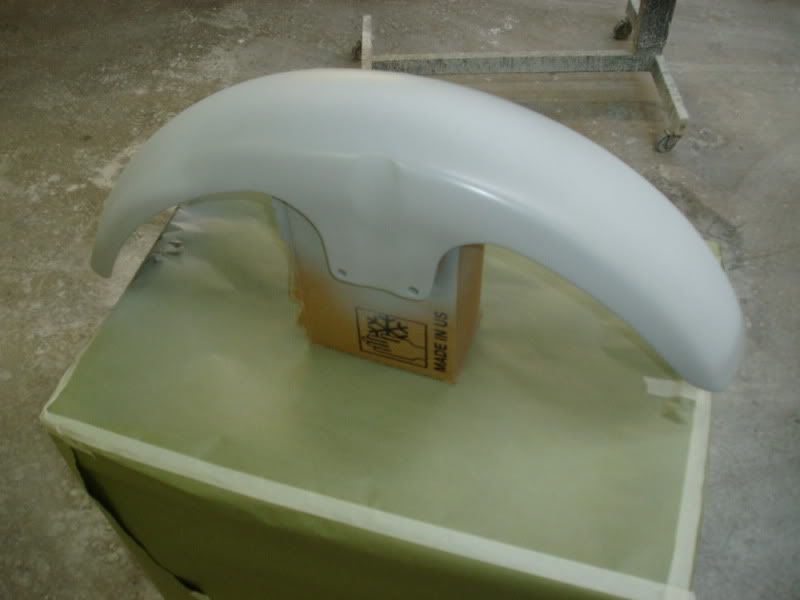
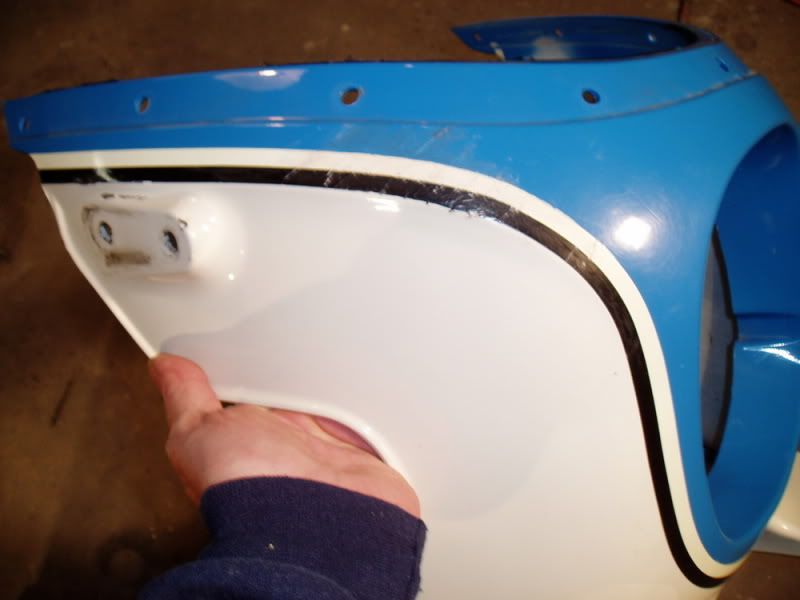
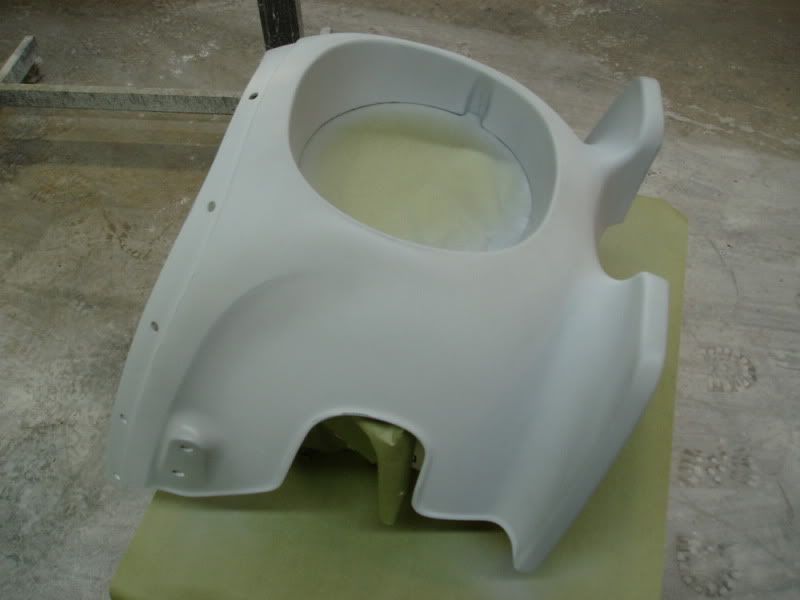
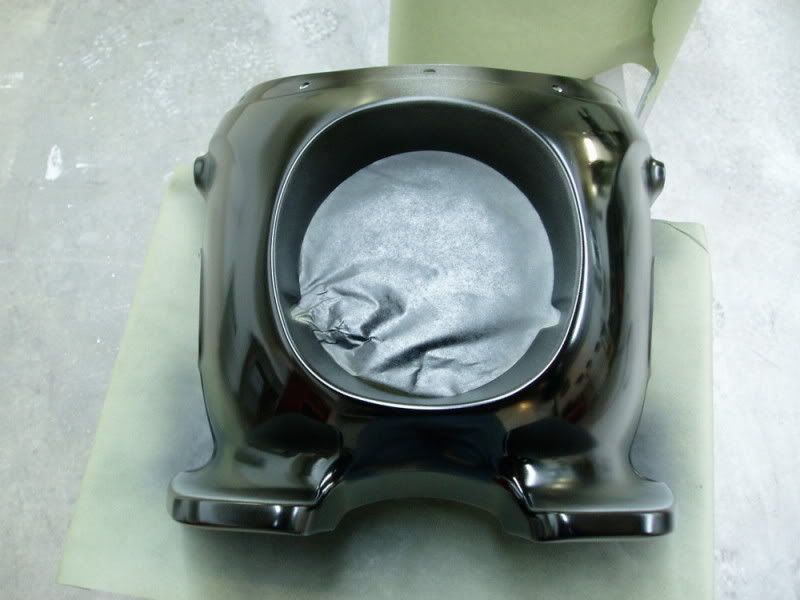
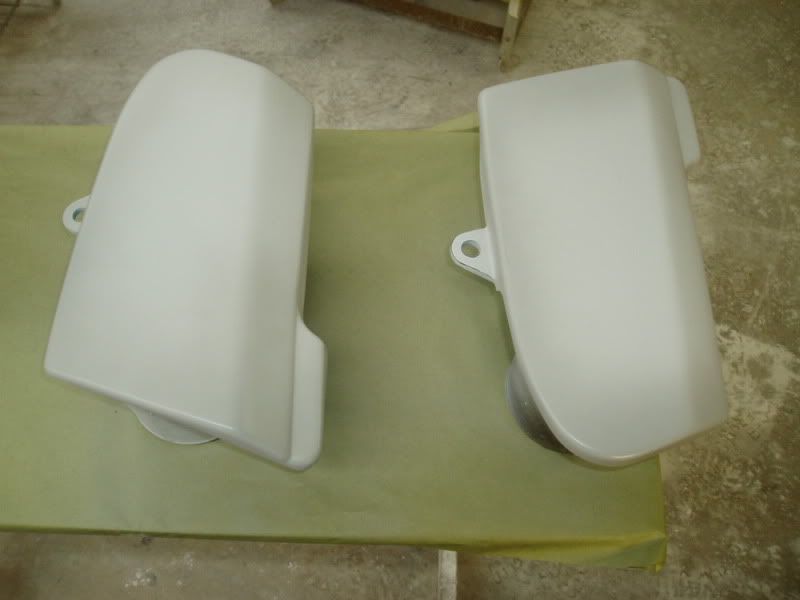
                                Here's a few body and paint progress pics for Rich's S. I'm up to spraying the first base coat, black, for the stripes.

                                The front fender was really nasty underneath. We caught it in time.


                                Just about every one of these fairings I've done, mine included, all had damage in the same place..wth,,?


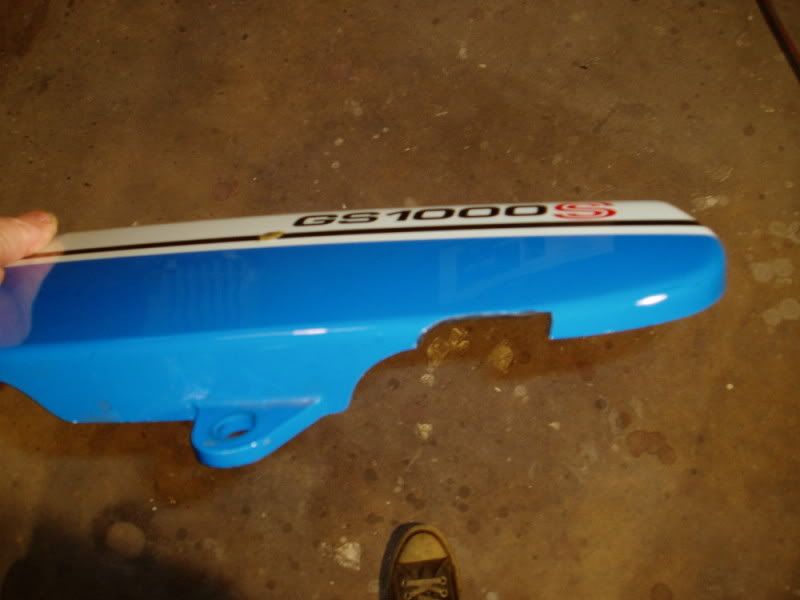
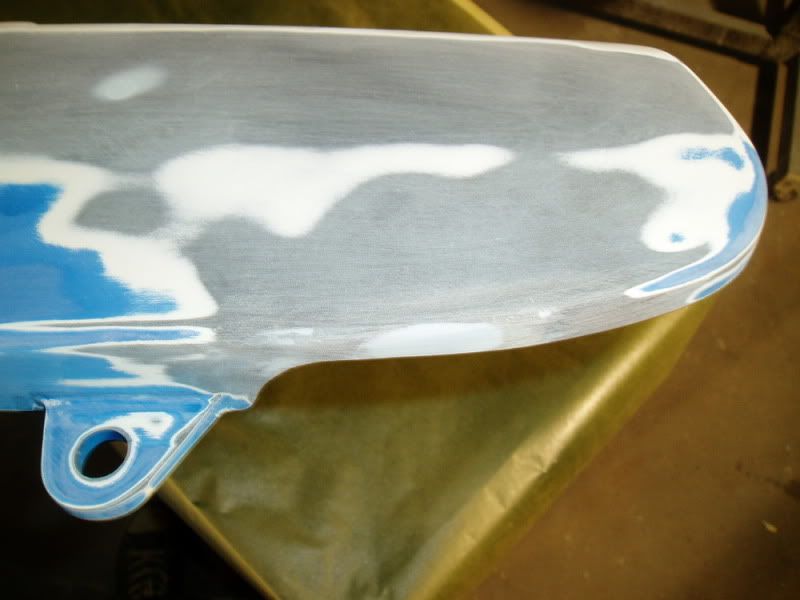
                                Side cover had a chunk broken out..no problem.


                                1979 GS1000S,

                                1982 Honda CX500 Turbo, 1982 Honda MB5 w/CR80 motor, 1977 Honda "nekid" Goldwing, 1976 Honda CB550F cafe', 1972 Honda XL250 cafe'

                                Comment

                                Working...
                                X