Announcement

Collapse
No announcement yet.

De-stinking Penelope

Collapse
X
 
  • Filter
  • Time
  • Show
Clear All
new posts

  • SVSooke
    Guest replied
    No you just needed a bigger hammer,Steve told me

    Leave a comment:


  • rustybronco
    replied
    Because a hammer and drift wasn't cutting it, I had to use the hydraulic press at work in order to remove the rivets from the clutch basket. I'll need to borrow a drill press from a friend in order to enlarge the holes in the clutch basket and in the steel spacers that originally resided on the rivets in order to use the HD rivets (11.1mm) the came with the backing plate.

    Picture of what I'm referring to later this evening.
    Last edited by rustybronco; 06-11-2014, 03:26 PM.

    Leave a comment:


  • Nessism
    replied
    Yeah, Por-15 looks nicer being silver colored. Caswell's sells a red colored sealing epoxy but who wants a red tank? At any rate, it's done now so you get to move forward...

    Leave a comment:


  • rustybronco
    replied
    Ed, it doesn't seem a great lot heavier than before I started but the tank wasn't in too bad of a shape to begin with.

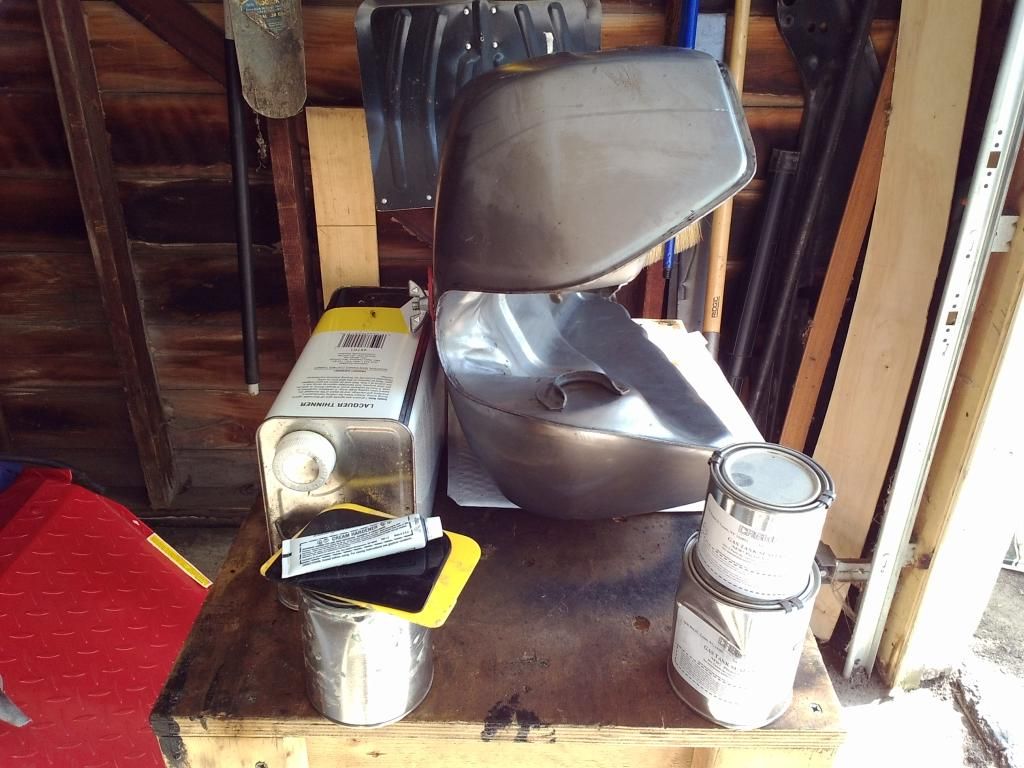
    I waited until the temperature dropped below 80 degrees then I mixed the full kit up believing that it would be easier to get full coverage if I did, plus I added about an ounce of lacquer thinner into part A (?) and mixed it up before mixing it with part B. It was runnier than I expected. I don't know if that was because of the age of it or not, but it covered and started to set up very nicely in about an hour which was right in line with what the directions stated.

    I ended up loosing about half the mixture to the table top, rags, floor and what I did capture when untaping the petcock opening. I just seemed to drain endlessly. Ran through quite a few latex gloves trying to keep the epoxy off of everything in addition to my hands. All in all I was pleased with the product, but if I were to do it again on this particular tank I probably would have went with por-15 only because of the color.

    Leave a comment:


  • Nessism
    replied
    How's the heft of that tank now Dale? That Caswell's stuff is THICK! Did you mix up the complete batch, or just half?

    Leave a comment:


  • chuck hahn
    replied
    And I cant wait to see that!!!! I am getting all giddy now!!! Been a long time comming.

    Leave a comment:


  • rustybronco
    replied
    Originally posted by chuck hahn View Post
    I also run some well greased set screws up the petcock bolt holes. This keeps the stuff out of the threads. The other alternative is to run a tap thru the holes once its dried and hope like he!! you dont ruin the originals.
    Well greased screws are already in the holes. The block off plates are removed and the petcock opening has been trimmed of excess sealer. The only thing left is to clear the small vent hole in the fuel filler neck.

    Now comes the fun part.

    Leave a comment:


  • chuck hahn
    replied
    And you can take the excess as its draining and smear it over any welded spots, suspect dents, or anything else you may wish to be sure is sealed from both sides. Sand it and paint over the patching.

    Leave a comment:


  • chuck hahn
    replied
    I also run some well greased set screws up the petcock bolt holes. This keeps the stuff out of the threads. The other alternative is to run a tap thru the holes once its dried and hope like he!! you dont ruin the originals.

    Leave a comment:


  • rustybronco
    replied
    Looking forward to it Chuck!

    Well the excess Caswell epoxy is draining out of the tank.

    If you ever do this I highly recommend you put lots of plastic sheeting down on whatever work surface you plan on doing it on. What a mess...

    Leave a comment:


  • chuck hahn
    replied
    Its refreshing to see that you are getting time to do something on YOUR bike for a change..HA HA. I am in the save money for next spring mode right now so we will have to take the twins for a putt together.

    Leave a comment:


  • rustybronco
    replied
    A piece of chain and a little bit of shaking and we can see bright metal inside.

    Leave a comment:


  • rustybronco
    replied
    Back on track...

    Had an out of town wedding to attend over the past two days. Tried to hook up with Redman (Dave) while I was there but our schedule wouldn't allow it.

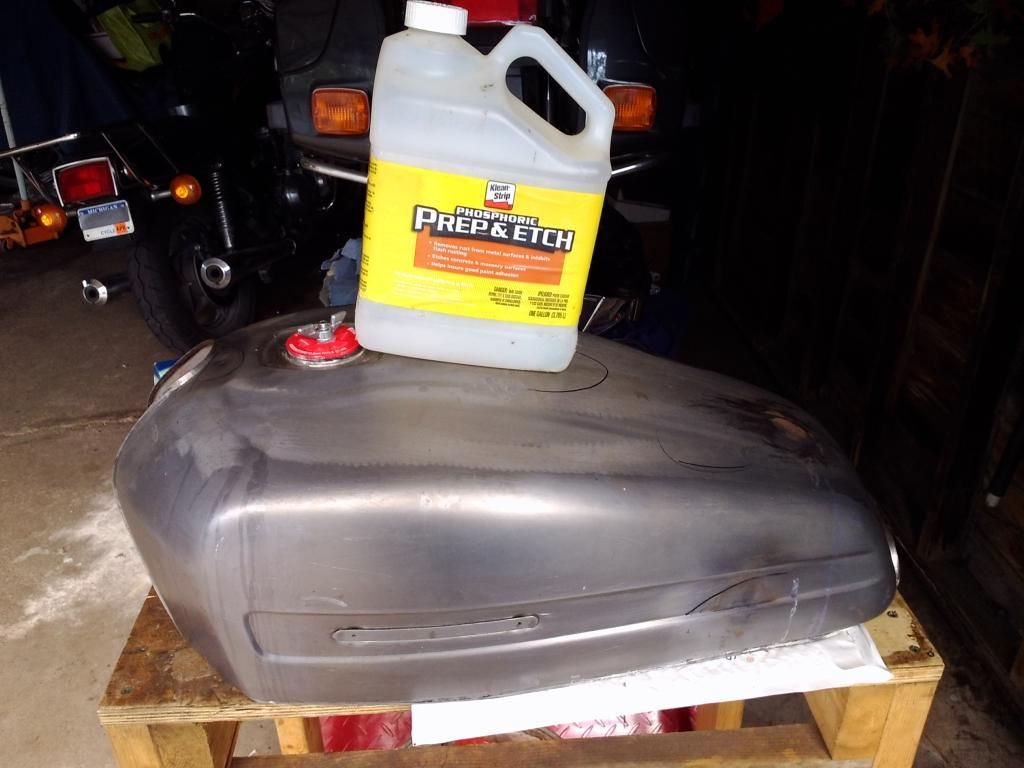
    Tank is being de-rusted as I type. Caswell is in the garage coming up to room temp. I sure hope it cools off this evening so I can rinse and re-line it. (it's 87.1° outside now)

    It looks nice and gray inside the tank but I'm sure it won't stay that way for long.


    Leave a comment:


  • rustybronco
    replied
    Ah, the one that was on the paint stand padding and rolled off. Three coats of black and three coats of clear and the padding had to roll and **** my hard work up. Still ticks me off!

    By the way, if you look at Nancy you will see that pan sitting where the factory seat should be. Paint booth is next on the ajenda along with making a blasting booth. (and about a hundred other projects)

    Leave a comment:


  • Flyboy
    Guest replied
    Hahahaha, the one you did, I never did one.

    Leave a comment:

Working...
X