Announcement

Collapse
No announcement yet.

De-stinking Penelope

Collapse
X
 
  • Filter
  • Time
  • Show
Clear All
new posts

  • Flyboy
    Guest replied
    Yeah! Penelope's getting dusted off again. Looking forward to more updates!
    'bout bloody time too, put everything on the back burner because of a little cold and white stuff...phaaaaaa, sissy 'muricans.

    Actually,
    Damn good job on those dings, Doc.

    Leave a comment:


  • rustybronco
    replied
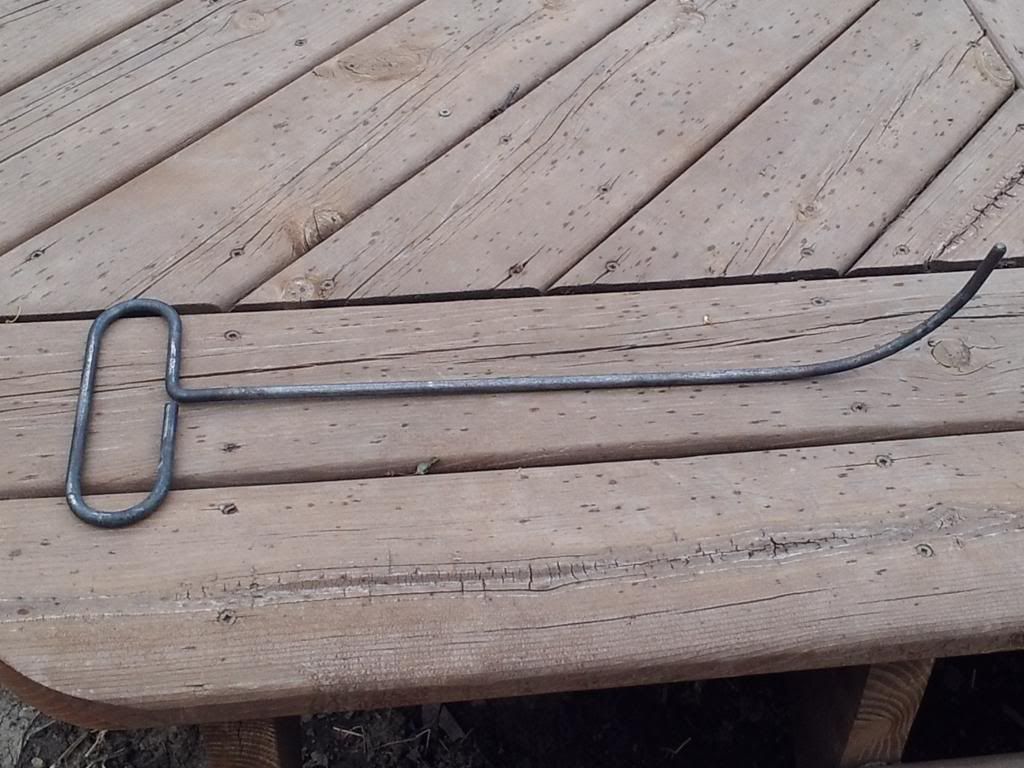
    I made the handle by heating it, bending it while being held by a pair of vice grips and whacking it around with my snap-on body hammer. It came out rather nice if I do say so myself. Should have made the end a little more pointed but I made up that end sometime last year.

    Leave a comment:


  • Nessism
    replied
    Yeah! Penelope's getting dusted off again. Looking forward to more updates!

    BTW Dale, how the heck did you make the handle on that dent tool?

    Leave a comment:


  • rustybronco
    replied
    It was a nice day outside for once so I decided it was time to spend some time on the skunk and a few other projects that have been languishing around.

    Made a pick out of a 3 ft piece of metal rod by heating the rod with an oxy-actylene torch and bent to fit my needs. Rounded and polished the end.


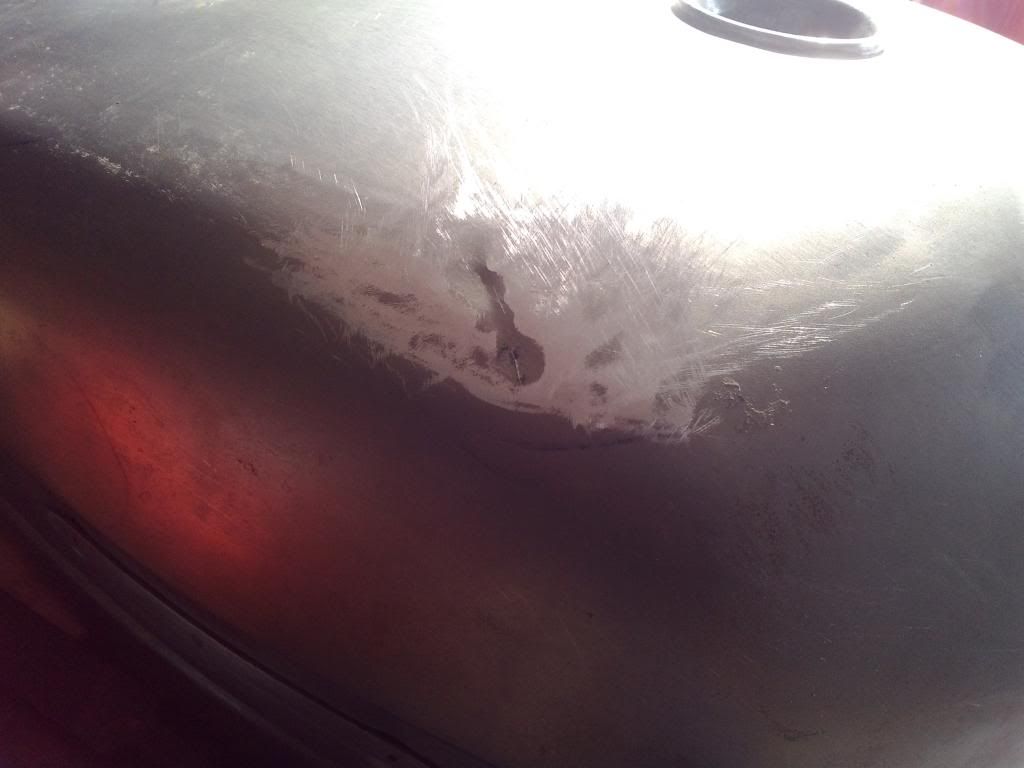
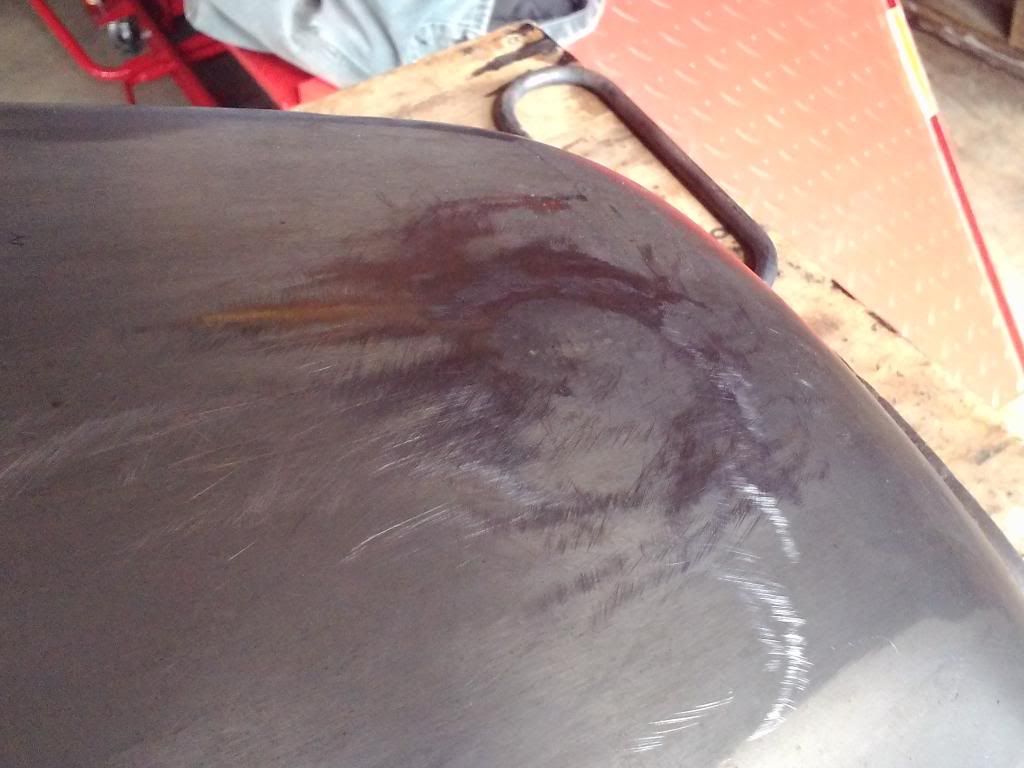
    Used it and a body hammer to 'lessen' a couple major dents in the fuel tank. I was able to get about 75~80% of each dent removed.
    Would have had to reshape the end of the pick to try and get more of the depression out but as it was I was struggling to hold the tank, apply effort on the pick and swing the hammer at the same time.

    Called it good enough instead.


    Unfortunately I won't get the chance to de-rust and reline the tank until two weeks from now.
    Last edited by rustybronco; 05-18-2014, 11:50 PM.

    Leave a comment:


  • pete
    replied
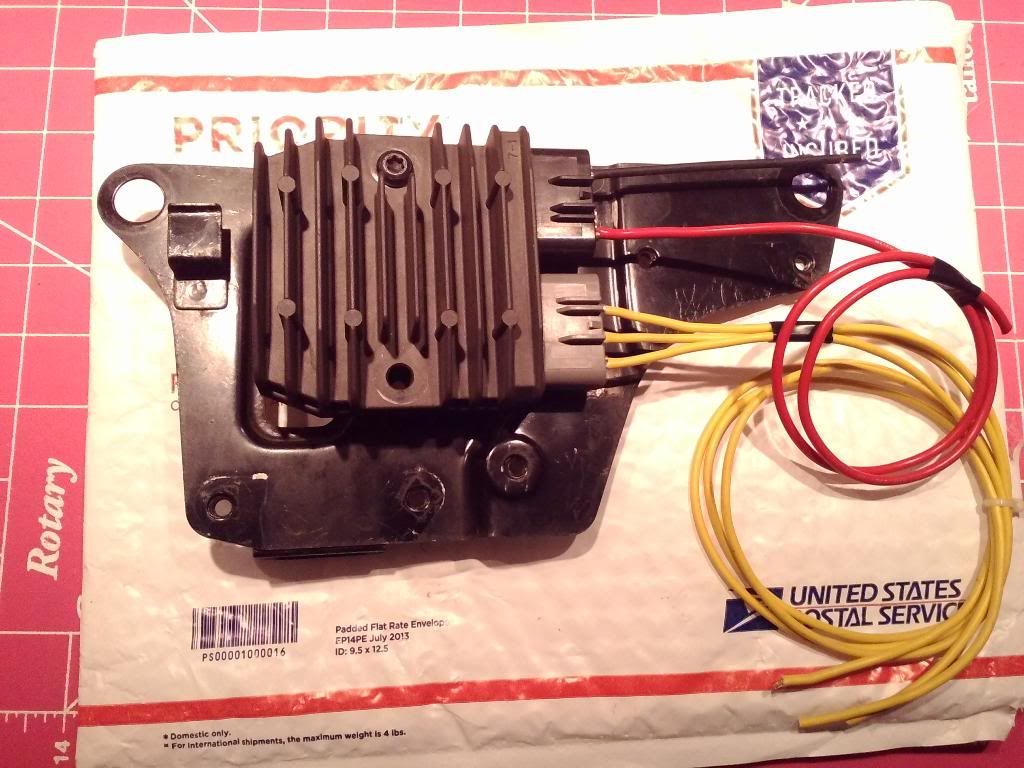
    Yeah size matters right? I just installed my new SH775 the other night, couldn't believe how big it was compared with the SH532!

    The only way I could fit mine was with the fins perpendicular to air flow... no other way to do it unfortunately but at least it's under the seat where it should get some air...

    Leave a comment:


  • tkent02
    replied
    Originally posted by rustybronco View Post
    E


    This part I like. Where are all of the other electrical bits going to fit?

    I'm doing the same thing to '80 1000E, it won't fit easily. The SSPB is pretty big too from what I hear.

    Leave a comment:


  • rustybronco
    replied
    Originally posted by nejeff View Post
    Well I am tuned back in. When do you think you might get it back on the road?
    Heaven forbid any unforseen circumstances, it will be sometime this summer.

    Leave a comment:


  • nejeff
    replied
    Originally posted by rustybronco View Post
    Eh... No need to move, you just need to talk to the right person.

    Tonight's little project... wire terminals, colour coded wires and rosin core solder.

    Well I am tuned back in. When do you think you might get it back on the road?

    Leave a comment:


  • rustybronco
    replied
    Eh... No need to move, you just need to talk to the right person.

    Tonight's little project... wire terminals, colour coded wires and rosin core solder.

    Leave a comment:


  • SVSooke
    Guest replied
    Sometimes(but not often) I hate living where I do.The shipping on these pegs was listed at $40

    Leave a comment:


  • rustybronco
    replied
    It's the very same one.

    Lot of a little projects in between that took precedent over this. Not so this year...


    Converted a few wiring terminals over by carefully cutting them apart to re-crimp and solder yellow and red wires in place of the original black wires. The reason for doing them is they were the shortest length I could get.

    Hard to cut apart these little buggers... http://i32.photobucket.com/albums/d4...313_121752.jpg


    Picked up two rear foot pegs off Ebay that were a lot less corroded than the ones I had.
    Last edited by rustybronco; 03-13-2014, 12:34 PM.

    Leave a comment:


  • nejeff
    replied
    Sorry, have not read every post but this is one of the first threads I began following when I became a member here in 2011. Is this the same project your working on or are you on to another?

    Leave a comment:


  • rustybronco
    replied
    Originally posted by Nessism View Post
    Not OCD?...

    Me either!
    Actually I had originally intended on posting up a picture of your KZ's wheel as an example of OCD. Maybe a picture of your replacement switches might have been more appropriate?

    Are those letters molded into the plastic, or just printed? Hopefully raised edges, which would be easier to touch up than printed letters.
    Raised edges. Easy enough to paint, but I figured I could use the housing and build up another set for sale. Had they not been nicked, I would have done just that.

    Leave a comment:


  • Nessism
    replied
    Originally posted by rustybronco View Post
    Stan, for the most part, no, I'm not OCD.

    Oh, I forgot to mention. I found these on Ebay. I was considering them just because the white lettering looks so nice. Unfortunately there are a couple of nicks around where the indicator lenses go.


    Guess I'll have to paint my old ones after all.

    Not OCD?...

    Me either!

    Are those letters molded into the plastic, or just printed? Hopefully raised edges, which would be easier to touch up than printed letters.

    Leave a comment:


  • rustybronco
    replied
    Stan, for the most part, no, I'm not OCD.

    Oh, I forgot to mention. I found these on Ebay. I was considering them just because the white lettering looks so nice. Unfortunately there are a couple of nicks around where the indicator lenses go.


    Guess I'll have to paint my old ones after all.

    Last edited by rustybronco; 03-12-2014, 01:24 PM.

    Leave a comment:

Working...
X