Announcement

Collapse
No announcement yet.

'82 650L Refurb/Mod

Collapse
X
 
  • Filter
  • Time
  • Show
Clear All
new posts

    #31
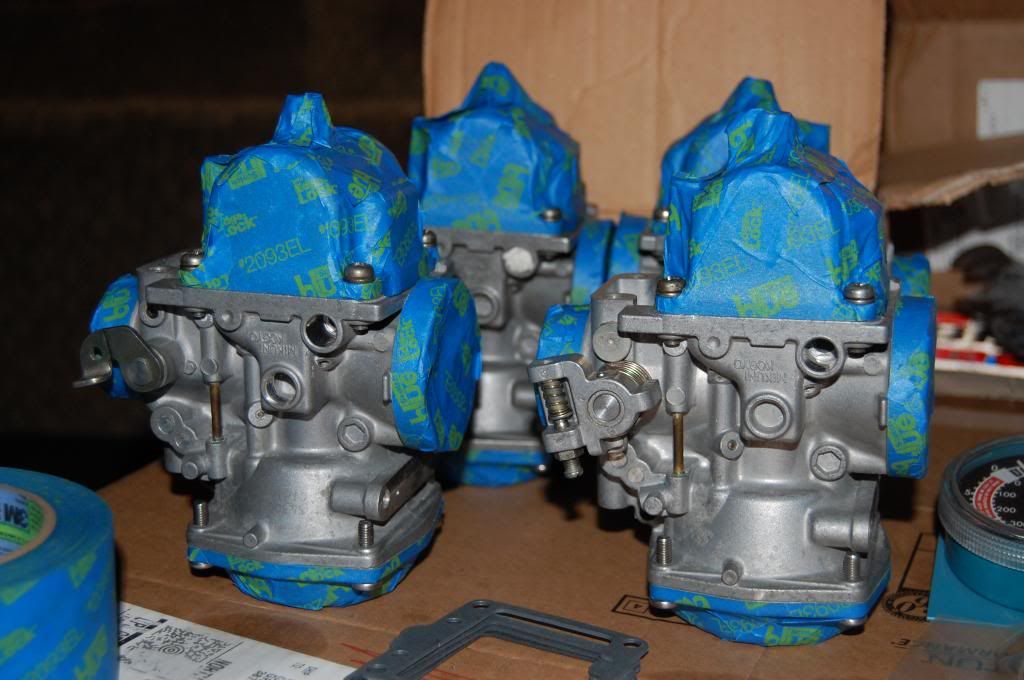
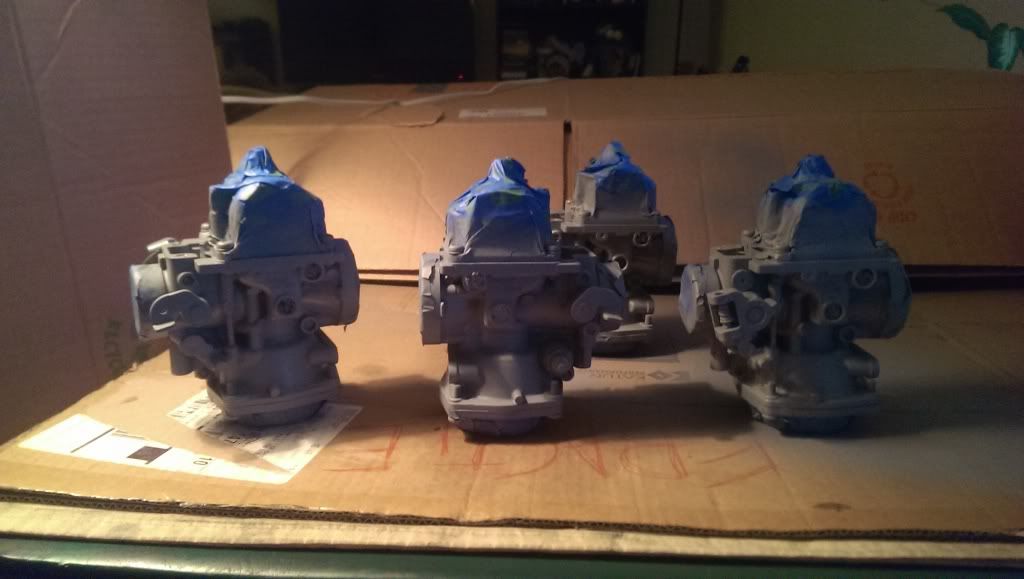
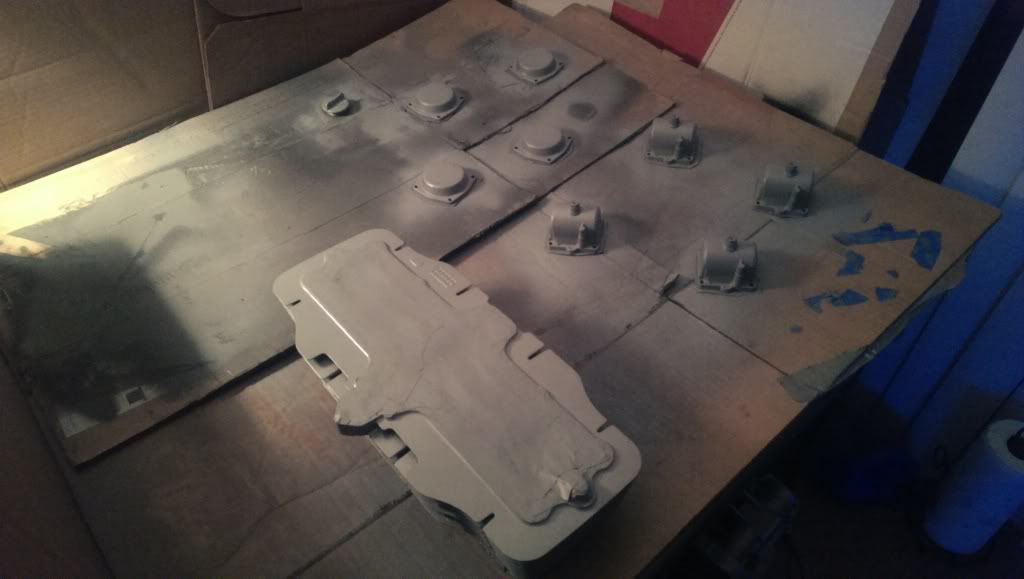
    Finished masking the carbs to paint the bodies. Just need to stuff a couple more orifices.


    Also finished jetting the carbs. The cheap drill bit broke off in the first slide... Had to pound it out and use a new drill bit. It was about .010 off of the old bit, but I'm hoping that there is some amount of tolerance for the lift hole.

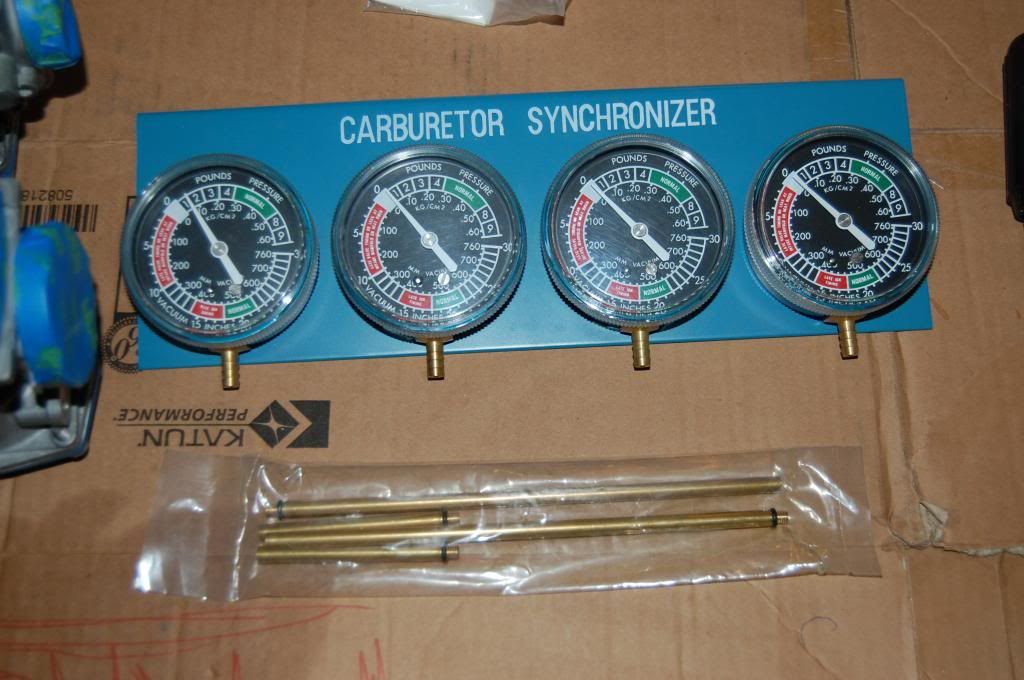
    Got a new toy as well! :-)

    Comment


      #32
      We are about the same place in our builds. Mine is a 1977 GS750. I spent hours & hours & hours and Hours cleaning my carbs and carb bodies. Next time I will paint the bodies.

      Comment


        #33
        Very cool! Hope to see some pics if you can! My carbs weren't in very bad condition to start with, so a carb dip and light scrubbing is all they really needed. I'm still going to have to polish the heads and bowls after painting.
        Last edited by Guest; 04-01-2013, 10:28 PM.

        Comment


          #34
          Semester is nearing the end, which means plenty of time for working on the bike!

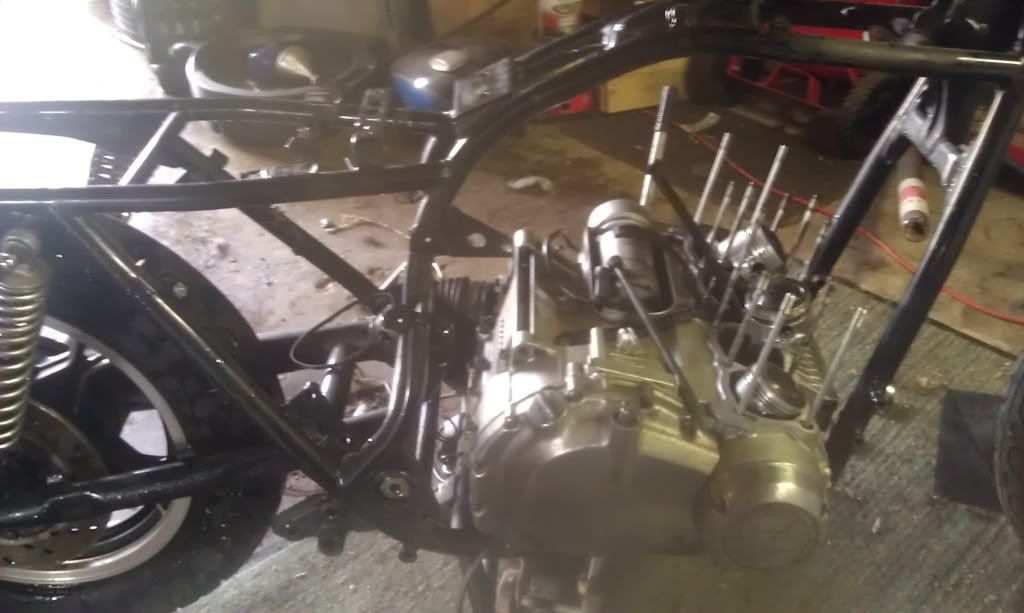
          Remounted the bottom end on the frame for ease of access.


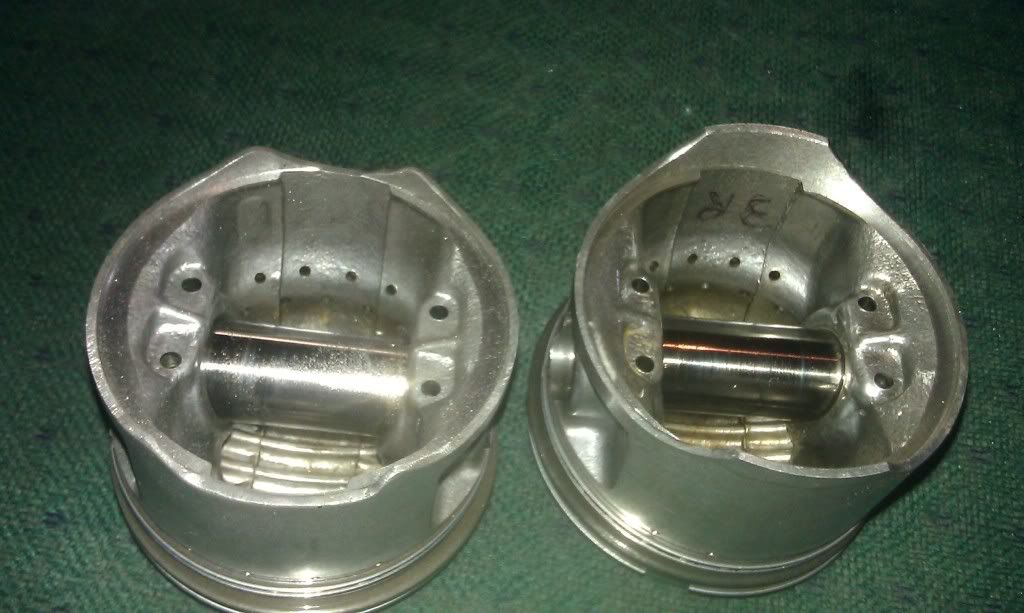
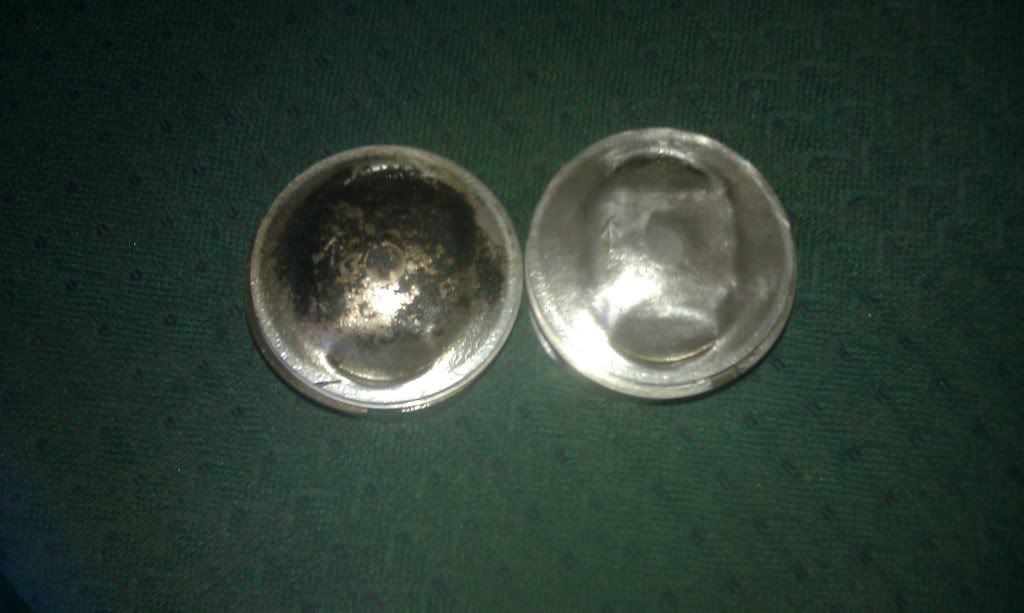
          Found that the 4th piston had both skirts broken off... Not sure when or how but the pieces were sitting at the bottom of the crankcase. Luckily no other damage. Considering reusing it but also looking to replace. This is after I smoothed the breaks.


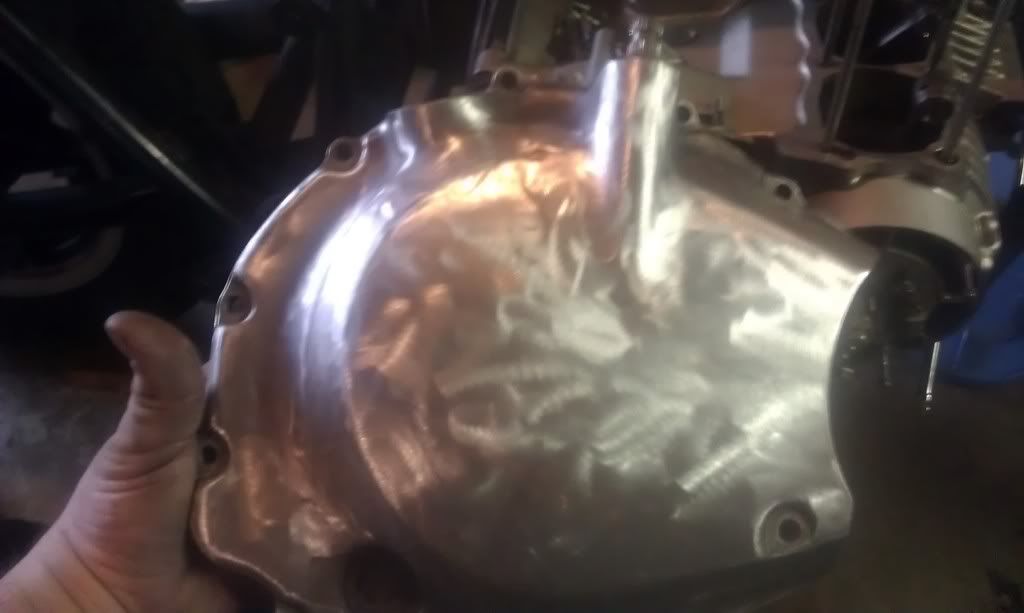
          Cleaned them up as well. This is after months of penetrates and some elbow grease.


          Smoothing out the nicks and removing the corrosion on the covers as well. Can't make my mind up whether to polish and seal or paint.


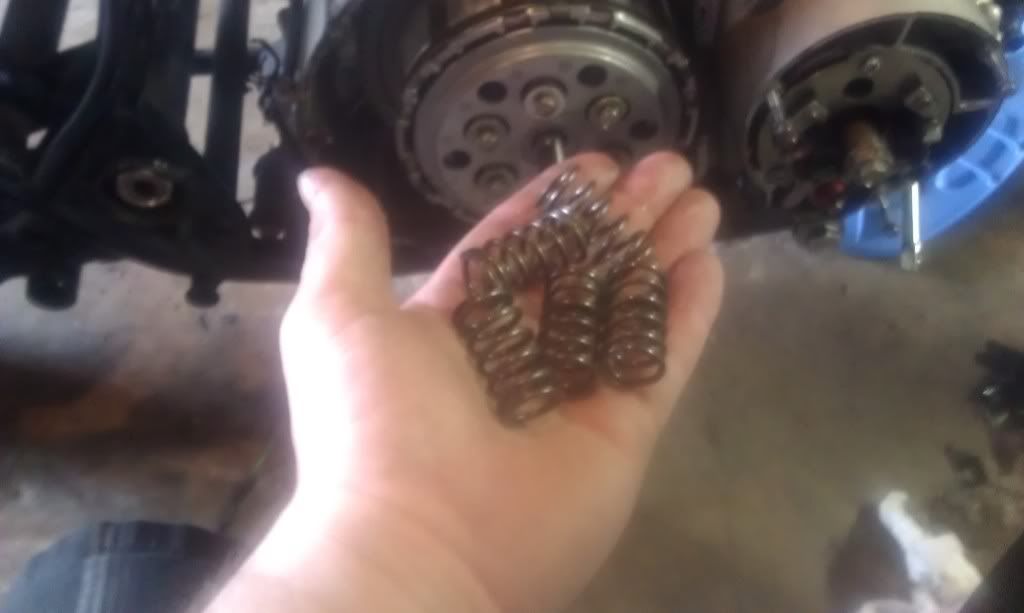
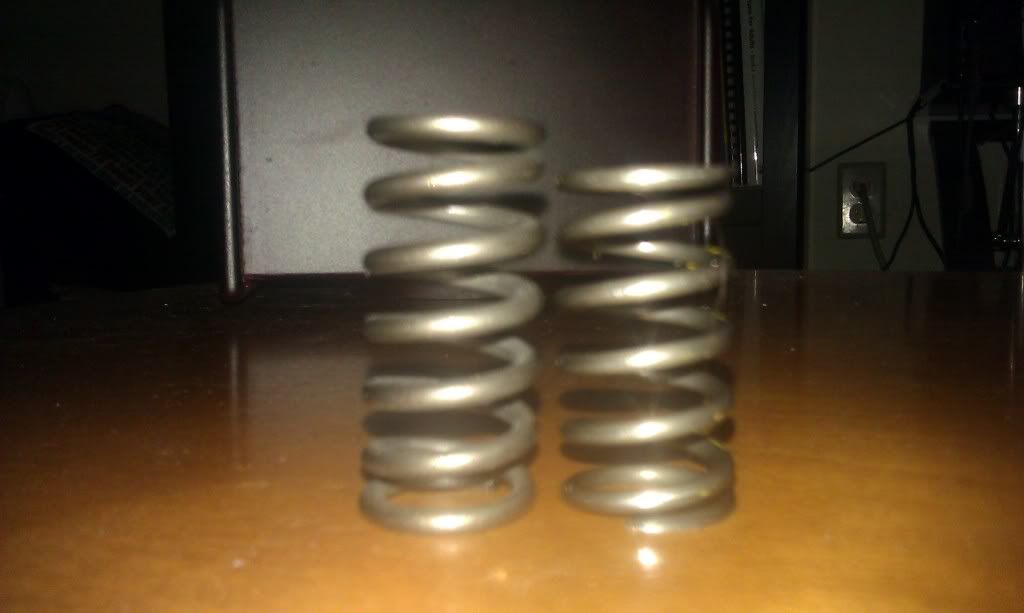
          Replaced clutch springs as well.


          Old and new spring.

          Comment


            #35
            Looking good.
            Cowboy Up or Quit. - Run Free Lou and Rest in Peace

            1981 GS550T - My First
            1981 GS550L - My Eldest Daughter's - Now Sold
            2007 GSF1250SA Bandit - My touring bike

            Sit tall in the saddle Hold your head up high
            Keep your eyes fixed where the trail meets the sky and live like you ain't afraid to die
            and don't be scared, just enjoy your ride - Chris Ledoux, "The Ride"

            Comment


              #36
              looking good; don't forget to zero adjust those gauges(the left most one is off). They are not as popular as a carbtune but if you do that adjustment and set the bleeders down low you can sync just fine.

              Comment


                #37
                Thanks for the tip. Already adjusted the gauge, I'll be sure to set the bleeders low when it comes to it!

                Comment


                  #38
                  Sorry if anyone still follows this build. May be hearing from a high profile company about a mechanical design position within the next couple weeks! Anyway, what you really want to see, pictures!


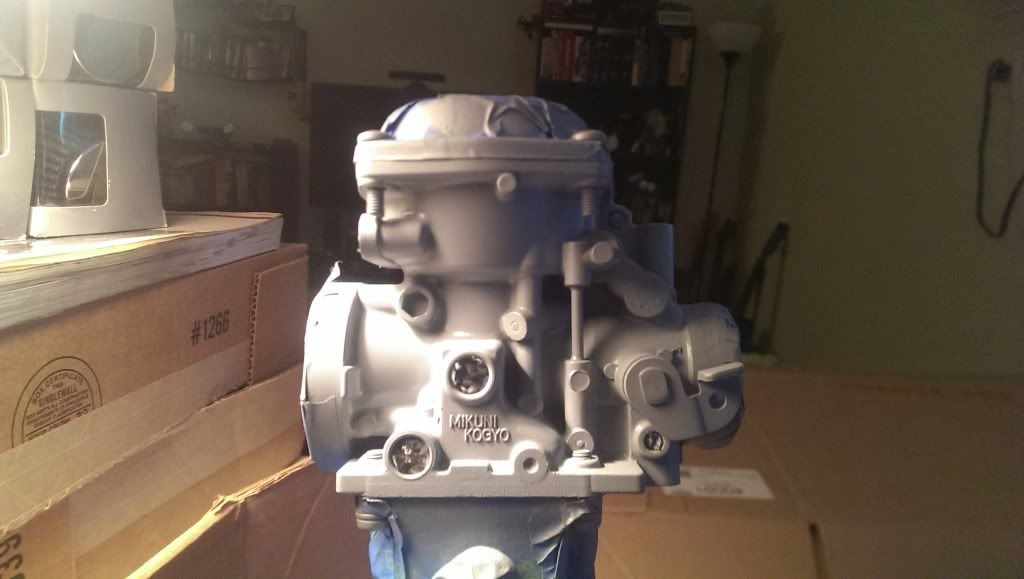
                  Primed the carb bodies.


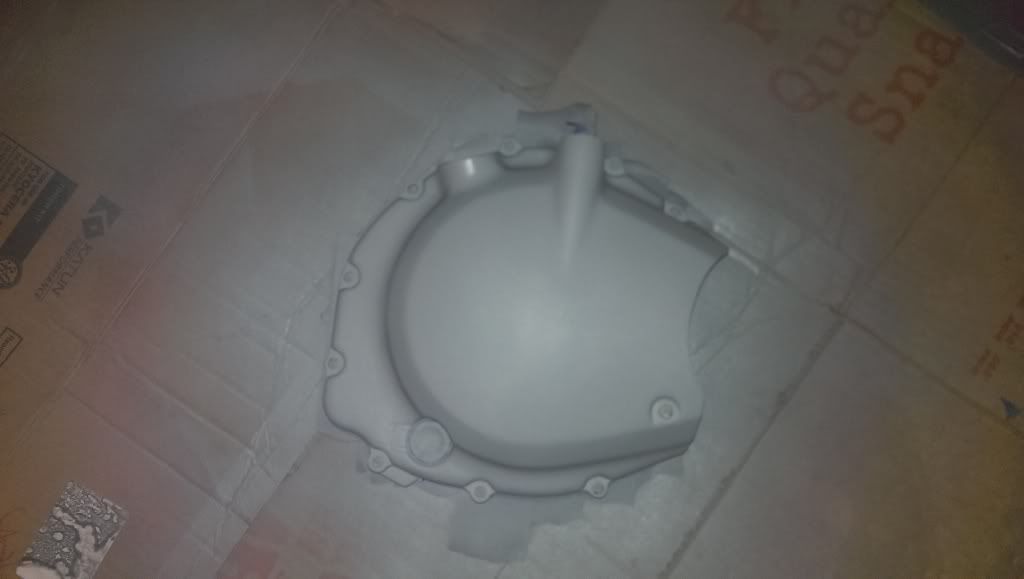
                  Clutch cover as well.


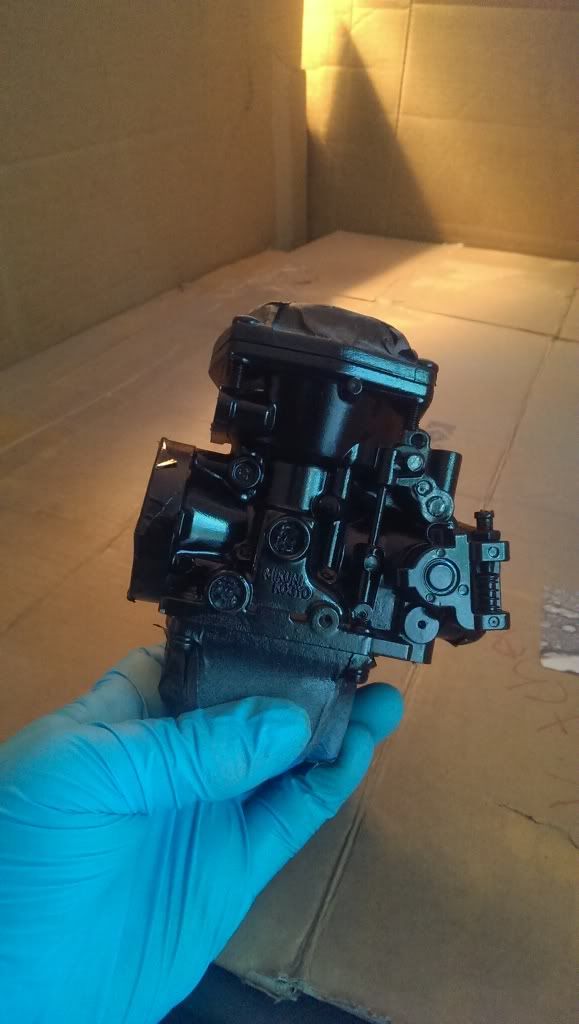
                  And this is from today, getting ready to lay down some top coats.

                  Comment


                    #39
                    Carb bodies are done. Tonight got the carb tops and bowls primed as well as the cylinder block. Rather than buff and polish the aluminum, I've decided to go with an aluminum cast finish for the carb pieces. I'm going with black on the cylinders.


                    Carb mock up assembly. Gonna have to find some new bolts for them, anyone got a source for those or know the specs?

                    Comment


                      #40
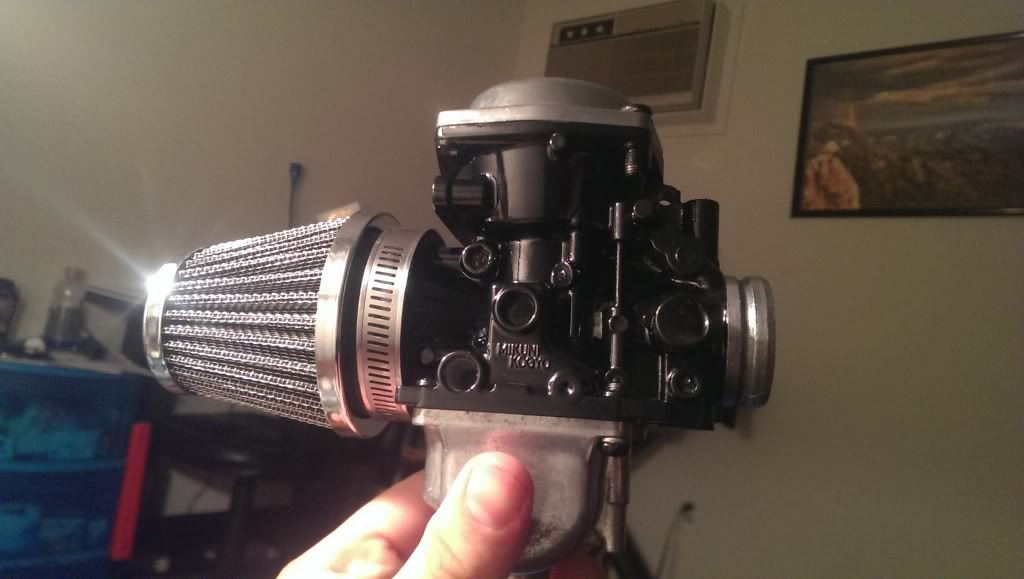
                      You're not really going to use those sand sifters for filters on the new engine, are you?
                      http://img.photobucket.com/albums/v5...tatesMap-1.jpg

                      Life is too short to ride an L.

                      Comment


                        #41
                        Haha, originally (2 years ago) I was. But I've since decided to get proper ones. It's fairly overwhelming how badly they are regarded, and I'd like to not cut corners. Too many at least ;-)

                        Comment


                          #42
                          You can get the bolts at Z1, www.cycleorings.com, or even at your local hardware store
                          Cowboy Up or Quit. - Run Free Lou and Rest in Peace

                          1981 GS550T - My First
                          1981 GS550L - My Eldest Daughter's - Now Sold
                          2007 GSF1250SA Bandit - My touring bike

                          Sit tall in the saddle Hold your head up high
                          Keep your eyes fixed where the trail meets the sky and live like you ain't afraid to die
                          and don't be scared, just enjoy your ride - Chris Ledoux, "The Ride"

                          Comment


                            #43
                            Also hoping you don't reuse the damaged piston - am I the only one alarmed at that?
                            - boingk

                            Comment


                              #44
                              Originally posted by boingk View Post
                              Also hoping you don't reuse the damaged piston - am I the only one alarmed at that?
                              - boingk
                              Already got another set off of one of our forum members (Thanks again terrylee!)

                              Originally posted by cowboyup3371 View Post
                              You can get the bolts at Z1, www.cycleorings.com, or even at your local hardware store
                              Got 'em, got 'em aaaaand I figured. I'll just have to match them up at the hardware store. I just hate not having one around here with a great selection AND friendly service.


                              I understand how important proper air flow and filtration is, believe me, I tell people on a daily basis about their car air filters... But I just can't justify the price of K&N filters... UNI are interesting, unfortunately they're butt ugly! And that leaves me with used K&N(no thanks...) and emgo...
                              Last edited by Guest; 08-05-2013, 10:31 PM.

                              Comment


                                #45
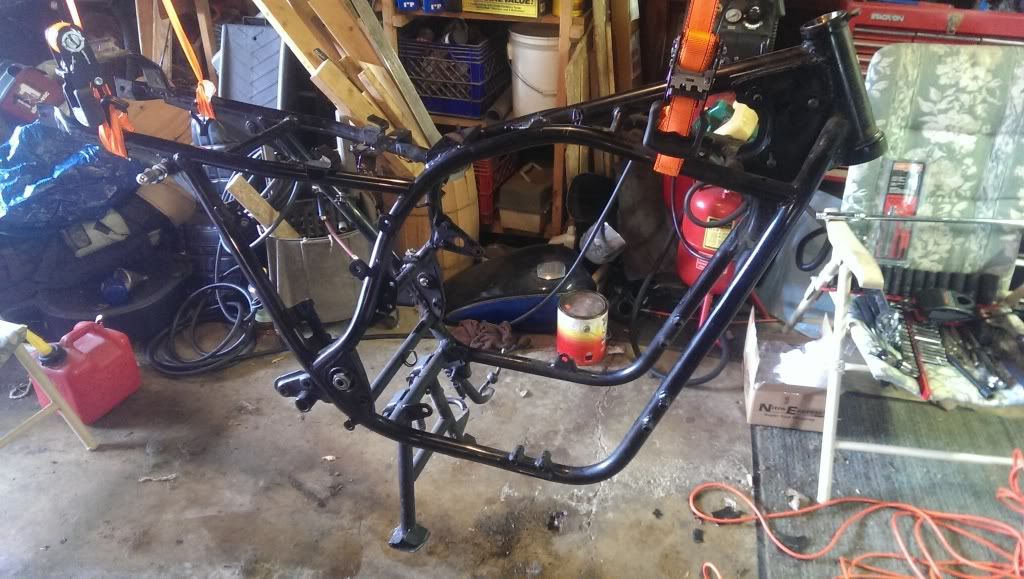
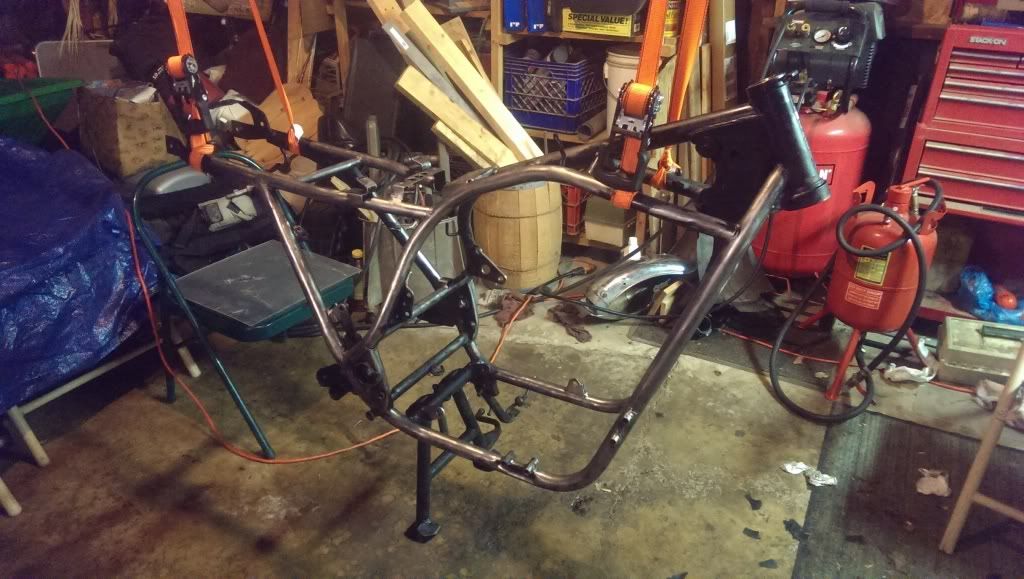
                                Bare frame, ready to be worked over.


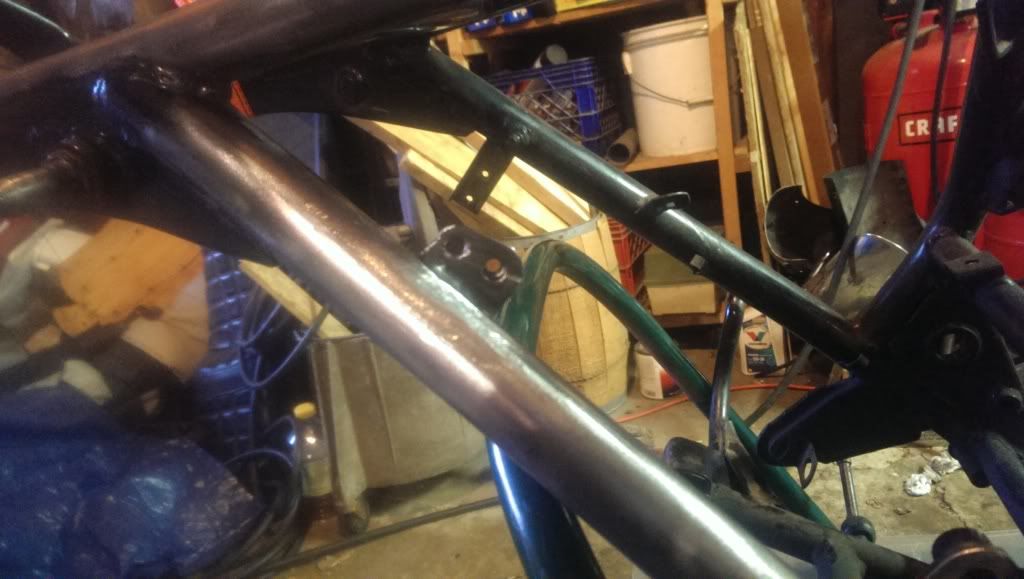
                                Removed a few vestigial tabs from each side.


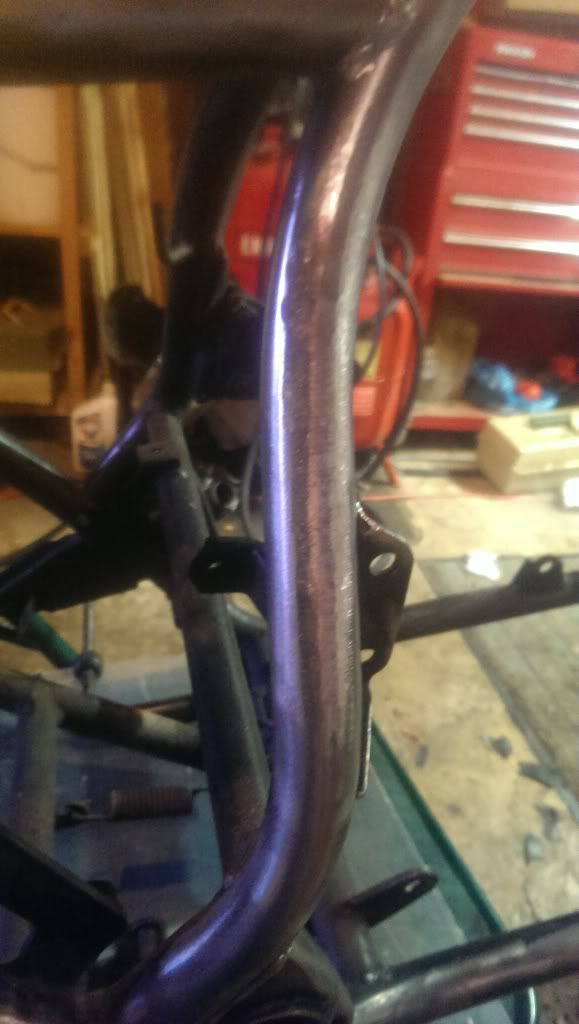
                                Here's most of the way through the wire wheel. Cleaned up the most visible welds and got rid of all the weld spatter.


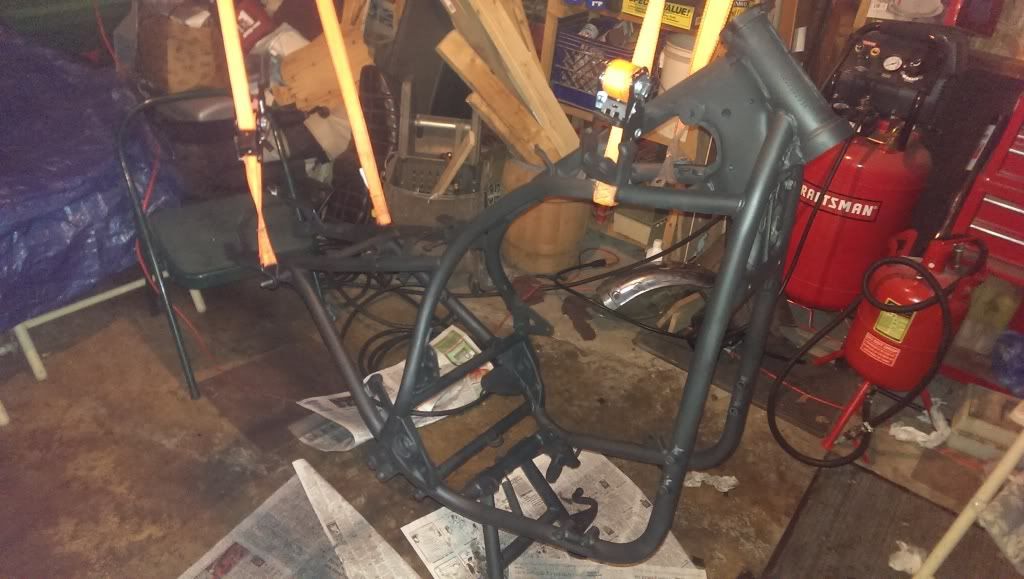
                                Laid down a couple light coats of primer to prevent any flash rust.


                                WAS planning on doing some painting today... 94% humidity... Guess I'll have to work on something else...

                                Comment

                                Working...
                                X