Announcement

Collapse
No announcement yet.

GS 750 es : Let s bring it back to life!

Collapse
X
 
  • Filter
  • Time
  • Show
Clear All
new posts

    #16
    Originally posted by Souske View Post
    Look for a Clymer manual, I believe chiltons made one also
    Factory manuals are on Basscliffs page, but. Sometimes having a paper manual is so much easier
    i don t find Clymer, nor chilton, nor haynes manuals for the gs 750.
    why is that? could i use an other one? like the 550 manual? or the 850?


    i really need to find something, me need paper manual !

    would that one do? http://www.haynes.com/products/productID/491
    it s for 1979-1982.

    Comment


      #17
      Not really,Suzuki really changed the whole bike in 83.Very close to a clean sheet bike.Other than finding a Suzuki manual on eBay I don't think there is one.

      Comment


        #18
        I just stumbled on to this thread. Cool, someone else doing the same thing I am, I have 2 1983 GS750E's I am turning into 1 when I have the time. I want to see some pics!!!

        Comment


          #19
          as soon as the guy bring them, next saturday, i ll take a lot of them,
          i know you all love pictures! i do to!

          Comment


            #20
            Good luck on the projects.

            As for a methodology;

            Make sure you can swap motors and still be ok with the government. Not sure what your process is up there for titling, but make sure you know it before even beginning the project.

            What worked for me:
            take pictures of wire harnes and connectors on bike
            take the whole harness off
            soak connectors in favorite solution ( I used dollar store rust remover)
            Check wiring diagram, label connectors
            check wires, connections, splices, etc
            change out bullet connectors for spade
            wire in weatherpack connectors to replace older less weather proof ones
            apply liberal amounts of dielectric grease
            test wire harness on bike for conductivity and for placement of connectors before final wire wrapping
            rewrap harness

            grab favorite beverage and celebrate
            1984 GS550ES
            Rebuild in progress....

            1983 GS750ES
            4700 miles

            1978 GS1000E...Resto-mod to come

            Comment


              #21
              Originally posted by Mista M View Post
              Good luck on the projects.

              As for a methodology;

              take pictures of wire harnes and connectors on bike
              take the whole harness off
              soak connectors in favorite solution ( I used dollar store rust remover)
              Check wiring diagram, label connectors
              check wires, connections, splices, etc
              change out bullet connectors for spade
              wire in weatherpack connectors to replace older less weather proof ones
              apply liberal amounts of dielectric grease
              test wire harness on bike for conductivity and for placement of connectors before final wire wrapping
              rewrap harness

              grab favorite beverage and celebrate
              Cool thank you!
              man i can t wait to get started!

              Comment


                #22
                ALLRIGHT PEOPLE!
                PICTURES TIME!

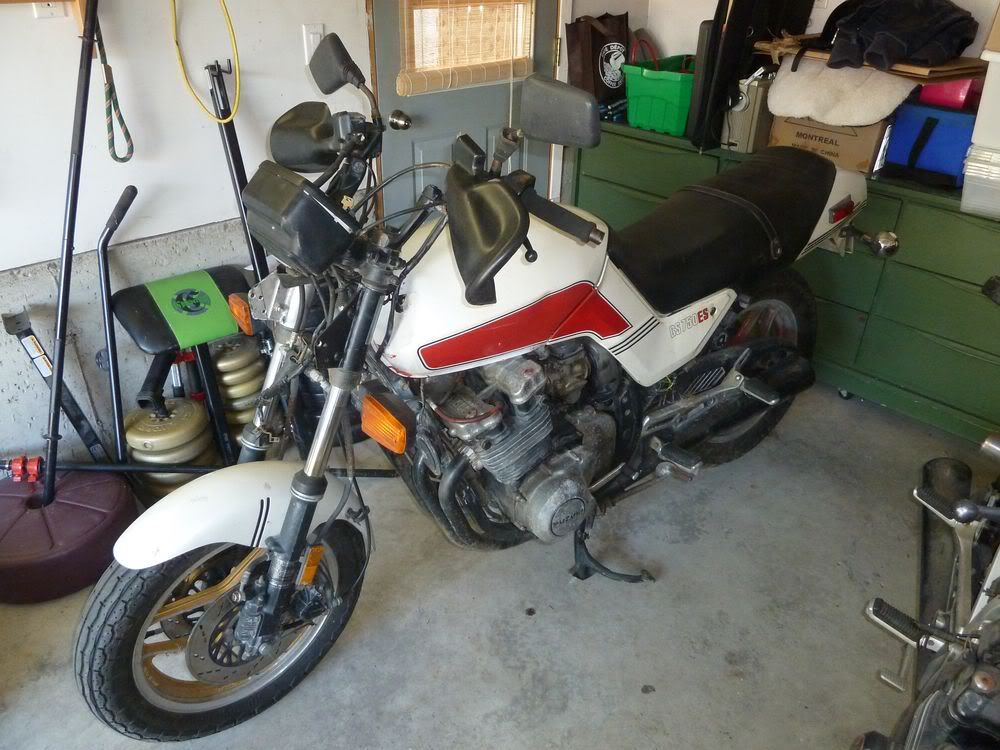
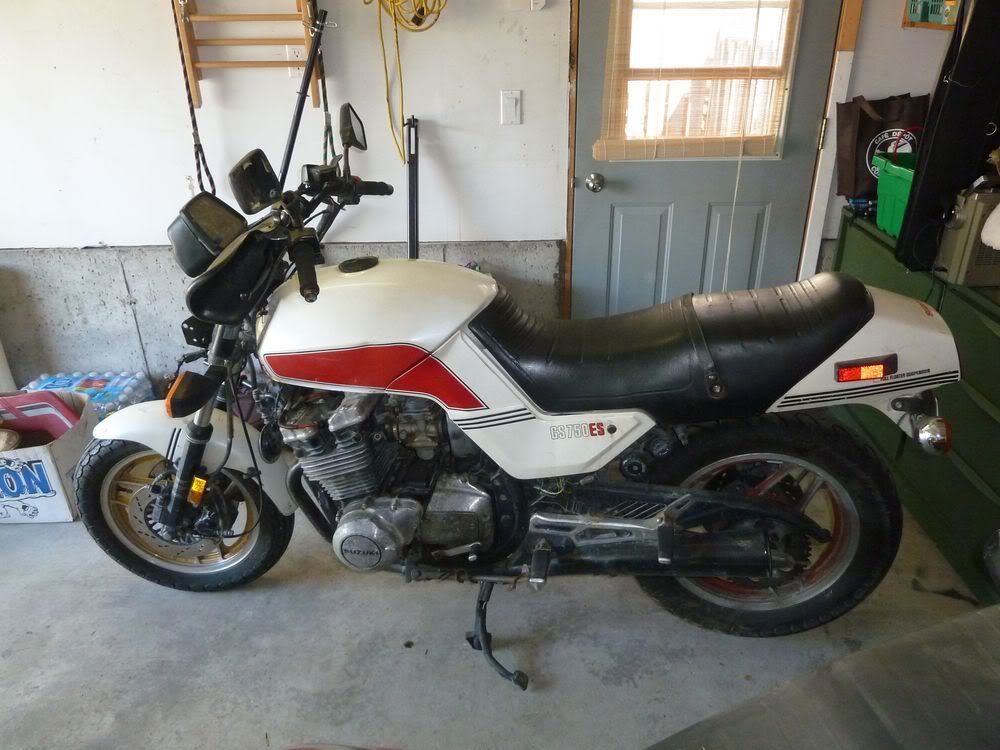
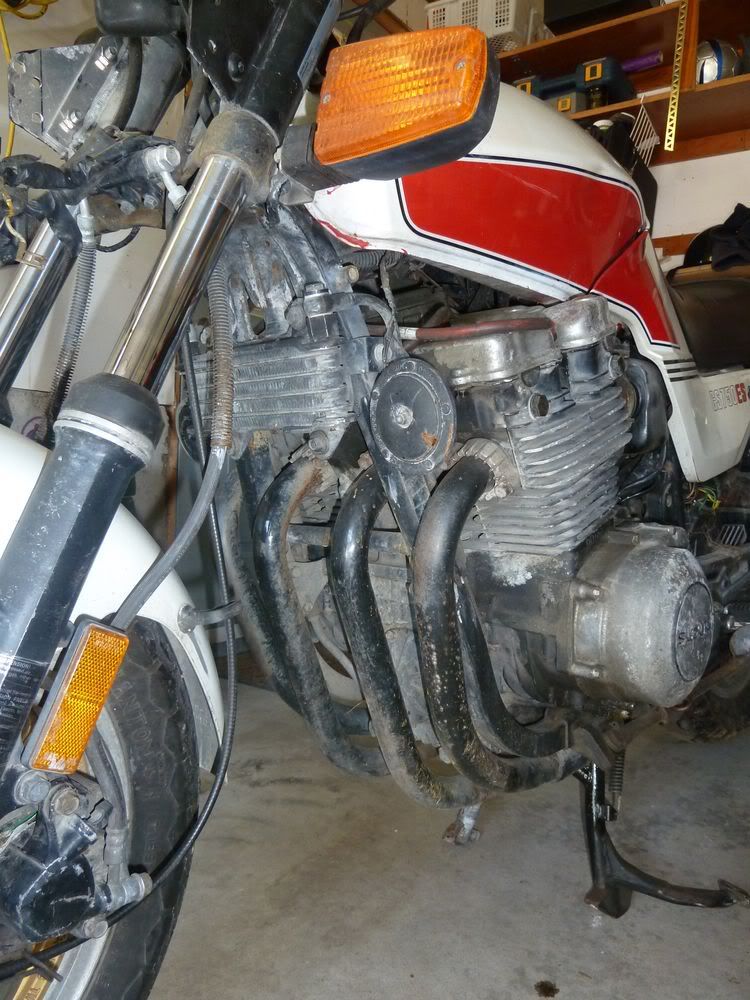
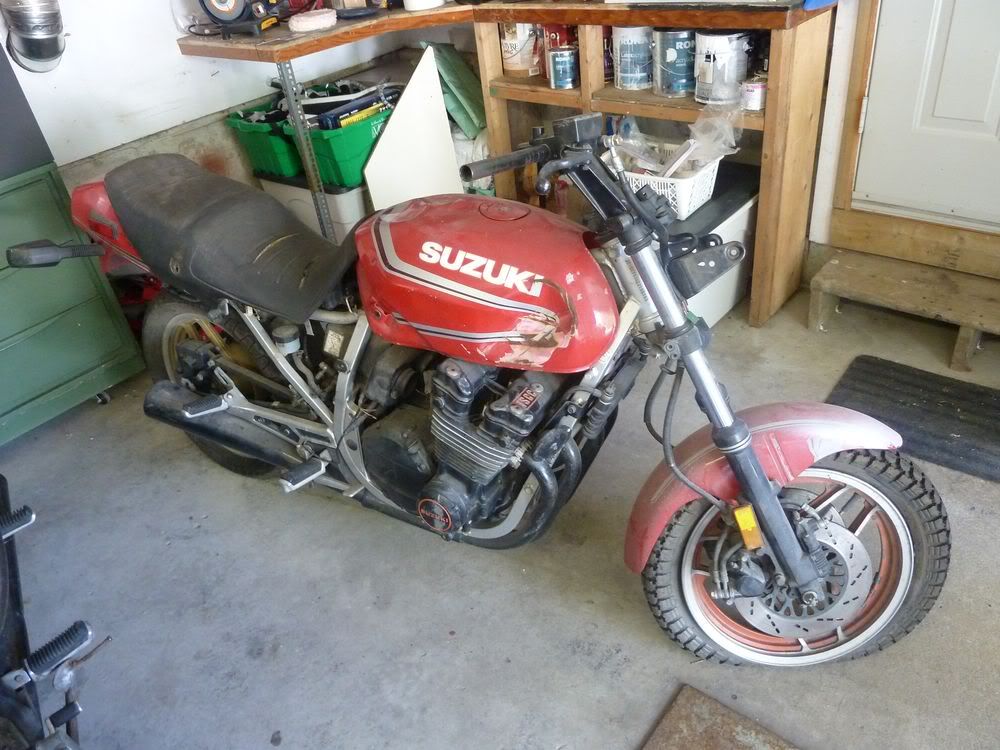
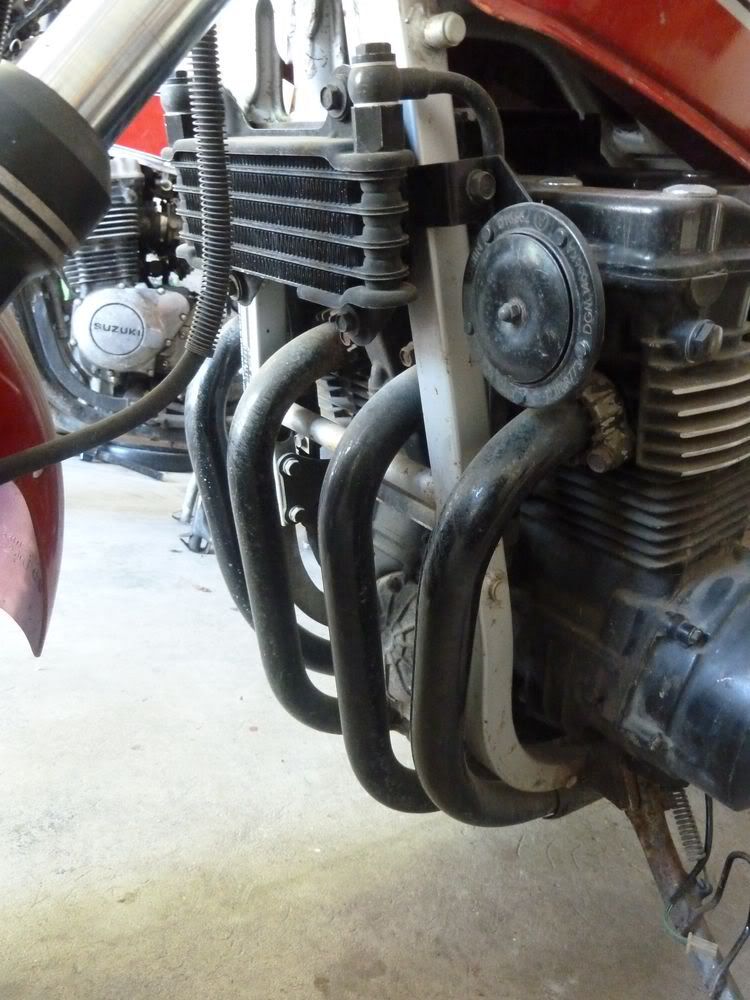
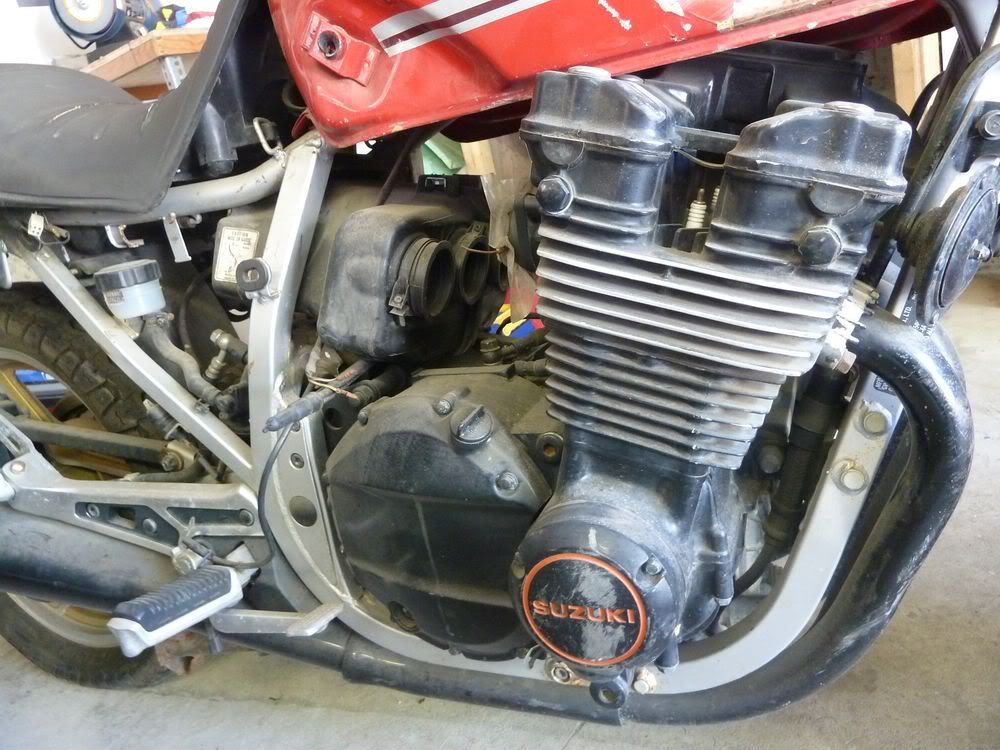
                I finally received my two 750.
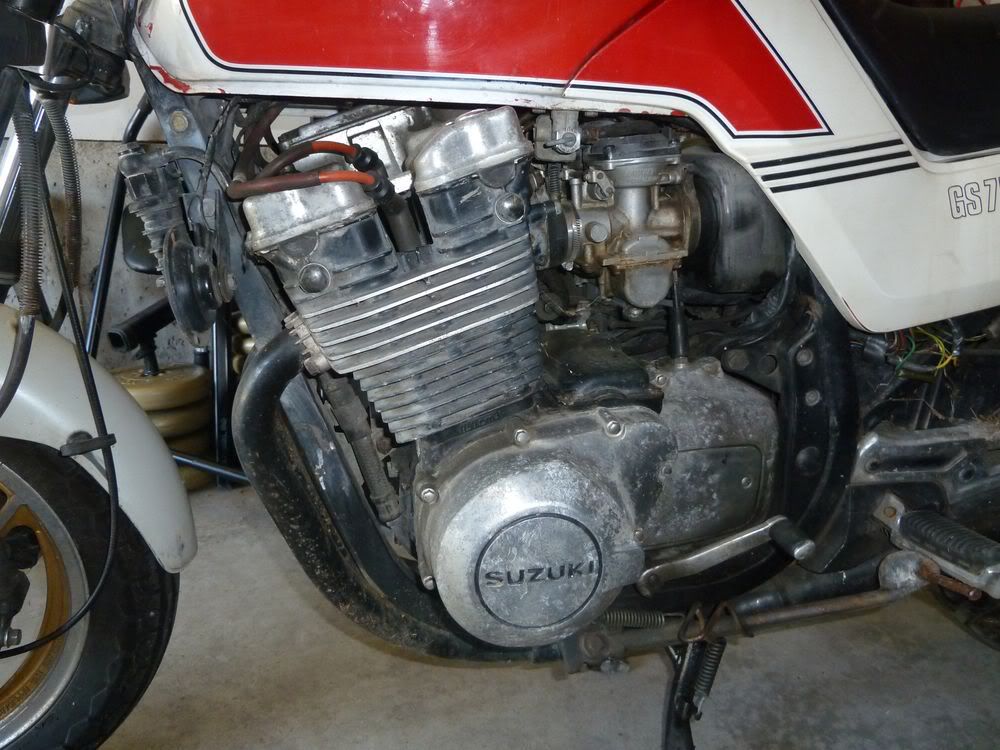
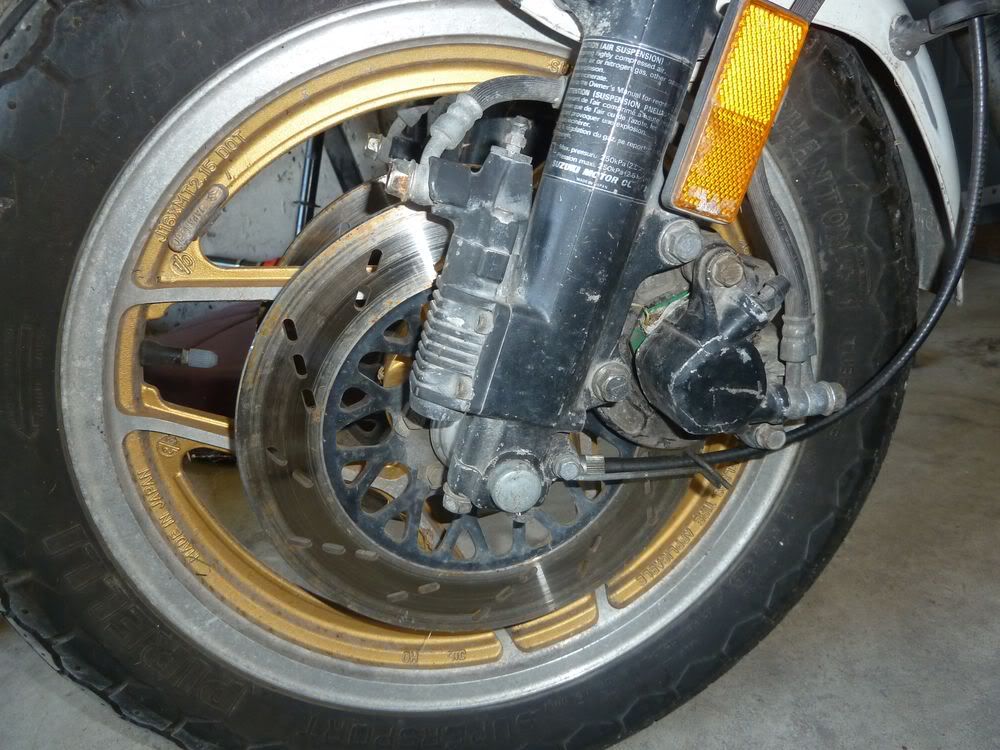
                So i took a hundred of pictures to share with you, meanwhile i started to work on the bike.

                here we go for some!


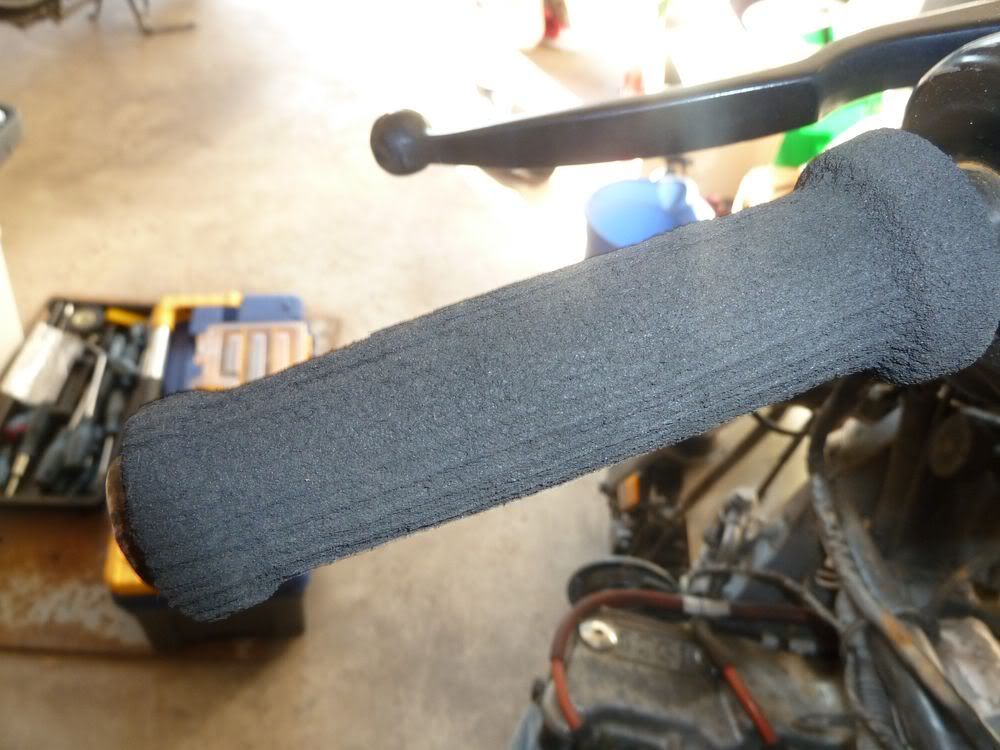
                Notice the Fugly hand guard thingies! very nice touch...


                okay, not THAT bad!


                The brake discs are groovy... BUT the ones on the red bike are good!


                the part bike now!


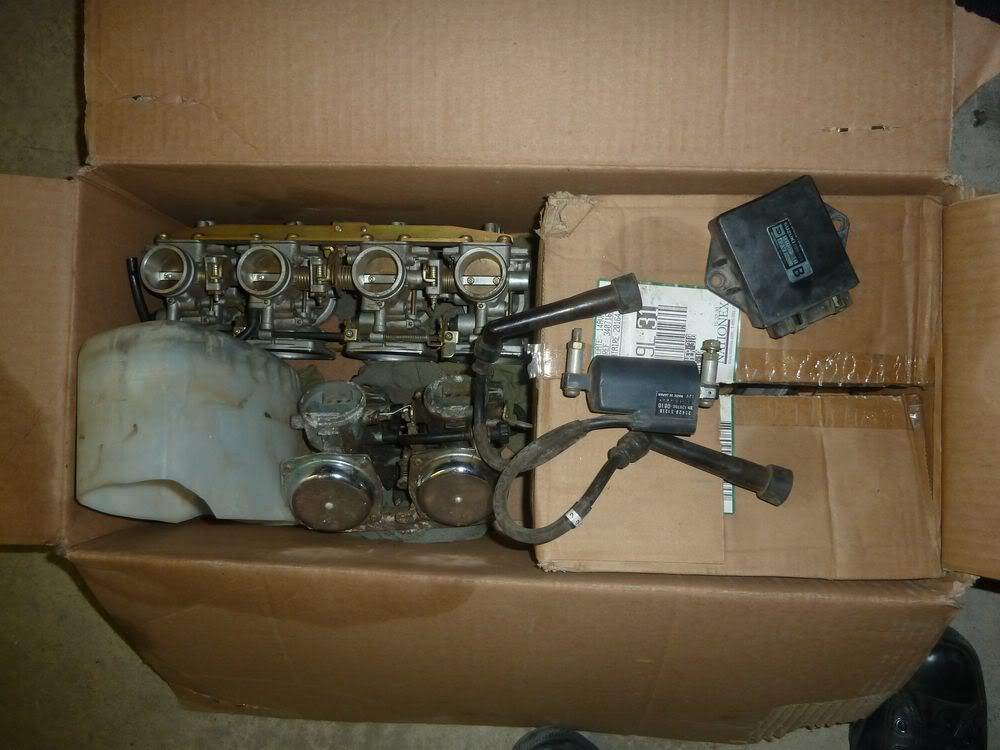
                some random pieces i have

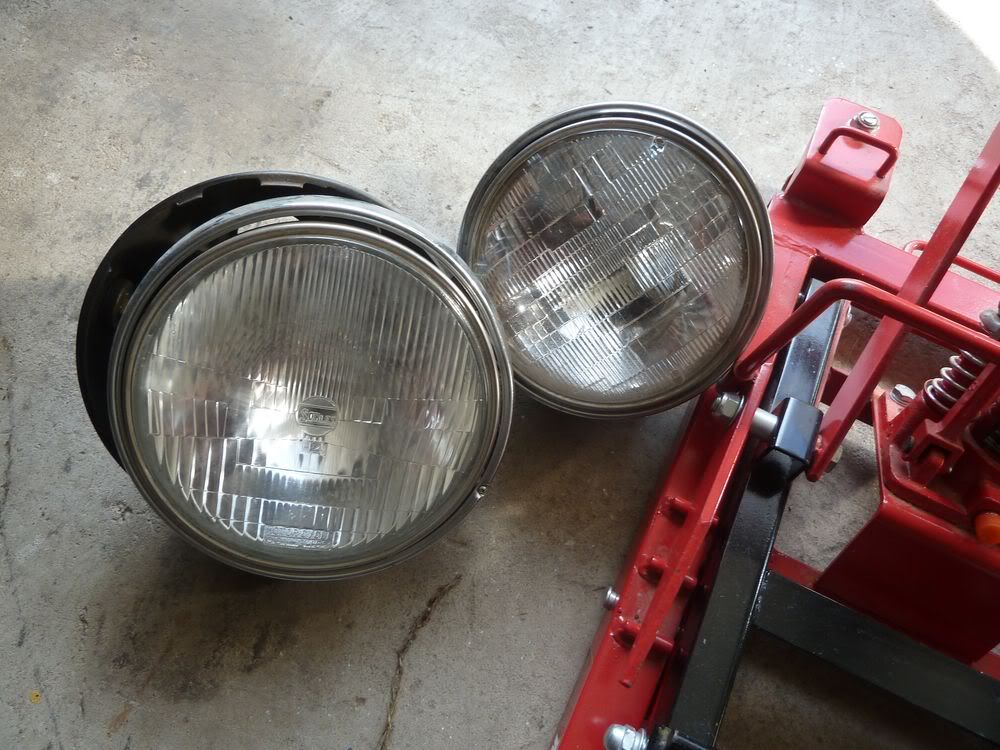
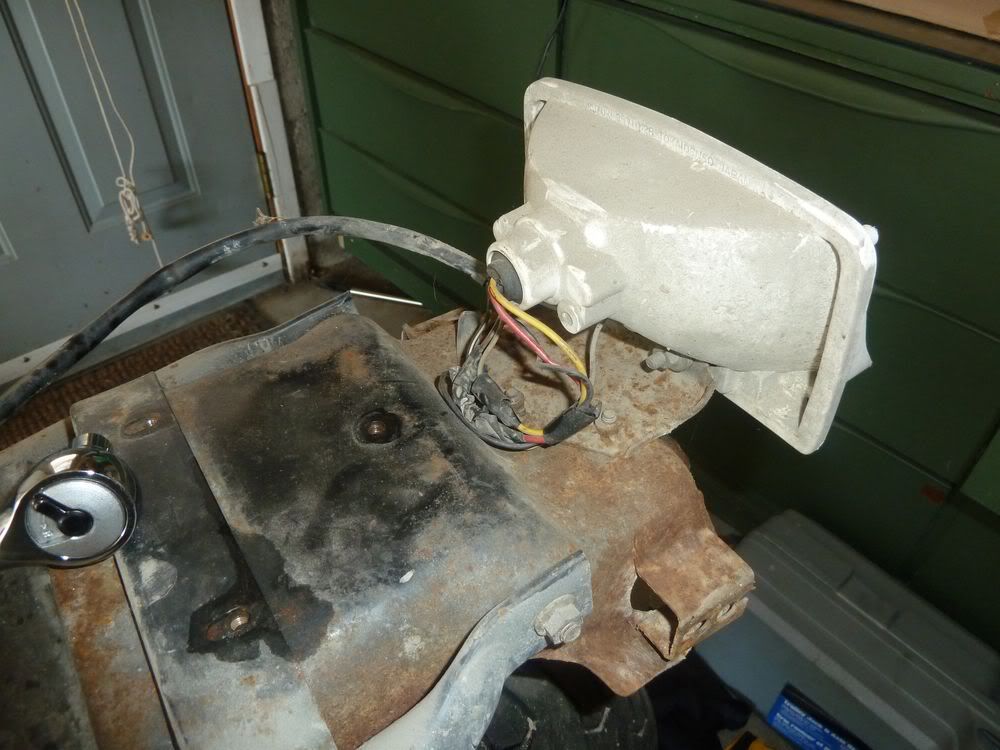
                the big one used to be on the white bike, wich have the mouting for the square headlight/fairing... i don t know yet, but i like this big headlight, maybe i ll use it!

                Comment


                  #23
                  MORE

                  by the way, i only have the title for the white GS, so be it!


                  OUch! i ll salvage this part on the other one! yay


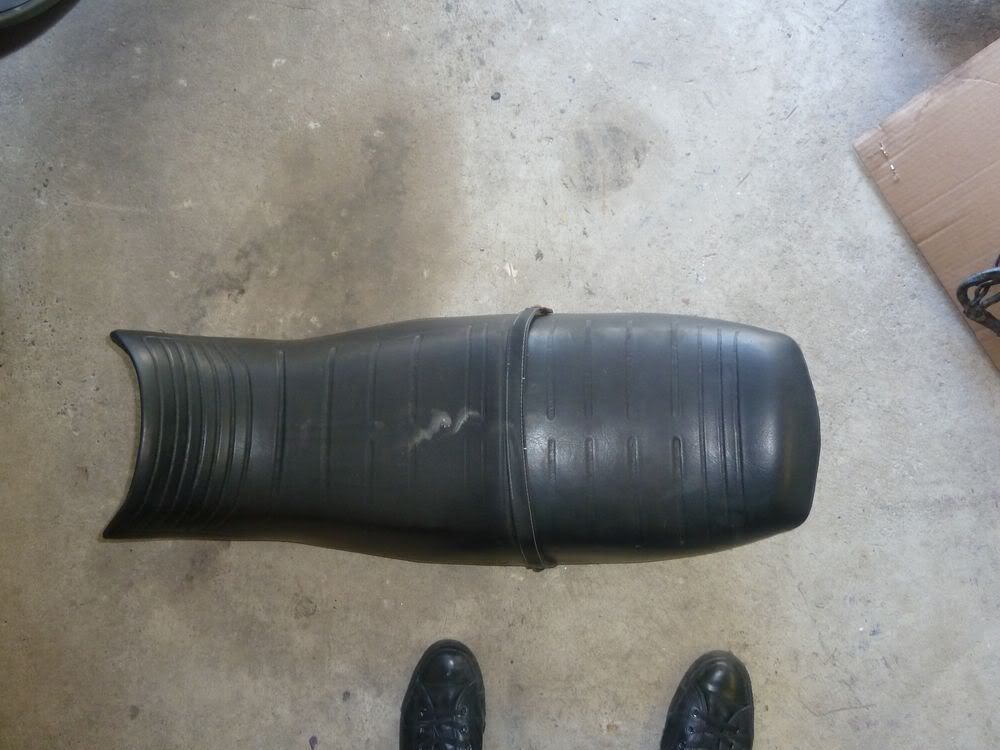
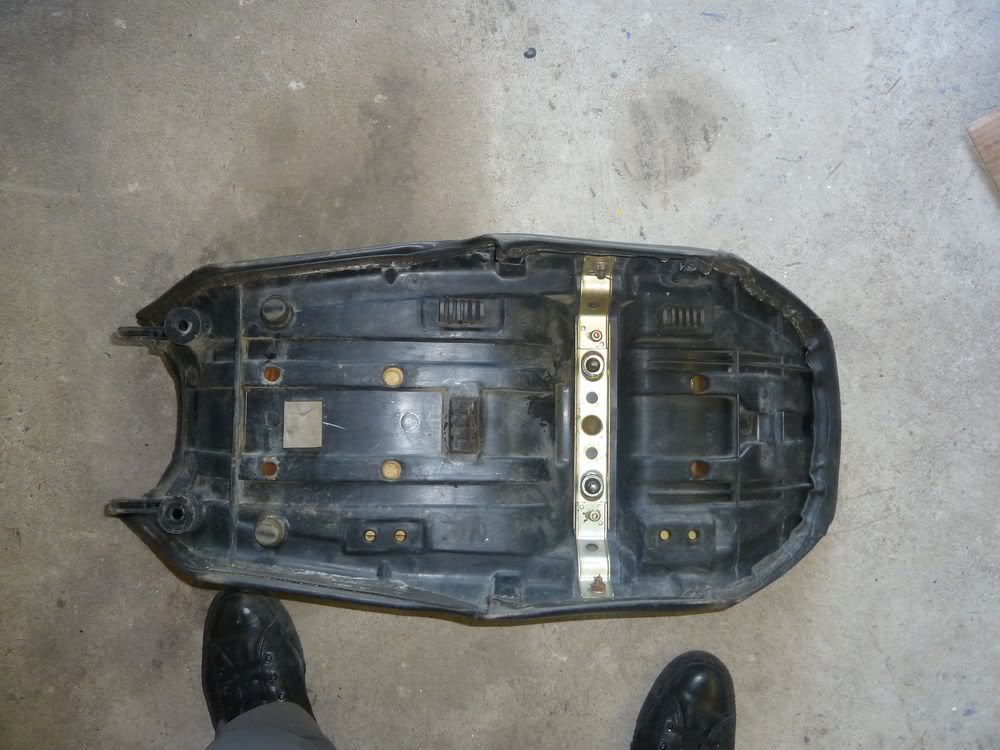
                  the seat is neat.


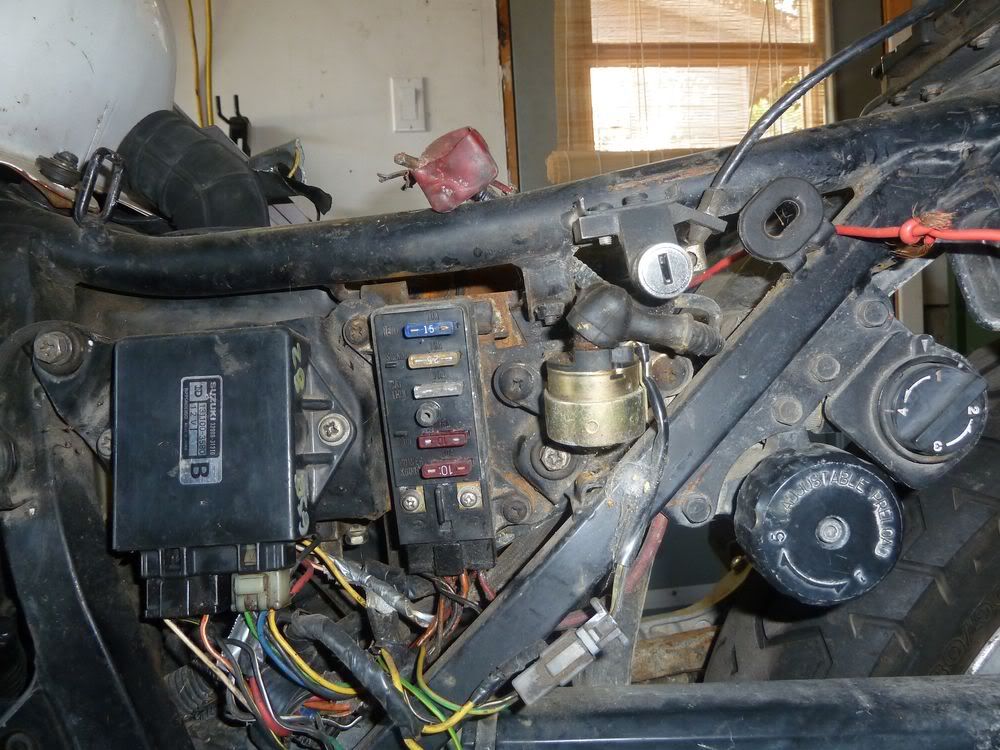
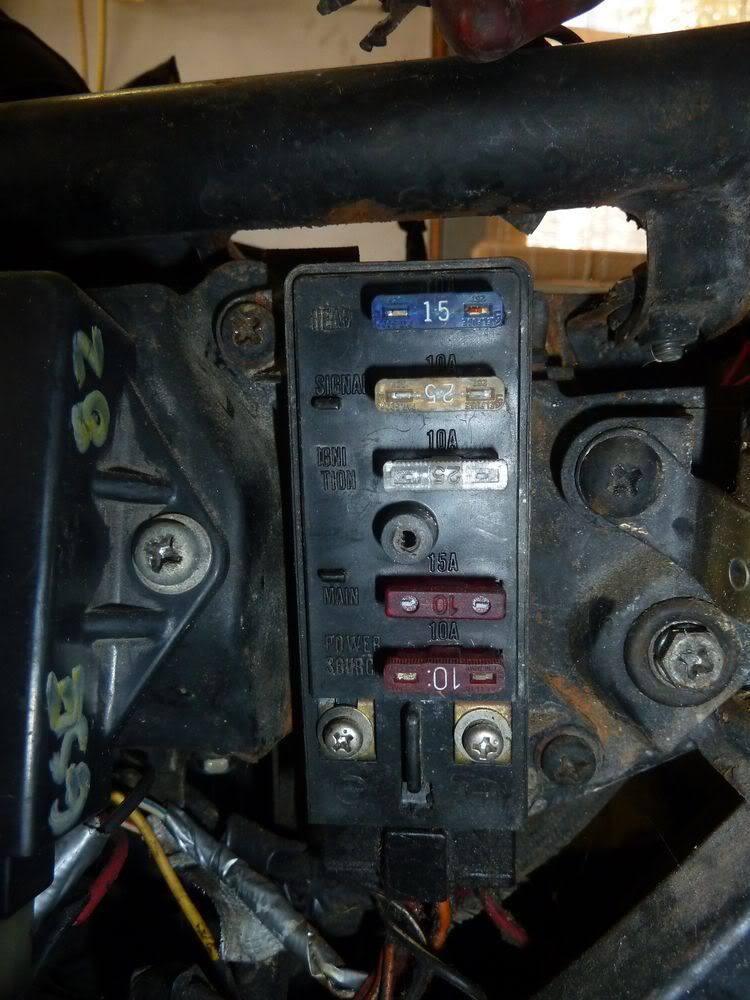
                  sup doctor? so the PO did change the battery this year. good.


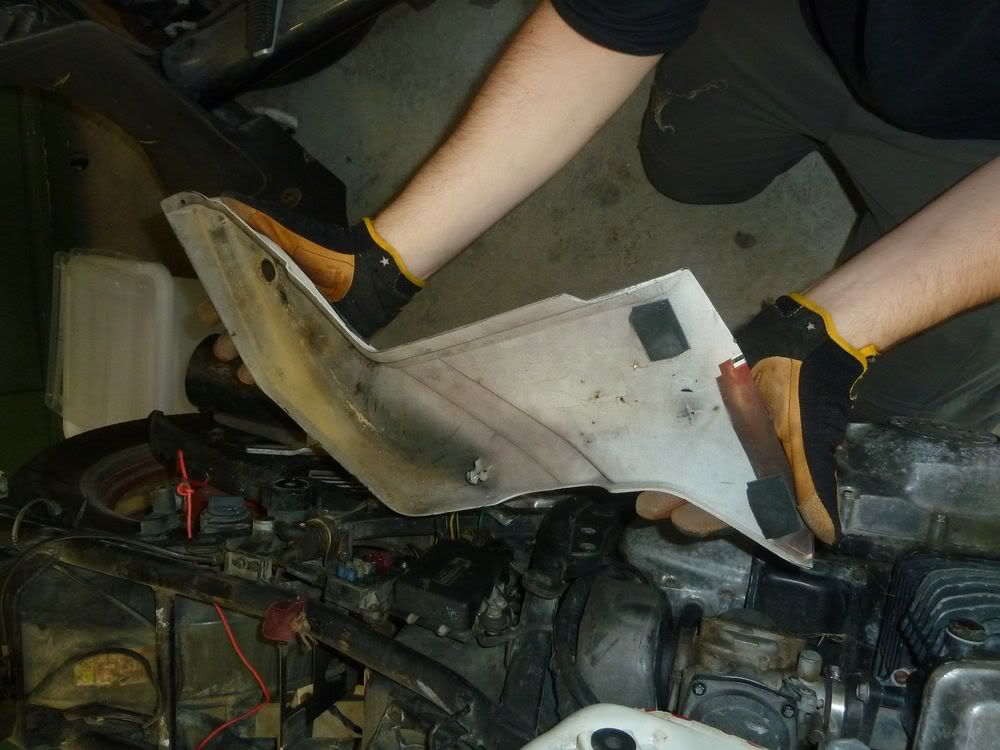
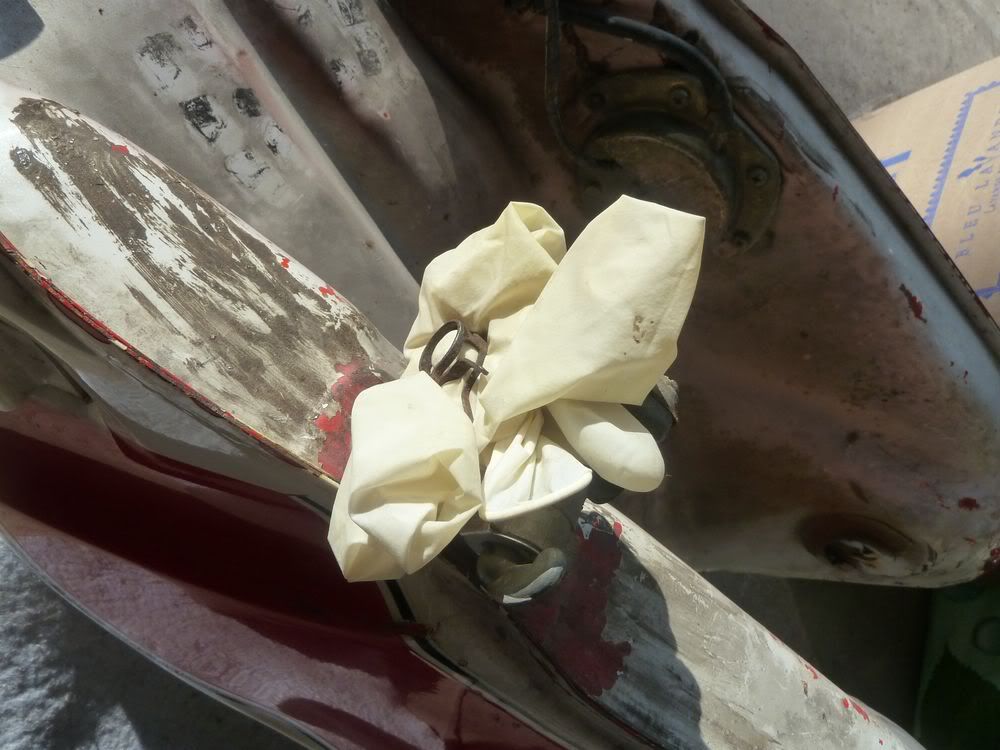
                  I wonder how i ll fix these side fairings, one pin left to attach it... mhhh, any idea guys!?

                  Comment


                    #24


                    when i saw this, i was , why the hell would he do that!!
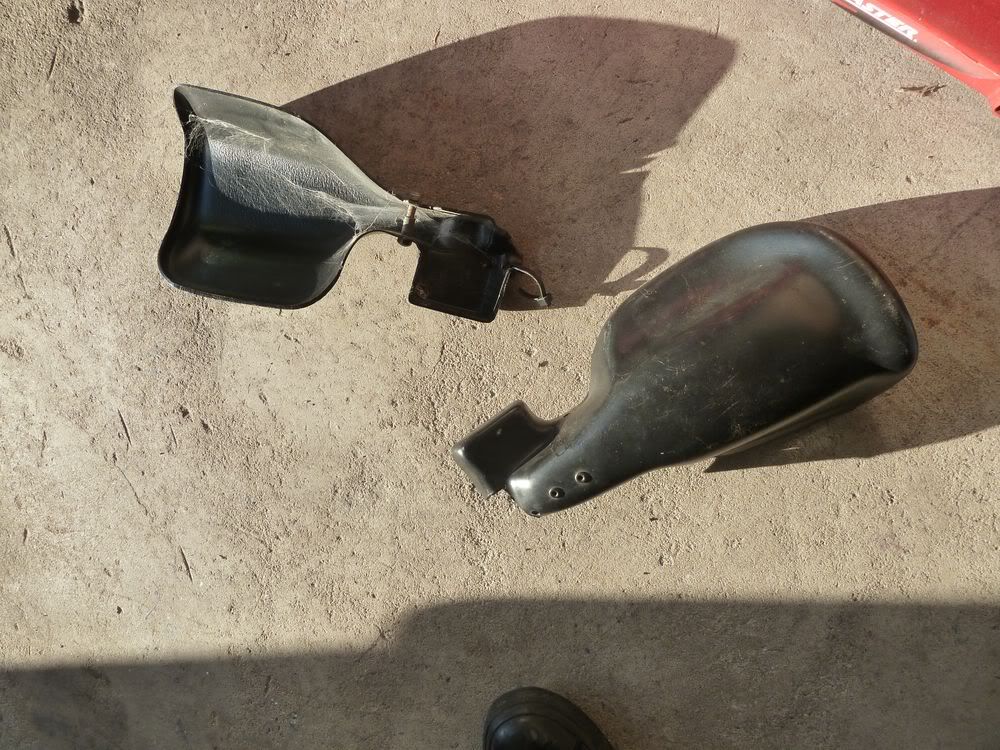
                    So yeah an other one for you guys!

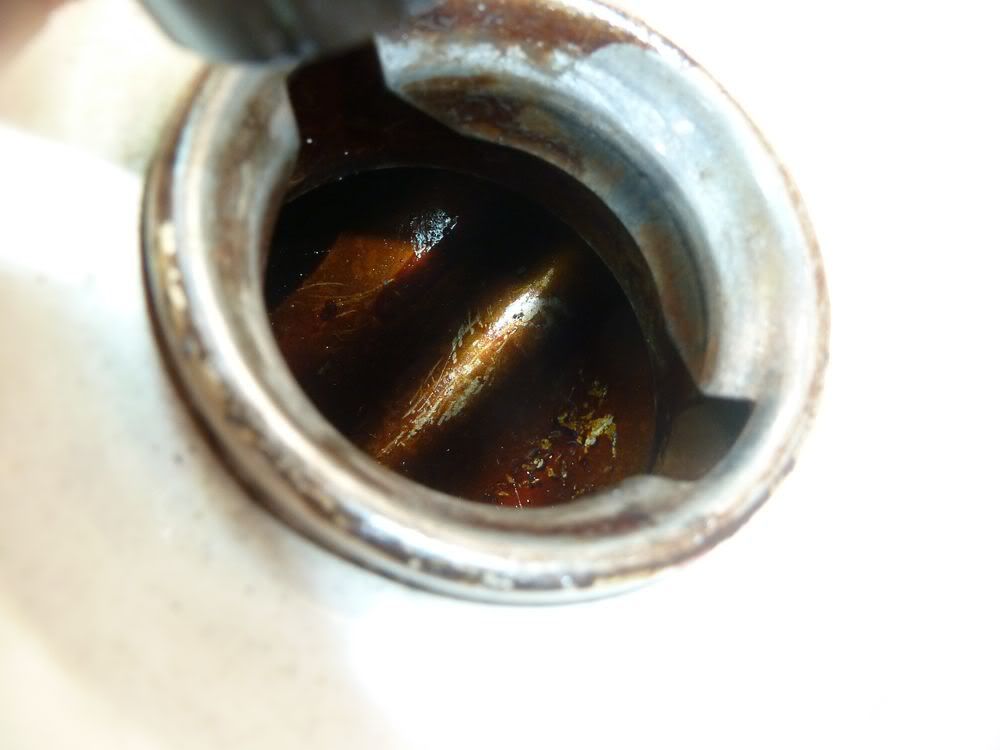
                    what is that redish thing on the inner surface of my tank!?
                    i can scratch it away, it looks like piggypooglue!
                    how can i clean that?
                    for now i keep the gaz in the tank.


                    just in case the petcock would fail on me

                    Comment


                      #25

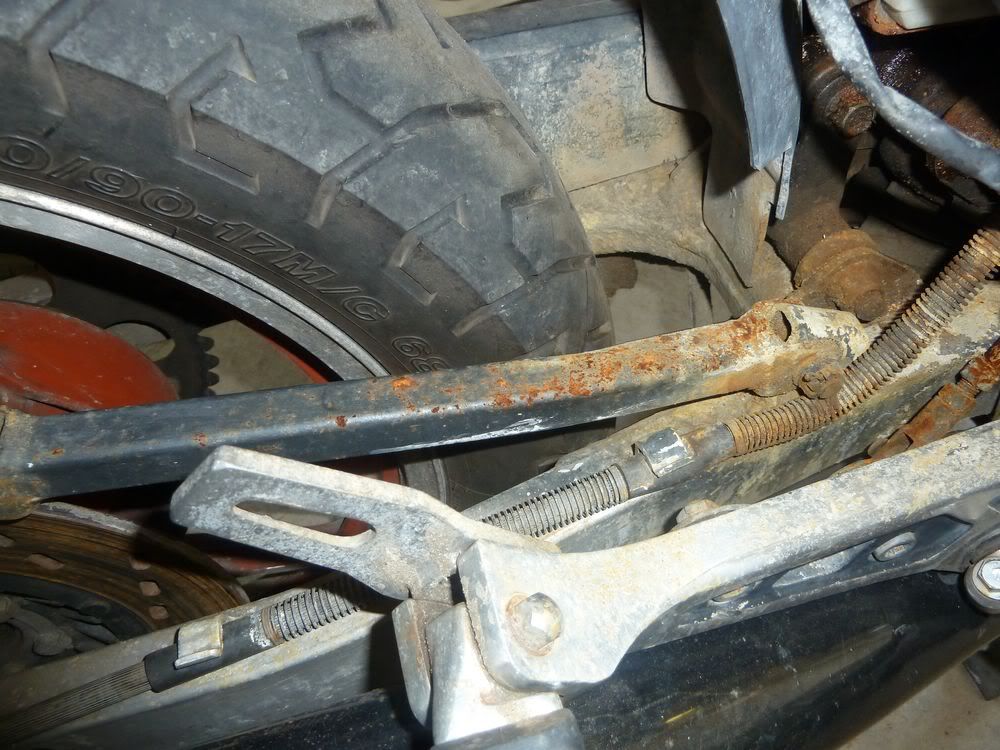
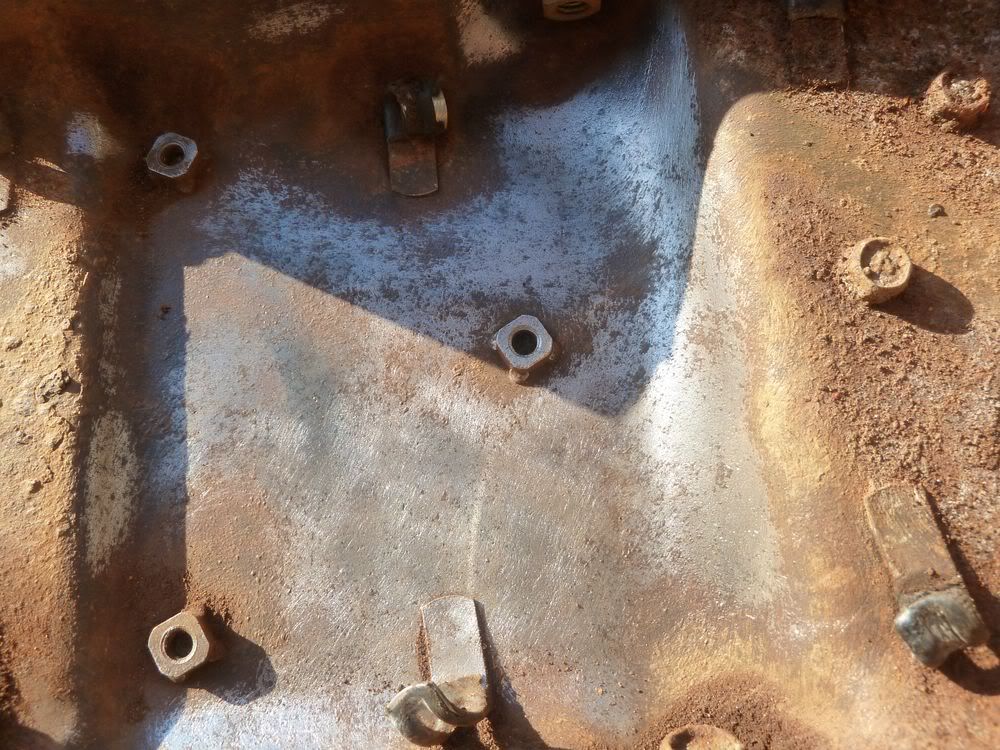
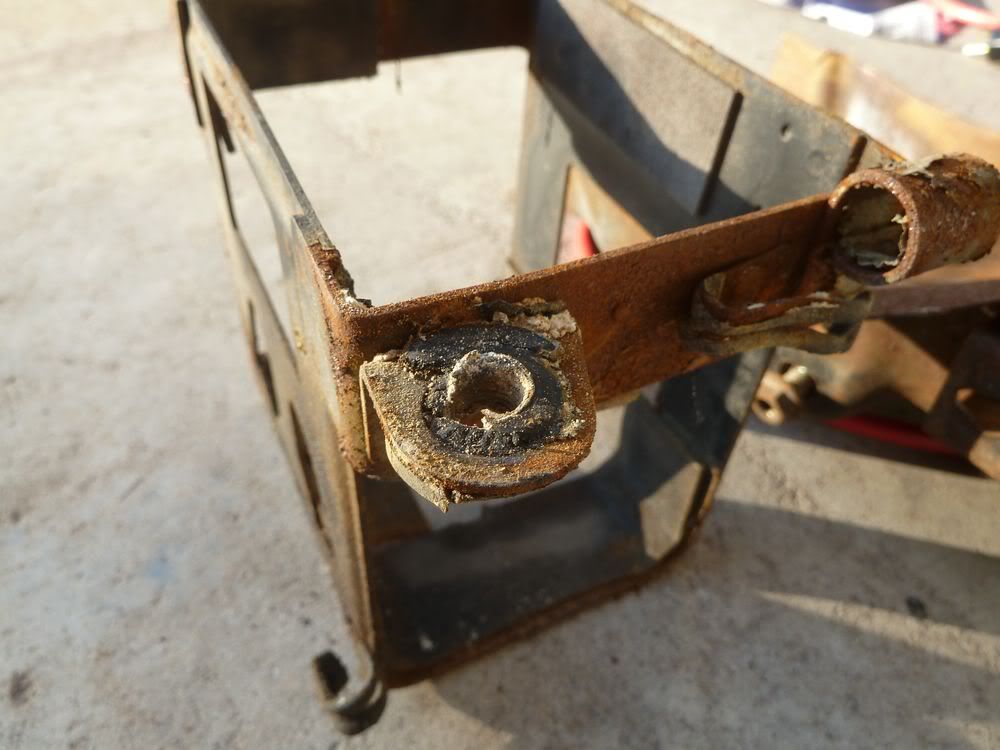
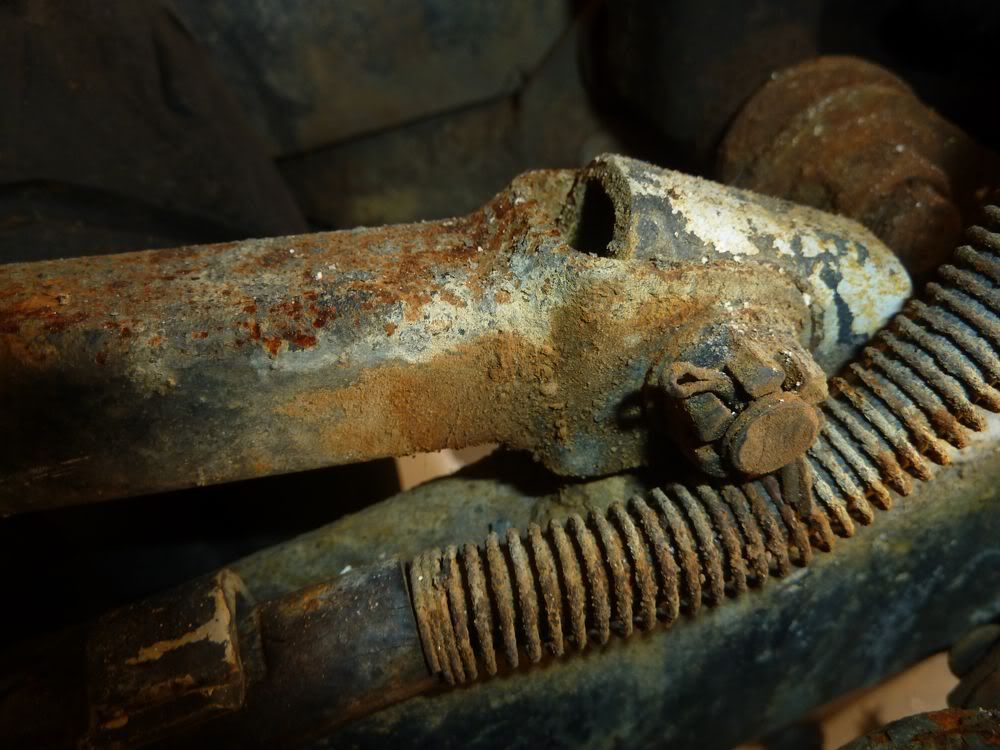
                      this back part there is the worst piece on the bike, in terms of rust.
                      i tried some wirebrush kit on my drill, just tried!
                      i need to old it down with my vise but i didn t attached it to the bench yet!

                      Comment


                        #26
                        so, the back is gone


                        Outside!
                        for a quick cleaning before storing for a while!


                        that s a bad one. again, the one on the red bike is just fine!

                        Last edited by Guest; 09-17-2011, 10:20 PM.

                        Comment


                          #27

                          these are gone, forever!


                          old man, old skin.

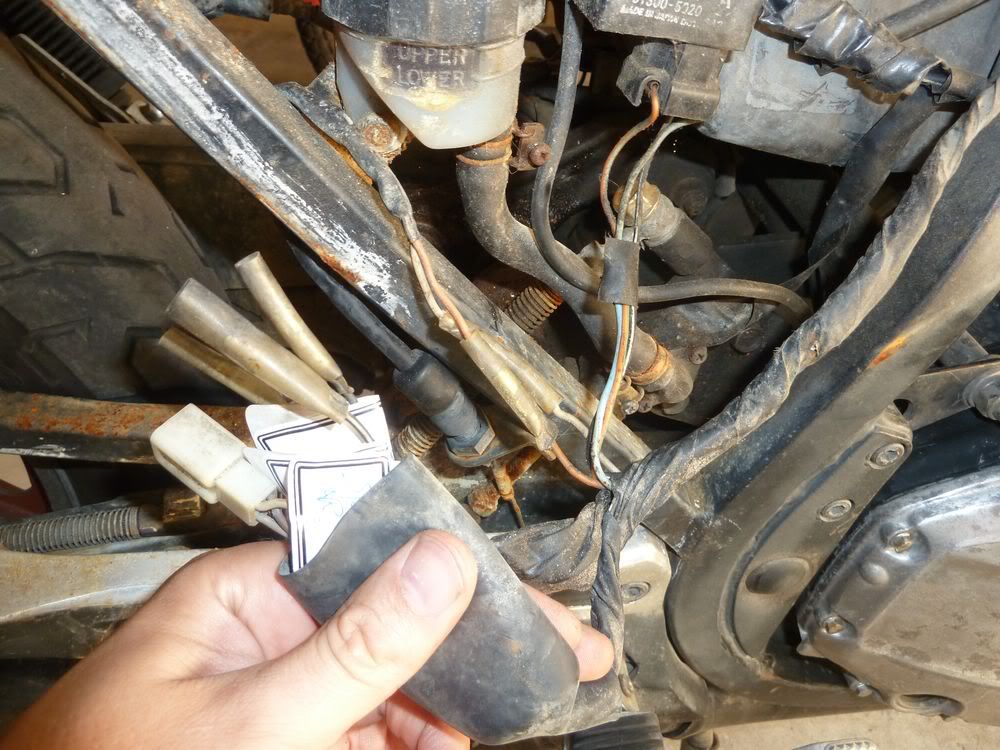
                          then i started working on unplugging/identifying the rear portion of the harness


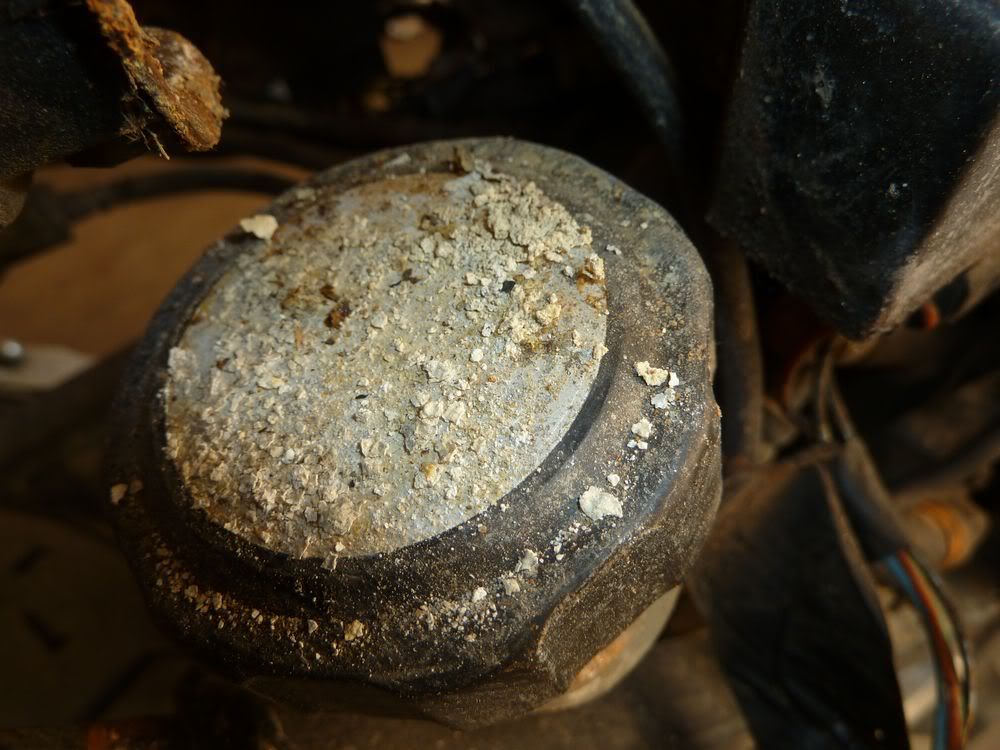
                          oh, the zone around the (old and now gone) battery was pretty much like that everywhere, yummy!


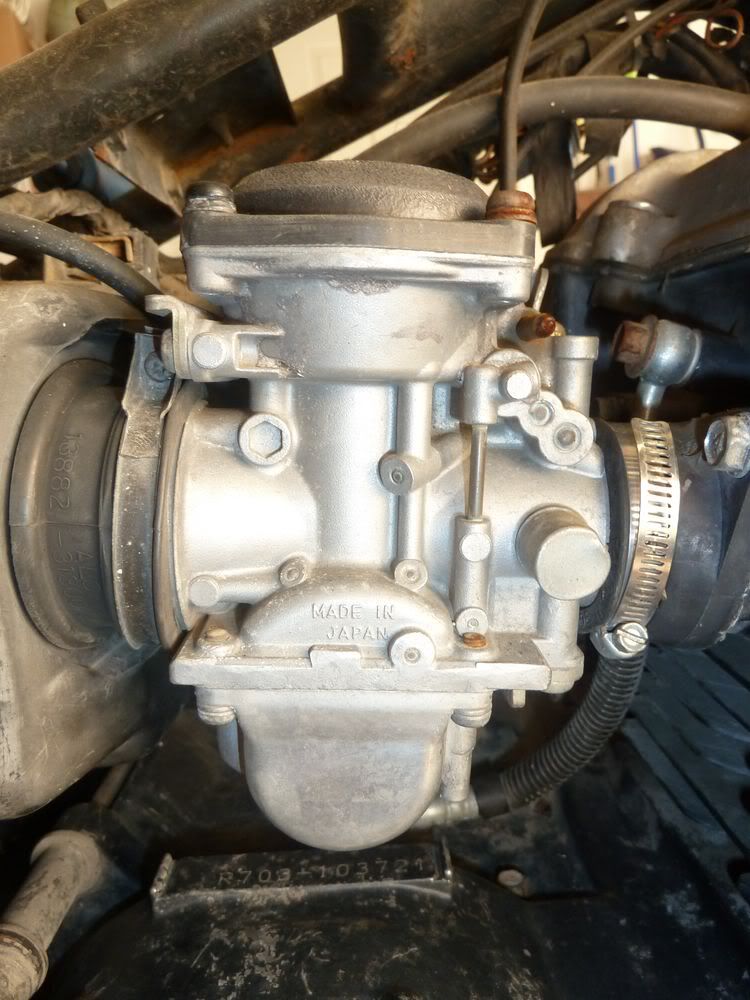
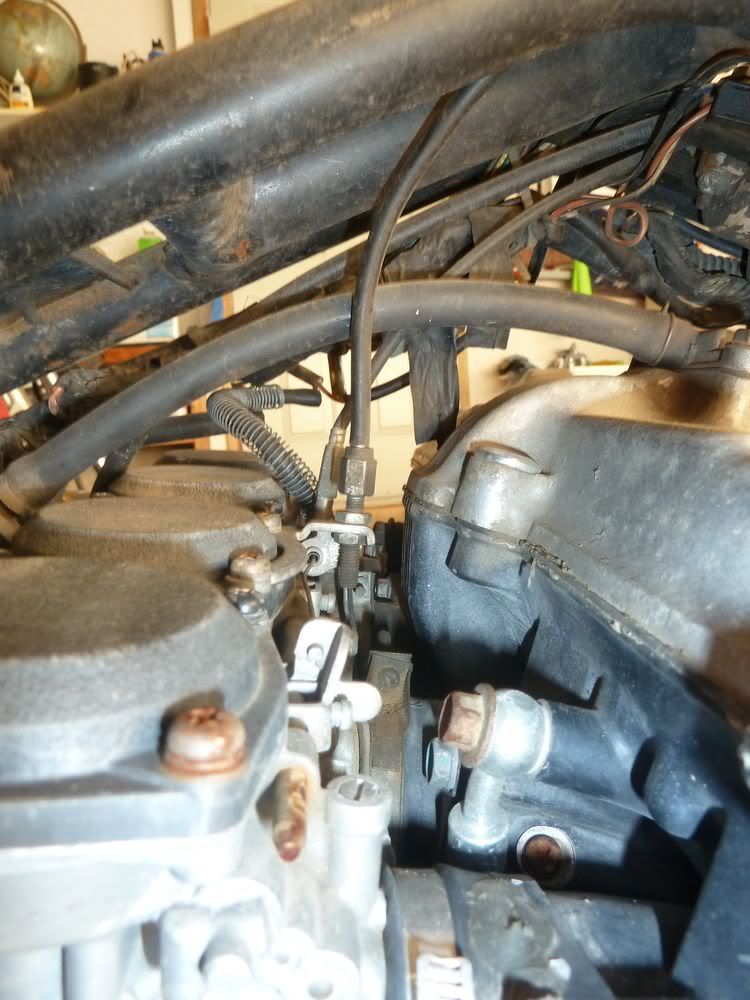
                          a friend of the PO, already did put together the two sets of carbs from both 750s


                          they actually don t look that bad, outside, we ll see what it will be for the inside part, later!

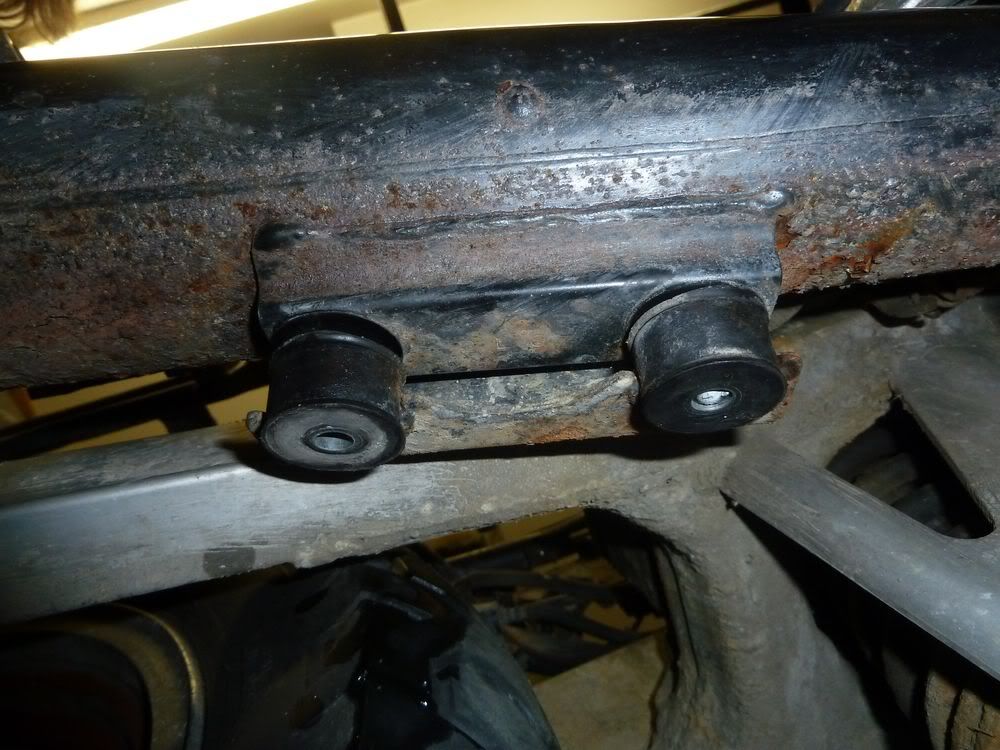
                          right under the battery/turnsignals relay is the worst part of the frame,
                          that piece is the bent one too.
                          Last edited by Guest; 09-17-2011, 10:08 PM.

                          Comment


                            #28

                            wait buddy, just wait, i ll clean you good!
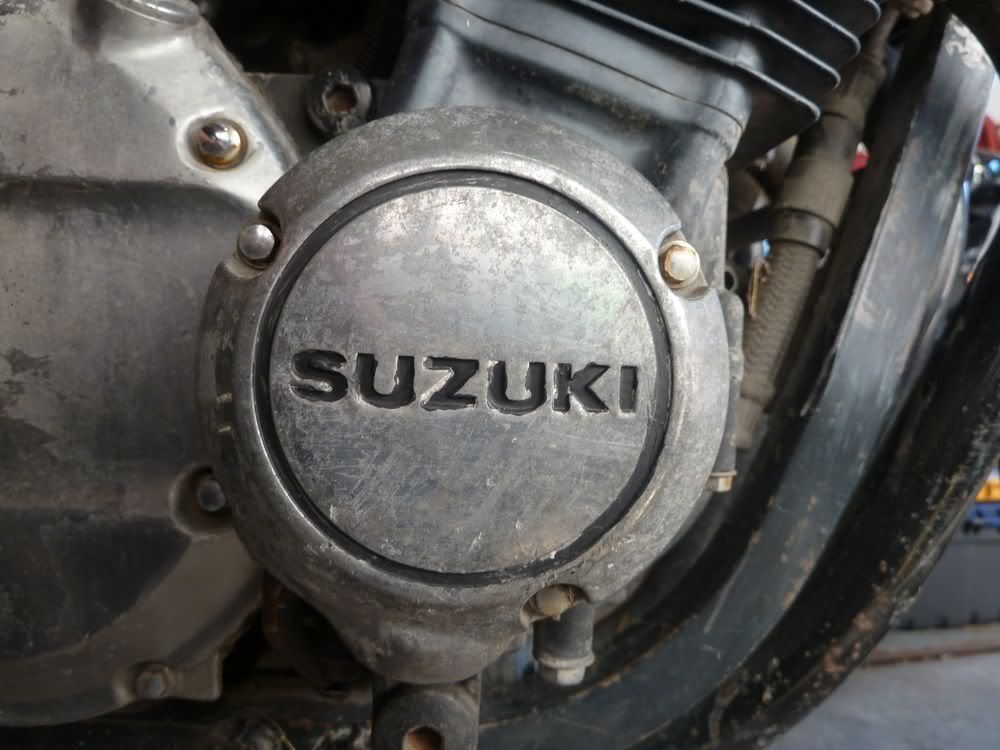
                            in fact, i ll probably end up using the other engine! but i am not sure until i open them up to compare!


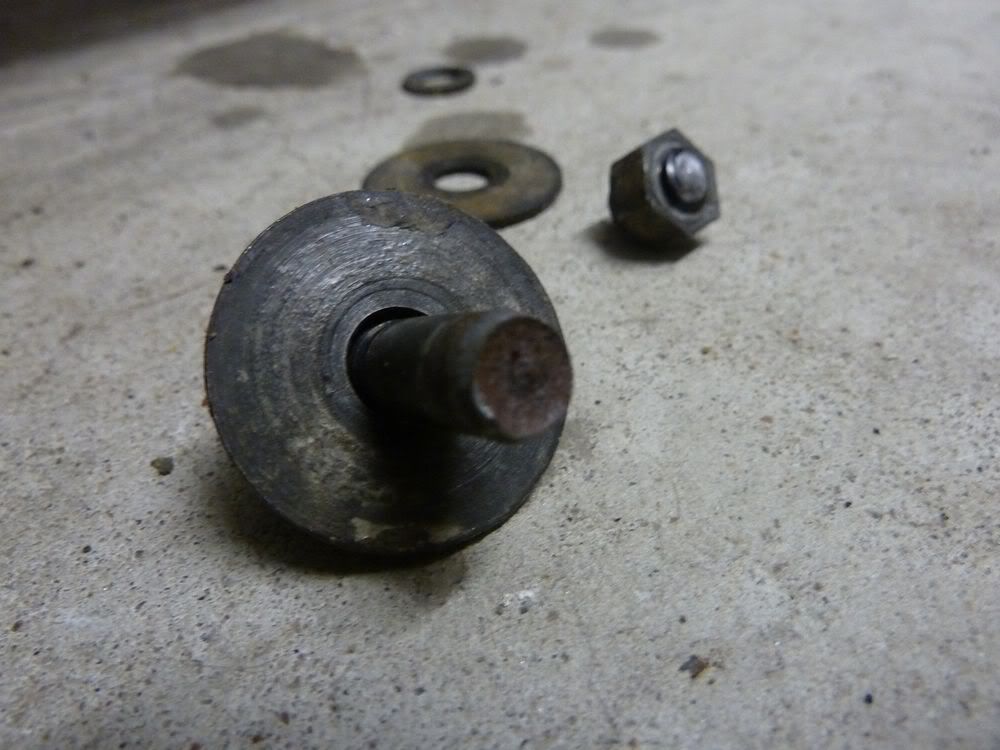
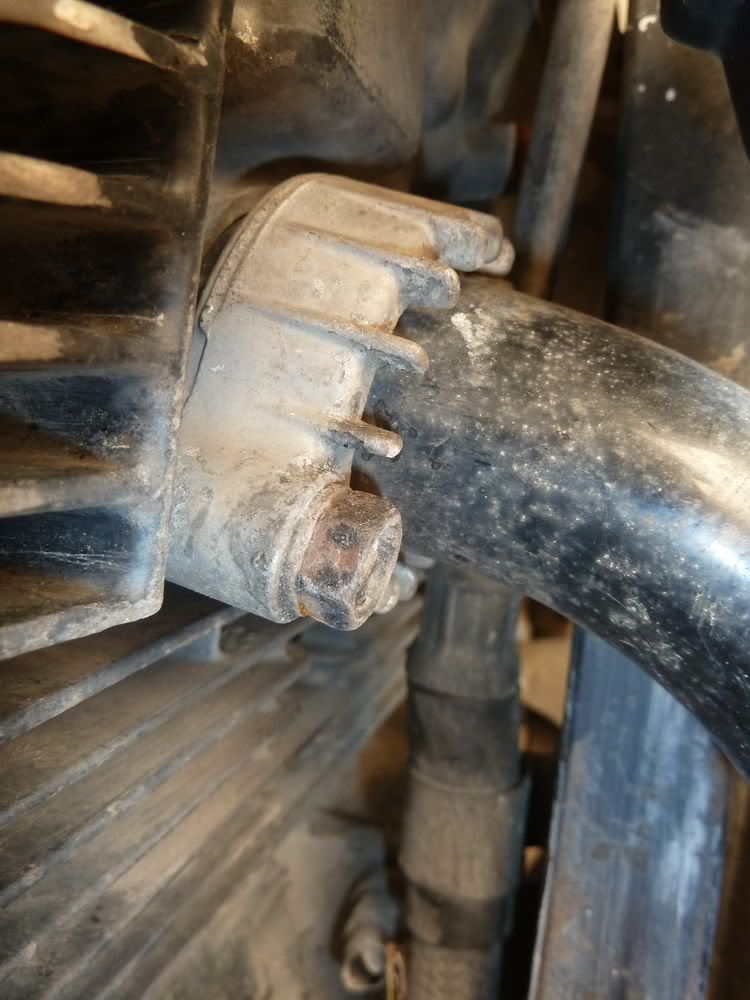
                            later on i tried to remove the exhaust line and broke two bolts under the end part...


                            actually, i want to use the exhaust system that now sits on the partsbike, we will see.

                            so, i WILL heat up with a torch when i can, cos i DON T want to break these!

                            Comment


                              #29


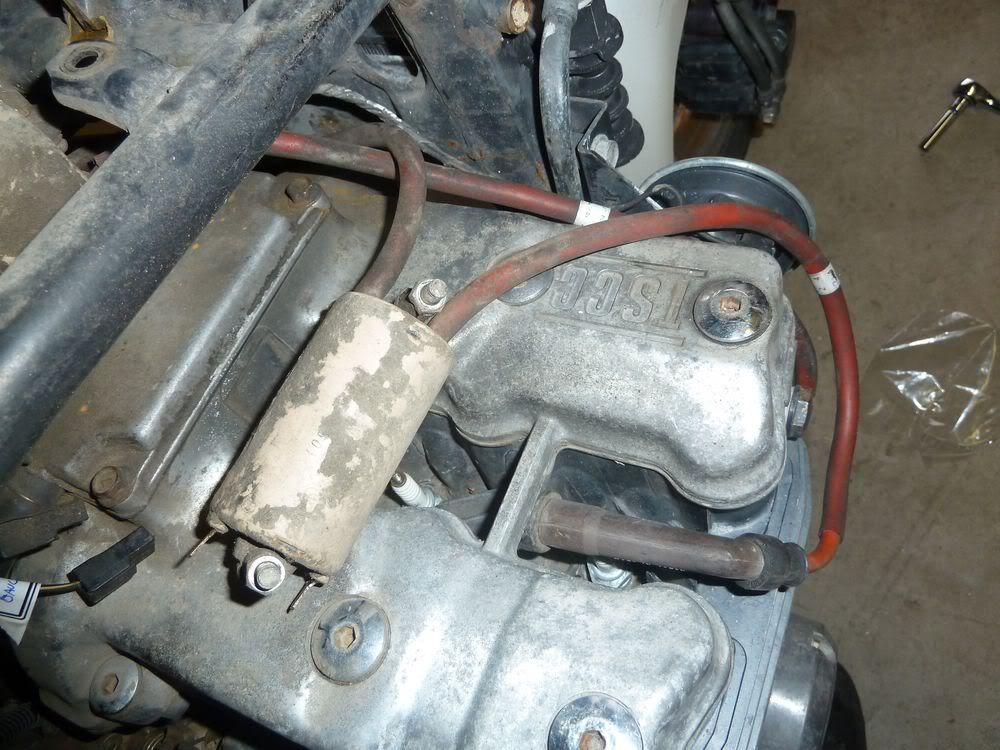
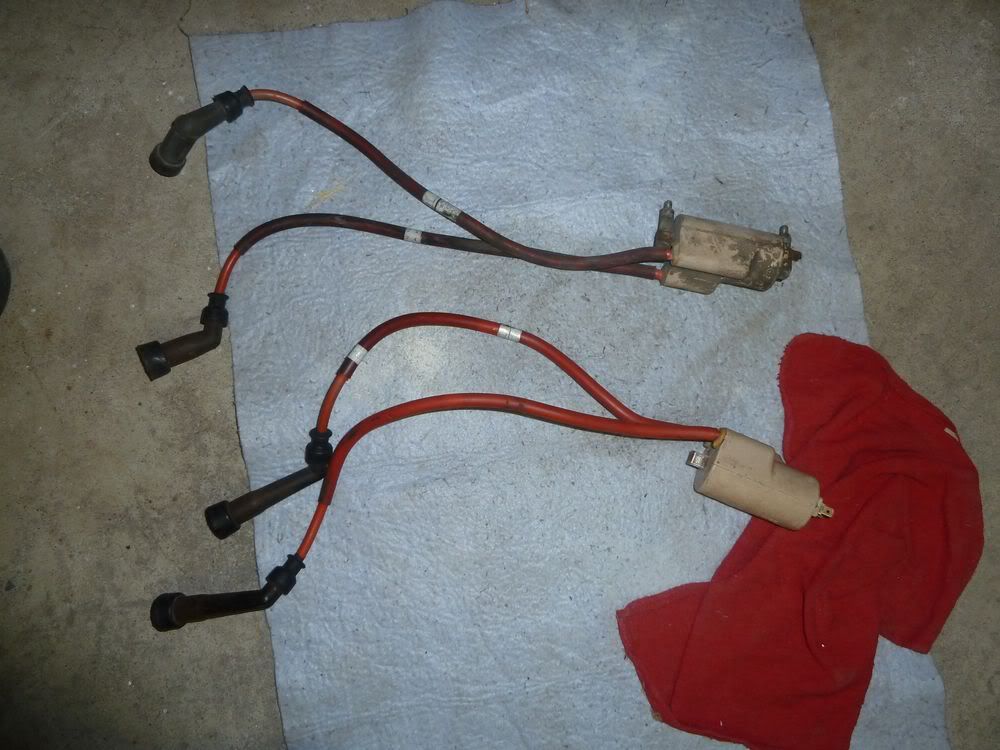
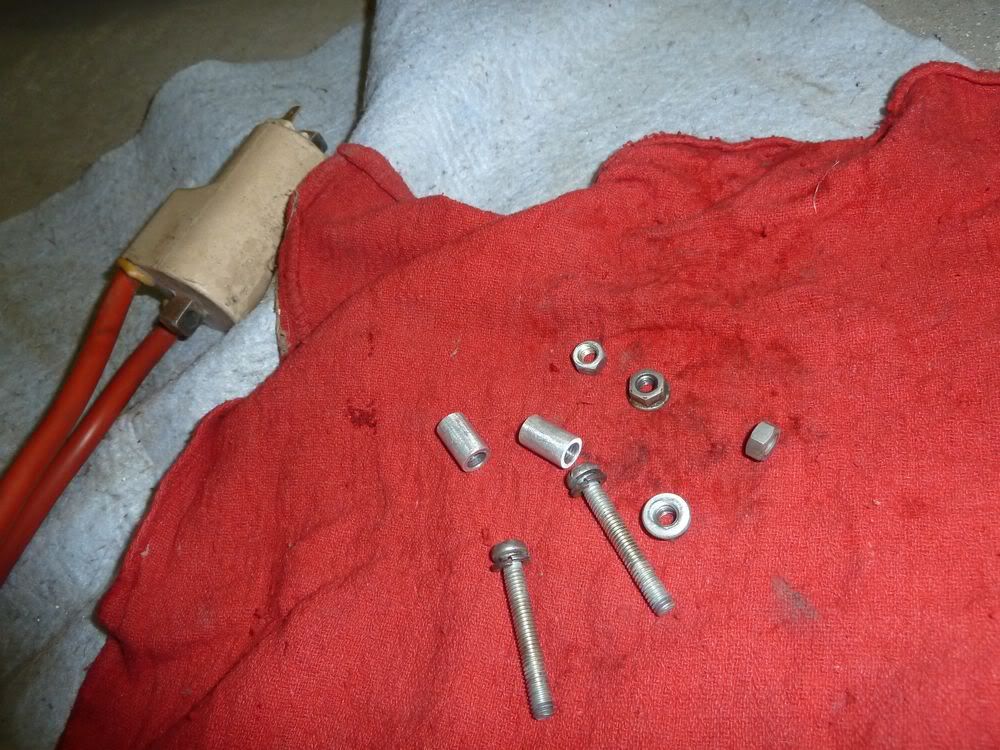
                              removed and tested the coils, they are good, according to my service manual and my multimeter. (i have two other ones working good too)

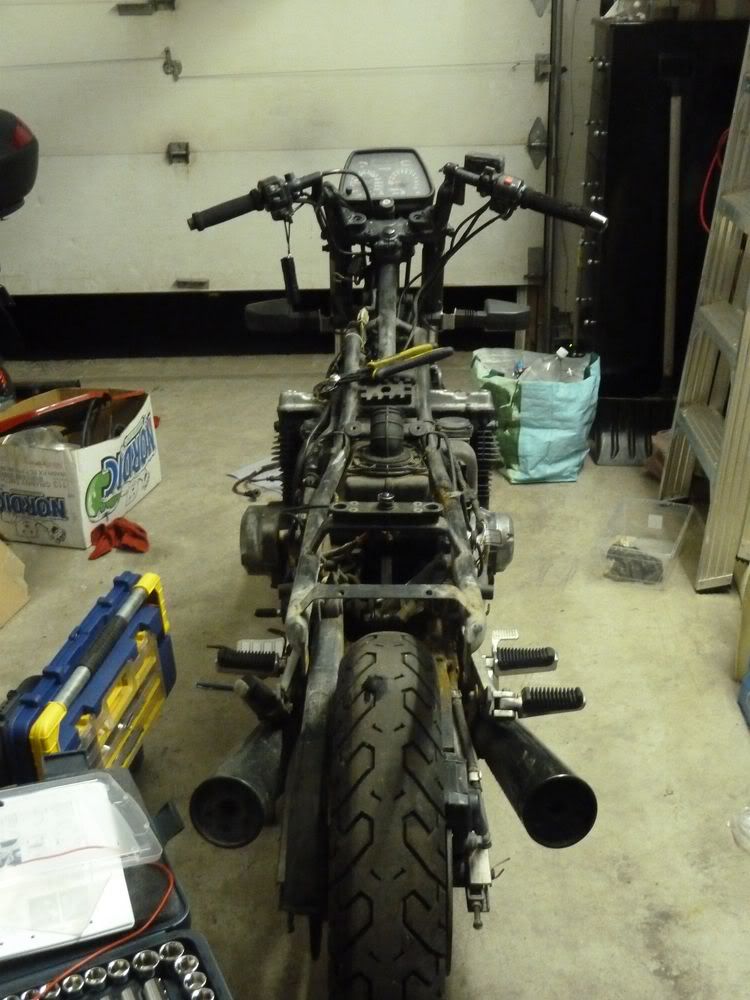
                              just checking if the frame is straight...

                              Comment


                                #30
                                and that s it for today!
                                i ll take the carbs out next weekend cos i won t be able to work on the project tomorrow, too bad!

                                Guys, if you have any recommendations to make! please do! it s a bit overwhelming at first i have to admit!

                                Comment

                                Working...
                                X