Announcement

Collapse
No announcement yet.

1983_GS750E - Rebuild

Collapse
X
 
  • Filter
  • Time
  • Show
Clear All
new posts

    #61
    Actually I have a question ?

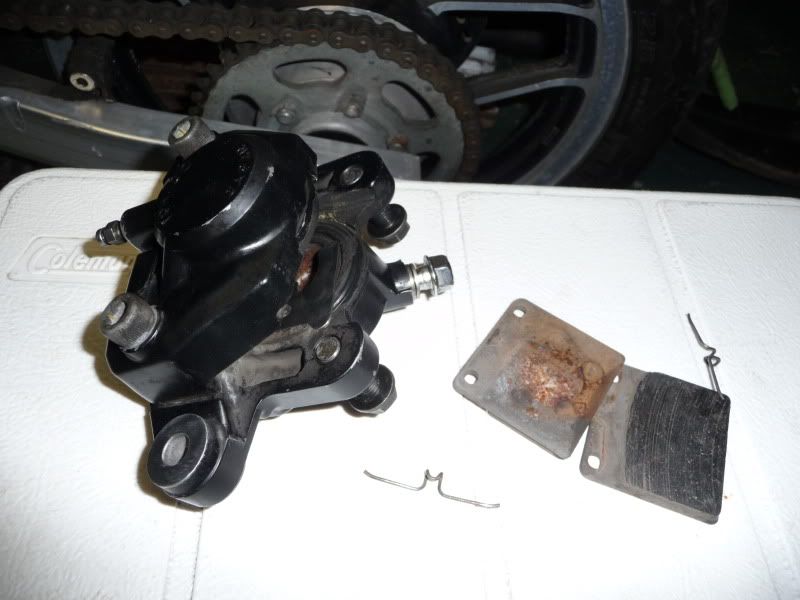
    in this pictures of the rear caliper, there are 2 allen bolts holding the two halves together, do I take these out so I can split it apart so I can take the pistons out and redo them and the seals, or is this a bad idea and they should not be removed, I did try a bit, but they are in there tight

    Comment


      #62
      You did do the air compressor thing to them?
      I got my SS lines here http://stores.ebay.ca/Rennsport-Auto-Parts .Fairly close to you and a good price.Don't get red lines though.Mine are sun faded.

      Comment


        #63
        Thanks for the link, I will check them out....

        no I have not done anything to the calipers as of yet, just got around to taking them off, but if that is all I need to do, and out the pistons come, then great, I won't remove the 2 allen bolts

        Comment


          #64
          Originally posted by GateKeeper View Post
          Thanks for the link, I will check them out....

          no I have not done anything to the calipers as of yet, just got around to taking them off, but if that is all I need to do, and out the pistons come, then great, I won't remove the 2 allen bolts
          If air doesn't do it they are pretty stuck.Couple of the CB calipers are like that.Should not have to tell you to be careful doing it as they can come out fast.
          Last edited by Guest; 01-04-2012, 07:32 AM.

          Comment


            #65
            Ya I kinda figured they might shoot out, or not at all.....

            I think once I have all the lines off the bike, I will just go the Rennsport and have them make the same as what I have, and I was going to go with the clear, for a cleaner look, the red would be great if I do the bike with the red color I was thinking of...

            Comment


              #66
              Throw some Penetrating fluid in there, tighten them into a vise, and start cranking away on them.
              Cowboy Up or Quit. - Run Free Lou and Rest in Peace

              1981 GS550T - My First
              1981 GS550L - My Eldest Daughter's - Now Sold
              2007 GSF1250SA Bandit - My touring bike

              Sit tall in the saddle Hold your head up high
              Keep your eyes fixed where the trail meets the sky and live like you ain't afraid to die
              and don't be scared, just enjoy your ride - Chris Ledoux, "The Ride"

              Comment


                #67
                Well not much done today....had about an hour, and son was at work, so I didn't want to do too much without him, I think he is getting into it, so I might as well let him do as much as he can....

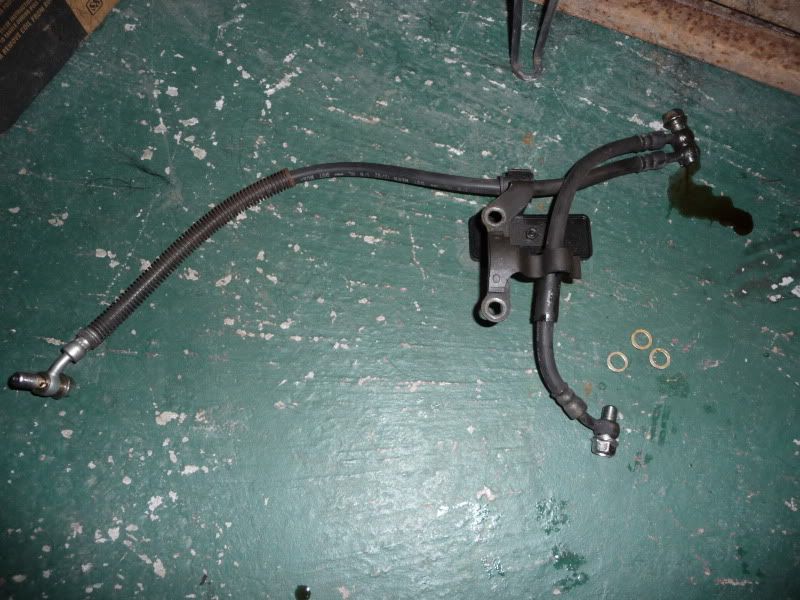
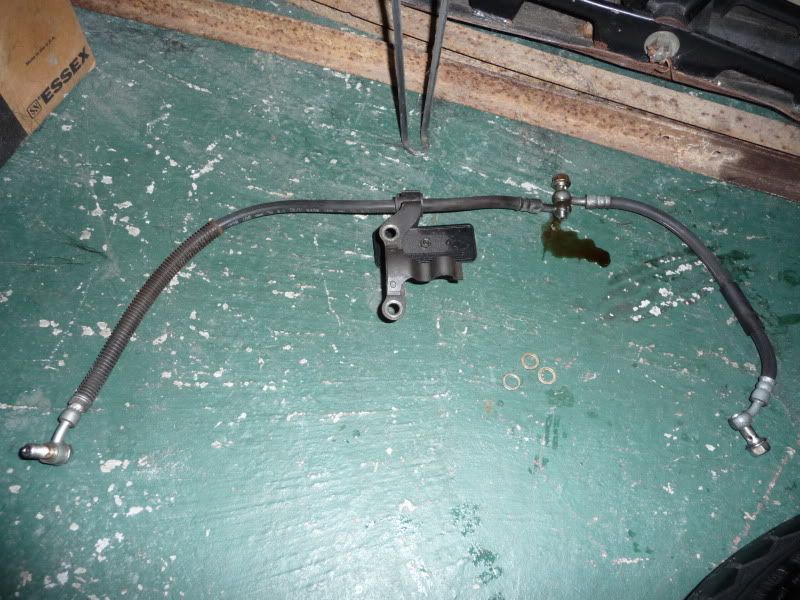
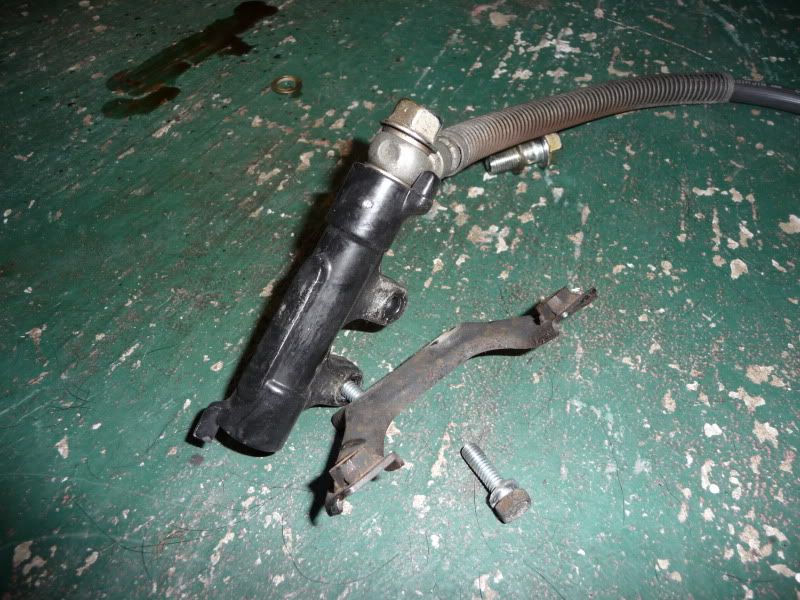
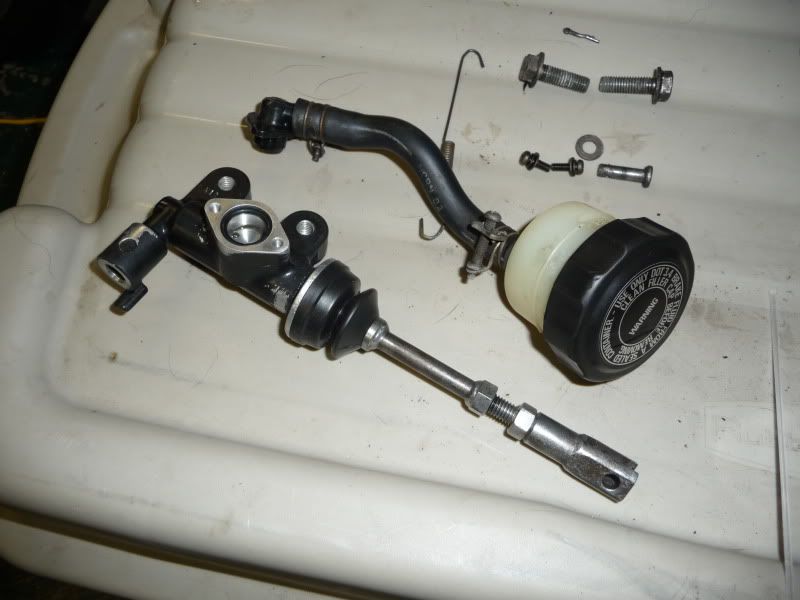
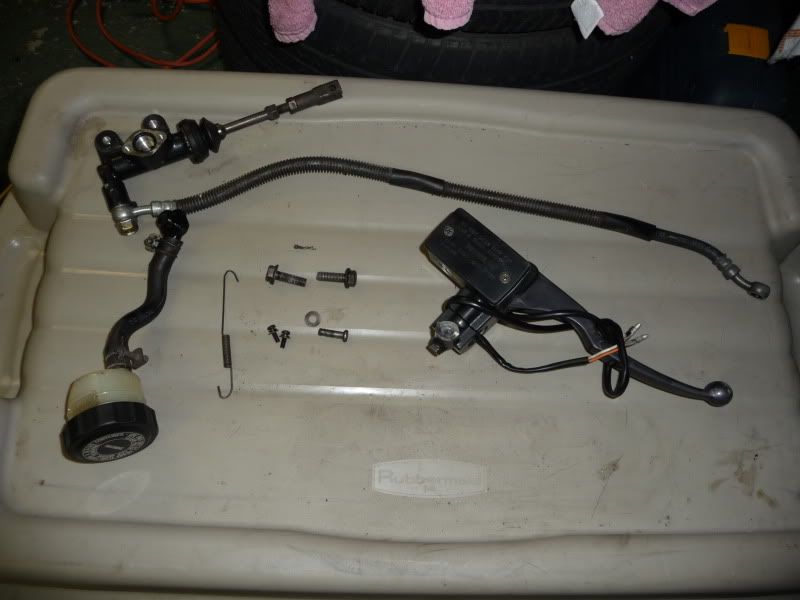
                So basically I removed the front and rear brake lines, master cylinders, and not much else....

                Well I had a nice cold beer, afterwards..........


                I really do hope I remember on how to put all this stuff back onto the bike......

                This is my only big concern, I am not a bike builder, and I do hope it goes back and is the same only better once it's all together,,,,,and let's not even mention parts left over.......

                It looks like it will be a tear down to the bare frame, we just keep on removing bits and pieces, soon it will be just a bag of parts...........well a few box's as well

                Comment


                  #68
                  They go back together pretty easy.
                  Looks like you have it well in hand.

                  Just don't forget to put in NEW crush washers when you reinstall your brakes. Your old ones may look fine but for the minimal cost that new ones are, you're money ahead to just replace them.

                  If you want to have a better look at the piston bores in your calipers you can take the two allen head bolts out and split the caliper. This will also give better access to replace piston seals and dust boots and facilitate cleaning out all the old brown Jell-O that used to be brake fluid. And if you're going to paint them, well..... It's alot easier to mask off if you have access.

                  I like to plug the threaded holes with expandable foam earplugs.

                  Comment


                    #69
                    Originally posted by Smokinapankake View Post
                    I like to plug the threaded holes with expandable foam earplugs.
                    Now that is a great idea!Thanks!

                    Comment


                      #70
                      Probly all said already but...

                      i didn;t read the whole post but...
                      i removed dents in the tank with a piece of metal stock and lead solder, grabed the stock with vice grips and whacked them with the mini sledge, pop, done like dishes, aaaand some lead left to form instaed of mud.
                      Carbs were just gunked up from sitting around, if they don't leak don't seperate them jusy pop the top and bottom and do the passeges and pull the jets, mine were damaged from old fuel and repplaced for about 2 bucks apiece. The stock box and filter helps cut that sucking noise if yer at all concerned.
                      The plstics were eisily coated with fusion paint then primed and painted with the rest of the parts.
                      The aluminum clear coat was easily stripped with paint stripper, wet sanded out the dings 400, 600, 1000, 1500 then 2000 and then aluminum wheel polish, sparkles.

                      Comment


                        #71
                        Clutch cable removal

                        So I think I know this but want to make sure....

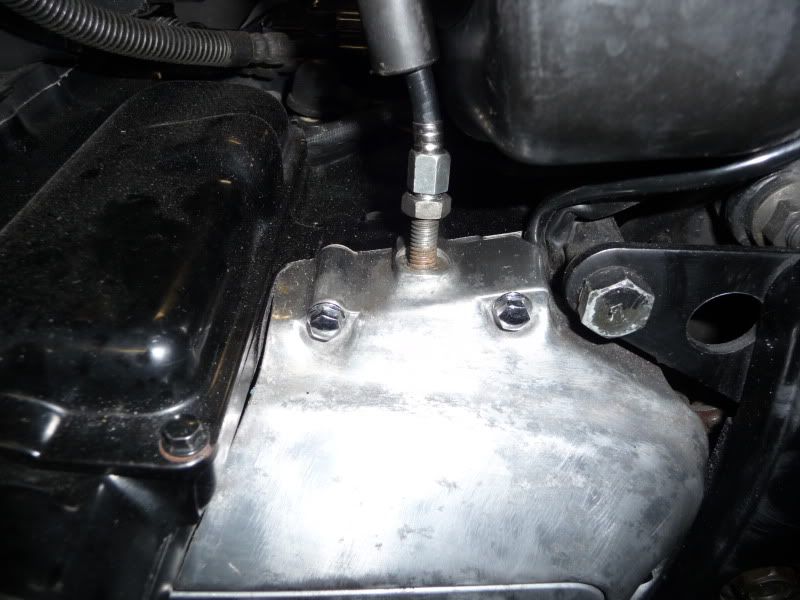
                        To remove the clutch cable from here


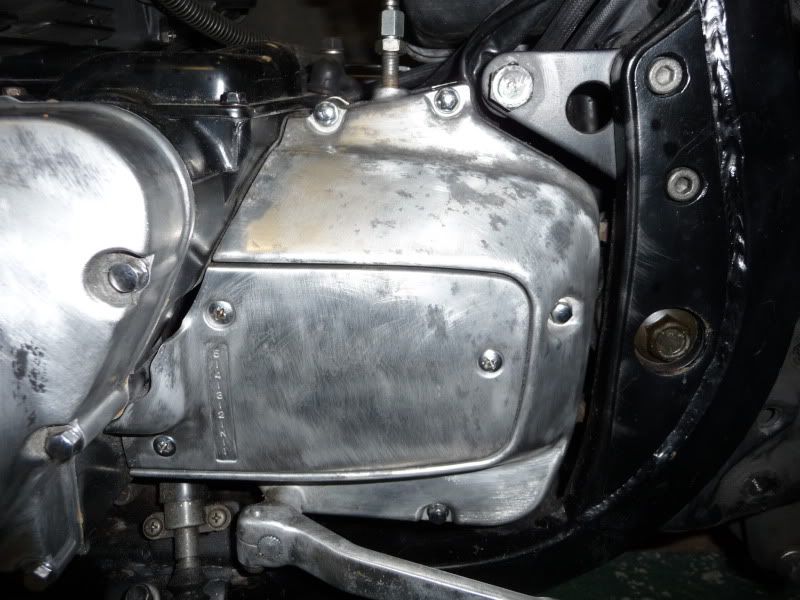
                        I need to remove this entire cover, the little one as well, as well as the shift lever, which I will mark it's current position


                        and once I remove this larger cover, will anything leak out, or is it dry, and will it require a new gasket ? if the old one is not damaged and if there even is one ?

                        Thanks

                        Comment


                          #72
                          Yep and there's no gasket there nor will anything leak out (OR AT LEAST BETTER NOT) but you will want to pay attention to how the shift lever is situated now (saves a lot of headache later) as well as the spring inside.

                          While you are in there, look over the seal around the clutch pushrod as well as the countershaft seal to ensure they aren't leaking. If so, fix them now while you have it apart. Also, if you need to change your sprockets/chain it's a good time to start.
                          Cowboy Up or Quit. - Run Free Lou and Rest in Peace

                          1981 GS550T - My First
                          1981 GS550L - My Eldest Daughter's - Now Sold
                          2007 GSF1250SA Bandit - My touring bike

                          Sit tall in the saddle Hold your head up high
                          Keep your eyes fixed where the trail meets the sky and live like you ain't afraid to die
                          and don't be scared, just enjoy your ride - Chris Ledoux, "The Ride"

                          Comment


                            #73
                            Thanks cowboyup3371.....

                            It's all coming apart, and all to be checked, just didn't want a flood of fluids all over the floor, I have taken the throttle side off of the bars and the clutch side as well, just this cable is left for now.

                            I will mark the shift lever, and the spring, will take pictures of the inside....

                            I guess at this point I can take the sprocket off to take the chain off, or do I remove the connecting link on the chain to take it off at any time that I need ?

                            Comment


                              #74
                              Loosen the front sprocket nut before taking the chain apart so you can use the rear brake while doing it (will need a second person for it) with a breaker bar of air ratchet. Then remove the clip, take the chain off, and remove both the front and rear sprockets.
                              Cowboy Up or Quit. - Run Free Lou and Rest in Peace

                              1981 GS550T - My First
                              1981 GS550L - My Eldest Daughter's - Now Sold
                              2007 GSF1250SA Bandit - My touring bike

                              Sit tall in the saddle Hold your head up high
                              Keep your eyes fixed where the trail meets the sky and live like you ain't afraid to die
                              and don't be scared, just enjoy your ride - Chris Ledoux, "The Ride"

                              Comment


                                #75
                                Thanks for the tip....tips.....

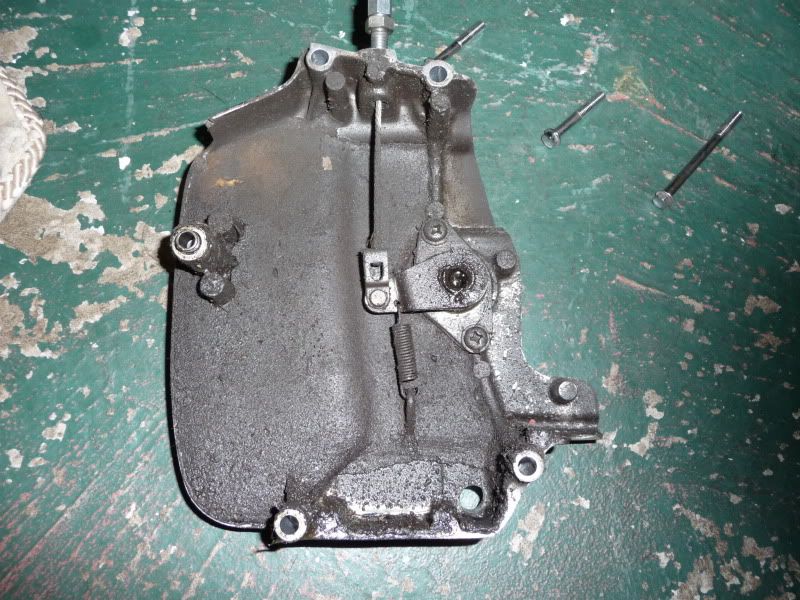
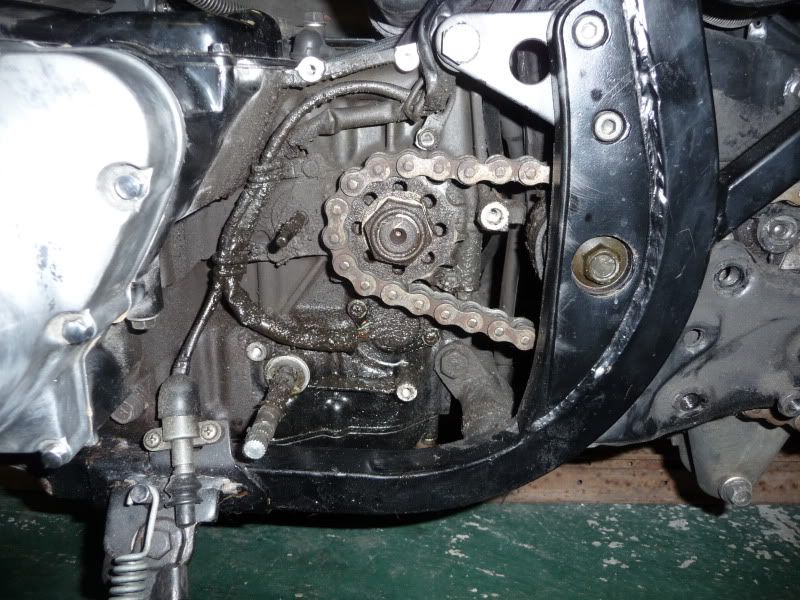
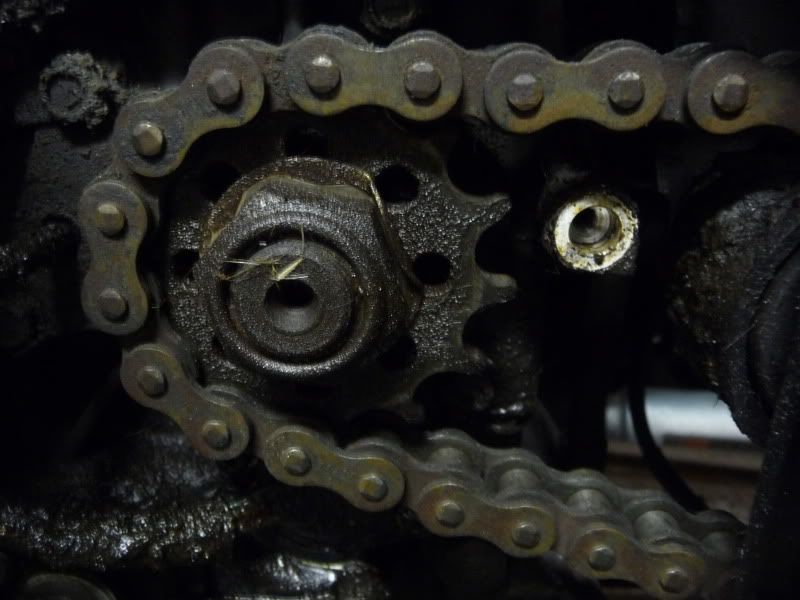
                                It's off and yukkkkkk, another area that needs a good washing down

                                so here it is, and how it all looks


                                other than dirty it all seems to be in good shape ?


                                I still have the bucket of Pine Sol in the backyard, maybe I let the cover sit in it for a little while......or will it kill the aluminum ? I don't think it will, it has to be polished anyways, so it might be OK for an hour or so...

                                Comment

                                Working...
                                X