Those brake lines sure look like quality stuff, and they are going going to look really good on the bike.
Announcement
Collapse
No announcement yet.
1983_GS750E - Rebuild
Collapse
X
-
 Flyboy
Wow, you sure are steaming along ata good pace here, that triple looks gorgeous, I am with HD, I would be very tempted to take the polishing rouge to it.
Those brake lines sure look like quality stuff, and they are going going to look really good on the bike.
-
 SVSooke
 -
 GateKeeper
Yes you did....Thanks Greg....
They are thinner than the original ones, but the ID I guess is the same
Can't wait for the time I start putting things back on ......
Comment
-
 GateKeeper
Sanding....
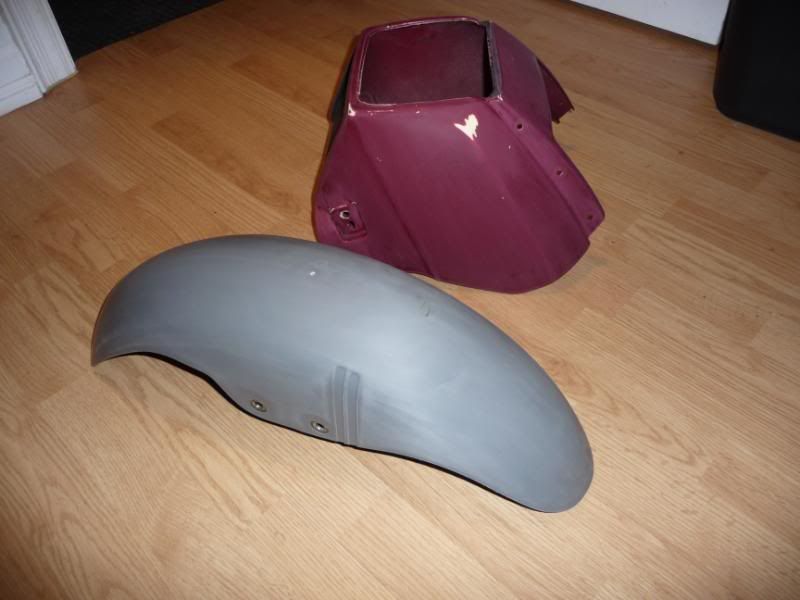
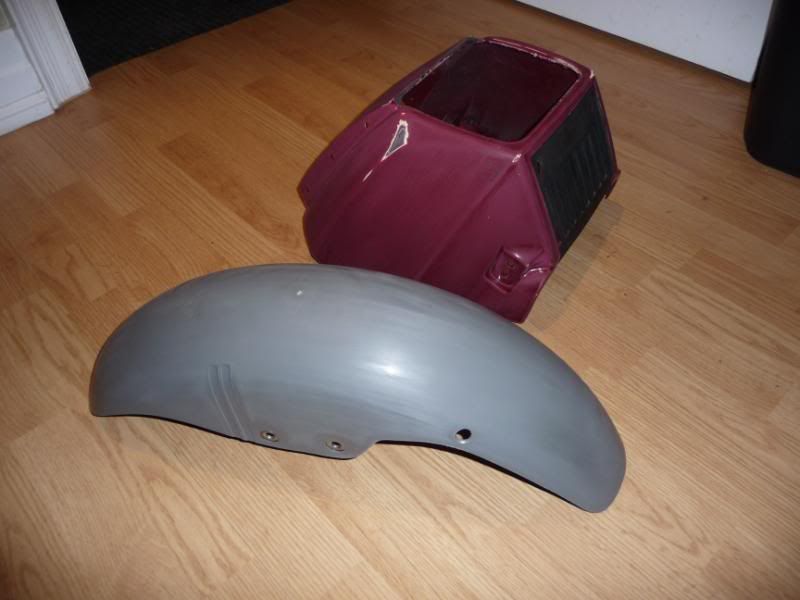
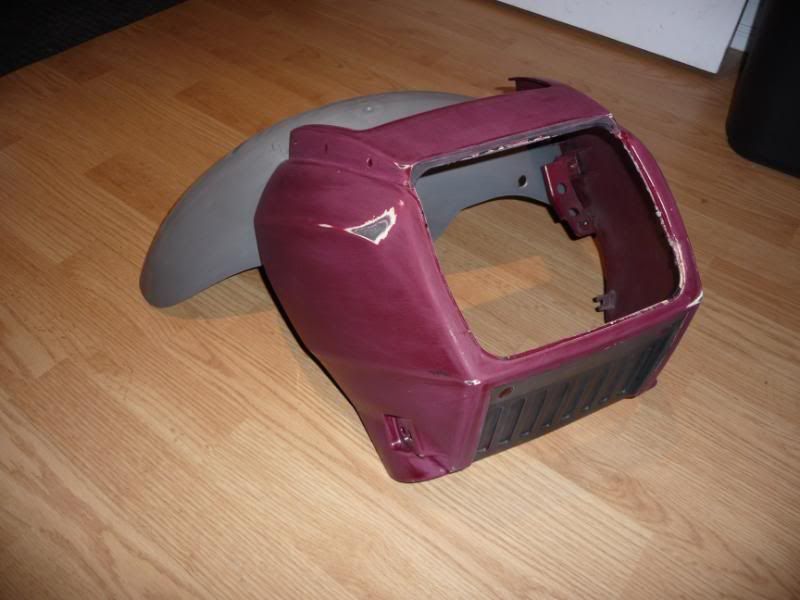
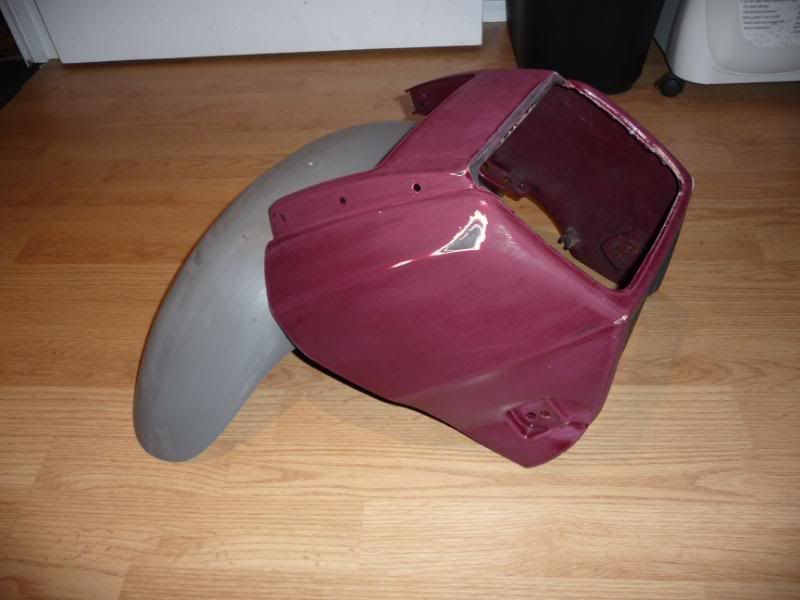
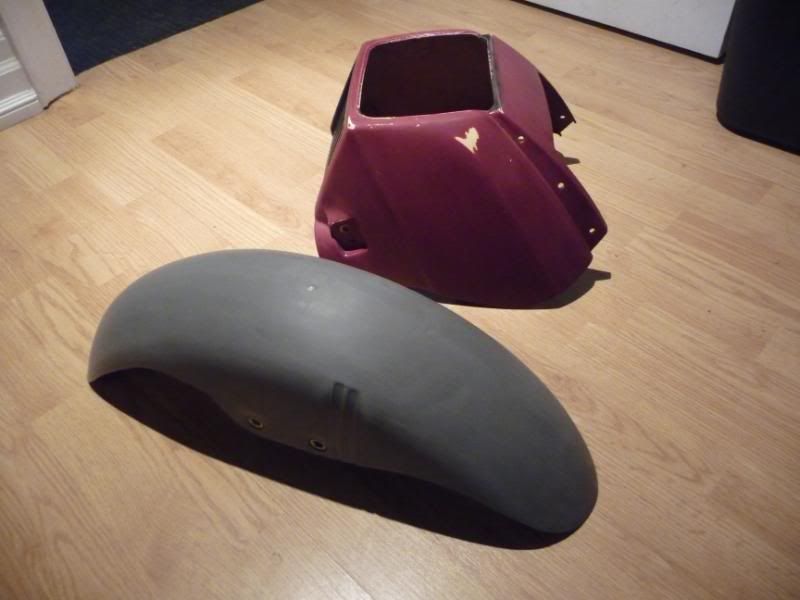
So today I did a bit of prep work on the plastics.......
the front fender I used some paint stripper (just to see what it would do) and wow it took everything off, all the paint, and no damage to the fender at all, all the paint came off, so all it needs I guess is some spot filler (a few nicks in it) and a good coat of primer, and then paint.
the front cowling, I only sanded down the clear, and a bit of the paint, but a lot of it is still on, I really don't know how far down I need to go, does all the paint have to come off as I did on the front fender, or can I sand down as much as I did and apply my primer to this and then add paint.....
any advice is appreciated...
and a few pictures of course
.
Comment
-
 Smurf
Smurf
Gatekeeper,
Just getting caught up on your build today. I'm on page 14. Can you explain your process for getting that swingarm so clean and shiny?
Comment
-
 GateKeeper
I sure can......Originally posted by Smurf View PostGatekeeper,
Just getting caught up on your build today. I'm on page 14. Can you explain your process for getting that swingarm so clean and shiny?
soap and water, actually it was Tide Laundry Detergent in the liquid form and hot water, and a nylon brush
I actually have not taken the time yet to really polish it up, that will be done soon.......
But I only have 6 pages showing......
do the following
it will give you more posts per pageClick on the top bar far left says User CP
then on the left go to Settings and Options and click on
Edit Options
Then scroll down the page until you get to
Number of Posts to Show Per Page
Use this option to set the number of posts to show in a thread before splitting the display into multiple pages.
Number of Posts to Show Per Page:
pick
Show 40 posts per pageLast edited by Guest; 12-12-2011, 05:38 PM.
Comment
-
 GateKeeper
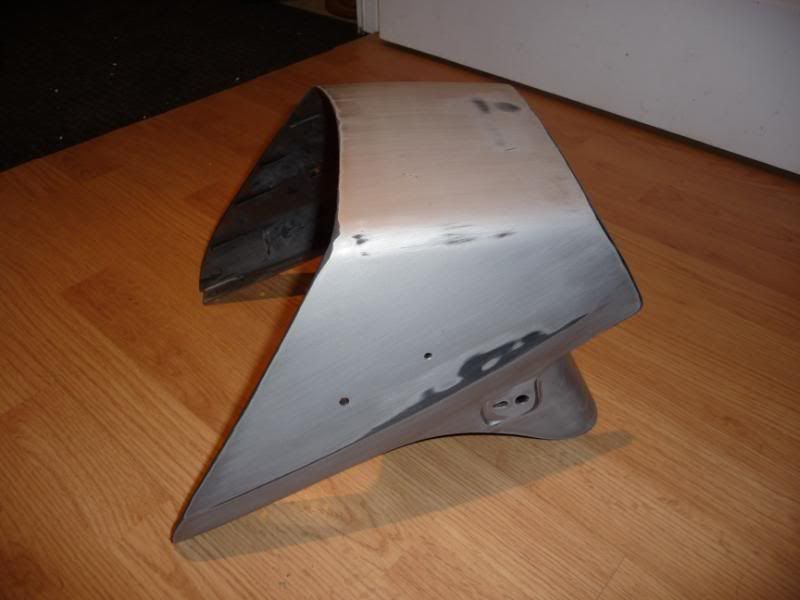
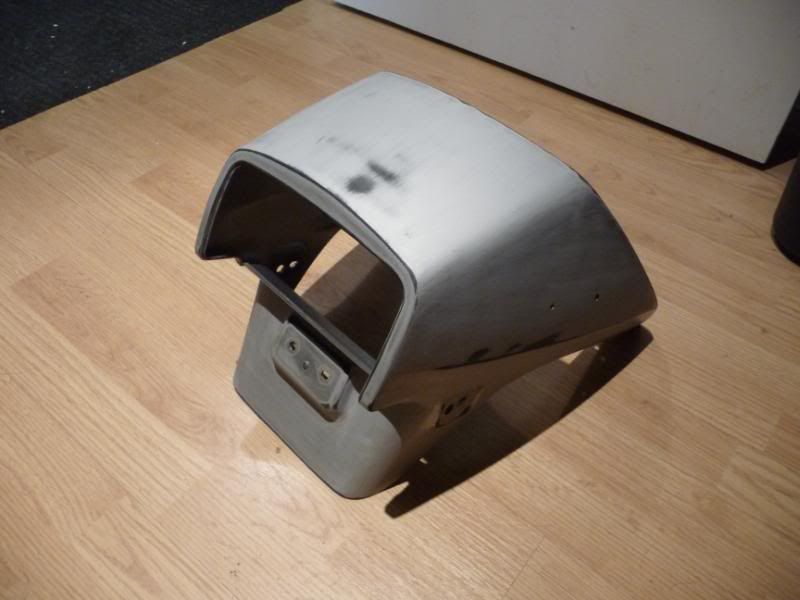
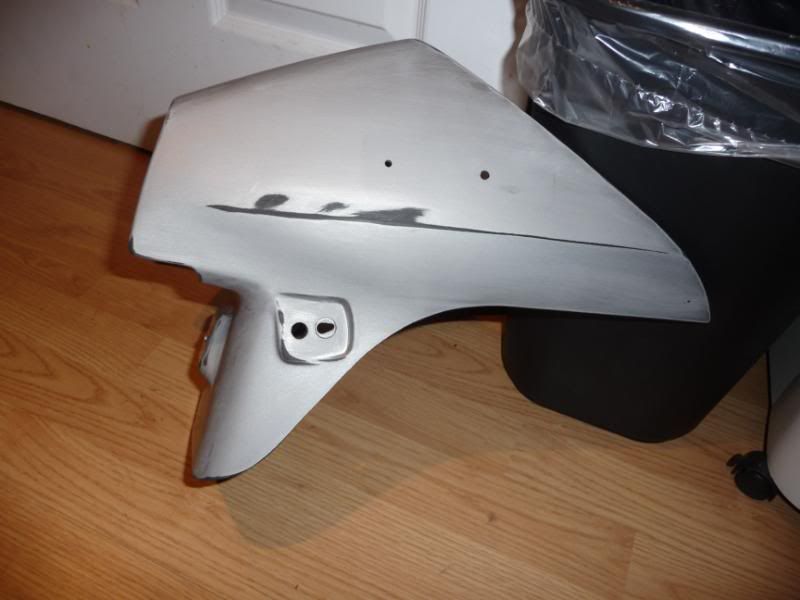
A bit more sanding tonight, keeping in mind this is all rough sanding for now, just getting the shine off, any decals, bumps and imperfections...
I will fill in the holes to make it all nice and flat, then sand some more, primer, and sand again, so it's nice and smooth.....
anyways a few pictures of the tail sanded
Comment
-
 GateKeeper
the little things
Sometimes it's the little things....
I used the coarse wire wheel brush on the gas cap, gave it that brushed look and sprayed it with some clear varathane
It'll do....
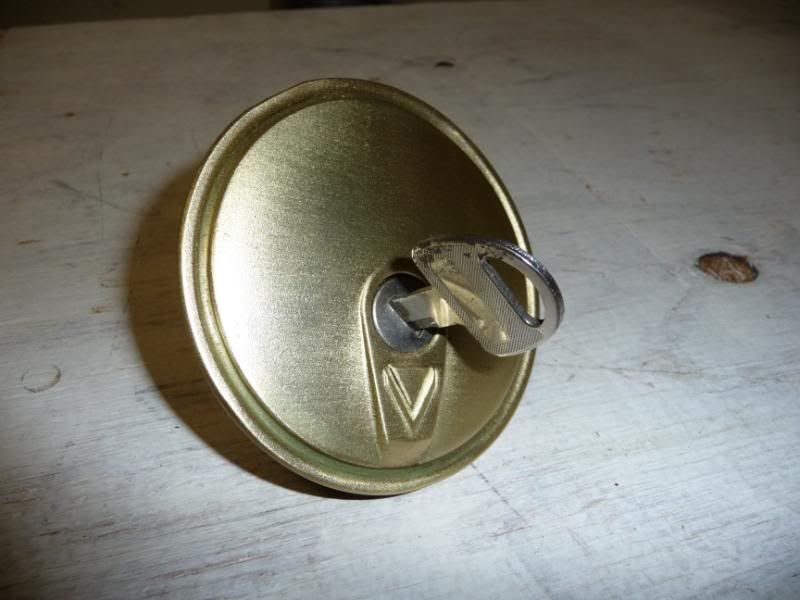
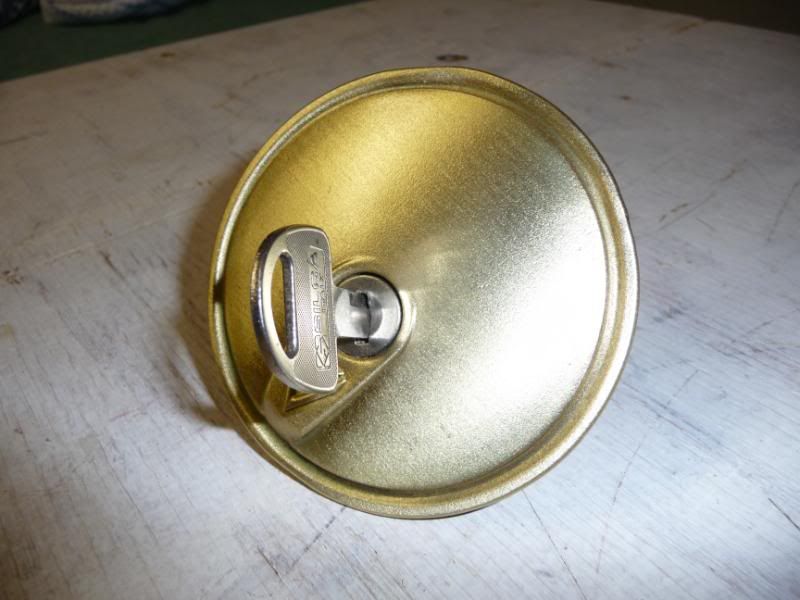
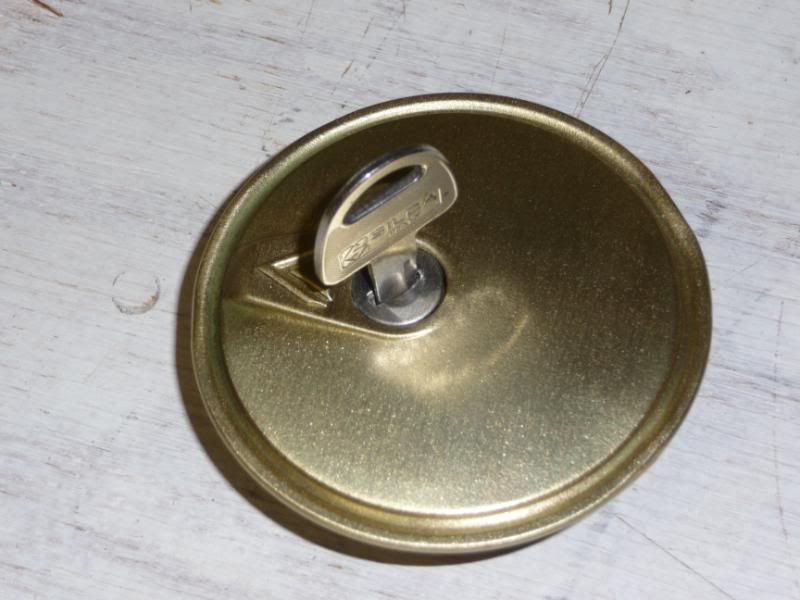
.
Comment
-
 Smokinapankake
I love it! I may do this to my 84 Katana cap when the time comes..... It would accent the hideous gold frame really well!
Comment
-
 Flyboy
Hey hey, all the bits are starting to look super nice, keep it up, hope the clear coat on the gas cap is fuel proof.
Comment
-
 GateKeeper
Doubt it's fuel proof.....lol
I can always wire wheel it again, if it get messed up....as I am sure it will....the vapors will get to it fast, I am sure...it will give me something to do every few months, weeks, days.....lol
Comment
-
 GateKeeper
screw_up
Well,,,,,,I took it upon myself to remove the broken bolt out of the exhaust, and I think I really made a mess of things, and now I don't know what to do to fix it....
I figured I would drill out a bit of the old screw, then use a screw extractor to get out the rest, well that didn't happen, so I drilled out a bit more, and a bit more and well finally after it was all done, I do have a hole there probably a bit of the old bolt still in there, but the angle of the hole is not correct.....
does any of this really matter, can I just fill in the hole, maybe use some liquid metal type product, like Devcon, put a stud in, and let it set in place ?
or am I looking at a whole new part of the engine.....anyone got a spare one....
Please help me out on this, I would really appreciate any words of wisdom, right now.....
Thanks guys/gals
a few pictures of the mess, and the hole in the back, is not right through, as I did spray some silicone lube, and it does stay in the hole and does not leak out anywhere.....
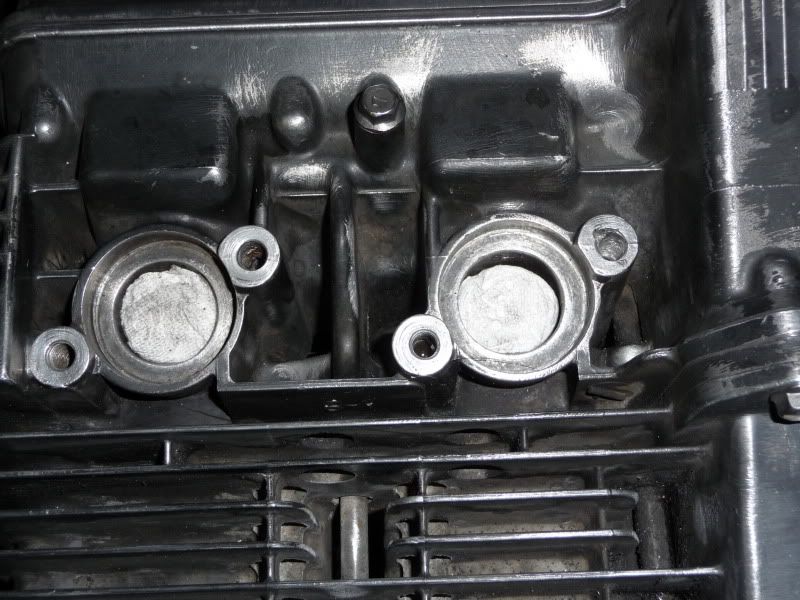
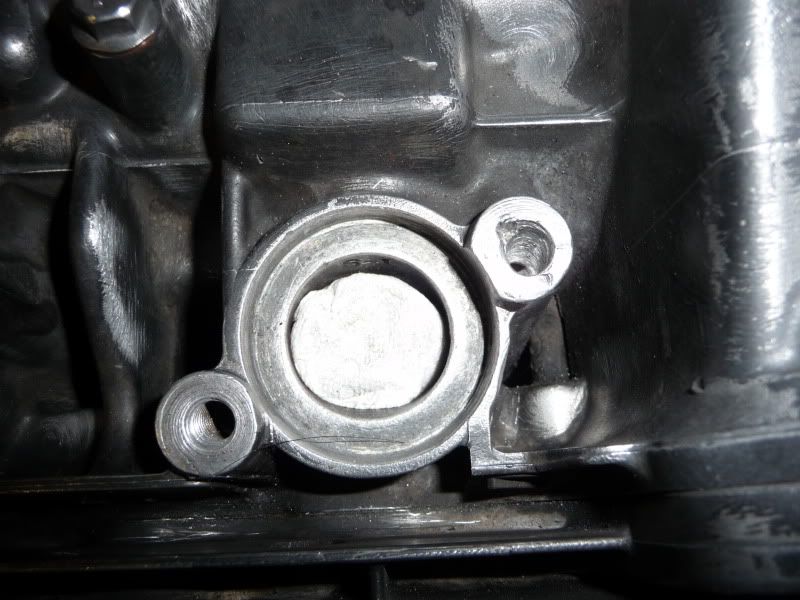
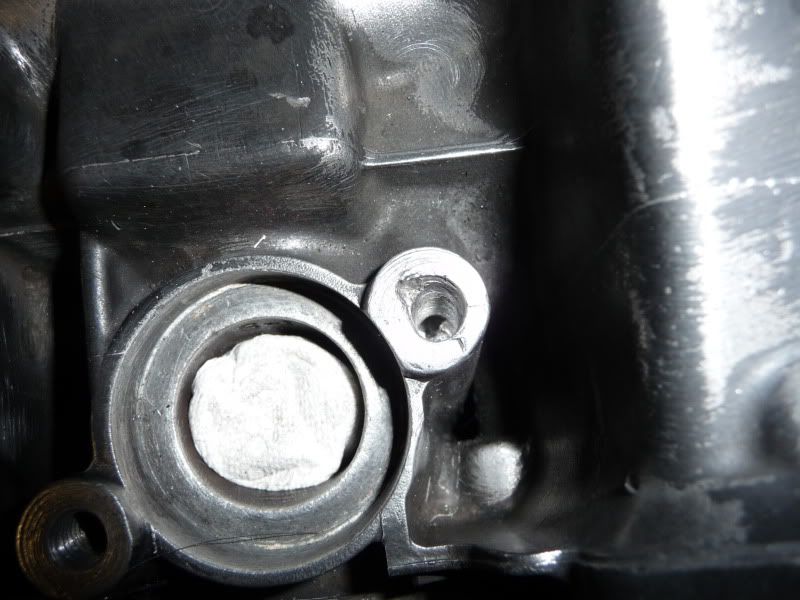
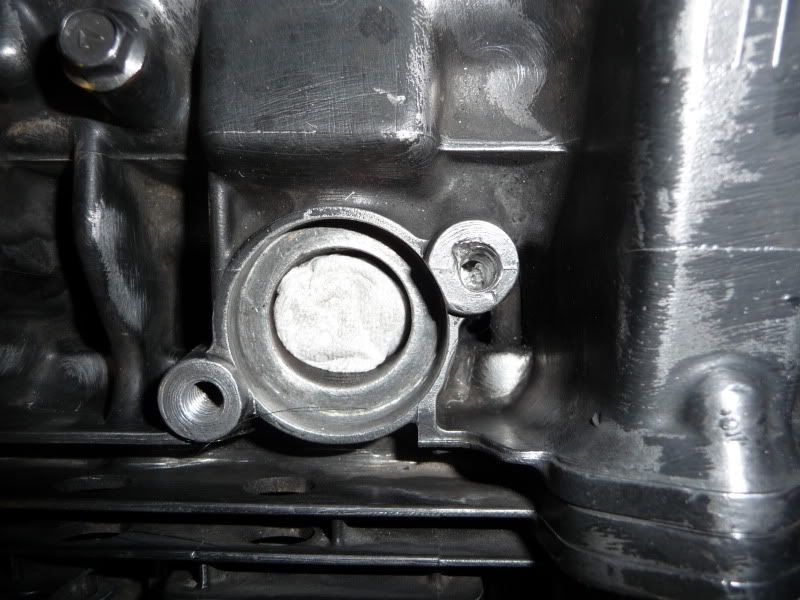
.
Comment
-
 Hoosier Daddy
You will get various oppinions on this one as you are not the first. I would try to get the remains of the bolt out with a dental pic If successful, gently make sure the new stud threads in to what remains straight. Then as you suggested, mix up some JB Weld and put it in the hole and thread the stud into it.
- OR drill it oversized and install a heli-coil I suppose, but now that it is drilled off center, it will want to follow the same hole. You need to get the remains of the original bolt out.
Comment
-
 GateKeeper
^^ Thanks....
I really don't know what is left of the old one, probably near the top....the part that has the small crater is where I tried to use a punch to see if I could break the rest of the bolt, but that did not work, either, I am afraid to drill into it anymore, I am not sure how much meat there is in this area, then again, I don't even know the angle that the hole should be........
I should have left this for another time.......ohh well too late now, it is what it is, and it's got to get fixed.....
ohhhh the joys of wrenching.....
Comment
-
 Motocrossx23
Did you read my posts on this in my thread? We had the same issue, drill and tap it. Then use lots of red loctite. Key is patience and someone to help you line it all up.
Comment
.png)
Comment