Announcement

Collapse
No announcement yet.

1983_GS750E - Rebuild

Collapse
X
 
  • Filter
  • Time
  • Show
Clear All
new posts

    I think I will be ordering those Alumiweld rods as well, sent a pm to the place and seems it will do exactly what I need to do to fix up the holes, I can then drill and tap new ones, of the correct size and angle
    I am pretty certain it will work for you. I haven't done much with mine although I'm planning on making a luggage rack for the 750 from aluminum strap and rod. I have practiced with it and as mentioned you need a bit of a hotter flame than propane can provide. Oxy/acet would be best but failing that I found Mapp gas to work. One thing that is crucial for it to work right is that the part you are welding needs to get to temperature. On thinking about it, I wonder if the head being so big will leach away a lot of the heat. You might have a bit of an issue with that and may need to use 2 heat sources perhaps. Maybe not. Just an observation.

    I'm looking forward to seeing how the frame turns out. It shouldn't be too hard and putting stiffeners on the other side for visual balance is a good idea, that I wouldn't have thought of.

    Good luck with it.

    Cheers,
    Spyug.

    Comment


      I might have found a local guy that does tig/mig welding, and knows his way around aluminum welding as well, it's through a friend, but right now we/I don't know if the guy is still around, he had a small shop in Oakville. Going to see if this pans out, as he can fill in the holes, I can the drill and tap new ones, and be certain the fill will hold.

      I spoke to a guy at Miller Welding, he said the Alumiweld, might not have the tensile strength to put up with the pressure made by the bolt, as it might be a softer compound than the original aluminum, and the bolt might just strip out. It's unfortunate, that we cannot weld aluminum at the shop, otherwise it would get done there.... :-(


      I will take pictures as soon as the frame has been fixed up....and ya I still wanted to keep it symmetrical, so I told my dad to do up the gussets/stiffeners (?) on both sides

      Comment


        I spoke to a guy at Miller Welding, he said the Alumiweld, might not have the tensile strength to put up with the pressure made by the bolt, as it might be a softer compound than the original aluminum, and the bolt might just strip out.
        I'm not sure about that as they do say that it can be drilled and tapped. However he's likely got more knowledge than you or I so I guess I'd defer to his recommendation.

        A pro welder with an aluminum Tig rig would be my first choice really anyway, I just mentioned the Alumiweld as a possible alternative for someone unable to find a welder.

        It does sound like its coming together so that's the main thing.

        Cheers,
        spyug

        Comment


          Getting there slowly......and the Alumiweld will be my last resort if I cannot find another means....

          Well buddy has gone out of business, so that takes care of that, so the search continues, I have a lead on one other place, will try to see them tomorrow.....for the aluminum welding, good thing this is during the winter, and no riding is expected at this time.....LOL

          Keeping busy on polishing bits and pieces and painting other bits and pieces, so it keeps my mind off of the parts that are not going so well, but there is still at least 3 1/2 months left to work on this thing.....

          no need to rush.....

          Comment


            hi, i have used the aluminum rods, you have to weld fast or it globs up bad, i think it would be ok , maybe even if you drill and use helicoils for final threads

            Comment


              Originally posted by platinum2 View Post
              hi, i have used the aluminum rods, you have to weld fast or it globs up bad, i think it would be ok , maybe even if you drill and use helicoils for final threads
              Thanks....

              it will be my last resort, if I cannot find a welder to do it....

              Comment


                Polishing

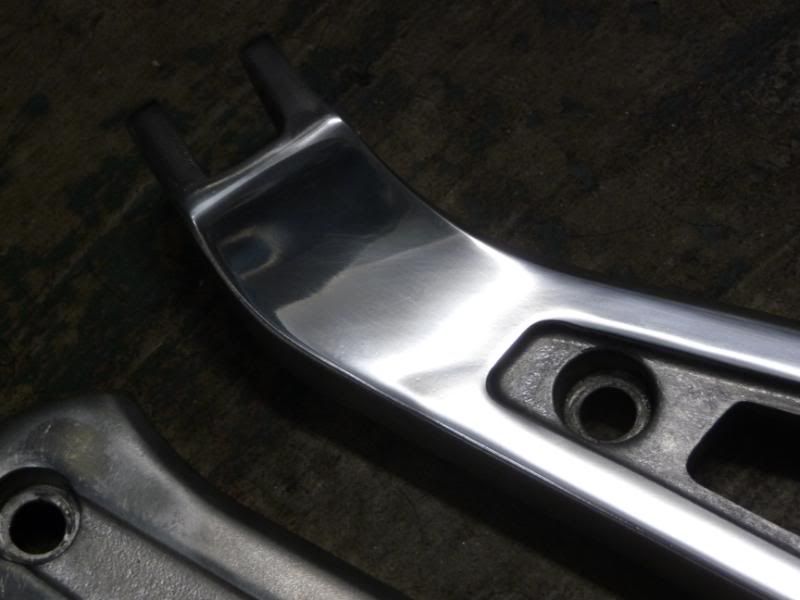
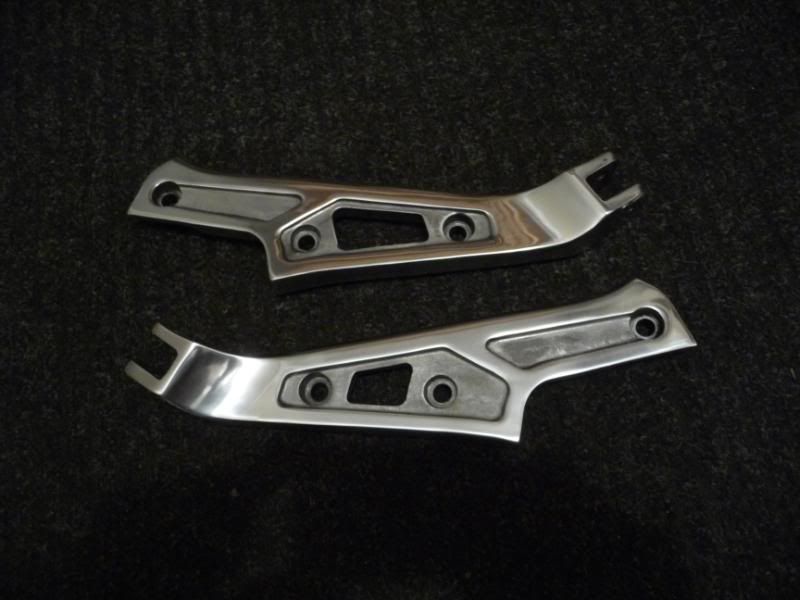
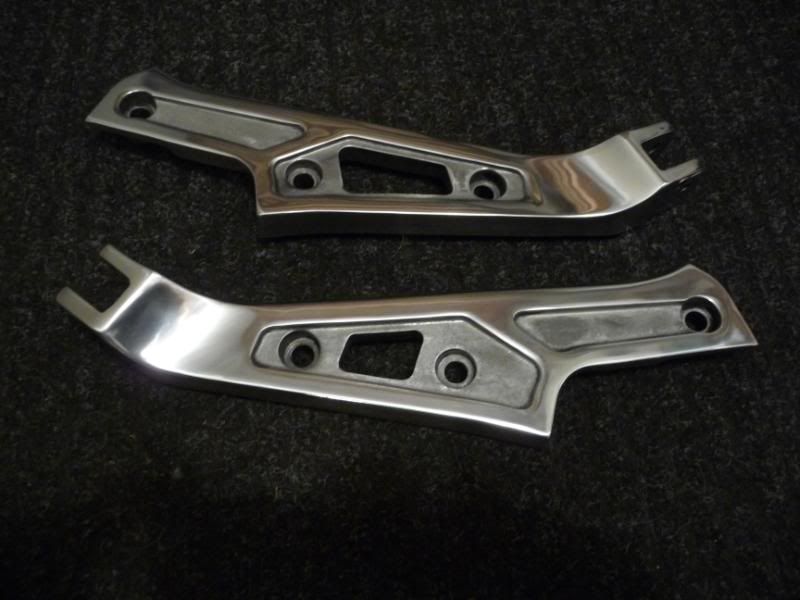
                Well not one to sit around, and I can't do much of anything else, I started to clean up bits and pieces and polish a few things...

                I didn't take pictures of everything, maybe as I start assembly, I will take more pics of the other things that were polished....

                Now I don't want a high and uniform shine (mirror) close, but even if it has imperfections, that is OK, I am not building a show bike, it will be a driver, and it will get dirty, and so on, but that don't mean parts can't be cleaned and painted and polished a bit....

                So here is a small sample


                Even this is too much and too good, the cavities still need to be repainted black as they were, to give it some contrast.


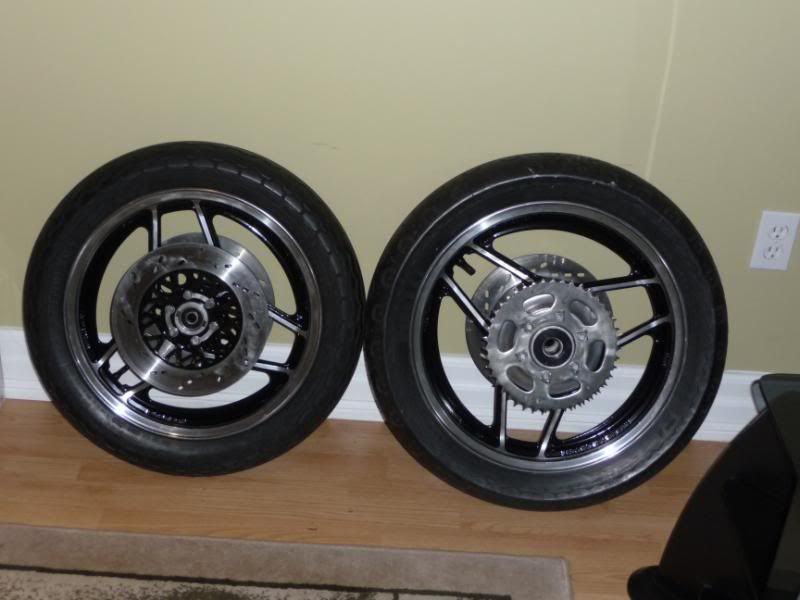
                Ohh ya

                I put these guys back together as well


                Comment


                  That's some real nice work!
                  1982 GS450E - The Wee Beastie
                  1984 GSX750S Katana 7/11 - Kit Kat - BOTM May 2020

                  sigpic

                  450 Refresh thread: https://www.thegsresources.com/_foru...-GS450-Refresh

                  Katana 7/11 thread: http://www.thegsresources.com/_forum...84-Katana-7-11

                  Comment


                    Originally posted by pete View Post
                    That's some real nice work!
                    Yeah nice work that seems vaguely familiar to me for some reason.
                    Still would have done the wheels gray if it was mine

                    Comment


                      Come on now, it was not that long ago.....lol,,,I am just following in your footsteps...

                      Just taking my time, one bit here and there, actually I did polish up a few items last night, foot pegs, and those covers where the pegs go, some more nuts and bolts, and a few other odds and ends, I will take some pictures of it all,,,,ohhh ya even the fork tubes got a quick polish, now just the lower part needs painting.

                      I think I will assemble the swing arm, attach the mono shock, and rear wheel, bolt up all that, maybe even put together the front end, if I get the lowers painted.

                      .

                      Comment


                        still at least 3 1/2 months left to work on this thing.....
                        Bite your tongue, we'll be riding in 2 1/2 tops So you better pickup the pace. Actually, the way you are going it will be too pretty to take out riding. You'll get it all dirty. Best to move it in to the living room and tell the wife its "garage art"

                        I'm one to talk as I haven't even started on my projects yet. I'm feeling very lazy this yeatr and on those days when I get some energy the boss has me painting and decorating....all very annoying.

                        Well keep at it. Slow and steady wins the race.

                        Cheers,
                        Spyug

                        Comment


                          Found a guy.....to paint the tins......and he will do the final prep work....

                          All parts done in a pearl white, for 350 bucks (cash) now I just need to come up with the funds, or go the rattle can route, ohhh the decisions...

                          I still need new tires, need to recover the seat, and any other small incidentals, this is more than I expected to spend, but if I stretch it out over the next few months, it just might work out.

                          Tires and paint can wait until the very end, I don't really need to ride the bike, and the tins can go on unpainted, just to get the bike to a finished state, hmmmm maybe even ride the bike to the paint shop, leave it there for the painting and ride the bike home once it's done....the shop is in the Niagara Falls area, so it would be a nice ride as well

                          ohhhh so many ways and things still left to do.....and as you say Spyug, slow and steady......

                          Comment


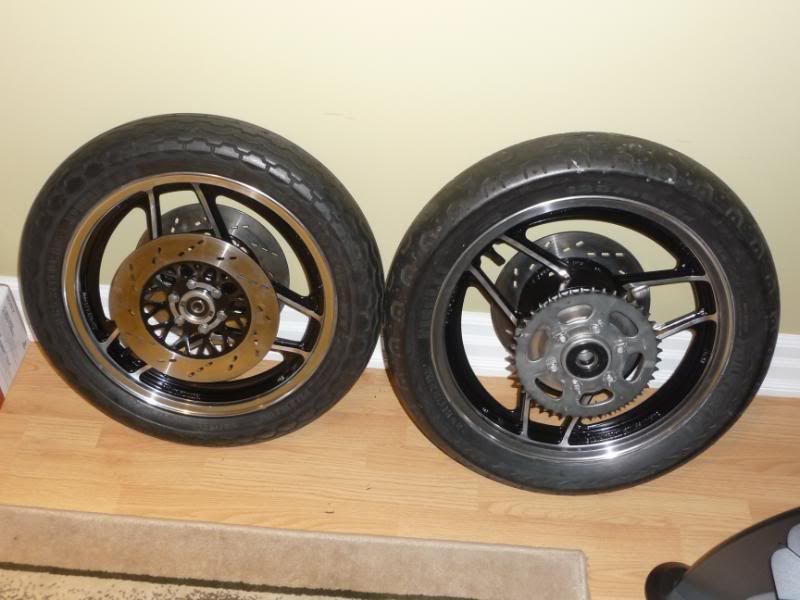
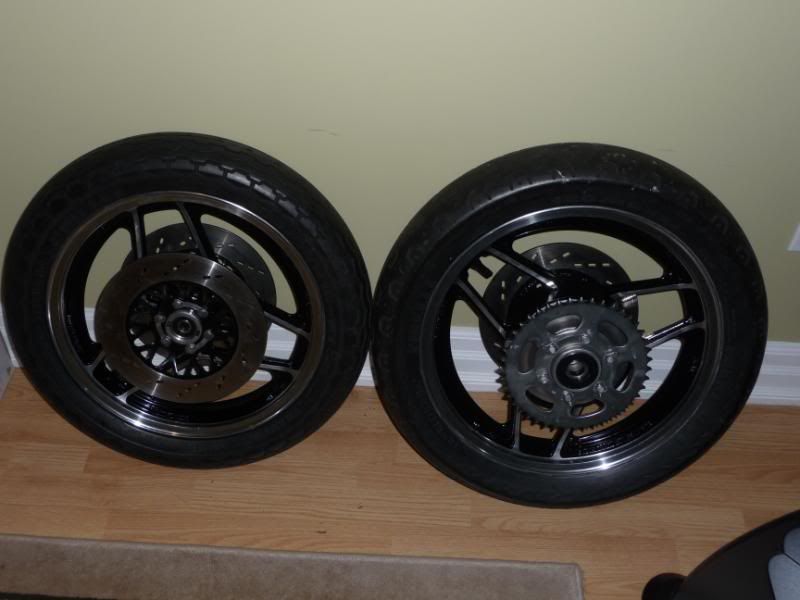
                            Nice work, those wheels look wicked, why not put the paint down yourself, $350 seems like a keen price, and you have come back, but there is nothing like admiring your own work, just go for it, You have done outstanding work so far, no reason you can't lay down a bit of paint

                            Comment


                              Originally posted by Flyboy View Post
                              Nice work, those wheels look wicked, why not put the paint down yourself, $350 seems like a keen price, and you have come back, but there is nothing like admiring your own work, just go for it, You have done outstanding work so far, no reason you can't lay down a bit of paint
                              Ohhhh this is cheap, compared.....the first place I talked to, wanted ONE Thousand dollars,,,,I just think they wanted to do the work....LOL

                              but your right, I could do the painting myself, just not sure on the quality of the rattle can paint, and durability, and so on.

                              I will have to spend some time, going to the local painting supply houses and see, who has what, how much and quality of the products. I am not going to get an air compressor, and spray gun, and so on, really don't have a need for it. I guess paying the 350 is the easy way out, but then I cannot say I did it all, so far it's been all my own work, well except the welding, but that is minor.....

                              no final decision has been made, so still time for me to get it done by me...

                              Thanks for the boost...........................

                              .

                              Comment


                                Well just to add some fuel to your fire. You can easily do painting yourself and save a bundle. You obviously have the skill my friend.

                                First off you can paint with rattle can both base coat and 2 part clearcoat top. Most auto paint stores now can supply the 2 part clear in a can. Not the cheapest ( maybe $35/40 I think) but it is what you need. My 750 which came in the same hideous burgundy as yours was done in black with Tremclad I had lying around and topped off with 2 part clear. The total bill would have been under $50 I figured (but I had the paint already).

                                Even if you go to a compressor and auto paint, you can come in under $200. The small 2 gallon compressors from Crappy tire that are often on sale for $50 or so paired with a HVLP gun from Princess Auto for $25/30 and you're in business.

                                I've done it both ways and while auto paint may be better, you can still pull off excellent finishes in rattle can and its actually less labour intensive since you don't need to clean your equipment after use. White is probably the easiest colour to paint so it should be easy peasy.

                                As far as trim colours, stripes and lettering, go see your local sign shop. They'll whip you up whatever you need. I had lettering done for my Kat project for about $25.

                                No need to spend your hard earned dollars. as they say, "Do it yourself and save"

                                Cheers mate.
                                Spyug

                                Comment

                                Working...
                                X