Announcement
Collapse
No announcement yet.
'81 GS550 Cafe Build
Collapse
X
-
 D-Mac
D-Mac -
 D-Mac
D-Mac
Big day today. Went out to the garage, pulled out some electrical connectors, undid some bolts, and before I knew it there was something not quite right……
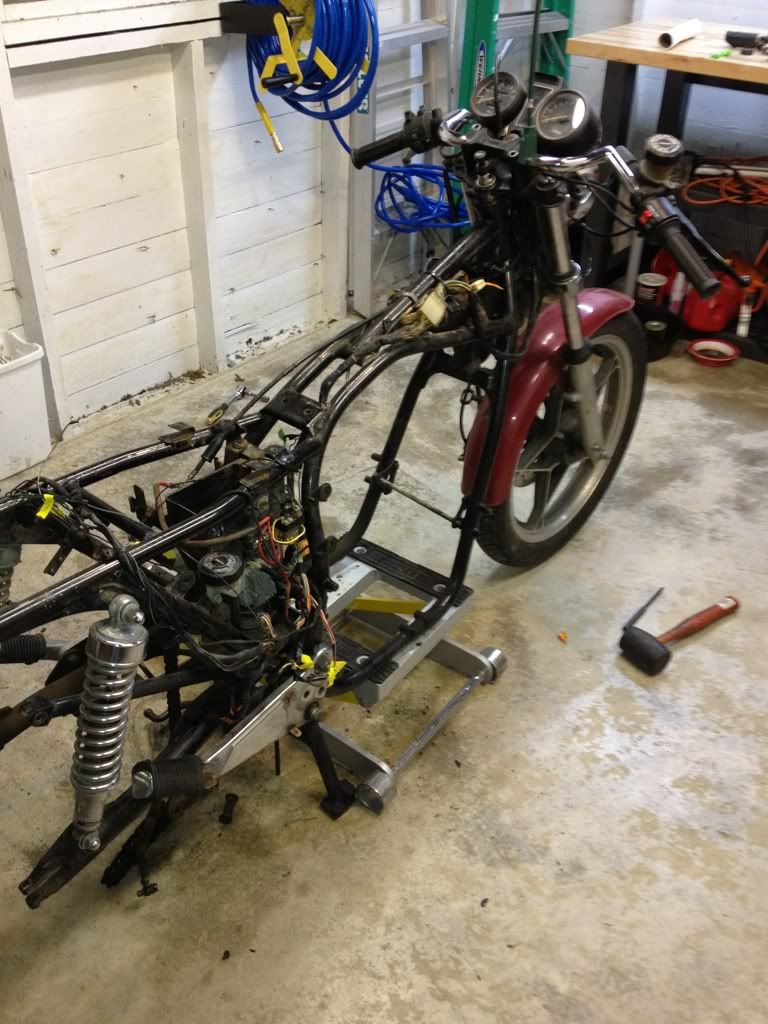
Ah there’s the missing “piece!” All set up for a warm winter inside.
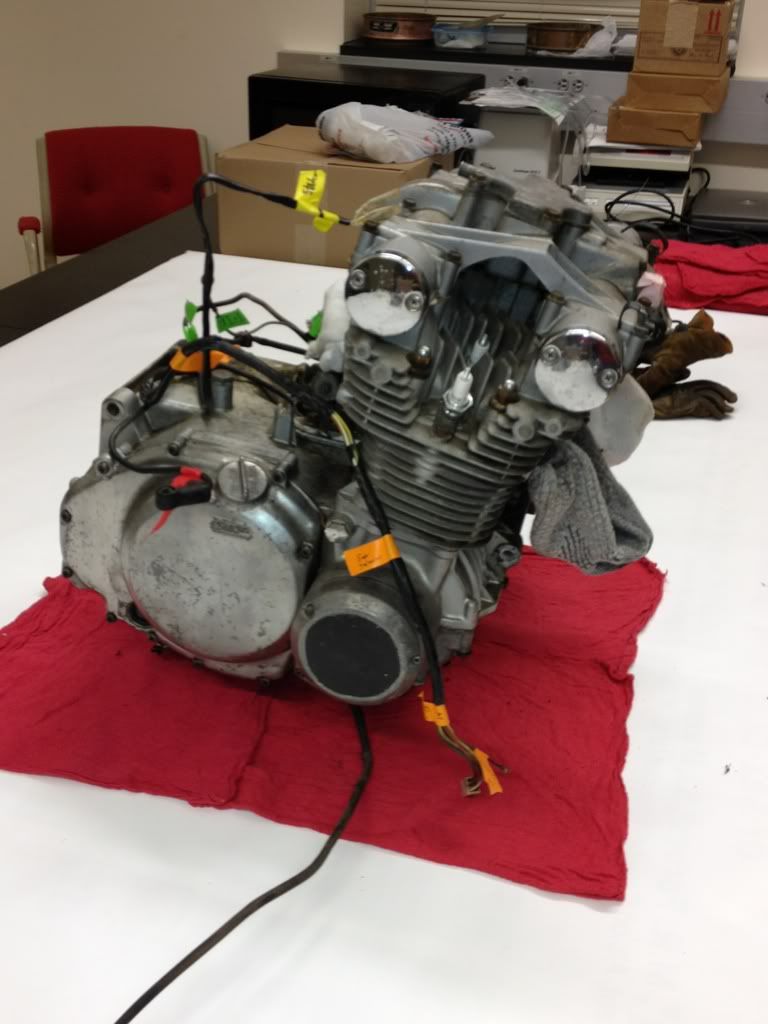
Now that the engine is out (HEAVY for a little 550!) I can work on pretty much anything. I’m itching to pull apart the forks and start sanding/polishing them and the wheels. Brake calipers and master cylinders still need to be rebuilt. Hell, EVERYTHING needs to be rebuilt!
So much to do…...I feel like I’m a loooong way from seeing this bike on the road, so I’m going to split my time between further disassembly and making some improvements. It’s gotta go farther backwards before it can go forwards.
Comment
-
 GateKeeper
I hear ya there brother......
I am at the not so fun part of cleaning, sanding, polishing, etc
But no where near of being able to put things back on.....
We will get there.....
Comment
-
 240punk
 -
 D-Mac
D-Mac
Here’s the latest on the build:
After I removed the engine, I thought I’d spend the rest of the week on the brakes, but I lost my motivation when I saw all of the exposed parts after the engine was out. I decided to remove the front wheel and forks, and take apart one of the forks so that I could polish it (one was leaking and the other didn’t seem to have much fluid in it).
Forks. Tough to tell here, but the fork lowers are in rough shape.
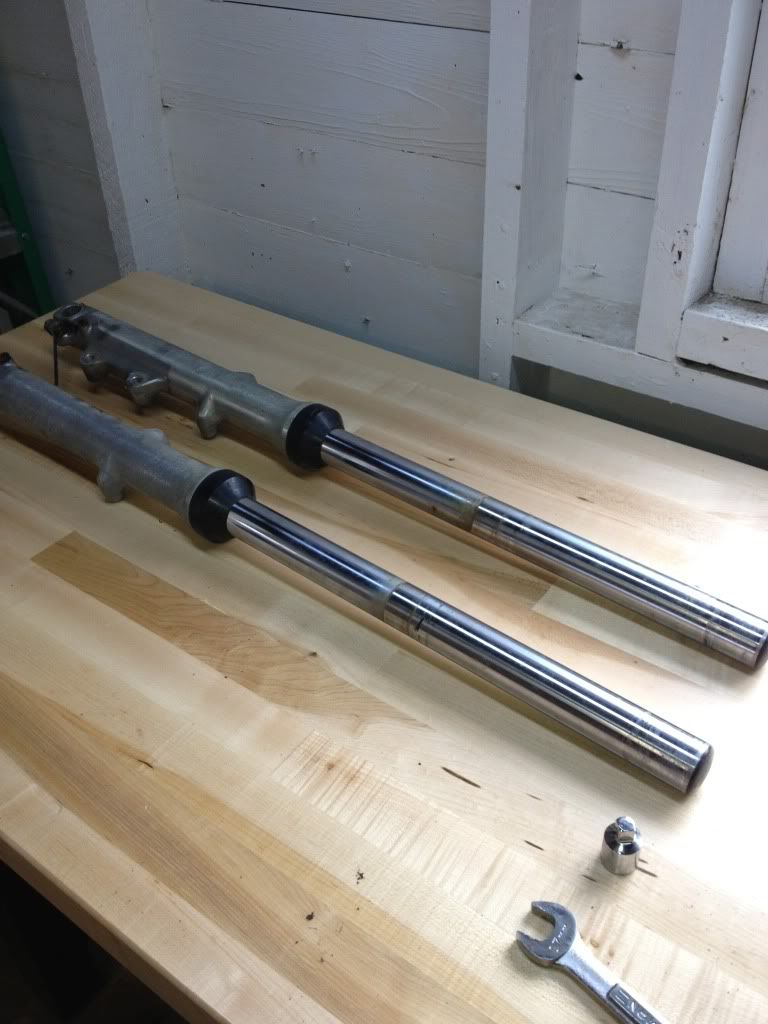
Fork cap.
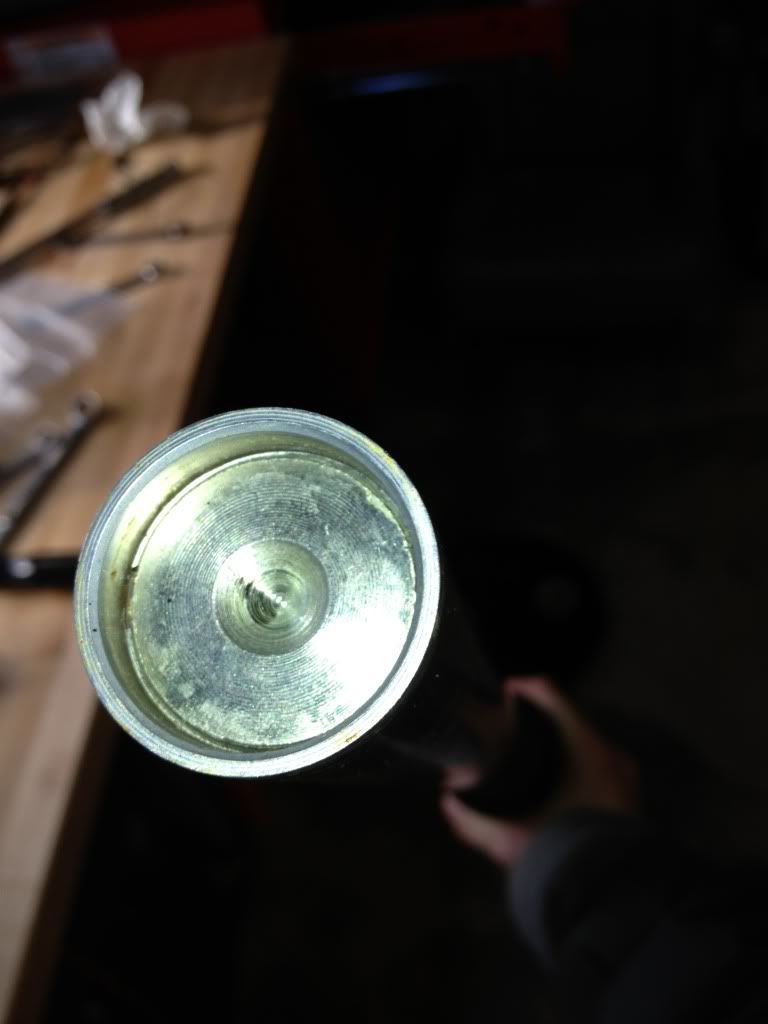
To get the forks apart, you need to push down on the top cap to remove the snap ring. I’ve never dealt with forks like this before, but it wasn’t hard once I found a volunteer to help. Once one fork was apart I hit the lower with stripper and then sanded it with 220 to smooth the more severe pitting. This is gonna take a while! (and no pics until I’m closer to finishing). I went out and bought 220, 320, 500, 800, 1000, 1500 wet sandpaper, and lots of polishing supplies (buffer wheels and wire wheels for my new bench buffer, and some Dremel attachments). I’m not very patient, so this will be a good learning experience for me. I left the other fork intact so I have a reference in case I forget how it goes back together.
I also spent some time this week tearing down the rest of the frame. I labeled all of the wiring as I went along, which I hope will make reassembly easier. Compared with my last bike project, I’m starting to understand what all of the wires are for. Some pics……
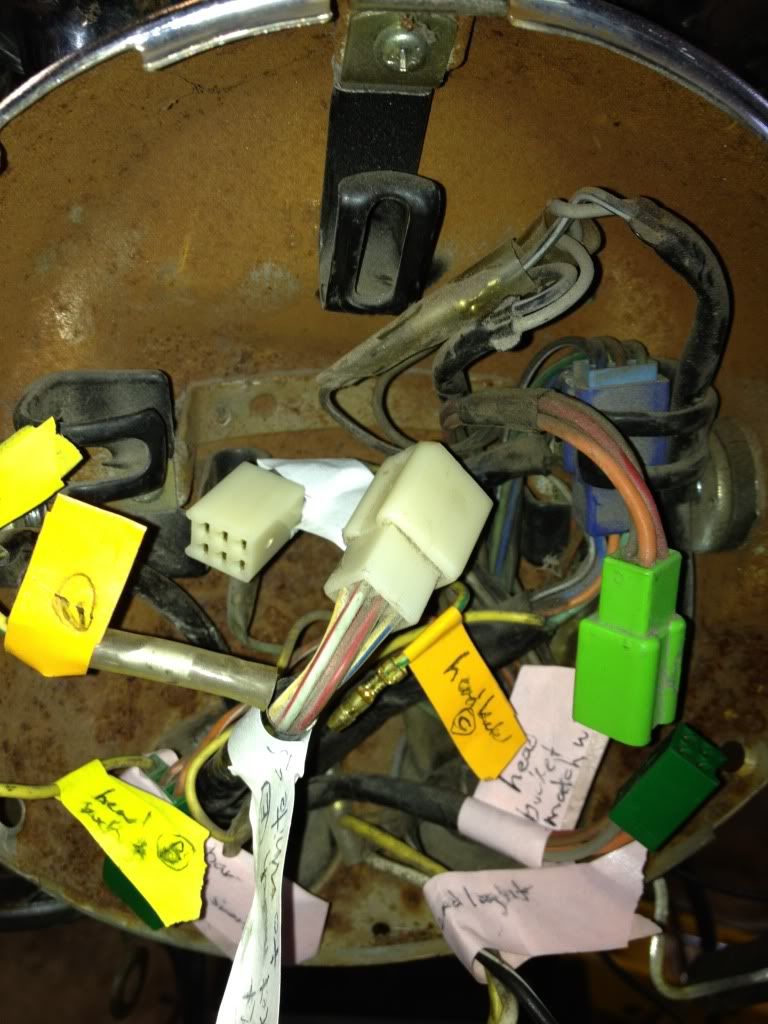
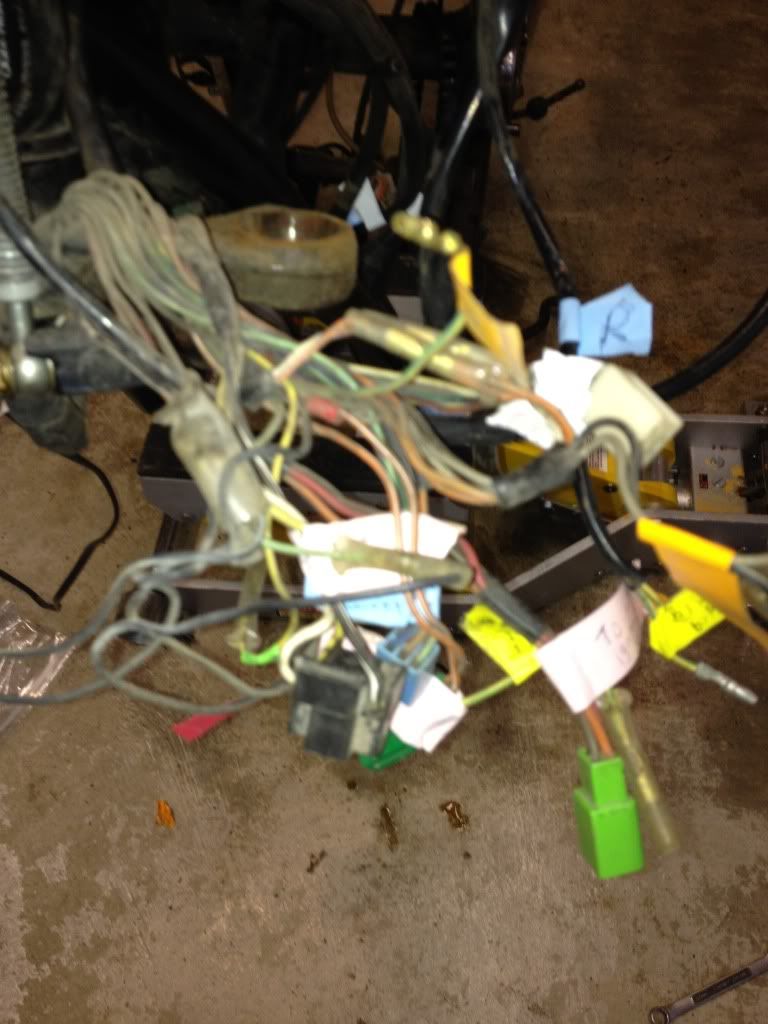
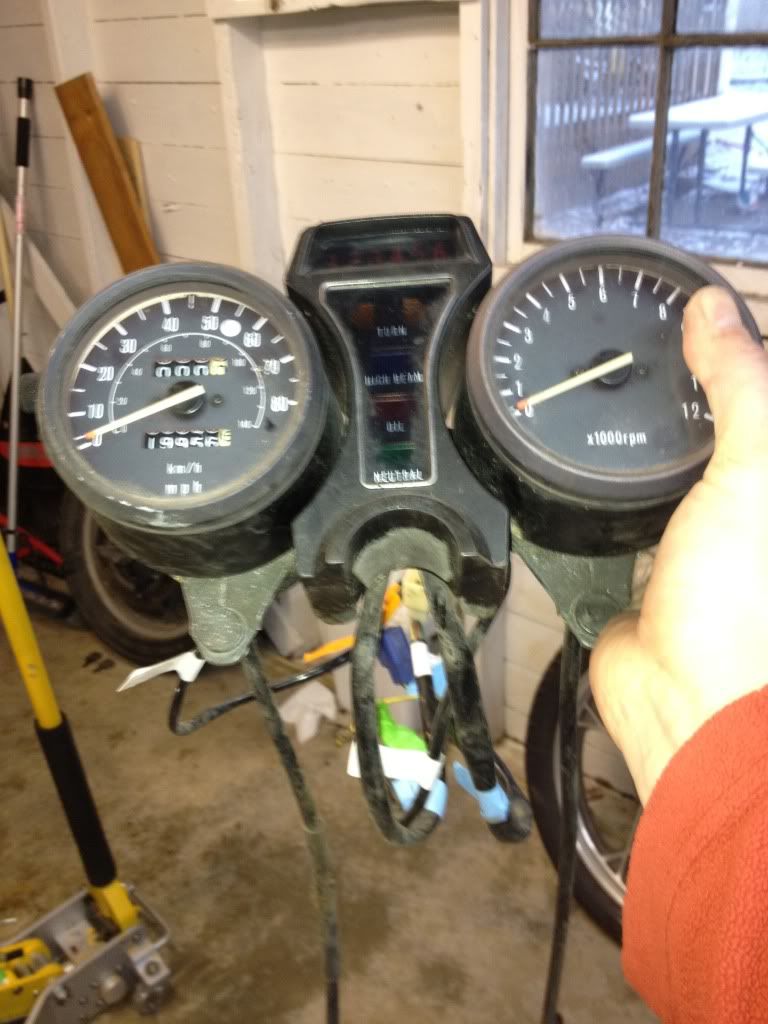
Getting some of the fasteners loose was a little tough, but the impact driver and punch set I picked up last week saved my bacon on several occasions. Finally, I was down to removing the last few bits from the frame. Might as well strip everything off I guess.
Swingarm. That chain has gotta go!

Frame with steering head. Sorry for the crappy pic.
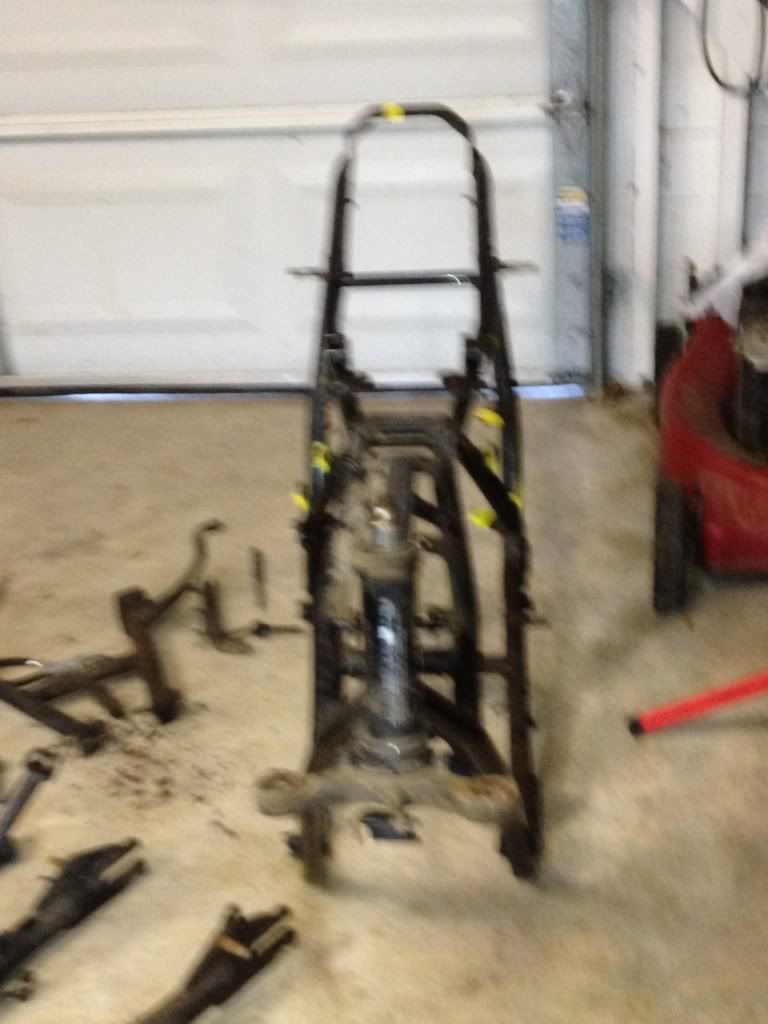
Steering head removed. Only one set of races remain in the frame.

I then packed up the various smaller bits and moved them to my shop/lab.

Next up will be some cleaning/stripping/sanding/polishing. I’m also thinking I’ll start ordering a few replacement parts this week (new bolts/seals etc.) We’ll see how it goes.
At some point I’m going to start sorting out my design plans. I’m going to café this bike, but I haven’t decided exactly how much. Right now I’m leaning toward “all out” which would include cleaning out the area where the battery/airbox sits and relocating all of that stuff to the rear. I’ve never done anything like this before, but I’m taking a welding class in January, so that ought to help. I’d like to powdercoat the frame too, but I’ll need to know exactly how everything will fit before I can send it out. I might go ahead and start looking over the tank and making a seat soon, and then design everything else around them. Make sense?
Comment
-
 GateKeeper
Great progress,,,,,,
and what a beautiful place to strip down a bike in, your office looks better than mine, and I can't bring in motorcycles to strip down and repair....
by the way, the chain, soak it in kerosene, then scrub it down really good, and it still might be OK to use, check that is has not stretched, and you should be fine, I did the same thing with mine and after I lubed it up, it was working as it should....
Comment
-
Wow, you really get after it! Mine is going really slow now that the cold has set in. I'm so jealous of your work area! That's is soon sweet. I need to invest in a insulated and heated garage if I'm going to keep doing this! Anyway, following your thread I feel really lucky with the bike I found. I did get my header bolts off today and luckily they all came out without breaking. Whew! Keep up the good work. It's been fun to follow along.
Sci851982 GS550M Rebuilt Winter '12 - 550 to 673cc engine conversion.
1989 Kawasaki ZX-7 Ninja
2016 Ducati Scrambler Full Throttle
Comment
-
 D-Mac
D-Mac
I started the morning off looking over the front and rear brake calipers. Wow….they’re BAD! I ordered OEM replacements for all of the various seals and fasteners on the front, along with some aftermarket pads. For the rear calipers I ordered pretty much everything except the caliper body (which is rough enough too but can be refinished). Not cheap, but I don’t take chances with brakes. I suppose I could have just gone with another set of calipers, but I would like to be somewhat true to the vintage of the bike. I also broke down and ordered the Haynes manual to go along with the OEM and Clymer ones (might as well have them all – it’ll be worth it when I start the engine work).
I am planning to repaint the calipers soon. I didn’t take apart the master cylinders, but I think they’re in better shape.
Next I looked at the ignition switch. Unfortunately, none of the eBay sellers has this number available (my key is mangled). The switch itself is also bent at the top (!) and badly dented/faded, so I might just get a replacement anyway. We’ll see.
Putting that aside, I picked up the fork I’ve been working on. I measured the springs from the disassembled fork and they checked out fine. I then continued sanding the lower fork leg I removed last week. Here it is after a 220 grit sanding.
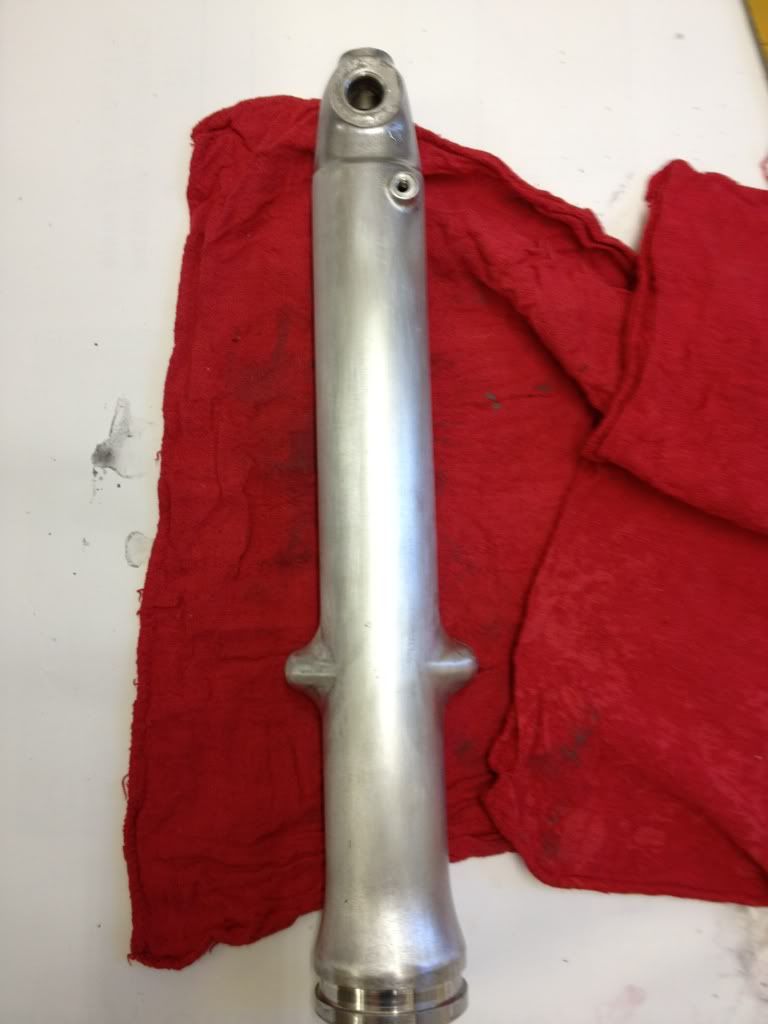
I went up and did a little sanding with 500, 800, and 1000. I should likely have spent a little more time on 220-1000 (I spent forever with the 220 getting the pitting smooth), but I was trying to avoid having my hands bleed too much (!)Here is a leg in comparison to the one that hasn’t been touched. Ready or not this is ready for polishing!
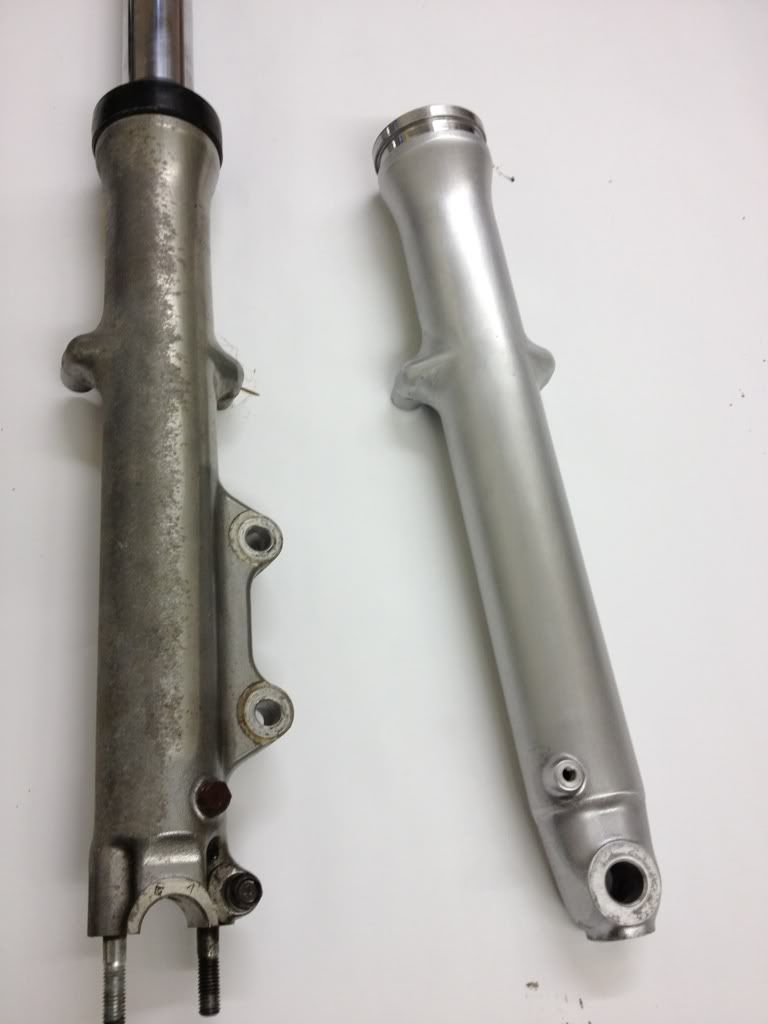
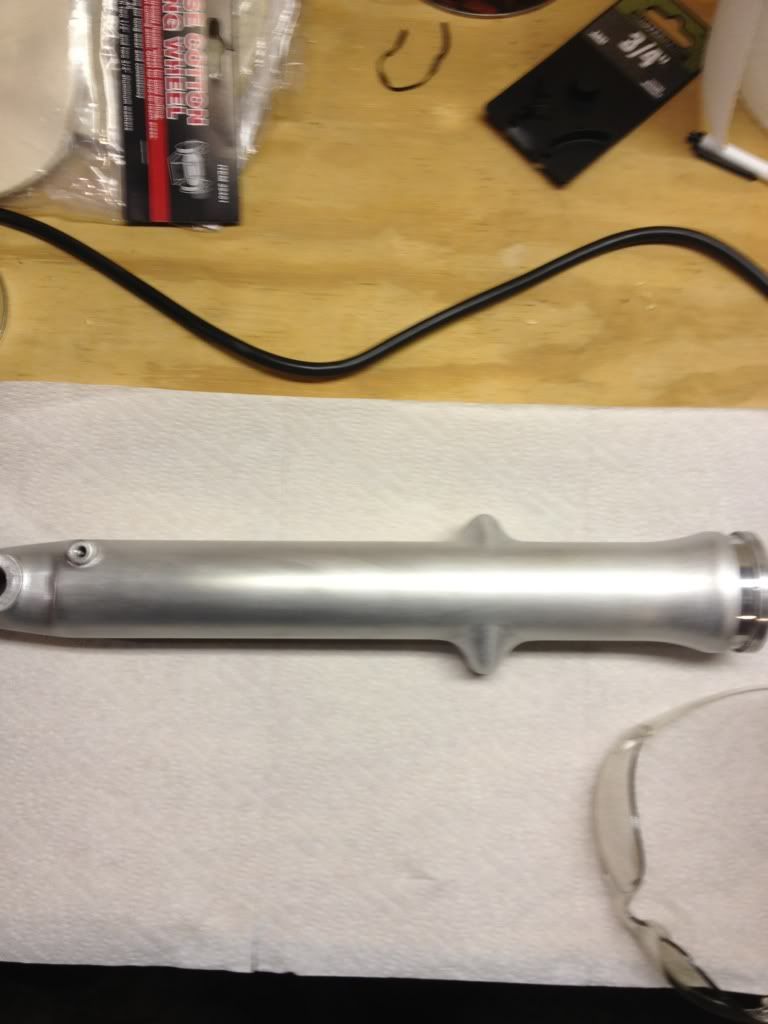
I then set up my new bench polisher. Within 10 minutes the leg was looking like this (a little brown followed by white compound on a softer wheel).
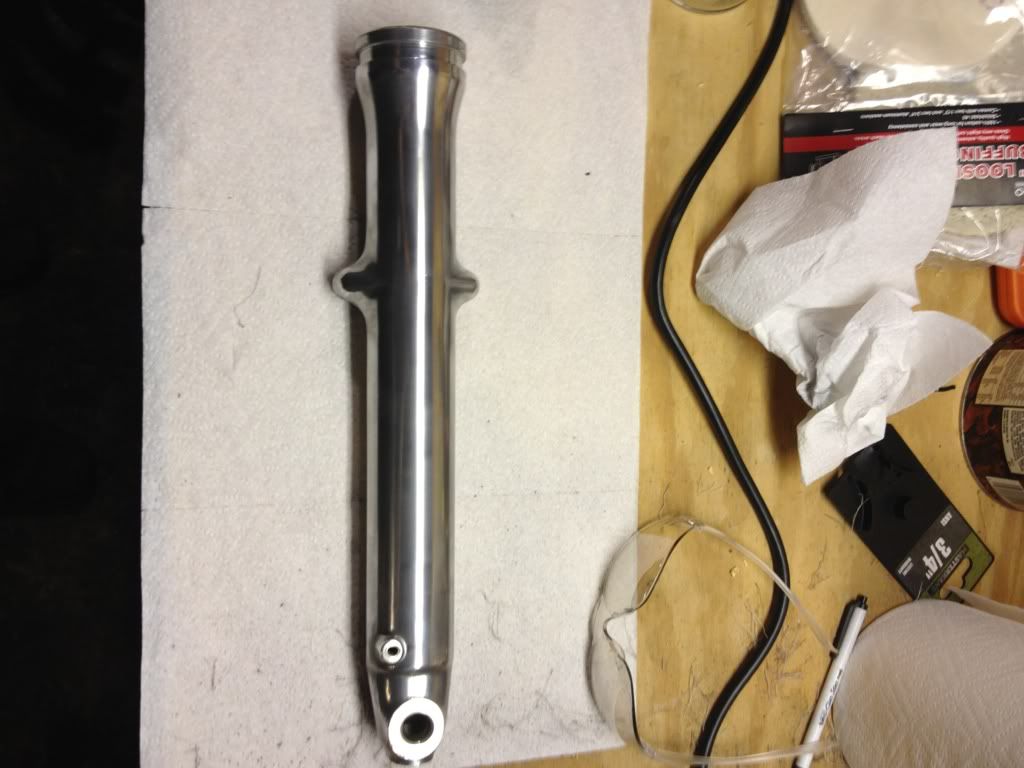
I didn’t really need this much shine, but it just came out that way and I kind of like it. It still needs a hand polish to be complete (and I polished it again after this pic was taken). It’s not perfect (if you look closely you can see varying degrees of cross marking), but it’s more than good enough for me. It’ll be faded soon enough anyway, but it looks 1000x better than when I started. FINALLY, some PROGRESS.
Should I clearcoat the leg or just leave it and polish it regularly?
I also dropped by the hardware store and picked up an angle grinder. I’m gonna need it to grind down the top triple tree and to cut off the rear of the frame.
I spent some time taking off the rotors from the wheels and I brought the wheels to my lab. I cleaned a little of the grime off the engine as well.
Tomorrow I won’t have any time to work on the bike, but I’m planning to do more stripping and sanding starting on Wednesday.
Comment
-
 D-Mac
D-Mac
Good idea. Might as well try it and see what it looks like.Originally posted by GateKeeper View PostGreat progress,,,,,,
and what a beautiful place to strip down a bike in, your office looks better than mine, and I can't bring in motorcycles to strip down and repair....
by the way, the chain, soak it in kerosene, then scrub it down really good, and it still might be OK to use, check that is has not stretched, and you should be fine, I did the same thing with mine and after I lubed it up, it was working as it should....
Comment
-
 D-Mac
D-Mac
Update:
Tuesday afternoon I dropped by a large industrial shop and picked up some grinding wheels to grind aluminum. I’m going to use them to carve off the handlebar mounts from the top triple tree bracket. It’s full café for this bike. I mention this event only because while at the shop picking them up the President of the company backed up and scratched/dented the side of my wife’s new BMW. I spent the rest of the afternoon driving to a distant body shop for an estimate. $1300 to repair, and this is only the second time I’ve driven her car (I normally drive a van on the verge of becoming a true “beater”).
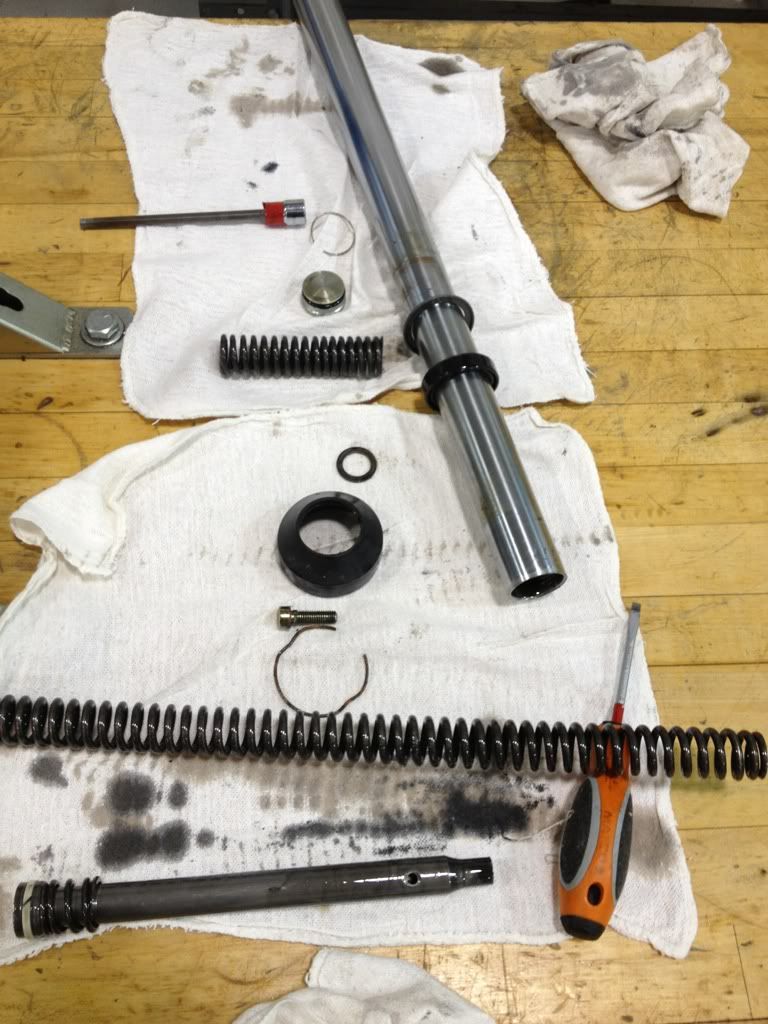
Things got better Tuesday night when I took apart the second fork. It put up quite a fight, but it’s done. Here it is mostly disassembled. Looks rougher than the first one on the inside. The OEM manual calls for ENGINE OIL mixed with TRANSMISSION OIL. Since we now have this stuff called FORK OIL, I will be experimenting with that instead of the voodoo recipe when the forks go back together.
Fork from hell.
I woke up bright an early yesterday morning, sent the kids off to school, and headed directly for the “lab.” I must have been feeling sadistic because this morning I decided to try and get the crankcase and alternator covers off before I even had my morning coffee. Over 20 ancient Phillips screws (mostly #3 size) stared back at me....laughing. The left side ones looked pretty good (intact), but the right ones were deliciously pre-stripped.
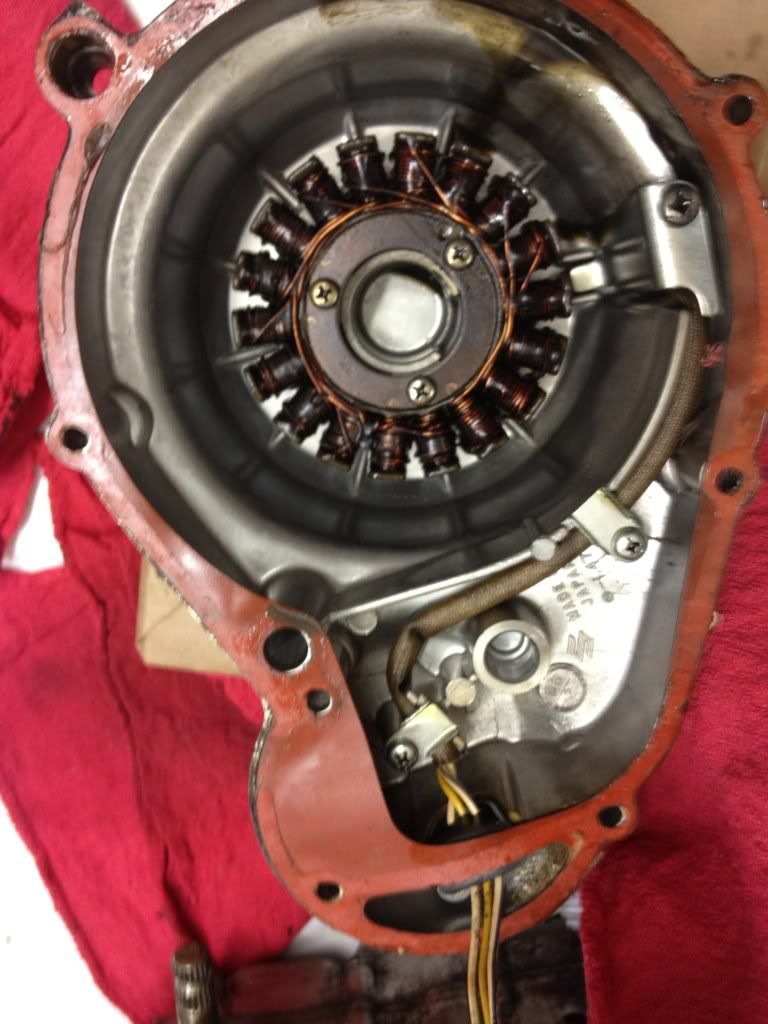
I started with the left side to warm up (alternator cover). It wasn't so bad. My impact driver made short work of ALL of the screws. Once inside, the stator looked like crap - no wonder the bike won't charge properly. A lot of little washers came flying out of the starter gears, but the parts diagram will help me here.
-------
WARNING: A pointless and overly-detailed account follows. If you don’t enjoy reading about endless frustration and silly drama, please close your browser NOW.
So next I tackled the right (crankcase) cover. ELEVEN rounded off screws. Ugh.
Screw #1 – no go with the impact driver; no go with a punch on an angle, no go with vise grips. OK. Time for the Dremel, which is at home, so on to #2 for now….
Screws #2 through #6- WOOT! Some tense moments, but these all broke loose.
Screws #7 –Nope. Nadda. Frozen hell.
Screws #8 & 9 – Easy as pie with the driver.
Screws #10 and #11 – It was CRITICAL that these break loose because they are partially buried by the engine. One false move here and I might have to use the drill (and the last time I did that I machined the cover badly). Using ALL of my skills, I carefully set the driver and struck it soundly. Nothing. Again. Nothing. Again 25 more times. Nothing. Then #10 stripped out. The #11. Damn. Damn. Damn. 10 more minutes of various tools. Nothing.
So I went back home to get the Dremel. On the way outside I dropped it. Oops! I broke my last cutting wheel. ARGH. So it was off to Tractor Supply. What?! No cutting wheels? Off the local hardware store….none either?! Fine, off to the nearest “real” town 25min away. About $100+ in tools later (got a 6” bench new vise on sale + screwdriver set + locking pliers set), I bought my $5 pack of cutting wheels and headed home. I really gotta stay away from the tool section. It’s killing my budget for this project.
Wait! That’s not a dremel wheel…….
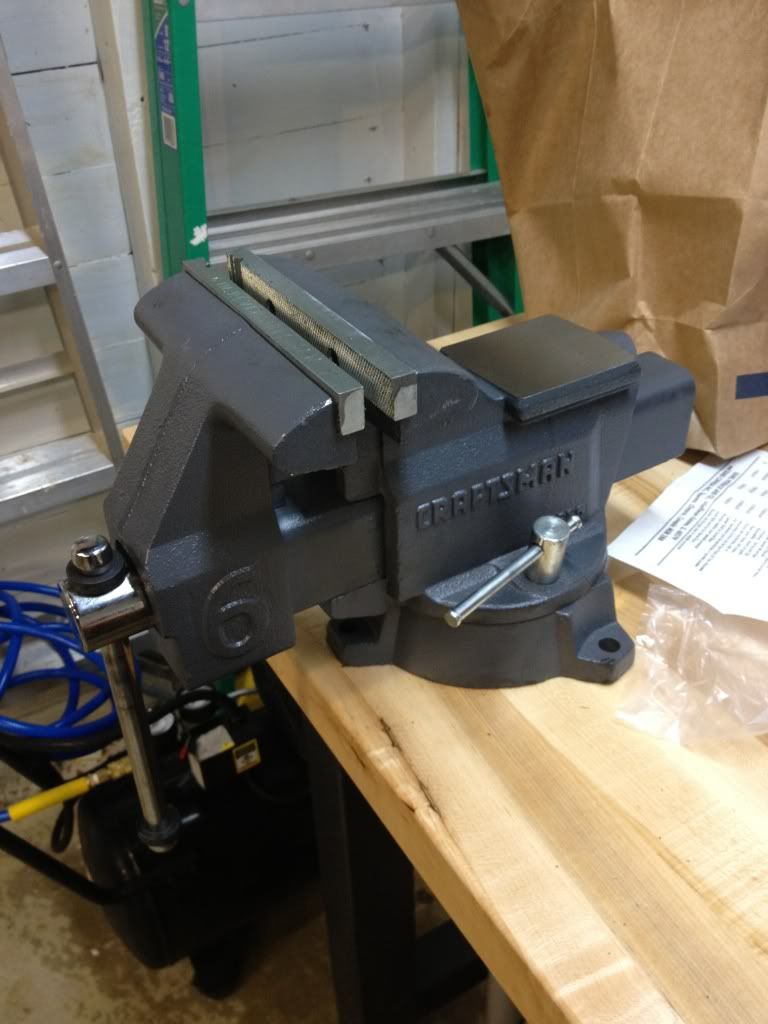
Back in the shop, I carefully cut slots in Screws #1 and 7. No problems. Both broke loose with the slot impact attachment.
Then it was on to Screw #10. I had to cut a little toward the edge of the screw because of a lack of room, but after about 10 attempts at slicing into it, I got just enough to get a good bite and it came out. YES!
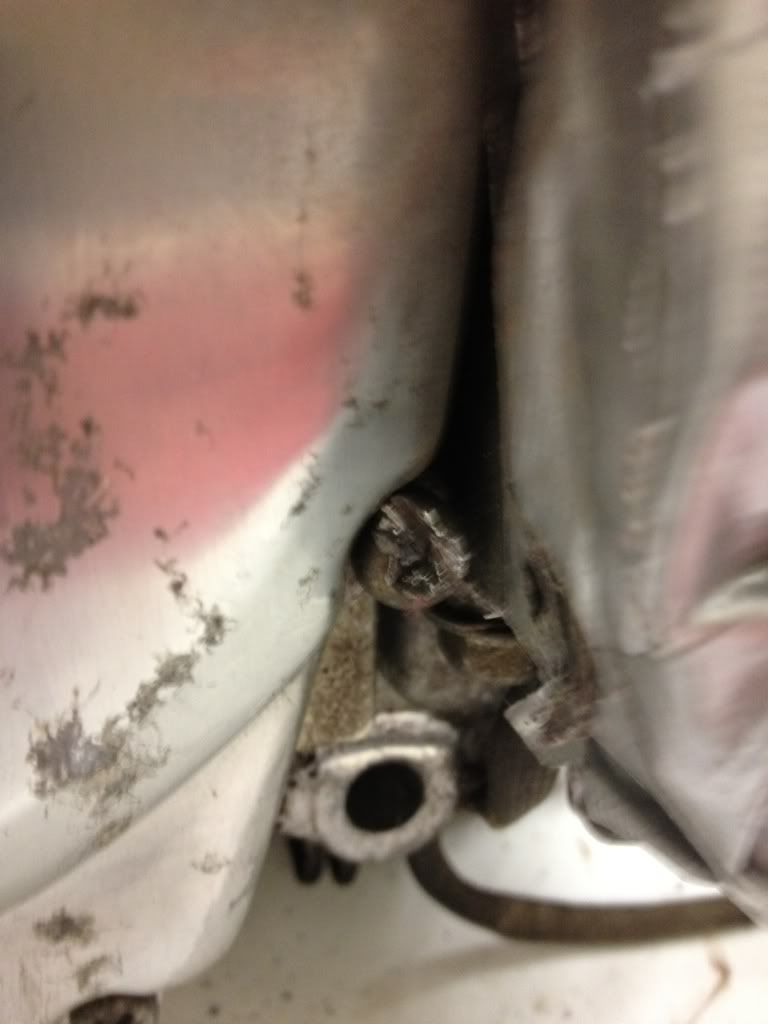
Finally, it was Screw #11. It was almost totally buried (pic below). By flipping the engine on its side and sliding the wheel in, I could just touch the screw, but the wheel was skimming the side of the engine. I wrapped the engine in duct tape as a “warning” to myself (if the tape started cutting, I knew I was getting too close). I had to lean over the table to reach the screw as I carved, and carved, and carved. It was pretty much hopeless. I was starting to score the engine, but I gave it one last try and barely managed to get a tenuous bite with the driver. I had one more shot to break it loose before I had to get out the drill. I reached back……took a deep breath, and smacked the hammer square onto the driver……and.......it spun loose. Yes!
Screw from HELL.
I finished up the morning removing the oil sight glass. It was badly clouded and the seal on the outside looked terrible. The inside seal had been “repaired” with some sort of pink-colored substance that looked like silly string. I think it was some kind of GLUE ?! Anyway, it was flaking off and I was planning to blast the case with stripper anyway, so it had to go. I punched it out and it will be replaced.
After lunch I spent a little time stripping and sanding the side covers and fork leg #2. This is gonna take a while! I also pulled the timing cover and discovered that it was so badly ground down with road rash that it’s not worth salvaging. In an ironic twist, a previous owner had replaced the “DOHC” Suzuki cover insert with a black piece of plastic that had the Harley Davidson emblem on the back side. Classy. I also pulled out the stator.
Broken stator. It has since been removed from the case and tossed unceremoniously on the floor.
A shot before stripping the crankcase covers and another lower fork leg.
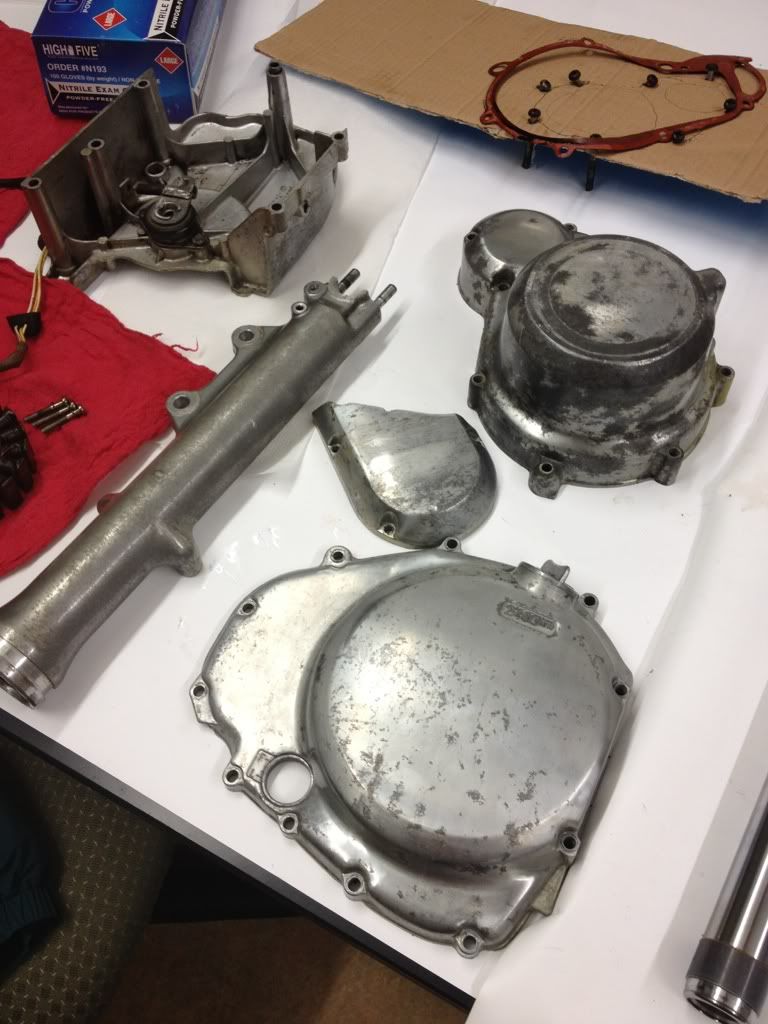
A pic of the stripping process. Yummy.
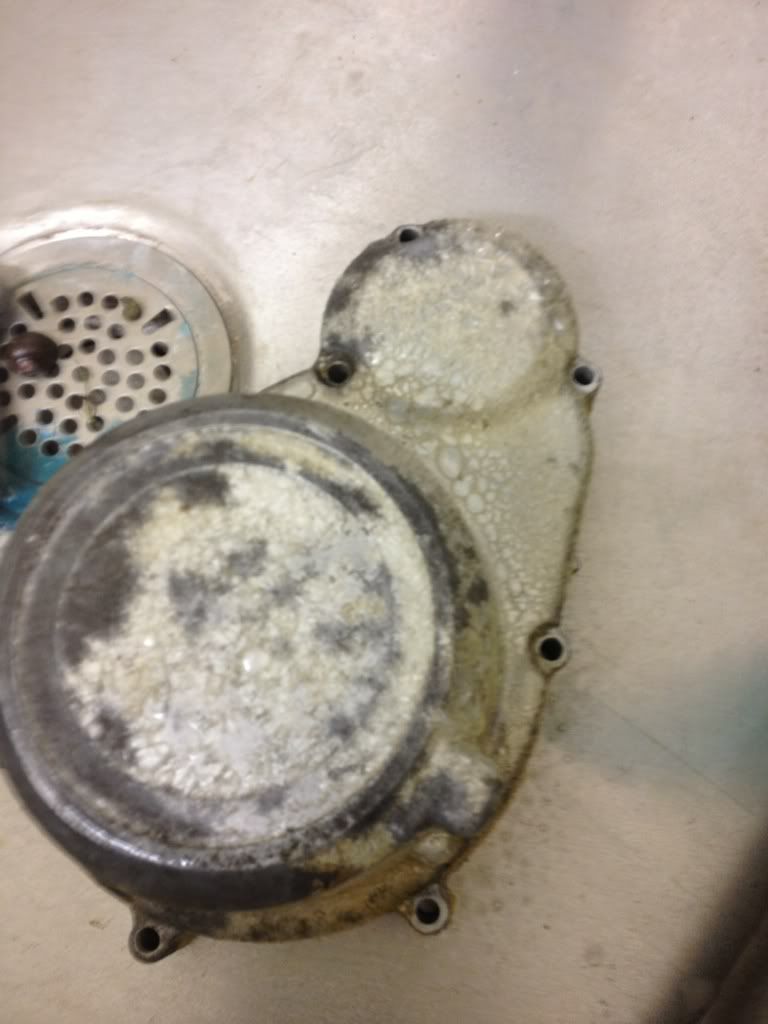
The fumes from the stripper spray nearly put me into some kind of 80s flashback (one side effect of the spray is that it impairs your ability to absorb oxygen into your blood!), so I quit early for the day and arrived home to find that my Haynes service manual had arrived. Excellent.
--------
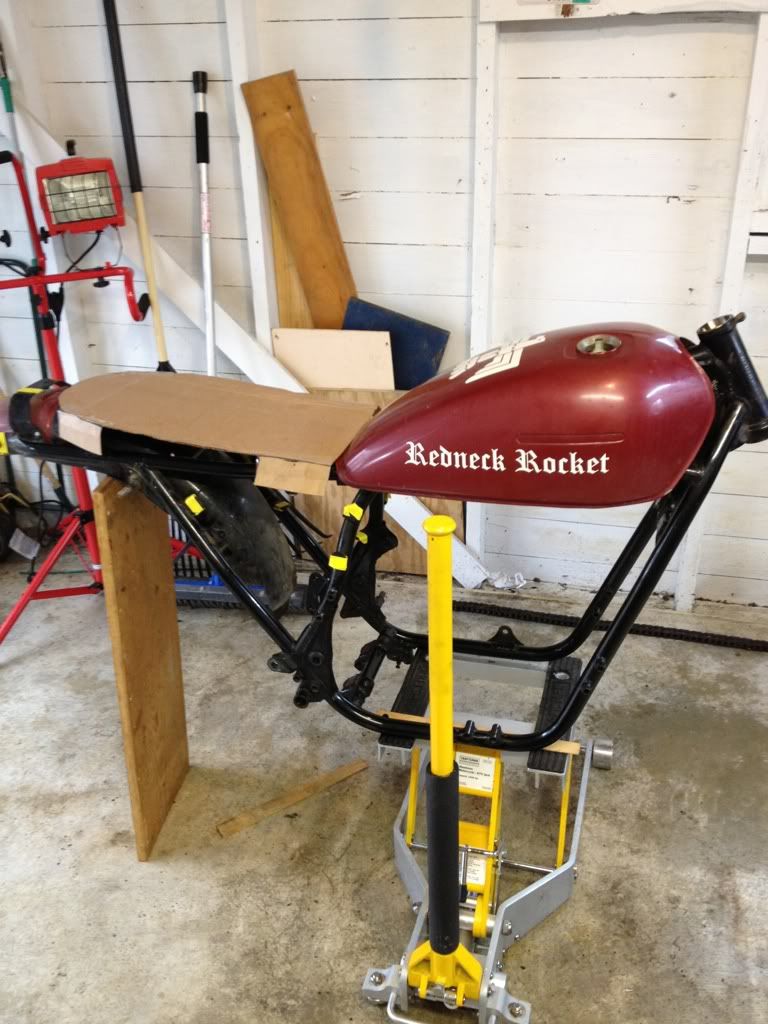
This morning I did some mock ups of various seat types. Not enough pics, but here’s one that was rejected (seat wasn't long enough). I re-installed the rear fender to give me a sense of where the rear wheel will be. I will NOT be using the rear fender. I'll finish the mock ups tomorrow, choose a design, and get the seat going as well.
Comment
-
 Motocrossx23
 -
 D-Mac
D-Mac
Ended up without much time to work on the “rocket” today (damn I hate that tank – can’t wait to strip it).
Did some parts sanding for an hour. Very slow progress. I’ll be out of 220 grit long before I’m done with it.
I did a better mock-up of a café seat/cowl. The rear of the frame sticks up about 4-5 inches, so the template is NOT lying properly flat yet. Obviously I’ll be cutting off the rear part of the frame that sticks up past behind the shocks, but that’s for a bit later (planning on doing it in January). Overall, the frame is really well suited to a café project.
Imagine this seat style, but sitting about 4 inches lower than shown here.
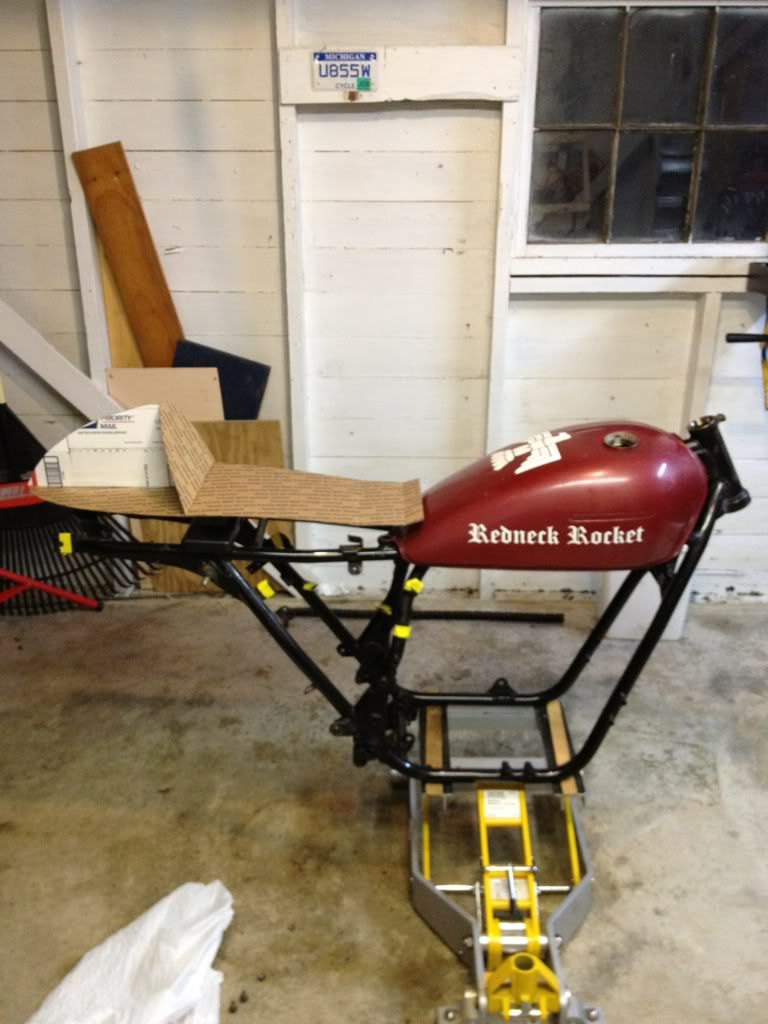

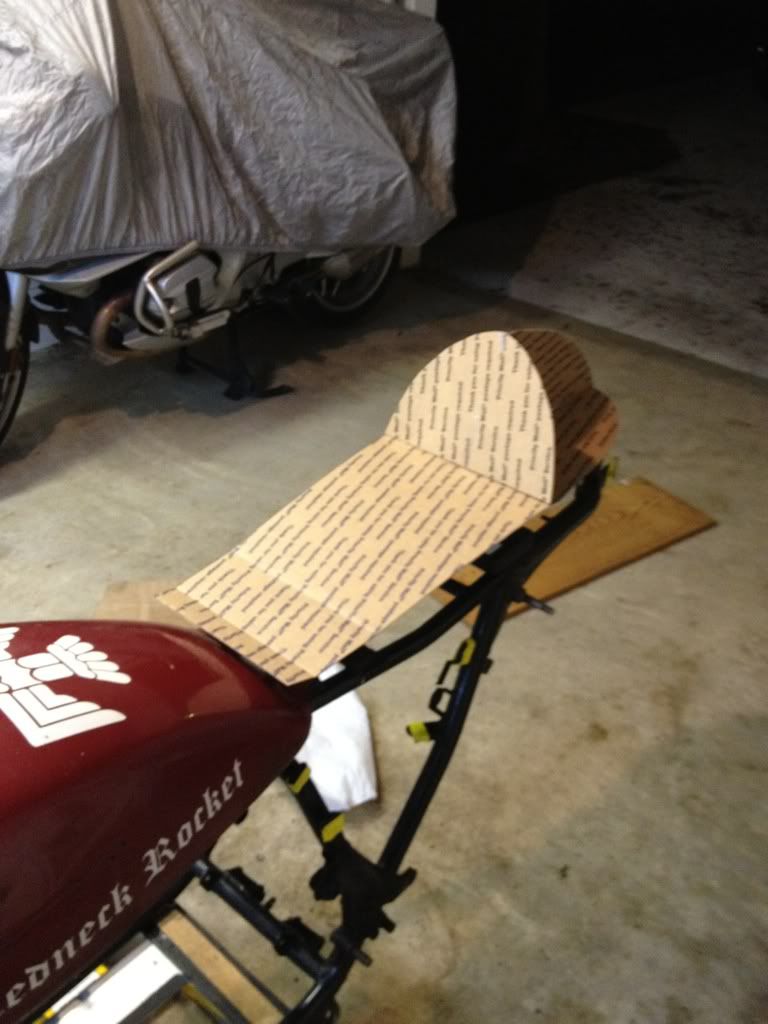
The whole thing is close to 29” long and the seat part is about 17” long and ~9-10” wide, so I’ll be able to move around a little. The hump is about 6 ½” tall at the highest point, which should be enough to conceal a battery (I’m thinking AGM battery, which I could mount sideways if needed). Hiding the other electrical components will be a little harder, and I have no ideas yet about how to do it exactly, but I’ll sort something out. There’s no avoiding it – I’ll be diving into the world of fabrication soon enough.
I hope to spend a little more time stripping/sanding parts tomorrow. I have a looooong list of stuff I need to order, but it will likely have to wait until the new year. I’ve started too many different parts already. At some point soon I’ll have to bite the bullet and order some more expensive parts (many of which cost more than I paid for the bike!) For now, I’ll stick to making a few things look pretty.
Comment
-
 DrunkenChekhov
Are you planning on running 2-up? Because I only have 10.5 inches of sitting room, and that seems to be about 1 inch too much.
Nonetheless, you're making some great progress. Are you planning on keeping the L tank, or getting an E or G tank to look a littler sportier.
Comment
-
 D-Mac
D-Mac
Ended up doing a lot of non-bike shopping today.
I did manage to spend a few hours sanding and polishing though. I’m happy with how the second fork lower turned out, but the cases could be a LOT better. They still have some character marks on smudges on them (although I haven’t polished them beyond the wheel, so some of this will come out). Still, I kind of like the “dull” aluminum look on them since it will blend better with the engine, which will be painted grey. I still have the generator cover and sprocket outer cover left to polish, but both of mine are so badly scratched/cracked that they are probably too far gone to use. I’ll probably buy replacements on eBay or at the local salvage yard in a few weeks.
Before:

After (no flash – a roll of tape is sitting on the top of the tall case where a new “Suzuki” emblem or something similar will go):
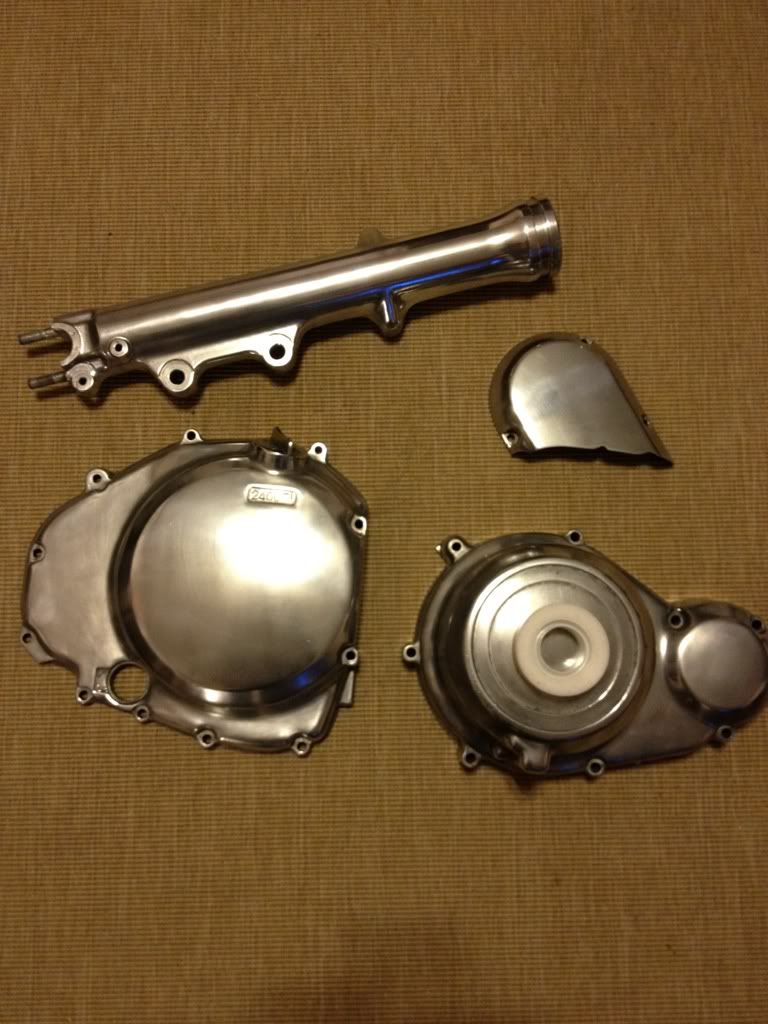
Tomorrow I start on the wheels. Keeping true to the original design, I’m planning to sand/polish the outer rims and “spokes” and then mask them and re-paint the inner parts with VHT wheel paint (black). If it doesn’t look good or last well I can always have them powdercoated later. If I get a chance I will also paint the caliper bodies.
After looking over some frames, I’ve decided that I will be have the frame and swingarm powdercoated after all. It just looks sooooo good. If anyone has suggestions for good powdercoaters in southern Michigan, let me know.
Comment
.png)
 lol
lol
Comment