At least this isn't a 16-valve engine!
Announcement
Collapse
No announcement yet.
'81 GS550 Cafe Build
Collapse
X
-
 D-Mac
D-Mac
Good idea. I have a similar spreadsheet from a motorcycle class I took, and it's a GREAT advantage. I actually entered the data at the same time I was writing it out.Originally posted by cowboyup3371 View Post
At least this isn't a 16-valve engine!
-
 D-Mac
D-Mac
OK. Some steady (albeit unsexy) progress to report.
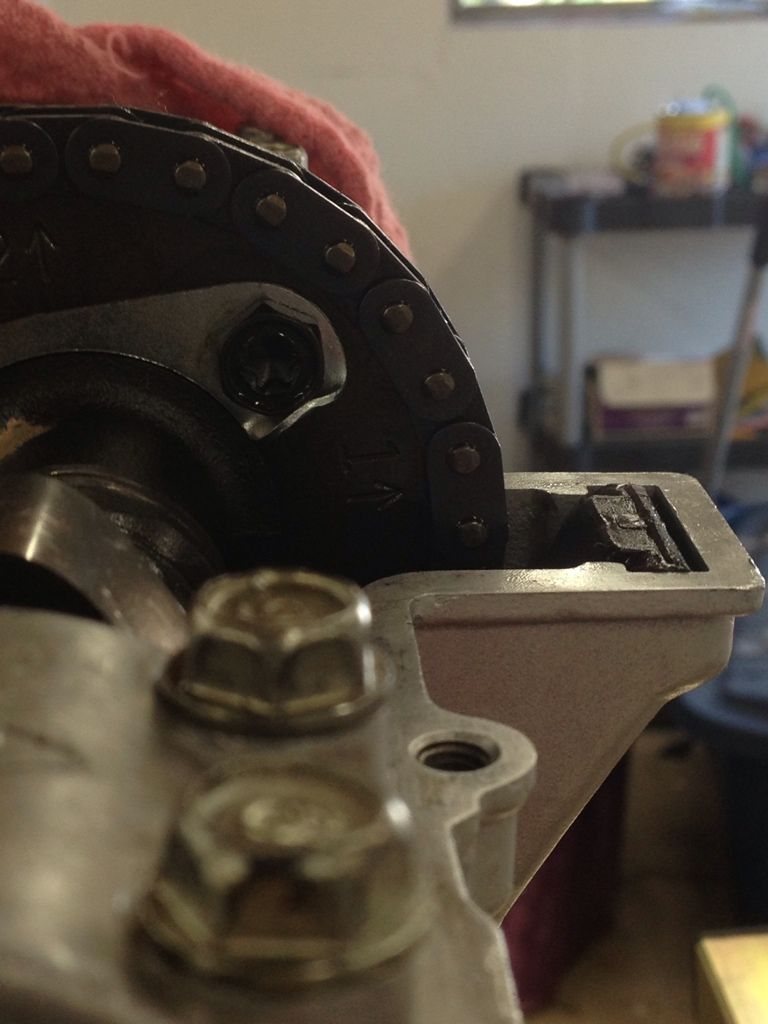
First order of business was getting the cam timing set. It’s a bit hard to tell when you first line things up because the cam shafts aren’t fully down in their journals until the caps are bolted on. Things looked OK, but after getting the shafts on, you can see here pretty clearly that I’m a tooth off. The “1” is supposed to point forward – in line with the valve cover.
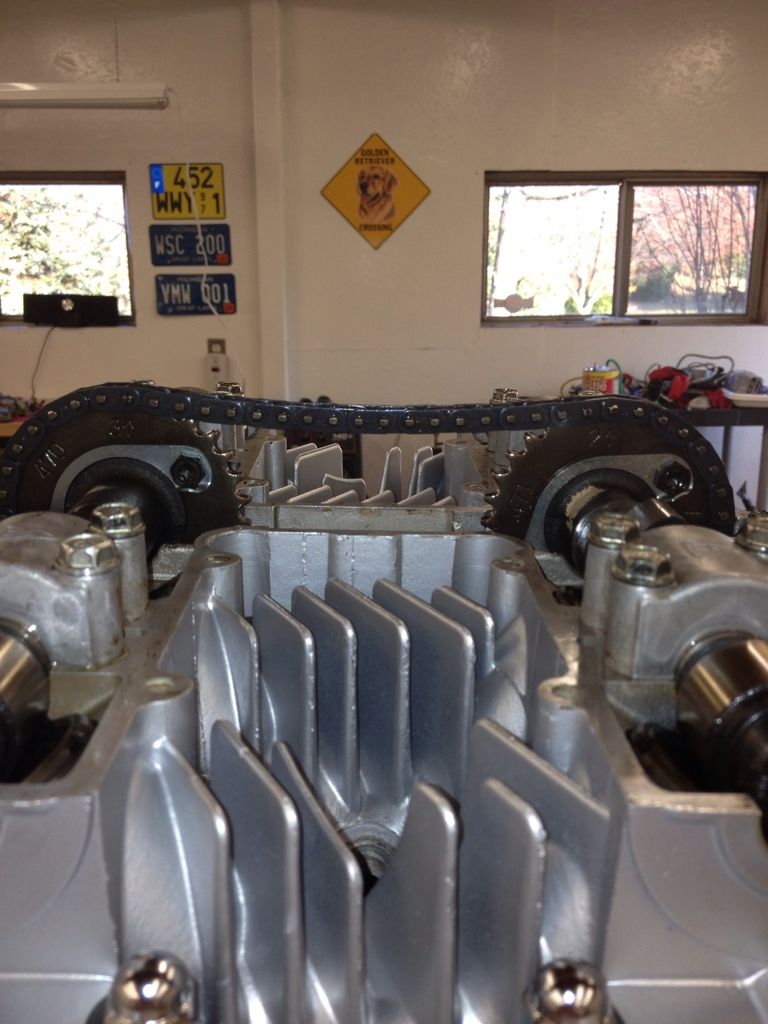
This one (below) is better. The “1” on the exhaust sprocket now points forward, level with the top of the head, the “2” on that sprocket points straight up, and the “3” on the intake sprocket points up. Counting the start and end points, there are 20 pins on the chain between 2 and 3. Got all that? The most important part (of course) is to be sure that you have the correct cylinders at top-dead center when installing the other shafts, or very, very bad things can result….. The markings on the crank are tough to see on this bike, so the easiest way to be certain was to look at the pistons and watch the cams to make sure everything was where it should be.
Correct. It looks like the “1” is above the mark, but it’s actually level with the top of the head, as it’s supposed to be.
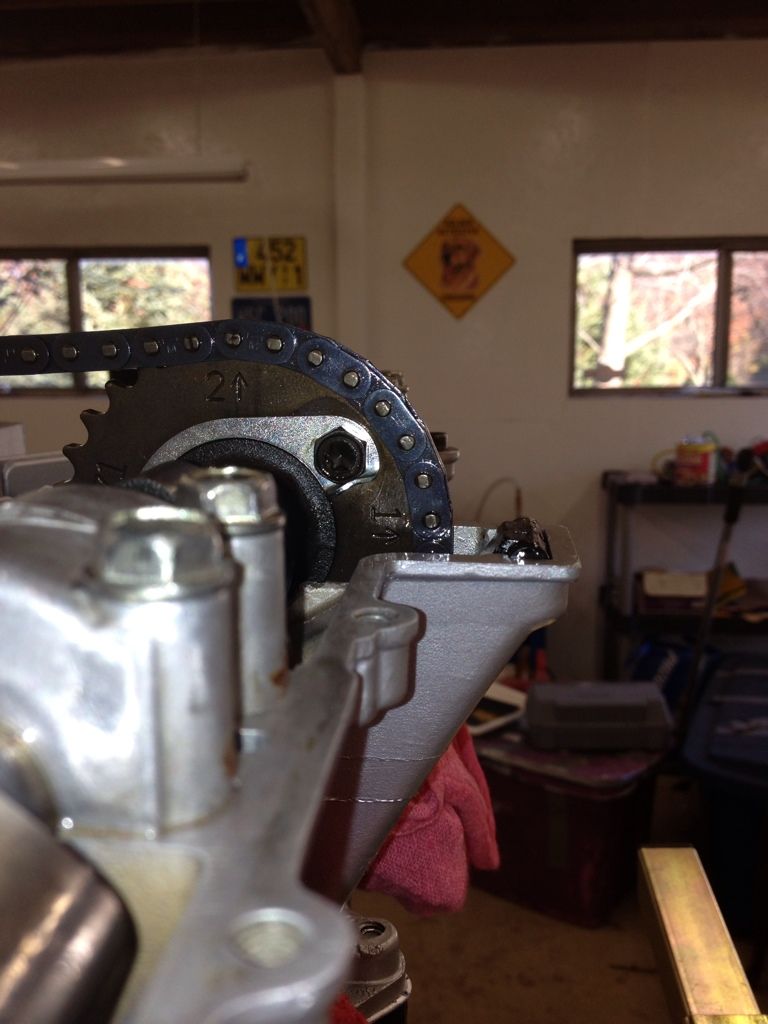
Intake camshaft in position relative to the exhaust camshaft.
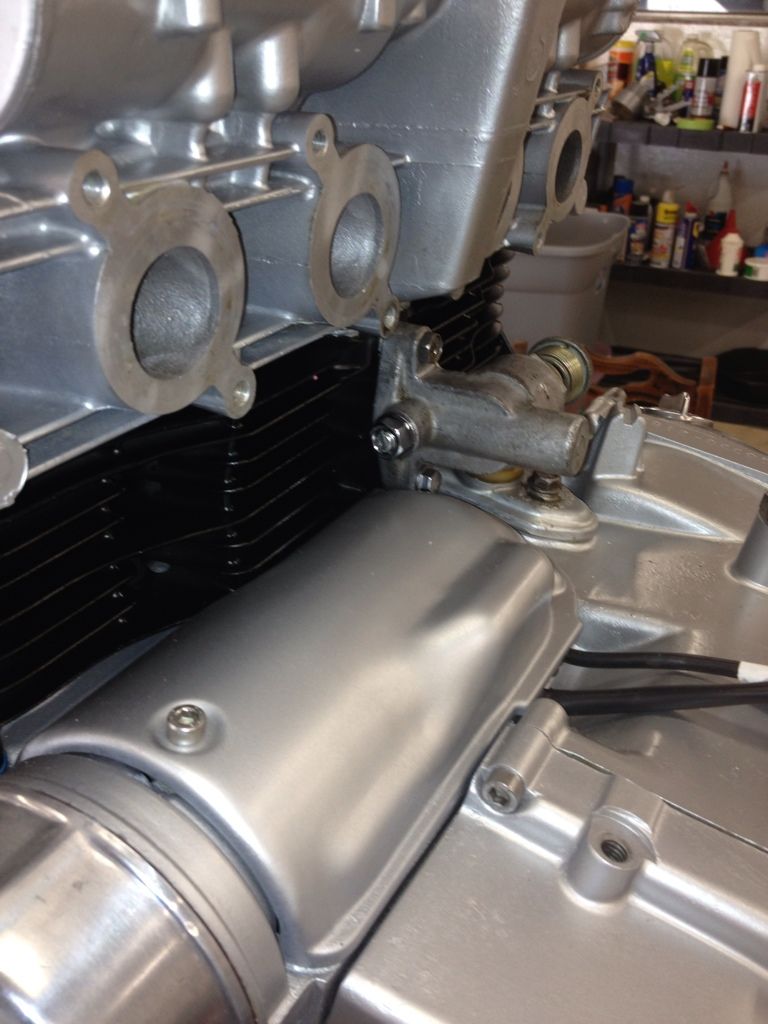
Next up, I needed to get my cam chain tensioner reassembled before turning the engine over. Sorting out the large spring on the outside of the part took a few tries (it can be wound to varying degrees; I probably shouldn’t have taken the whole thing apart earlier!) I think I have it set up ok. I didn’t bother to polish it – just cleaned it up a little and lubed the various parts. It’s an “automatic tensioner” so you put it in place and then loosen it – allowing slack to be taken up, but it cannot be backed off unless you turn the large knob in reverse. The test procedure calls for twisting the large knob and turning the crank a little backwards to allow slack to reappear. Then you move the crank forward and make sure the big wheel turns by itself – taking up the slack. Yup. It works! You don’t tighten the tensioner screw (or it wouldn’t be automatic anymore!) but it’s locked down with a nut so that it won’t do anything weird, like lock itself or fall apart, by itself.
Next up was checking valve clearances. On this bike, it’s important to use the procedure from the Suzuki service manual, which calls for checking clearances on a pairs of tappets of one side of a cam sprocket separately, when both tappets on that side are “unloaded” (cams not pressing on any valves). To do otherwise can throw off the readings (I checked, and it does throw them off as much as 0.05mm).
Here’s the GREAT NEWS! As mentioned earlier, I started off by placing shims in buckets in a way that would maximize clearance for all buckets (since I had all 0s for clearance on this engine when I started). With my pile of shims from the other engine being thinner, most valves ended up with shims 0.05-0.10 thinner than what they had started with. It really paid off, and I got very lucky. ALL of the intake shims were within spec on first check! (spec = 0.03-0.08mm; all 0.04-0.08mm). Woot! One of the exhaust shims was in spec too, and two others were just a shade loose (two were 0.10mm, which is only 0.02mm beyond spec, although my next feeler gauge up was 0.13mm, so they could technically have been as much as 0.049 beyond spec). Checking my pile of leftover shims, I had the right ones to get the three loose ones back in the middle of spec. FOR ONCE this bike seems to be cooperating with me!
Here is the procedure for replacing a shim: After moving the cam away from the bucket, I can spin the bucket around (with finger) so that I will be able to pry up the shim once the bucket is depressed. The tappet depressor tool is now in position and ready to press down on the bucket without pressing on the shim (so the shim can be lifted out). The trick is to press the tool against the camshaft before pulling it down. You can see the tool here – in position to be used.
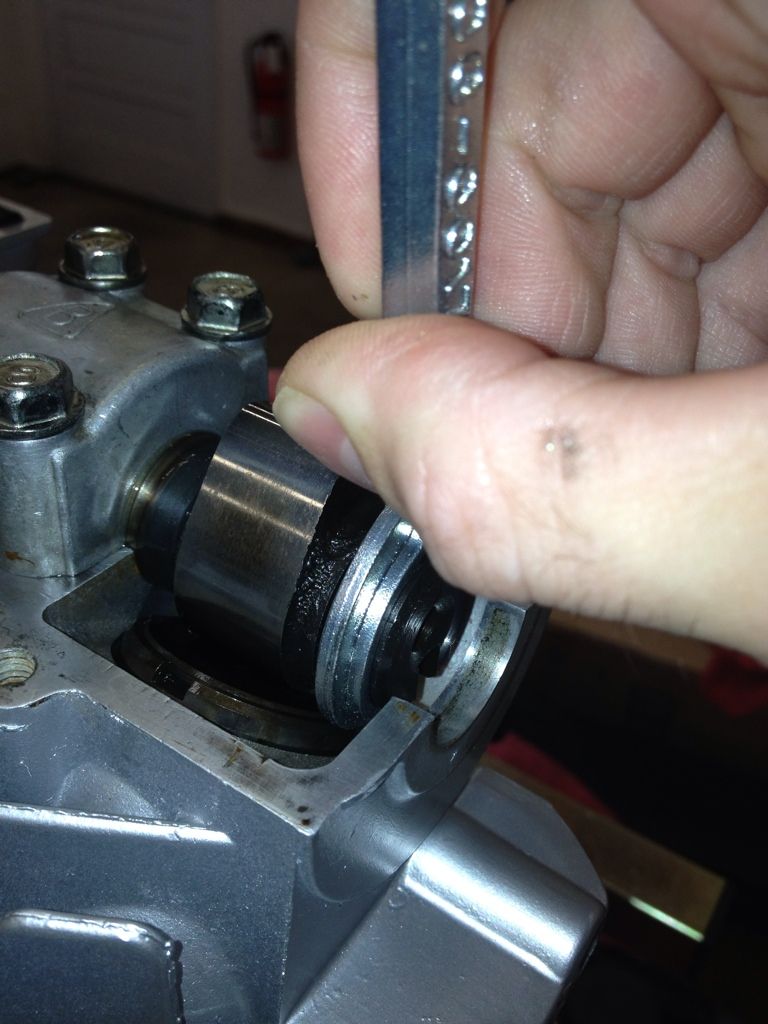
Tool is now in position and the old shim is extracted. Tweezers can be used to help it “pop” up and then to grab it. The tool takes a little getting used to, but once you have it down you can change a shim in about a minute!
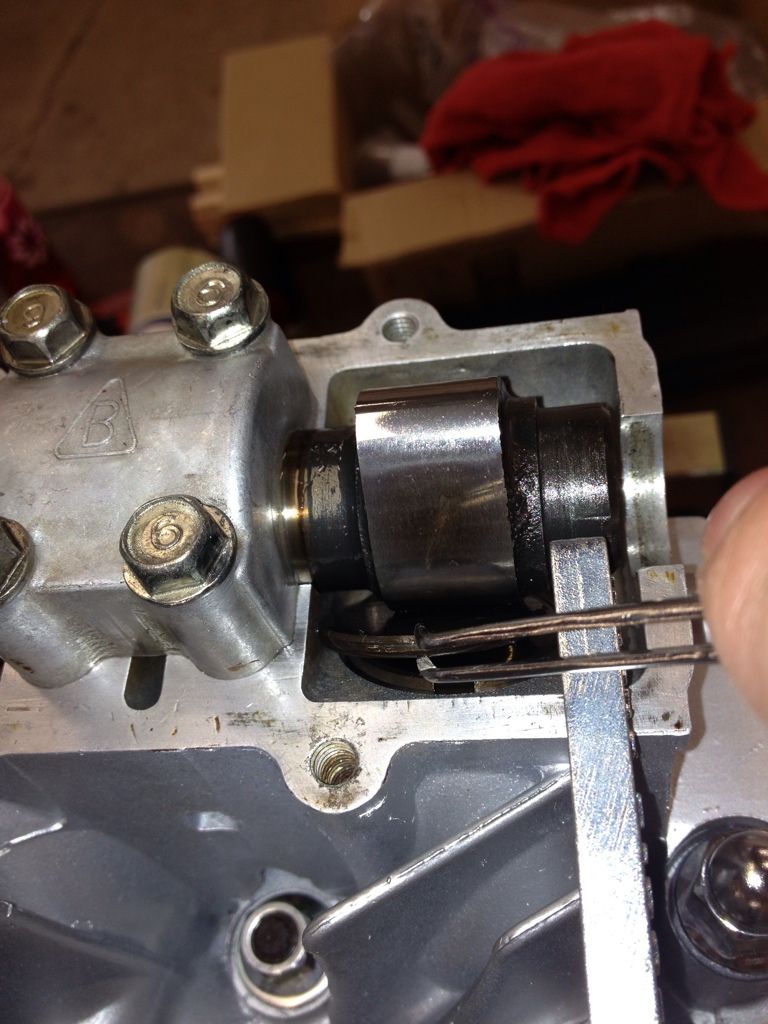
When I did a final check, ALL clearances were well within spec! A lot easier than I had feared.
Feeling good about things, I realized that I was ready to put on the valve cover. Oops. When digging out the gasket, I immediately noticed I was sent the wrong one. I then ordered a replacement and requested a refund on the unopened one.
Without too much to work on, I went a little crazy (again) with some other orders this afternoon.
First, I ordered a bunch of bits I’ll need to reinstall the engine (mostly a lot of small bolts and nuts to replace the corroded ones that came off). I then picked up the pushrod seal I need to replace (I will do this with the engine in the stand), and I ordered some bits to install a new stock petcock. I held off on getting the actual petcock for now, since I won’t need it for a while and need the money for other things. I completed my order with a new rubber piece for the sidestand, and a new drain plug + crush washers.
I then ordered an imitation ignition switch off ebay (the old one was broken and corroded) and managed to locate the correct chrome gas cap for the tank (new part).
Thinking that it won’t be long until I start some electrical work, I broke down and ordered new Dyna coils and plug wires/caps. The stock coils were “sort of” working (spark was present), but the wires “permanently” epoxied to them are toast. One coil also has some kind of leakage from it (!) which can’t be good. I thought about trying to remove the old wires or graft new ones on (the stockers aren’t designed to be replaced separately from the coils), but I’ve come too far to be frustrated by ignition problems. When I redo the harness, I will likely do the popular “coil relay” mod as well, which uses the convoluted wire routing through various switches only as a relay to fire coils (coils are wired directly to the battery), rather than using the “long route” to power the coils directly. With a harness this old, I’d like all of the juice from the battery to actually reach the coils.
More later this week…
Comment
-
Great progress D-Mac! That is going to be such an amazing ride when you are done. I fired my 550 up for the first time last week and I can tell you that 550 puts out an amazing, addicting, sweet sound. Oh, and I really love the paint scheme. Beautiful!1982 GS550M Rebuilt Winter '12 - 550 to 673cc engine conversion.
1989 Kawasaki ZX-7 Ninja
2016 Ducati Scrambler Full Throttle
Comment
-
 Rockgs1000
D-Mac where did you get your guages from? That is a sweet build one to be proud of. I am just not brave enough to dig that deep in my engine
Comment
-
The paint looks really nice. Make sure you seal off the raw edge around the filler opening on the tank, otherwise the fumes will peel the paint back in no time.1979 GS1000S,
1982 Honda CX500 Turbo, 1982 Honda MB5 w/CR80 motor, 1977 Honda "nekid" Goldwing, 1976 Honda CB550F cafe', 1972 Honda XL250 cafe'
Comment
-
 D-Mac
D-Mac
Yup. The neck is still sealed from the tank liner. I got a new square gas cap, though it doesn't seem to fit perfectly. It could be that I need to clean up the lip a little, but I suspect it's just my knock-off part that's a little off.Originally posted by nvr2old View PostThe paint looks really nice. Make sure you seal off the raw edge around the filler opening on the tank, otherwise the fumes will peel the paint back in no time.
I will check the seal and play around a little before I put gas in the tank. It'll be a while before I get to that point anyway.
Comment
-
 D-Mac
D-Mac
Update time:
Talk about unlucky with orders! I’m STILL waiting for the valve cover gasket and some bits to mount the engine (since October 28th). To make matters worse, it appears that I’ve been scammed on the ignition switch I bought off eBay. The seller has disappeared, deleted his/her eBay account, and ran off with my $20. Between eBay and PayPal, I’m hoping to recover my money…..eventually.
In the meantime, I’ve started looking ahead to what I have left. Once I get the engine finished and back in the frame, most of the work left is electrical. Ugh. To prepare, I’m registering for a motorcycle electrical course that begins in January at a community college about an hour away. The class also happens to be the last course I need to complete their service tech program, so “what the hell.” I figure I’ll start fixing up the harness over the next couple of months, and then finish and improve on it when as I take the class.
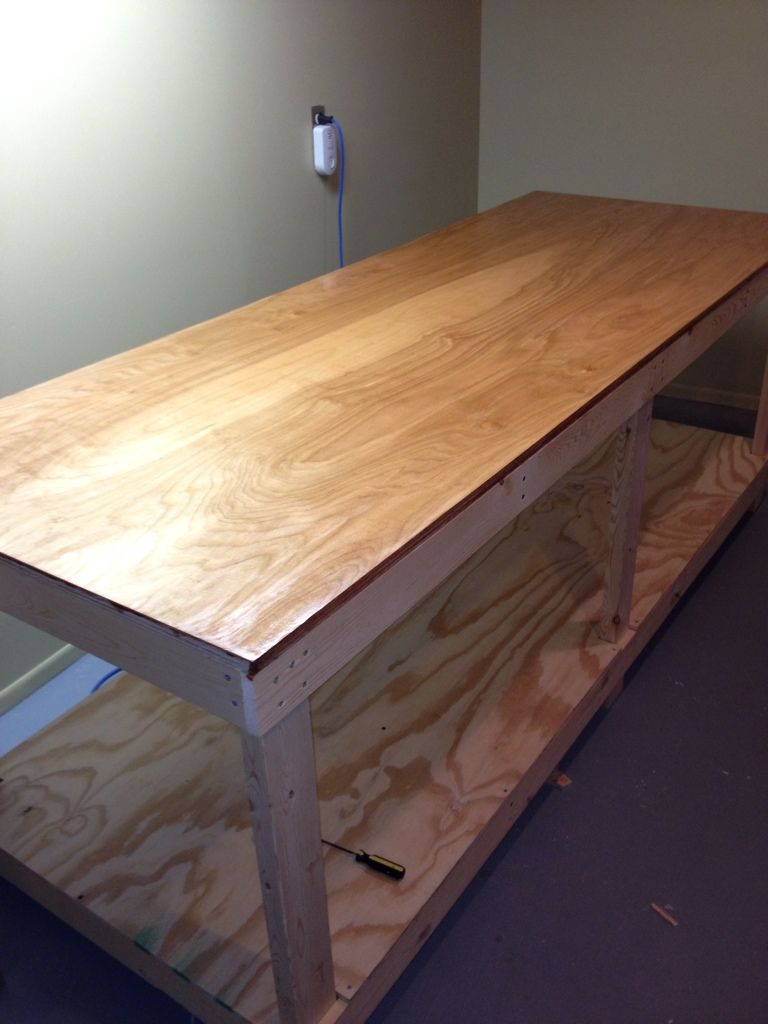
My garage is getting cold, so I’ve decided to move indoors to work on the wiring harness. Unfortunately, long-term use of the kitchen table and home office is out of the question, so I’ll be retreating to a basement workshop. Only problem? I didn’t have a work table in my new place.
So I made one. I’m not too good with wood-working, but I reverse-engineered and expanded on the design of the table in my old house. I made a few upgrades, like a ¾”-thick oak top. It’s 8x3’ x 36” high. Once I add a little lighting to the basement, I should be good to go. Working on the Suzuki has given me all sorts of confidence to do other things I would have written off just a year ago.
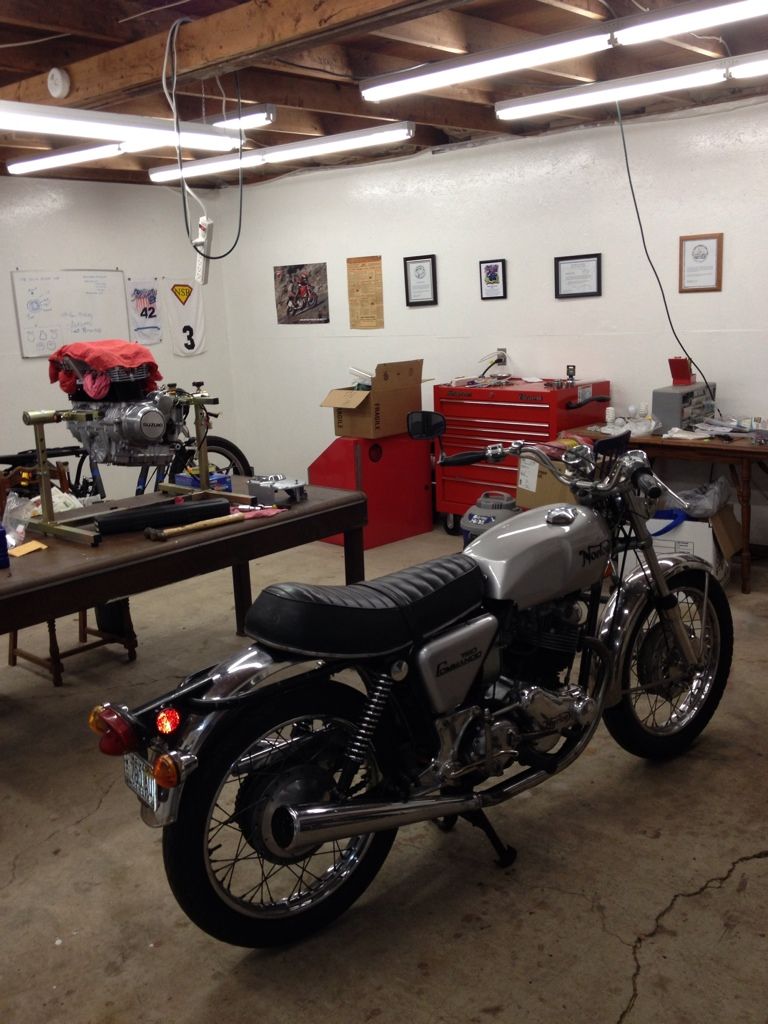
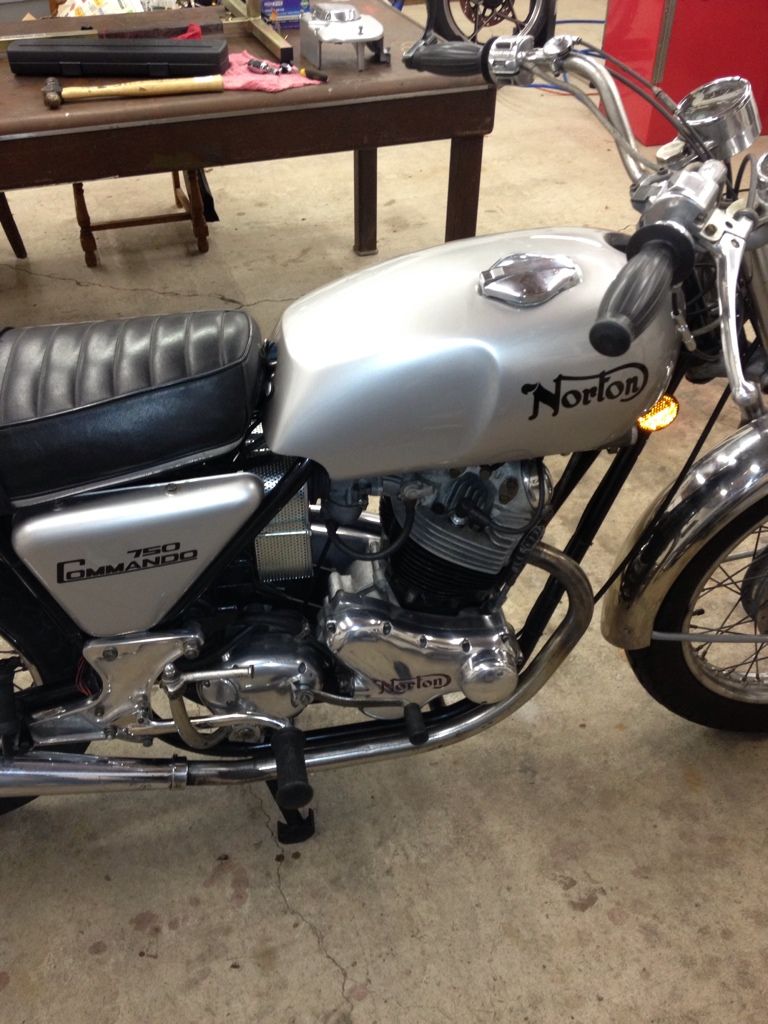
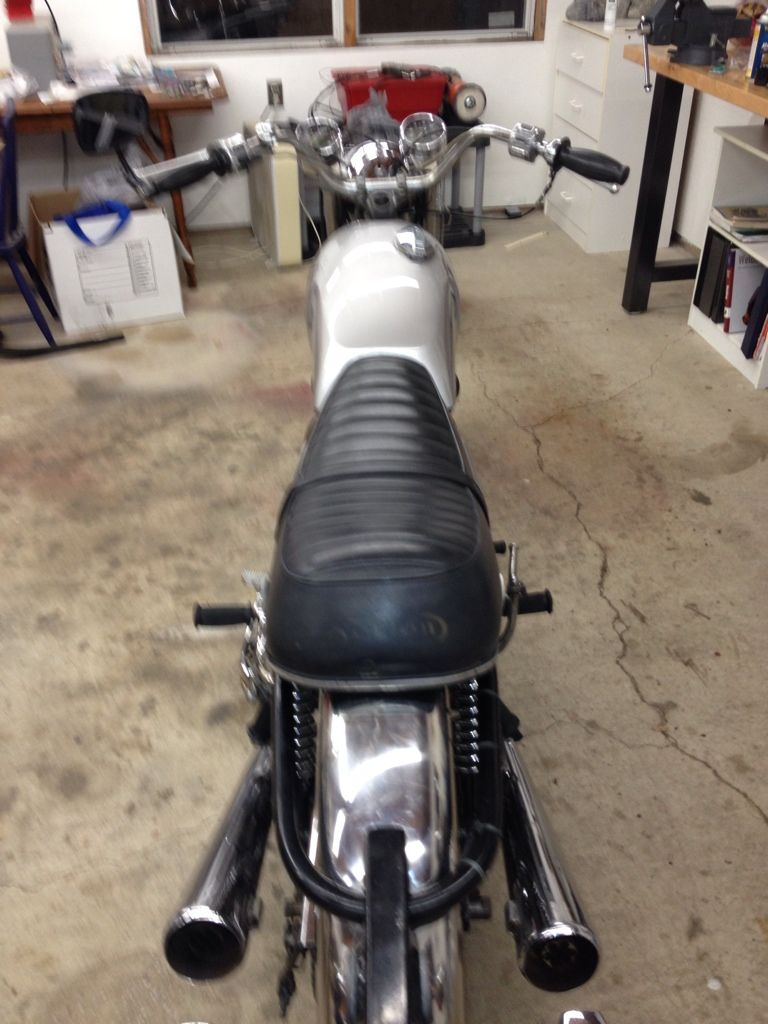
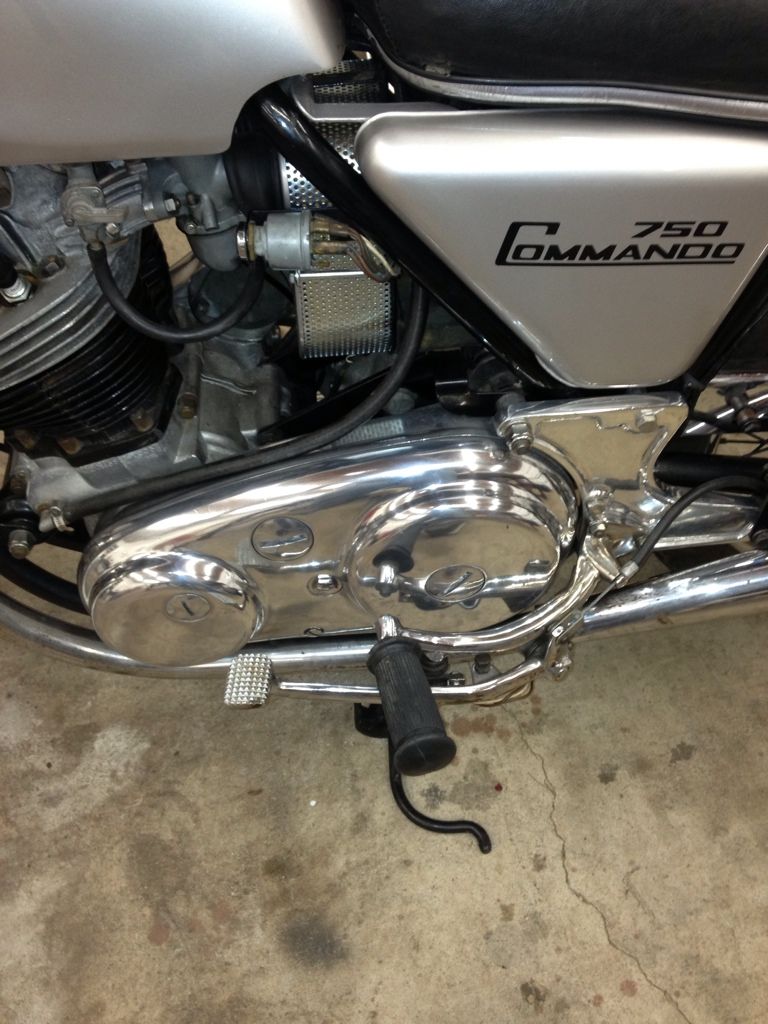
There has also been another development in my shop. A friend dropped off this beauty a few days ago. 1971 Norton Commando 750. His dad bought it new, and they've been been working to get it road-worthy. A local shop had it for OVER A YEAR, and from what I can tell they charged him about 4 grand to polish some covers, clean the carbs, do a less-than-stellar paint job (surfaces are rough and bubbled, decals aren't cleared, and they managed to chip it badly in one spot). They also replaced a speedo drive unit. The owner got tired of the run-around from the shop and being asked for money with no explanation, so he finally went to pick it up (which was a story unto itself).
It has only about 8200 miles on it (with the requisite two engine rebuilds I believe). It still needs new tires and a tank re-line (which is what the owner went to the shop to have done!) The exhaust will be replaced too. The best thing about this bike is that it makes my shop look “legit” (it even drips oil on the floor). There’s nothing like having a REAL café-inspired bike sitting in front of you for motivation.
A few pics….
I’m nearly ready to order a new battery. I’ve been saving for a Shorai lithium battery, which will be much lighter and easier to fit under the seat than anything conventional.
Comment
-
 D-Mac
D-Mac
Comment
-
 D-Mac
D-Mac
So now to button-up the engine.
First, I reinstalled the breather cover to the valve cover. Then I placed on the correct valve cover gasket (finally arrived! Third time’s the charm I guess.)
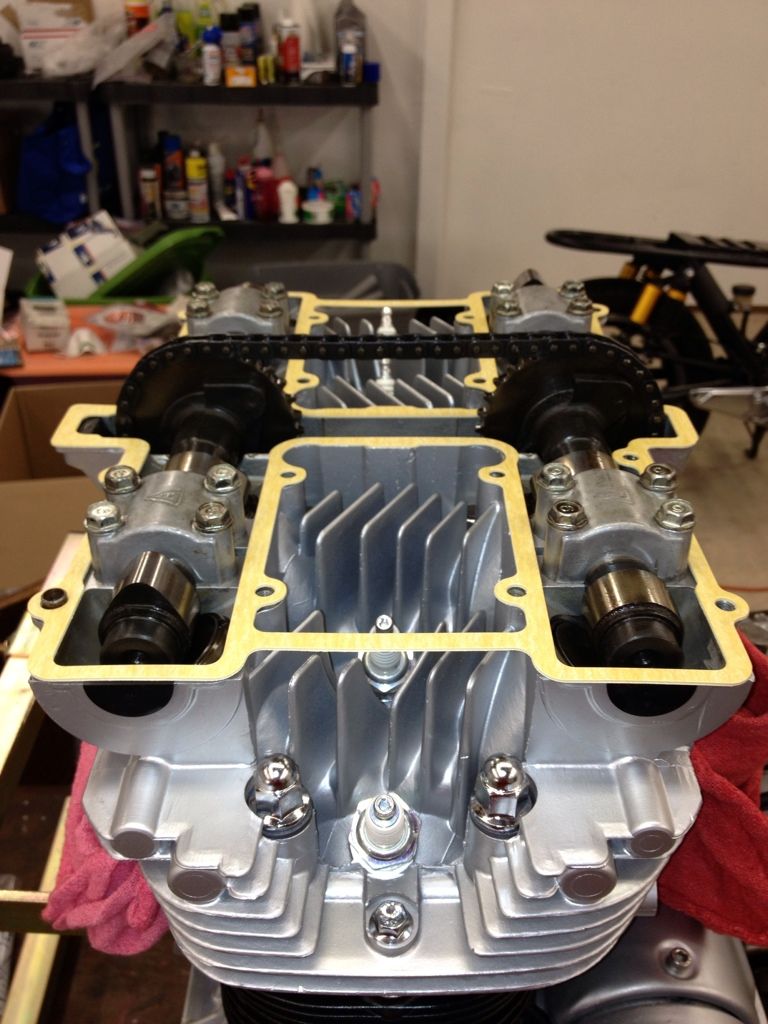
Pic of a new rubber “half-moon” at one end of a cam cover. I used a little Yammabond 4 on the bottom of each of these (they can shrink and weap oil otherwise). I didn’t put anything on the gasket surfaces though. As usual, I used a little anti-sieze on each fastener and put a bit on the spark plug threads (plug gap was checked too).
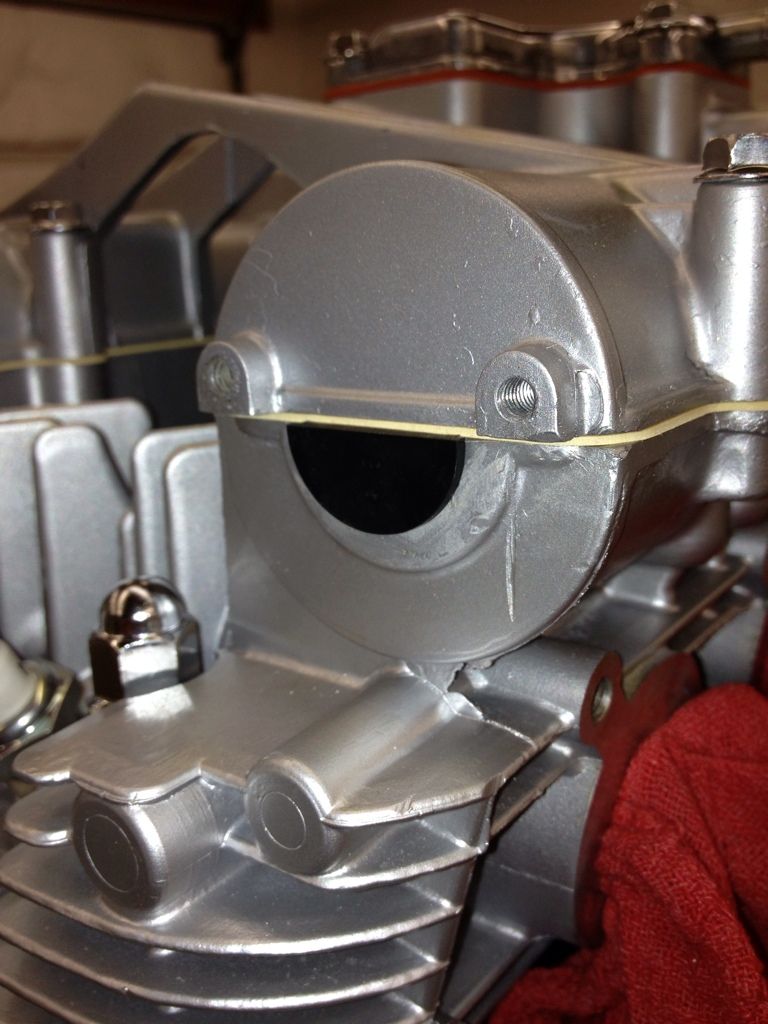
Then the tach setup went back in and I put on new chrome cam caps with allen-head fasteners. I’ve been waiting for this moment for many months.
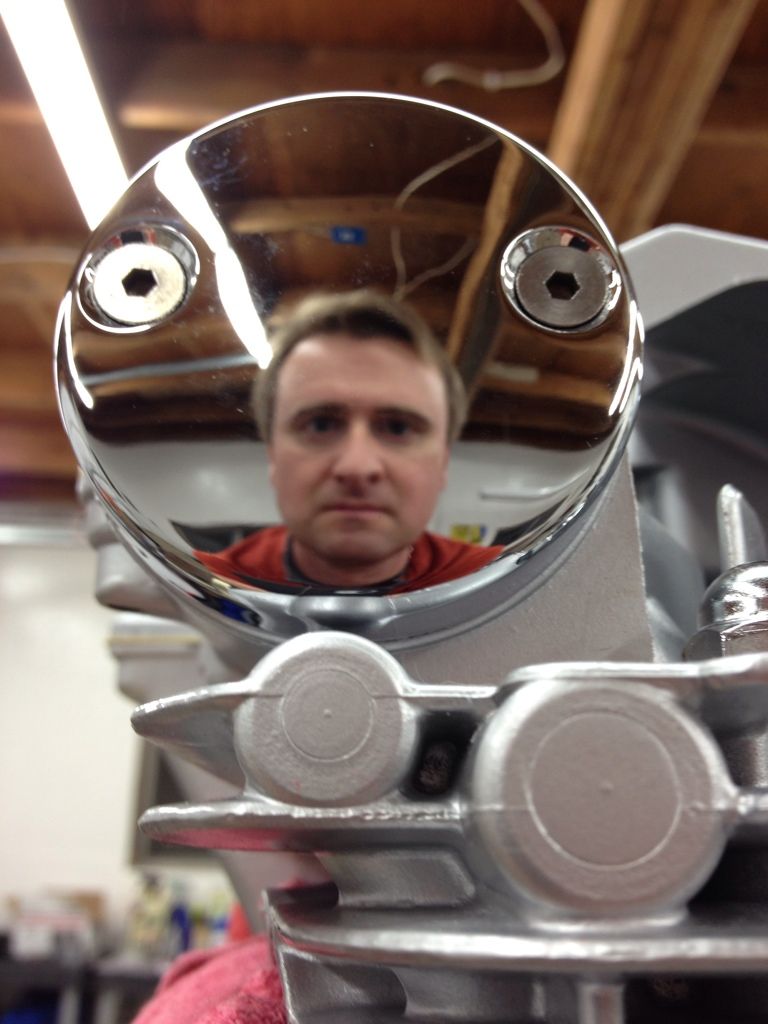
DONE!!! Note: the side covers are a little dirty/smudged. I still haven’t seen my aluminum polish since my move.
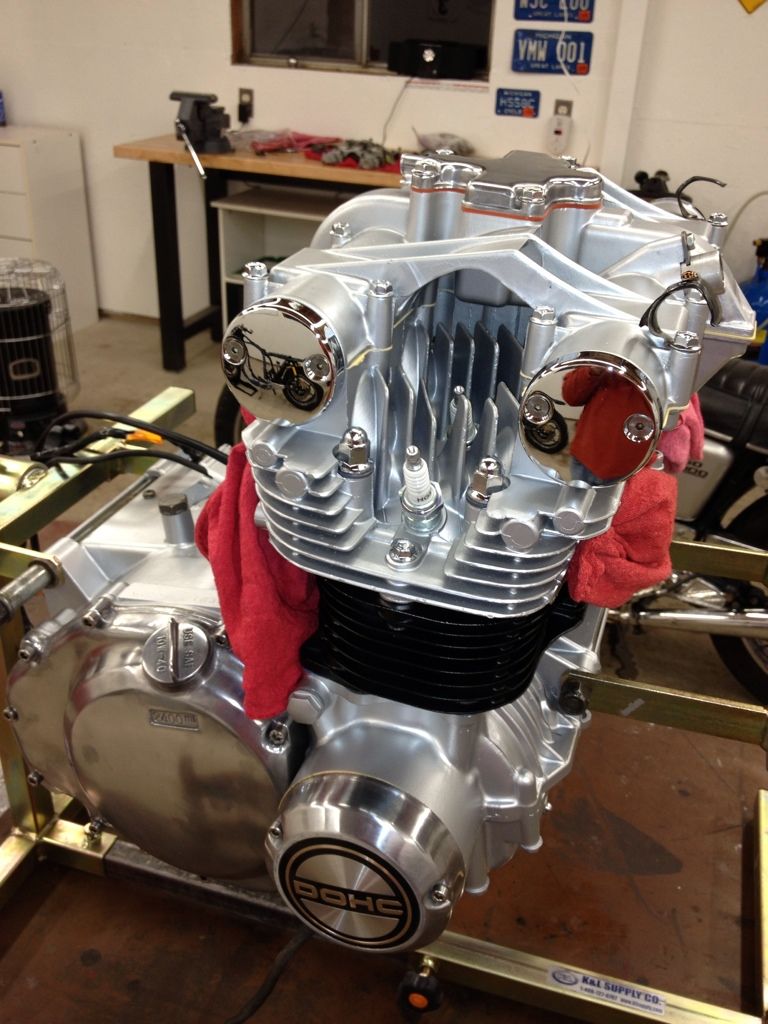
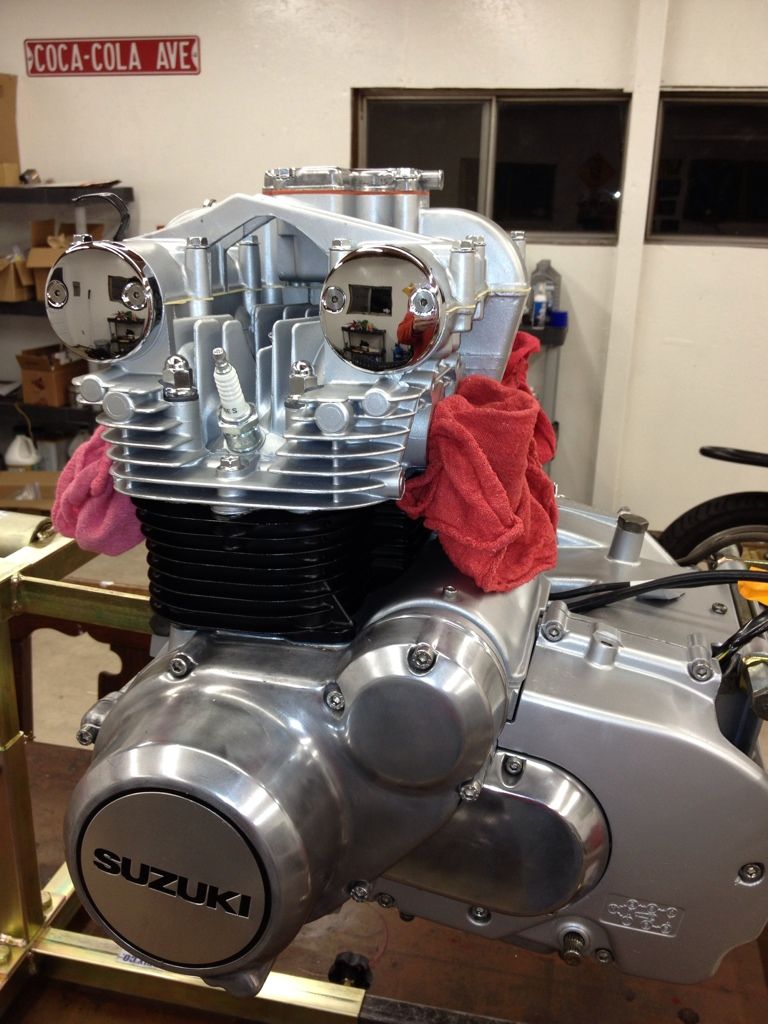
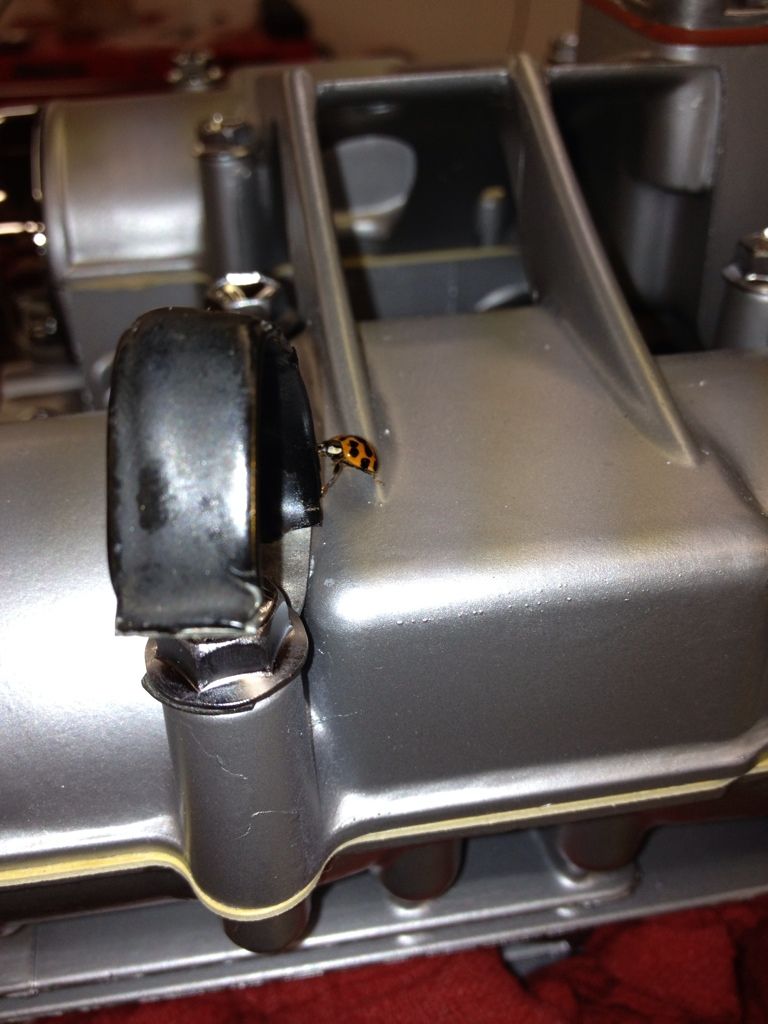
Then a good-luck charm landed on top (look closely).
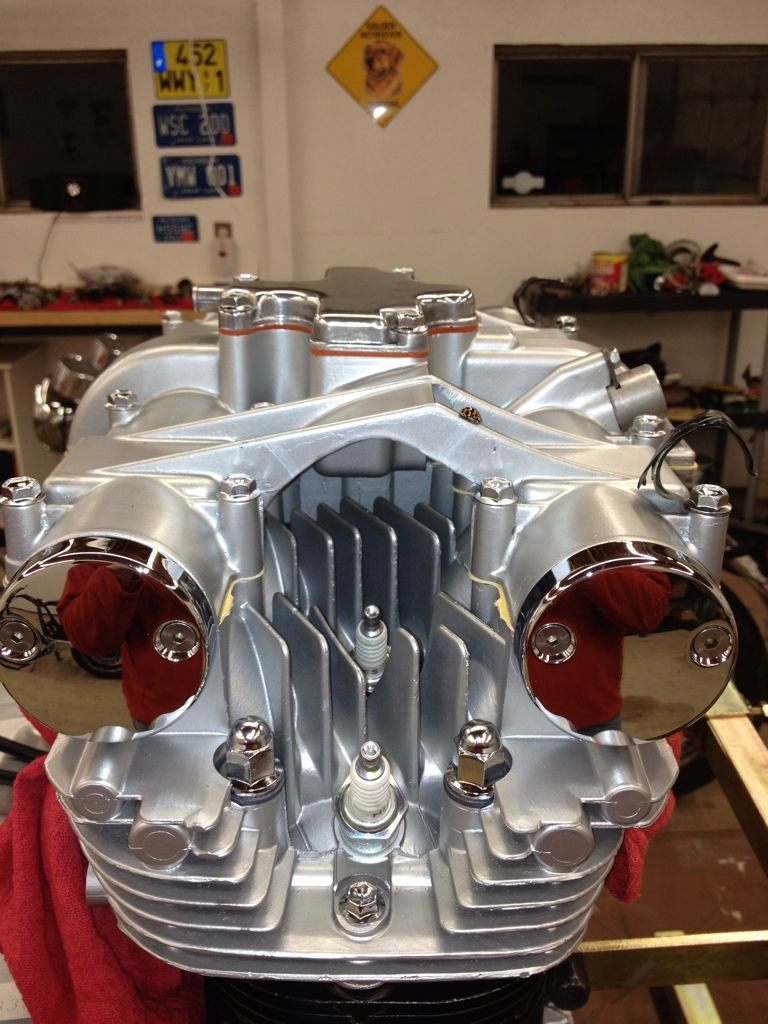
Closer look at my first passenger. I hope she brings me luck!
I decided to hold off on replacing the clutch pushrod seal since it can be done from the outside of the engine. I’ll replace the drive sprocket once the shifter/chain are hooked up.
Comment
-
 GSScoobie
 -
Yea I've been watching.
Fantastic job; I hope I can do half as good. Cowboy Up or Quit. - Run Free Lou and Rest in Peace
1981 GS550T - My First
1981 GS550L - My Eldest Daughter's - Now Sold
2007 GSF1250SA Bandit - My touring bike
Sit tall in the saddle Hold your head up high
Keep your eyes fixed where the trail meets the sky and live like you ain't afraid to die
and don't be scared, just enjoy your ride - Chris Ledoux, "The Ride"
Comment
-
Aim for twice as good, you will probably come out looking great.Originally posted by cowboyup3371 View PostYea I've been watching.
Fantastic job; I hope I can do half as good.
Just be a perfectionist for a little while.
Comment
-
 D-Mac
D-Mac
.png)
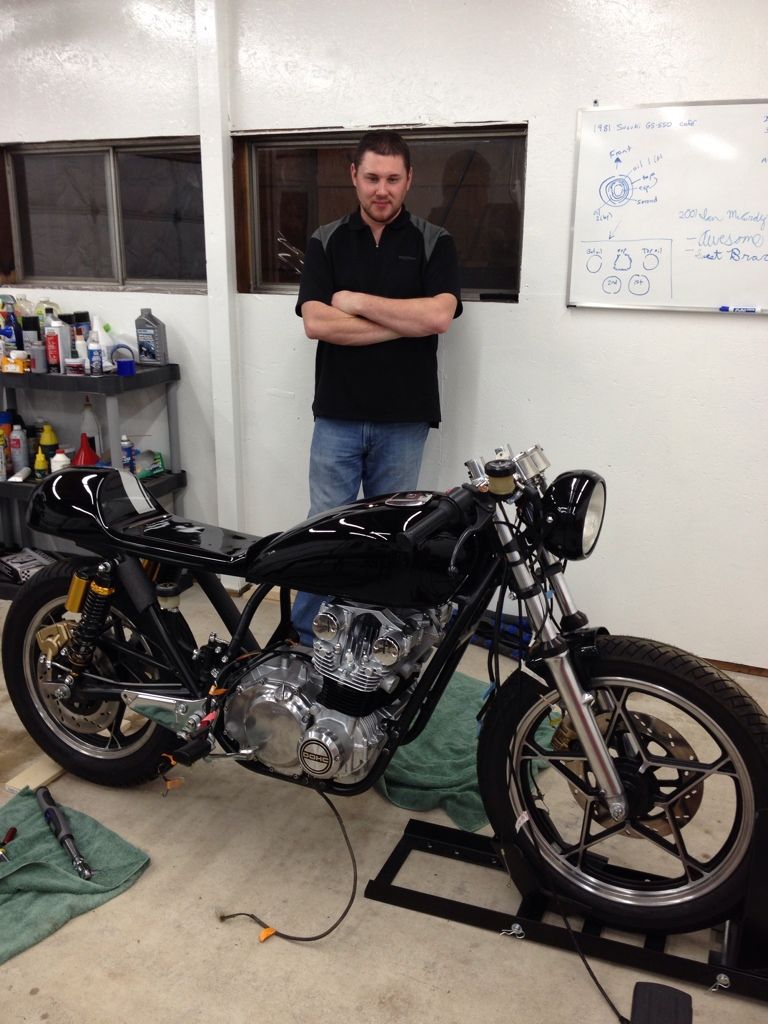
Comment