Announcement
Collapse
No announcement yet.
'81 GS550 Cafe Build
Collapse
X
-
 D-Mac
D-Mac
Yup. I did polish them first using a drill (2 compounds), so I just need to do a little touch up by hand.Originally posted by GateKeeper View Post
-
 GateKeeper
Ahhhh OK, just a touch up is good, I thought you needed to do a full polish.....
how close to the lip was your masking using the tape, I can still see a bit of my polished lip, not sure if this will cause me an issue when I go to paint, will I be able to get it off, it's about 1 millimeter that is not covered, do I need to get it taped a bit better ? I was thinking of using some wax or a crayon to cover up the exposed polished parts, hopefully preventing paint from sticking to it, would make clean up much easier.
Comment
-
 D-Mac
D-Mac
If it's like mine, the paint should come off if you carefully scrape it off before it dries (within an hour of spraying). That said, I think it's worth the extra time to mask it off as well as you can. Better to spend the extra half-hour now than risk removing too much paint later. Mine wasn't perfect, and I missed a couple of spots on the front wheel, but I tried to cover the shiny parts except where I thought they went a little beyond where they should have. These wheels clearly weren't perfect from the factory, so a good effort will likely be at least as good as what Suzuki did.Originally posted by GateKeeper View PostAhhhh OK, just a touch up is good, I thought you needed to do a full polish.....
how close to the lip was your masking using the tape, I can still see a bit of my polished lip, not sure if this will cause me an issue when I go to paint, will I be able to get it off, it's about 1 millimeter that is not covered, do I need to get it taped a bit better ? I was thinking of using some wax or a crayon to cover up the exposed polished parts, hopefully preventing paint from sticking to it, would make clean up much easier.
I can't say enough good things about the green masking tape (the "automotive" type). It's more expensive, but it sticks well, can be removed and "re-stuck" if needed, and it pulls off great. I will only use this stuff from now on.
Comment
-
 Flyboy
GK get yourself a roll of 3M 3mm fineline tape and use it for the edges, and mask with normal masking tape back from there.
That stuff goes around curves beautifuly, you can mask really precicly.
Comment
-
 GateKeeper
gonna hit the stores tonight to find this tape, Thanks
and get it a bit closer to that nice and shiny polished edge....
Comment
-
 D-Mac
D-Mac
Daily update:
I got a few nagging things done today.
First, I put in a big parts order. This included a few brake caliper parts I forgot to order last time, fasteners for the rear brake arm, a bunch of exterior engine fasteners/caps (might as well start getting this stuff now), swingarm bearings/seals etc, steering head bearings and other related things, and sprockets+nuts+washers. Easily my biggest parts order to date. A lot of this wonít get touched until the frame is done, but I donít want to have to wait weeks to do anything at that point.
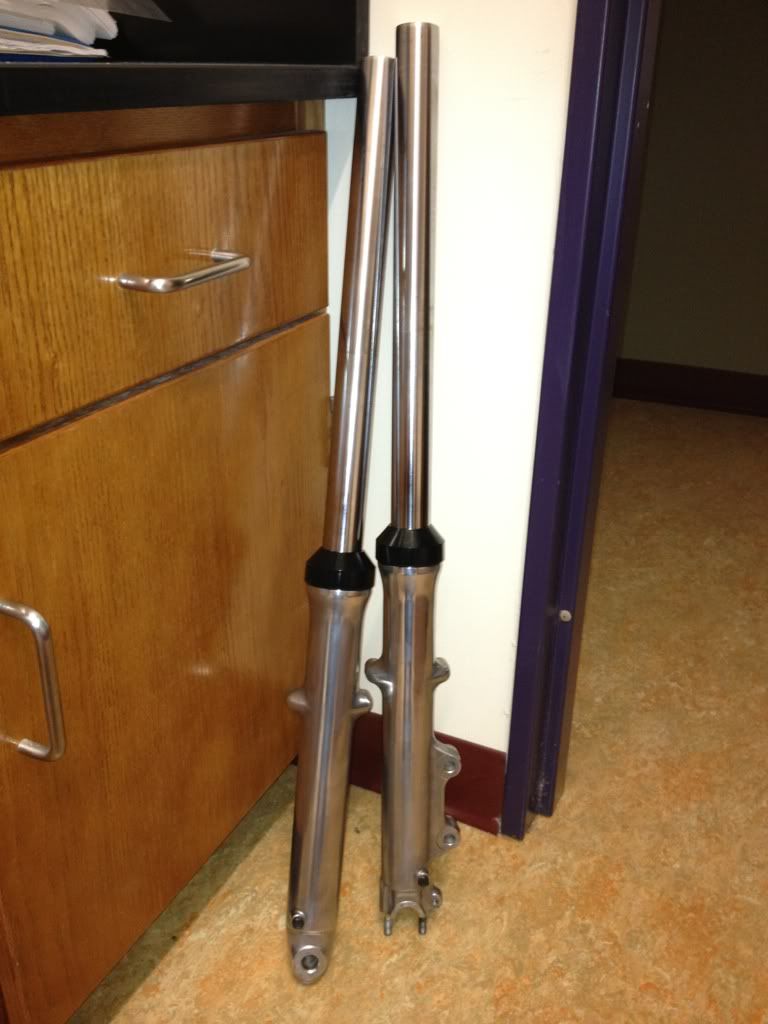
This morning I went to the shop where Iím taking motorcycle classes and rebuilt my forks. I used their fork vise and oil leveling contraption to help things along. I replaced the o-rings, washers, seals, dust covers, and snap rings. It didnít go so well though in that I made pretty much every rookie mistake possible with the first fork (although nothing past the point of no return). Mistakes included: forgetting to put the drain bolt back in before filling the fork (duh!), overfilling a fork badly because the suction on the fork oil leveler syringe was broken (so I thought I hadnít added enough oil when I had really been adding too much and it just wasnít sucking any up) and then I accidently pumped the fork, which shot about 100mL of oil all over the place. I almost put the first seal on backwards too. I managed to scuff up a bit of the lower tubes as well. In the end, it got done and nothing leaks.
Finished! (I hope)
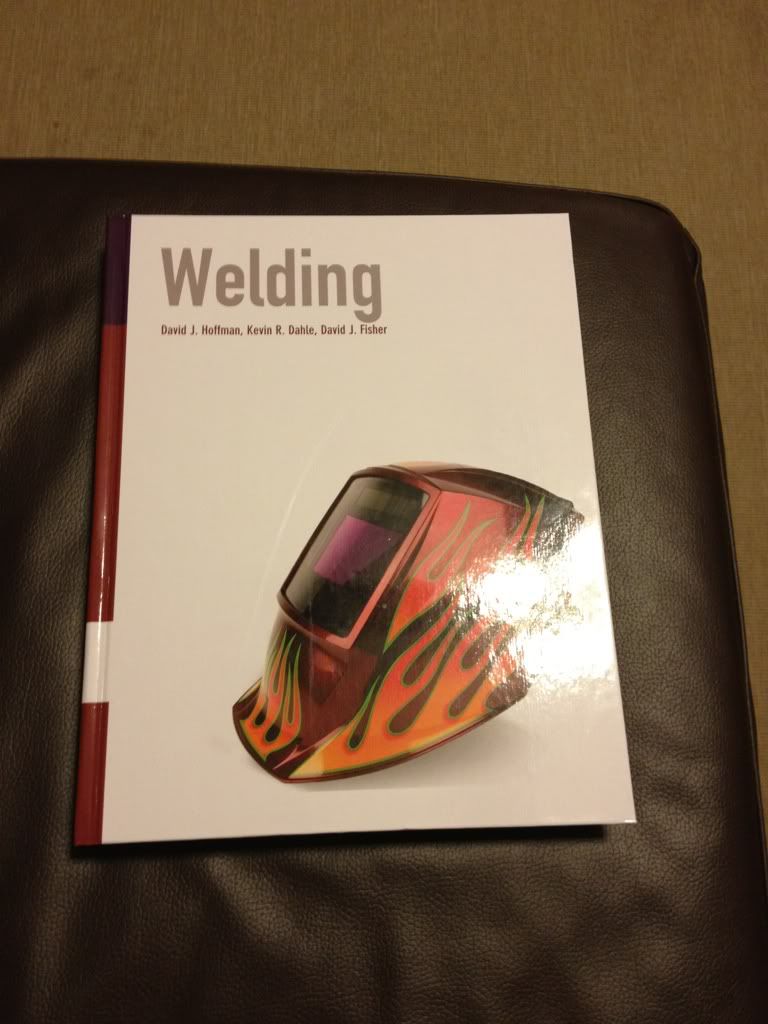
Then I picked up a book for the welding course Iím taking starting next week. I had no idea there were so many types of welding! Should be fun and useful. I will need to cut and weld some things on the frame.
Welding textbook. I immediately found myself immersed in the world of stick, MIG, and TIG.
Back at home I masked off the rotors.
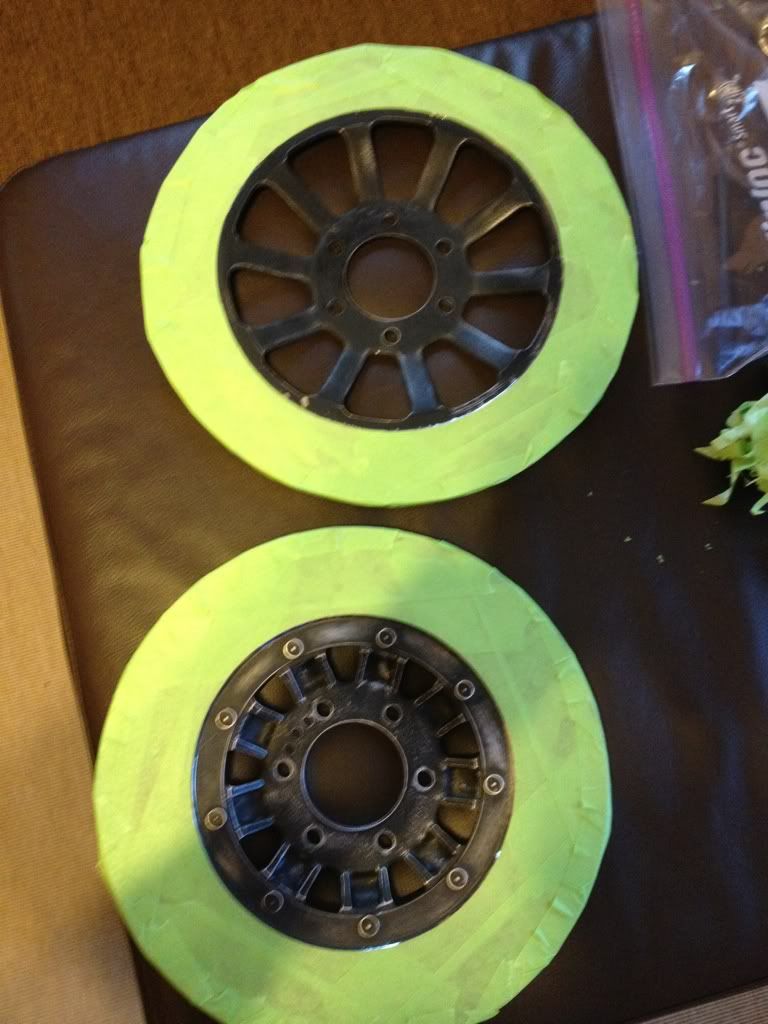
Then I went back to my ďpaint boothĒ at the office and sprayed on some new black.
I goofed a little on one part (check out the black spoke at 8 oíclock, it ran a bit as I was trying to reach the sides of the rotor spokes).
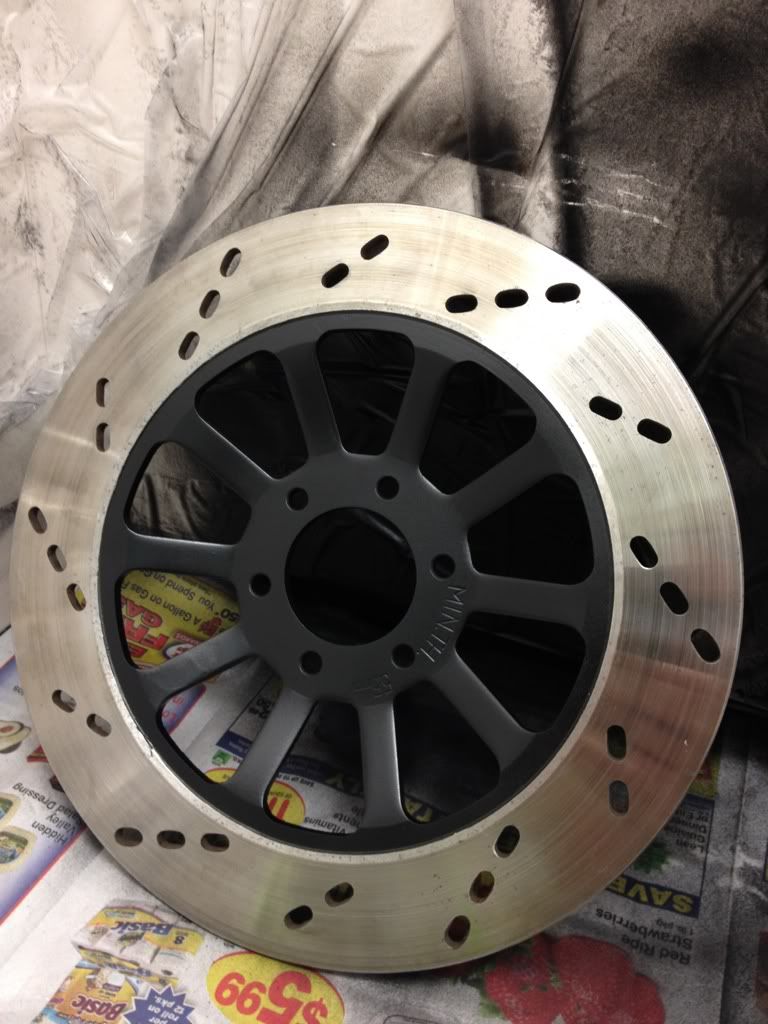
Rear rotor
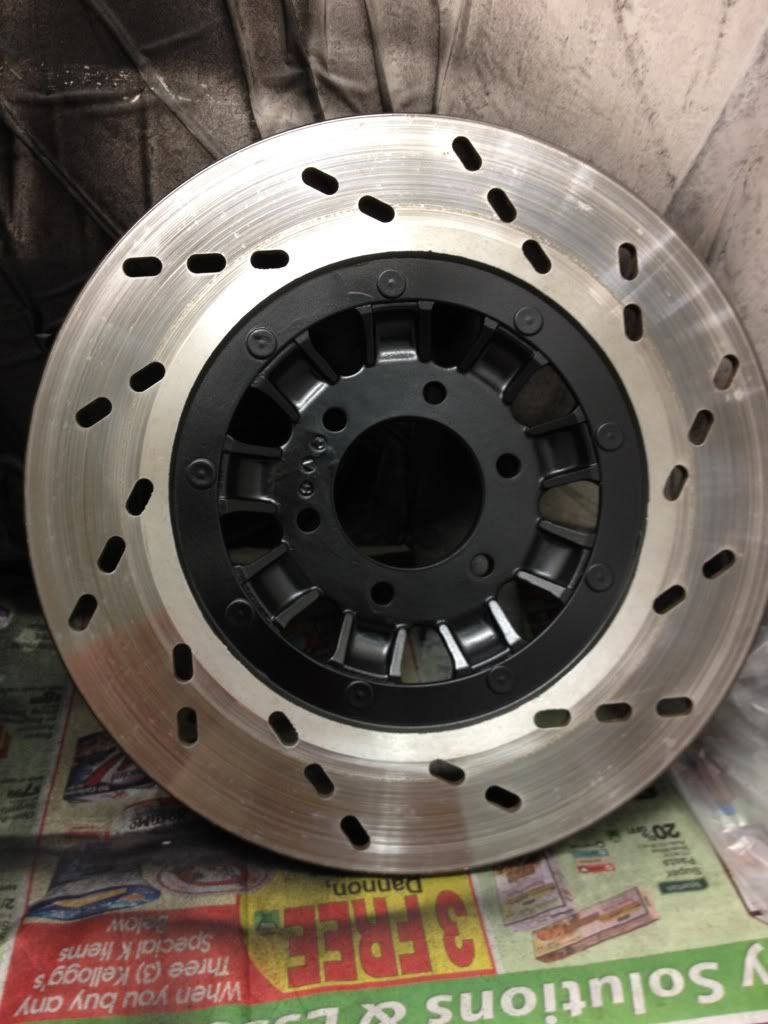
I still have to sort out what to do with the chipped paint on the outside rims of the rotors (I'll either sand it off or repaint it once the inner rotor dries).
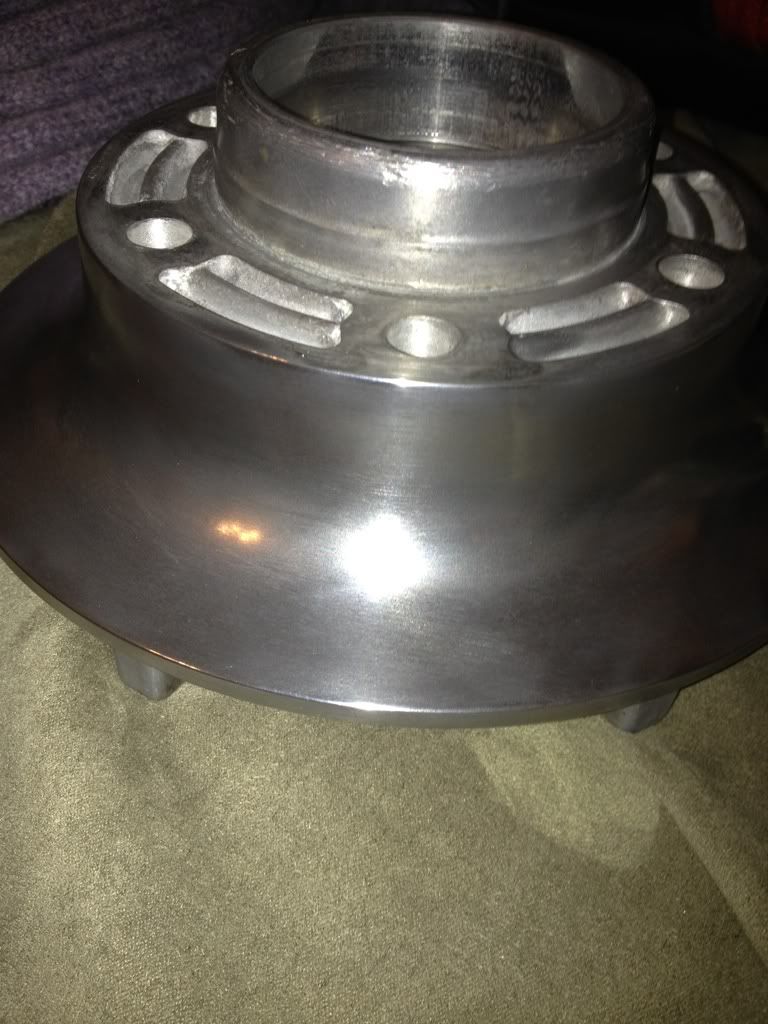
Also took this part from the rear wheelÖÖ..
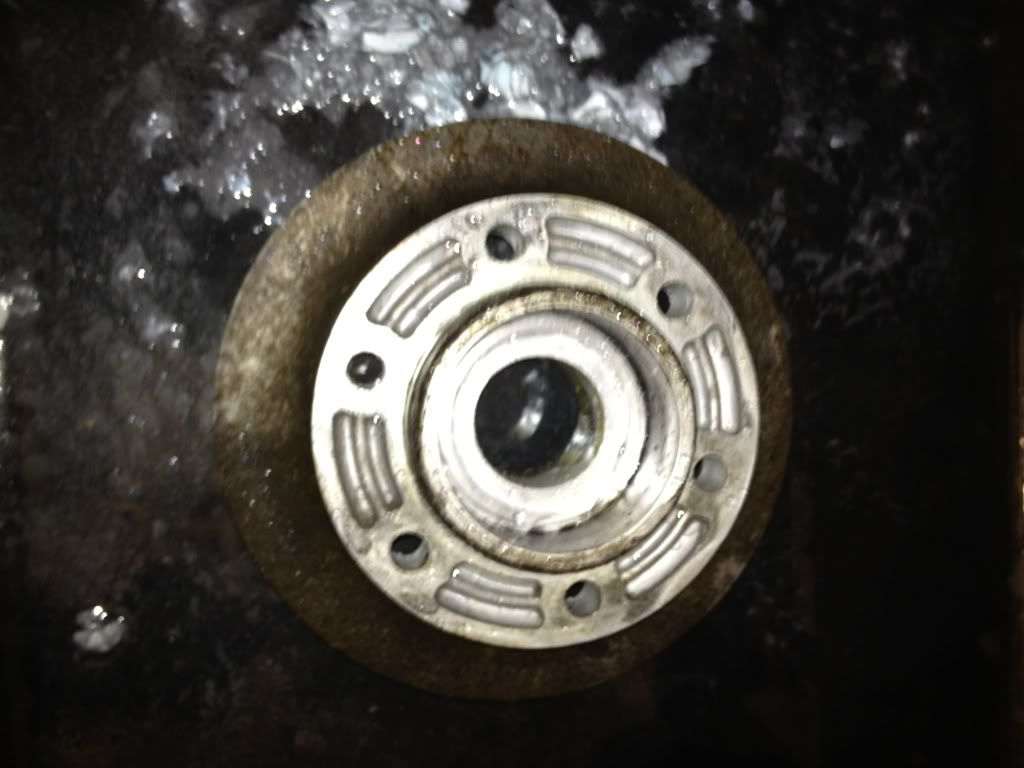
Ö..and made it look like thisÖ.
COMMENTS NEEDED:
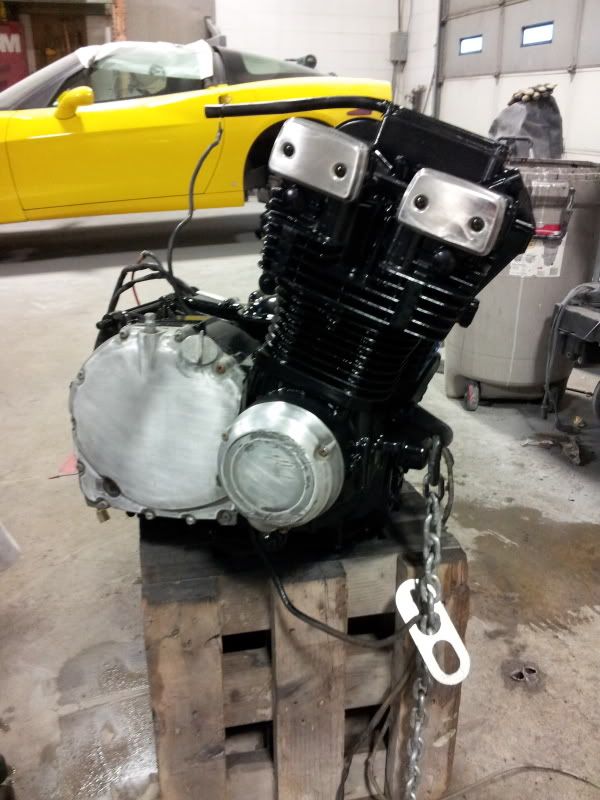
My original plan was to paint the engine with VHT Universal Aluminum (silver color). Now Iím really leaning toward blacking out the engine using VHT Black Oxide, except for new chrome cam covers at the top, OEM (silver/chrome) fasteners, and my bare polished crankcase covers of course. It would look kind of like the engine on this GS.
Any thoughts on this idea?
Comment
-
 Erki
Erki
Comment
-
 GateKeeper
Lots done, and looks good.......
I took off the chipped paint off of the outside edge of the rotors, if that helps any...
I might try to paint it using a small roller, just wet enough and spin the rotor, apply wet roller to that edge and hopefully it will coat it, but that I can do when it's all back on the bike....
Comment
-
Nice work. Rotors and wheels look well done from the pics. And yeah, I like the proposed engine scheme. That pic you linked to is the bike I'm rebuilding and i will also go with the black engine color and polished cases (assuming I can ever get the dang thing cleaned enough!). Black and chrome just go together like "peas and carrots".
Sci85Last edited by Sci85; 01-07-2012, 02:23 AM.1982 GS550M Rebuilt Winter '12 - 550 to 673cc engine conversion.
1989 Kawasaki ZX-7 Ninja
2016 Ducati Scrambler Full Throttle
Comment
-
 D-Mac
D-Mac
I need some advice folks....
I cleaned up the swingarm today and discovered this.....
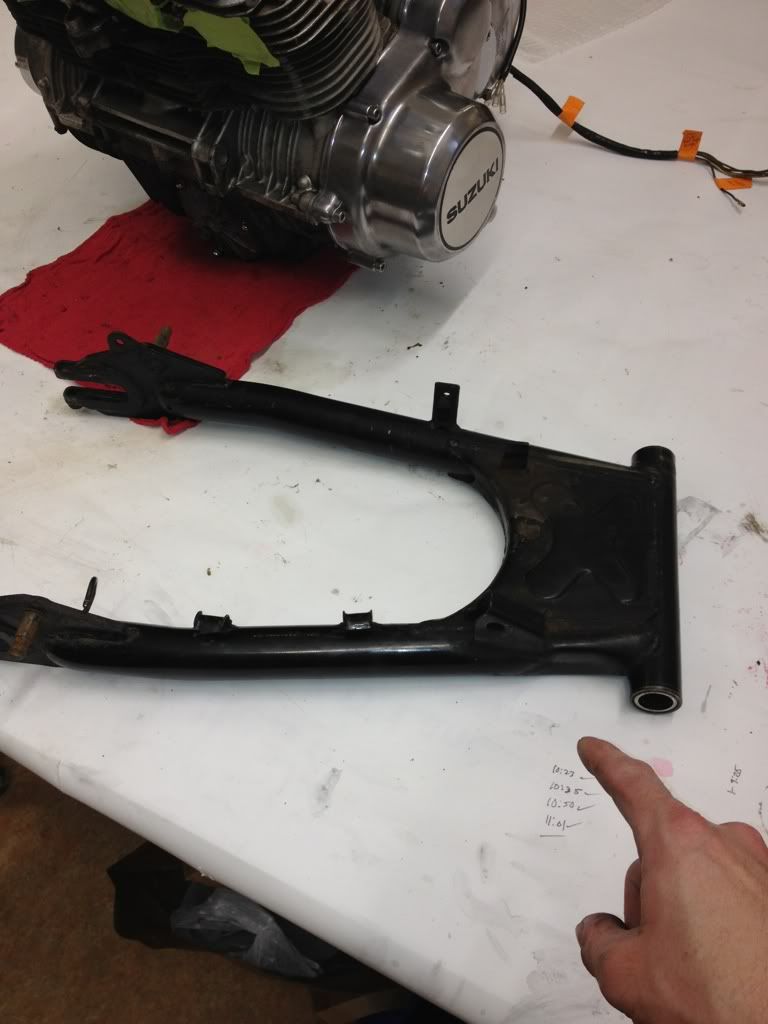
It's a little hard to see here, but there is an indent on the swingarm - it's on the right side just behind the pivot point/bearing. It looks like a side impact pushed in the tube 1/4-1/3". I thought it might be a stock "feature" (but a quick search indicates no). The rear brake arm lever is just behind it.
A couple of other better pics.....
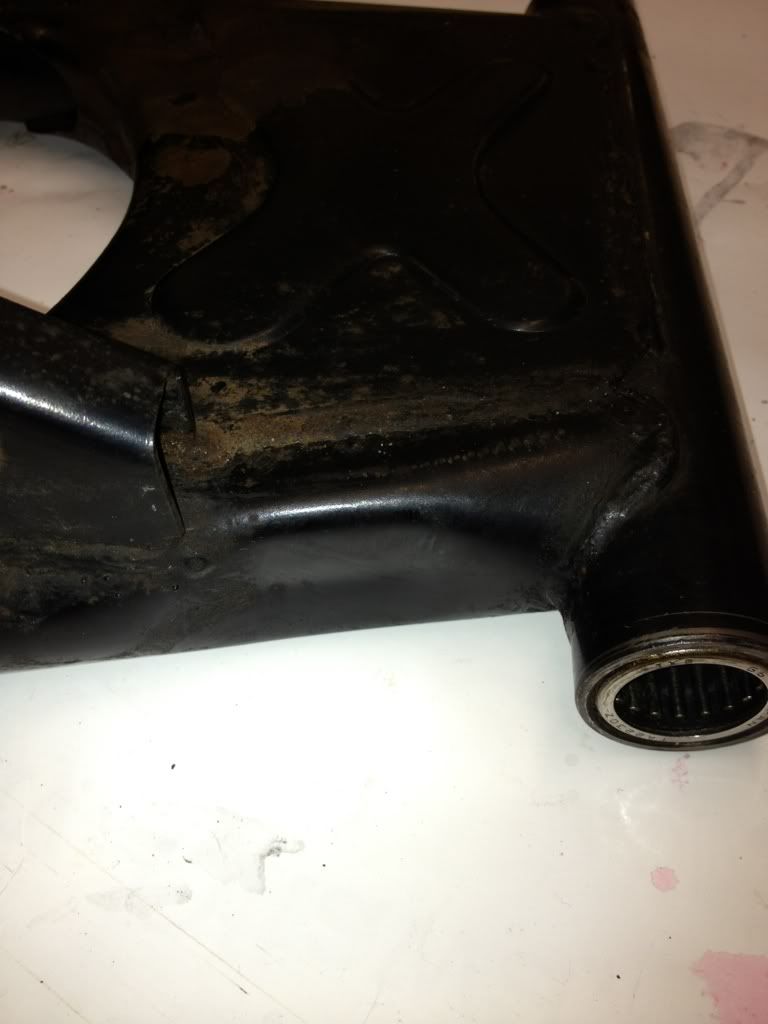
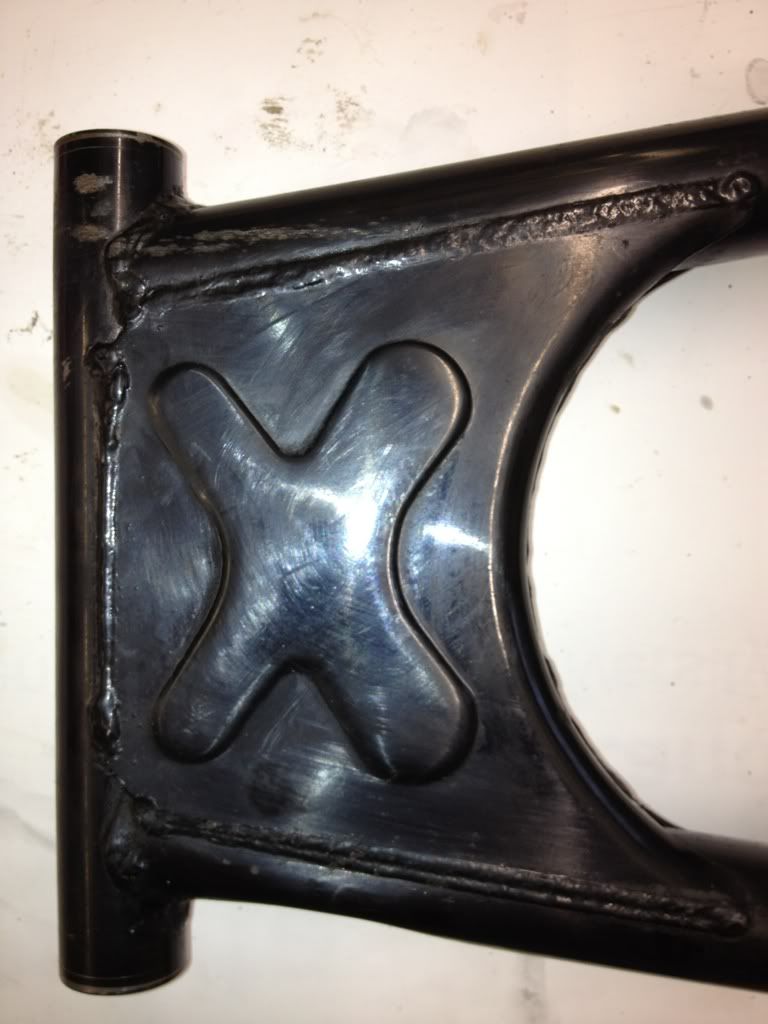
Swingarm upside down showing it.
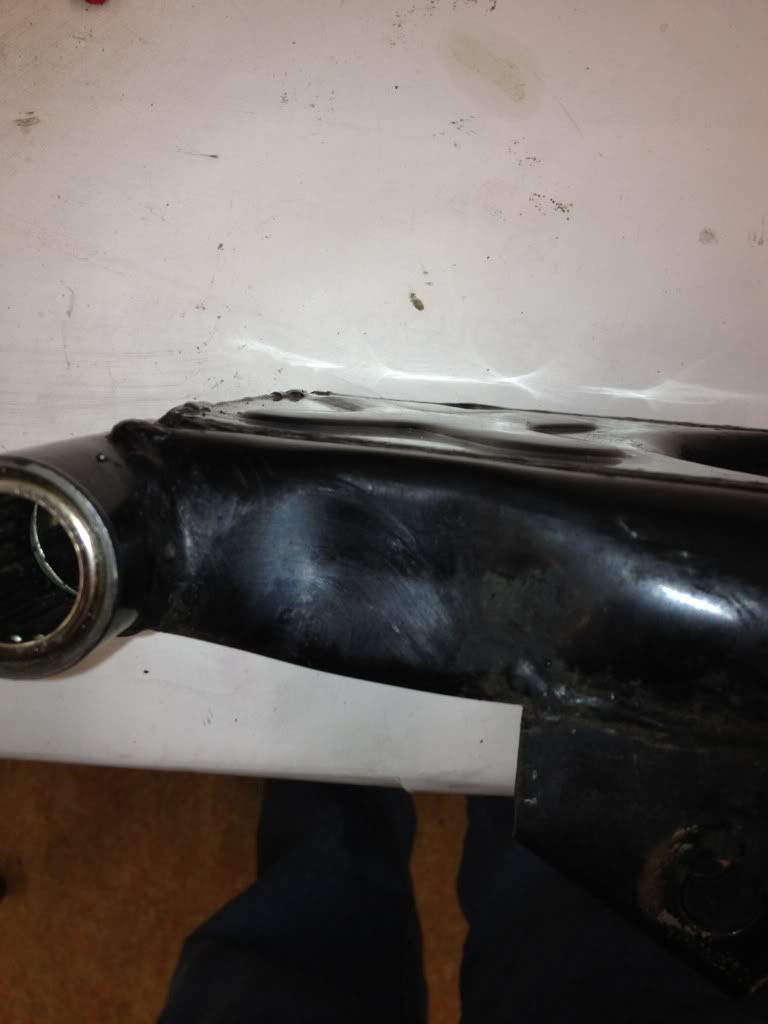
I made some quick measurements from the pivot point back to the chain adjusters. They seem to be even on both sides. None of the welds are cracked, and the paint on the dent isn't broken. There seems to be no other significant damage. Since the tubes are box welded together on both sides, it seems like the only damage is the indent itself. The tubes themselves are 1.5" in diameter.
eBay doesn't have any exact fits currently, but another site has one for $100. It looks like I can still buy a new one from Suzuki for $130 or so.
What do you think I should do?
Comment
-
 turkeyroll60
 -
 bakirkwold
I would just use it. Those things are super strong. Suzuki over built them. That's why the welds are ugly. They are ugly but strong!
Comment
-
 D-Mac
D-Mac
Thanks. I think I'm going to use it. I will be changing out the bearings since they're rusty (and I need to remove them to powdercoat the swingarm anyway), and I'll check the run-out of the swingarm pivot bolt.
The new exhaust should help hide the dent, and strangely enough I actually think it looks kind of better this way I've seen lots of intentional dents in frames and had assumed this was just one of those. I have verified that it's not.
Comment
-
 D-Mac
D-Mac
Iíve been doing a few little things here and there. Still no sign of the seat I ordered yet. If it doesnít come soon I might just make my own.
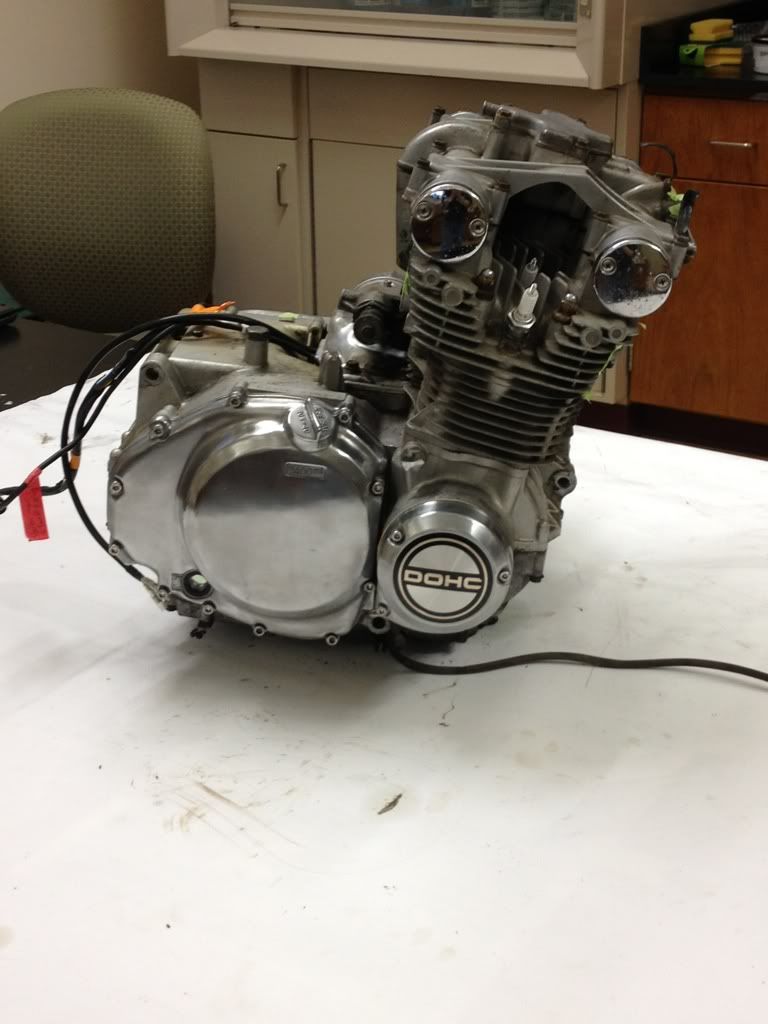
A few days ago I installed the new stator. It was a bit weird because the wires come out of it facing the opposite direction of the old one so I the wires do a 180 turn under the stator. Hmmmm. They donít seem to stick up but there is very little clearance for the rotor. Iíll probably re-check it before I try and start the engine. It would suck to have the rotor take out the stator wires! After wrestling with the left-side cover I installed it as well as the covers on the right side. All covers got stainless steel fasteners (with anti-seize of course).
Left side newly reassembled. Somehow I managed to scratch the polish job. Oops. Rag must have been dirty. I havenít decided whether Iím going to paint or polish the sprocket cover.
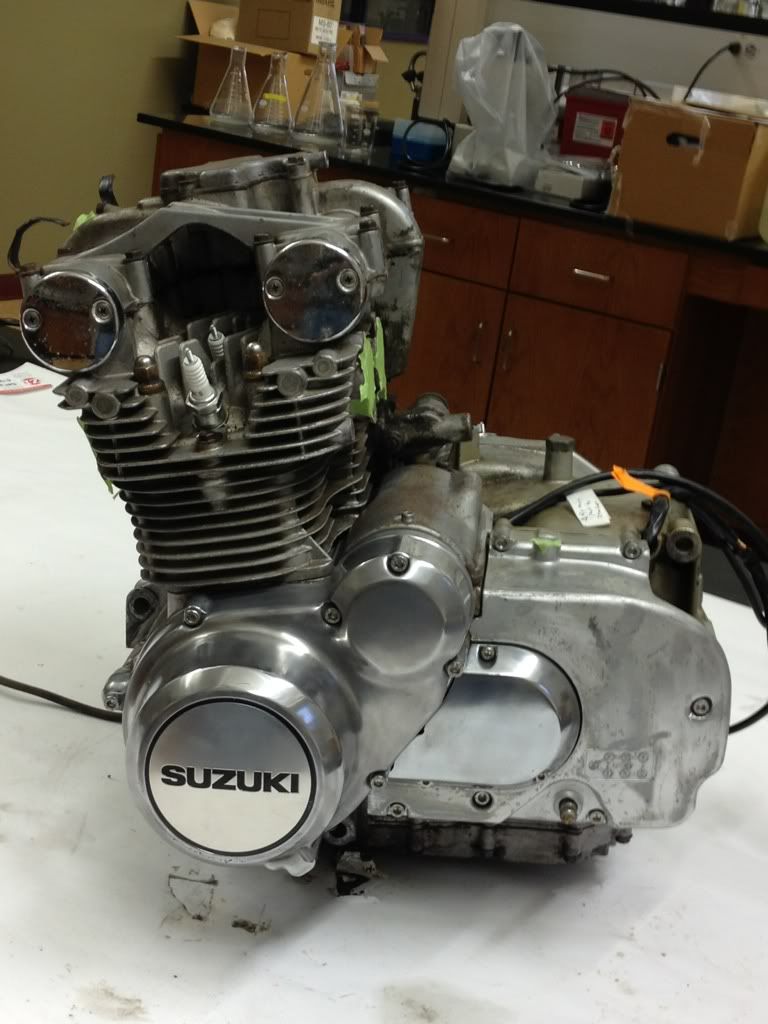
Right side reassembled. This is before I shined the covers again (looks a lot better now). I should probably have done the clutch springs too. Iíll likely do them and check the plates when I remove the cover again to paint the engine.
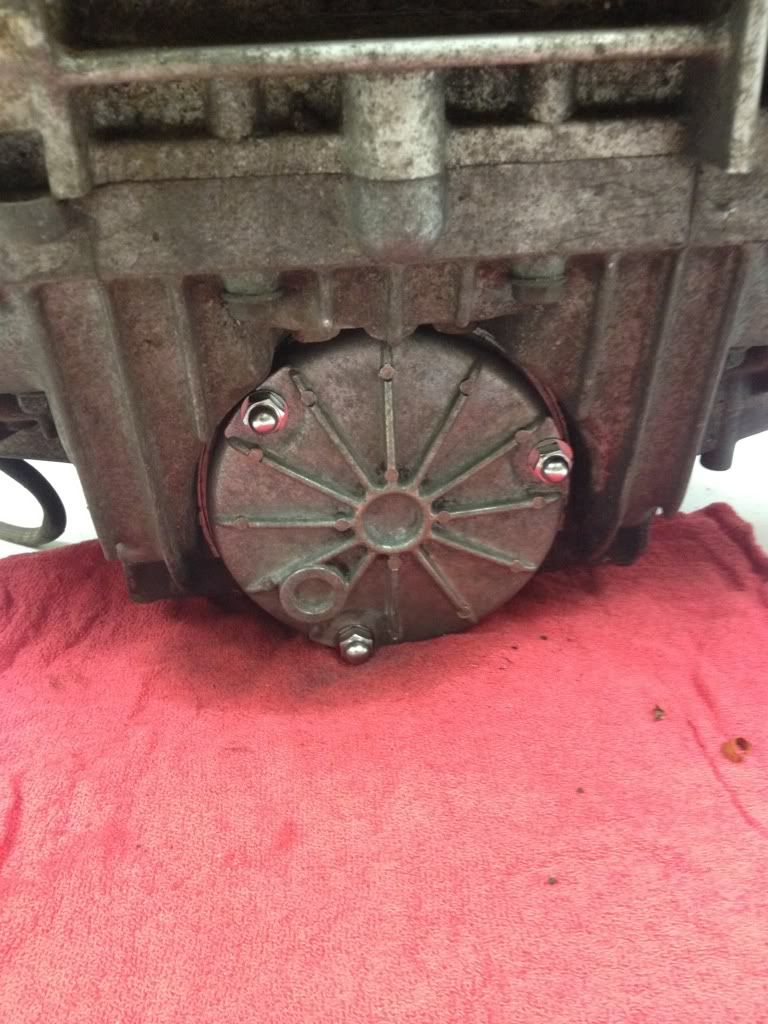
Then I decided to tackle the oil filter cover. When removing the filter a while back I noticed that one studs was stripped. I ordered replacement studs, washers, and nuts for it.
Double nut technique for stud removal. Worked like a charm!
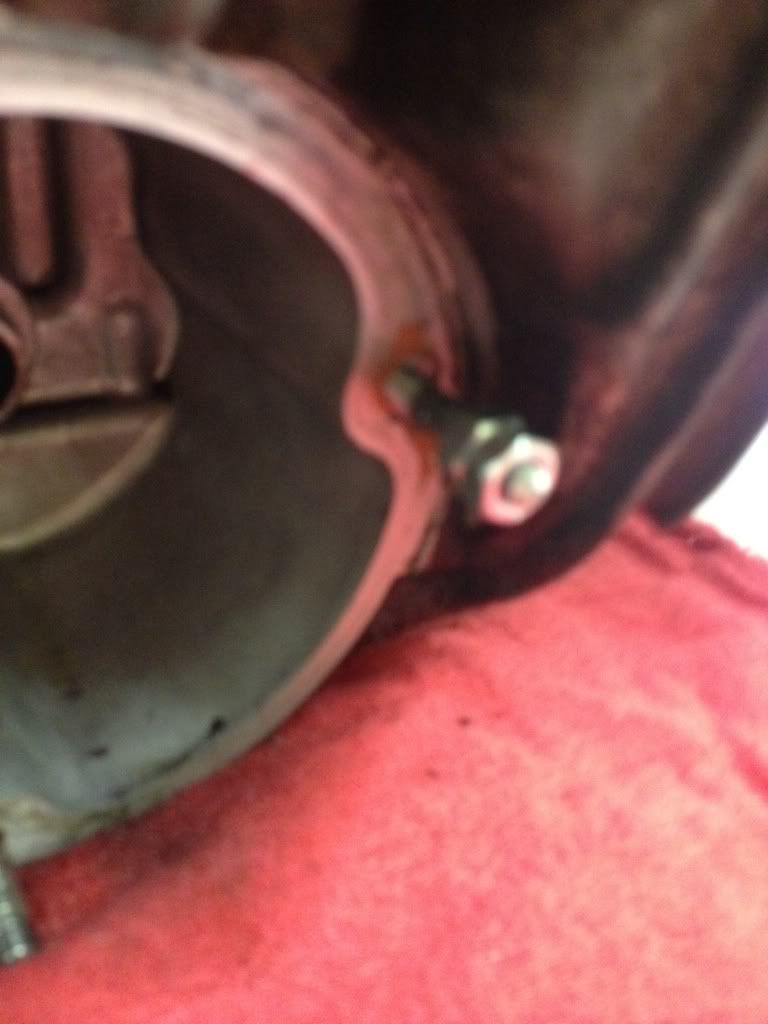
New stud installed. Iíll probably replace the other two studs later since they look bad and the threads are pretty horrible them (they hold for now, but replacement is super easy).
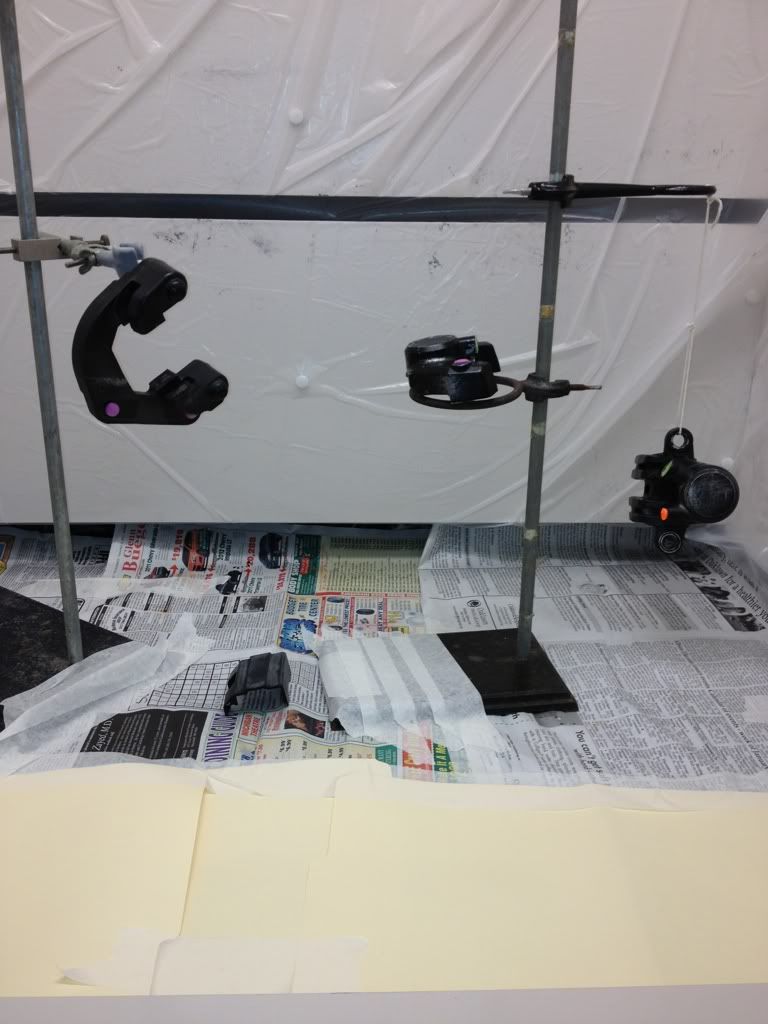
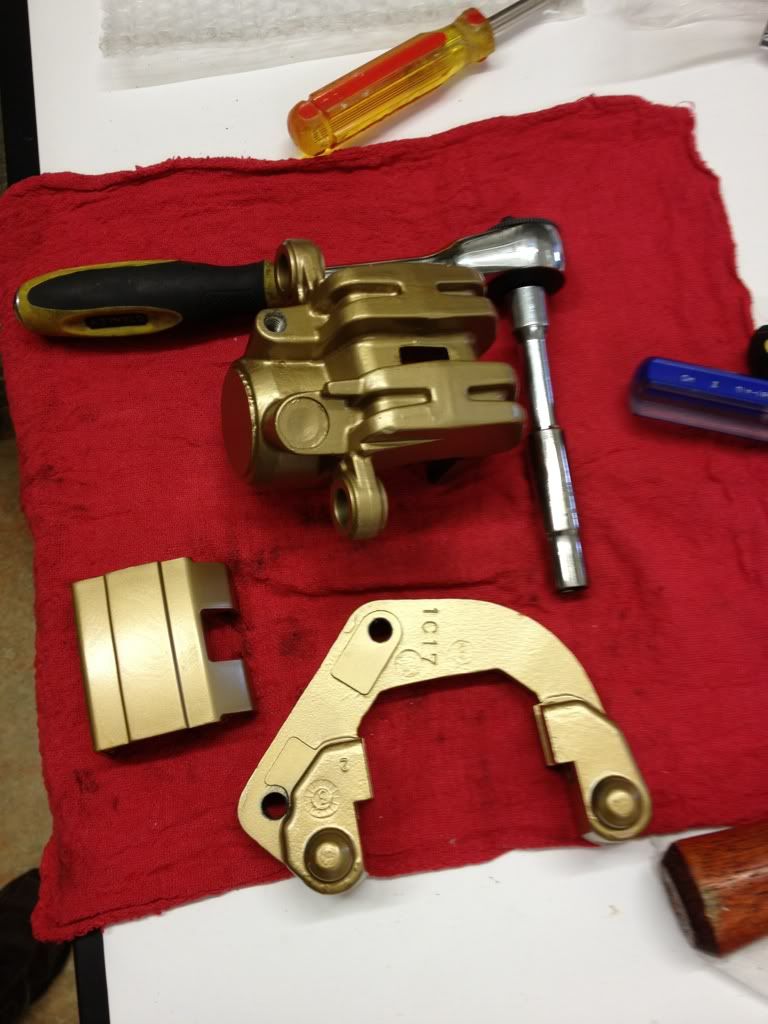
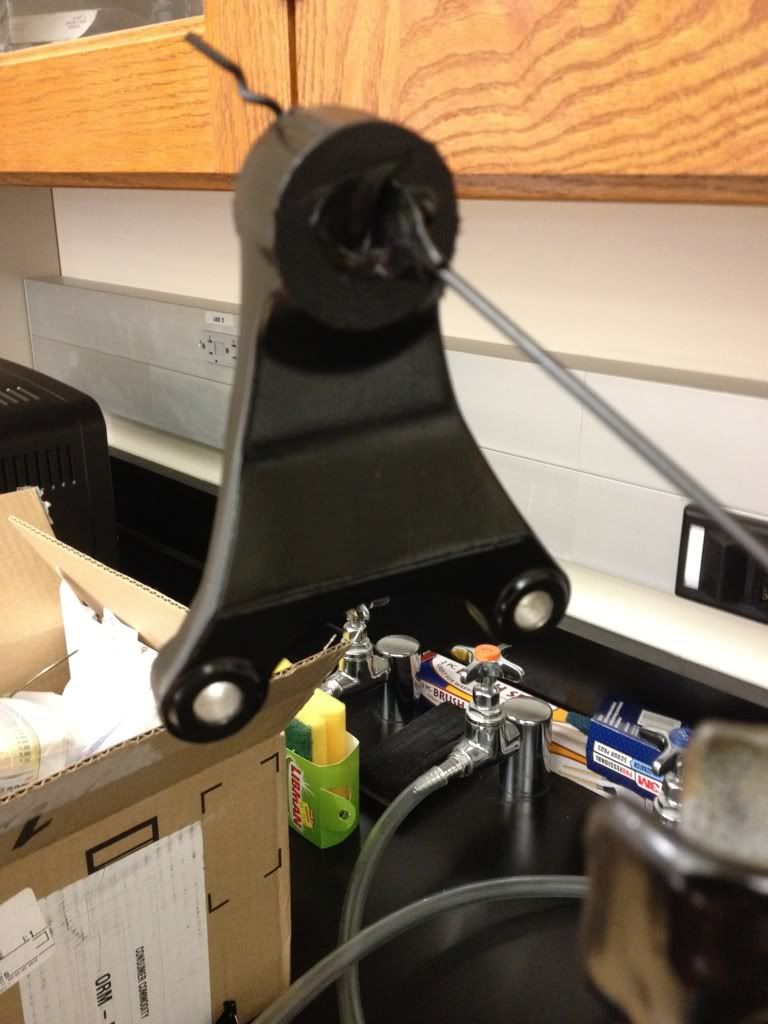
Last night and this afternoon I masked off and painted various bits of the calipers. I decided to go with gold (kind of weird Ė I know). Iím thinking that they will match the trim color of the new shocks (it isnít perfect, but fairly close) as well as the gold trim on the ďDOHCĒ case logo. Iím also planning some gold trim on the tank/fender. I missed a few spots so Iíll wait a week (as per instructions) and do the touch up before curing them.
Parts ready for paint. I used various lab holders to hold onto them. The threaded holes in the calipers were masked off with disposable ear plugs and rubber stoppers. Works awesome!
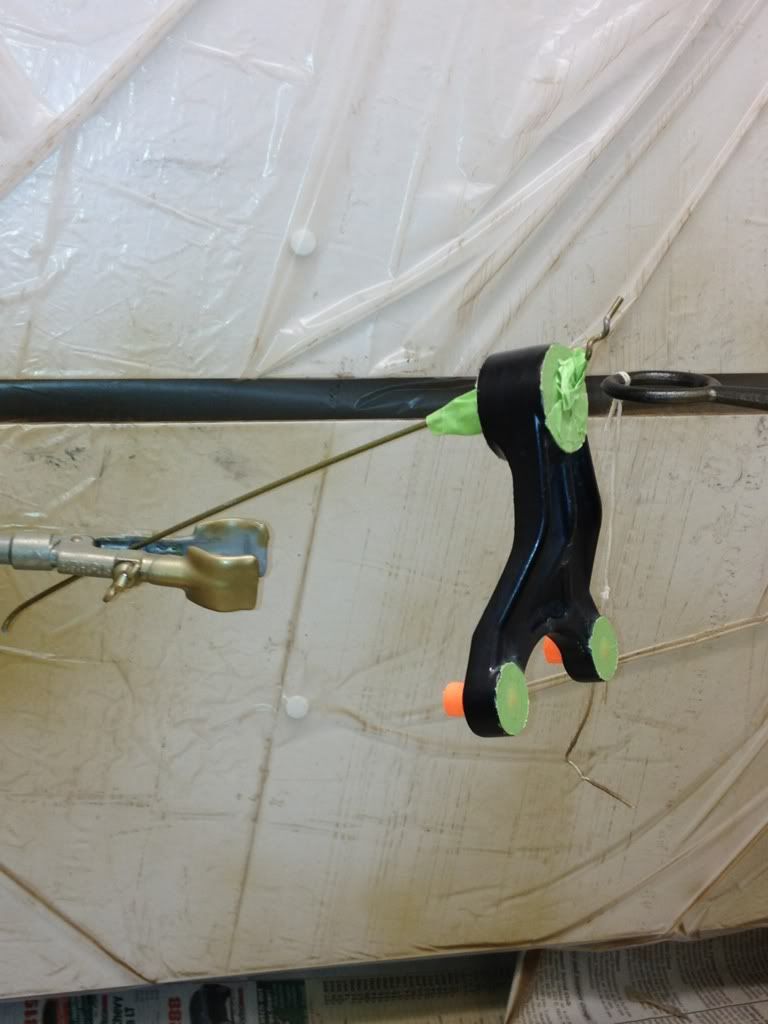
Painted bits.
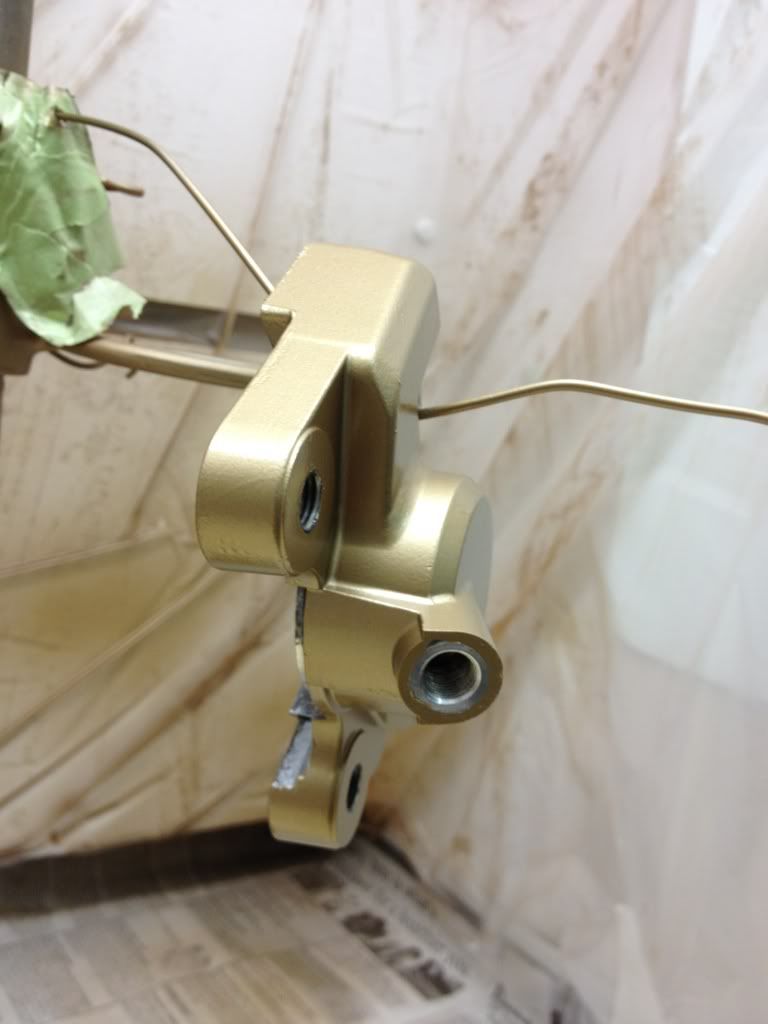
Re-painted this part that attaches to the wheel.
I picked up a little oven on sale for baking small parts to cure the paint. It would be nice to have a larger one for the wheels and engine bits, but it will work for now.
This week Iím planning to press the lower bearing off the steering head. I also need to remove the swingarm bearings at some point and reinstall the wheel bearings. All frame bearings must go since Iím having the frame and swingarm powdercoated.
Iím cross-posting to two forums and only put this info on one. Bottom line: I discovered this week that the swingarm is dented. Iím probably going to use it anyway since it measures straight and itís box welded behind the dent. Dent is visible hereÖÖ.

Comment
-
Looks like it's coming along nicely. Good luck with the rest of it.Cowboy Up or Quit. - Run Free Lou and Rest in Peace
1981 GS550T - My First
1981 GS550L - My Eldest Daughter's - Now Sold
2007 GSF1250SA Bandit - My touring bike
Sit tall in the saddle Hold your head up high
Keep your eyes fixed where the trail meets the sky and live like you ain't afraid to die
and don't be scared, just enjoy your ride - Chris Ledoux, "The Ride"
Comment
.png)

Comment