love the polishing job on the engine covers, they look really good....
Announcement
Collapse
No announcement yet.
'81 GS550 Cafe Build
Collapse
X
-
 GateKeeper
I like your painting setup.....beats the hell out of painting in the garage....
love the polishing job on the engine covers, they look really good....
-
 D-Mac
D-Mac
Thanks. It does beat the garage, which is small and freezing at this time of year. I'm planning to winterize it this year, but it's still a little small for anything beyond basic maintenance.Originally posted by GateKeeper View PostI like your painting setup.....beats the hell out of painting in the garage....
love the polishing job on the engine covers, they look really good....
Painting the engine will be a big challenge. I'm already nervous about it. It's going to be a tough job just to get the prep done. The head cover, head, and cylinder will removed for blasting and painting (once I get the engine totally clean). The bottom end will likely be painted intact, although I might remove the oil pan if it becomes too tough.
My hood is a little small to paint an engine, although it might work since I'll have to paint it in stages anyway. Alternatively, I could just build a screen around the engine sitting on the table and paint it right there. The head and cylinder need work too, so it's gonna be a long road.
Comment
-
I've been meaning to post a reply but got behind. I too have been working on my swingarm Dmac. Just recently removed the bearings (see separate thread on that struggle) and also powder coated mine. And yes, I have the exact same indention (brake side) on my swingarm so it must have been intentional.Originally posted by D-Mac View PostThanks. I think I'm going to use it. I will be changing out the bearings since they're rusty (and I need to remove them to powdercoat the swingarm anyway), and I'll check the run-out of the swingarm pivot bolt.
The new exhaust should help hide the dent, and strangely enough I actually think it looks kind of better this way I've seen lots of intentional dents in frames and had assumed this was just one of those. I have verified that it's not.Last edited by Sci85; 01-16-2012, 11:58 PM.1982 GS550M Rebuilt Winter '12 - 550 to 673cc engine conversion.
1989 Kawasaki ZX-7 Ninja
2016 Ducati Scrambler Full Throttle
Comment
-
 D-Mac
D-Mac
Sweet. That's good news.Originally posted by Sci85 View PostI've been meaning to post a reply but got behind. I too have been working on my swingarm Dmac. Just recently removed the bearings (see separate thread on that struggle) and also powder coated mine. And yes, I have the exact same indention (brake side) on my swingarm so it must have been intentional.
I'll be sure and check out your thread and read up on those bearings. It doesn't look easy.
Thanks!
Comment
-
Yeah, it was a complete PIA. I had to use various tools and methods because mine were really badly rusted. Yours don't look so bad so you may have an easier go at it. Of course if you have a press then you are one lucky dude.
Good luck!1982 GS550M Rebuilt Winter '12 - 550 to 673cc engine conversion.
1989 Kawasaki ZX-7 Ninja
2016 Ducati Scrambler Full Throttle
Comment
-
 D-Mac
D-Mac
I was pretty busy this week (working on non-bike things), but I did manage to find a few minutes here and there to replace the wheel bearings. The front ones were especially stubborn. I hope I did them right.
Here is the rear sprocket drum back together. Check it out…..
Before: A pile of greasy, gouged, and rusty metal.
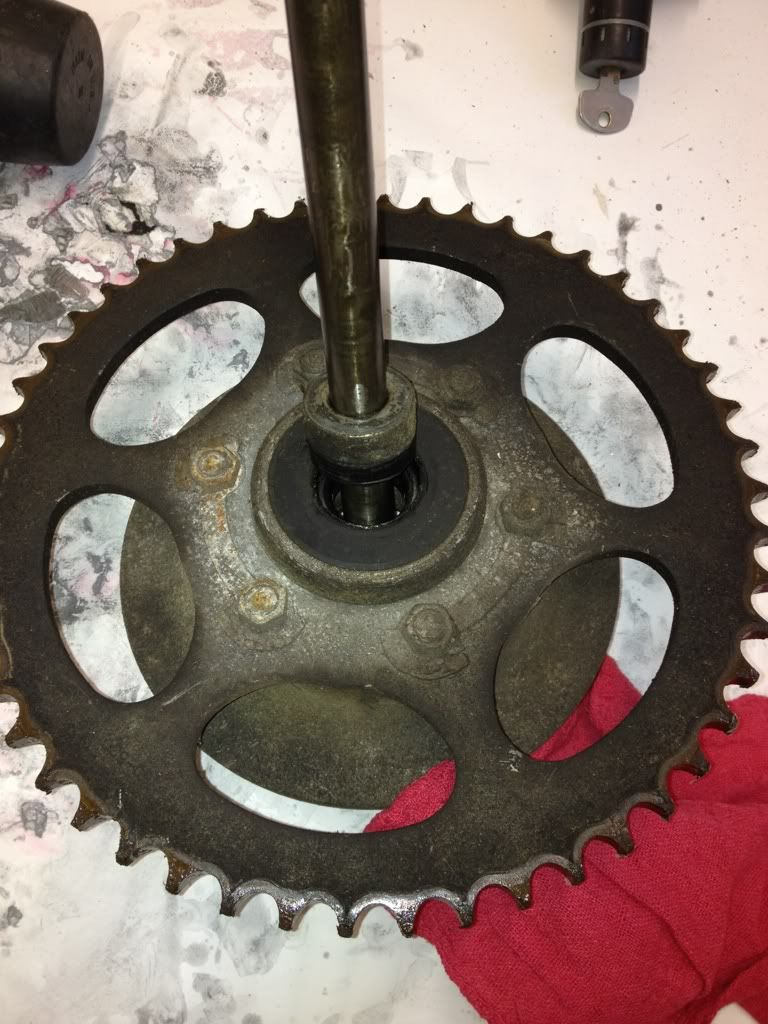
After: Much better (I haven’t bent the tabs down yet in case I need to remove the sprocket for some reason before final assembly).
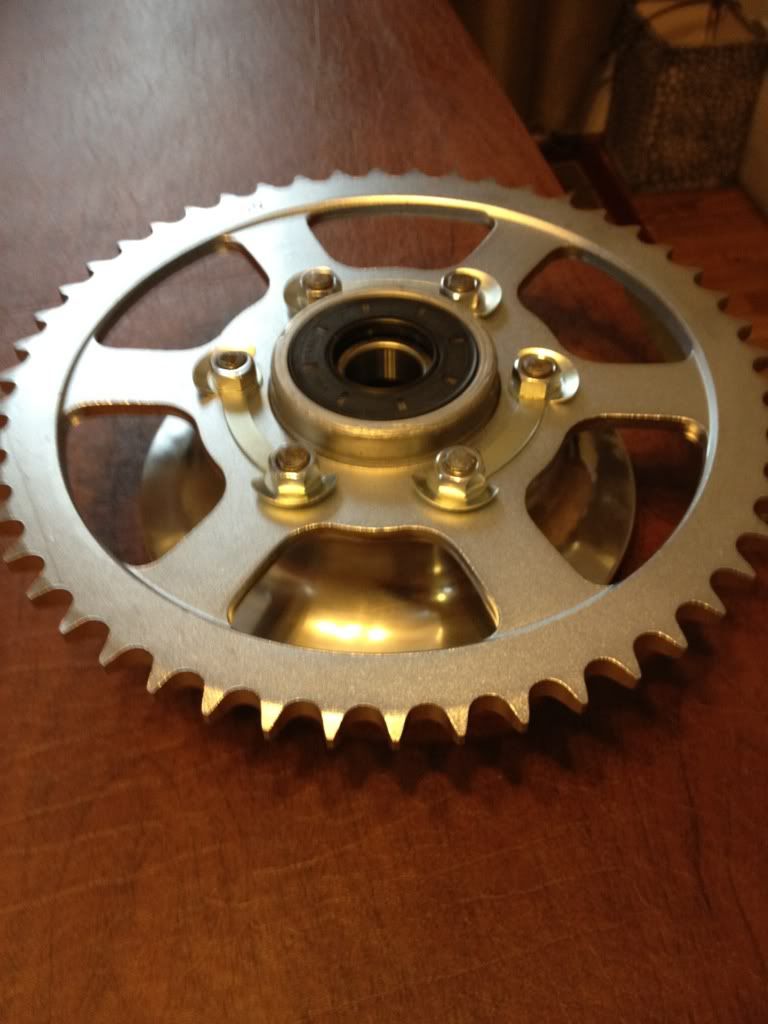
I also finished painting the rotors today. I went ahead and re-masked them so I could paint the edges. Here they are ready for paint.
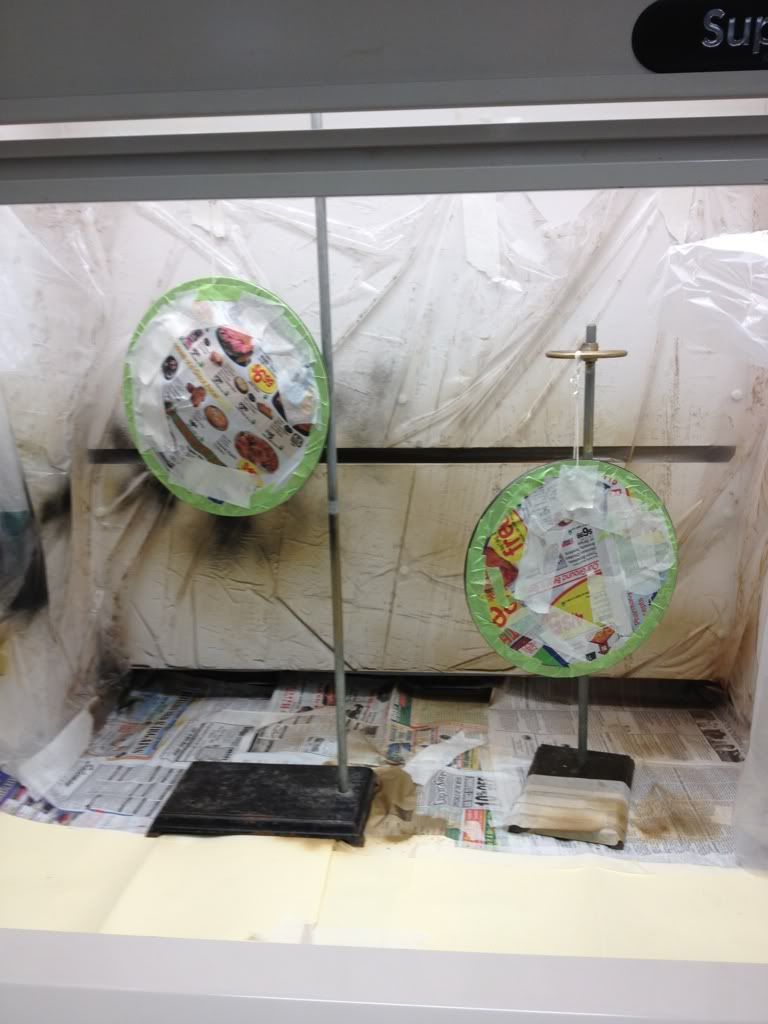
This weekend I’m going to bake the rotors to cure the paint and re-mount them. Then the wheels will be done other than needing new tires. I will also touch up the calipers and bake them.
I also removed the lower steering head bearing/race from the stem. I had planned on using some special tools at the shop, but nothing fit quite right so I ended up breaking the bearing with a chisel and then using a drift to remove it from the stem. Whew! The lower tree will be re-painted black.
Comment
-
 brslk
brslk -
 GateKeeper
It looks almost as though you painted it ? I was going to do mine in black, but figured the chain would just chew up the paint and it would not look good very long
Comment
-
 D-Mac
D-Mac
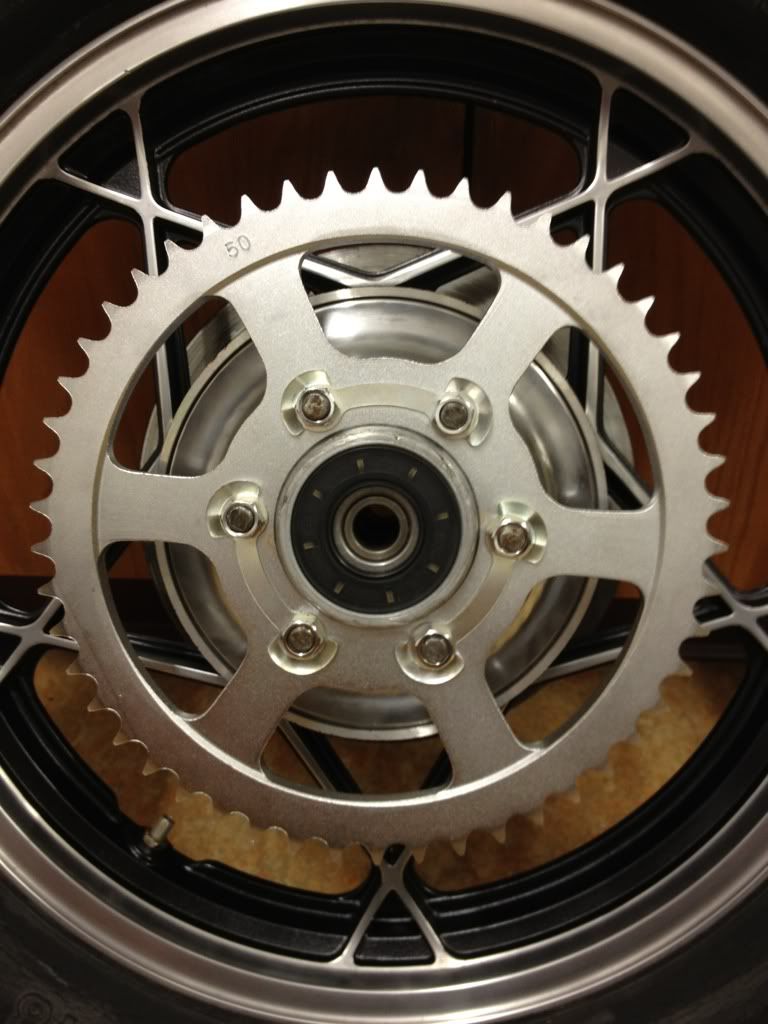
I cheated. The sprocket is new. You can tell by the shape of the holes in it. The old one isn't too bad, although there is a little hooking on it. The front sprocket is much worse and the chain is shot, so I figured I'd replace the rear sprocket as well.
Comment
-
 D-Mac
D-Mac
Progress!! [in two posts]
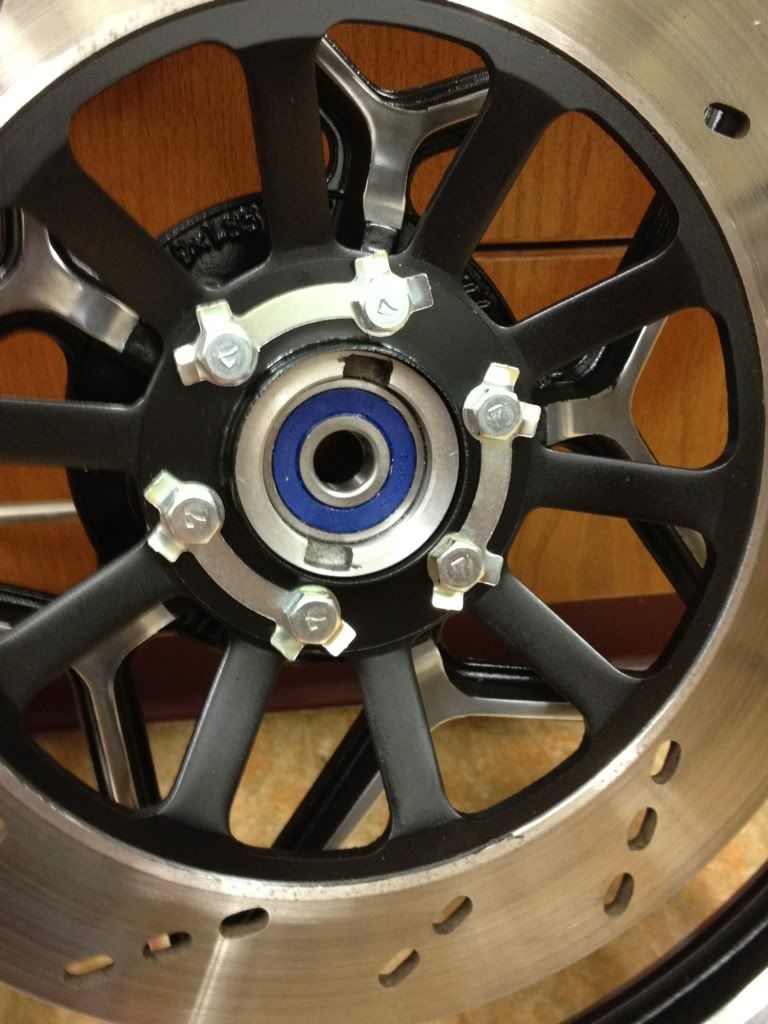
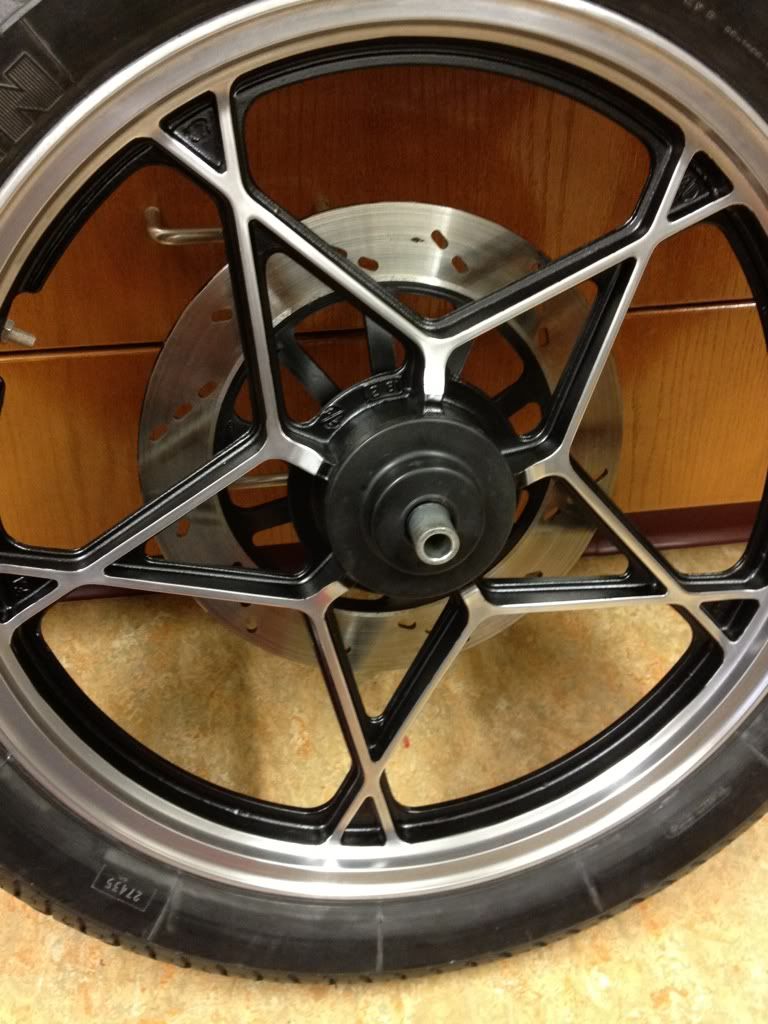
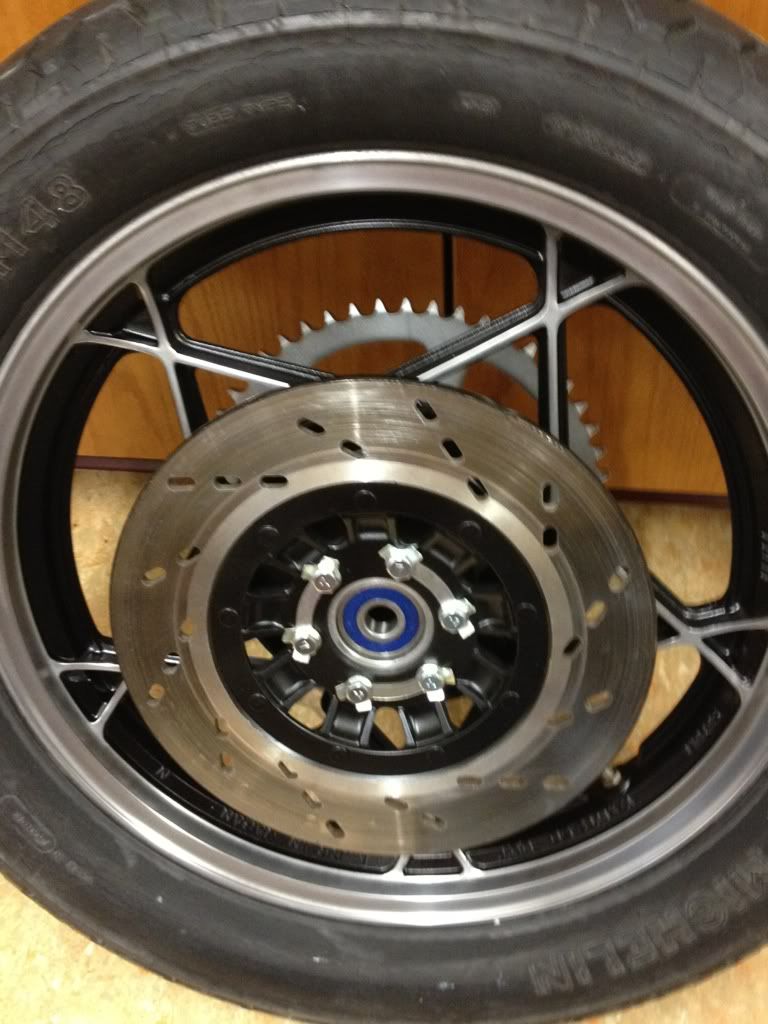
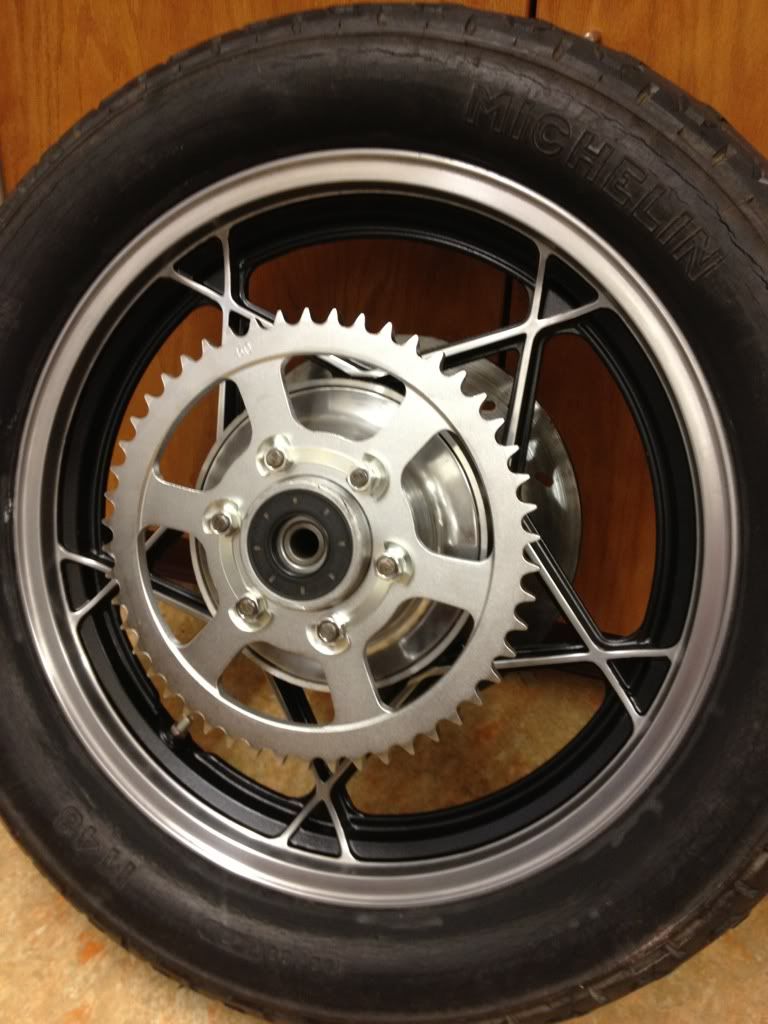
First: I replaced the wheel bearings and put the wheels/rotors back on. Here are final pics (yes….I know I haven’t bent the lock tabs down yet in case I have to remove the rotors again for some reason).
Front wheel.
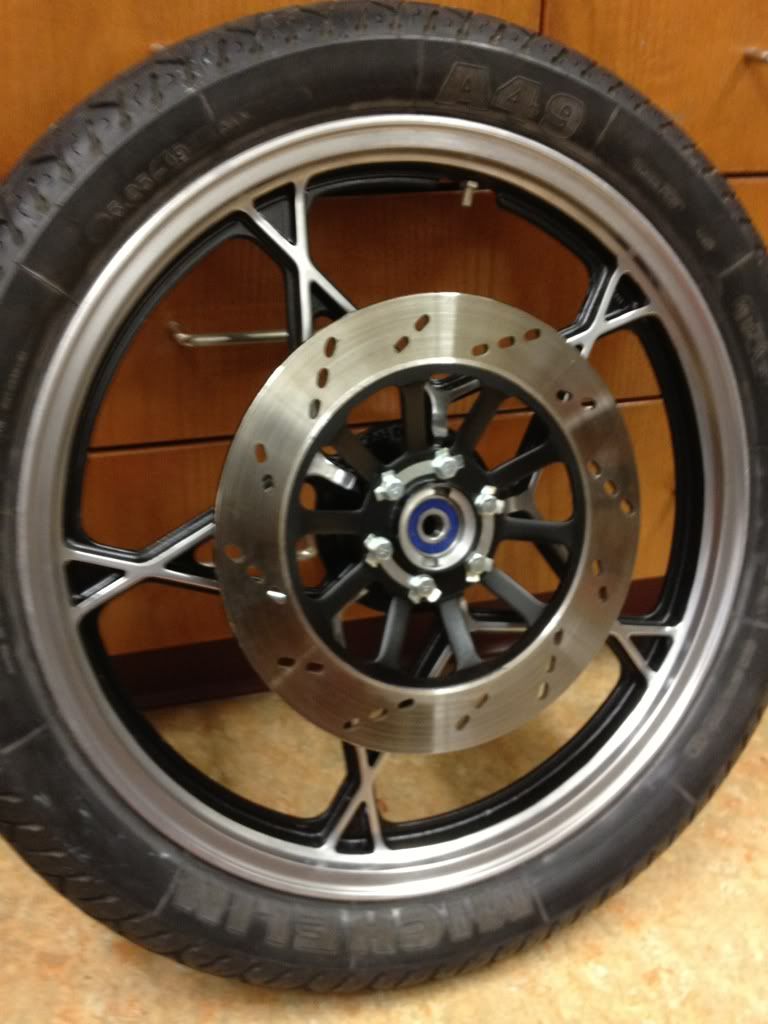
Rear wheel.
Comment
-
 D-Mac
D-Mac
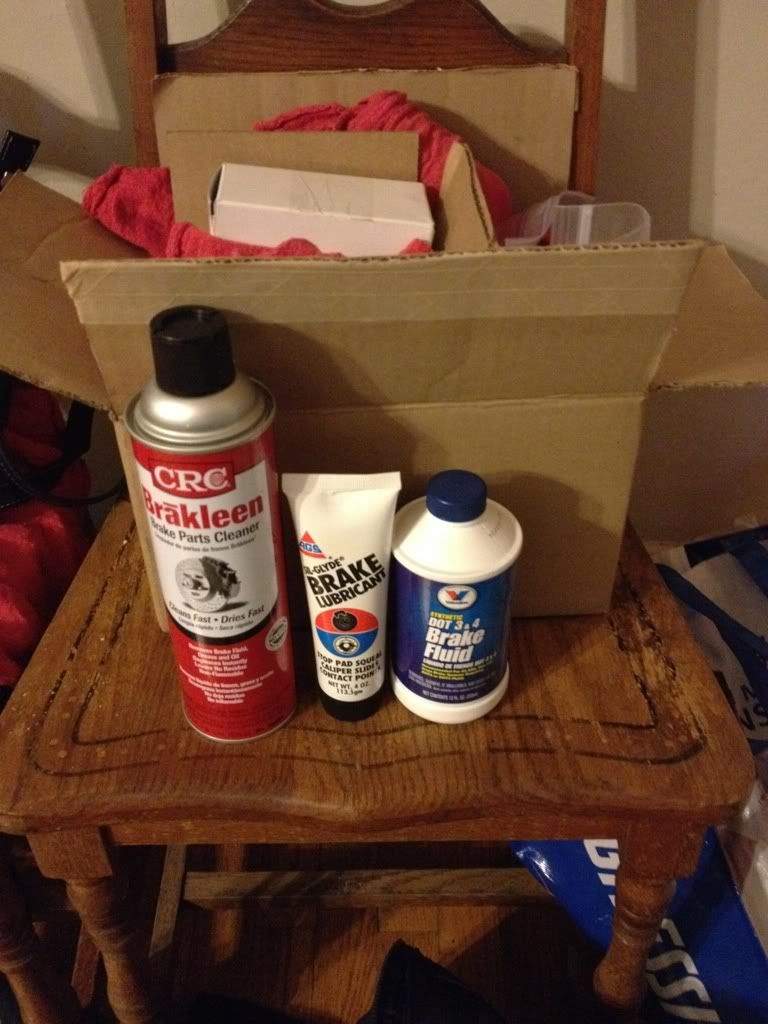
Part II: I finally got my brake calipers assembled today. You might remember that they were badly rusted and pretty much shot (frozen up solid). It took a while to finish painting and heat curing them. I’m still missing a bleeder valve for one of them (I could have sworn I had one, but it’s magically disappeared). I replaced the seals, dust covers, various rubber bits, o-ring, pads, shims, pins, and some of the fasteners.
Supplies for the job.
Here’s are the rear caliper parts during assembly. It went together easily enough once I got the pads oriented correctly.
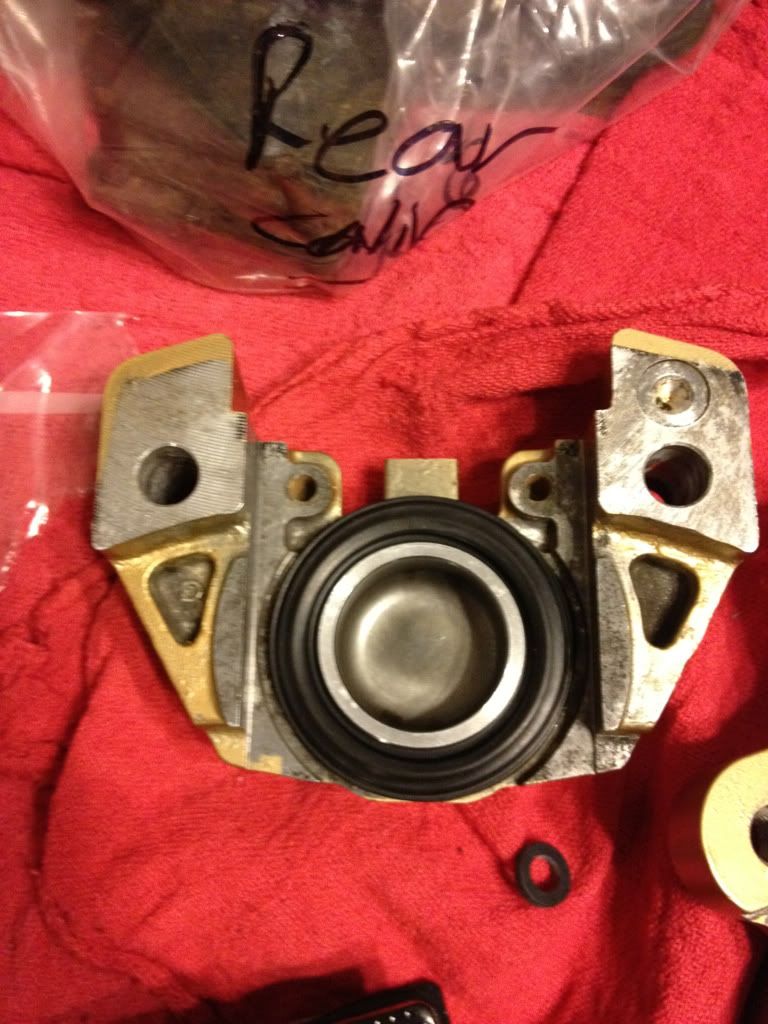
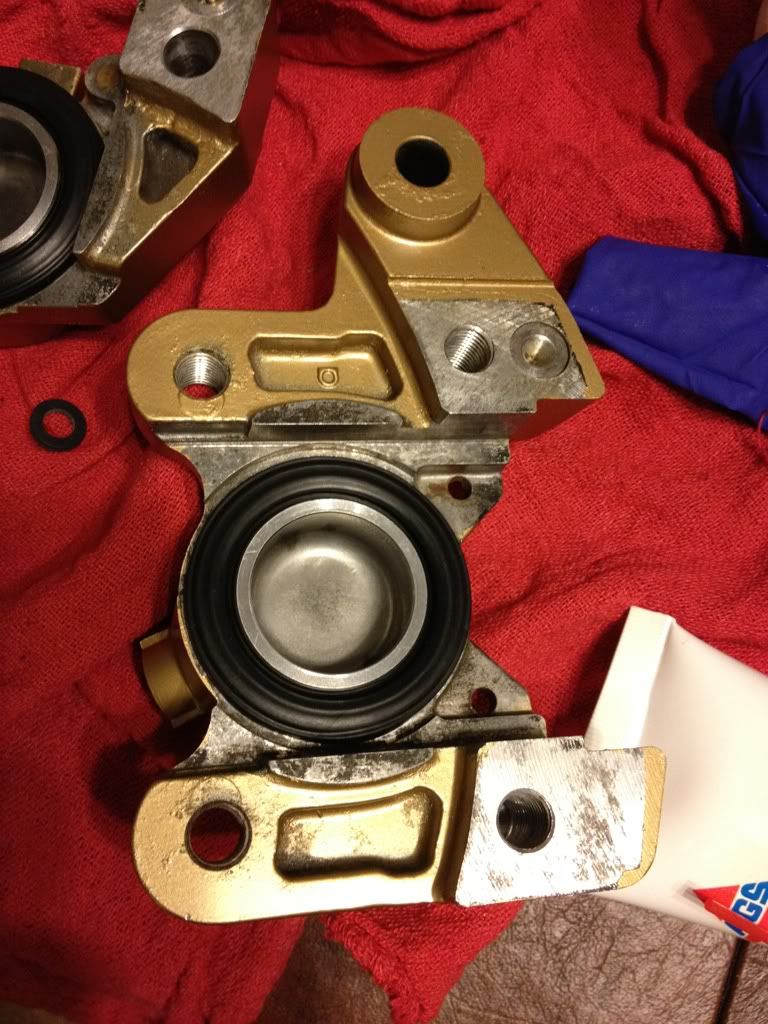
Rear caliper assembled!
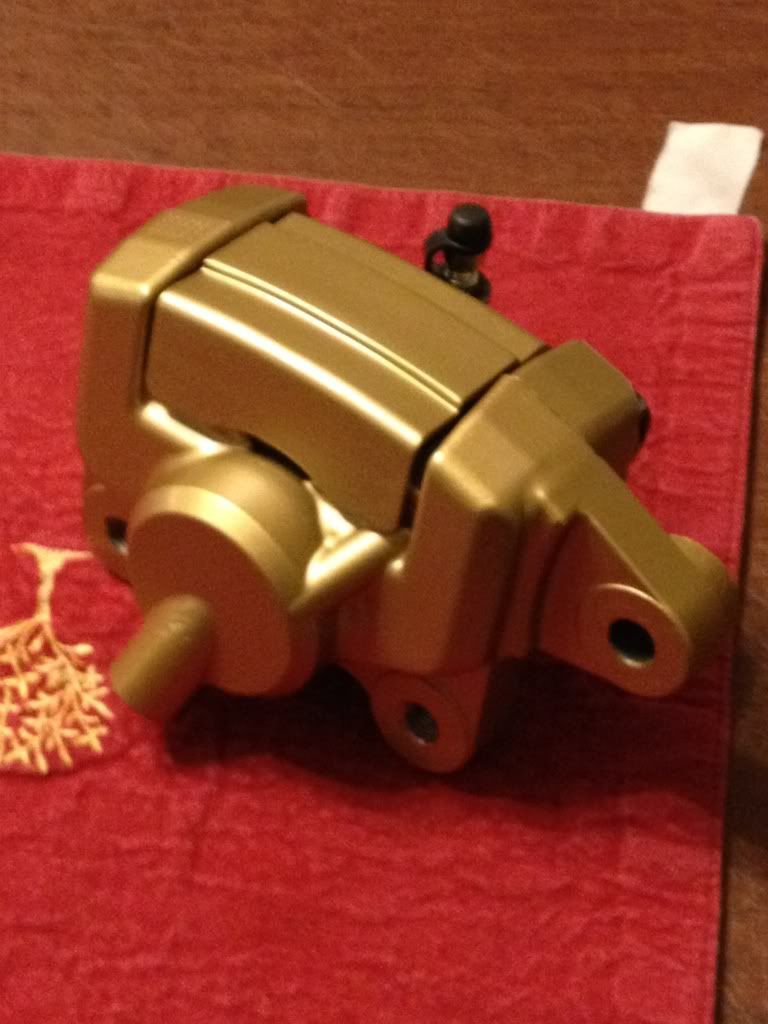
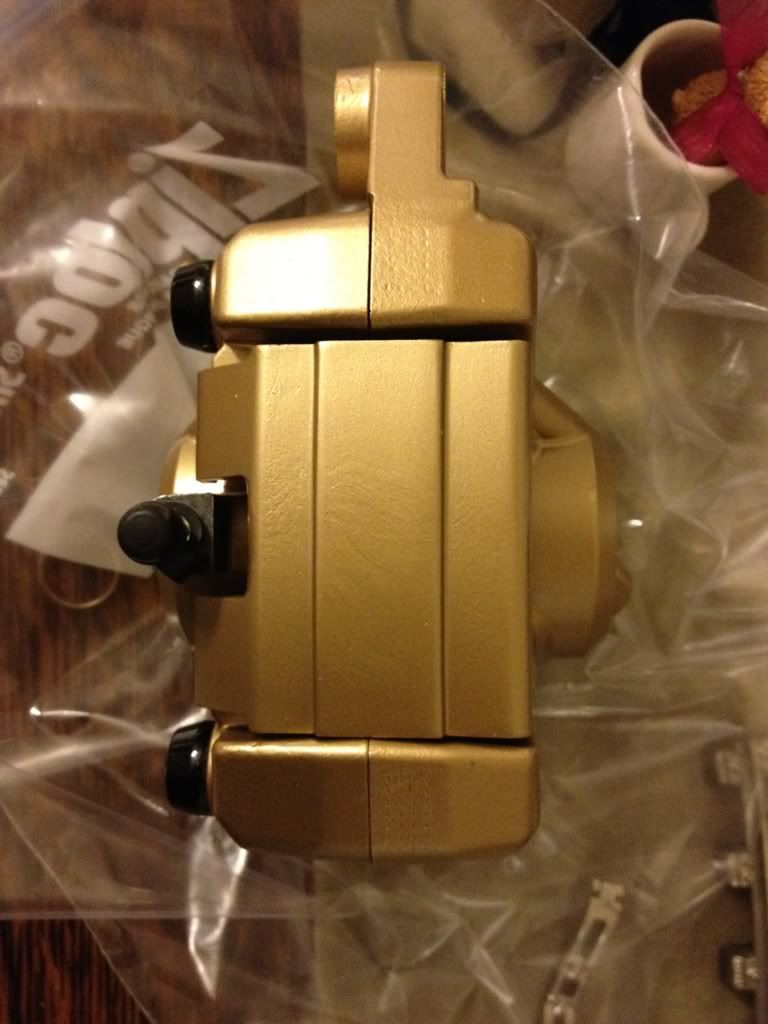
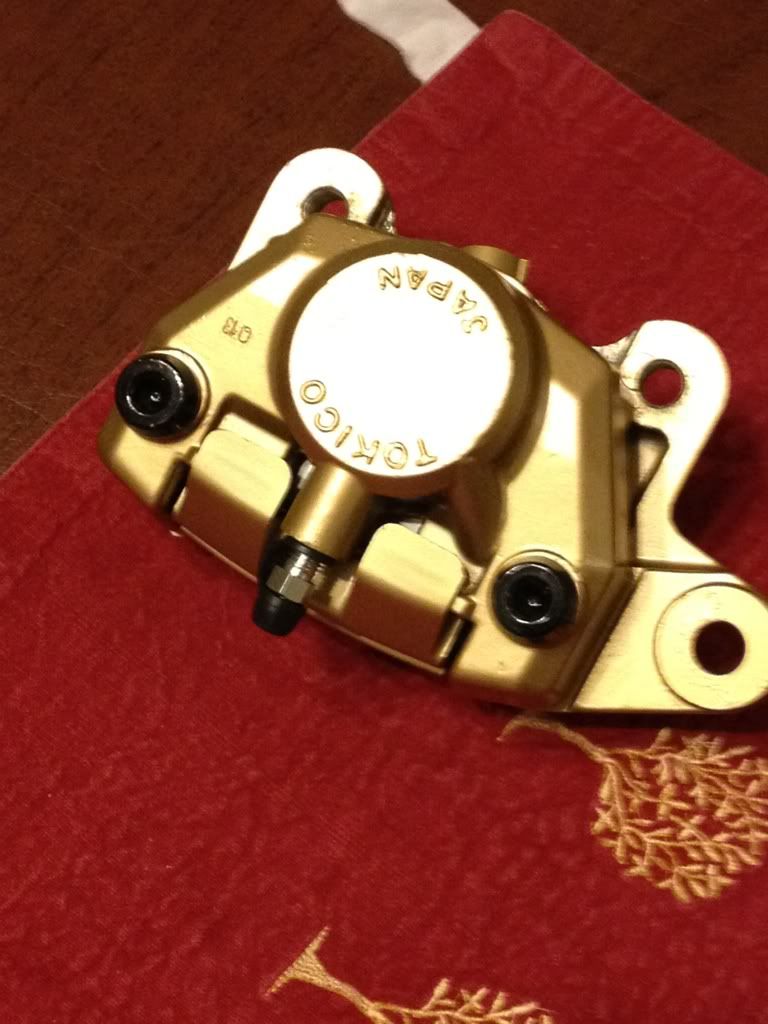
Front caliper. Piston back in place.
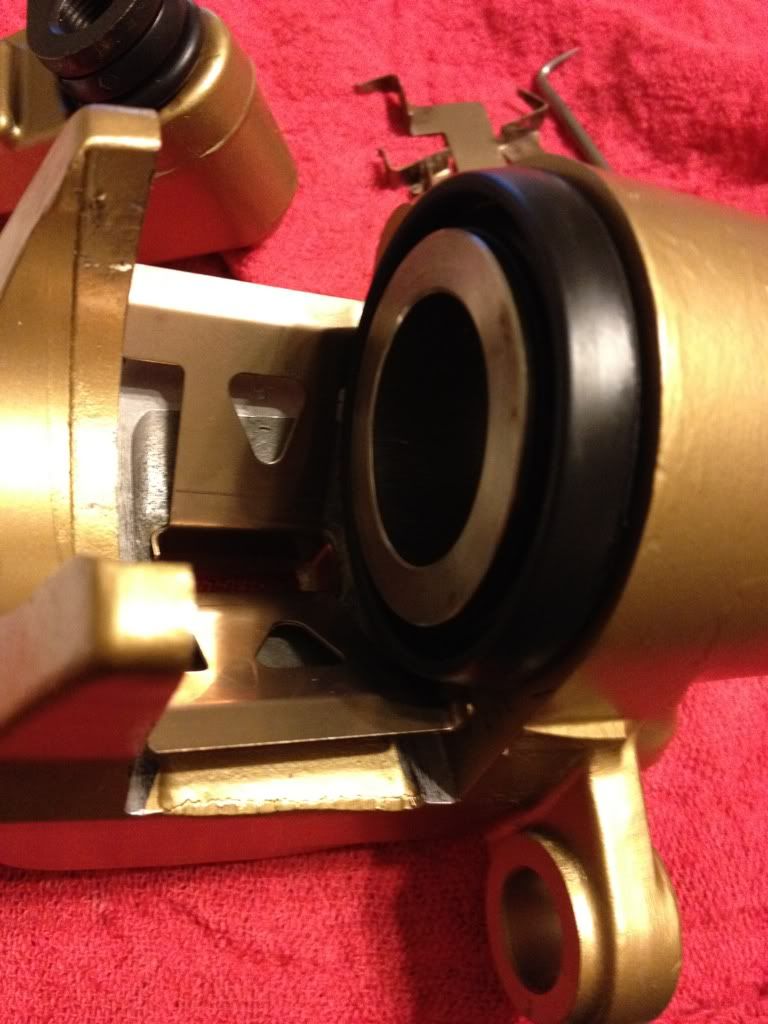
Other part of the front.
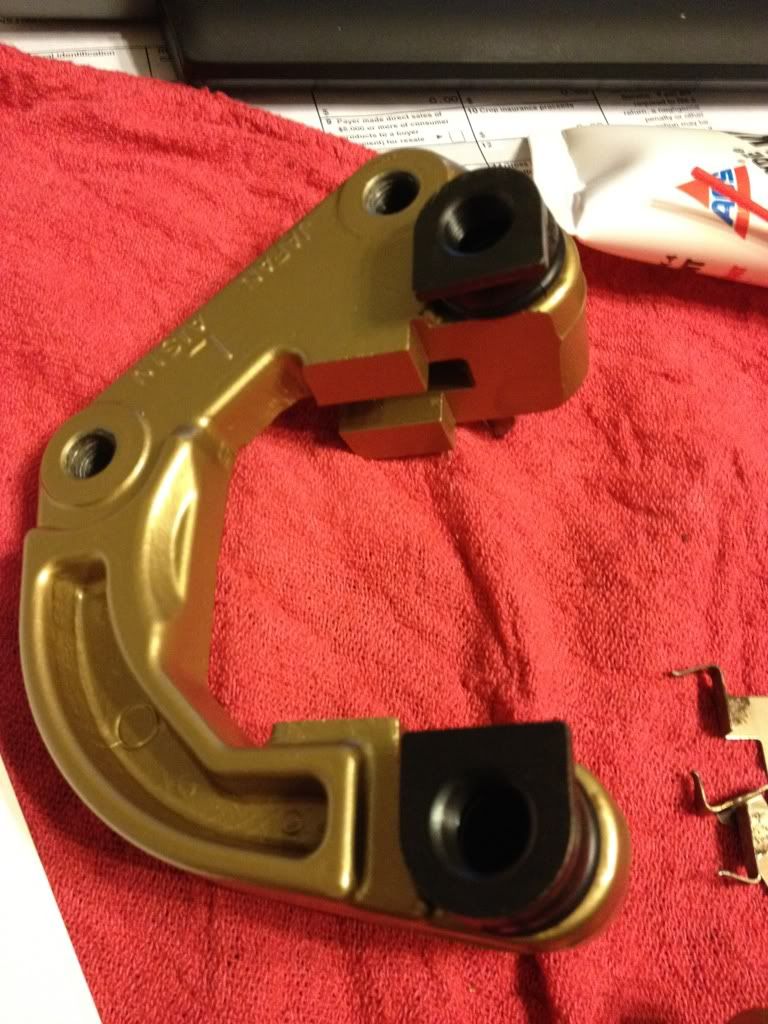
Front assembled!
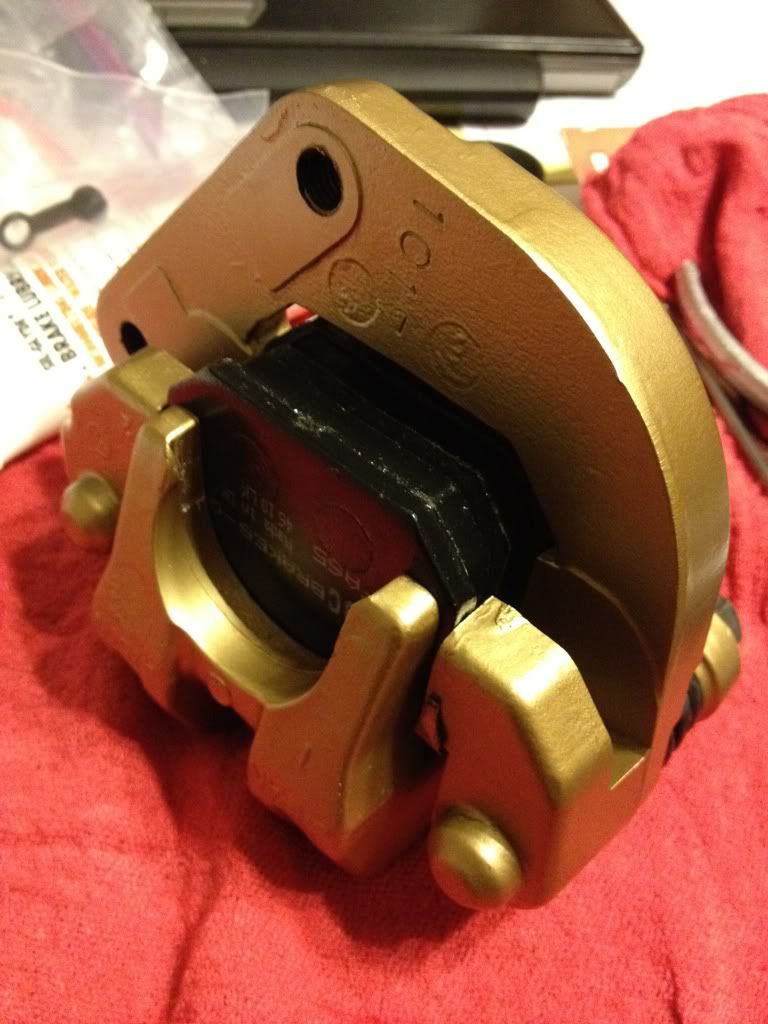
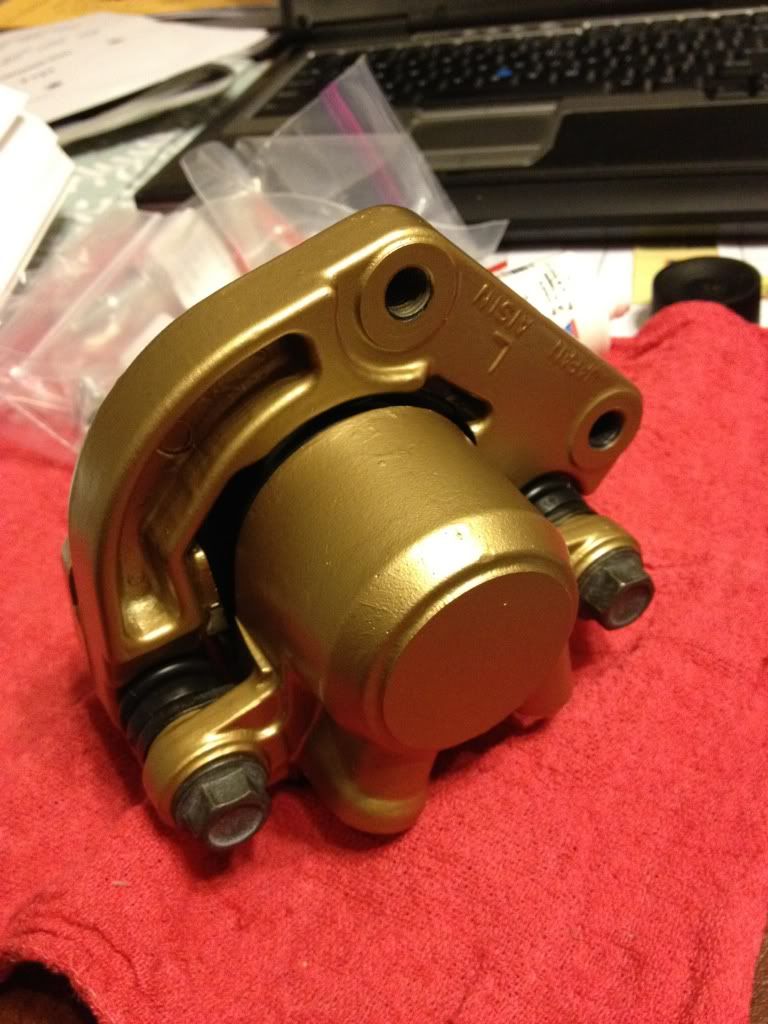
The front one was tricky since the dust seal must go into a recess in the bore and another one in the piston. It took a while to get it in properly (thanks to photos and suggestions by “pete” on page 29 of his GS450 rebuild I was able to get it without too much frustration).
The gold caliper paint is not a perfect match for the gold/yellow on the new rear shock, but it’s fairly close. The only other gold on the bike will be the trim on the paint job. Everything else will be black and polished aluminum.
Comment
-
 GateKeeper
 -
Very nice job.Cowboy Up or Quit. - Run Free Lou and Rest in Peace
1981 GS550T - My First
1981 GS550L - My Eldest Daughter's - Now Sold
2007 GSF1250SA Bandit - My touring bike
Sit tall in the saddle Hold your head up high
Keep your eyes fixed where the trail meets the sky and live like you ain't afraid to die
and don't be scared, just enjoy your ride - Chris Ledoux, "The Ride"
Comment
-
 Redneck
I think I am going to be sick.... Now I am going to have to go back and clean up and paint my rotors, buy new hardware ..... Thanks... .
.
Great Job. Those are some nice looking parts can't wait to see them all going back on the bike.
Paul
Comment
-
 D-Mac
D-Mac
Carbs/Engine/Seat: It's time to ratchet-up this project!
Last Sunday I opened up the carbs to have a peek. Yikes! Lots of crud/sand/varnish. We’re talking enough sand to make a little beach. Carb #3 was mangled inside with TWO broken float posts (!?) and gobs of JB-Weld almost everywhere in what looked like a blind-man’s repair (one of the main jets and needle jet were partially covered with it). I’m sure the carb could be salvaged, but I went ahead and ordered a $20 replacement carb body on eBay. Someone is selling a set of GS550 carbs individually for cheap thank God. On Tuesday I received the carb body and it looks perfect.
All of the jets are STOCK despite the aftermarket pods and exhaust mods on the bike. Lean city. I’ll be ordering much “higher” mains and slightly “higher” pilots to start with. Carbs will be dipped and cleaned completely of course and all o-rings will all be replaced (along with the brass float seats, which I managed to mangle when pulling them out). So pretty much everything that isn’t aluminum gets replaced (sigh). Eventually I’ll tune the bike on a dyno to get it right.
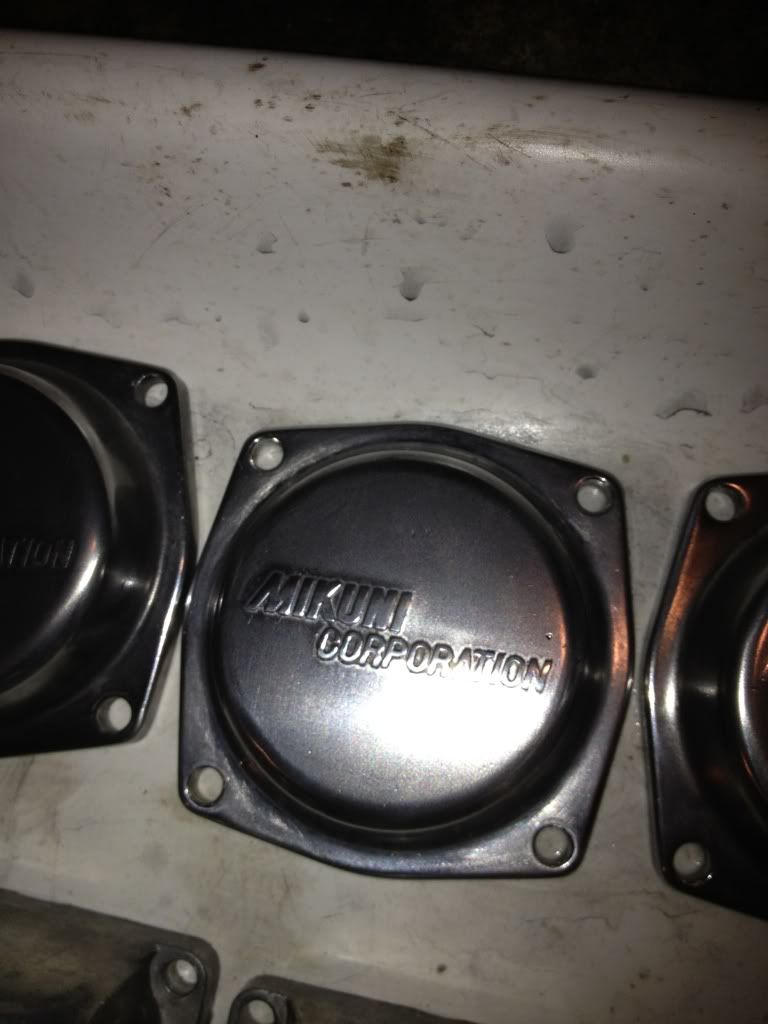
I've started the process of polishing the float bowls and tops. Before bit.
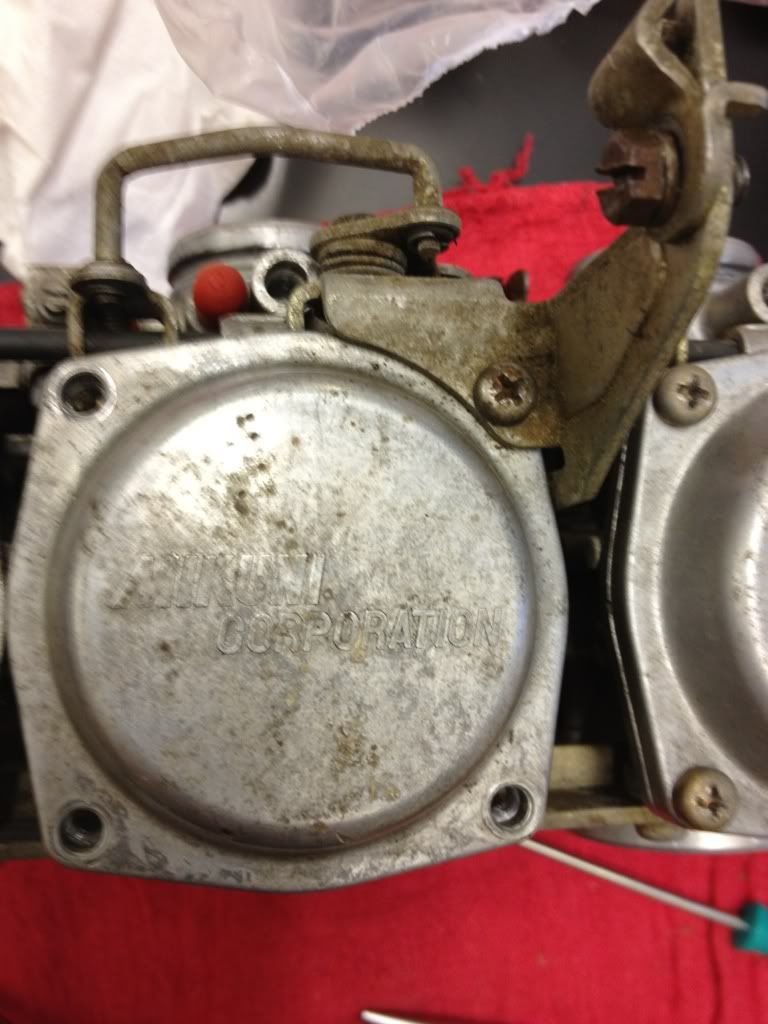
A little carb soak and sand/polish later.
BIGGER NEWS. After losing sleep over my FIVE broken exhaust studs on the head, worrying about a couple of torn carb air boots, and spending too much time wondering why the previous owner had disassembled the shifter mechanism on my bike (tranny problems?), I decided it was time to make another substantial purchase. Continuing to buy used parts piece-meal is getting expensive.
So I bid on (and won) an auction for a spare engine on eBay yesterday – for under $100. It’s from a 1981 GS550 just like mine. The only catch is that I have to pick it up myself on Sunday……in Ohio (4.5 hours away). No broken exhaust studs and the plug holes are reported to be in good shape. Although I'm told it was a runner and has only 11,000 miles on it, I'll likely stick with most of my current engine and build off that one (since I know it really was a runner), swapping the head for the new one along with whatever other parts look best. We'll see. The new engine comes with carb boots as well, so hopefully I'll have four decent ones between the two engines.
The new engine also comes with a complete frame. It’s not titled like mine, so I won't be using it on this project. Maybe I'll take the spare parts and try to build a bobber someday.....
Finally, my SEAT is done! Recall my mock-up from December?

Well here’s the final product. In the end I cheated and bought one. Nearly twice the cost of making my own, but fiberglass just wasn’t something I wanted to mess with right now. It was my gift from my wife for Christmas, but due to a minor shipping fiasco it arrived a month late.
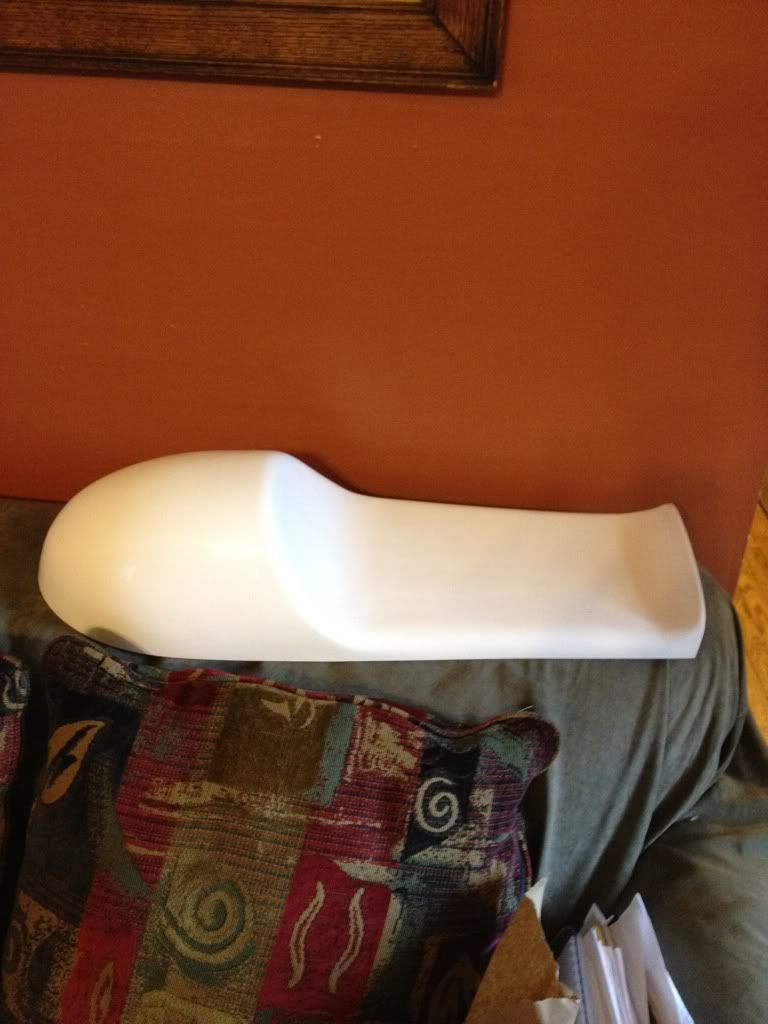
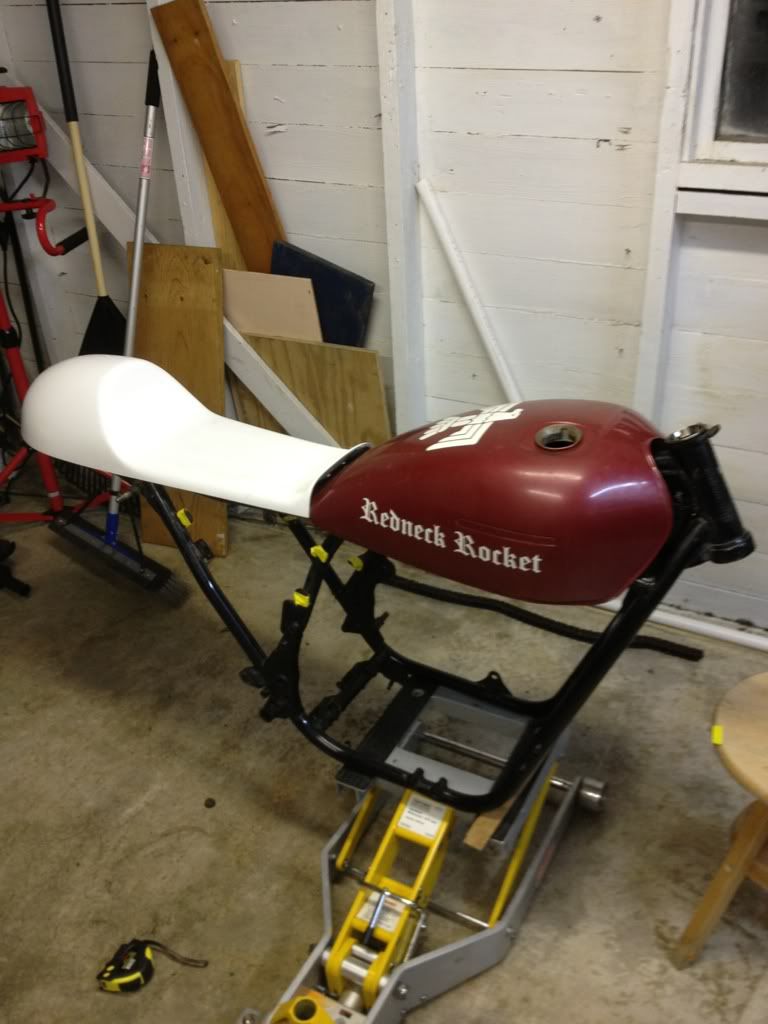
Fitting the seat gave me an excuse to break out the angle grinder and make my first cuts on the frame (removing the old seat tabs that were in the way). I think I’ve come up with a good way to attach the seat and hide the battery/electrical stuff.
Here’s a pick of the seat. It will likely sit a smidge higher on the rear and maybe a little lower on the front (if I trim off a bit where it meets the tank). At least I can start some fabrication work on the frame. It’s gonna take a while since I have to get a little farther into my welding class first. If only I had a plasma cutter and MIG setup. Hmmm………
Later next week I hope to open up the new engine and start to prep the top-end for paint (and whatever else it needs). My engine primer arrived this week, so I’m hoping to get the engine done and painted within a month or so.
Comment
.png)
Comment