
Announcement
Collapse
No announcement yet.
'81 GS550 Cafe Build
Collapse
X
-
Holy face grinder Batman! Makes me want to wear a helmet when using those things. Will be up your way again week after next. Hope the warm weather follows me. It was 62 today. In February!! 1982 GS550M Rebuilt Winter '12 - 550 to 673cc engine conversion.
1989 Kawasaki ZX-7 Ninja
2016 Ducati Scrambler Full Throttle
-
 brslk
brslk
I have five grinders that I use a lot. I used to be kinda complacent about grinder safety but articles like that have made me MUCH more safety conscious.
I always wear thick leather gloves and eye protection.
Some times I even wear a full face shield over the eye protection.
I keep loose clothes away from the grinder.
I watch where my rooster tail of sparks are going.
The grinder does not care who it hurts and it will hurt you if you are not careful.
Bruce.
Comment
-
 D-Mac
D-Mac
Another burst of progress is coming soon. Until then, here’s what I’ve been working on.
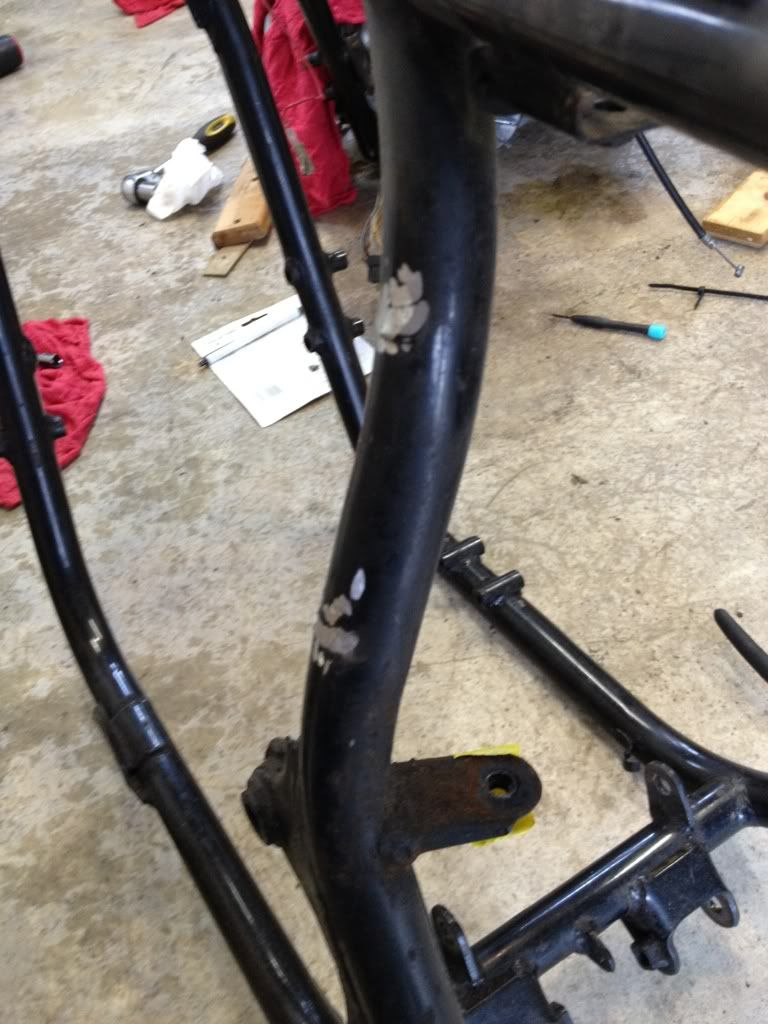
I’m in the process of cutting off and grinding down the various tabs on the frame. I decided to leave the centerstand tabs on the frame in case I want to put it back on later. All of the other tabs for the side covers, battery box, rear fender, and air box will be removed. I also visited a local steel supplier and ordered the correct steel tube to build a rear hoop for the seat. I’ll try getting it bent at a local muffler shop. To make it look nice I plan to fit it to the frame with a small insert going into each side (rosette-welded on) and then I’ll weld all around the point where the frame/seat tubes meet.
Early in the “frame improvement” process…..
I also soda blasted the outside of the cylinders. Worked well – not perfect, but it got most of the crud off. I’ll scub them thoroughly and rinse before priming and painting them (black). Then they’ll be honed.
Pistons are cleaned up. Rings will be replaced.
Now that the calipers are done, I tackled the brake master cylinders. Ugh. They were BAD. Here’s a couple of pics……
Hmmmm….this doesn’t look good.
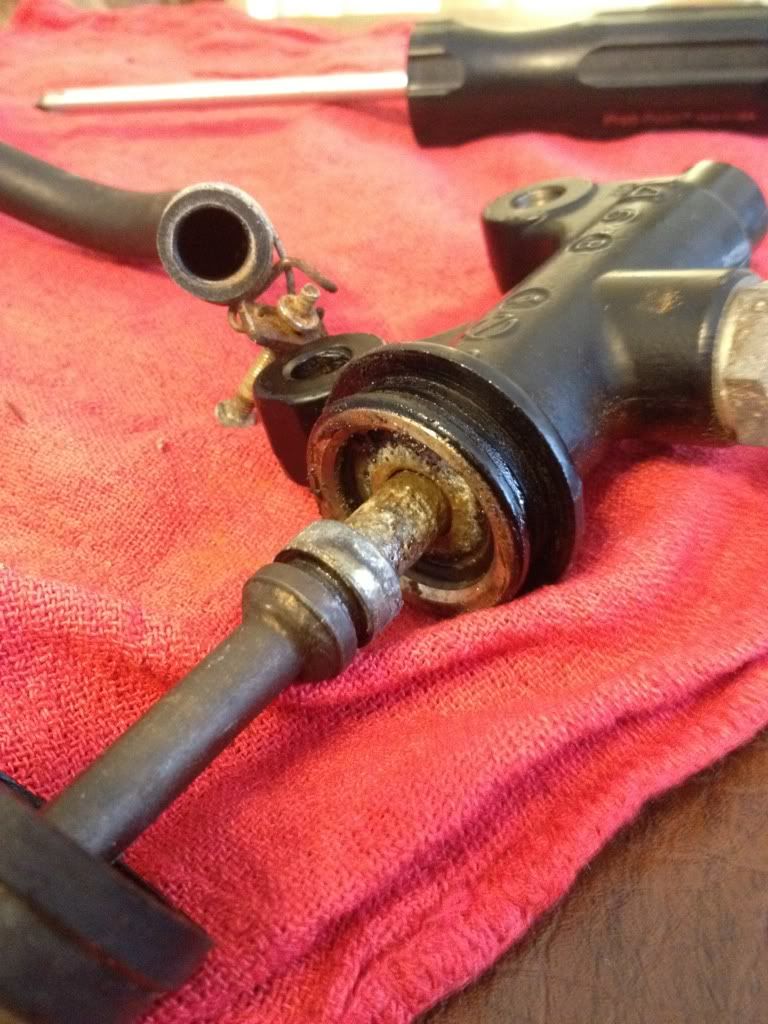
That brown sludge is old brake “fluid!” Lovely.
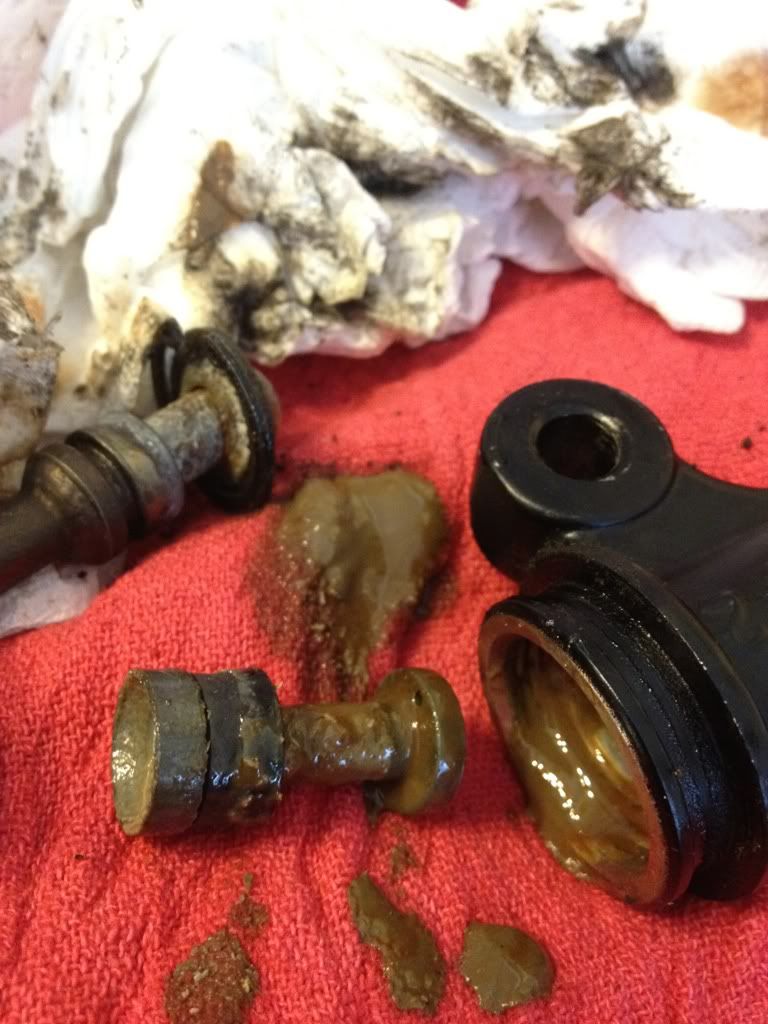
Needless to say, they will be rebuilt.
I spent a lot of time yesterday placing more parts orders. My biggest set of orders to date I think. Among the bits that are coming are….
Engine: Final fasteners I need along with other bits for the cylinder and head (valve guides, o-rings, $$$ head gasket). I also bought a lot of replacement parts for the cam chain tensioner.
Carbs: I ordered a rebuild kit for each carb as well as the little rubber plugs and misc other things not included. I also ordered an o-ring kit+fasteners for the carb intake boots. Then I went all out and ordered the closest Stage 3 Dynojet kit I could find (for the ’82 GS550, which shares the same engine and carbs).
Body: I ordered replacement fasteners for the gas tank. Still need to get a new petcock.
Headlight: ordered all of the rubber grommets and fasteners to rebuild it.
I also priced tires, but didn’t order them yet.
Comment
-
 D-Mac
D-Mac
Time for a little update:
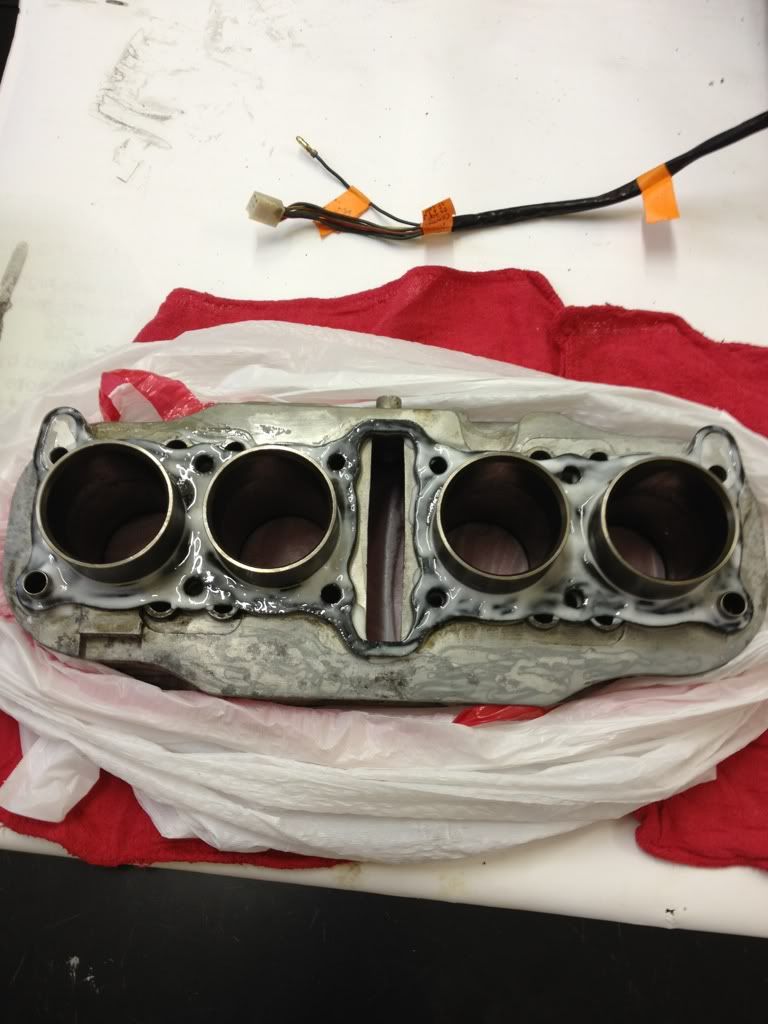
I spent a little time this week soda blasting the outside of the cylinders. These will eventually be painted black.
Prepped for blasting
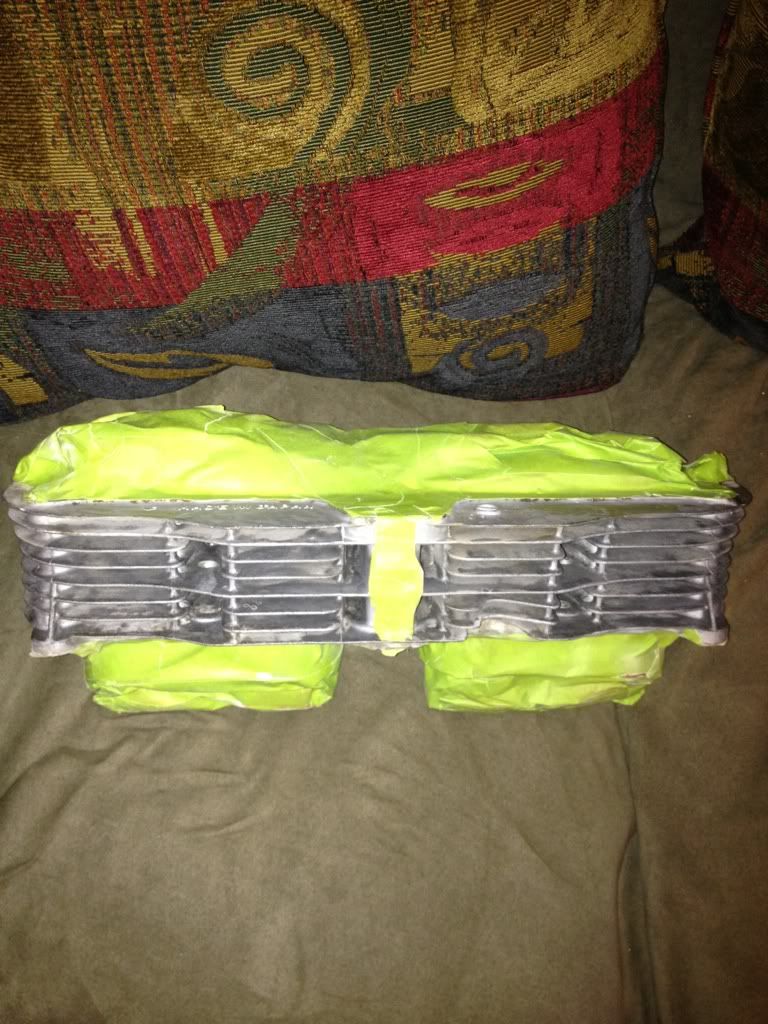
After blasting them, I realized I needed to remove the base gasket. I should have done this first because it was ridiculous and it took something like a dozen applications of gasket remover to get it off. I still have a little left to remove, but the end is in sight (at least for this piece – I also have gaskets to remove from the cylinder head, valve cover, and breather cover too!)
Gasket remover soaking.
I decided to tackle the carbs this weekend. I pulled the diaphragms and jets a while back, so I started by separating the bodies from the bank. The rails will be sanded and painted silver. The carbs will be left natural (bowls and tops shined up).
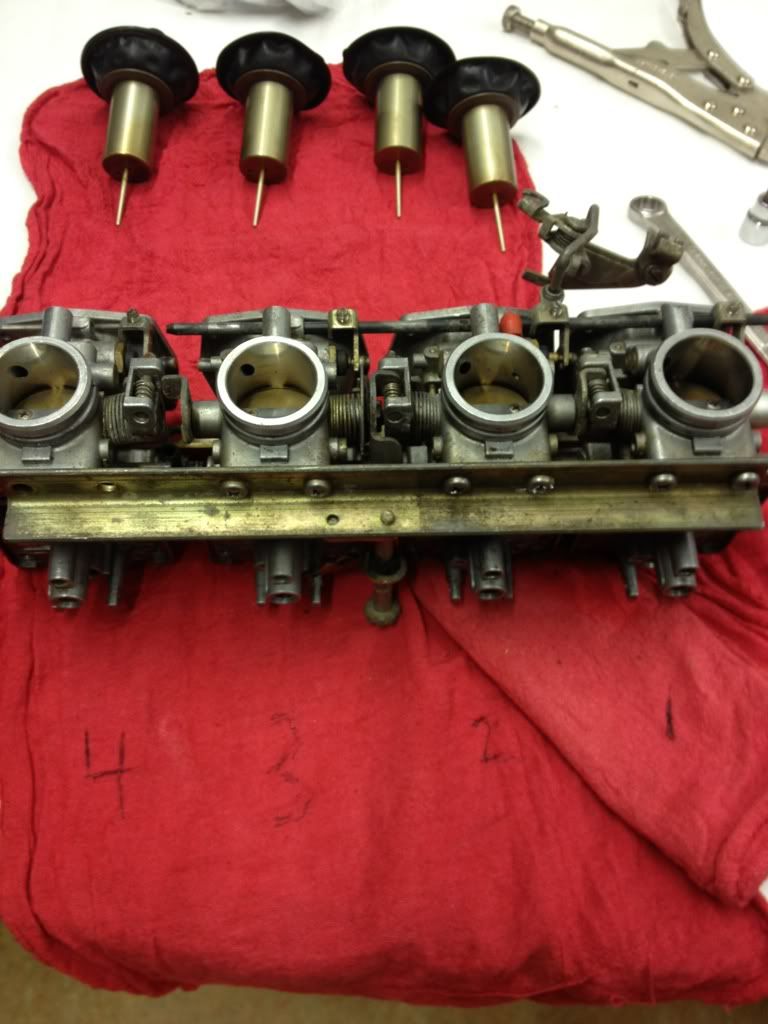
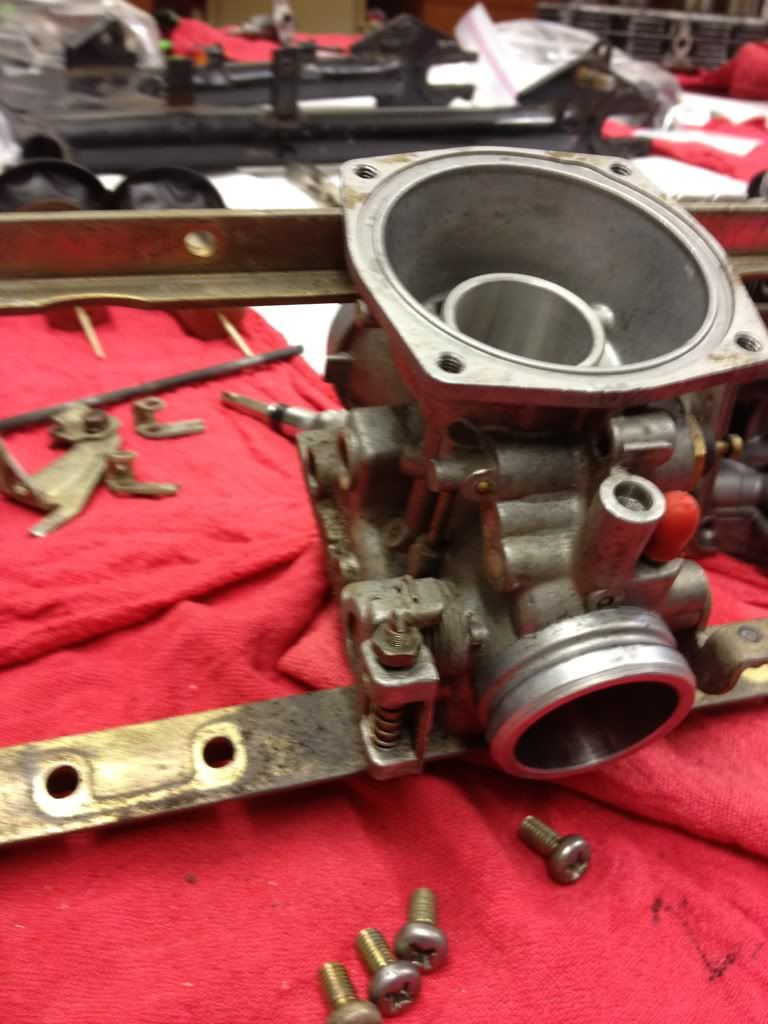
After removing the various fuel/vent tubes and enrichener devices, I soaked each of them in Berryman’s cleaner for 25 minutes.
After cleaning. Yes….there are 5 carbs in this photo. The one on top in the bag is my original #3, which has broken float posts and other damage that I decided was just too bad to use. It was replaced with a carb one off e-Bay.

While the carbs were soaking, I dug out my new supplies. (forgive the excessive detail, this is for my own records as much as anything else:
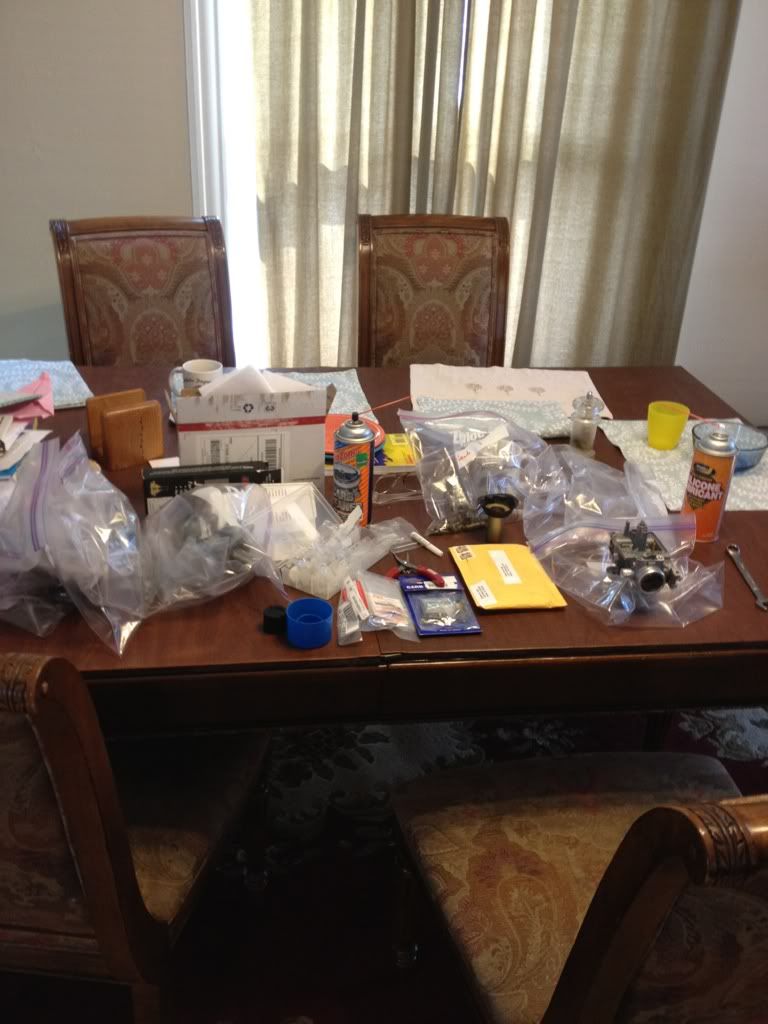
Used (so far) from the rebuild kit:
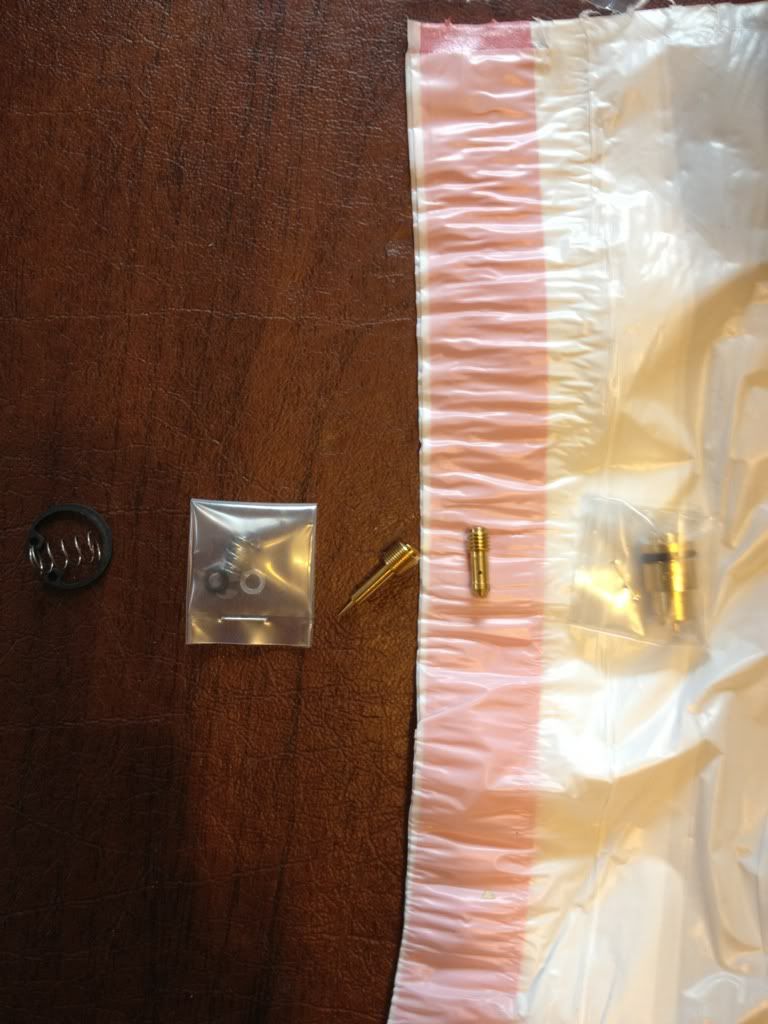
#40 pilot jet – same as stock
Fuel mix screw/spring/washer/o-ring – same as stock (turned 2.5 turns out)
#150 air jet (goes in the intake end of the carb) – same as stock
Float seat/o-ring and needle (I took the little screen off the original seat, which was otherwise destroyed when I had to violently pull on it to remove it from the carb).
I also used the large snap-ring and spring from the rebuild kit when replacing the jet needle (below)
Parts used from my Dynojet kit (Stage 3)
#155 main jet (richer of the two they give you, but recommended since I’ll be running aftermarket exhaust and K&N pod filters)
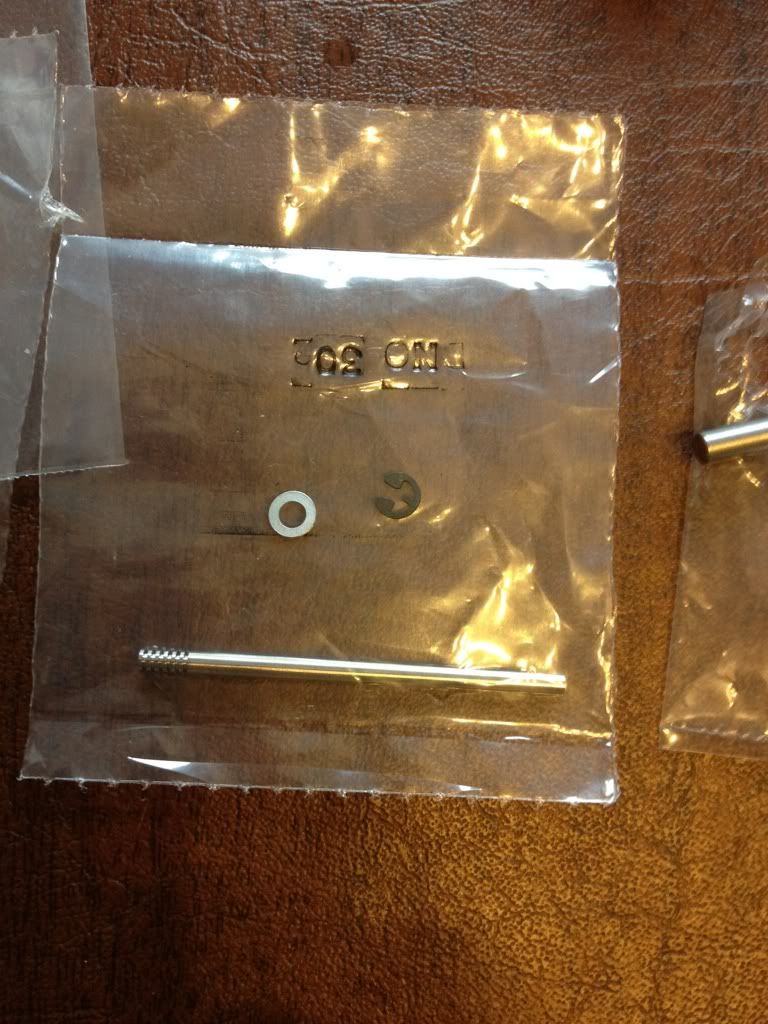
Jet needle/washer/e-clip (with stock spacer)– e-clip set to position #4 from the top (again, recommended by other GS owners)
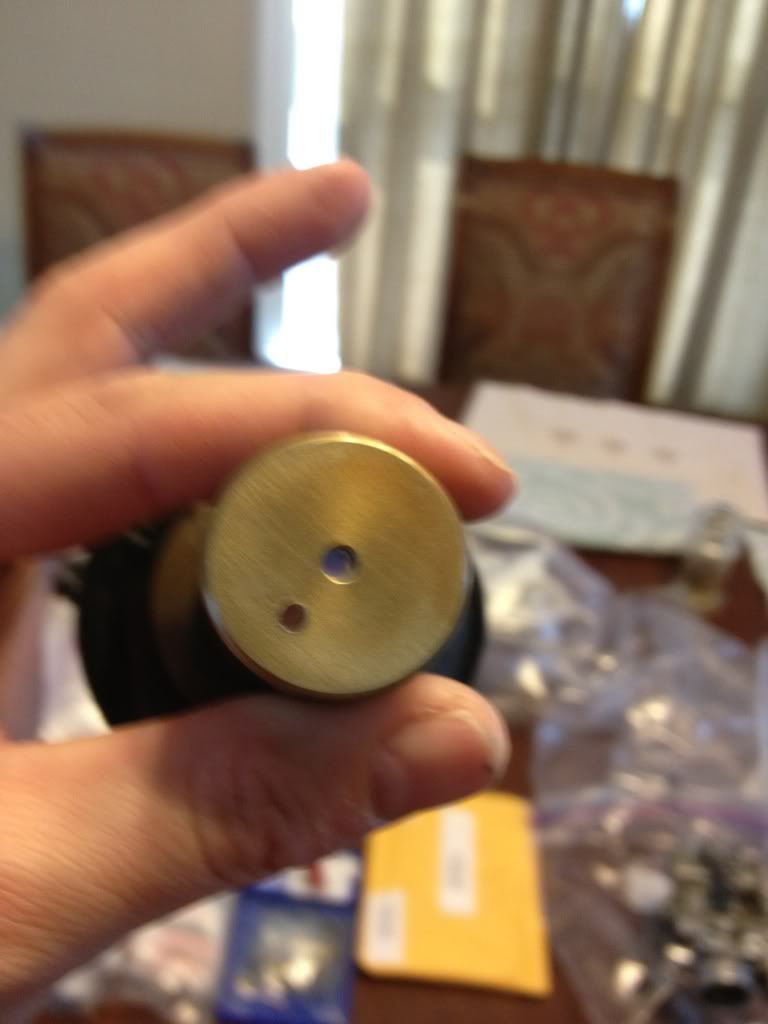
I also drilled out the slide hole on each slide a 7/64 drill bit. In a moment of stupidity, I broke the bit that came with the jet kit because I didn’t realize at first that the slide holes are on an angle. Oops. A new bit later (and an excuse to buy a better drill), and it was done.
The hole that I had to drill-out (make larger) is the smaller one shown. The needle projects out of the larger hole.
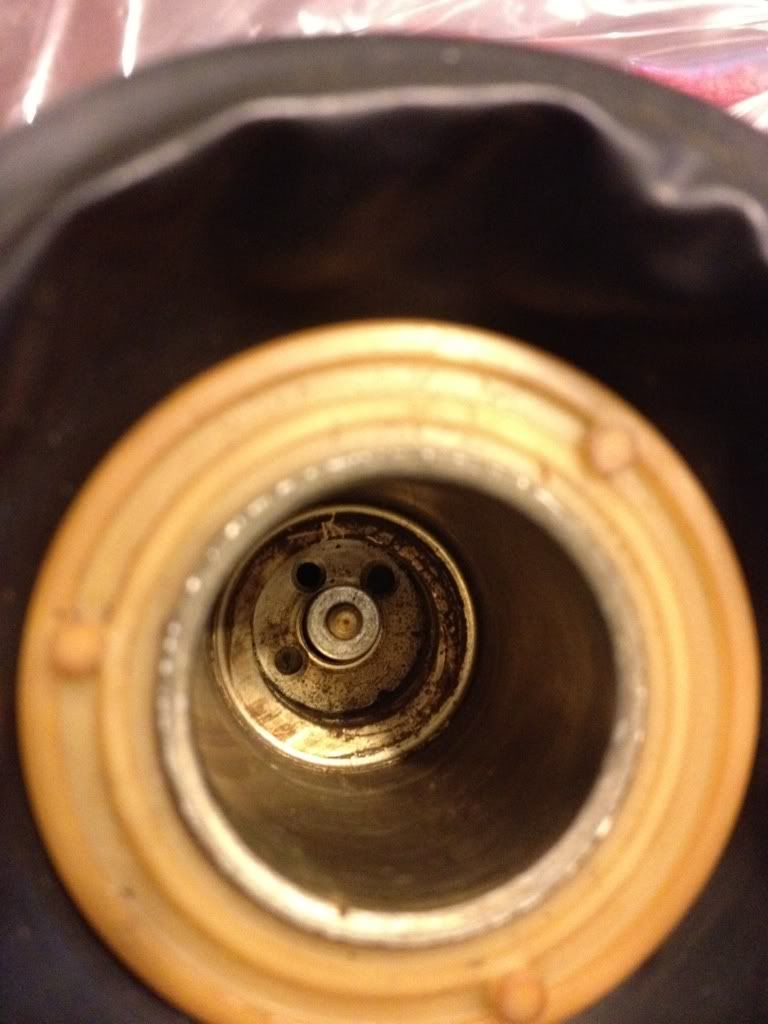
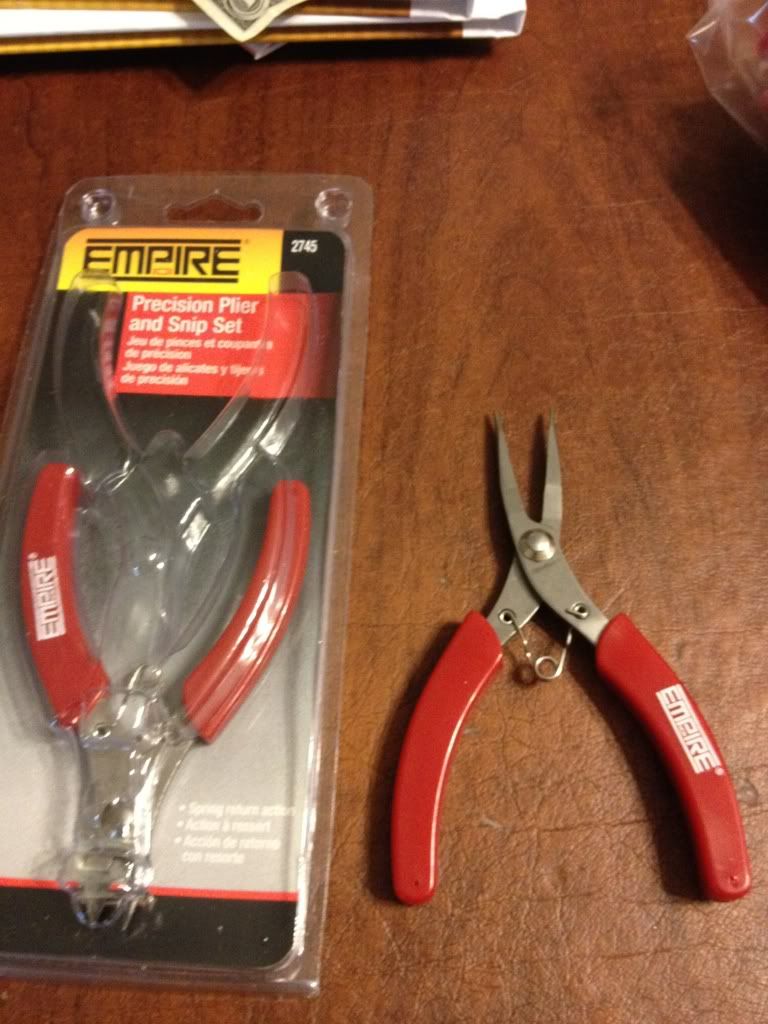
There is a snap ring (not shown) that fits all the way down inside the slide to hold in the needle in place. Getting it out was rough, until I hit Sears and found a set of snap ring pliers that was able to reach inside.
Comment
-
 D-Mac
D-Mac
Carb rebuild/mod continued…..
Original jet needle
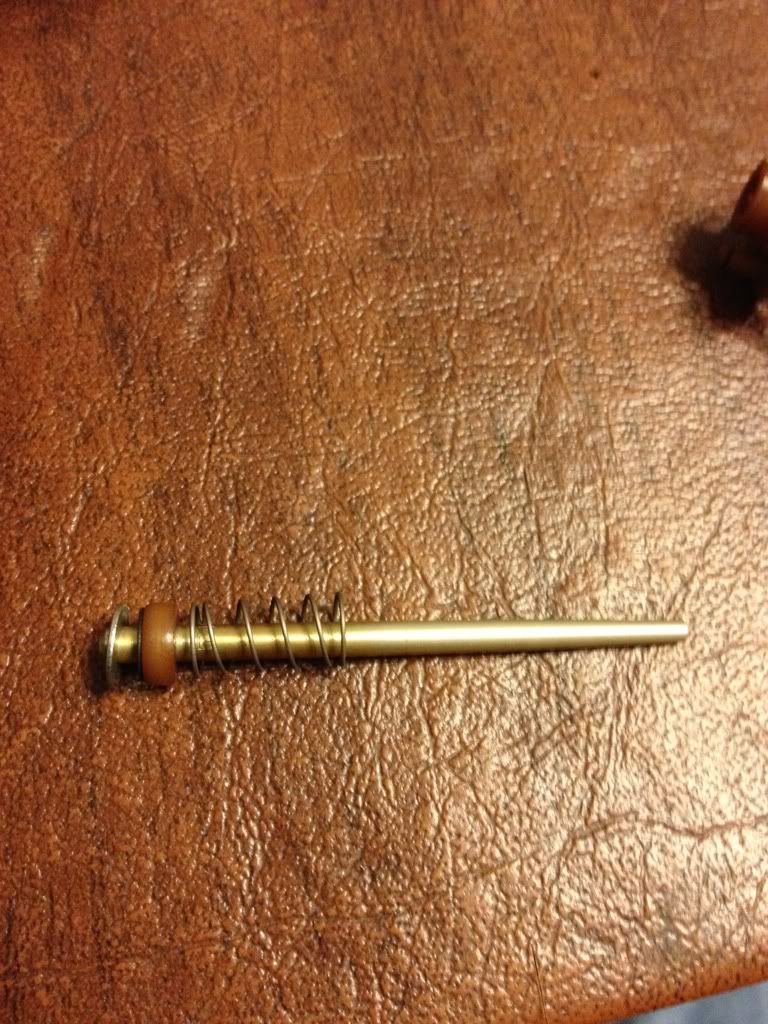
New needle
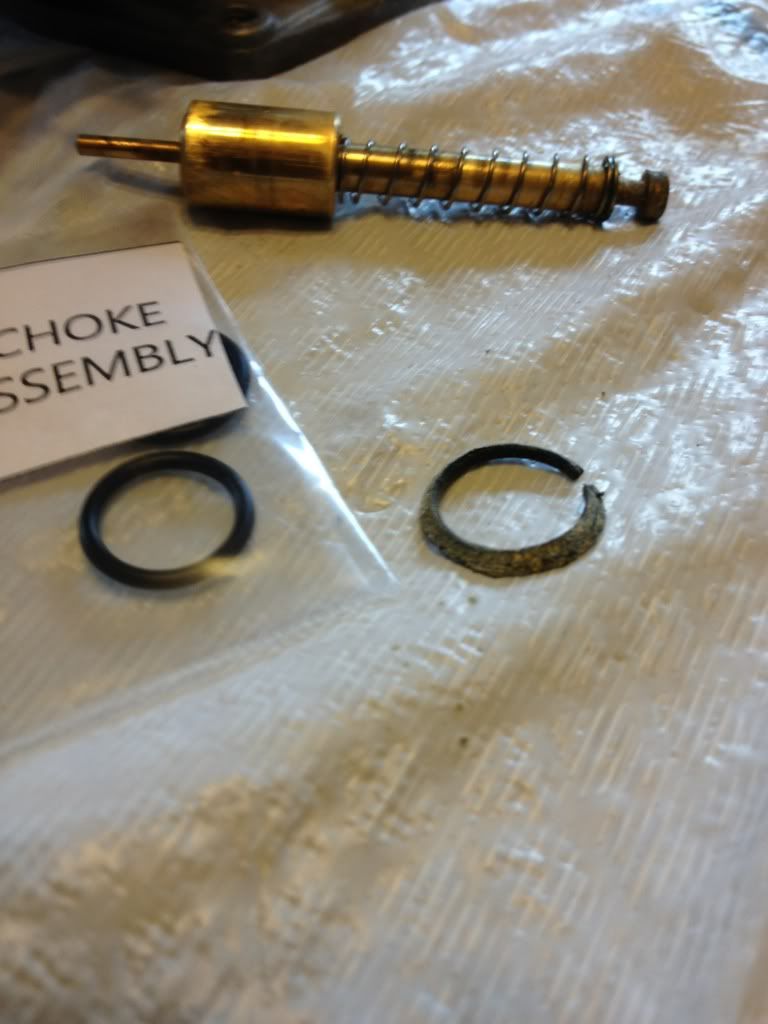
I also bought an o-ring kit from cyclerings. This includes all of the hard-to-find o-rings for these bikes. It’s very well organized. Check out the old/new rings for the choke. About time these were replaced!
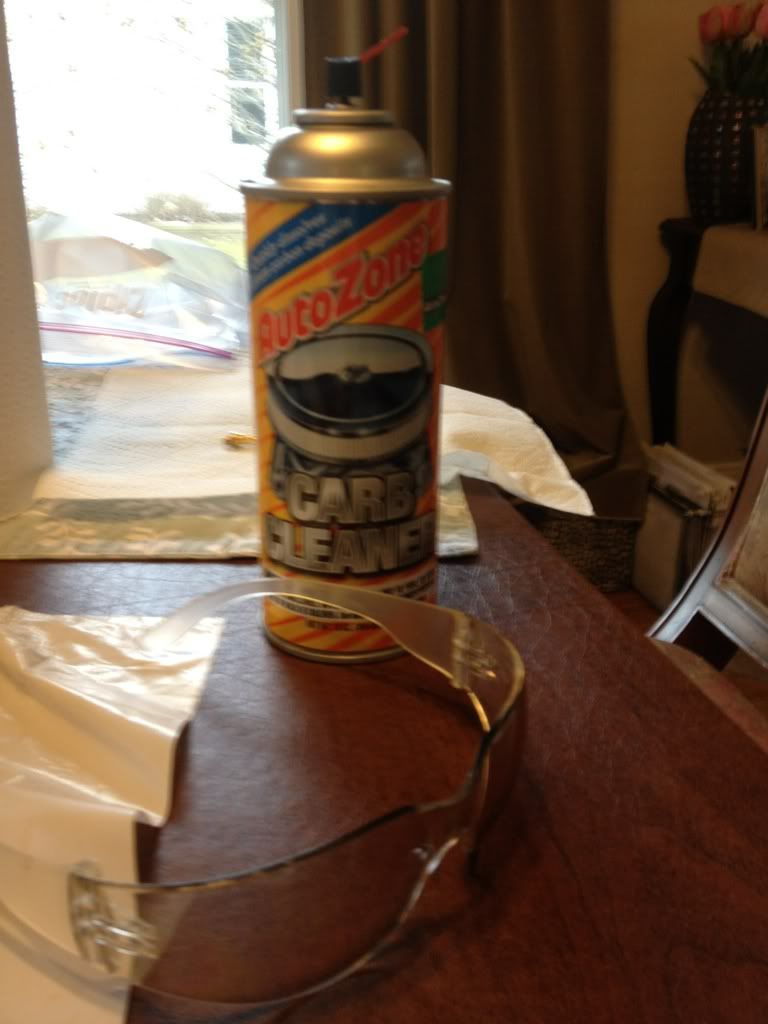
It wasn’t all good though. At one point I somehow managed to spray carb cleaner directly into my EYE while spraying the tiny passages to make sure they were clear.
OUCH OUCH OUCH.

Here’s the offending cleaner. NOTE: I was wearing safety glasses (foreground) at the time of the “incident.” They slipped a little off my nose and the cleaner bounced around inside the carb and came in from the side – directly by the glasses and onto my eye with a lot of pressure. 15 minutes of rinsing by staring at the shower head and everything was OK.
Done for now. I still have to polish the float bowls. The rubber plug covering the pilot jet came from yet another supplier.
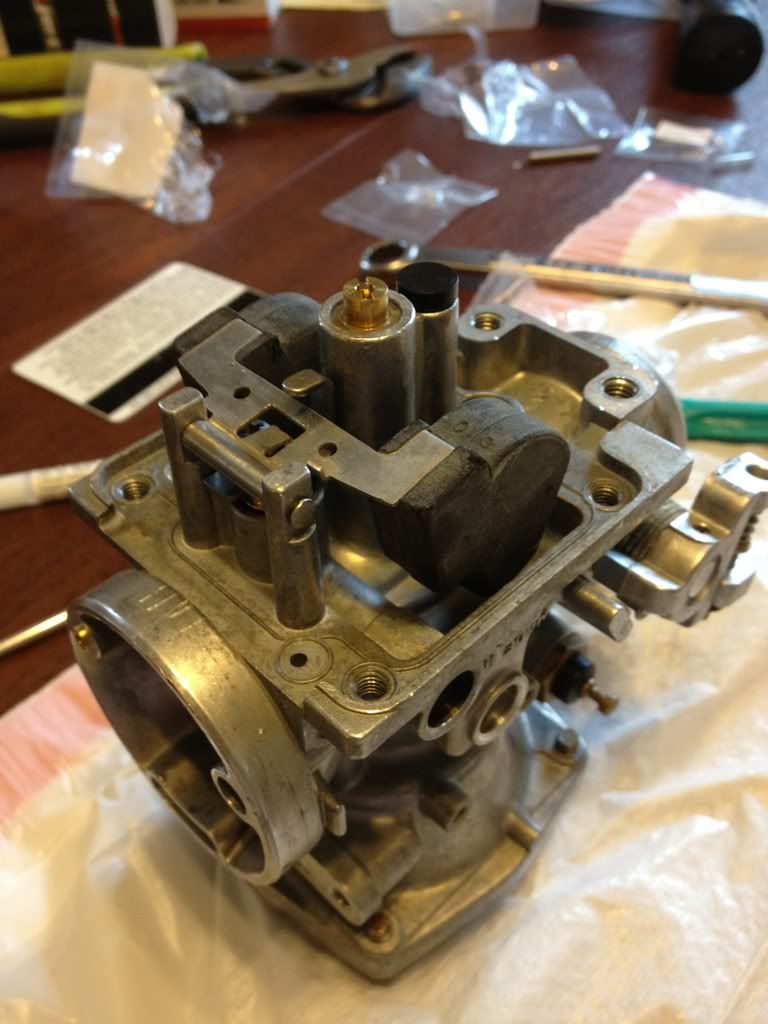
NEXT UP: This week I plan to finish the carbs, rebuild the master cylinders, and hopefully (finally) paint part of the engine. I’m now thinking to paint the lower engine black (except for the polished case covers) but do the head and valve cover in silver.
I picked up a tube for the seat hoop. I have to bend it and weld it on. Once that’s done I can begin to build the new battery box and places to hide the other electrical components.
Comment
-
 brslk
brslk
I was pretty sure I was gonna die or go blind when I sprayed carb cleaner in my eye.
I filled the sink with water and dunked my head in and blinked for about half an hour.
The pain went away but my eyes felt dry for awhile.
I think if I ever use it again I will wear swimming goggles!
Bruce.
Comment
-
 D-Mac
D-Mac
Weekly update time. I was a little all over the place with my plan this week, but I had to keep working hard so I can bump this thread back up to page 1!
My first attempt was to rebuild the master cylinders.
The rear didn’t happen because I discovered that I was missing some key parts. I ordered the missing stuff, but it hasn’t come in yet. You might recall how bad it looked from a few posts back.
Although the front one didn’t look as bad, one quick look at the master cylinder and I knew I’d be rebuilding it. Check it out.
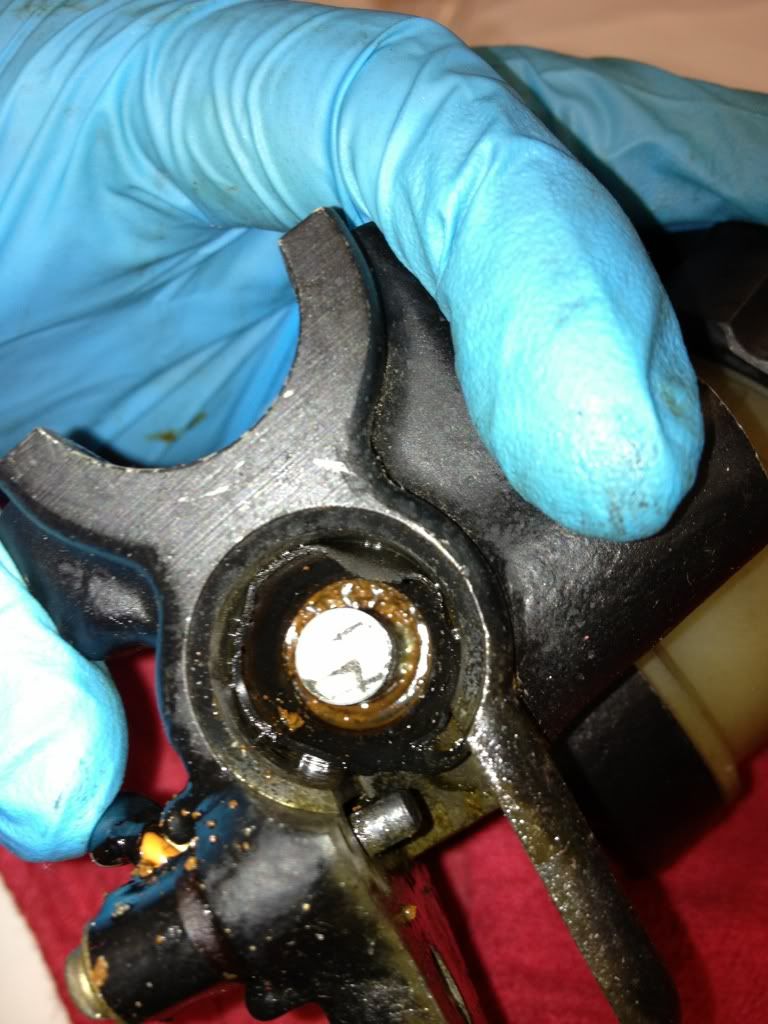
Here is a pic from the end of the rebuild. I replaced everything – piston cup/spring/plunger/boot, cleaned the cylinder, and lubed it with fresh brake fluid.
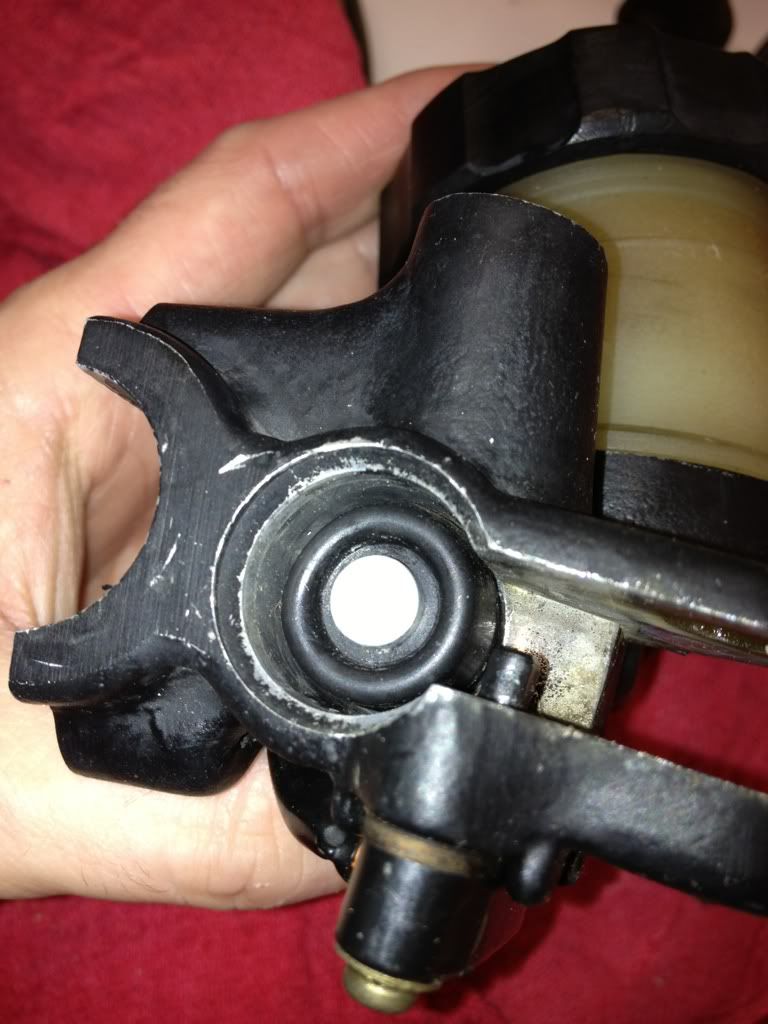
----
Then it was back to finish up the carbs – starting with polishing the float bowls. I did the usual sanding, but put a little more effort into it since the bowls are small and easy to work with. I went with 220/320/400/500/1000/1200 wet paper and then over to the buffer. I’m pretty happy with how they came out. Not perfect, but shiny.
This is before final polishing too.
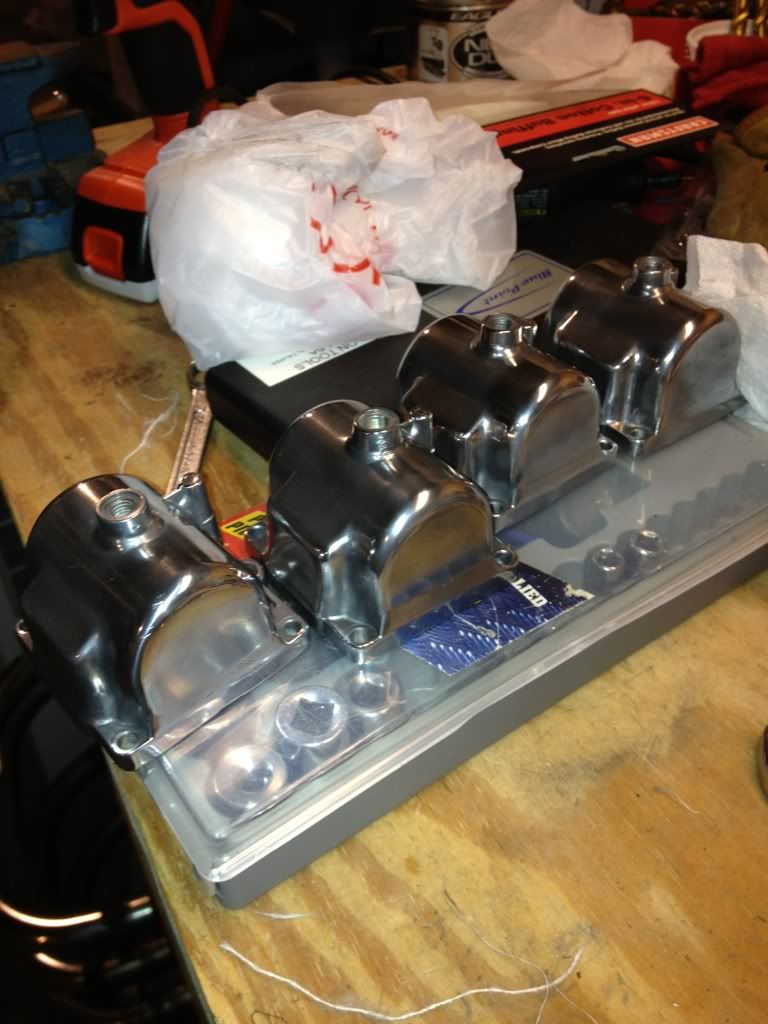
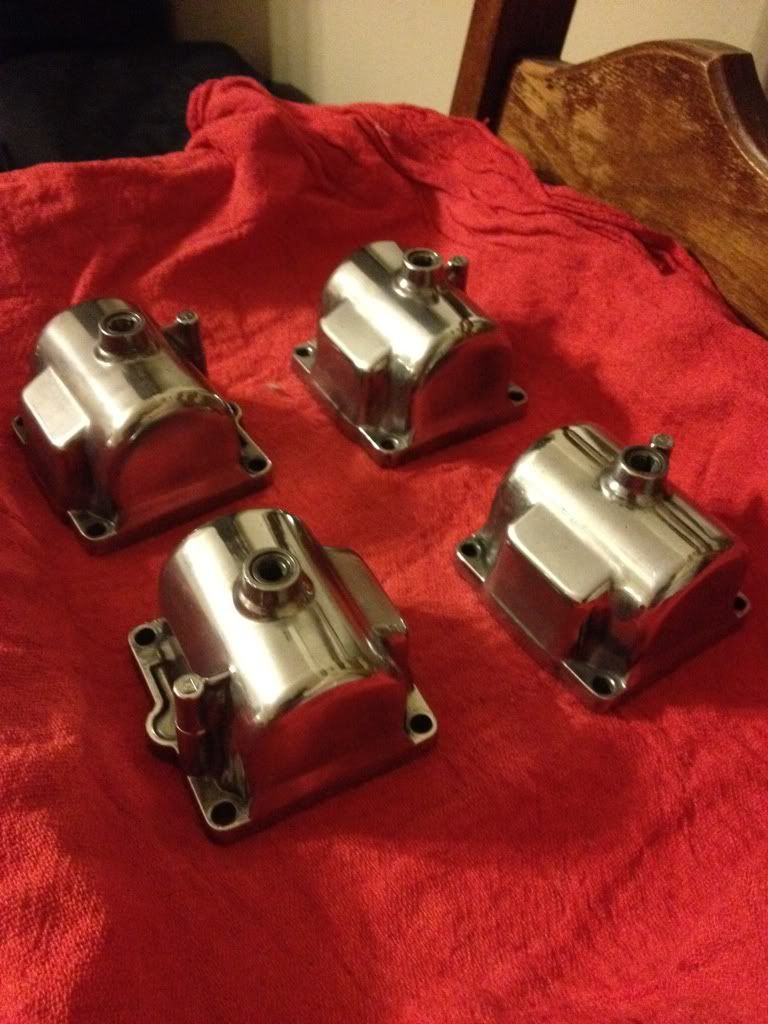
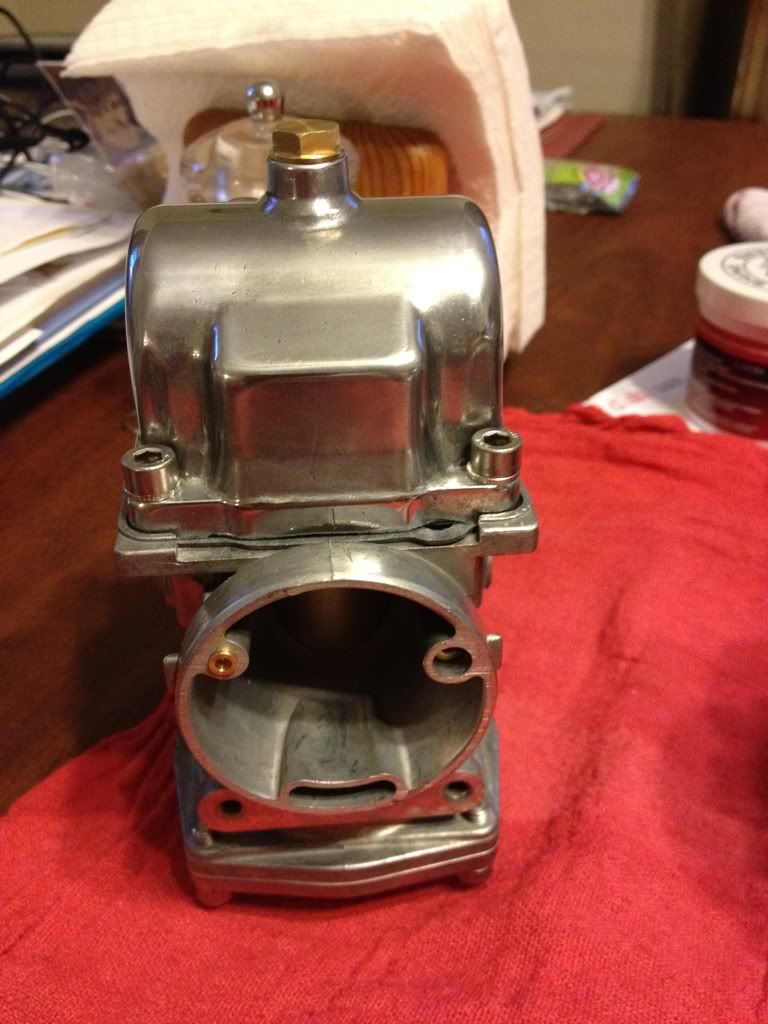
After cleaning the bowls, I checked the float measurements (only 1 was off), replaced the gaskets, and reassembled them with the new allen-head fasteners that arrived last week (plus a little anti-sieze of course).
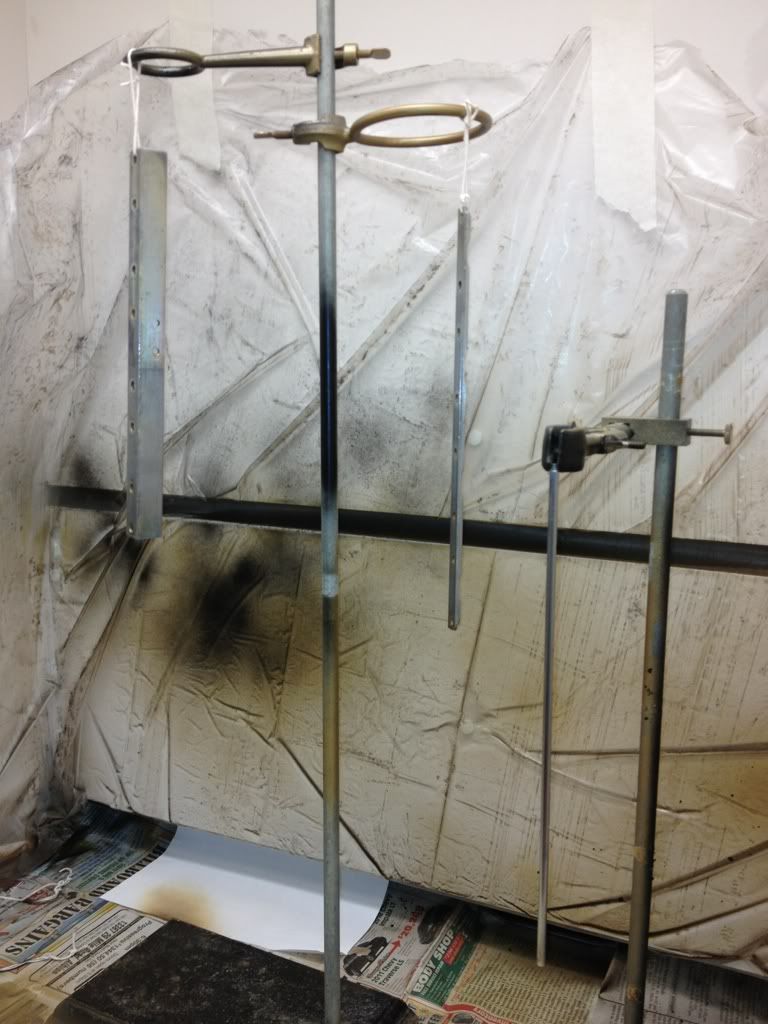
I decided to clean and paint the steel brackets that hold the carbs together. As others have experienced, the clear coat turned yellowish when curing it in the oven. Good thing they’re small parts.
All of the o-rings for the fuel/vent tubes between the carbs were replaced.
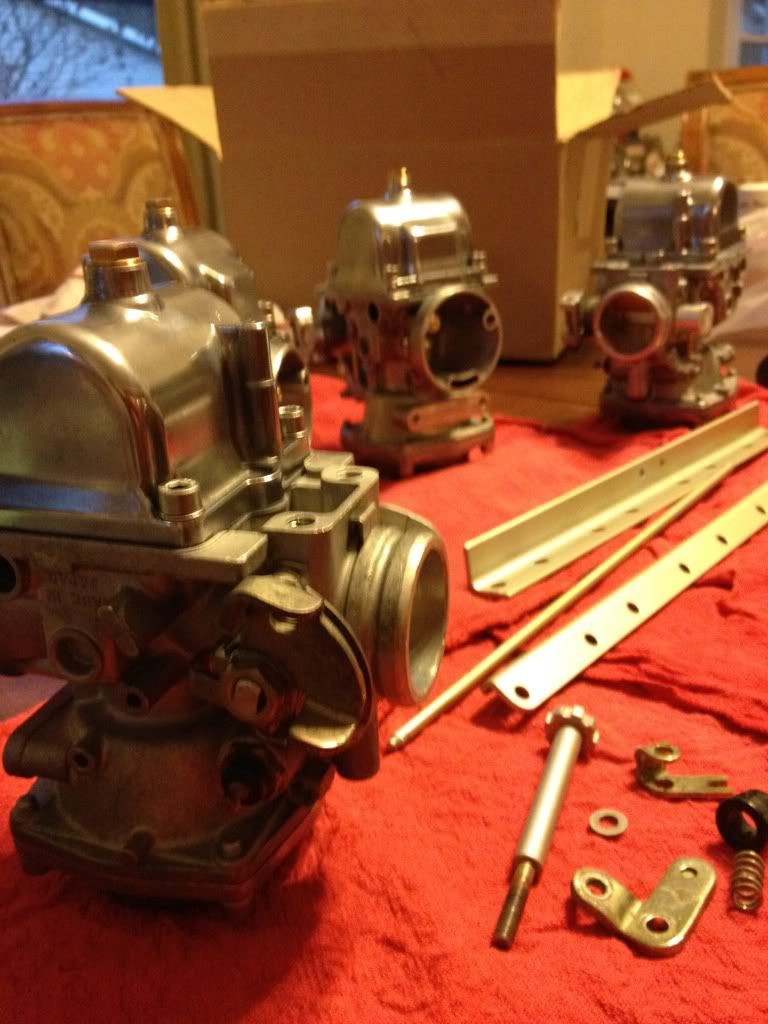
It was a little tricky getting everything lined up properly for reassembly. I didn’t have as many pics as usual because my phone died when I took them apart. Anyway, here are a few pics of the finished carbs. I still need to do a quick “bench sync” but everything seems to function correctly. I also need to check over and clean up the rubber intake boots. Although I have a lot to pick from (2 sets) most of them are pretty beat up and clogged with all sorts of sealants (in place of the correct o-rings, which I have), so I might end up replacing one or two ($$$). We’ll see.
Carb bank!
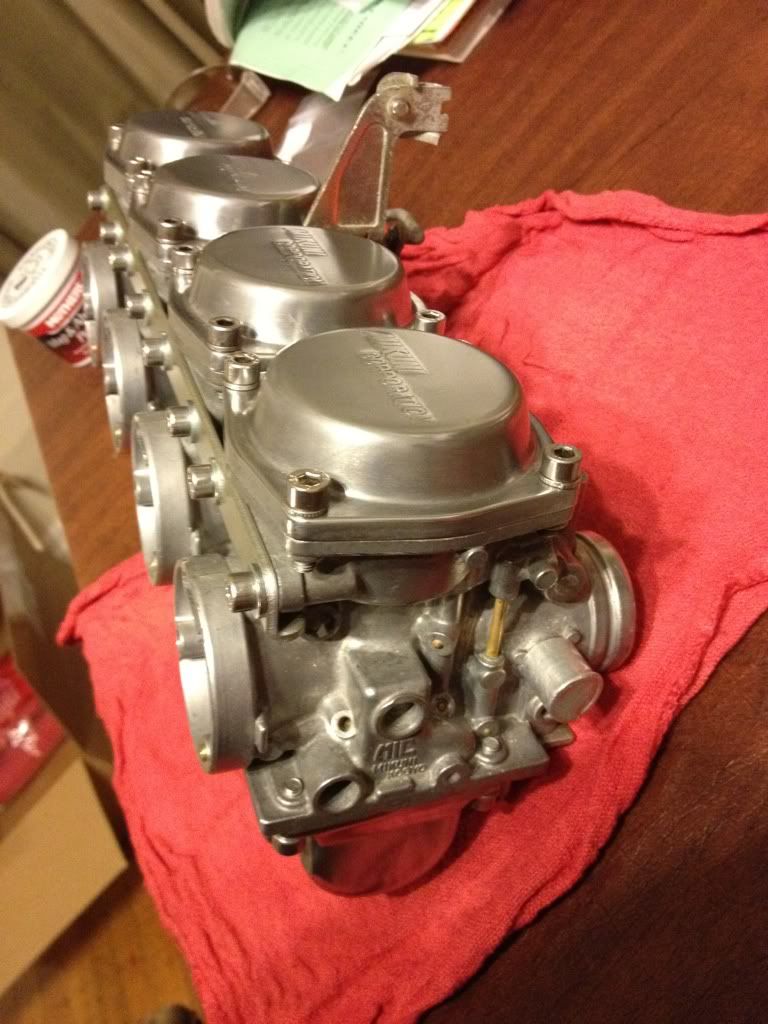
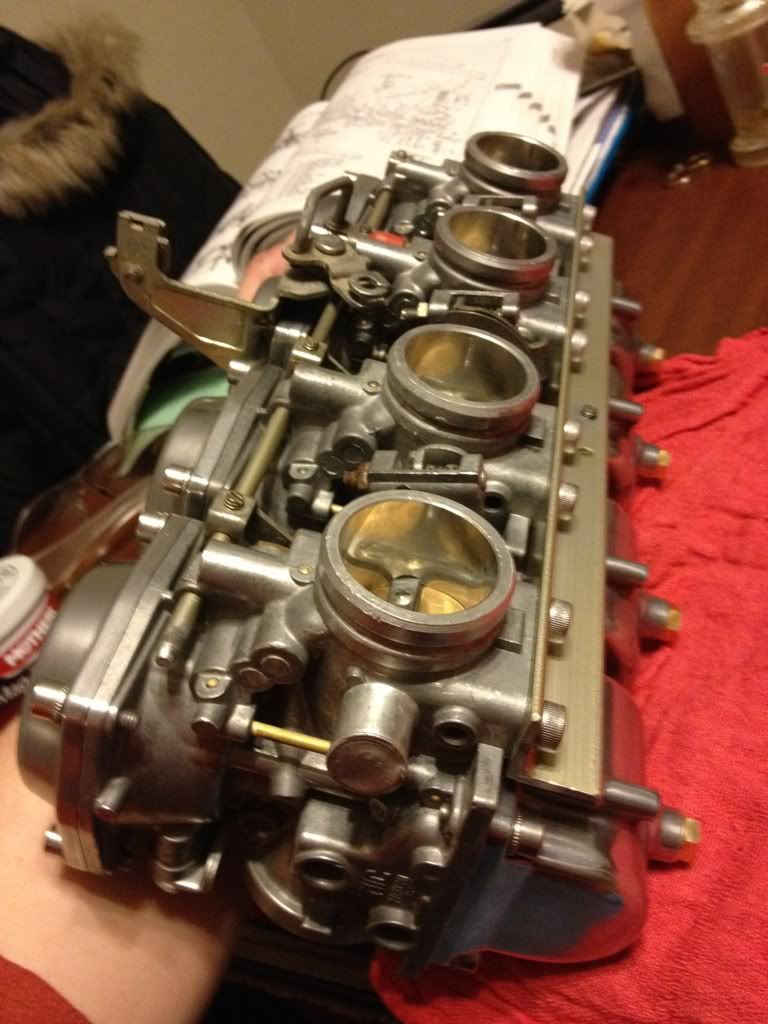
----
On Wednesday I took my tubing to a local fabricator to have it bent for the rear seat hoop. I should have it back this week. I’m looking forward to fabricating the new battery/electrical holders. I’m definitely in over my head with this stuff, but I’m sure I’ll learn a lot.
----
I spent some time scraping off more engine gaskets off this week. I’m still working on the old valve cover gasket, which is glued to the head and needs a few more hours of gentle scraping.
----
The cylinders are almost ready for paint. I just need to give them a final cleaning (after removing the base gasket they got all dirty again). Then I’ll wipe them down with acetone and then shoot them with engine primer and black. Can’t wait!
----
I dug out my spare cam chain tensioner and pile of tensioner replacement parts. I might tackle that this week too.
Comment
-
Looks very nice D-Mac. Keep at it.Cowboy Up or Quit. - Run Free Lou and Rest in Peace
1981 GS550T - My First
1981 GS550L - My Eldest Daughter's - Now Sold
2007 GSF1250SA Bandit - My touring bike
Sit tall in the saddle Hold your head up high
Keep your eyes fixed where the trail meets the sky and live like you ain't afraid to die
and don't be scared, just enjoy your ride - Chris Ledoux, "The Ride"
Comment
-
 D-Mac
D-Mac
3/25/2012
It’s been a couple of weeks since my last update, but progress is still creeping along.
I finally got around to getting the rear tube bent for the seat. By buying 2’ of tube myself (matching the dimensions of the stock frame) and having a fabrication company bend it for me, I spent less than $20. Perfect fit too. Since I have an “extra” frame that came with the spare engine, I decided to test fit it to that one first before chopping the “good” one. A couple of pics….
Before….
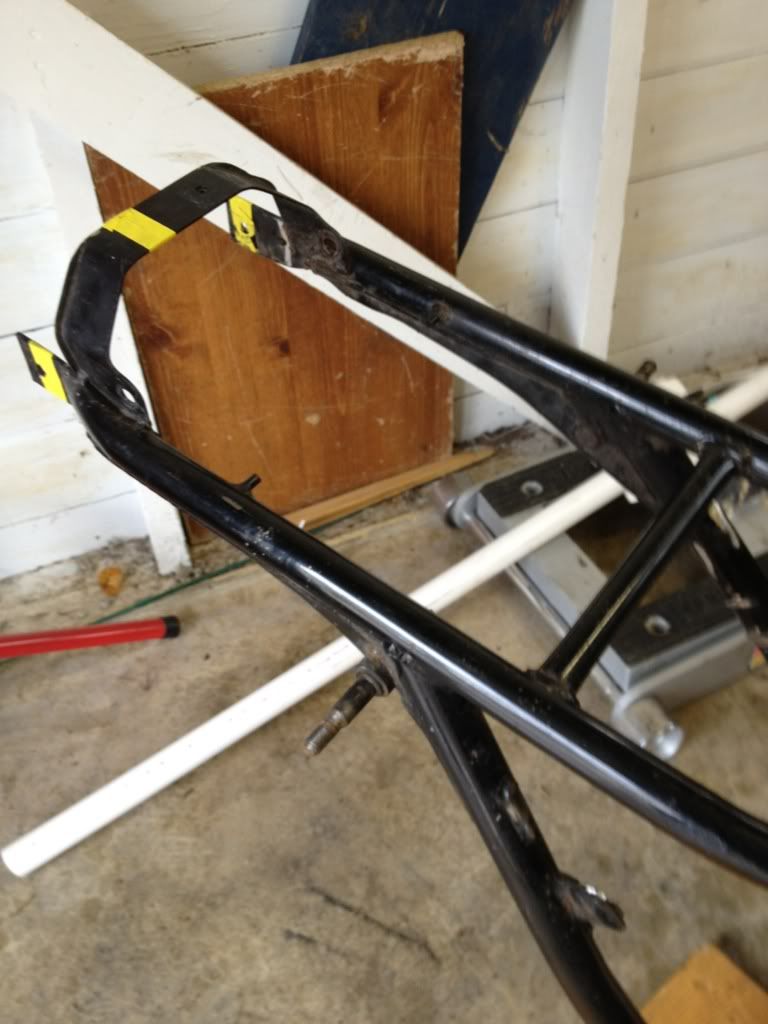
After cutting….
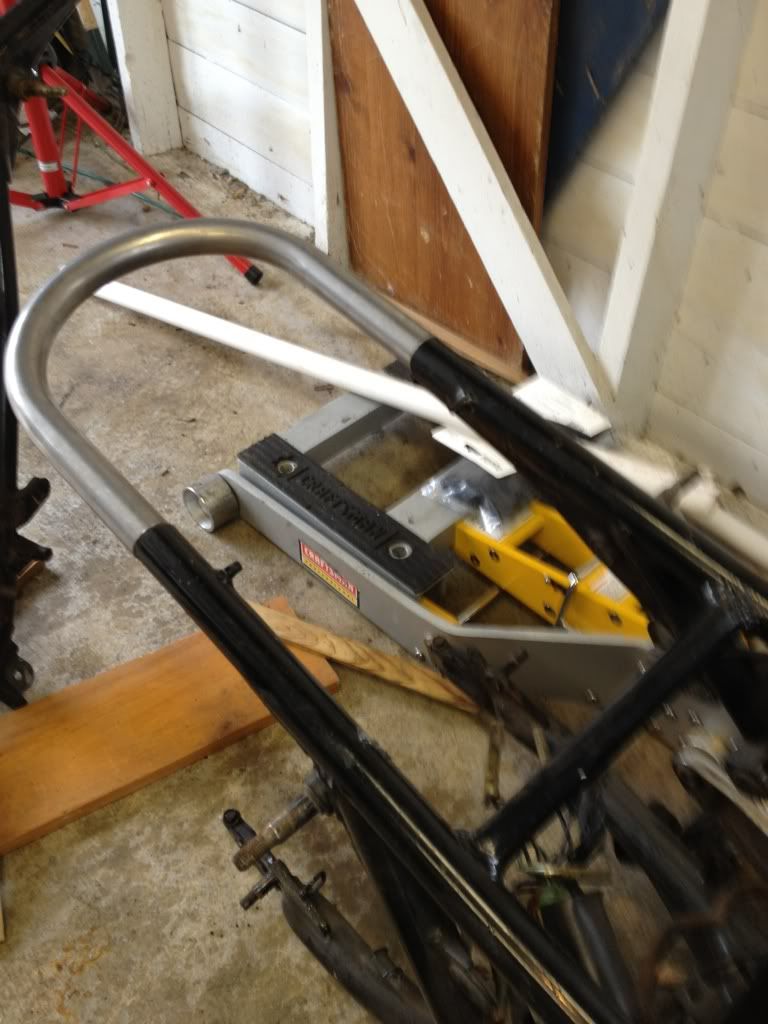
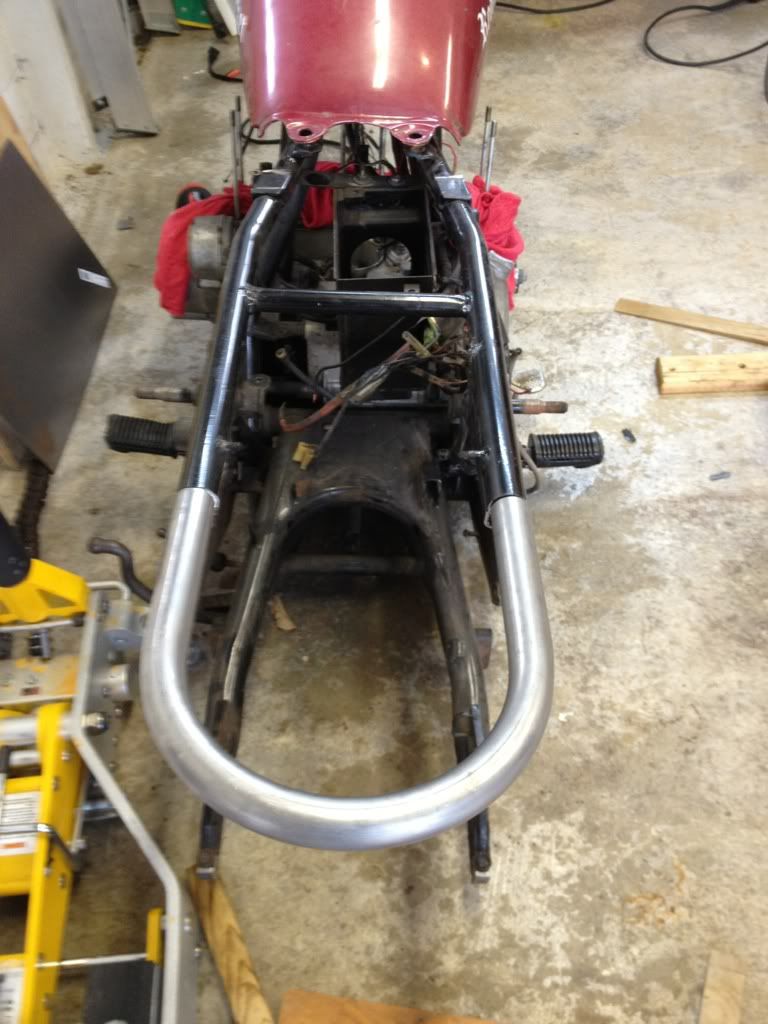
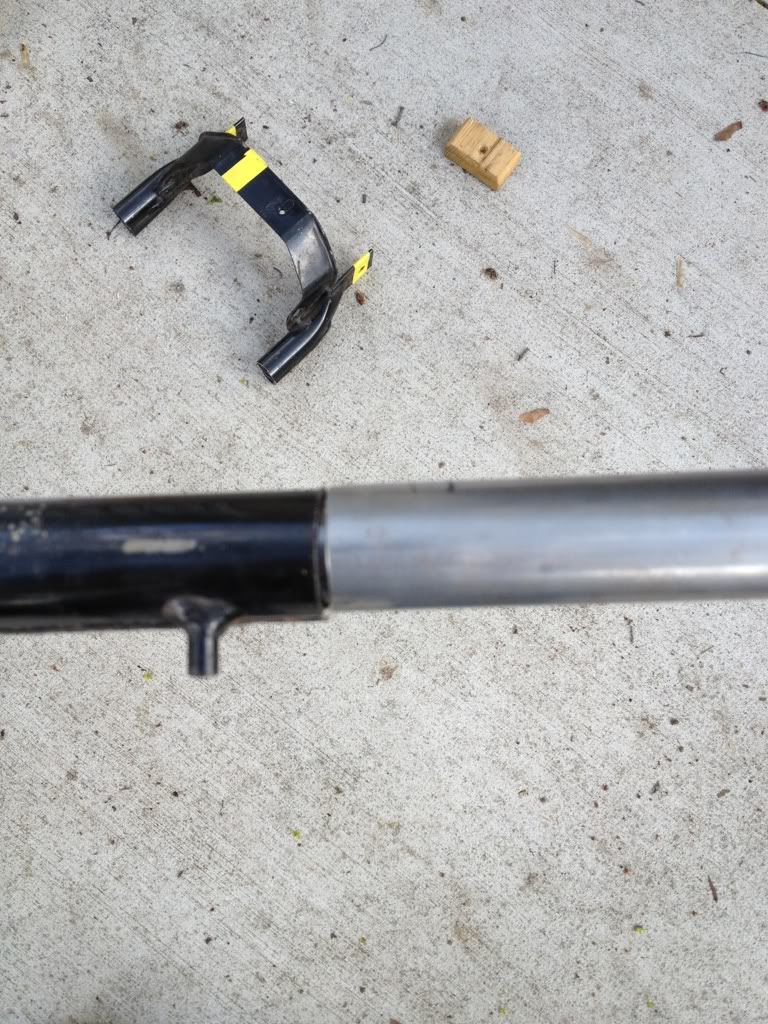
My seat is a very tight fit over the frame and I want part of the frame to be visible, so I cut some wood and figured out that it looks/fits good if I lift the base on the seat about ¾”. I’ll be welding some tubing so that it fits properly and is supported. Then I can just fasten the seat base to the frame. I’ve also cut some sheet metal to enclose the battery under the hump. Here is the actual cut and mocked-up.
More pics. I will be raising the back of the tank up a little so that it lines up better with the seat.
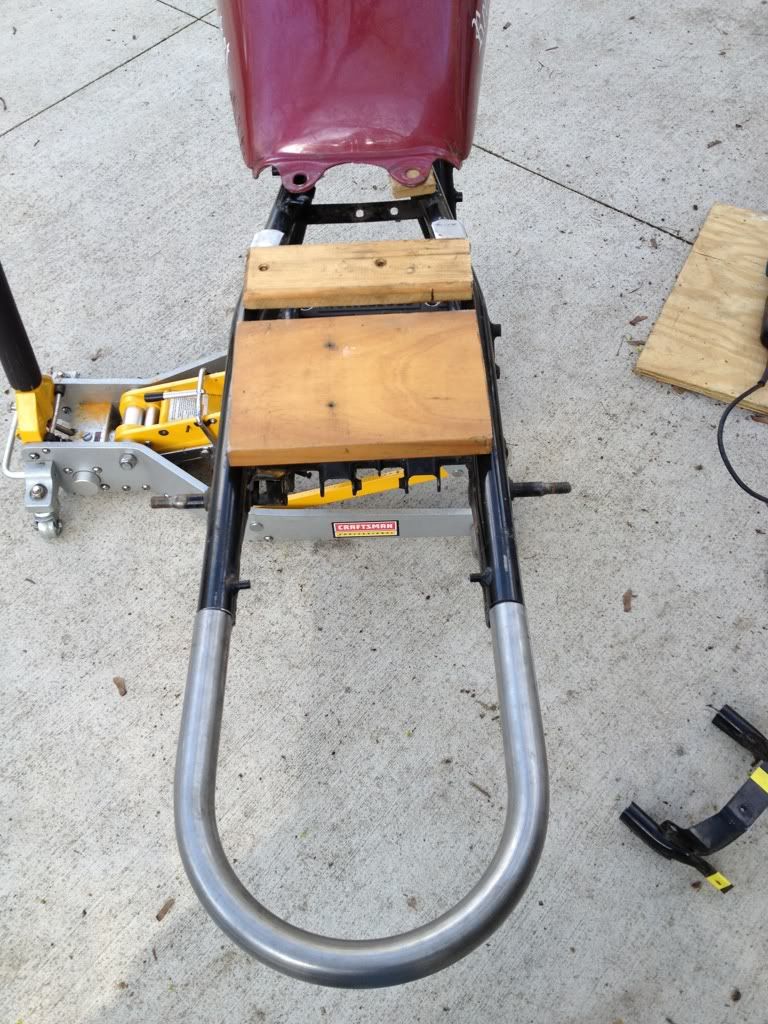
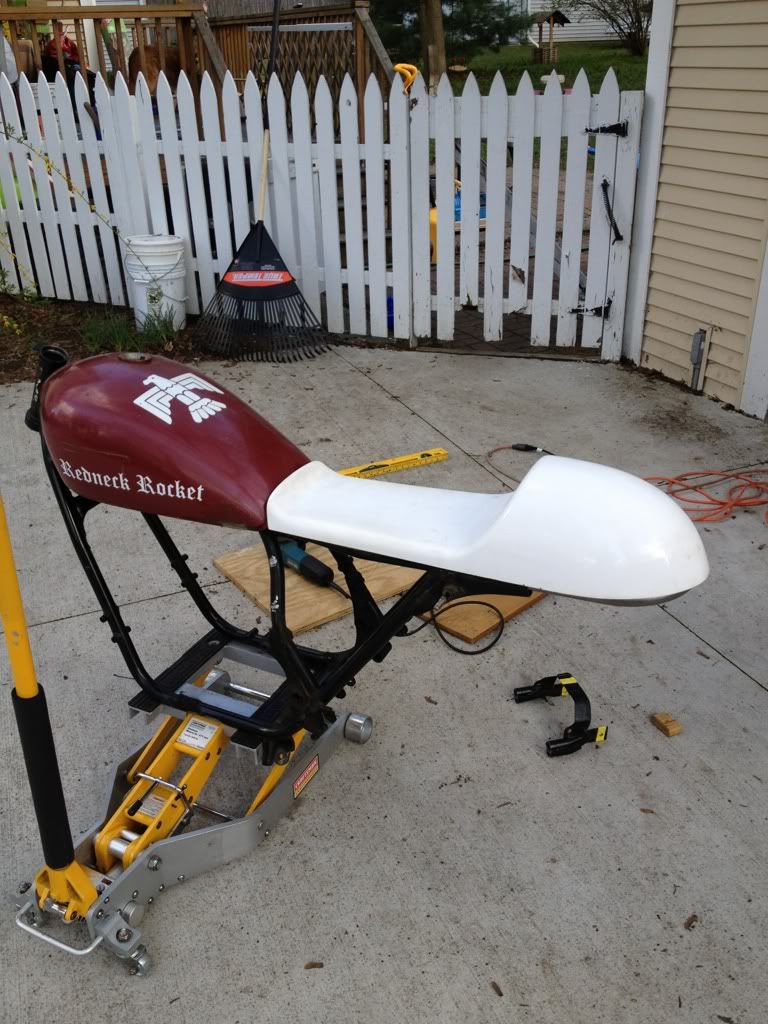
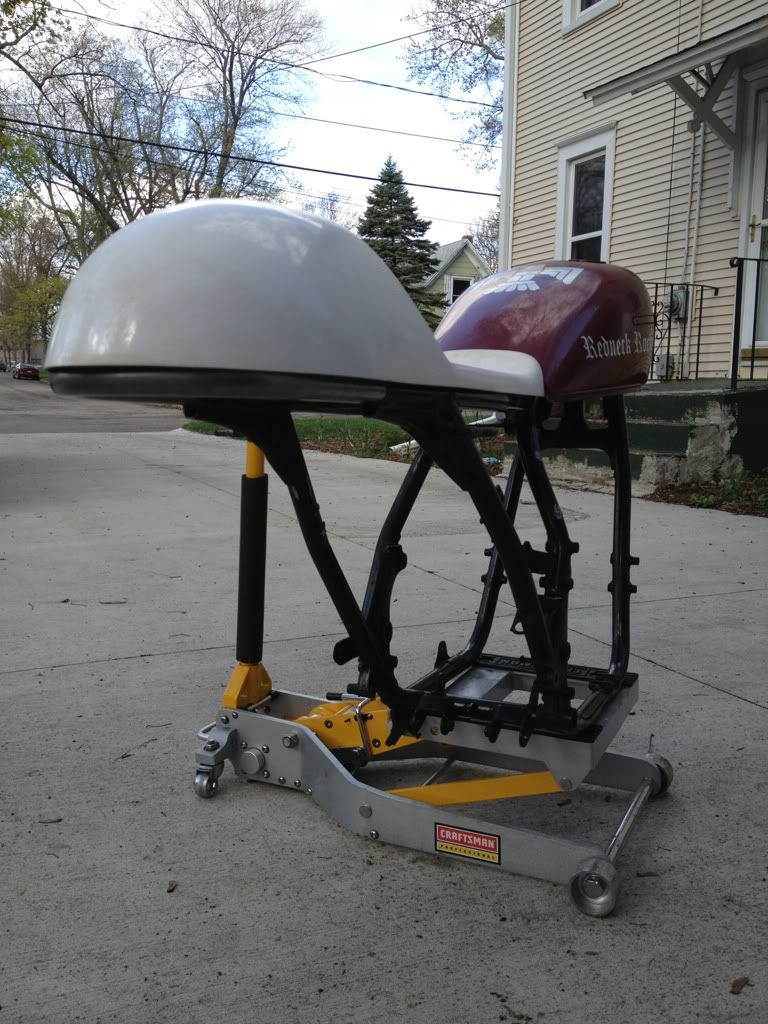
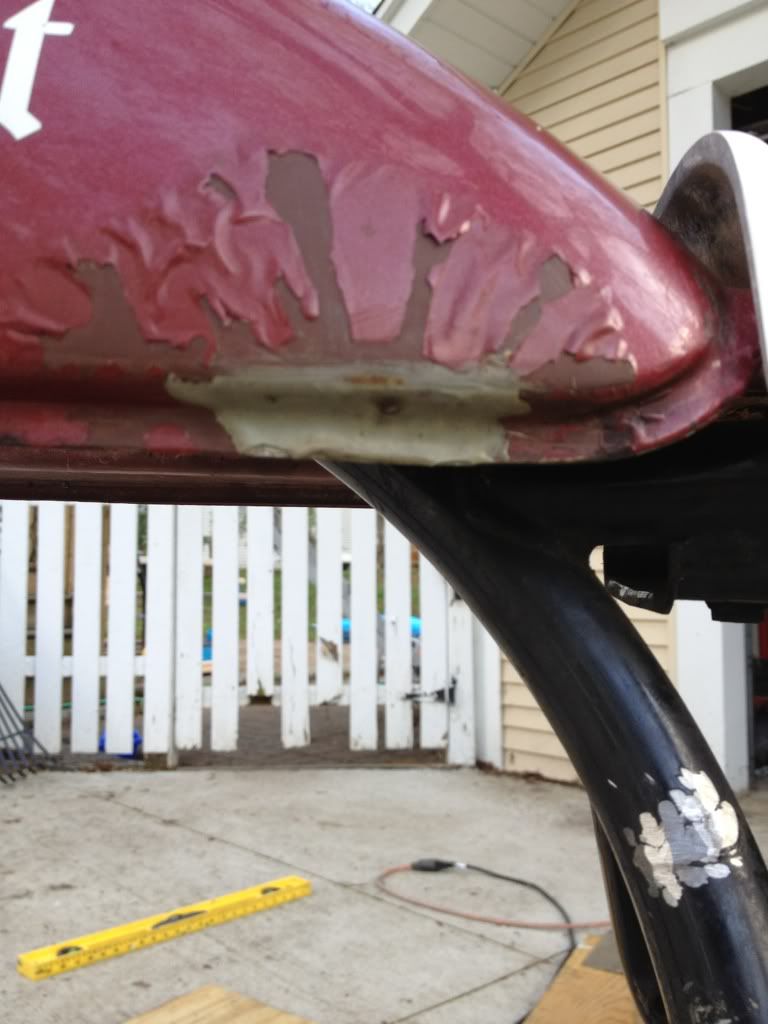
Ugh. Tank must have been leaking. Still gotta tackle that.
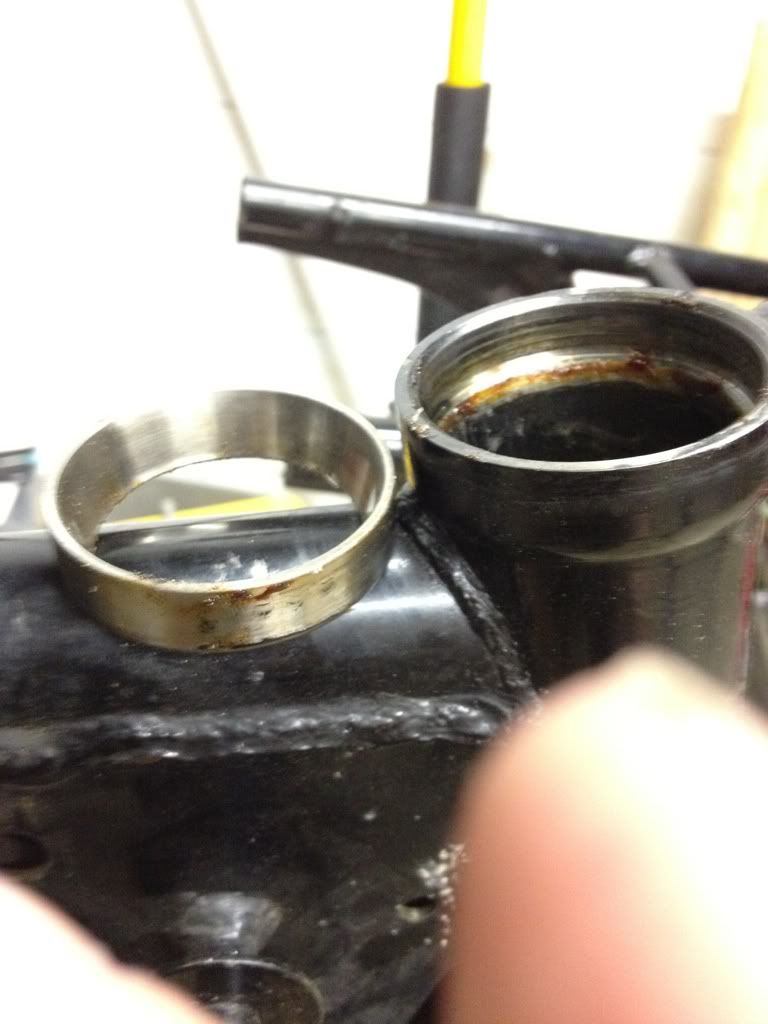
I also managed to drive out the top steering head bearing race, but as some of you know the bottom one is tough to reach. After struggling with a piece of bent threaded rod, I’ve decided to weld a bead around the lower race. If it doesn’t fall out, I’ll at least have something sticking out enough to reach with a drift.
Top race.
I’m planning to TIG weld everything for the frame where I’m taking a welding course. It’ll take a few trips back and forth before it’s done.
I still haven’t painted the top end of the engine yet, but final prep is basically done (one final acetone wipe and I’m ready to shoot). Hopefully this week.
Comment
-
D-Mac, use this tool found in my thread I stole from Flyboy. Works like a champ to get the lower race out.
http://www.thegsresources.com/_forum...=185189&page=4
Sci851982 GS550M Rebuilt Winter '12 - 550 to 673cc engine conversion.
1989 Kawasaki ZX-7 Ninja
2016 Ducati Scrambler Full Throttle
Comment
-
 D-Mac
D-Mac
Thanks! I can't believe that I spent 45 minutes with a piece of bent threaded rod and never thought about this!Originally posted by Sci85 View Post
I'll try it this week sometime.
Comment
-
 DannyMotor
What size bearings are you using on the top? I just need to know the thickness. I'm swapping mine over and need to figure out how wide to get the top bearing. From what I found they make them in 13mm, 14mm and 15mm... but I measured the race seat and it's only about 12mm high.
Comment
.png)
.png)
Comment