Announcement

Collapse
No announcement yet.

82 850GL Resto...here we go

Collapse
X
 
  • Filter
  • Time
  • Show
Clear All
new posts

  • Good Times
    Guest replied
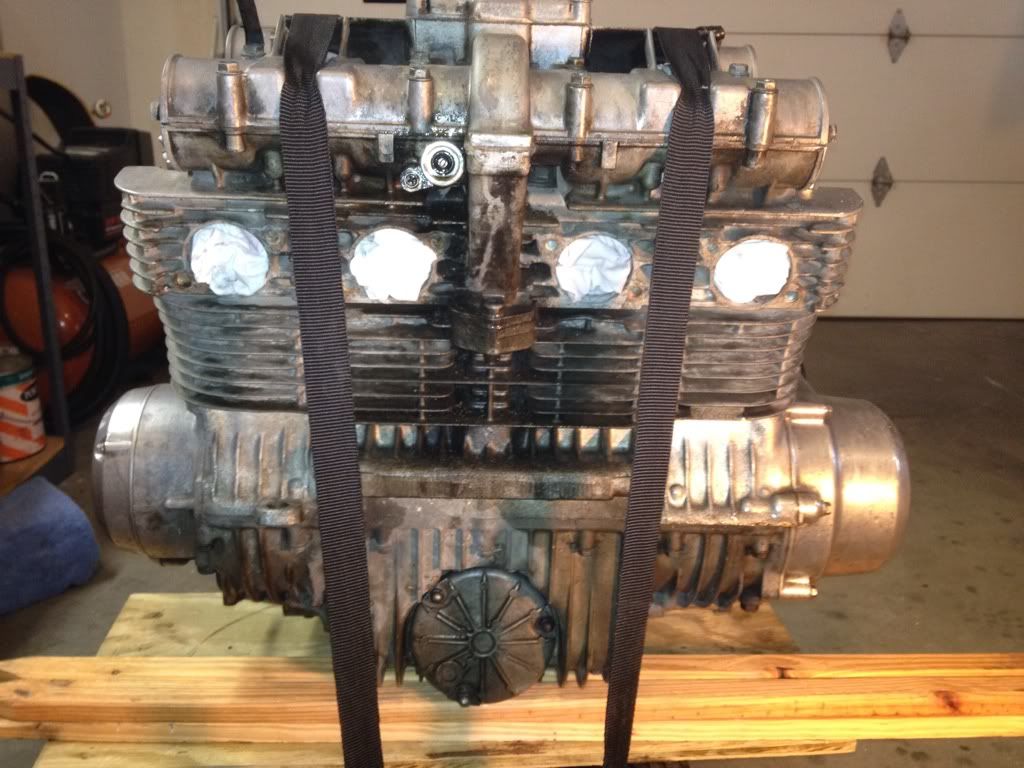
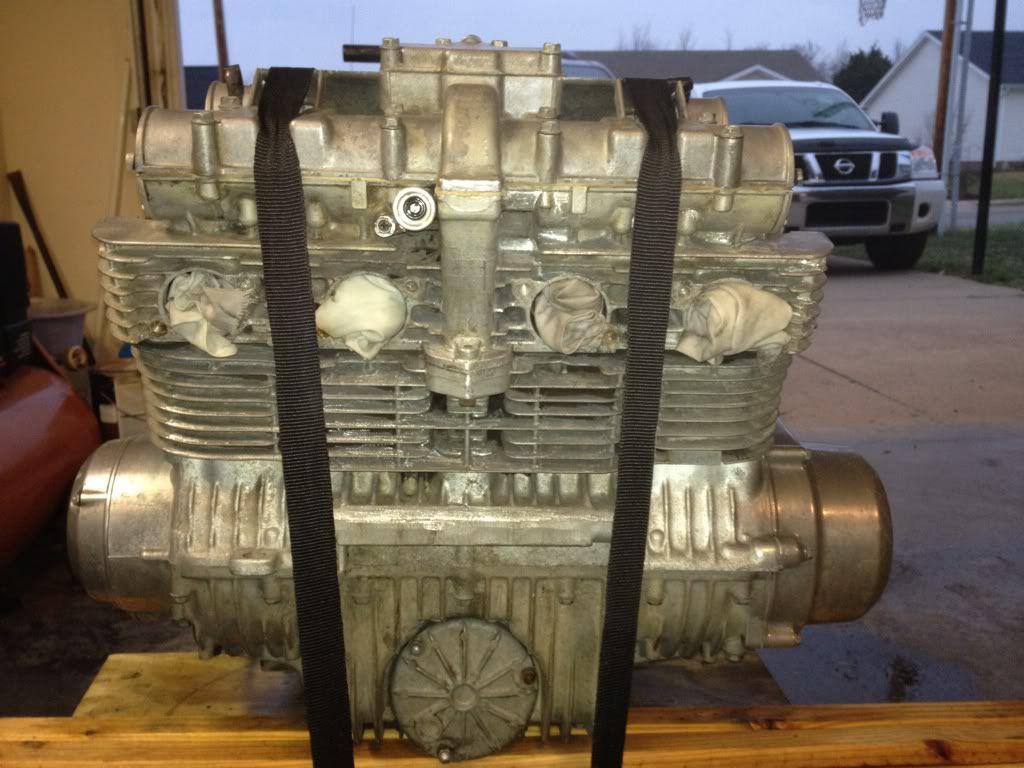
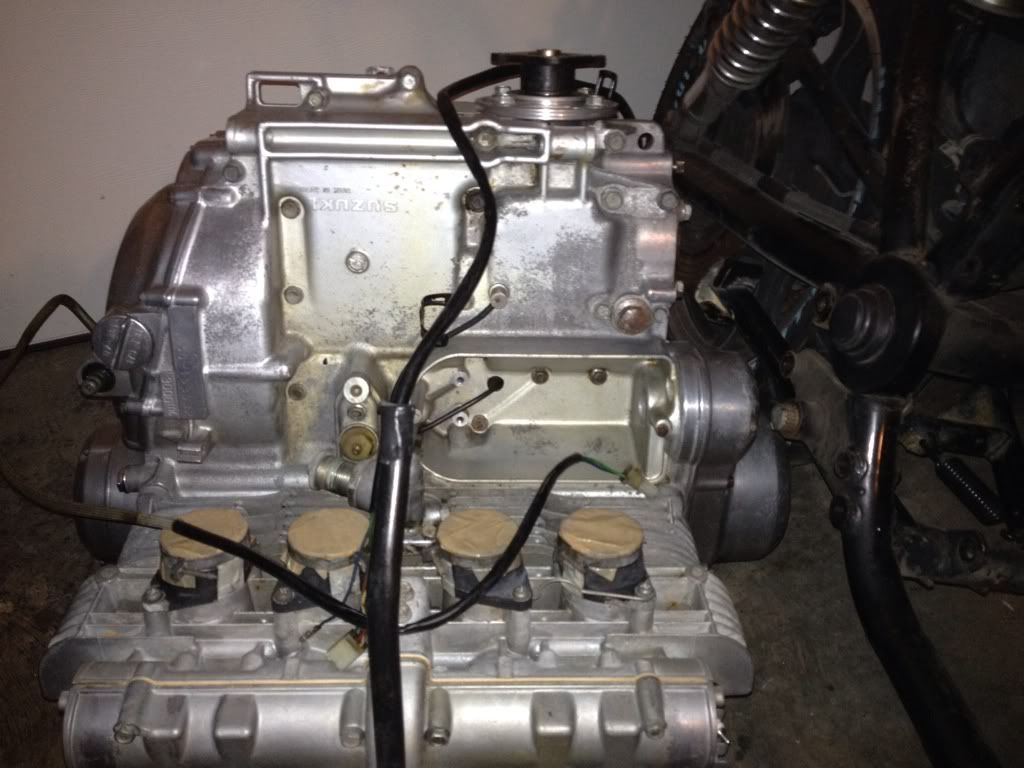
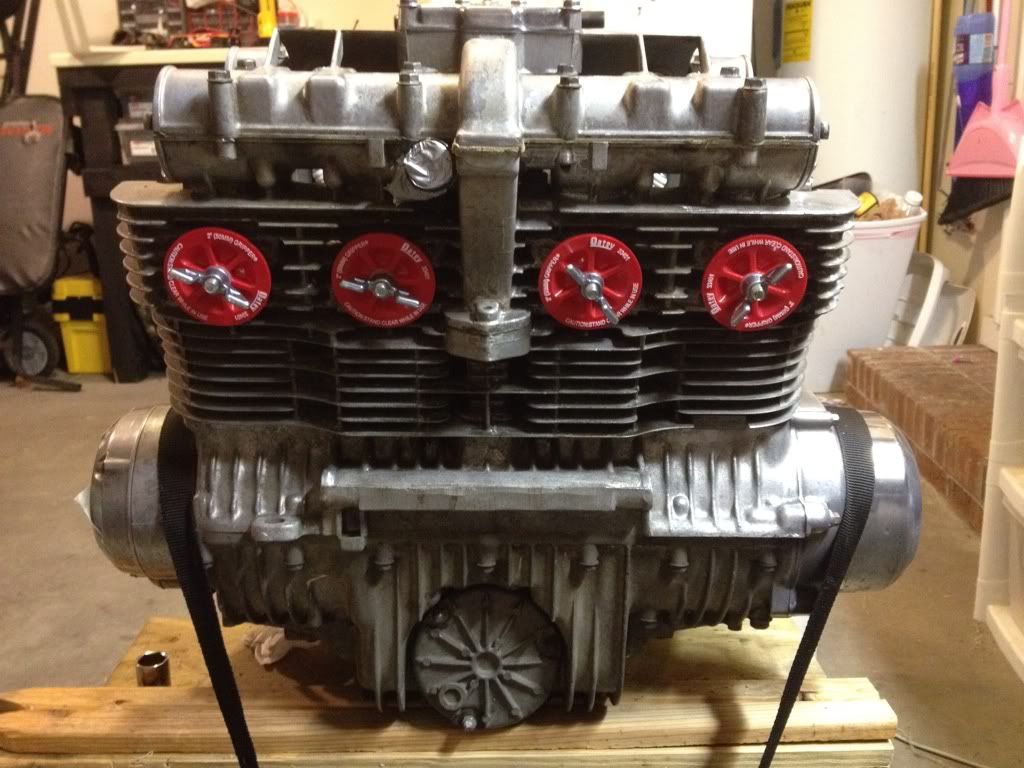
    I think I have her all sealed up and ready for soda blasting tomorrow. Lots of trial and error on finding plugs for the ports. I finally bit the bullet and bought the test plugs. I bought 4 and plan on blasting the exhaust side with them in with the intake ports taped and then switch them when I blast the intake side. I'll have to clean up before the switch, but those plugs aren't cheap.


    Sheetrock anchor wrapped in electrical tape. Tapped it in then put the screw in.
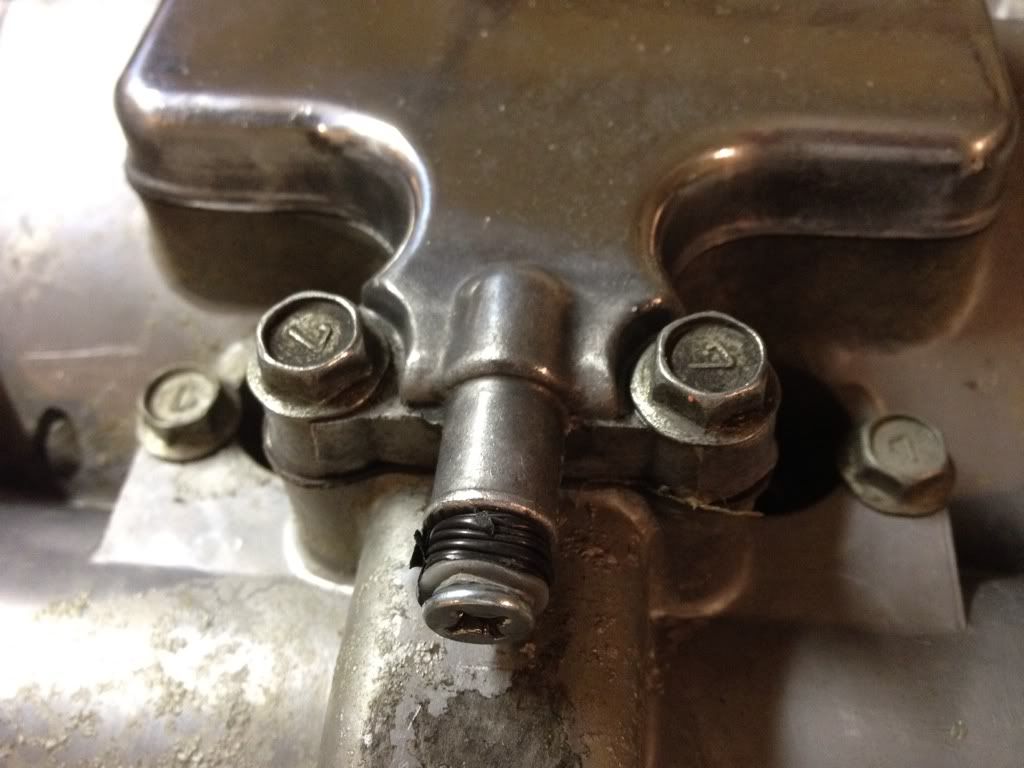

    Ready to go!

    Leave a comment:


  • Good Times
    Guest replied
    Still at it! I've just been posting up in the other forums to tackle some issues. Here's everything in a nutshell.


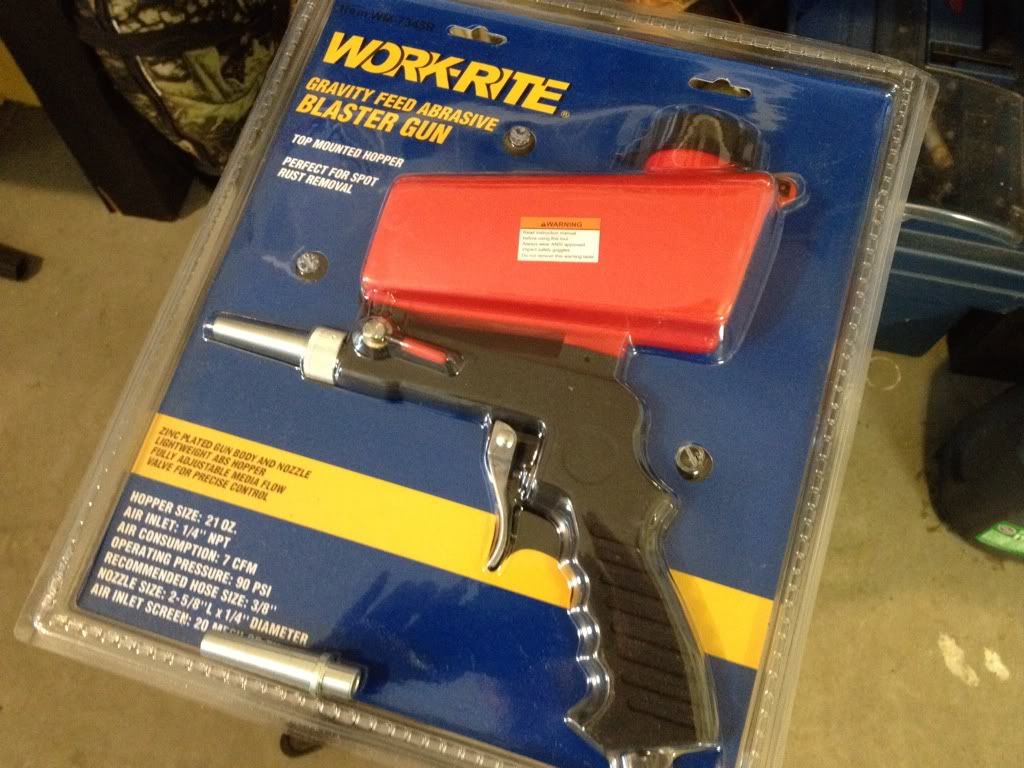
    In the meantime I fixed the tach drive and received this in the mail and will be putting that to good use as soon as I locate the right material to plug my ports.

    Last edited by Guest; 01-29-2012, 03:28 PM.

    Leave a comment:


  • Good Times
    Guest replied
    I haven't fixed it yet. I have the oil band and sleeve but am planning on replacing the case gaskets and fix the tach before I paint it. Just trying to get it clean so I can paint it later. I think I'm about to try some paint stripperr on the motor next. I'd like to get it as close to metal as I can.
    Last edited by Guest; 01-22-2012, 06:23 PM.

    Leave a comment:


  • brslk
    Guest replied
    Originally posted by Good Times View Post
    More scrubbing.....

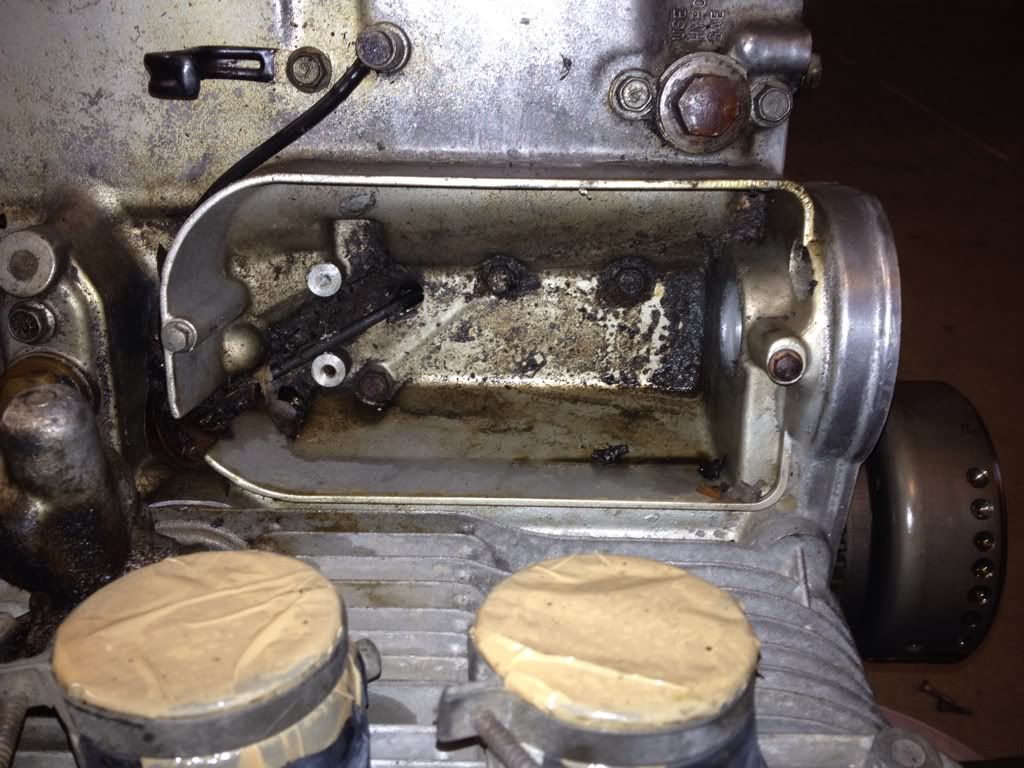
    Started on the front of the motor today, the toughest part. The tach drive had been leaking for a while and all of that oil was baked onto the front of the motor.

    Before (picture doesn't do it justice, it was nasty):


    After:


    I used up a lot of elbow grease today. It's still not like I want it but I am chipping away at it.

    Pretty sore from all the scrubbing. I dropped my spoon full of stew tonight on the table at dinner. Everyone thought that was pretty funny.
    That before pic looks a lot like mine looks. Did you fix the tach drive leak?

    Bruce.

    Leave a comment:


  • downsy
    Guest replied
    It's hard work cleaning of all that baked on crud ! Looking good !

    Leave a comment:


  • Good Times
    Guest replied
    More scrubbing.....

    Started on the front of the motor today, the toughest part. The tach drive had been leaking for a while and all of that oil was baked onto the front of the motor.

    Before (picture doesn't do it justice, it was nasty):


    After:


    I used up a lot of elbow grease today. It's still not like I want it but I am chipping away at it.

    Pretty sore from all the scrubbing. I dropped my spoon full of stew tonight on the table at dinner. Everyone thought that was pretty funny.

    Leave a comment:


  • downsy
    Guest replied
    Thanks goodtimes very enjoyable don't you just love the things you find when you start pulling these old bikes apart !
    I look forward to tomorrows episode !

    Leave a comment:


  • Good Times
    Guest replied
    Here's the next episode Downsy:

    I had about an hour and a half tonight to break out the simple green again. My daughter and I hit it for a little while and had a good time doing so, although she did tell me that the air compressor is too loud.

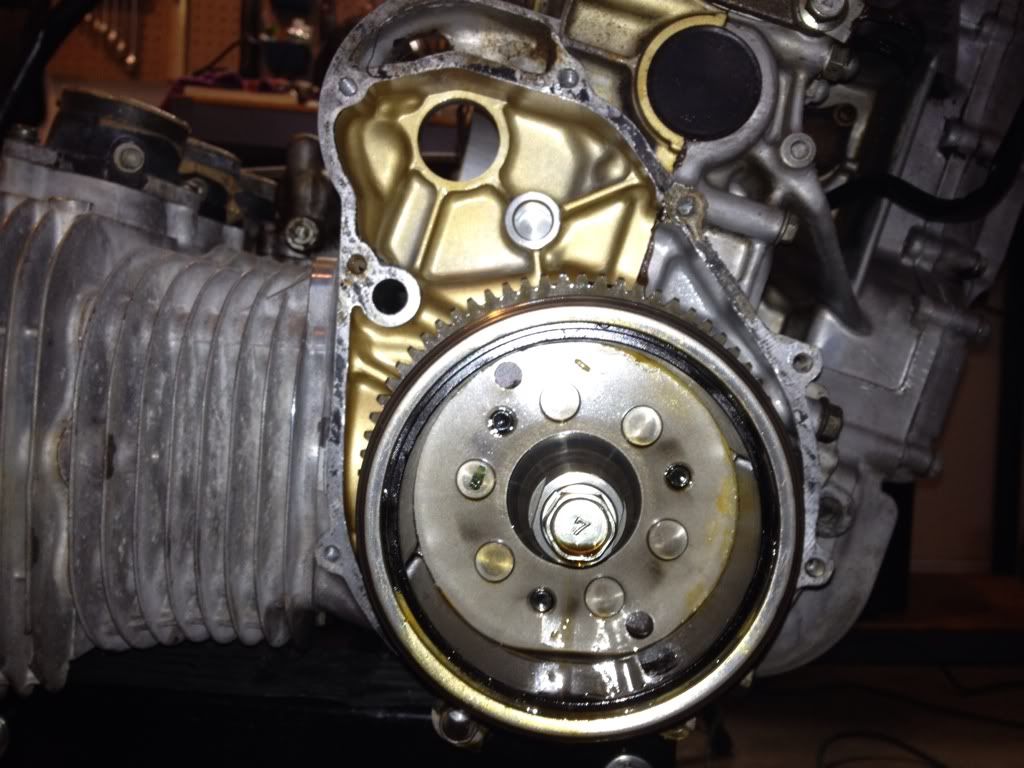
    I removed the starter cover to find leaves around the starter and the space behind the starter. Not that big of a deal other than the fact that I had the number one carb leaking down onto those leaves which were stuffed around the wiring. Smokey the bear always told me that "only I could prevent forest fires" and here I am about to start one.
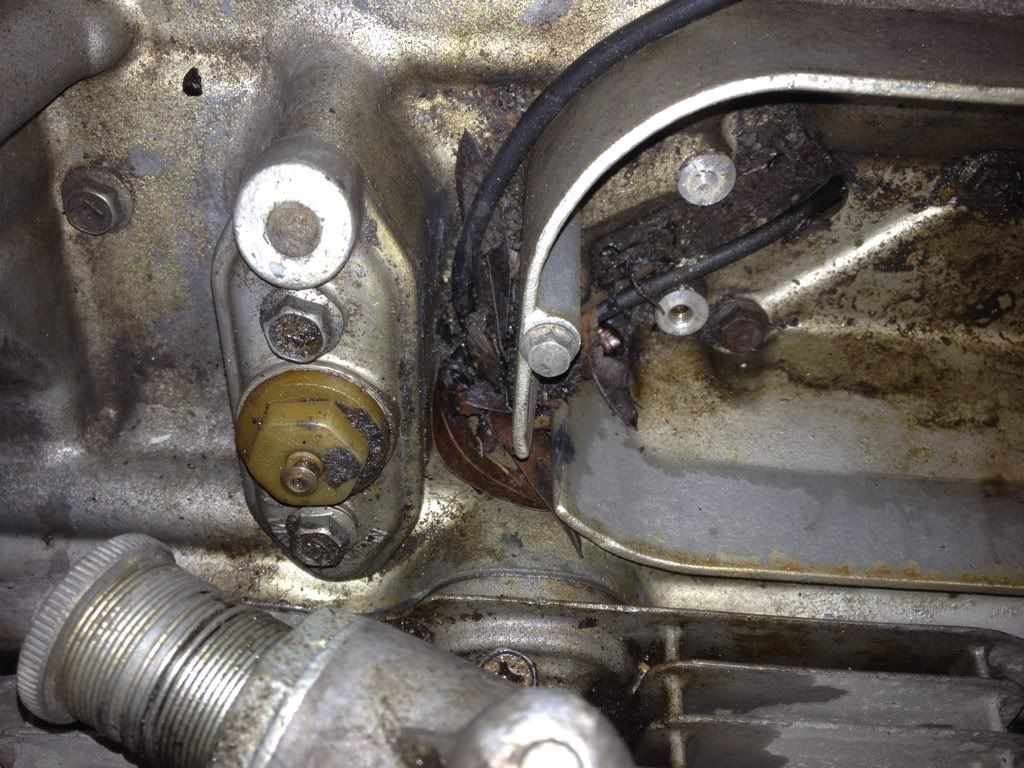
    Here's what it looked like before we started cleaning:


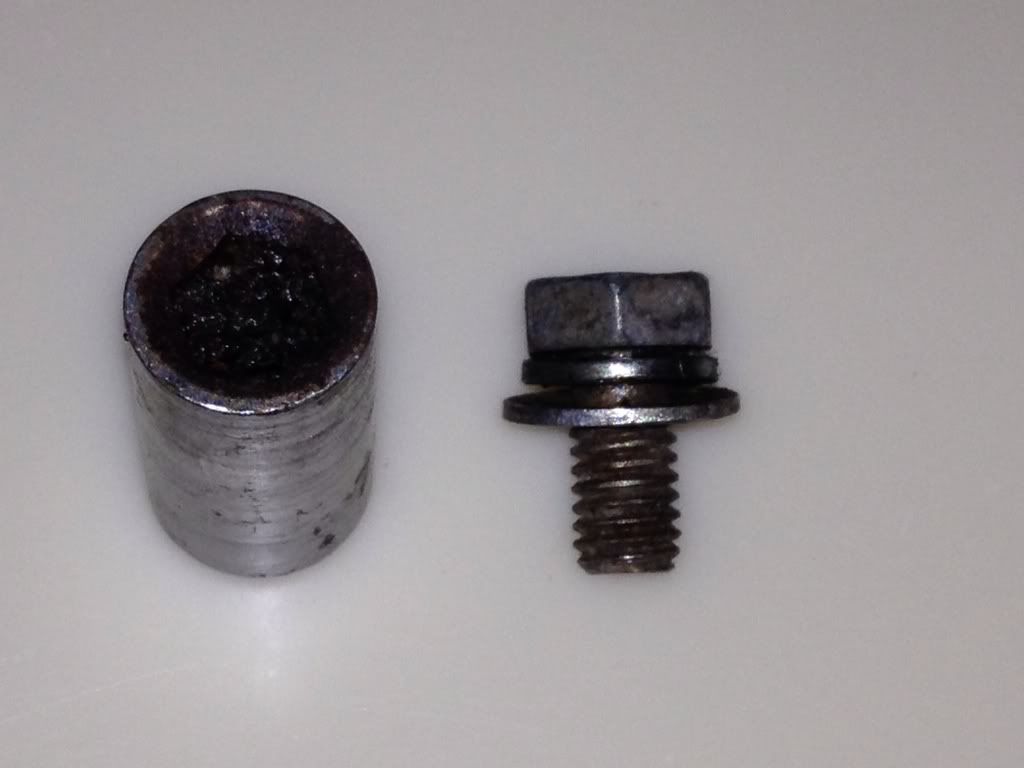
    Once I blew the leaves out I found these in there as well. I am pretty meticulous about labeling every part that comes off so I'm not left with extra parts when I'm finished, but what do you do when you find parts buried under leaves on the crankcase? No fair!

    I found these under the leaves. Socket and bolt. They've been there a long time. The socket is packed with grease and grime.


    I removed the stator. It's fried. Then fashioned a plug for the starter hole in the case. That will allow me to clean without getting water in the crankcase.

    This looked pretty good:


    Before:


    After:


    We're getting there slowly but surely. I've got to start making a parts list. Lot's of little things that I need to remember when I go to purchase parts.

    I'll be back at it tomorrow for a little while. Until then...

    These are the days of our lives.

    Leave a comment:


  • pete
    replied
    Mate that's looking nice and clean

    Leave a comment:


  • downsy
    Guest replied
    Greetings from down under , I am enjoying your rebuild soapy with pictures very much
    Reminds me how much hard work it is to pull the thing apart, and even harder to put it back together, always have some bolts left over !
    Well done on the job so far and look forward to your future episodes

    Leave a comment:


  • Good Times
    Guest replied
    So tonight we started the Simple Green clinic. His and hers bottle brushes and we were all three off to the races.


    We just concentrated on the back of the crankcase and the oil pan. I think we got off to a good start.


    Best part of the night was hanging out with the kids. Had some good conversations around that 30 year old grease ball of a motor.

    Good Times

    Leave a comment:


  • pete
    replied
    Nicely done on getting that float bowl sorted! I thought you'd have to source another one for sure but that's a much better solution

    Leave a comment:


  • Good Times
    Guest replied
    Originally posted by Sci85 View Post
    Good job Goodtimes. Feels good to have a good day wrenching huh? You get to ride some beautiful roads over there in KY. And yeah, next time you try and wrestle an engine out like that you have to video it. We could use a good laugh hehe ;-)
    It truly would have been hilarious! I won't be doing that again though. I'll look like pro next time. Going to try to get this project wrapped up so I can ride those roads when it gets warmer!

    Originally posted by GateKeeper View Post
    not sure if you have or have not, but strip down the carbs completely, clean em really good, and get the O ring kit here - http://www.cycleorings.com/

    he has the O rings for the boots as well and some nice SS bolts

    nice progress so fare on your rebuild....
    Yes GK, I have plans to tear them down completely clean them and even check the jetting to be sure it's correct for the pods and 4 to 1 V&H pipe. I will be getting everything he offers at cycleorings.com.

    Leave a comment:


  • GateKeeper
    Guest replied
    not sure if you have or have not, but strip down the carbs completely, clean em really good, and get the O ring kit here - http://www.cycleorings.com/

    he has the O rings for the boots as well and some nice SS bolts

    nice progress so fare on your rebuild....

    Leave a comment:


  • Sci85
    replied
    Good job Goodtimes. Feels good to have a good day wrenching huh? You get to ride some beautiful roads over there in KY. And yeah, next time you try and wrestle an engine out like that you have to video it. We could use a good laugh hehe ;-)

    Leave a comment:

Working...
X