Announcement

Collapse
No announcement yet.

82 850GL Resto...here we go

Collapse
X
 
  • Filter
  • Time
  • Show
Clear All
new posts

  • Good Times
    Guest replied
    Went to Lowes after church and picked up a set of wrenches and some screws to see if I could make one work with the stripped float bowl.

    Back at the Bat Cave:

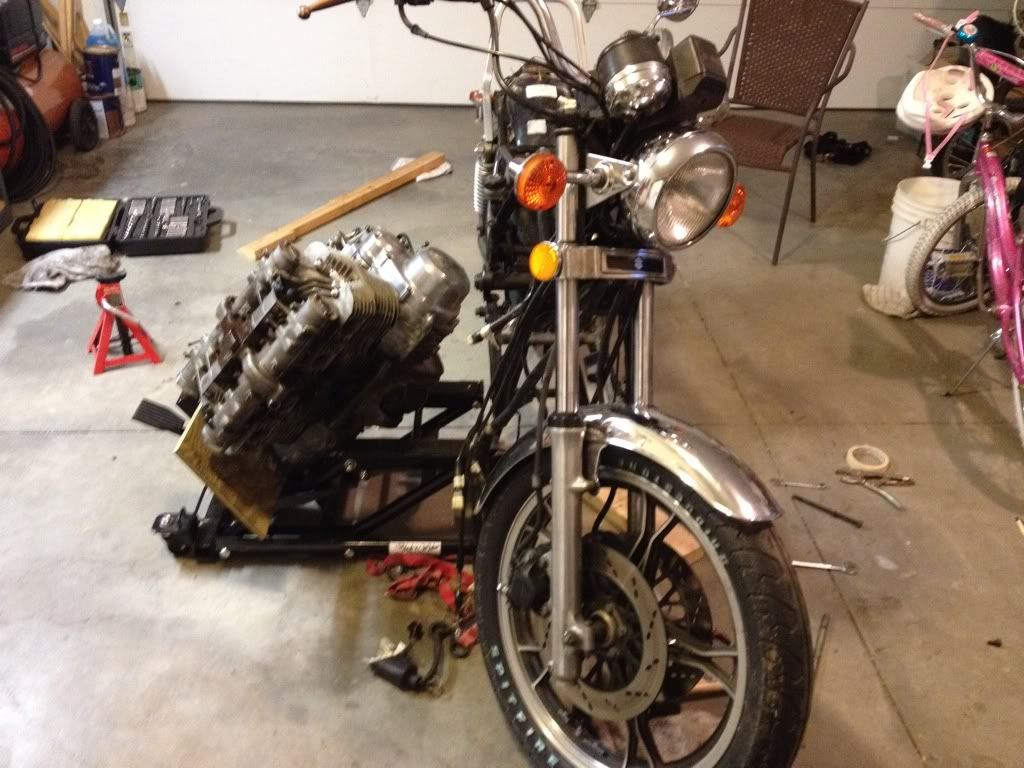
    I should have shot a time lapse video of me trying to get the motor pulled by myself this afternoon. It would have been quite hilarious to reach. I figured hey no sweat, I'll just take the mounting brackets off lay it over and the motor should just slip right out. That did not turn out according to plan. Finally with a little brain power, elbow grease and the right jacks I managed to accomplish this:


    That was the lions share of what I did today. It took alot of trial and error, mostly error, but even a blind hog finds an acorn once in a while.
    It felt good to get that motor pulled. I'll start getting it cleaned up next.

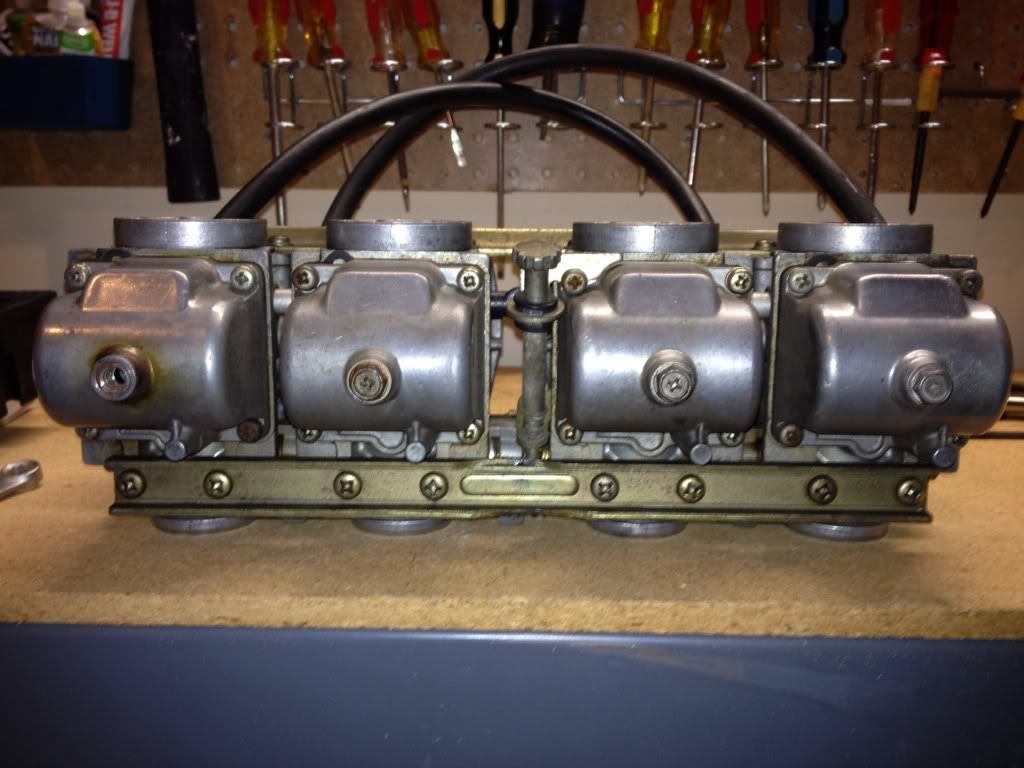
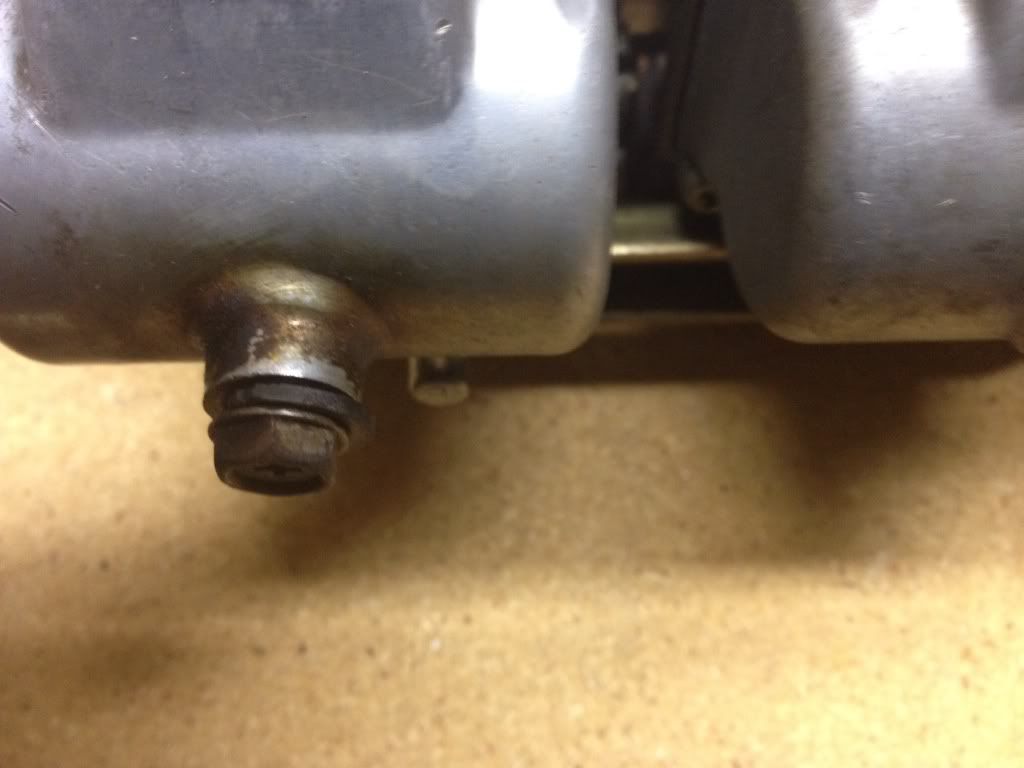
    Next it was on to the float bowl. As you can see in the pic, number 1 is stripped and has been leaking.


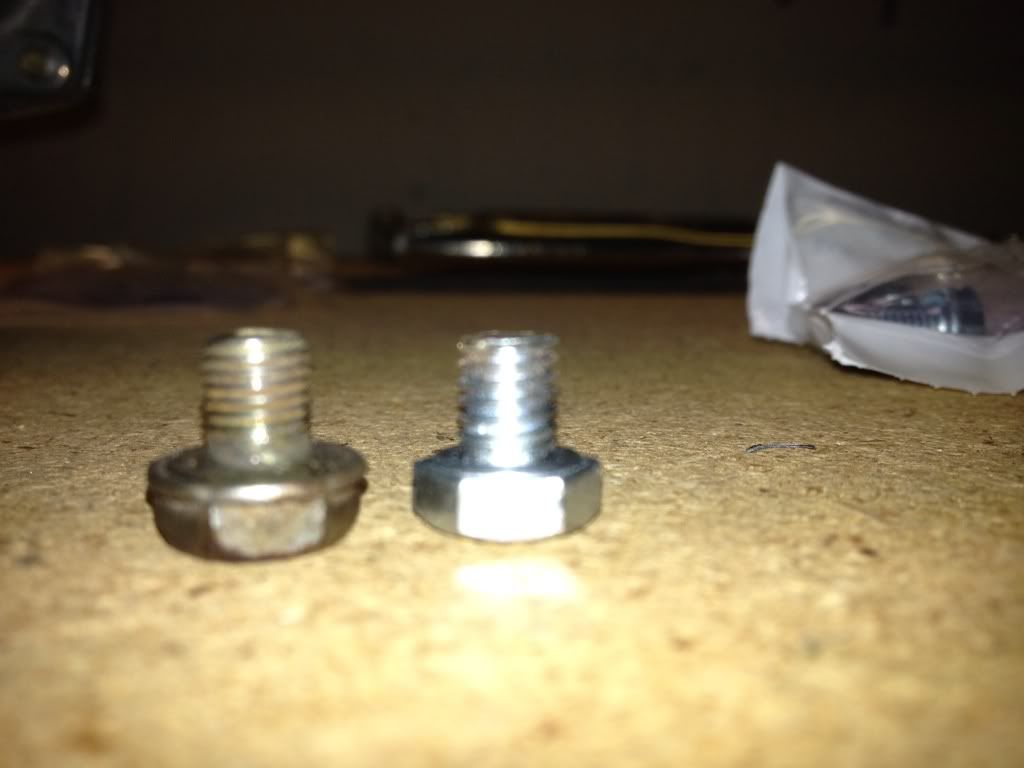
    I could only find 10mm bolts, but a little work on the grinder and I had this:


    The new bolt bit and seems to have worked. Doesn't look perfect, but I don't think anyone will be looking under my float bowl.


    Good day in the garage.

    Leave a comment:


  • Good Times
    Guest replied
    Thanks Pete! It is really great to be able to find what I need when I need it. I'm glad I took the time to get organized.

    After I laid down last night I figured out the clutch cable. Duh, take the other end loose and it should come right off. That was the first thing I did this morning and off it came.

    I spent time today getting electrics off the bike and the wiring harness pulled off the frame. I moved pretty slow with this part of the deal. Trying to be deliberate and learn the bike as I tear it down. I'm labeling anything that isn't obvious and boxing the parts up as they come off. I removed the foot pegs, crash bars, and some other bits and pieces. Drained the oil and gear oil. Learned that instead of replacing the o-ring on the oil filter cap that the shop that changed the oil for the PO use some sort of sealant. Got that cleaned up and will be ordering a new o-ring.

    I was about to pull the motor and got to the drive shaft. I realized that I would need a metric wrench to get the bolts off. That's where I stopped. I'll pick up a set of wrenches tomorrow after church.

    The goal is to get the motor pulled tomorrow. It's coming along.

    Leave a comment:


  • pete
    replied
    Mate I'm just checking your thread out for the first time, good to see you progressing!

    Nice work with the tools, I had the same problem during my rebuild but still haven't done anything about it yet. We're currently doing a spring clean in January so the garage will be done in the very near future, and your wall of tools has given me some excellent inspiration...

    As for the carb bowl, I'd probably get another one as repairing that soft alloy would be a bit difficiult I would think.

    Definitely replace the carb boots on the head too. I thought mine were ok but the difference between them and new ones was night and day. I had to use rubber grease to get the carbs in and out with the old ones, the new ones they just slide right in and seat themselves.

    The rubber shrinks over time, which means hard to get carbs in, and the clamps don't do a good job of clamping.

    Leave a comment:


  • Good Times
    Guest replied
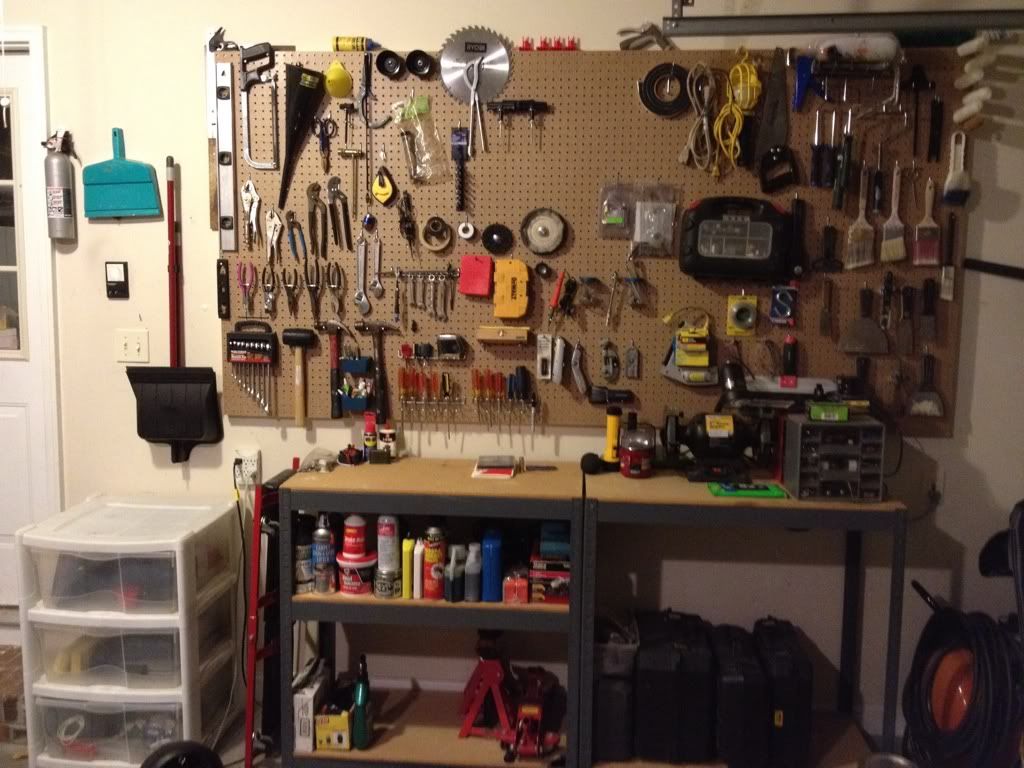
    Haven't posted in a little bit because I've been doing "project support" over the last couple of weeks. I realized quickly that I was spending more time looking for tools than I was working on my bike. So I did this:


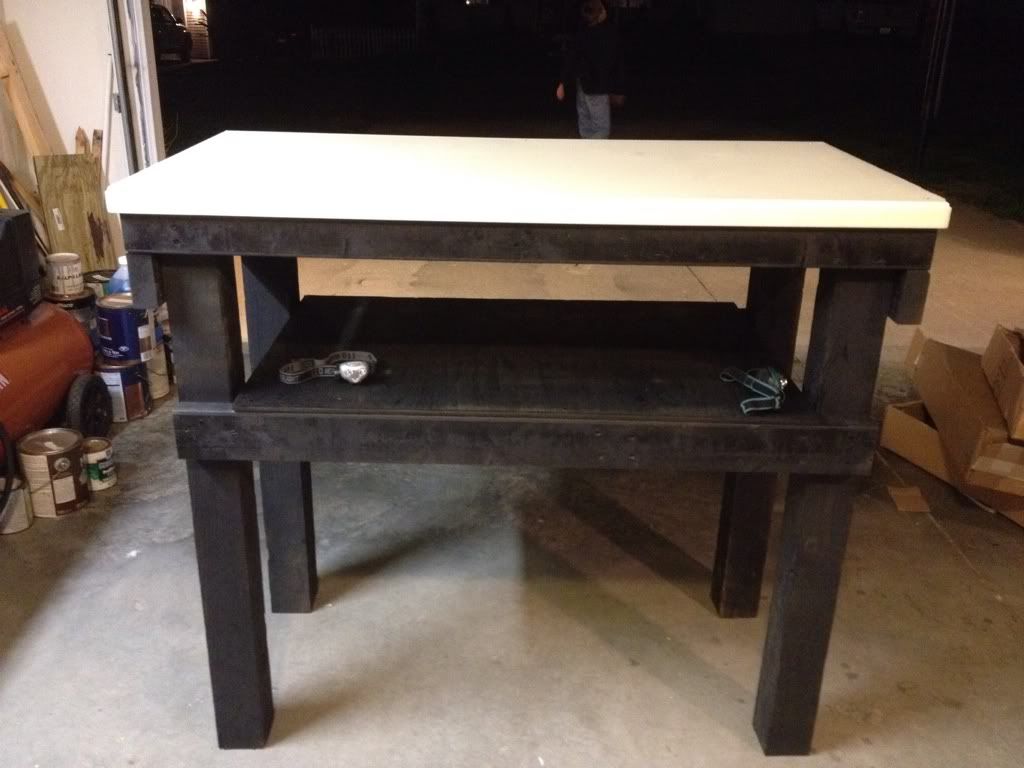
    Then I realized that I didn't have a good place to work on parts like carbs, gauges, and other smaller bits. So I made this:


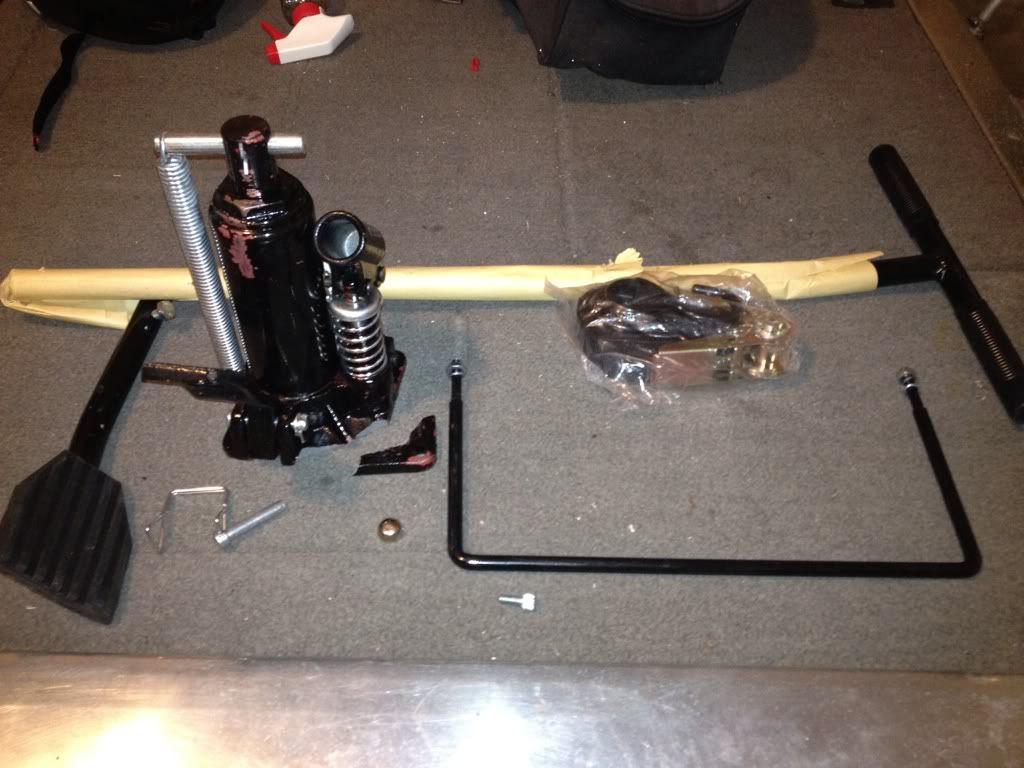
    My wife also let me know that it was time to get her car back in the garage. So I bought a bike jack. Figured it would make easy work of moving the bike around and the motor once I've pulled it. So I purchased one and when it came in the mail the hydraulic ram looked like this:


    I have to take this opportunity to say that the company (discountramps.com) did a phenomenal job taking care of me. This picture was taken at 8:30 at night. I emailed them shortly after and the next morning by 9:00 I had an order confirmation for a new jack in my inbox. I got it three days later and sent the broken jack back today. That's a company that stands behind their product and handles thing very positively. Kudos to discountramps.com!

    So with my new jack, work bench and some other tools (JIS screwdriver set and float gauge) in place, I got back to it this afternoon.

    Removed the windshield.
    Finished labeling the wiring harness.
    Took pictures of everything and some video as well so I have a chance of getting it back together correctly.

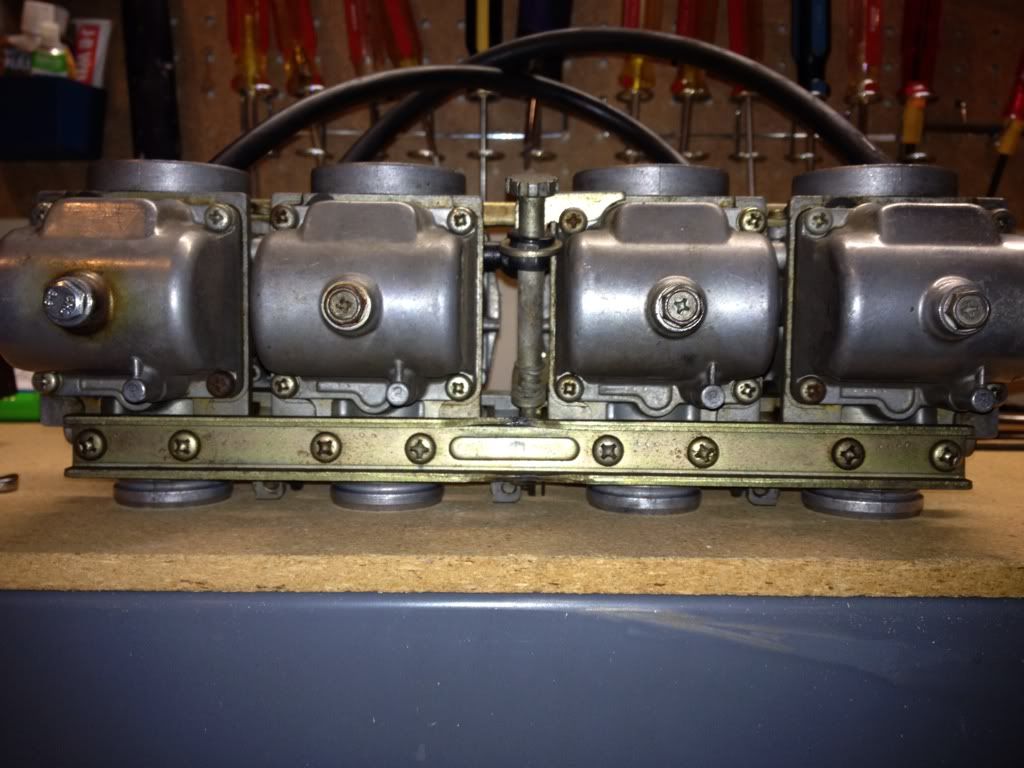
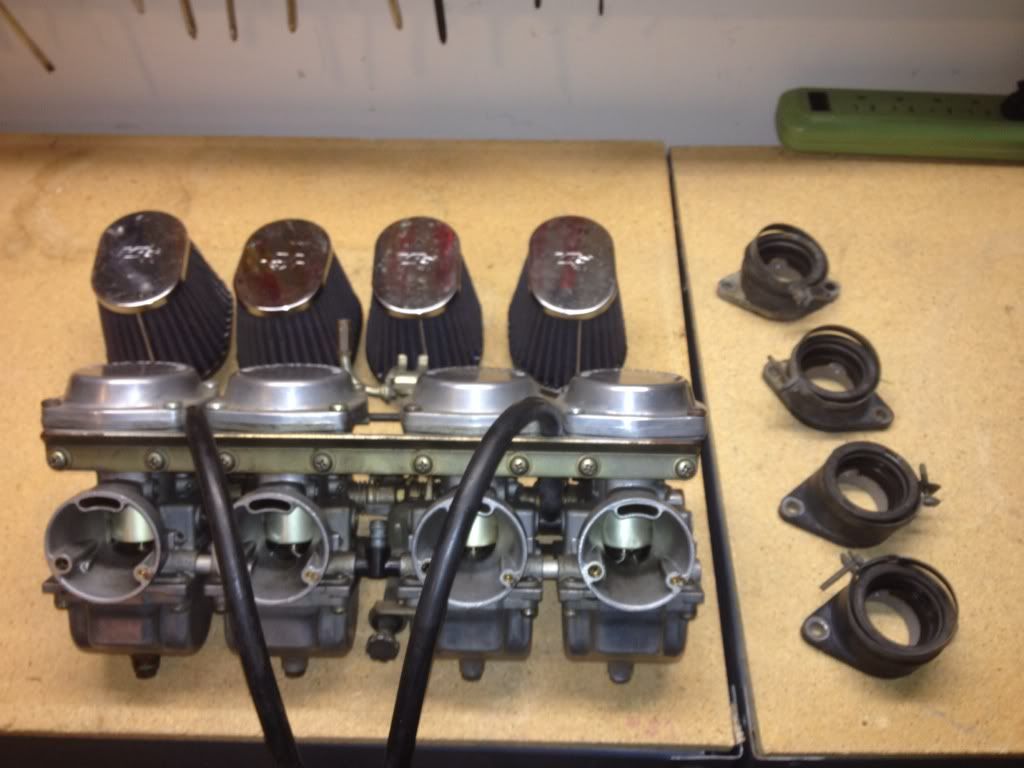
    Then the carbs came off:


    I knew that the #1 bowl had been leaking so I inspected it after removal. I was not pleased to find out that a PO had stripped the screw and just put an additional rubber washer on it. It was just barely hanging in there. The bowl is stripped, not the screw. hmmm.... New bowl our bigger screw?


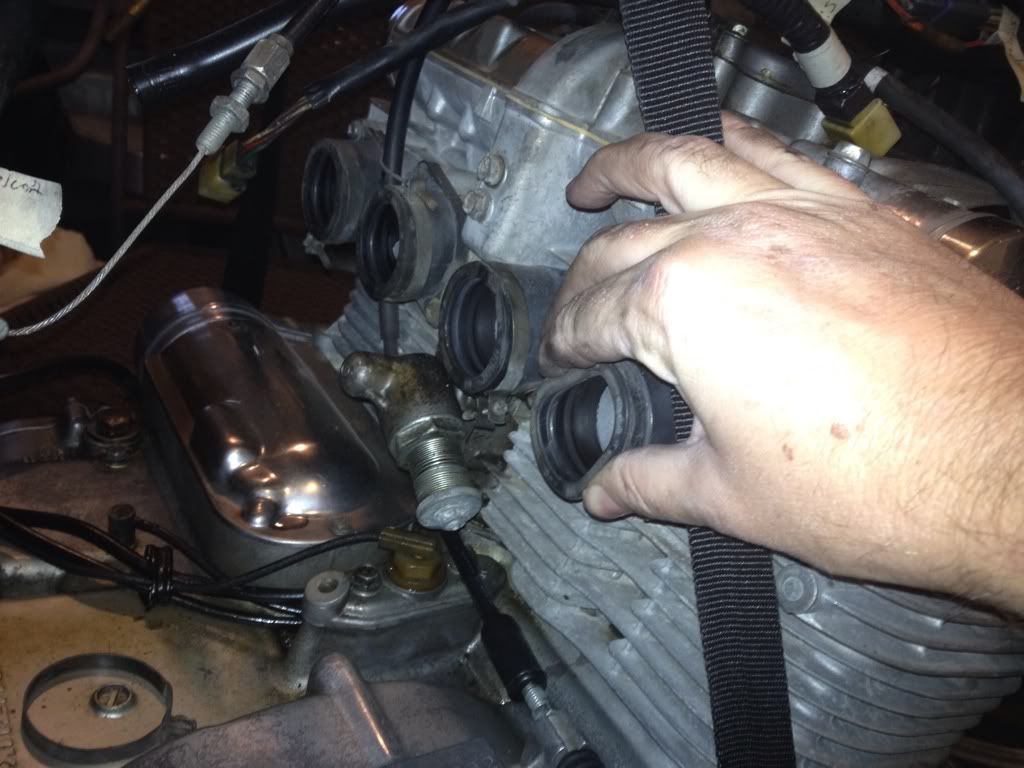
    Then it was time to check the intake boots & o-rings. I was glad to see that the screws came out very easily. That's one the a PO did right. Lots of anti-seize on the screws! Yes. No impact tool needed.

    The boots looked good at first. Still pretty pliable.


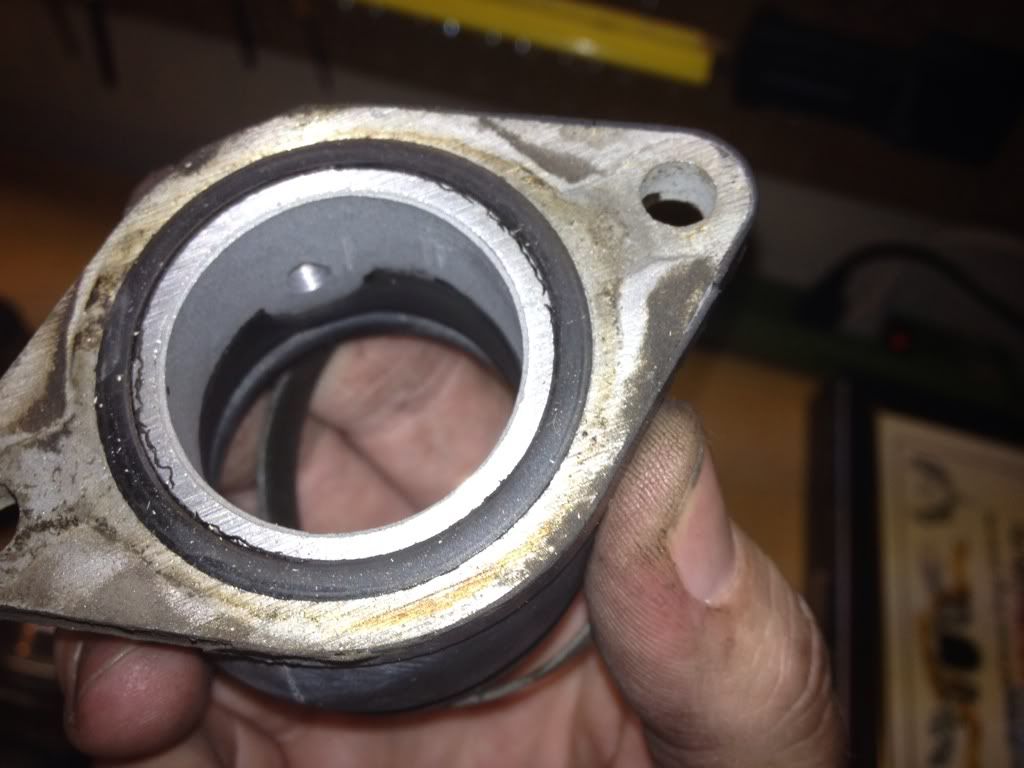
    The o-rings were another story. Flat as a pancake.


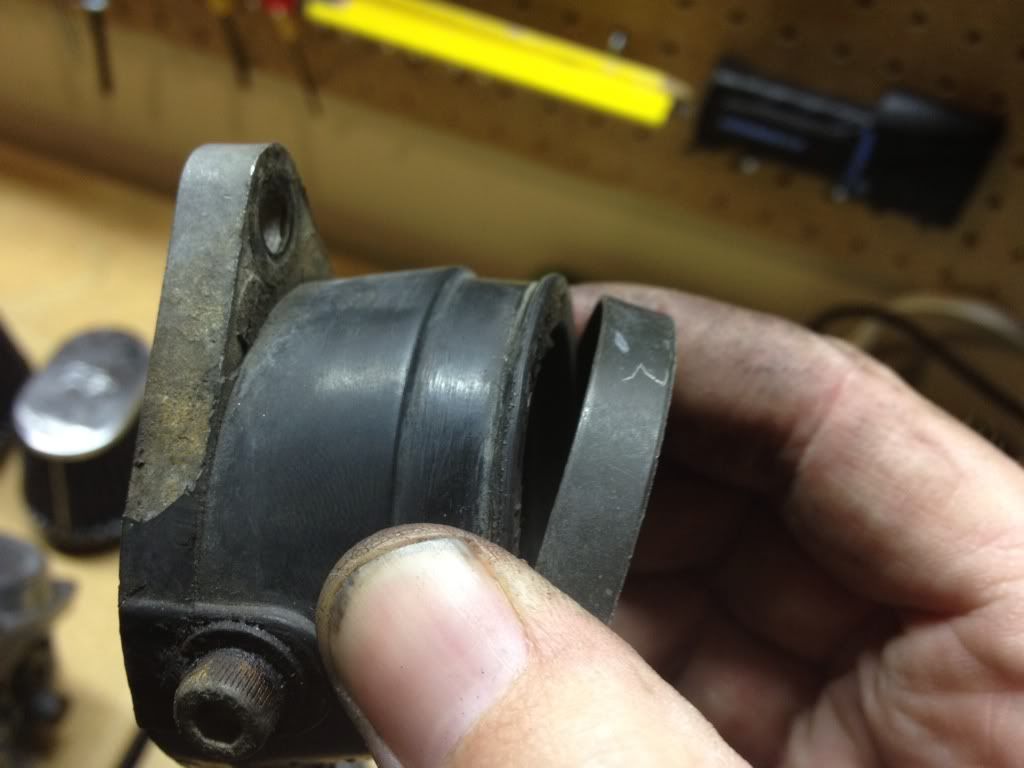
    After getting the boots off and a little closer inspection, number 2 was a lot harder than the rest. There is also a lot of the rubber chipping around the edges. I think I will go ahead a replace them. Better safe than sorry.


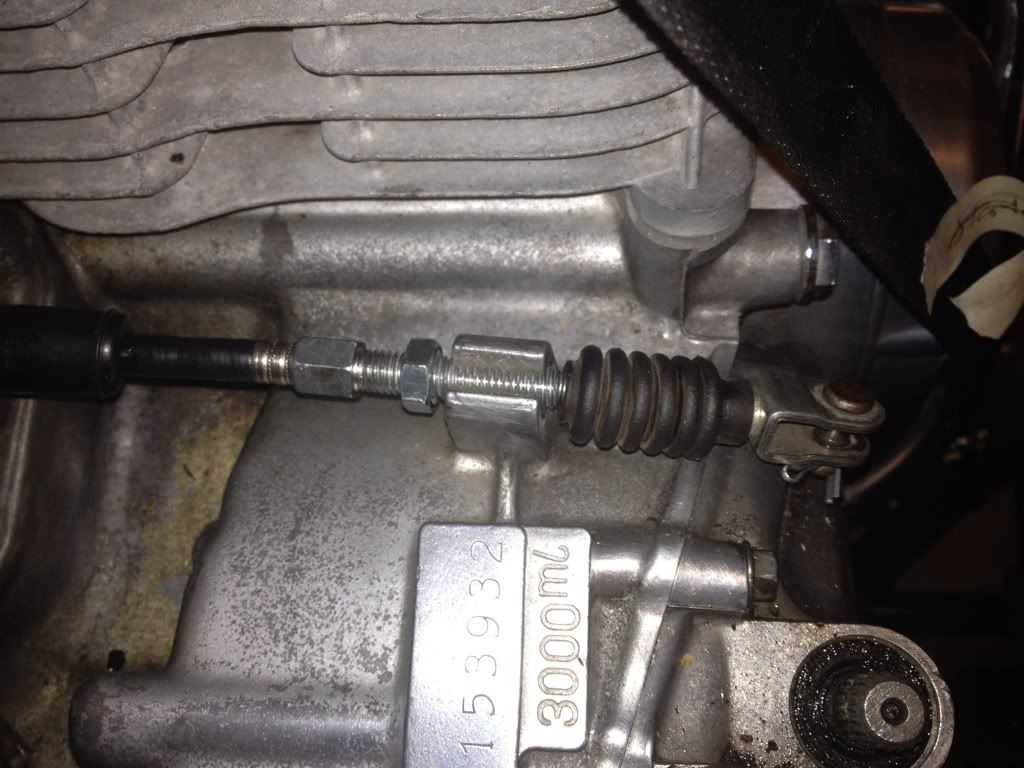
    Ok, so here's my question for the night. How do I get the clutch cable off the crankcase? I back the adjustment screw all the way out after loosening, but the spring doesn't easily come out of the space in the top of the "holder" on the case. What am I missing? Instead of forcing it out and messing something up I thought I'd post a pic and ask for help.


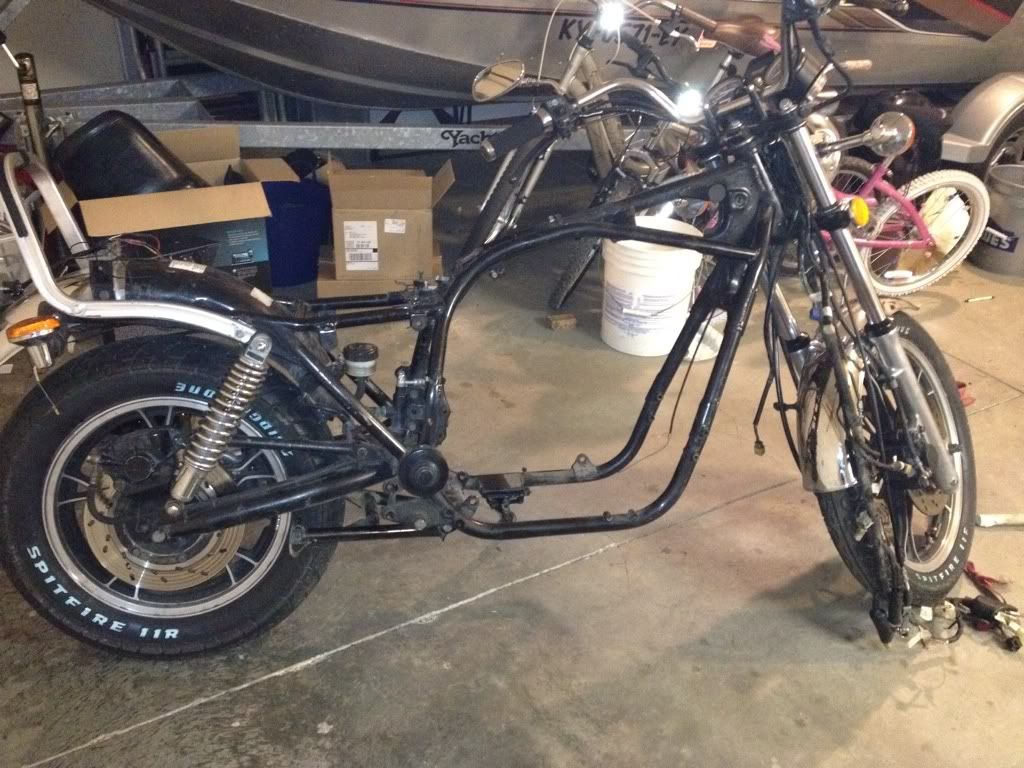
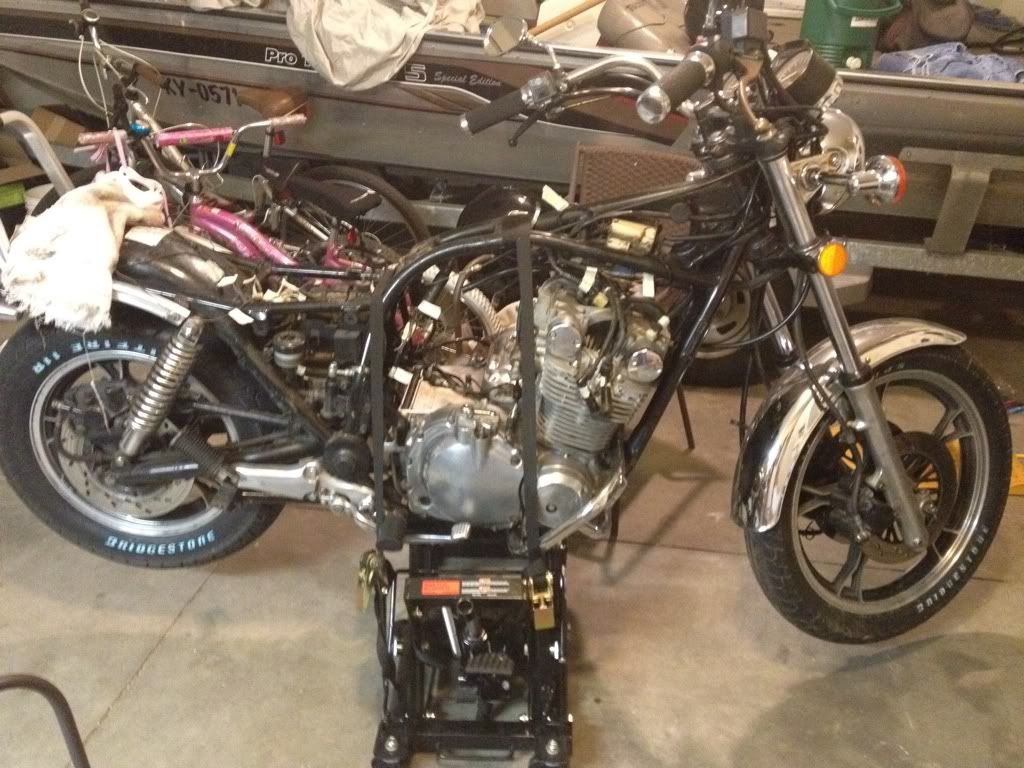
    Here's the bike as it sit right now.

    Leave a comment:


  • lmrmllr89
    Guest replied
    I just ordered the 3 pc motorcycle set..... From this place.....haven't got them yet
    http://www.rjrcooltools.com/shop_ite...?subcat_ID=138
    Last edited by Guest; 01-02-2012, 08:52 AM.

    Leave a comment:


  • Good Times
    Guest replied
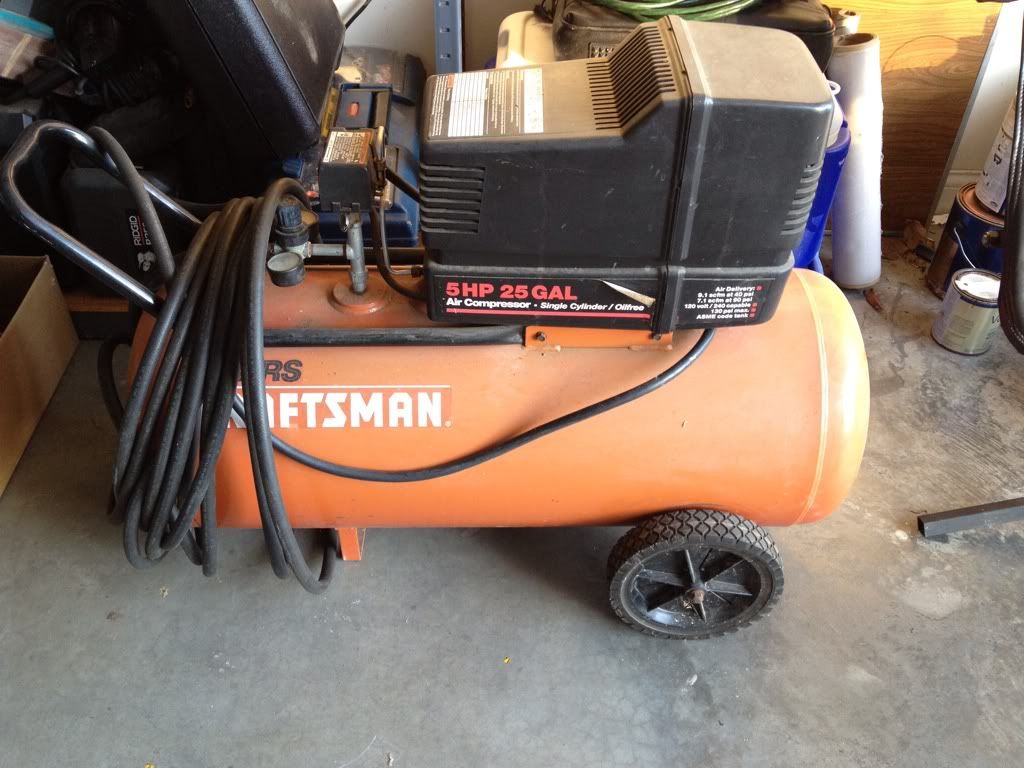
    Didn't touch the bike today. But I did get the air compressor up and running. I also decided that it was time to organize my tools as well. Since moving here I've just used my "piling" system. I prefer things to be organized so I can just reach for what I need instead of digging and searching.

    I have a few questions about tools:

    If you have purchased any JIS screwdrivers off amazon, which ones did you get?


    or did you get something different?

    Anyone have experience with bike jacks? What do you think about this one?


    Getting ready to roll....

    Leave a comment:


  • Good Times
    Guest replied
    Ok....back in town from spending Christmas with the family. Good times for sure. One thing I am particularly excited about in regards to the project is what I acquired from my father.


    He bought a new air compressor a few years ago to replace this one and it's been sitting around the barn. I had forgotten all about it. He gave it to me for a perfect price, free. I loaded it up in the back of the minivan for the trip back to Kentucky.

    Unloaded it tonight and fired it up. Immediately I knew why he replaced it. The joints are leaking around the gauges. I'm thinking that a little teflon tape and TLC and she will be as good as new and I will be that much further down the road with my tools.

    Also brought back a section of corian counter top to build a shop table with. I will get back to the bike! Gotta get the tools sorted out.

    So, what air tools would you guy suggest I pick up first to use on my bike?

    What do you guys use to get the steering stem out? I'm particularly interested in the steering nut.

    Leave a comment:


  • Sci85
    replied
    +1 there. I like it. I really like the red trimmed wheels. I may just have to steal that idea

    Sci85

    Leave a comment:


  • Good Times
    Guest replied
    Originally posted by lemmon95gt View Post
    heres my 82 850 GL
    Ahhhh.....it's bobbed!!!!

    Good looking bike. Great work for sure. One thing I have learned from a couple of bobbers I've seen that I am going to keep on mine is the solid black tank. I really like it with the tank badge on it.

    Leave a comment:


  • lemmon95gt
    Guest replied
    heres my 82 850 GL

    Leave a comment:


  • Sci85
    replied
    That would indeed be cool if the funds allowed it. But removing the airbox may be more of a PIA than it's worth, at least with any regularity. I'm with you though on finding a baseline before tweaking. Since you've already been riding it, you should have at least a feel for how it runs on the current jetting and pod setup. Also check the spark plug color and take some pics while you're at it. Will help if/when you need to rejet.

    Good luck and keep the updates coming.

    Sci85

    Leave a comment:


  • Good Times
    Guest replied
    Originally posted by Sci85 View Post
    Ahh, some good booty indeed! Looks like you've been a good boy this year

    I also have some helpers (13 & 10) when I can get them away from the game console haha. But even when it's just a day here or there, it's still quite enjoyable to have them help out and hopefully learn a thing or two along the way

    Are you planning any changes along the way?

    Sci85
    It's fun with the kids for sure. They seem to like it in short amounts of time.

    My plan is to restore the bike not customize. Of course I have an aftermarket pipe and Pods. I also have an airbox for it and am trying to decide if I will stick that back on or stay with the pods. I think I'll wait and see if the PO who put them on jetted the carbs correctly for the pods and pipe. If not I'll go back to the air box for sure. If so then I'll have to decide. Eventually I'd like to have another set of carbs with the right jetting for either the air box or pods. That way I can just switch them out at will. Just have to see what I actually have first. I think it's be pretty cool to have one set on the bike while I was cleaning the others.

    Leave a comment:


  • Sci85
    replied
    Ahh, some good booty indeed! Looks like you've been a good boy this year

    I also have some helpers (13 & 10) when I can get them away from the game console haha. But even when it's just a day here or there, it's still quite enjoyable to have them help out and hopefully learn a thing or two along the way

    Are you planning any changes along the way?

    Sci85

    Leave a comment:


  • Good Times
    Guest replied
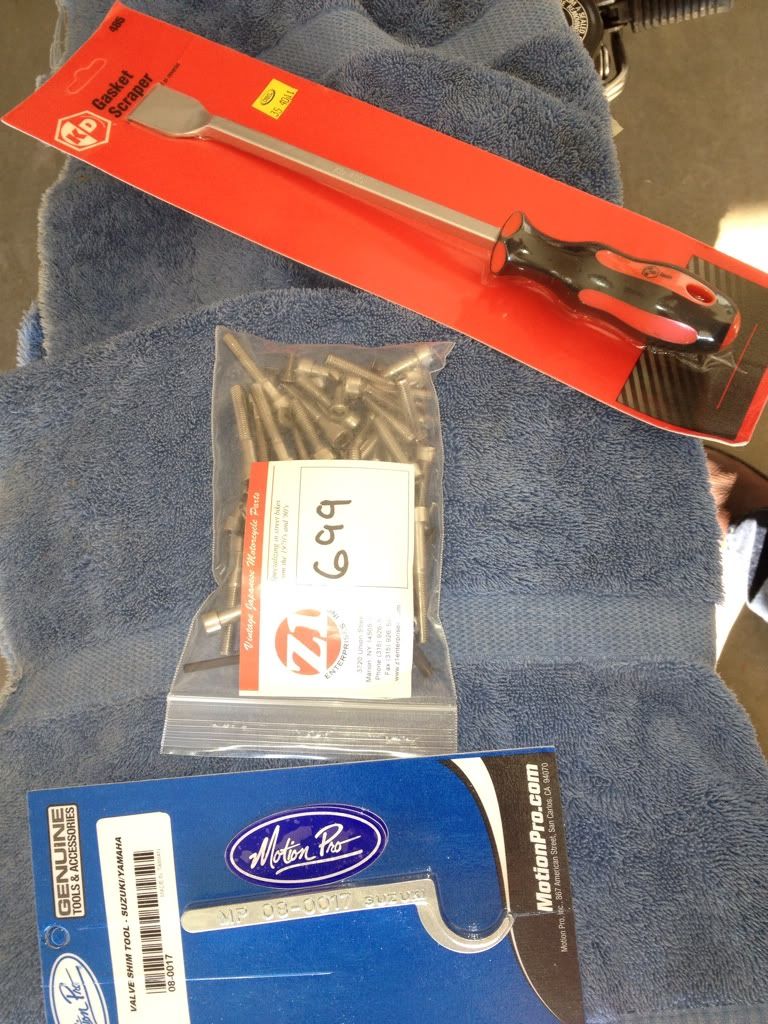
    Have been out of town for the holidays so I haven't been able to do any more work on the bike. I did get some pretty cool stuff from Santa though.


    Gasket scraper, SS bolt set and a tappet depressor/shim tool. Sweet.

    Looking forward to getting back and getting to it.

    Leave a comment:


  • Good Times
    Guest replied
    Originally posted by yasser View Post
    Outstanding narrative, photos and bike. You are giving a life point experience for your helpers. I never ceases to amaze me with the way the intangible benefits come out of the relatively cheap investments in these bikes.

    Thanks for including us in the build.
    Thanks Yasser, glad to have you along. The more I do the more I am motivated. I'm learning that this is not going to be as complicated as I thought. (Famous last words right?) I think we'll be able to get her looking and running really good.

    Originally posted by Redneck View Post
    You Definitely had some bad connectors some of those look a little burnt. Project looks good. Glad to hear you have your helpers out there. Mine is helpful till the I want to play bug takes over...lol.

    Paul
    They do look a little crispy don't they? I was thinking about rebuilding the wiring harness, but the more I look at I think I just need to clean it up a bit and replace connectors.

    The play bug hits my helpers too. It was pretty cool last night though. Elizabeth wound up going in after a while and then Charlie just sat out in the garage with me and talked his head off while I continued to label wires. Good Times.

    Paul, I'm enjoying reading your build as well. Good work.

    Leave a comment:

Working...
X