-
 Guest repliedNow that's what I'm talking about.......
Very well done, looks to be an excellent job for sure.....
It's too bad powder coating is so expensive up here, I would have had the same done to mine and all the little bits and pieces as well, ohhhhhh well there is always next winter, I could do it all over again....LOLLeave a comment:
-
Guest repliedMore excited than a fat kid at a pie eating contest...
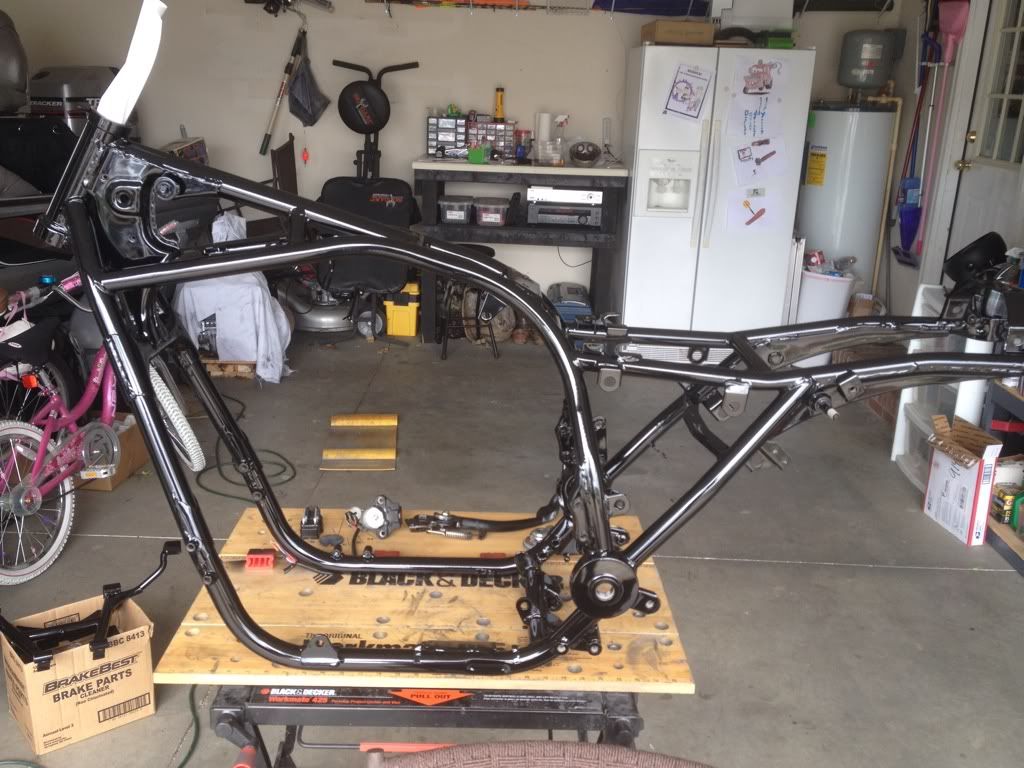
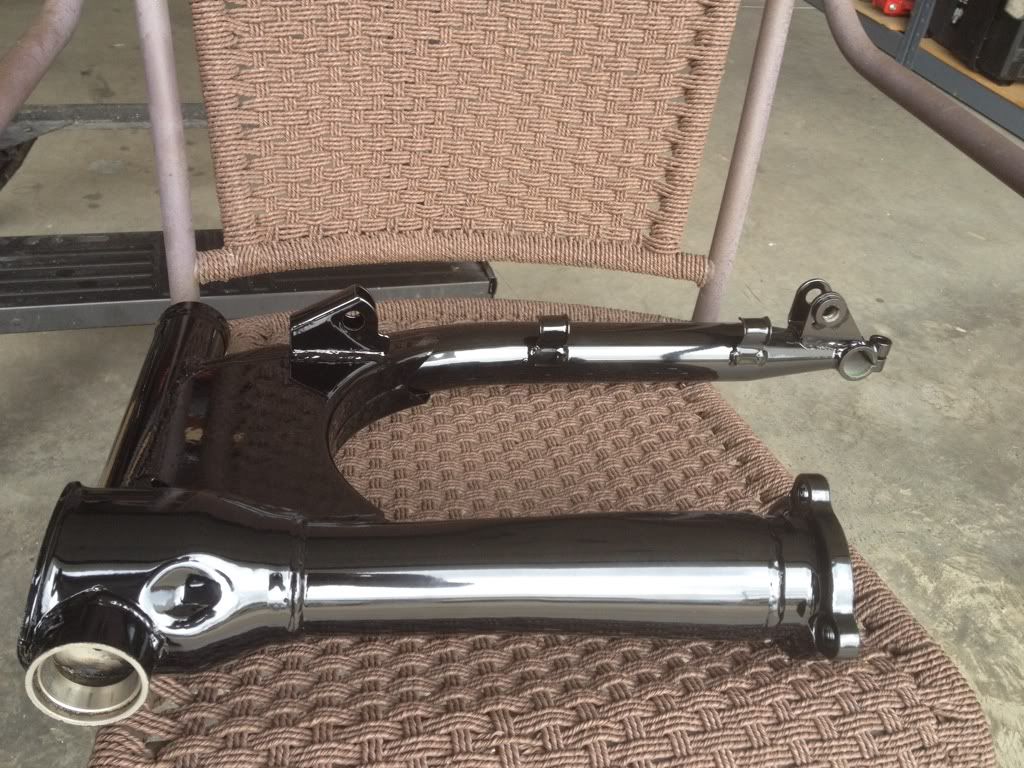
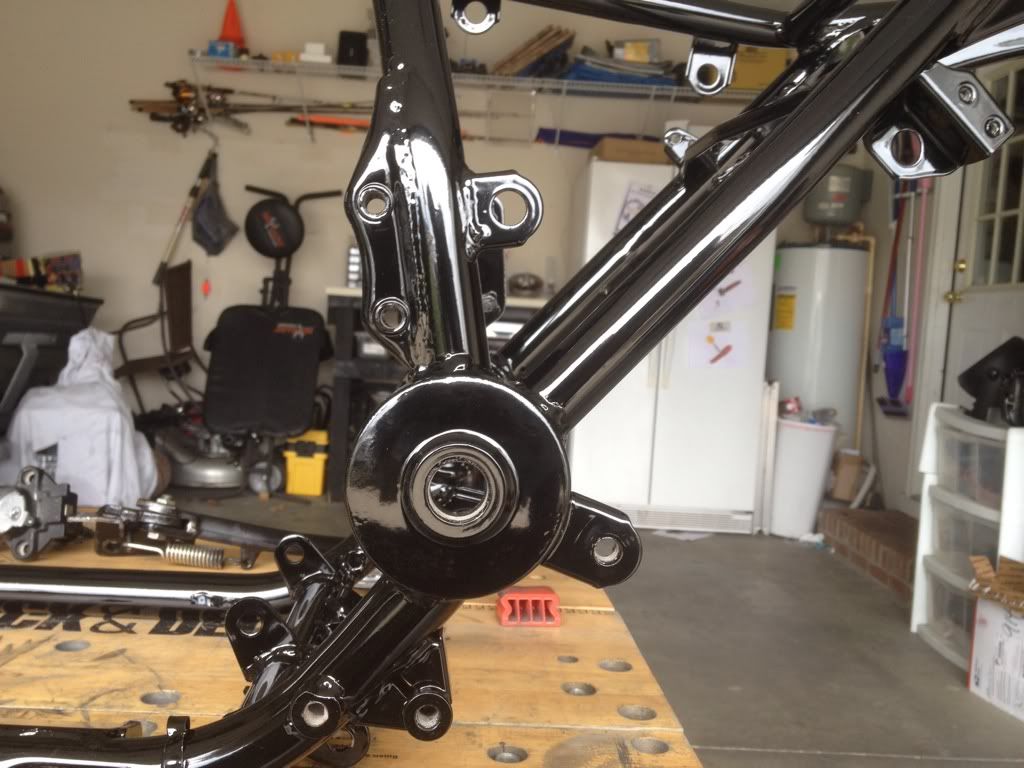
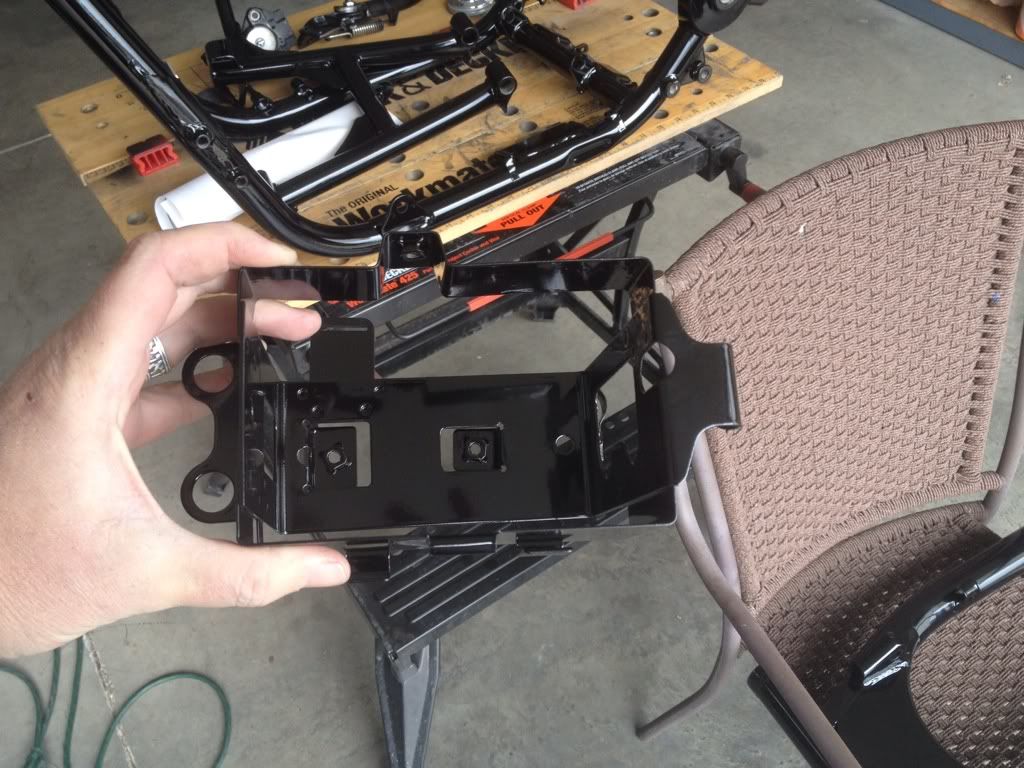
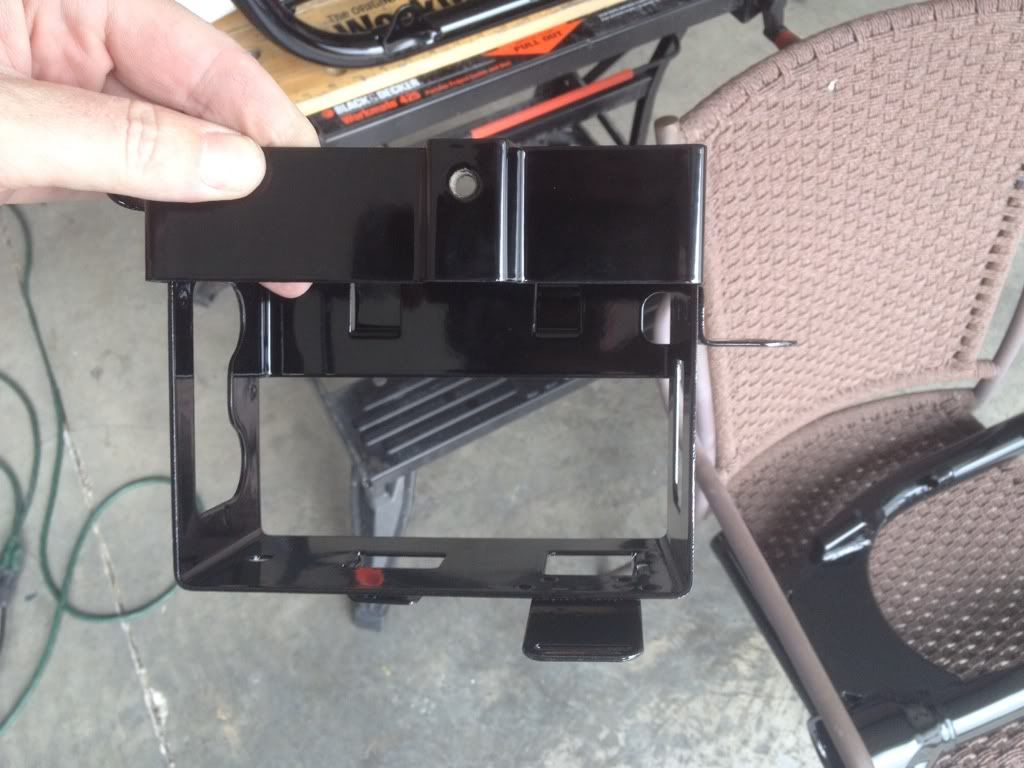
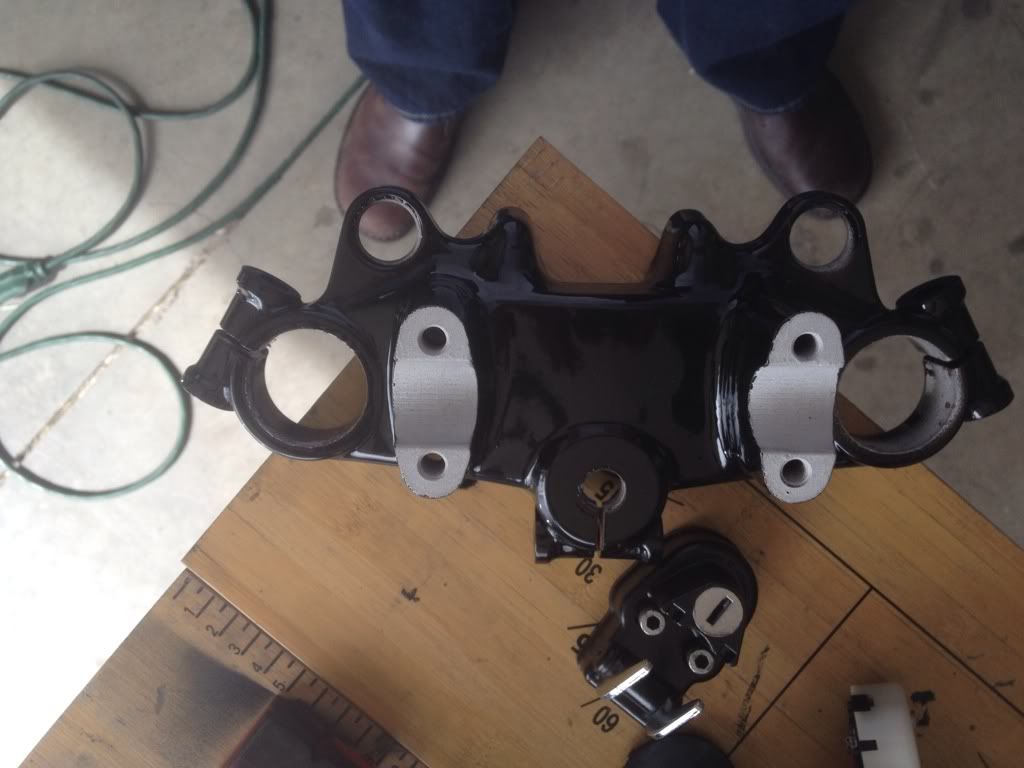
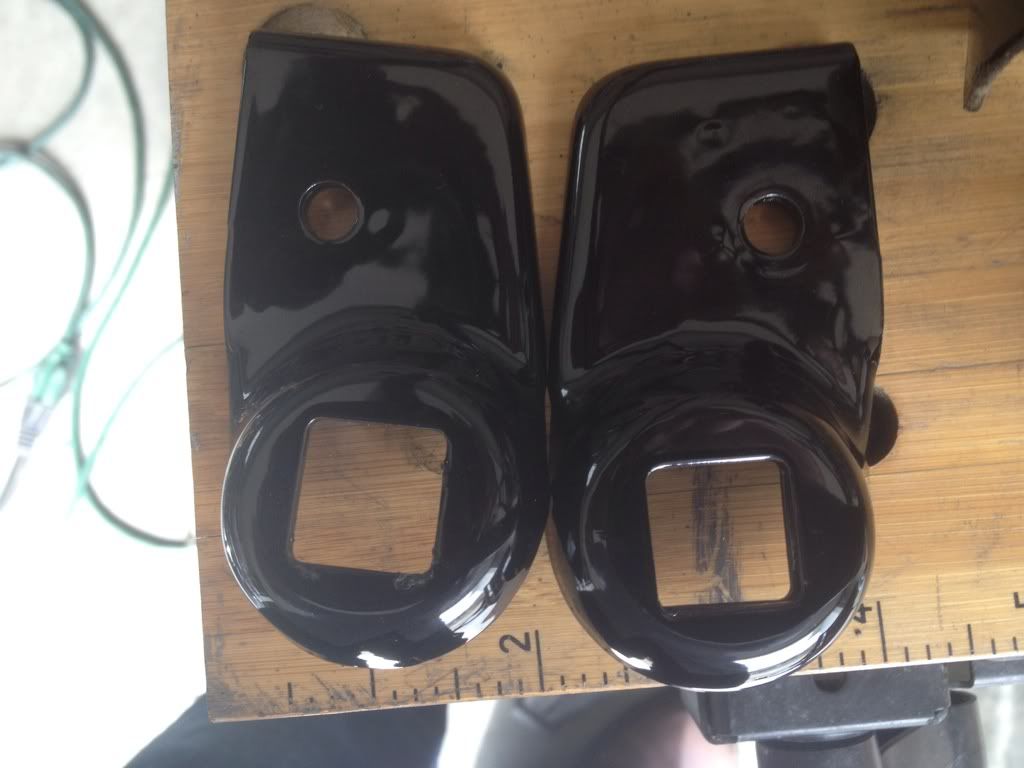
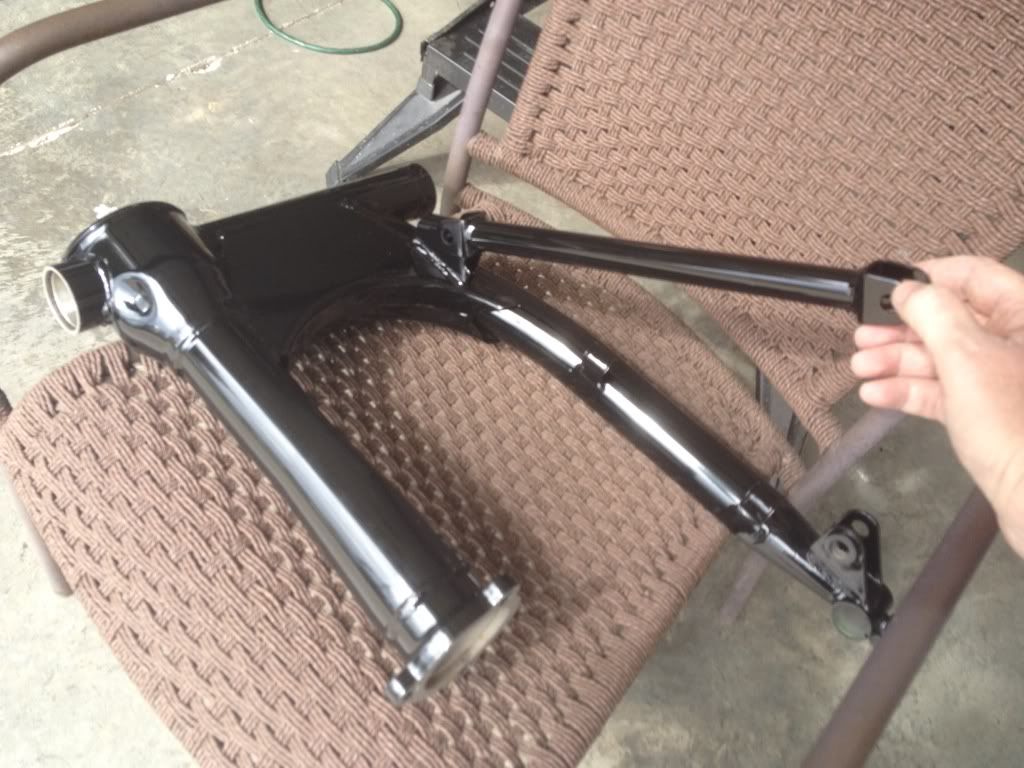
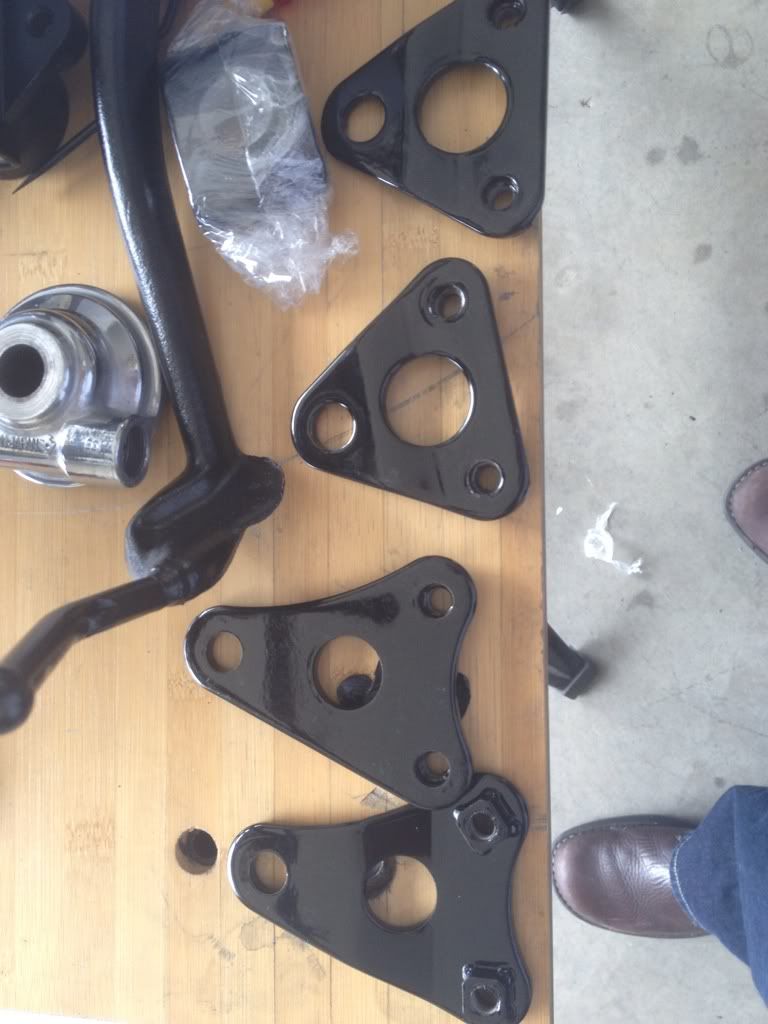
Picked the frame and other parts up from the PC shop today. I am VERY pleased. Looks awesome and they really did a good job. Just one place they got PC on the threads. Half the swing arm pivot threads. I'll gladly get that out with my Dremel and a wire brush though. Really couldn't be more pleased with how it turned out.
Bring on the pics:

Leave a comment:
-
Guest repliedpiddlin'
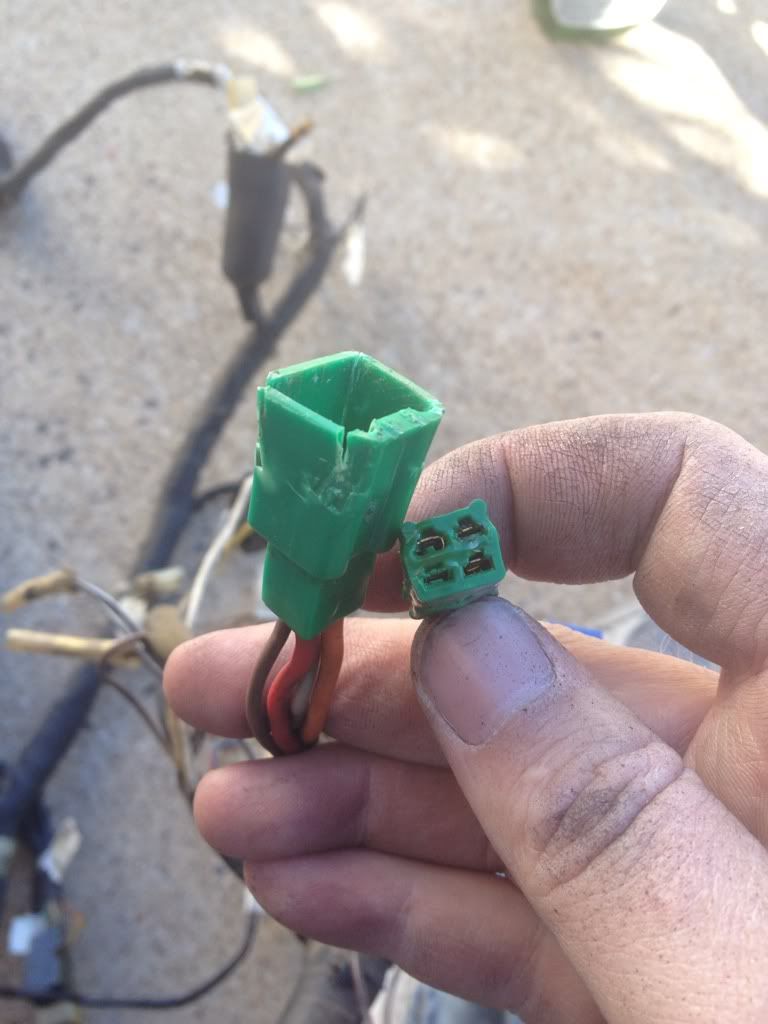
Spent the day on piddlin' stuff. Painted the inner rear fender, side stand, ignition switch, helmet lock and polished the speed sensor.
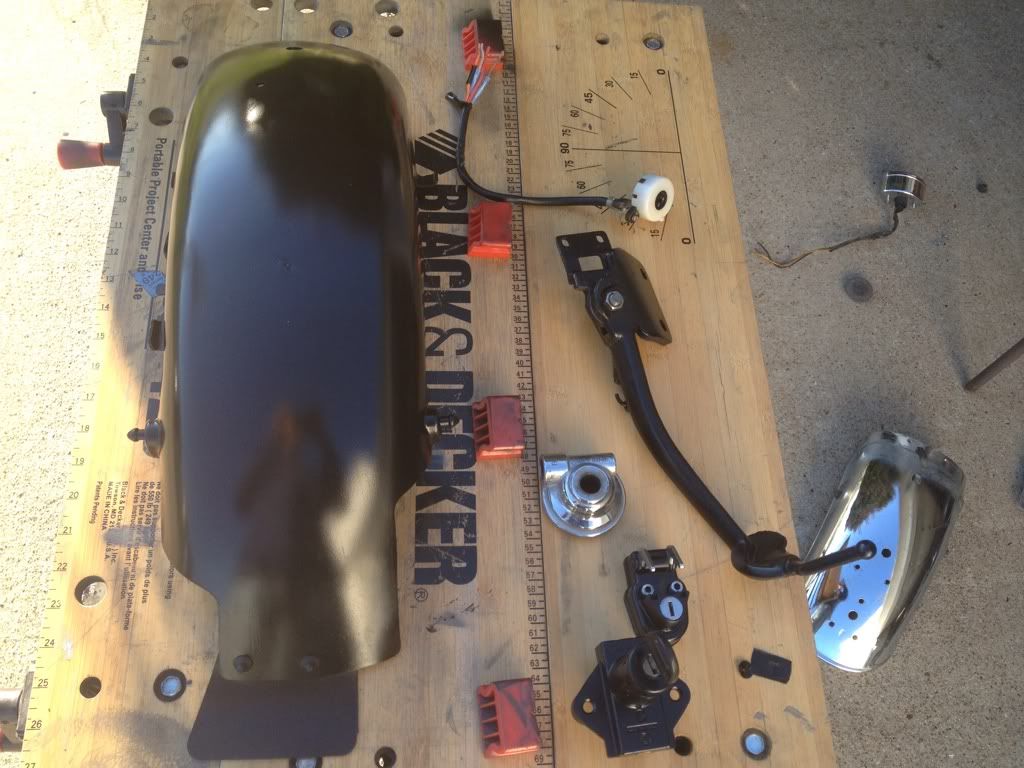
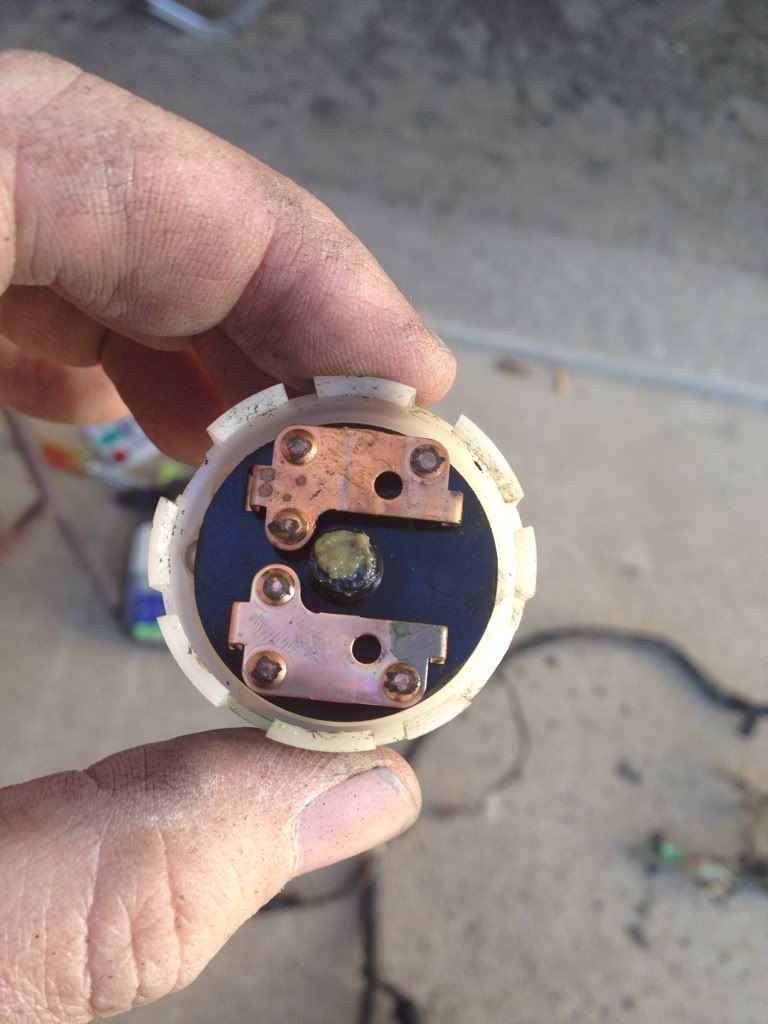
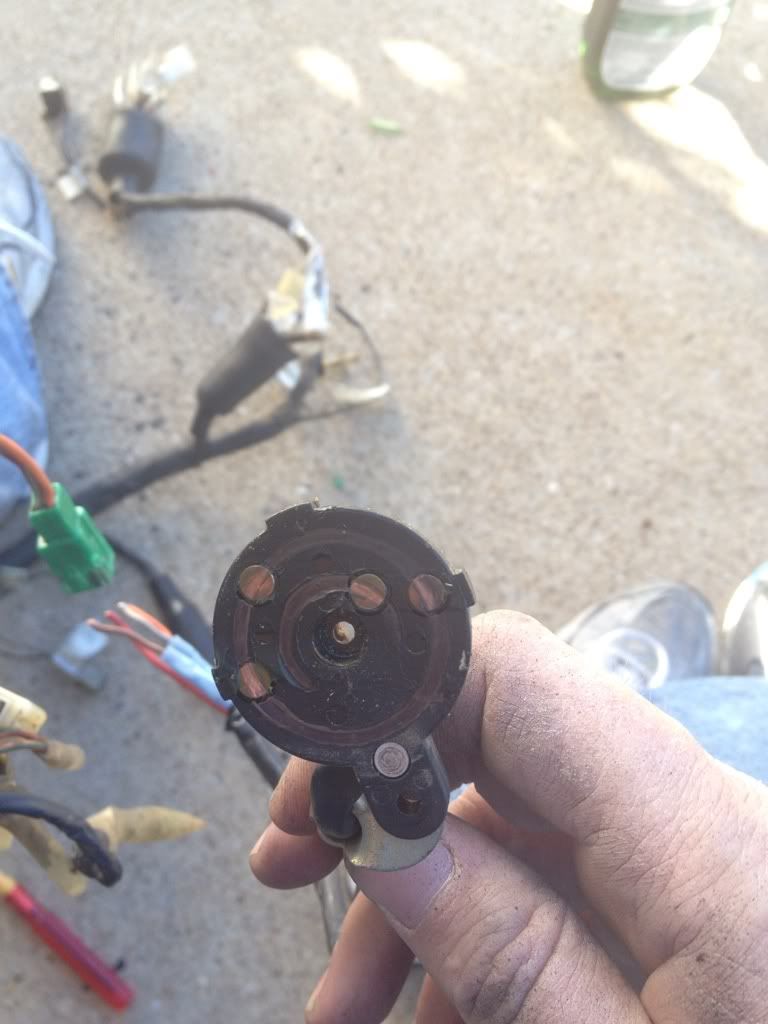
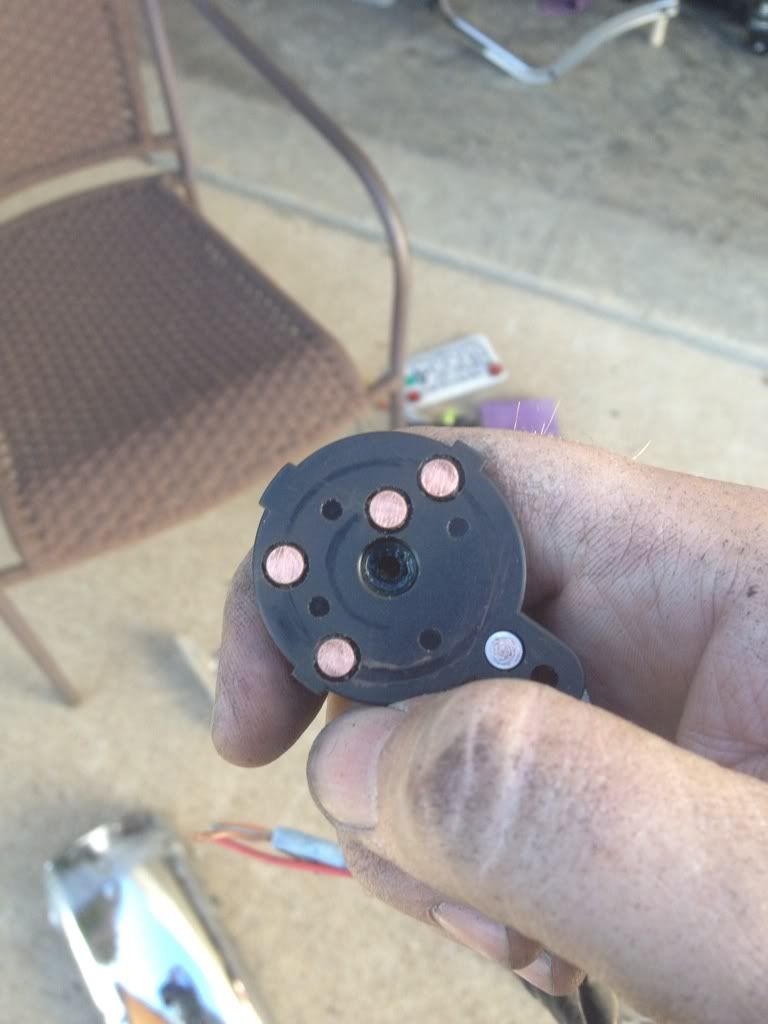
Last year I diagnosed the non-working running tail and gauge lights. I traced it to the ignition switch. Found out today that it was actually a burned connector. Pretty sure it's not supposed to be melted inside. I also broke the switch down to be sure that everything was ok with the contacts and wires. It was. Cleaned it up, greased it down and put it back together for another 30 years of service.
Finally, soaked some rusty parts in vinegar. This is a first for me. If that doesn't work then I'll invest in some Evaporust.
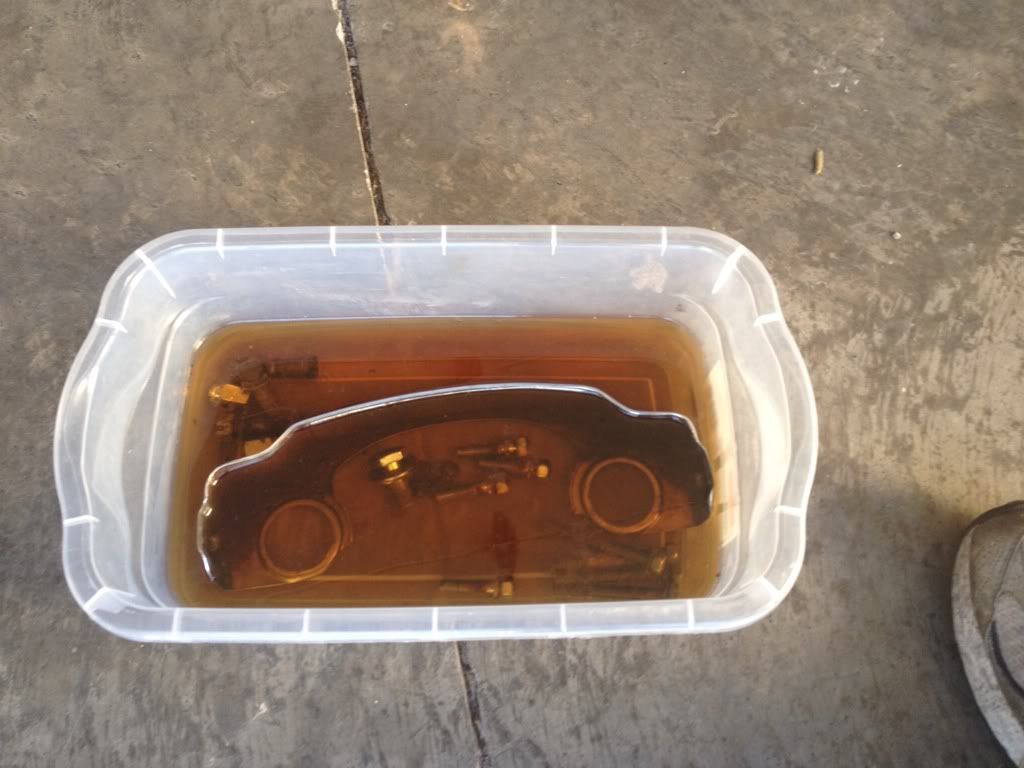
Tune in next week for more. Same Bat time, same Bat channel.Leave a comment:
-
Guest repliedWorking on a few odds and ends today while I'm waiting on the frame and other parts to be PC'd.
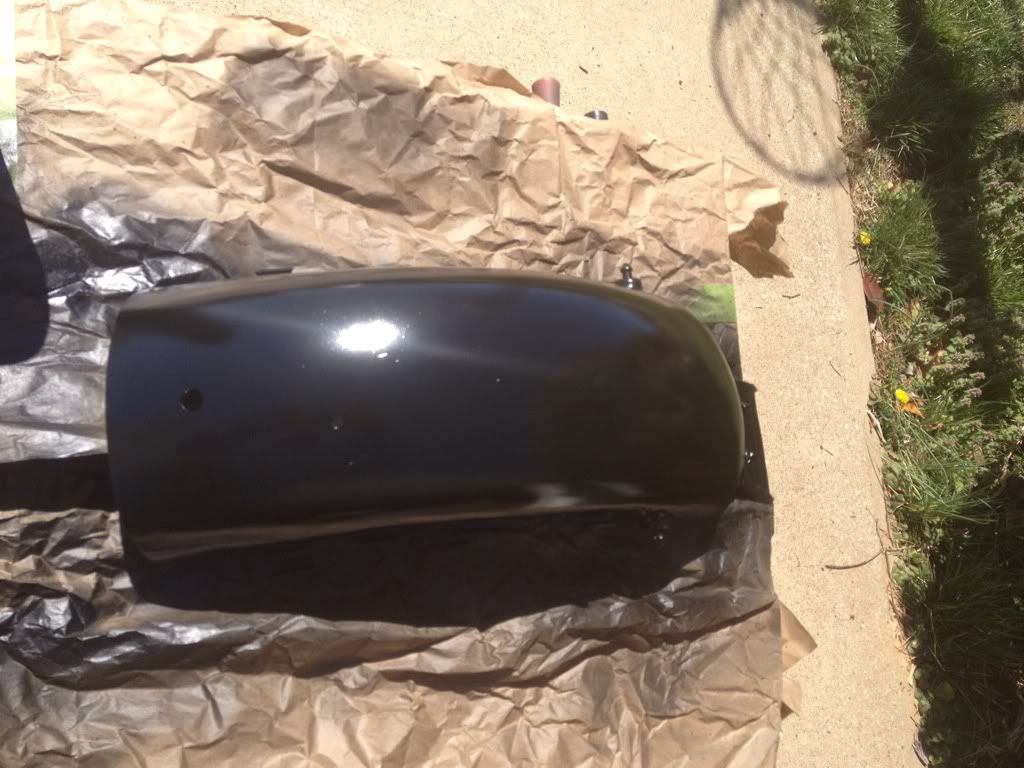
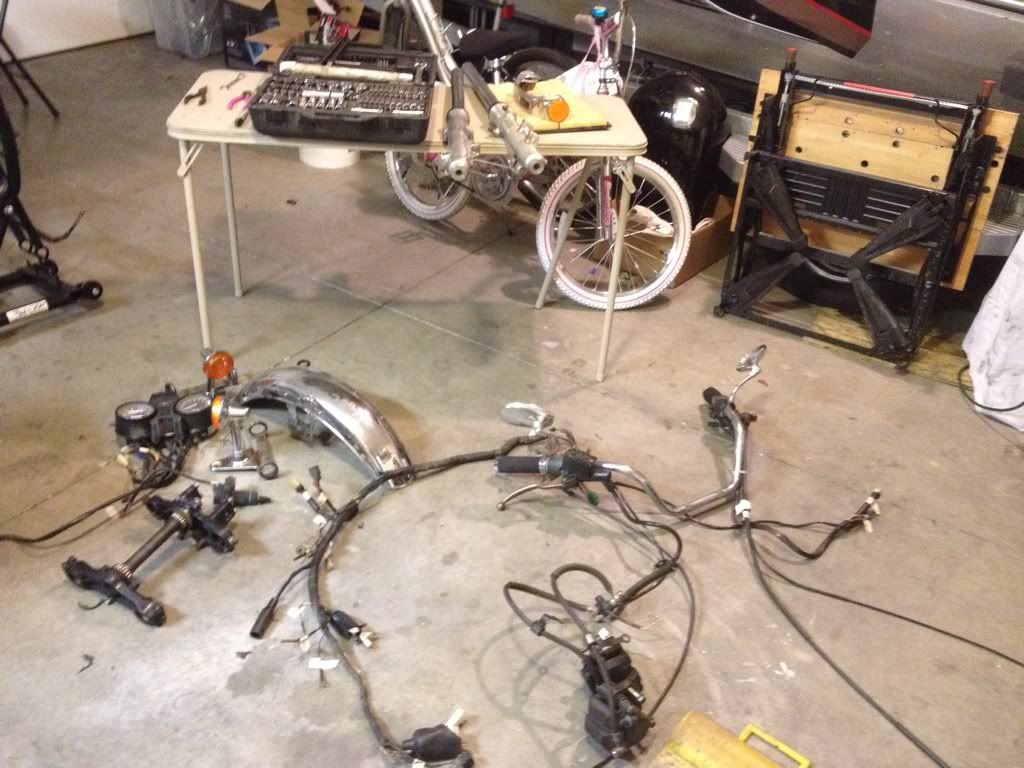
Got the rear inner fender cleaned up a bit for paint:
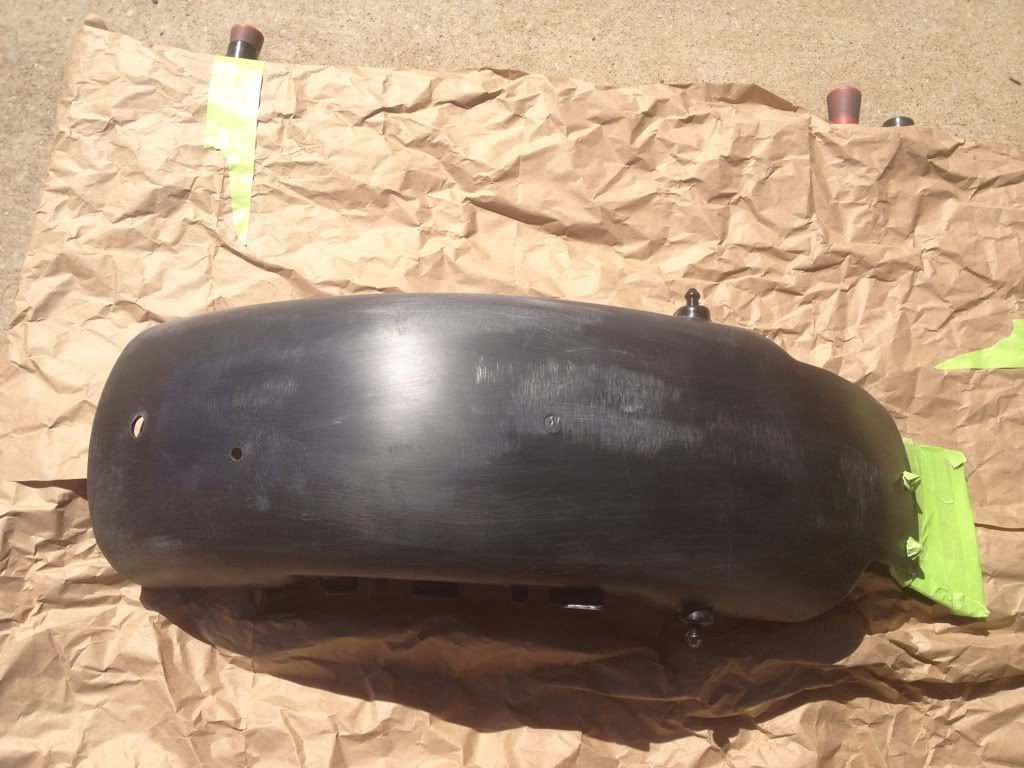
Here is it with a wet coat on it. It will be satin finish when it dries.
What's wrong with this picture?
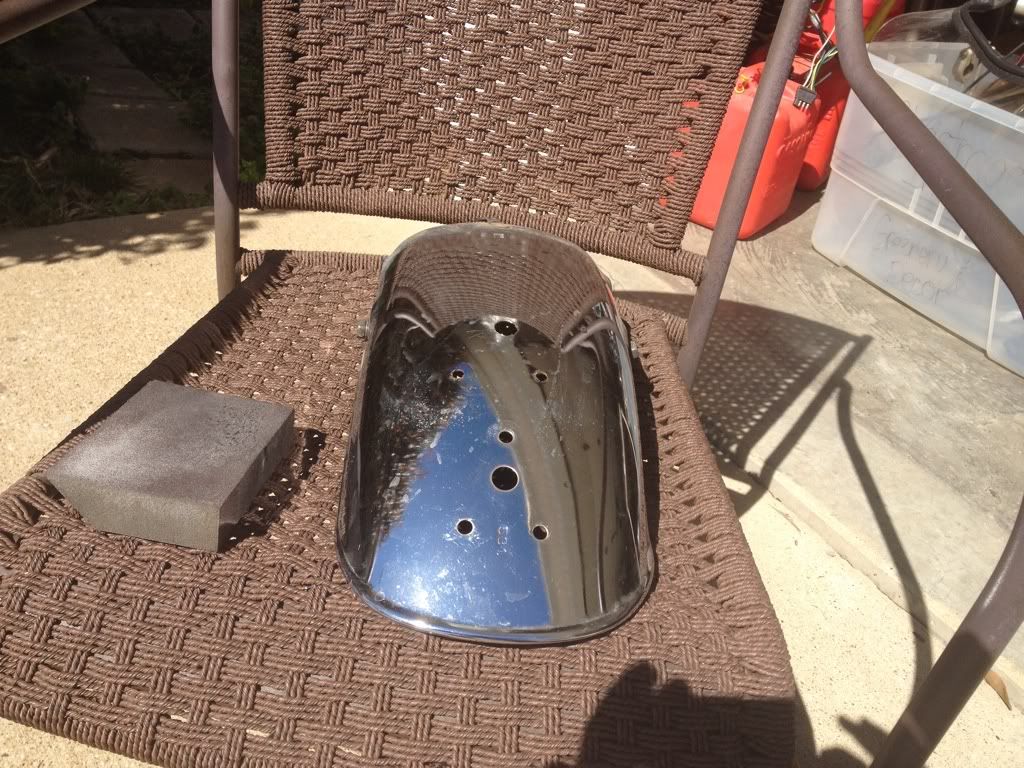
That's right. A former PO drilled three uneven holes in the rear fender to put a cheap aftermarket tail light on. My first thought was to plug the holes with some chrome bolts, but the holes are so poorly places that it would drive me crazy. May try to find a fender in good shape somewhere.Last edited by Guest; 03-10-2012, 09:20 PM.Leave a comment:
-
Guest repliedDropped it all off at the powder coater today. The frame, swing arm, center stand, upper triple clamp, battery box, electrics panel, rear signal brackets, and motor mount brackets. $250 is the worst case scenario for all of it, maybe less. It will all be high gloss black. Should be done by Sunday.
Can't wait.
Leave a comment:
-
Guest repliedThat's my main concern with PC. I'm taking the frame and parts by to talk to him for that purpose.Originally posted by GateKeeper View PostLeave a comment:
-
Guest repliedGood job.....
make sure you plug all the bolt holes, and bearings/holes, and any other that needs to be occupied by another part, the PC will fill it up and make it hard to put them back in, be it bolts or bearings
or hopefully your PC guy will do thisLeave a comment:
-
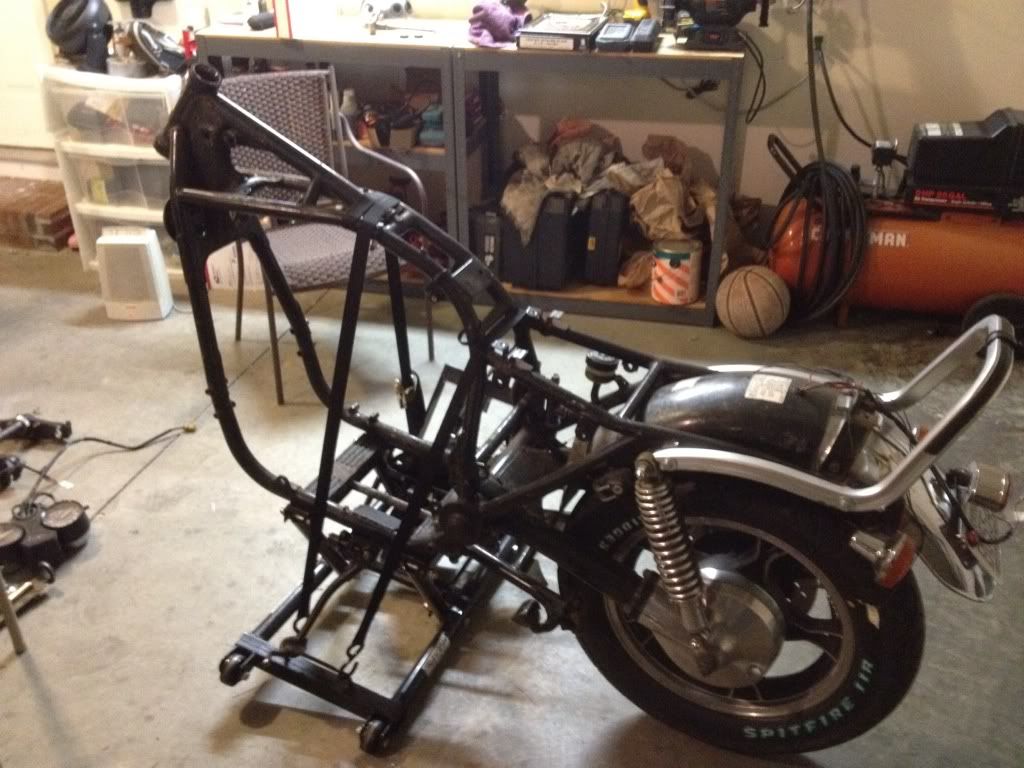
Guest repliedThere you have it folks. Nutin but the frame.
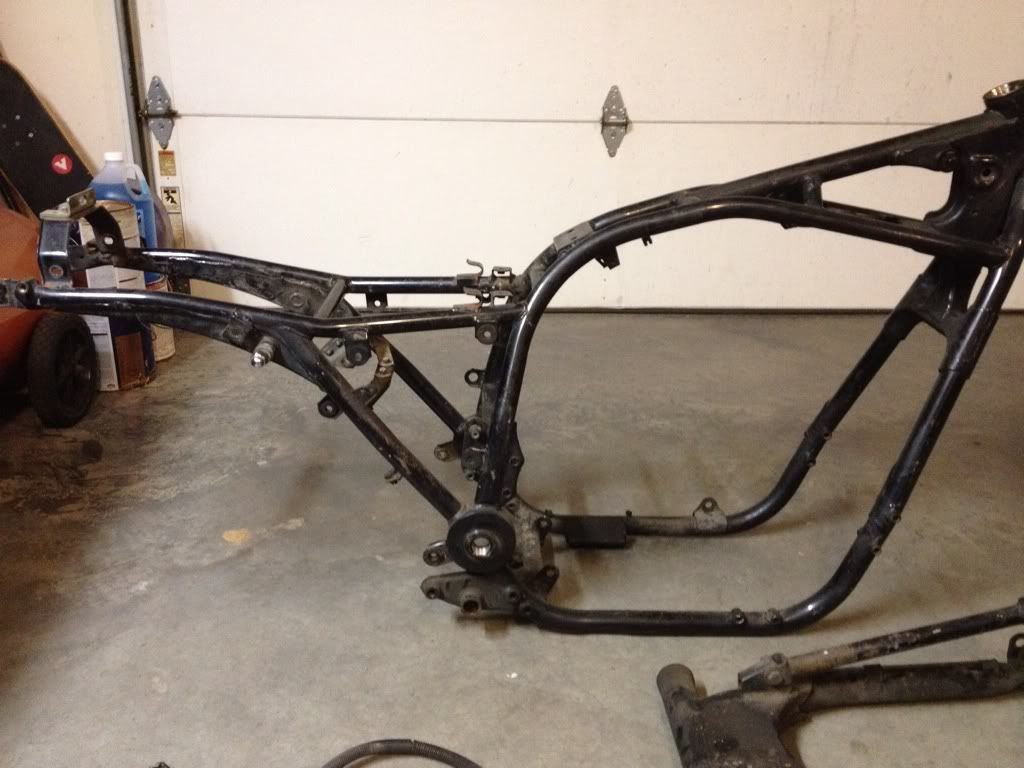
Thought the swing arm would be harder to get off, but it was pretty simple. I'll be giving the powdercoater a call in the morning. Sweetness.Leave a comment:
-
Guest repliedThat's a good thought. You know I think I'll put some Teflon tape on the cable before I put it back in. Thanks bb.Originally posted by bbjumper View PostLeave a comment:
-
Guest repliedTach drive
Whatever it takes regarding the kids, I, like you get a tremendous amount of enjoyment and joy with my boys doing man cave stuff. I replaced all of the seals and o-rings on my tach drive, you may need an additional o-ring under the cable, mine did, I think it's a 16X1.5 mm.Leave a comment:
-
Guest repliedYes, I did fix the tach drive. I replaced the oil band and oil seal on the tach drive. Well....we will see if I fixed it. If it continues to leak then I will need to replace the gear itself. It looked ok when I took it apart. We will see.Originally posted by speedorchid View Post
Leave a comment:
-
Guest repliedThanks for all the feedback guys. It felt really good to take the motor off the jack, put it to the side and cover it up for later. That was a lot of work, but I loved every minute of it.Originally posted by speedorchid View Post
Speedorchid, I bought all of my polishing stuff at Lowe's. I bought a $20 Task Force 12,000 rpm angle grinder on sale. Two of the 4 inch yellow polishing wheels for the grinder. I also got the Porter Cable Polishing bars. I used numbers 3 (brown), 4 (white) and 5 (green). After sanding this is what I used to polish the cases.
I'm glad that you are learning from my process. I am learning with every step as well.
Today was pretty cool. After getting the motor put aside, the "shop" reorganized and cleaned I started taking down the front end of the bike. The best part of the night was the kids hanging out and talking. My son said, "Dad, have I helped you with the bike?" I told him that he had. Every time I needed a hand he was there to help out. He then said, "Well, I've just really like hanging out and talking with you in the garage while you're working on it." This was the best part of the night and the reason I am taking my time on this resto.
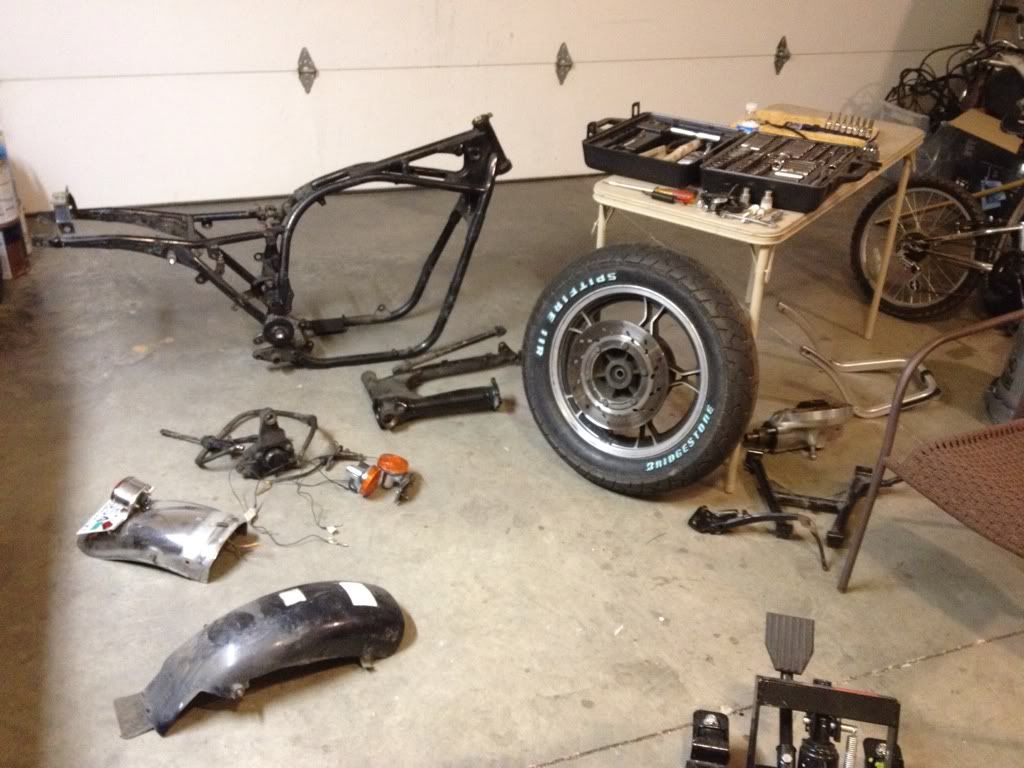
All the parts off.
One more day and I'll have it down to the frame. Then it's off to powdercoat.
Leave a comment:
-
Amazing transformation GT. Almost worth putting on a pedastal in the living room haha.Leave a comment:
.png "Powered by vBulletin")
Required reading for all forum users!!!
Welcome!
Register to access the full functionality of the GSResources forum. Until you register and activate your account you will not have full forum access, nor will you be able to post or reply to messages.A note to new registrants...
All new forum registrations must be activated via email before you have full access to the forum.A Special Note about Email accounts!
DO NOT USE sbcglobal.net, att.net, bellsouth.net or email.com email addresses when registering for the forum! Email that our system sends out to these email servers is treated as SPAM and you will never receive your activation email, or any other email that our system may send out. Use an email address from gmail.com or some other email server.A note to old forum members...
I receive numerous requests from people who can no longer log in because their accounts were deleted. As mentioned in the forum FAQ, user accounts are deleted if you haven't logged in for the past 6 months. If you can't log in, then create a new forum account. If you don't get an error message, then check your email account for an activation message. If you get a message stating that the email address is already in use, then your account still exists so follow the instructions in the forum FAQ for resetting your password.Have you forgotten your password or have a new email address? Then read the forum FAQ for details on how to reset it.
Any email requests for "can't log in anymore" problems or "lost my password" problems will be deleted. Read the forum FAQ and follow the instructions there - that's what we have one for...
New users should be sure to read the FAQ as well as the posts in the Announcements forum. This will answer many of the questions you may have about how this forum works.
Before posting questions in the forums be sure to use the forum search function!!! Odds are your question has already been asked and answered before. And when posting, please make sure that you post to the correct forum.
Finally, be sure to check out BassCliff's website here. He has useful information that can't be found on this site. His welcome page containing useful GS information can be found here. Be sure to check it out!
If you are a returning visitor to the forum and can't log in using your old forum name and password, chances are your account is deleted. Just create a new forum account and you should be all set.
Leave a comment: