Also what was the result of your rear caliper leak? i think mine is doing the same
Announcement
Collapse
No announcement yet.
82 850GL Resto...here we go
Collapse
X
-
simonw
I noticed you are running pods on your 850 .. any chance you know what jetting your using in the carbs?
Also what was the result of your rear caliper leak? i think mine is doing the same
-
growler
what a great mini-novel to read while having a bit of insomnia.
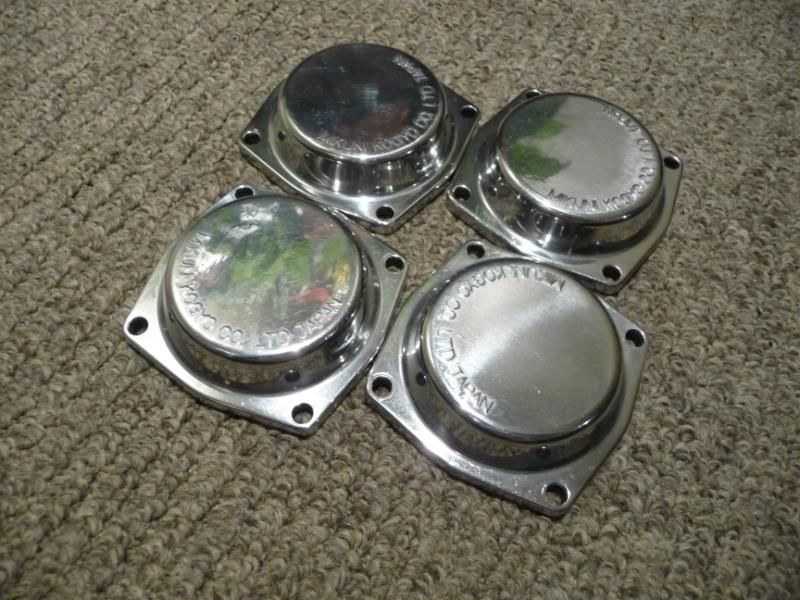
how did you polish your carb tops and bowls? i've been using a dremel with cutting/polishing compound and they don't look as nice. did you use anything specific?
Comment
-
GateKeeper
Originally posted by growler View Postwhat a great mini-novel to read while having a bit of insomnia.
how did you polish your carb tops and bowls? i've been using a dremel with cutting/polishing compound and they don't look as nice. did you use anything specific?
.
Comment
-
growler
-
Good Times
Originally posted by simonw View PostI noticed you are running pods on your 850 .. any chance you know what jetting your using in the carbs?
Also what was the result of your rear caliper leak? i think mine is doing the same
I have a Dynojet stage 3 kit installed in my carbs. Works like a charm. Smooth acceleration all the way through to red line.
My rear caliper leak was the result of not getting the piston seal groove clean enough. It has to be spotless.
Originally posted by growler View Postwhat a great mini-novel to read while having a bit of insomnia.
how did you polish your carb tops and bowls? i've been using a dremel with cutting/polishing compound and they don't look as nice. did you use anything specific?
sandpaper:
400-800-1000-2000
Polishing compounds:
Black - brown - white - green (I use the yellow polishing wheel from Lowe's on my bench grinder)
You'll be shaving in it after that process.
By the way, I got her out to day after our crazy winter and took her for a spin. She started right up and after a little smoke, idled right down to where she should be and ran smooth the whole ride.
Love that bike!
Comment
-
growler
i'm jealous. we're getting our last hit (hopefully) of the POLAR VORTEX here in wisconsin. can't wait to ride!
Originally posted by Good Times View PostThanks Growler. The polishing disease has hit many of us. It's a disorder really. It looks like GK took care of you, but here's my process:
sandpaper:
400-800-1000-2000
Polishing compounds:
Black - brown - white - green (I use the yellow polishing wheel from Lowe's on my bench grinder)
You'll be shaving in it after that process.
By the way, I got her out to day after our crazy winter and took her for a spin. She started right up and after a little smoke, idled right down to where she should be and ran smooth the whole ride.
Love that bike!
Comment
-
William Groebe
Good Times.
What a truly inspirational journey you've shared with everyone here. You've done an amazing job cleaning up your GS to original (if not better) quality. I'll definitely be referring to this thread when I pull apart my 82 GS650GL.
Did you ever put the badges on? I'd love to see the final version.
Keep on wrenching.
Comment
-
Good Times
Hey Will, I still haven't put the badges on. I started back to school and the paint job took a back seat. I still have the badges and will put them on after paint. I will actually be taking it to the shop (GASP!) for two time-serts (one exhaust bolt and the oil drain). After that I will be riding it in the spring. Good luck with the 650!
Comment
-
Hey GT, I'm a little late to the party, but I have to say 'great job' on your L.
Mine will never look that good as I plan to ride it and do little bits at a time.
When I first read about your screen I thought 'Oh dear, that's going to look really... Wait a minute, actually that looks really good.'
Love all the new parts and mods that you've fitted. I noticed that in your videos you sound like a cheery chap, obviously you haven't kept a record of what this has cost so far.
Do these things ever get truly finished?
Enjoy the ride.
Comment
-
Good Times
Cyrano, thanks!
One time during the resto I made a list of parts I needed and added up the cost. I don't suggest doing that. I almost walked away from it. So, no I didn't keep a running total. I guestimate that I have right around $3500 in the whole thing. That includes the cost of the bike, new tools, powdercoat, and parts. I probably could have done it a little chaper, but I didn't get into it to save money. I had a really good time working on it and will continue to tinker with it until I get it just right. Of course I would have been dead in the water a few times had it not been for the good people on this site.
Comment
-
Good Times
I took my bike to the shop last week. That's right, THE SHOP. Cue the scary music. I had a stripped exhaust bolt and the oil drain plug bolt was just about to go. Instead of Helicoils I wanted Time Serts. The tools and time serts were more expensive than letting the shop do the job for me. I also didn't like the thought of accidentally drilling into the oil passage behind the exhaust bolt. Two time serts, crush washer and a new valve stem on the front tire.
Picked her up yesterday and I am set. Looking forward to another season on the GS.
Comment
-
Originally posted by Good Times View PostI had a stripped exhaust bolt ...
Comment
-
Good Times
You can go helicoil, but they eventually pull out from what I understand. The Time Sert is the best fix I know of. Had I not needed to have the oil drain done, I might have gone with a helicoil and then just replaced it if it eventually came out.
Comment
-
Good Times
Speedo Repair
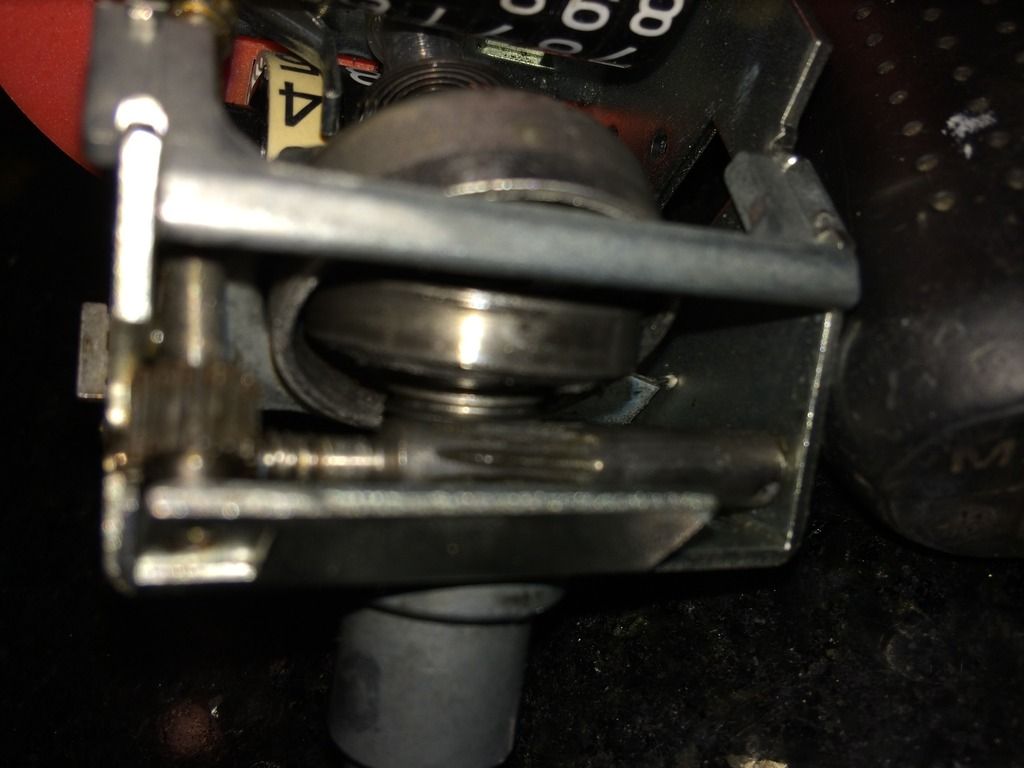
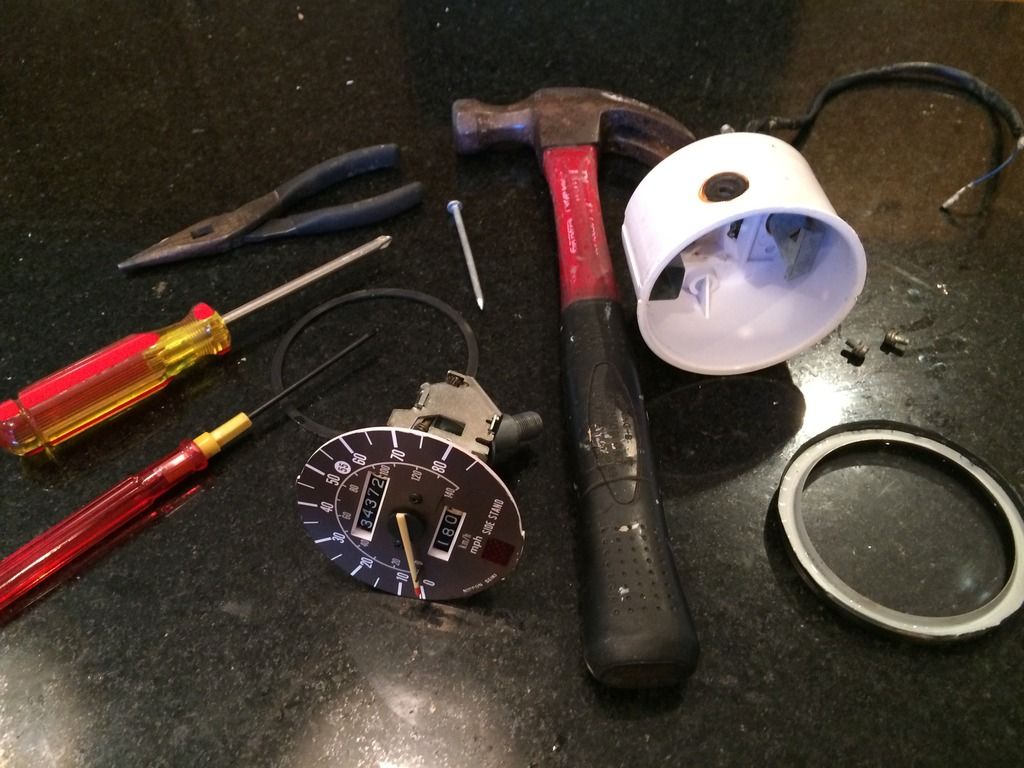
I have gone through two speedo cables and finally figured out that it was the old hard grease in the gauge that was dragging and breaking the cables. So to remedy that I got into the speedometer, cleaned it up and put it back together.
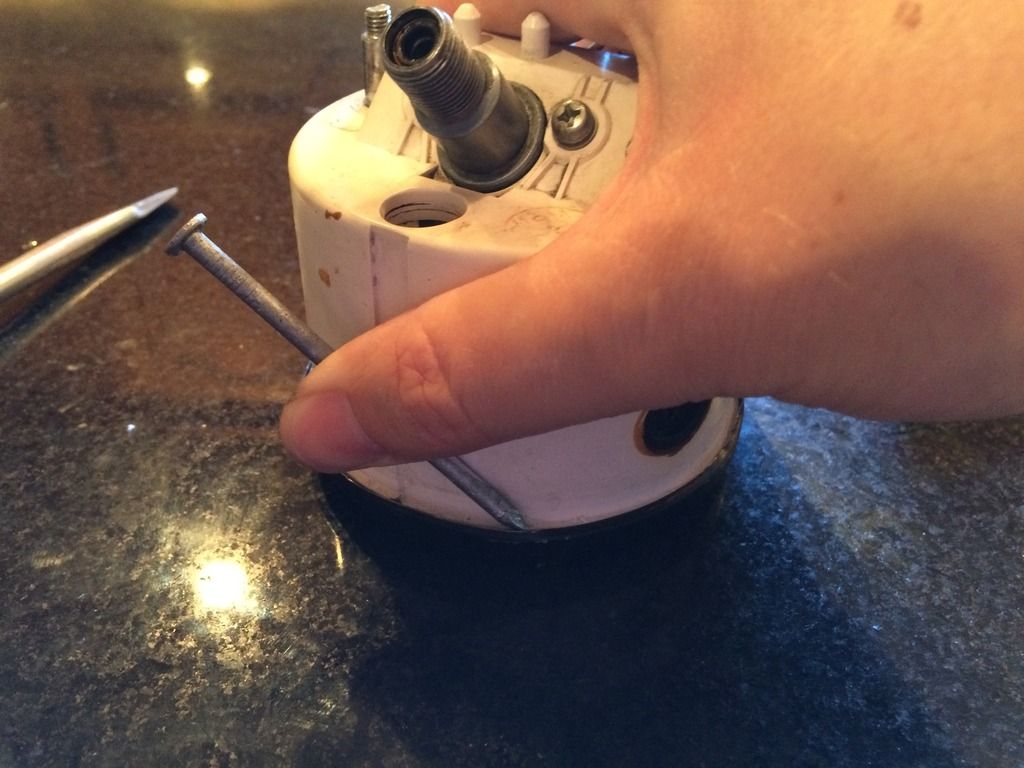
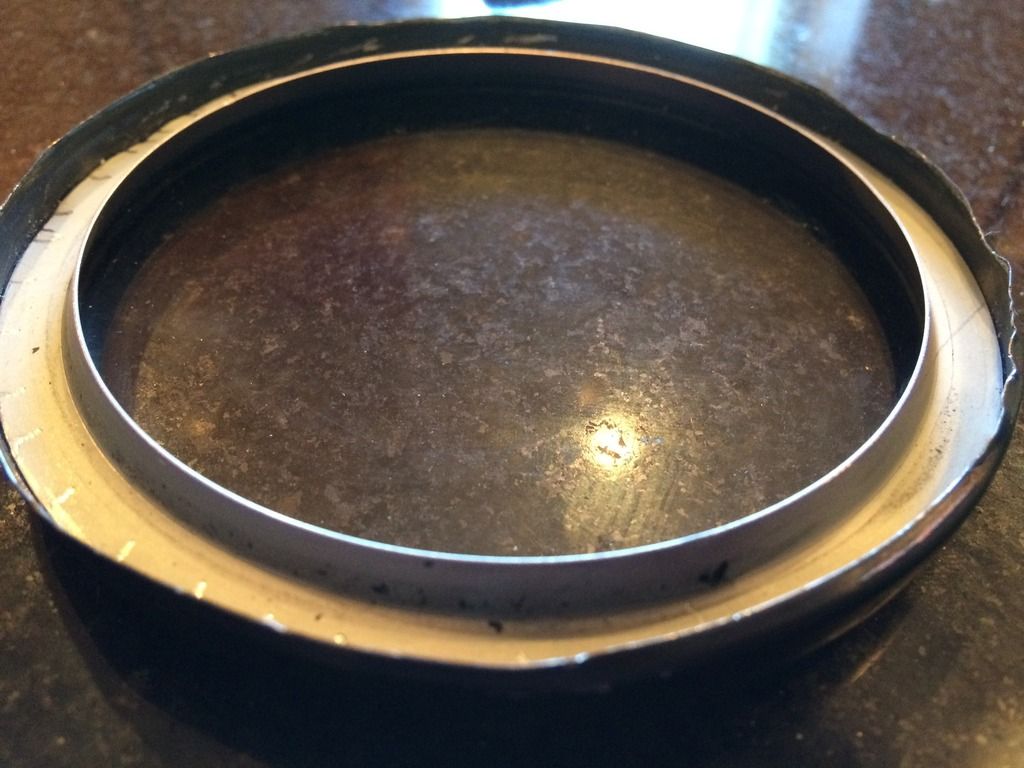
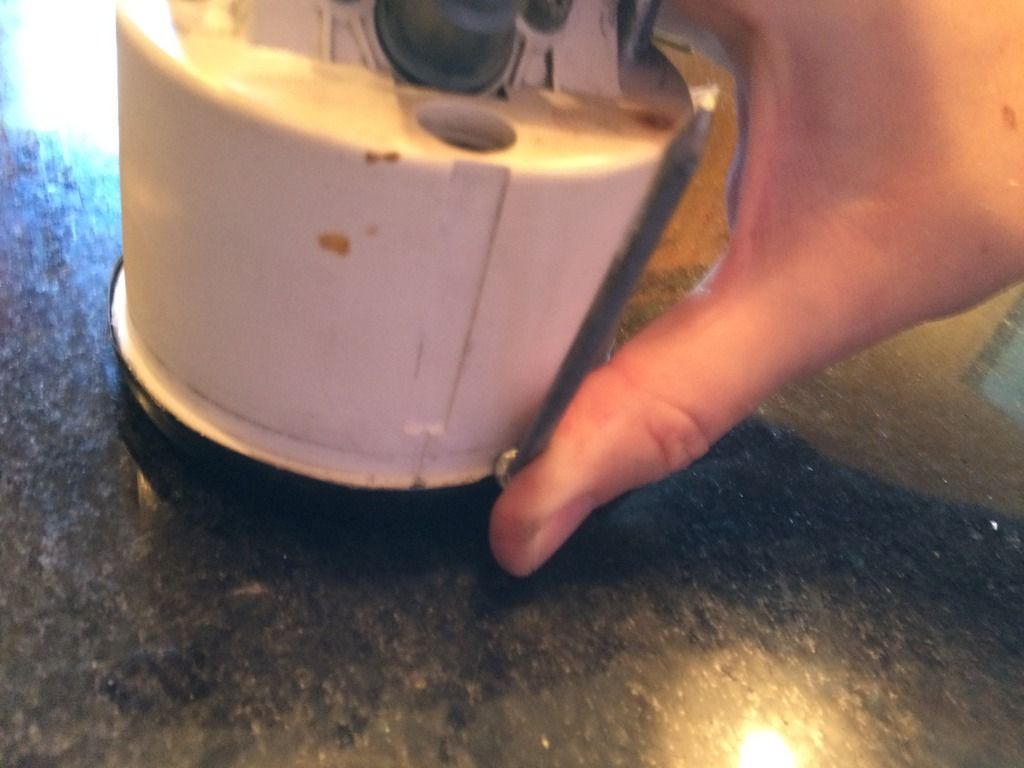
I started with a nail and hammer, methodically tapping around the bezel of the lens to bend the lip up.
After removing the bezel I cleaned up the mechanism with some carb cleaner followed up by some Balistol:
Then I reversed the process by using the head of the nail to tap the lip of the bezel back down:
It takes more time, but I prefer this process to cutting the plastic cup. If you take your time you can get the bezel looking almost as good as stock. Once you put the sleeve back on the gauge you can't tell the bezel was touched.
The gauge is turning freely now and a new cable is on order.
Comment
-
GateKeeper
Tip of the day.....next time you can use a paint lid tool to pry the metal back...so I have heard...
Comment
Comment