.png "Powered by vBulletin")
sometimes it's the little things that we forget....
they say it's old age kicking in.....LOL
.
-
 Guest replied
 -
Guest repliedBrand new intake boots, so I don't think there was anything in the threads. The adapter was cracked apparently. Put it in and got two light turns on it and it broke. It never even tightened up. I backed the piece in the boot out with my finger tip. That's how easily it broke. Not enough thread to use it. The others are fine. And yes, I got the rubber caps with them.
Couldn't believe I didn't put the fuel lines in. Had to laugh a little at that one.Leave a comment:
-
Guest repliedCrap.....why did it break ? flaw in the adapter ? or crap in the threads, how are the other ones, any visible issues...
maybe you can still use that one, if there is enough thread left ?
you did get rubber caps for them as well, I hope...
good thing you got those fuel lines in, now and not afterwards....I don't think the bike would have run much with out them.....LOL
.Leave a comment:
-
Guest repliedOk that's better. Fuel tubes and vacuum t's installed.
Now I'll just install the 5mm brass sync adapters I just got from Z1.
grrrrrr......
Barley tightened it down and it broke off in the intake boot:
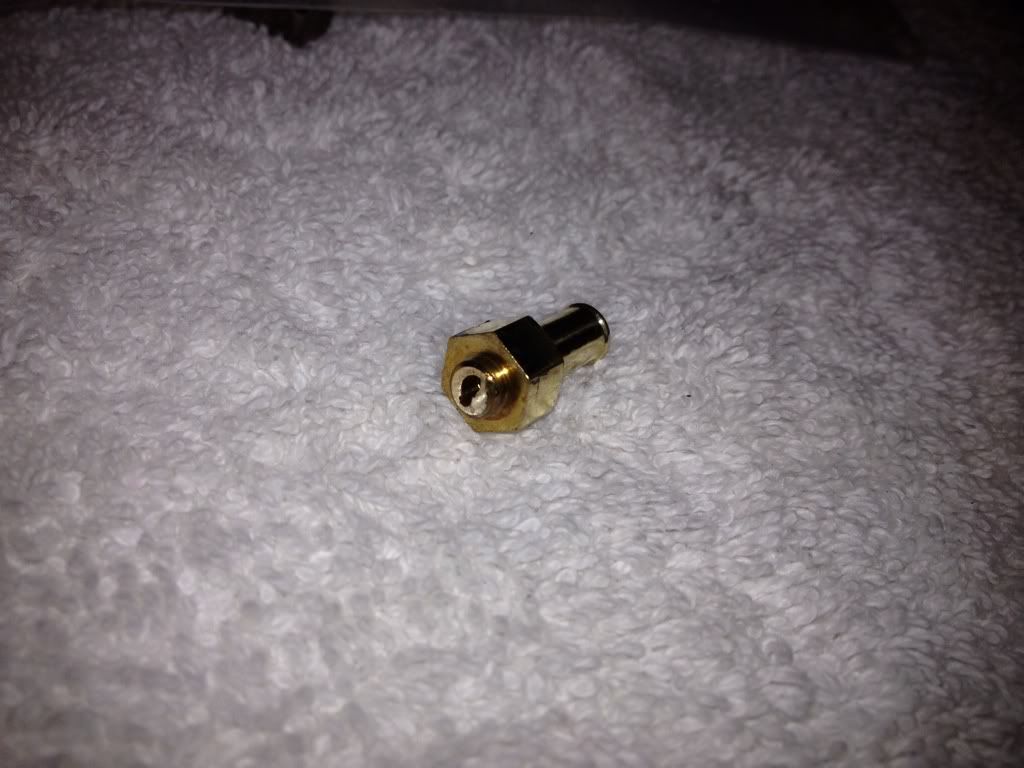
Email sent to Bakes. I'm sure they will take care of me.Leave a comment:
-
Guest repliedDohp!!!!
Not so fast GK
So I'm sitting at dinner with the fam and thinking to myself how cool it is that I finished the carbs. Thought, "I'll just go out after dinner and hook up the vacuum tu........DANG IT!"
Forgot to put the fuel tubes and vaccum t's in when I put them together!

Leave a comment:
-
Guest repliedVery nice......WOW.....

now I have to go and find your address, I think I have a package to send to you.....Leave a comment:
-
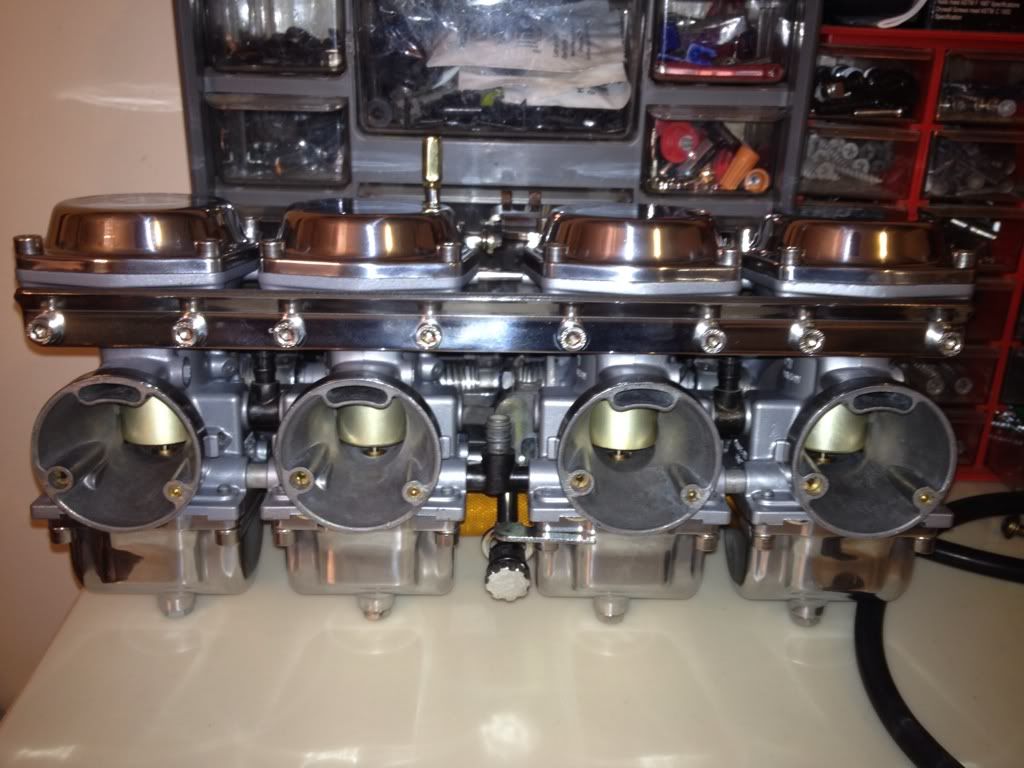
Guest repliedCarbs are done
Cleaned. DJ Stage 3 Kit installed correctly. Painted. Polished. Put back together.

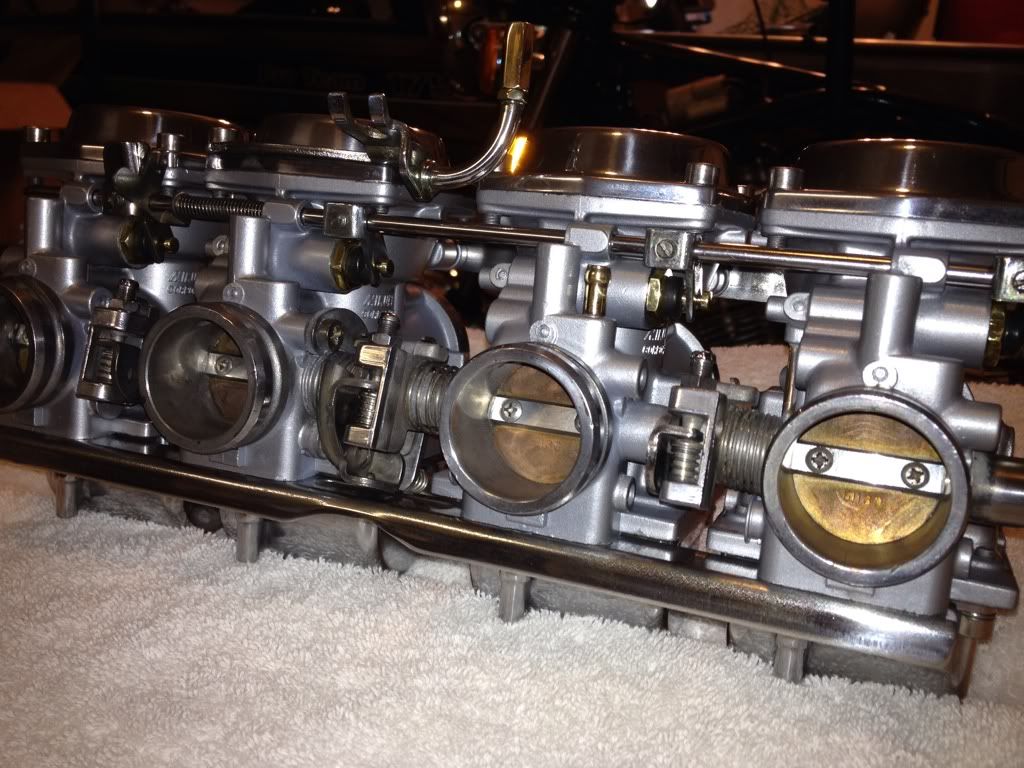

Now let's see if they work.
Leave a comment:
-
Guest repliedHere is the outcome of the prior post:
.png)
Now I can hurry up and get to the next problem!Leave a comment:
-
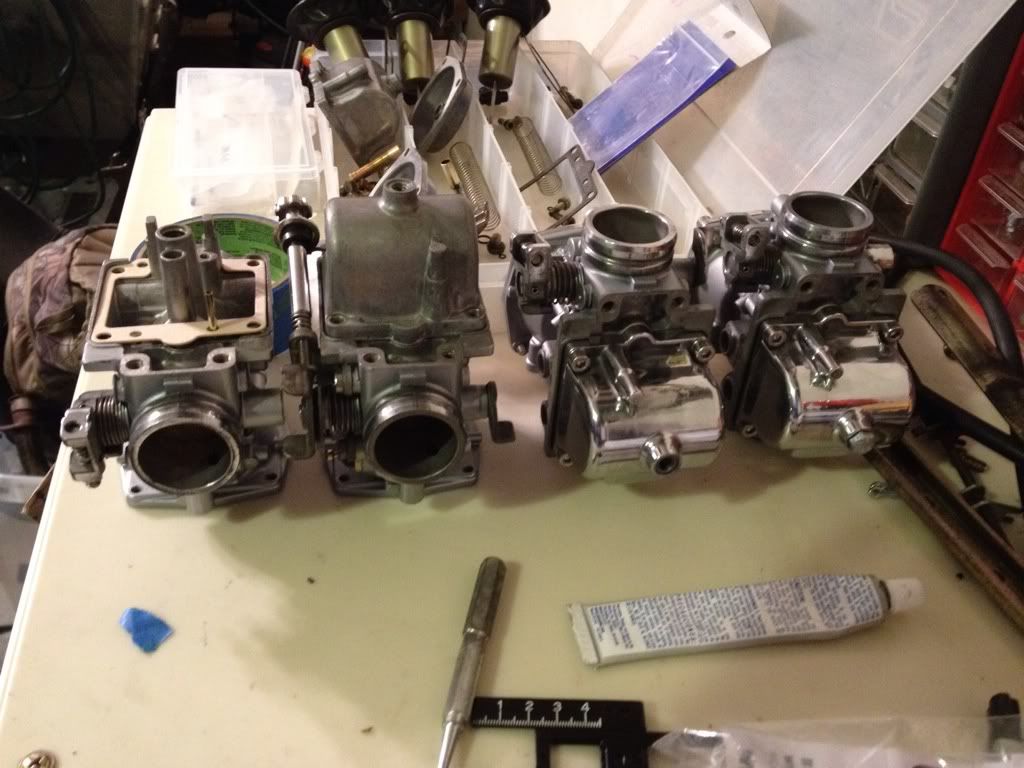
Guest repliedhmmmm....this ain't right
PO Carb set up:
Old intake manifolds and o-rings ----- survey says ------- X (eeerrrrrrrrrrr!!!!!)
170 mains ----- survey says ----- X (eeerrrrrrrrrrr!!!!!)
Needle set up completely jacked up and no stock washers ----- SURVEY SAYS ------- (eeerrrrrrrrrrr!!!!!)
Three strikes, he's out folks!
This is what I have, and according to the Dyno Jet instructions, what I should have:
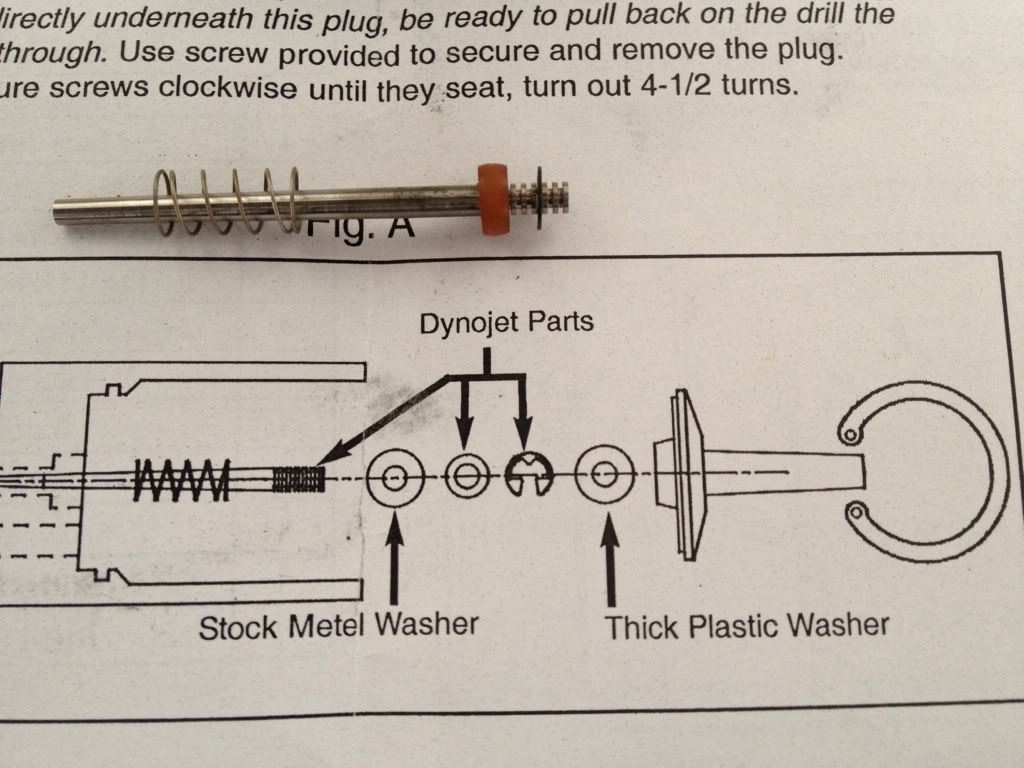
Gonna have to find some washers!
Leave a comment:
-
Guest repliedThanks Randy. I went ahead and ordered a pair of pliers along with some 5mm brass sync adapters from Z1. They are on the UPS truck to be delivered as we speak.Leave a comment:
-
Guest repliedI went to Sears and they had nothing that would work. I went to Harbor Freight. I found a cheap pair of needle nose pliers that almost worked. I rounded the ends off with Dremel and they worked great. I also found washers at the Dollar General store that are perfect replacement for that little white spacer.Originally posted by Good Times View PostLeave a comment:
-
Guest repliedThanks GK.Originally posted by GateKeeper View Post
Just put my order in for some pliers at Z1 along with some 5mm brass sync adapters. One more cap and bowl to polish, a couple of odds and ends and I'll finish the carbs up when I get my pliers and such.
Thanks HavoK. Thanks for taking the time to read the thread. I've learned a lot and have really enjoyed the process. Knowing the bike inside and out is a really great thing. Plus, it's just been good time out in the man cave.Originally posted by havoK View PostLeave a comment:
-
Guest repliedRead this entire thread in one sitting, it is really inspiring to see what is able to be done to these bikes, it's gotta be cool to know that your bike is one of a kind, and know all the workings inside and out...great job on the rebuild, will be watching as you cross the finish...safe riding and nice work!!!Leave a comment:
-
Guest repliedGT, you sure are taking this to a whole new level.......very nice work....
as for the pliers, get them, I know of no easy way to remove the clips with out them, especially in this circumstance, you can get really cheap ones, to get you by...
.Leave a comment:
-
Guest repliedWork continues in the mad scientist lab of restoration. Painted the last carb body this afternoon and am still polishing bowls and caps.
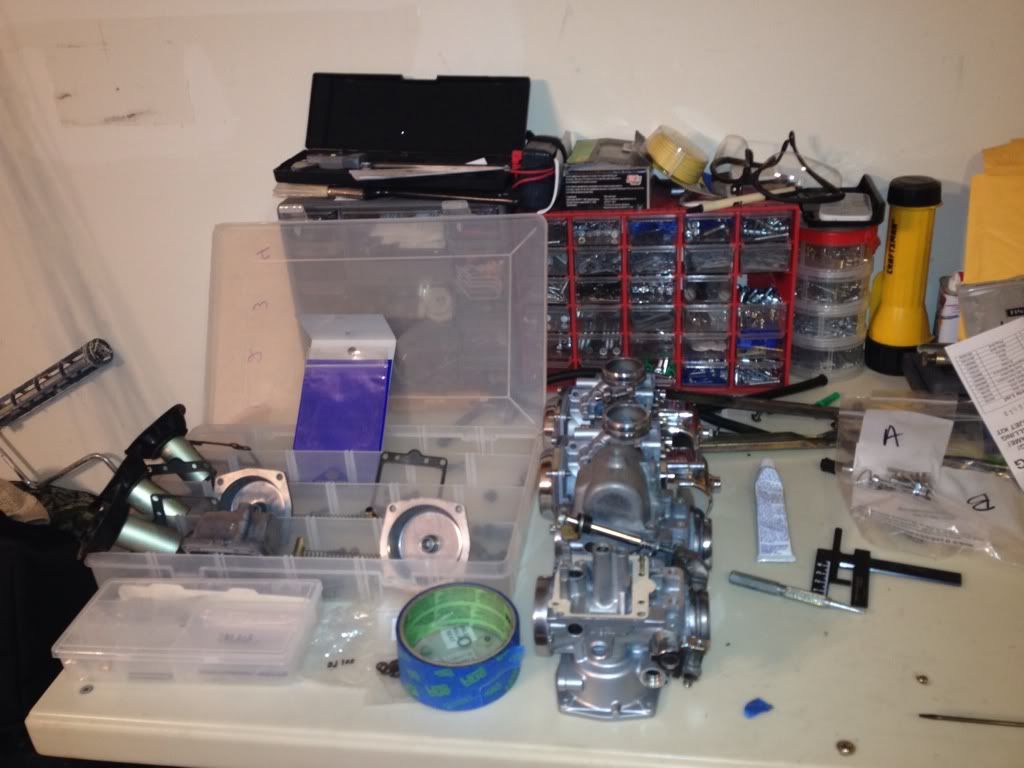
Anyone have a trick to getting the snap rings out of the slides without snap ring pliers?
I think I'm going to have to buy some pliers.
") Last edited by Guest; 08-19-2012, 11:16 PM.
Last edited by Guest; 08-19-2012, 11:16 PM.Leave a comment:
Leave a comment: