Announcement

Collapse
No announcement yet.

78' GS550 project.

Collapse
X
 
  • Filter
  • Time
  • Show
Clear All
new posts

    #16
    Gatekeeper,

    I think I may have a sheet of foam and a dolly around here somewhere...


    (foam to the left (on door), dolly to the right)

    All I need to make it even is a nice snow mobile!

    ETA: why is your floor green?
    Last edited by Guest; 12-29-2011, 12:12 AM.

    Comment


      #17
      Originally posted by D-Mac View Post
      These engines are HEAVY. It's really a two person job if you plan to move it anywhere (unless you're built like a truck). You can turn the frame over to take it out the right side, but you'll probably want to move it somewhere afterwards.

      Great pics. It's pretty crazy what some people do to these bikes.
      Ya, I'm not really built like a truck. I'm 41 years old with arthritis.
      I do have an excellent neighbor across the alley that is a pretty big fella and he owes me. I welded up some stuff for him when he was restoring an old MG midget this past summer.

      And ya, the more I see on this bike the more I shake my head...

      Bruce.

      Comment


        #18
        Looks like you got it all covered including the muscle....LOL

        Comment


          #19
          Or maybe I should get one of those shirts that say on the back "If you can read this, the bitch fell off"?
          That is tooo funny. Haven't heard that one before.

          Yeah, from over on it's side, remove all the frame motor mounts and lift. Just did it today and trust me, that frame is a whole lot lighter than that motor.

          So get busy with it. It will all come together as you move along.

          Oh, and don't forget the pics!

          Sci85

          PS. And nice job noticing my missing caliper. ;-)
          1982 GS550M Rebuilt Winter '12 - 550 to 673cc engine conversion.
          1989 Kawasaki ZX-7 Ninja
          2016 Ducati Scrambler Full Throttle

          Comment


            #20
            Originally posted by Sci85 View Post
            That is tooo funny. Haven't heard that one before.

            Yeah, from over on it's side, remove all the frame motor mounts and lift. Just did it today and trust me, that frame is a whole lot lighter than that motor.

            So get busy with it. It will all come together as you move along.

            Oh, and don't forget the pics!

            Sci85

            PS. And nice job noticing my missing caliper. ;-)

            I actually have a plan for removing the motor.
            I'm going to build a small 2' x 2' table on wheels the same height as the bike table.
            push it beside the bike table and tip the bike over onto it.
            Then I will do as you and other have recommended, unbolt and lift the frame back up.

            The caliper reminded me of the time I bought a car but couldn't bring it home right away. I paid the guy and went and borrowed a friends trailer to haul it on. When I got there the guy had removed various parts thinking I wouldn't notice.
            I had to threaten to call the cops before he gave me the pieces.

            Bruce.

            Comment


              #21
              Way too much effort! The absolute easiest way to remove and install engines in these bikes, I have done a dozen or so,
              is to place a jack with a board under the oil pan between the frame and a board just over the height of the frame outside
              and walk the engine over by rocking it side to side.


              Dropping the engine on the floor and lifting the frame is for the birds.


              BTDT.

              Daniel

              Comment


                #22
                Haha, I was just about to post a link to your option Daniel. But you beat me to it. If he has a table lift then this might be a better option.

                BTW, shoot me a link to how you got that engine so clean it would take paint. That engine is so nice.

                Sci85
                Last edited by Sci85; 12-29-2011, 10:31 PM.
                1982 GS550M Rebuilt Winter '12 - 550 to 673cc engine conversion.
                1989 Kawasaki ZX-7 Ninja
                2016 Ducati Scrambler Full Throttle

                Comment


                  #23
                  I didn't get anything done on the bike today because the wife cooked a nice ham and I stuffed myself like a pig and feel sluggish.
                  I should probably spend a little more time inside the house with wifey anyway.

                  I did manage to pick up a drain pan.


                  and some sockets I was told I will need. I have tons of tools but nothing over 18 mm. I do now.


                  I was also looking at the carbs sitting on the bench and noticed the two center carbs are not connected like the others.
                  Should they be? (sorry for the blurry pic)


                  I suppose I will find out when I get around to rebuilding them.

                  I don't go back to work until the third so I am hoping to get a lot done by then.

                  Bruce.

                  Comment


                    #24
                    Originally posted by 7981GS View Post
                    Way too much effort! The absolute easiest way to remove and install engines in these bikes, I have done a dozen or so,
                    is to place a jack with a board under the oil pan between the frame and a board just over the height of the frame outside
                    and walk the engine over by rocking it side to side.


                    Dropping the engine on the floor and lifting the frame is for the birds.


                    BTDT.

                    Daniel

                    Thanks Daniel,
                    I may just go this route.

                    This way would work better for my situation I think + I could do it without moving the bike.
                    I'd rather not remove the wheels until the engine is out.

                    Bruce.

                    Comment


                      #25
                      Not sure about the bracket on the seat rails but this one is a bendable clamp to hold the electrical wiring in place and is actually very handy. I would leave that one or any like it if I were you, you may find them useful later.

                      Paul

                      Comment


                        #26
                        Tonight was interesting if not overly productive.

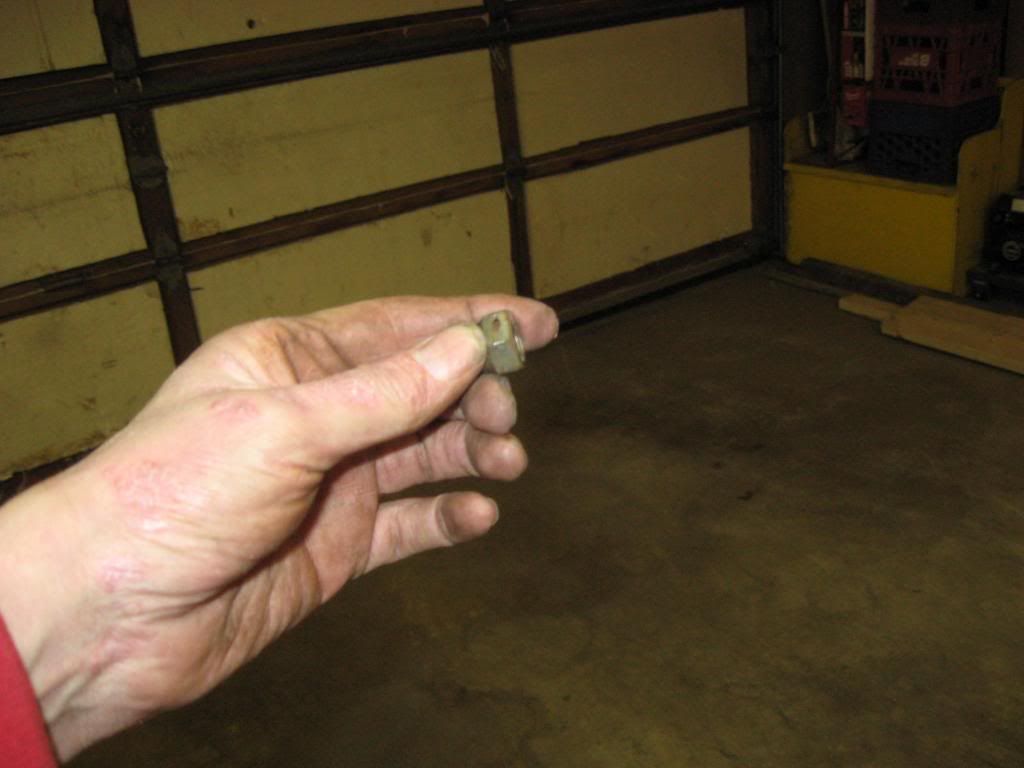
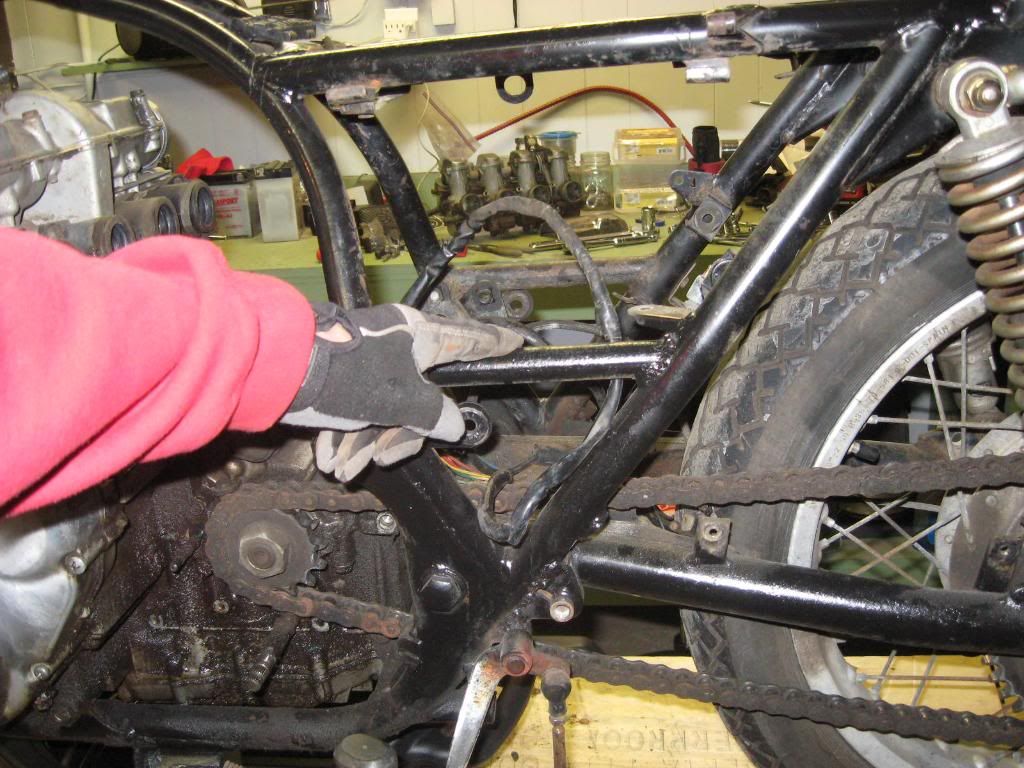
                        These pics are a little blurry but This bike has obviously been raced at one point or did they all come with holes drilled for safety wiring?


                        I also wonder if these have been welded in by a PO. The pipe is different than the rest of the frame and the welds are horrible.


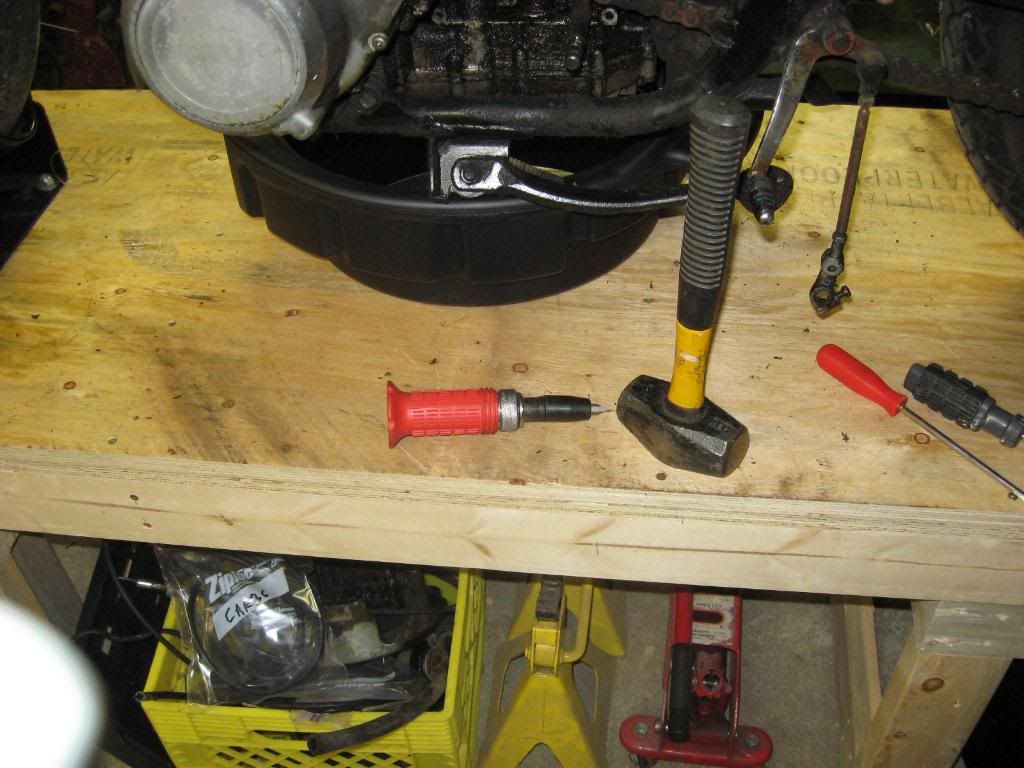
                        In other news, I drained the oil that was about as black as when it was pulled from the ground. And yes, I did drop the drain plug in there.


                        I removed the rusty greasy chain that I was going to soak in kerosene and re-use but the sprockets are in such rough shape I will replace all three.


                        I also removed the starter cover that was horribly rusted. I didn't take any before pics but here is after about 5 mins with a wire wheel on the grinder.


                        I have never used this as much as I have on this build. I don't know how I would get by without it.

                        Comment


                          #27
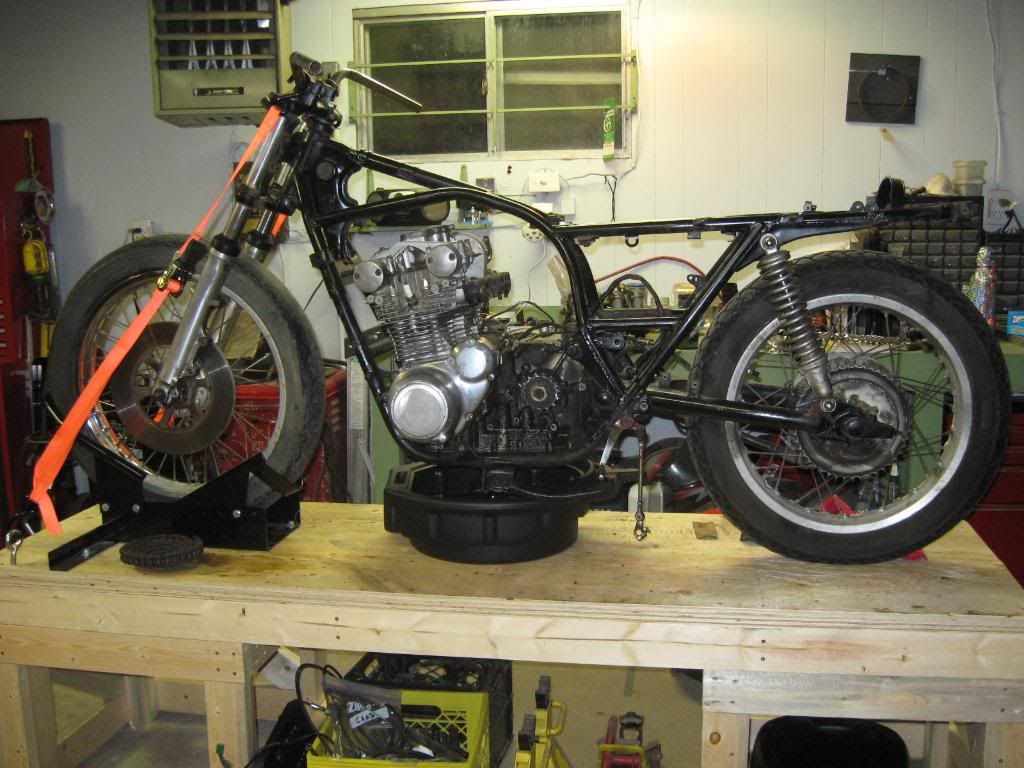
                          I also fooled around for about 5 minutes to see how the wheels will polish up. Looks like with some effort they will be cool.


                          And as she sits tonight...


                          Thanks for looking,

                          Bruce.

                          Comment


                            #28
                            Originally posted by Redneck View Post
                            Not sure about the bracket on the seat rails but this one is a bendable clamp to hold the electrical wiring in place and is actually very handy. I would leave that one or any like it if I were you, you may find them useful later.

                            Paul


                            Thanks Paul but I was referring to the thing in the center of the pic. I will however be keeping the wire hook thingys.

                            Bruce.

                            Comment


                              #29
                              Moving along very quickly.....good job

                              Those rims will look good once they are cleaned up, I hope the spokes will come out just as good, if not you can paint them, or get them dipped and electroplated, or get new ones as a last resort

                              Comment


                                #30
                                Originally posted by brslk View Post
                                Thanks Paul but I was referring to the thing in the center of the pic. I will however be keeping the wire hook thingys.

                                Bruce.
                                The horn mount?

                                Daniel

                                Comment

                                Working...
                                X