Announcement

Collapse
No announcement yet.

Bringing my '81 GS850G back to life

Collapse
X
 
  • Filter
  • Time
  • Show
Clear All
new posts

    Bringing my '81 GS850G back to life

    Hi All,


    I'm back after a 4 year hiatus. Unfortunatley, life interfered and my GS project got pushed to the side. Regardless, I'm glad to be back working on my bike. My original username was Bruno for anyone who remembers.


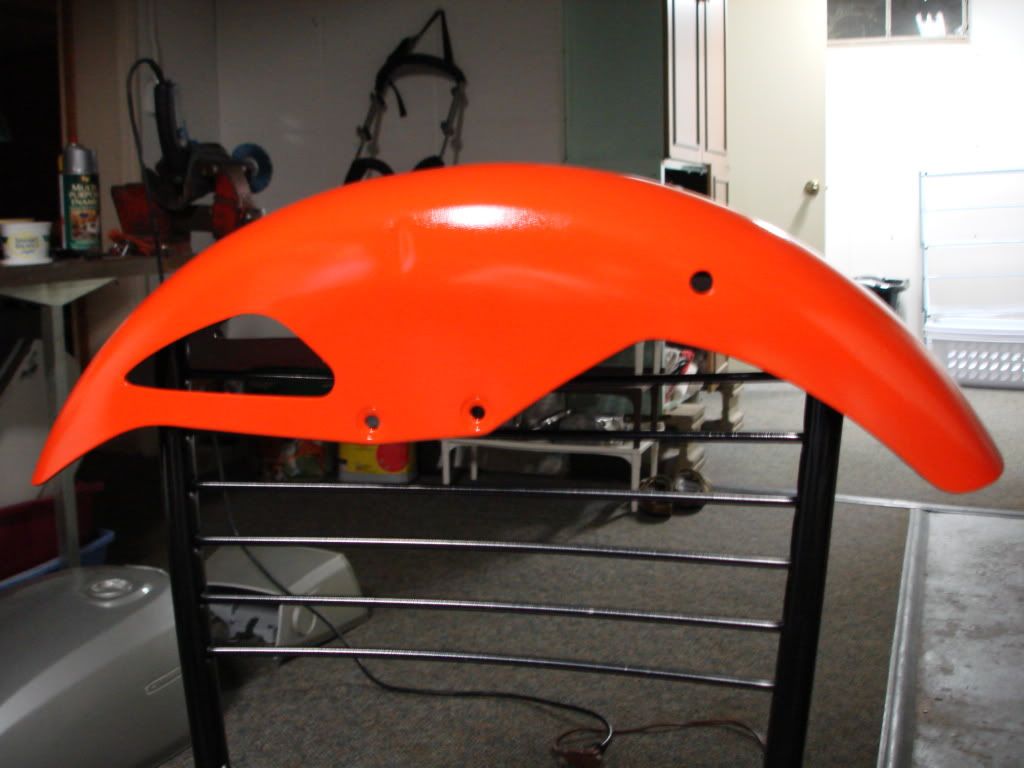
    While trying to figure out where to start up again, I picked up the front fender from it's resting place in the garage and noticed one side was a different shade than the other. I'd already painted all of the body parts. The lacquer paint job had yellowed making the silver take on a greenish tint. Ugh.


    I didn't cry too much.


    The new color is (drumroll please...) HUGGER ORANGE!


    If you're interested in seeing pics of the project, you are welcome to check out my photobucket site.


    http://s236.photobucket.com/albums/ff19/Bruno31/Motorcycle%20Pics/?start=all

    #2
    Bike looks like it is off to a very fine start!
    Love that seat!
    So, what color/colors is it going to be now?
    Silver w/ hugger Orange or Silver or Orange?

    Daniel

    Comment


      #3
      Thanks Daniel. It's been a lot of work and I've still got a ways to go. The entire bike needed to be repainted, so it will be orange. The different body parts didn't even yellow evenly, so everything needs to be repainted. I'm through with silver as it is bound to yellow again, so I may as well go with a color that won't be affected by it.

      The overall color scheme should look pretty sharp. Blacked out engine, orange body parts, polished engine covers with a chrome exhaust.

      The bike will have modern touches such as the seat and an all in one speedo/tack and have a very clean look. I'm going for a modern take on a great '80's bike.

      I'd really like to relocate the ignition switch to somewhere on the left side. Has anyone done this or have any ideas?

      Comment


        #4
        Seat

        Really like that seat cover, can you share where you got it?

        Comment


          #5
          Originally posted by G. Bruns View Post
          I'd really like to relocate the ignition switch to somewhere on the left side. Has anyone done this or have any ideas?
          I would make a mount out of 1/8" steel or aluminum and mount it between the left ear of the speedo mount or
          the original ign. mount hole and the upper fork tube mount above the rubber cushion for the headlight ear.

          Daniel

          Comment


            #6
            I got the seat cover from Sargent Cycle. They do very impressive work. I paid $60 for mine. I'm not sure what they are charging now. They'll even rebuild your seat for you if you're willing to pay. You can easily find them online.

            Thanks for the suggestions, Daniel. I appreciate it.

            Comment


              #7
              It's been awhile since I've posted any pics of my project, and since I now know how (thanks to BassCliff's site), I will.

              As you can see, this bike is getting the head to toe treatment. I've only ridden it once, then ripped into it. It needed EVERYTHING! I can't tell you what wasn't wrong with this bike except the price. Here's a list of things I've done so far:

              Restored seat pan and recovered seat
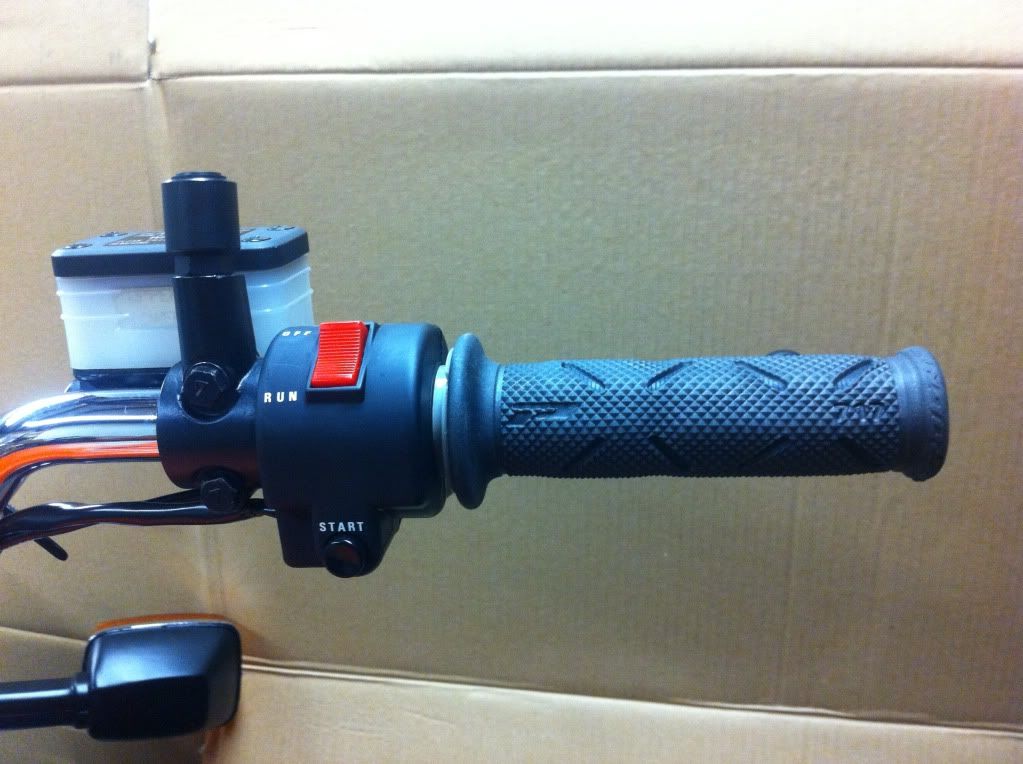
              New front master cylinder resevior
              New handlebars
              New control switches, left and right
              New grips
              Cleaned and painted engine
              Ground down rusty frame and painted with Rustoleum
              New footrests all around
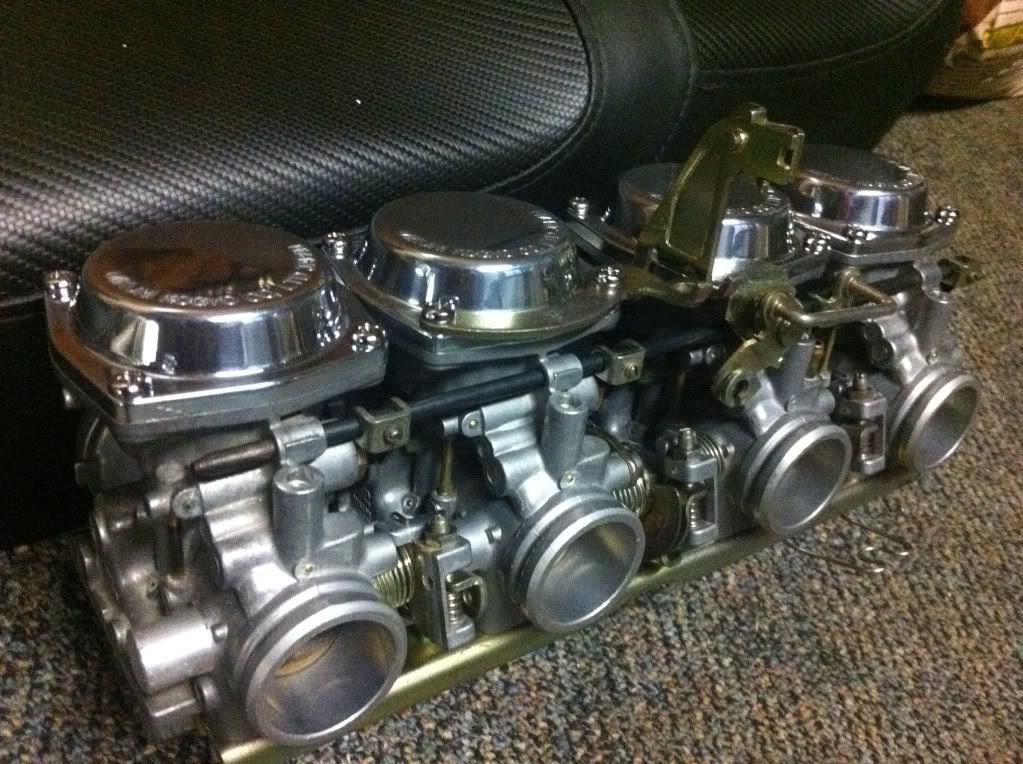
              Rebuilt carbs w/ new O rings (Thanks Robert!)
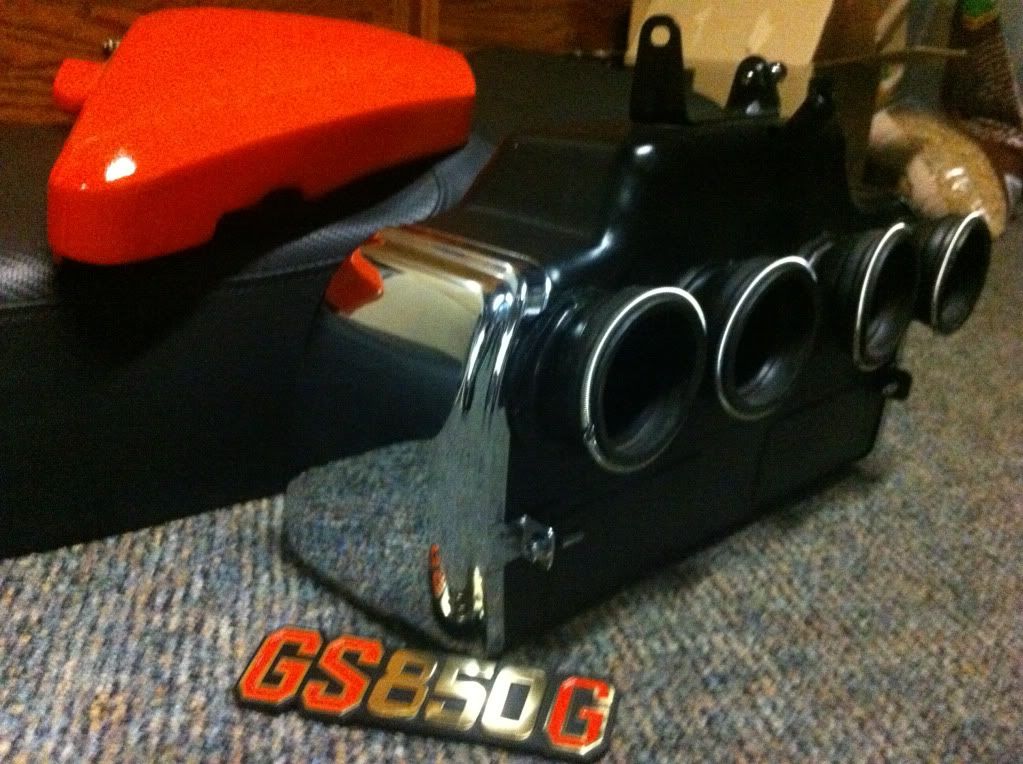
              Cleaned and painted airbox, even bought the new little springs that go on the boots.
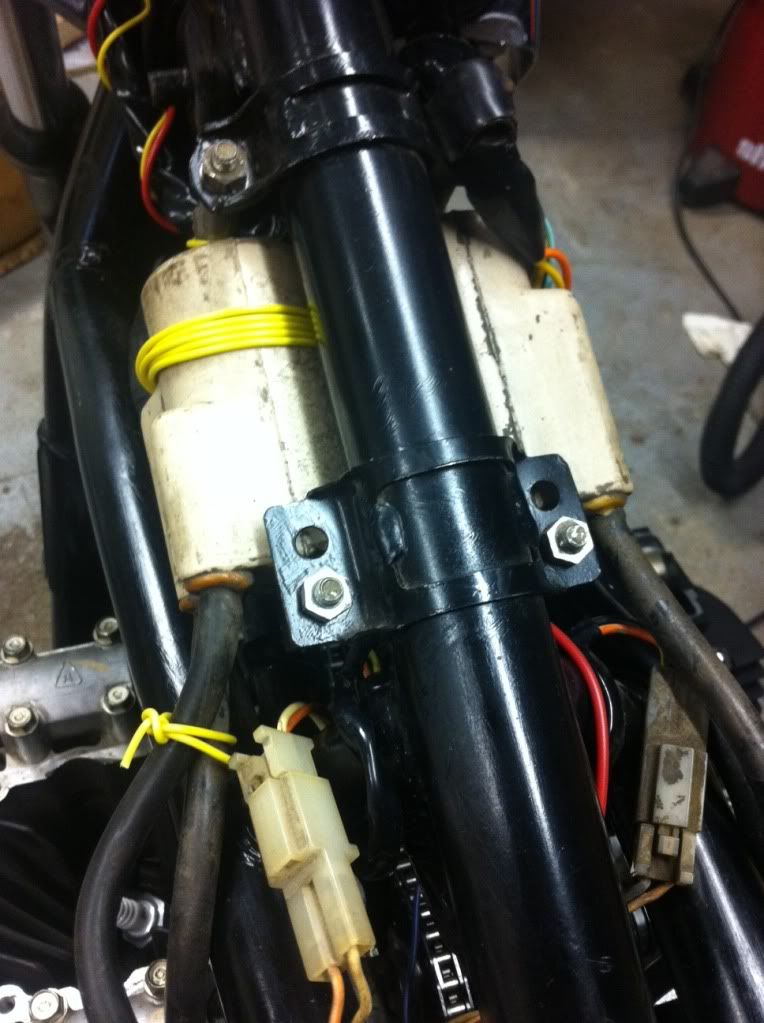
              New wires/coils
              Rebuilt starter
              Adjusted shims
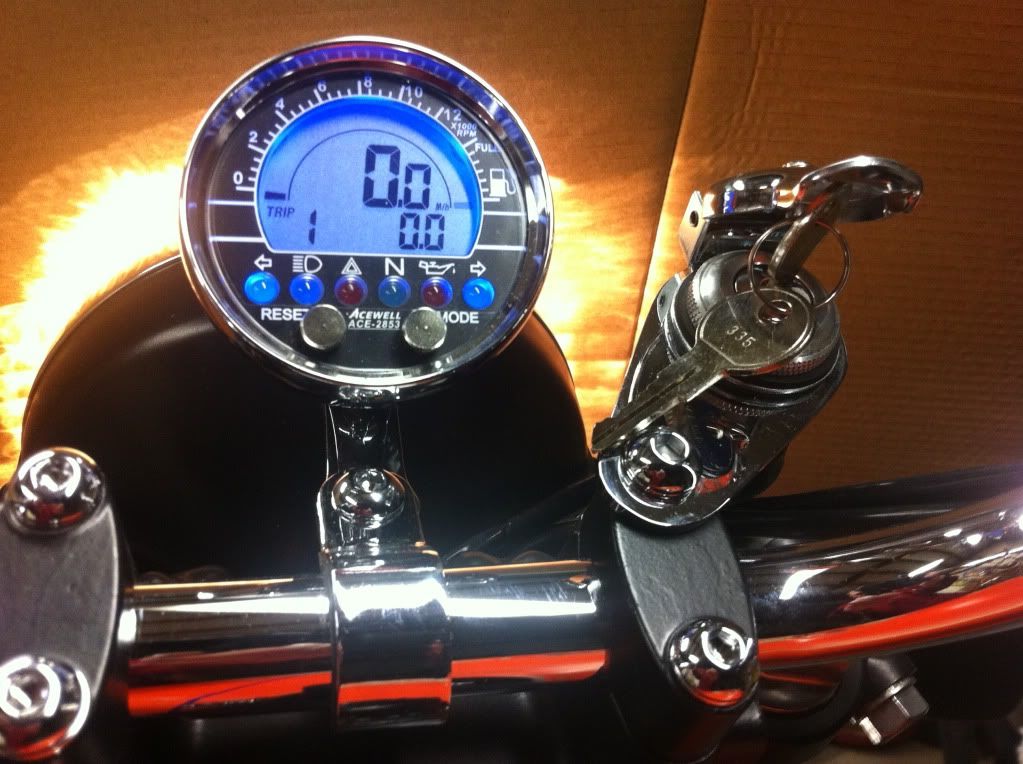
              Installed Acewell 2853
              etc., etc...

              I'll just let the pictures tell the rest of the story. You can view the entire album here if you'd like.
              Store your photos and videos online with secure storage from Photobucket. Available on iOS, Android and desktop. Securely backup your memories and sign up today!


              Here are some previews.


              Theres still more to do before it's ready to ride. Thanks to everyone in the forum. Not just to those who answer the questions, but also to those who ask them. The information is invaluable to my project.

              Comment


                #8
                where did you get the ignition switch?

                Comment


                  #9
                  I love pro-grip grips... SOOO comfy.

                  Comment


                    #10
                    I got the ignition switch set-up from Partnmore. http://www.partsnmore.com/parts/suzuki/gs850g/?filters[category]=electrical&filters[fitting]=universal&filters[page]=2

                    I really like it. Very nice for the money. My bike didn't come with the original ignition switch, so I considered a number of options including relocating the switch to the side cover or somewhere off the frame. Then I stumbled on this and the decision was easily made. Looks pretty good, eh?

                    Yeah, I love Progrips too. These aren't quite as cushy as the other ones I've got, but hey, If I don't like 'em, another pair are just a few click away.

                    Comment


                      #11
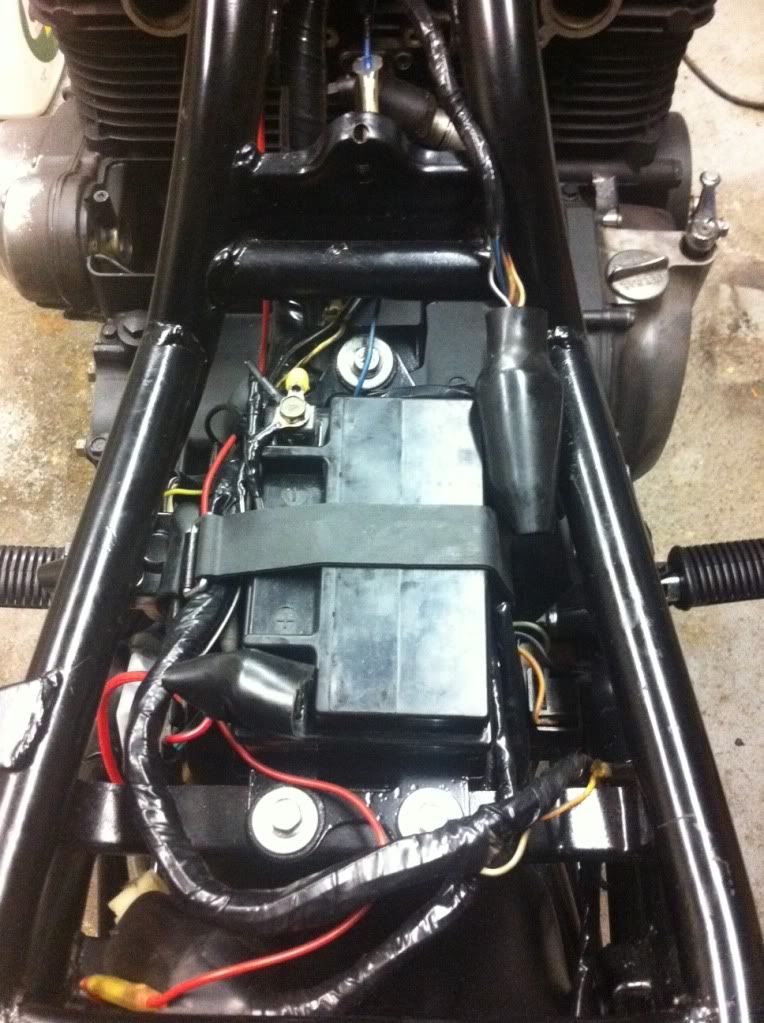
                      Today found me sorting through the wiring yet again. This time some final soldering, cleaning connections, and putting everything in it's final place. It's very gratifyting to take what was a mangled, chewed up, semi-charred mess and turn it into something that resembles an organized, clean wiring system.

                      While I openly admit that I didn't know if the the original coils and wires were technically up to snuff, I can also tell you that I wouldn't have cared if they were. This is a complete rebuild and the old stuff needed to be gone. The coils were the last gravel and oil caked reminder of the bike that was, and they had to GO. I'm saving everything and will be giving it away to anyone who may want some leftovers.


                      Here are some pics of the the more ordered wiring . I still have some electrical tweeks to do to make sure the charging system is functioning well, but won't be able to do much until I get the bike running again. For the time being though, every wire at least has a home. Let me know if you see anything terribly out of place.


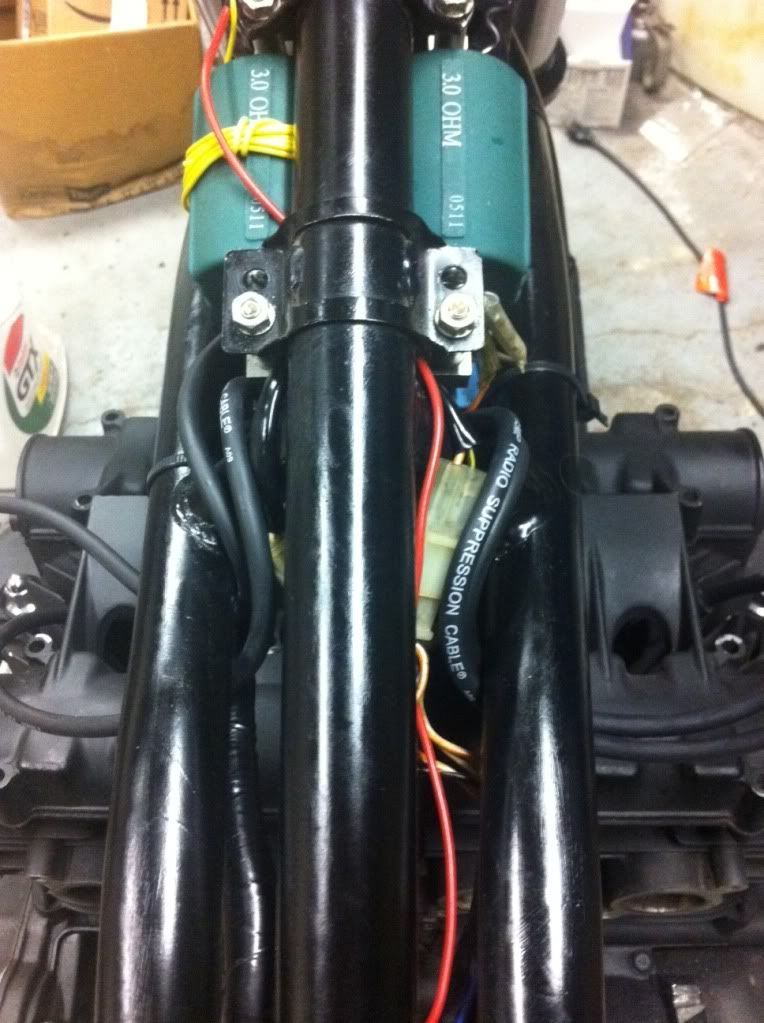
                      Last but certainly not least, a new set of Dyna coils and new plug wires. I went with the suppression wires as I've got an Acewell gauge and didn't want to risk interference. Anyone else have this coil/wire set up? Feedback?

                      Comment


                        #12
                        Originally posted by G. Bruns View Post
                        I went with the suppression wires as I've got an Acewell gauge and didn't want to risk interference.
                        What plug caps did you use?

                        If you use suppression wires, you need non-resistive caps. The stock wires are solid core, so have resistive caps.
                        If you used the stock caps with your suppression wires, you might not get enough 'fire' to the plugs.

                        .
                        sigpic
                        mine: 2000 Honda GoldWing GL1500SE and 1980 GS850G'K' "Junior"
                        hers: 1982 GS850GL - "Angel" and 1969 Suzuki T250 Scrambler
                        #1 son: 1986 Yamaha Venture Royale 1300 and 1982 GS650GL "Rat Bagger"
                        #2 son: 1980 GS1000G
                        Family Portrait
                        Siblings and Spouses
                        Mom's first ride
                        Want a copy of my valve adjust spreadsheet for your 2-valve per cylinder engine? Send me an e-mail request (not a PM)
                        (Click on my username in the upper-left corner for e-mail info.)

                        Comment


                          #13
                          It's a Dyna 7mm black set that have the boots built in, so there shouldn't be a problem with that. Thanks for watching our for me though! I appreciate it.

                          Comment


                            #14
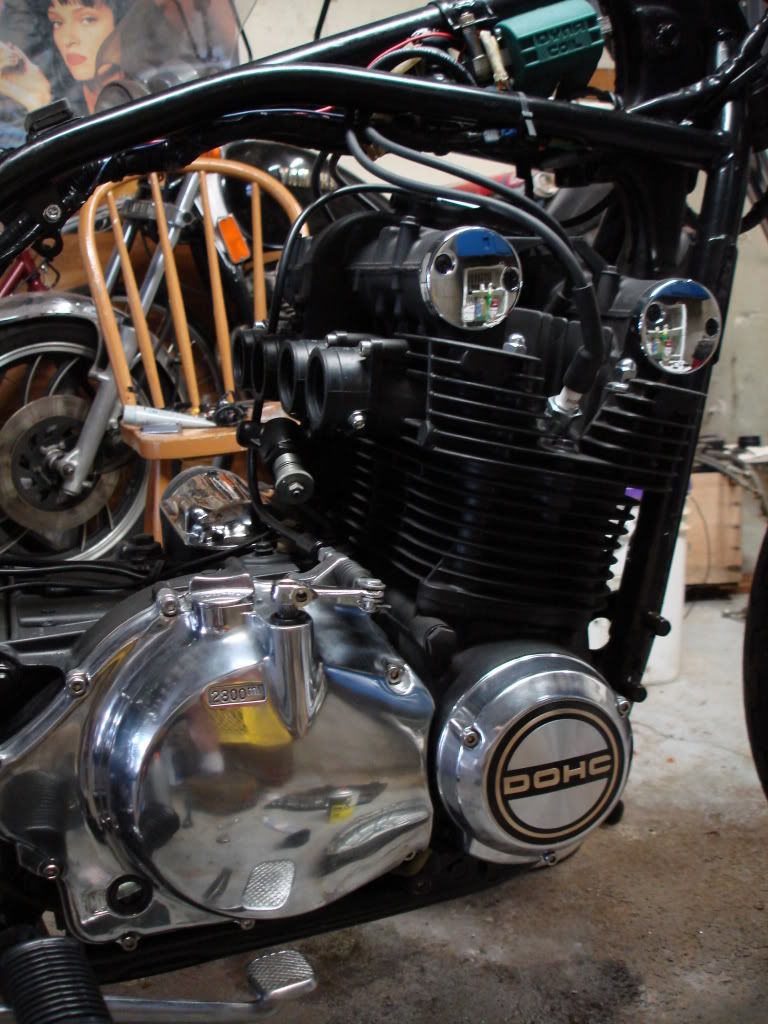
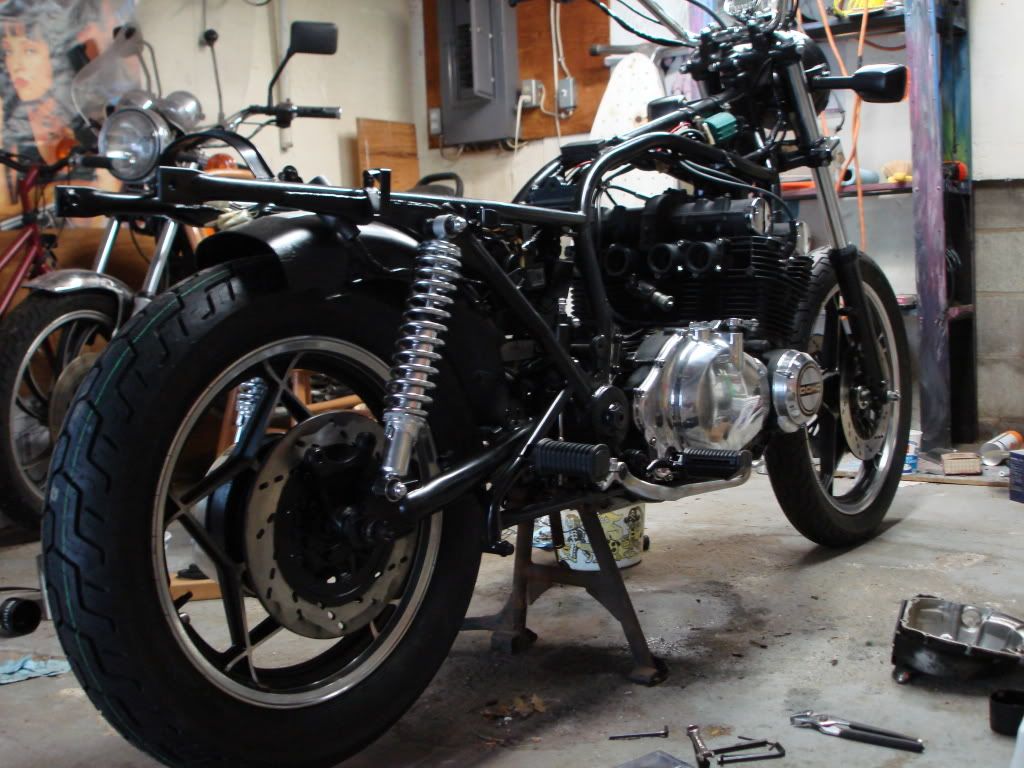
                            Here are some fresh pics! I got the two right side engine covers shined up and back on the bike. I debated on restoring the original DOHC sticker which is the plain black version I prefer and is original to the model, but opted for the new one with gold-tone as it will match the one I have for the stator cover. Less obvious improvements include a rebuilt rear master cylinder, new rear wheel bearings, rear tire, and new carb intake boots. I also cleaned up and re-packed the swing arm bearings.

                            I spent a good amount of today cleaning up some nasty crash bars that were well used, meaning, they had obviously both seen a crash. A Flea-bay special I couldn't resist due to their low cost, but I probably should have passed on 'em.


                            I was originally concerned about painting over chrome, only to find out the chrome was thinner than the foil on those little chocolate easter eggs. A few passes of an orange nyalox wheel and it was gone. My theory on the crash bars...If I'd have bought new ones, I was sure to go down. If I bought the rattiest, nastiest things I could get my hands on, they would grace my bike unscathed for years. Hey Life, I'm learning!!!

                            Comment


                              #15
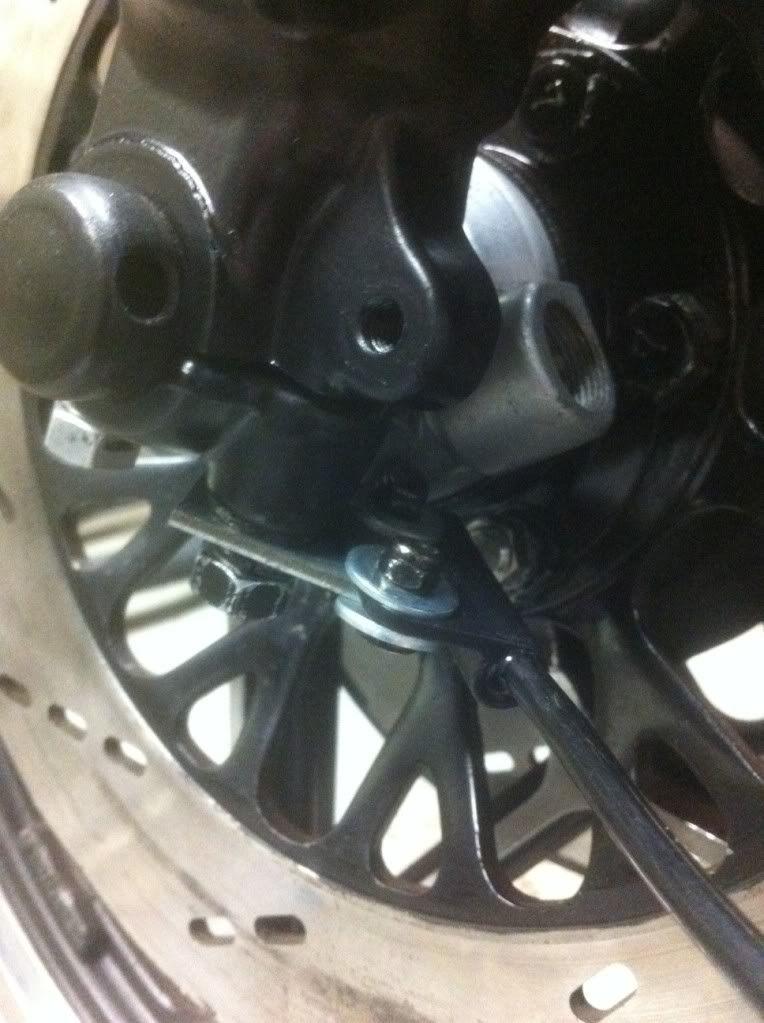
                              I finally figured out how I was going to mount my speed sensor for my Acewell unit. First off, I had to find a place to mount a magnet of some sort. The magnetic bolt that Acewell sent me with the unit was too small to swap out with one of the brake rotor bolts. Looking online, I found Pete's infamous $19 magnetic bolt. Not being able to justify the expense, especially with shipping from Australia, and being unwilling to wait, I lopped the magnetic head off the bolt sent to me and used some epoxy to mount it on top of one of the existing rotor bolts.

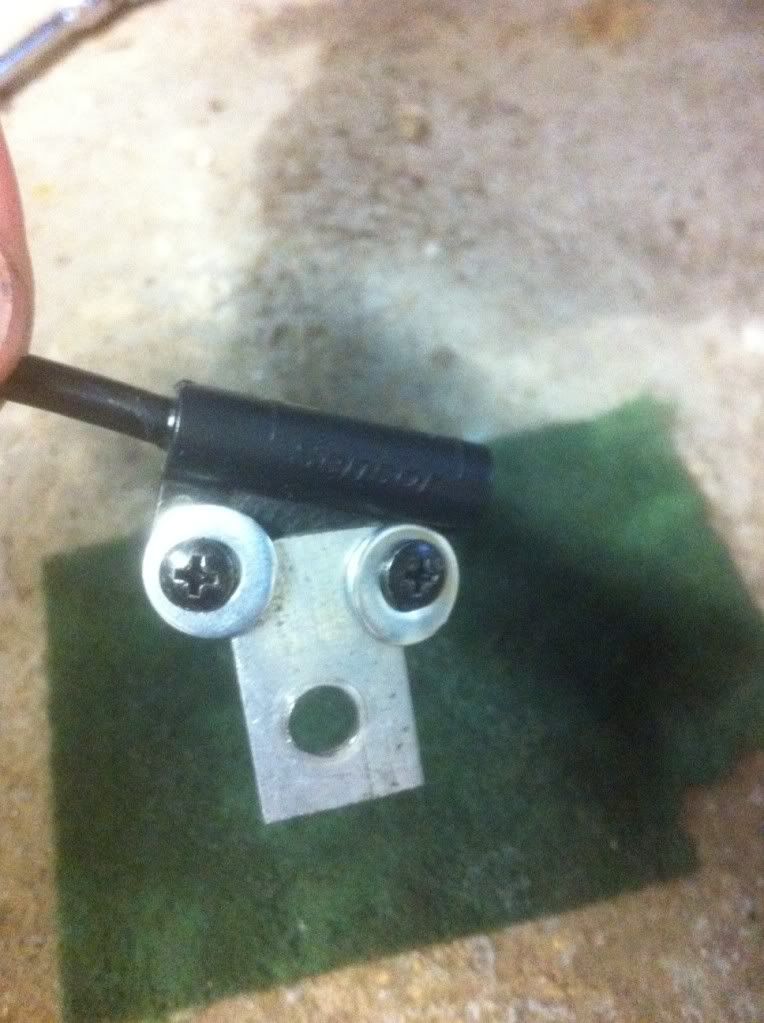
                              Part two involved positioning the sensor so that it 1. would pick up the signal from the magnet and 2. be able to be mounted to something fixed. This is what I came up with. A simple bracket that is fixed to one of the studs at the bottom of the right fork with the sensor mounted on the end of the bracket.


                              Comment

                              Working...
                              X