.png "Powered by vBulletin")
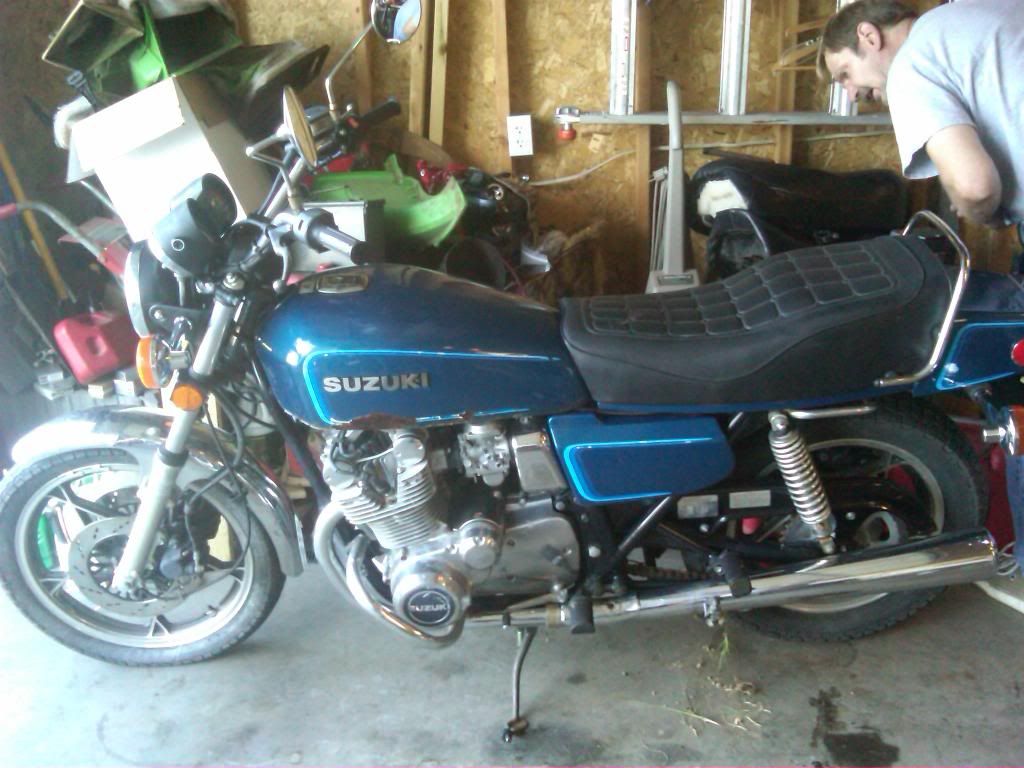
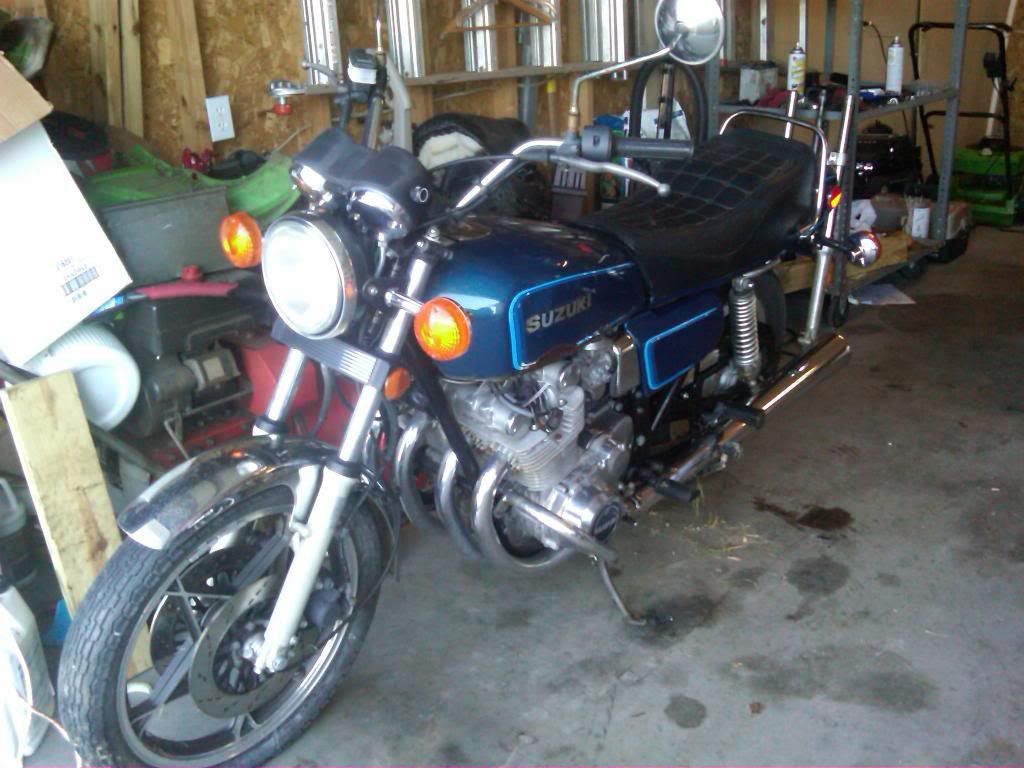
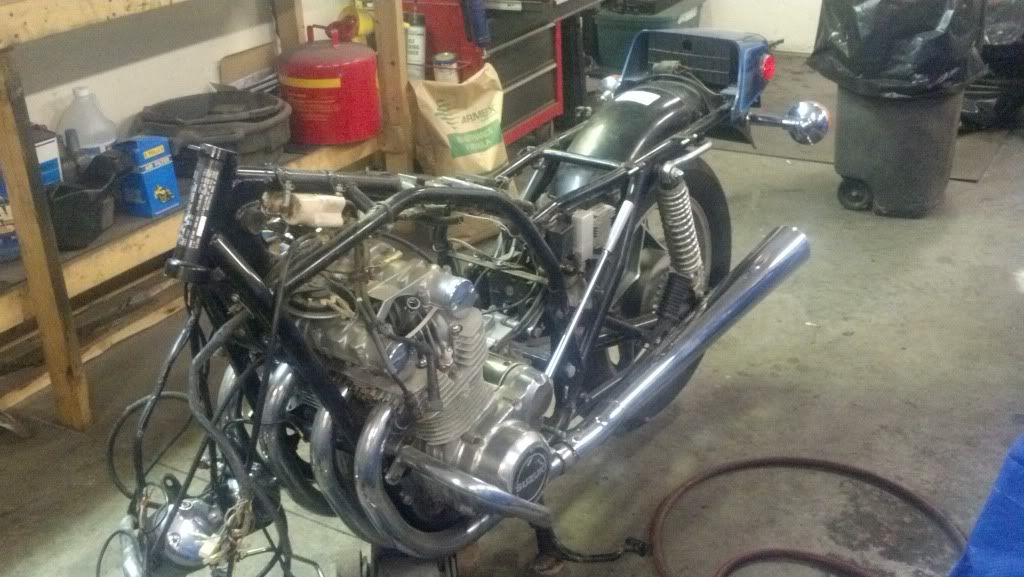
I have been working on my bike for a few months now and its almost complete so I thought I'd share the progress with all of you. The bike started out sitting in my daughters friends front yard. Before that it had spent the better part of 28 years sitting in a shed not to see the light of day until 3 years ago when the shed was torn down and it got moved to the front yard. The dad had no desire to get the bike running ever again and his wife just wanted it out of the yard. She told me that if I wanted it all I had to do was get it out of her front yard, that day. I didn't feel right just taking it so I offered her $40 bucks which is all I had on me at the time and she took it. I let the bike sit for the last 2 years while I was working on some other projects and now I finally got around to getting it done. Now all it needs is a new chain and get the gas tank painted and my new bike is road ready. Here are a few pictures of what I started with. Tank was not repairable so it got trashed. Here's a brake-down of the new stuff it got.
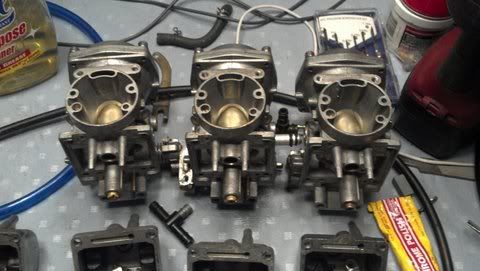
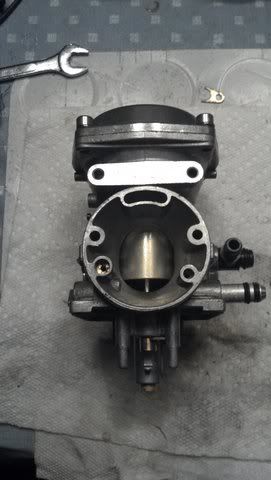
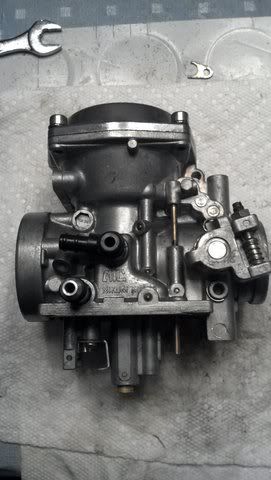
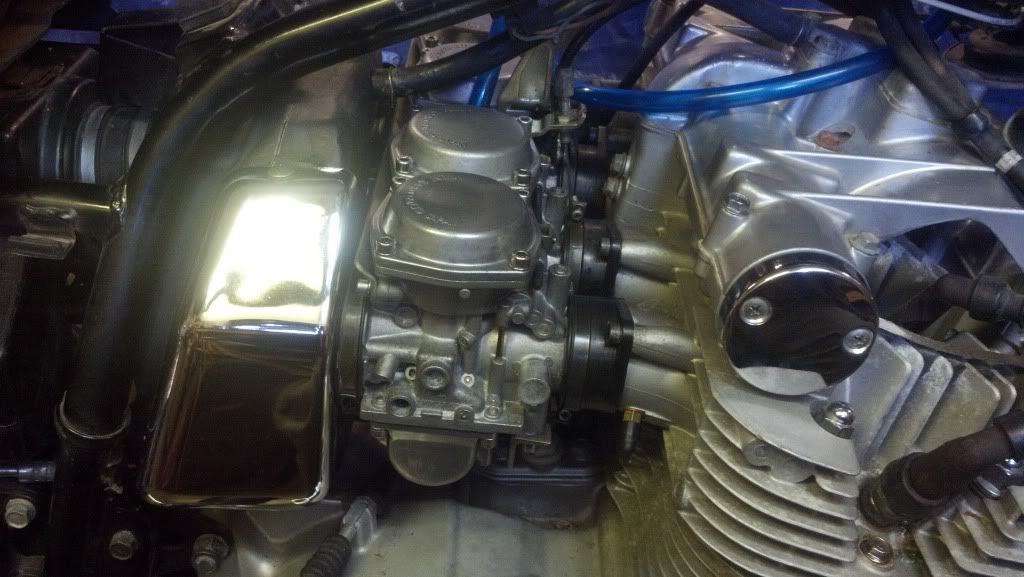
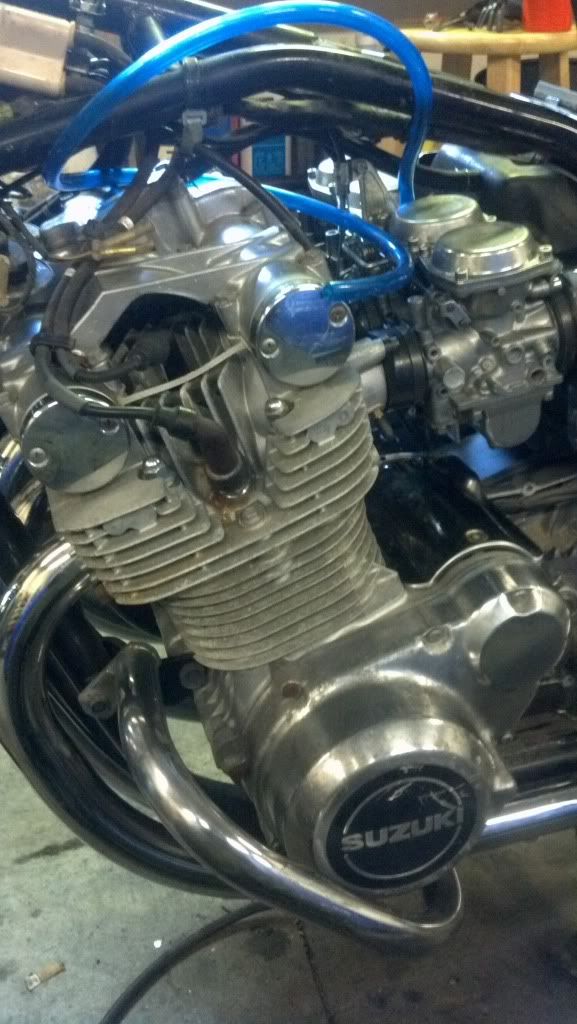
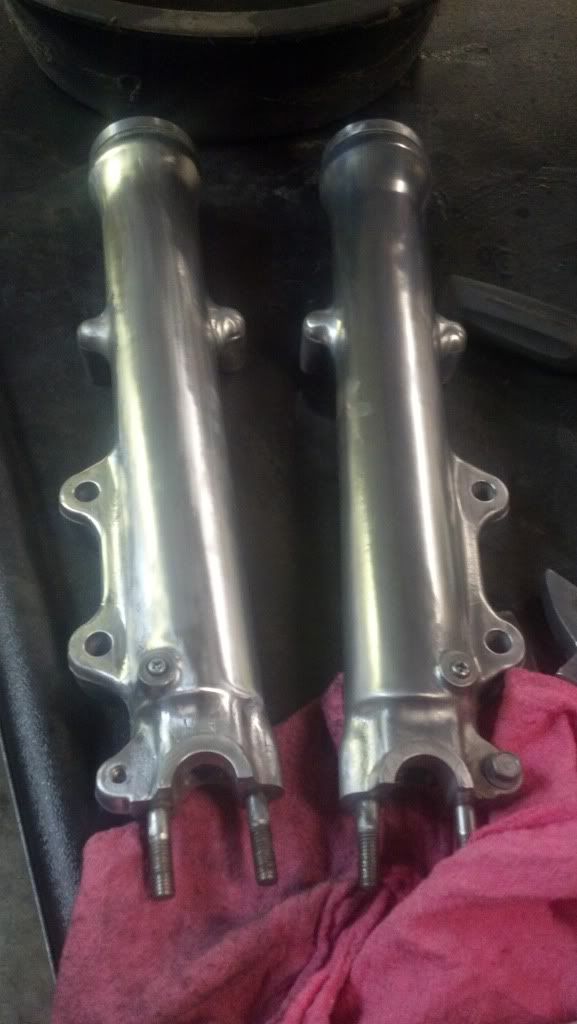
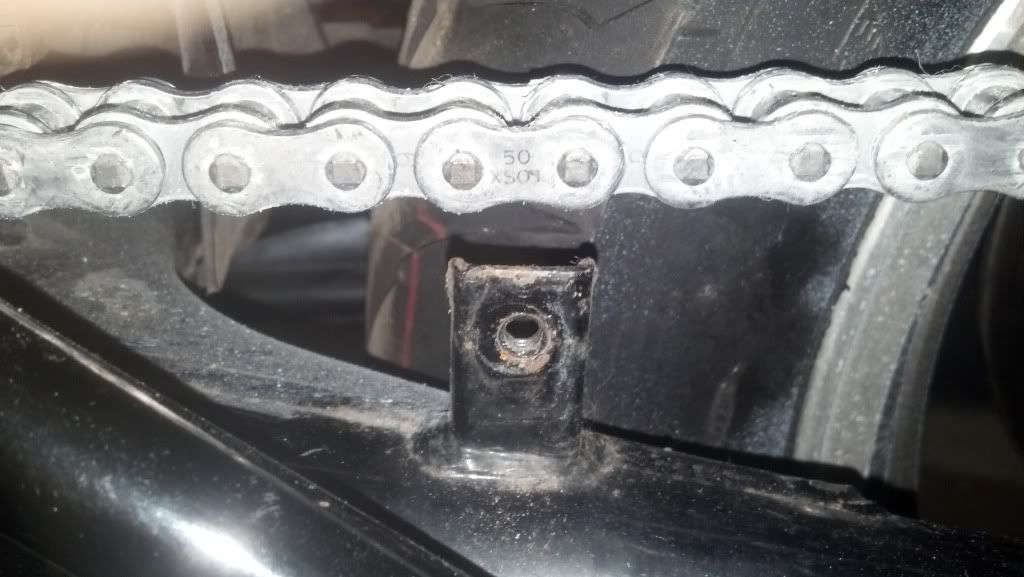
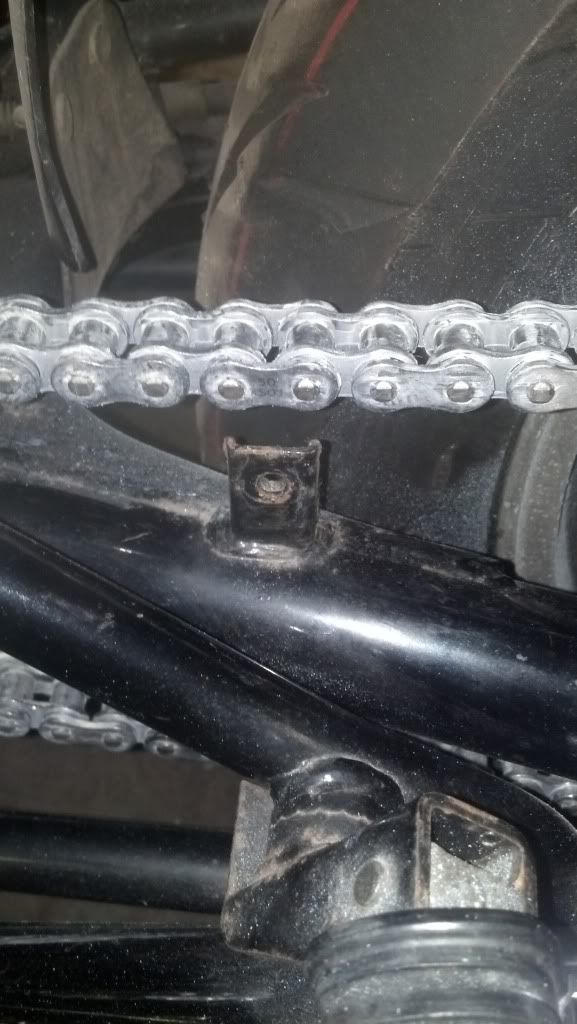
New tires, 530 chain conversion, progressive front shocks(rear to follow soon), Complete carb tear down soak and rebuild, Swingarm bearings, trippletree bearings, fork seals and new fluid, Tank skim coated and sanded to perfect profile(no low spots), rebuilt pet cock, new gaskets on gas gauge sender.
New tires, 530 chain conversion, progressive front shocks(rear to follow soon), Complete carb tear down soak and rebuild, Swingarm bearings, trippletree bearings, fork seals and new fluid, Tank skim coated and sanded to perfect profile(no low spots), rebuilt pet cock, new gaskets on gas gauge sender.


 [/IMG]
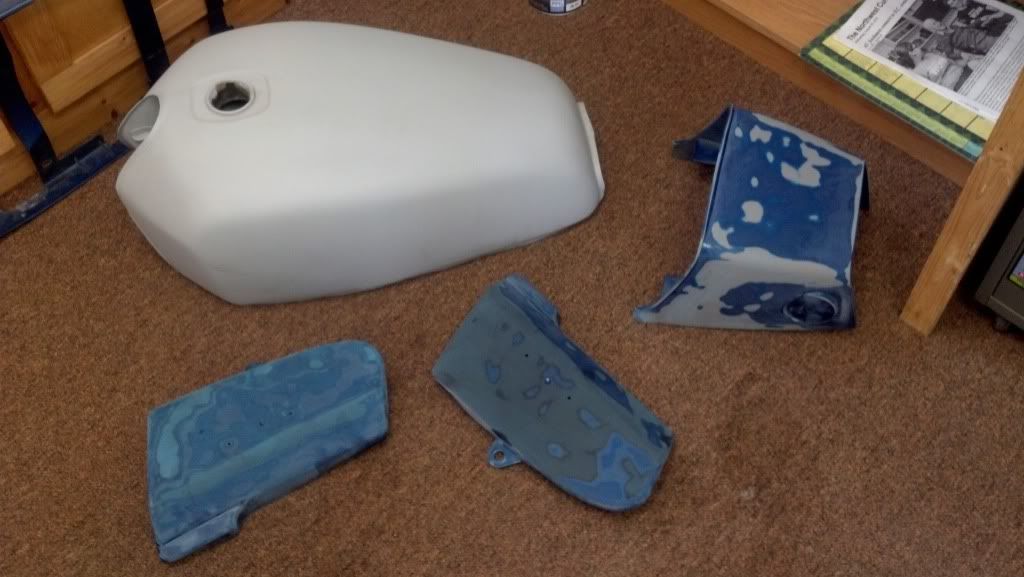

Comment