
Announcement
Collapse
No announcement yet.
Another 750 cafe build
Collapse
X
-
 gs750caferacer
Another 750 cafe build
I have done the strip down and frame cut I should have got more pics as I went along, but that was the boring part now the build begins and continues as my budget allows. so far I have chopped the seat back, shaved the upper fork yokes, added clipons, bought a spoked and bought rear sets from a gsxr and usd forks,. Got lots still to do, stay tuned... Tags: None
-
 gs750caferacer
 -
 gs750caferacer
 -
 gs750caferacer
Another picture sorry for the blur of these I took them with my phone which needs heaps of light to capture an image with clear results
Comment
-
 gs750caferacer
Getting the grinder out was seriously the hardest thing to do, I kept telling myself its what you have to do to get the result you want... But none the less its a terrifying moment when you make that first cut... But im confident I have done enough research and have theskills to fix most mistakes... Lets hope I did it right.... The only thing I am pondering about in th fab is where to put the rear sets and how to mount them. Should I go with the bracket hangers or without. Could someone post some ideas... Also The tank... I have a few ideas I want to lean it out a bit make it thinnerand more racer looking i was thinking of cutting the sides off and then forming in a more flat piece making it a bit more square and caving it in a bit to give it shape maybe cutting the bottom off to follow the top of the fram not sure yet , maybe a stretch or just plain ole knee dents. I deas on this too would be greatly appreciated.Cheers
Comment
-
 gs750caferacer
all finished hope you enjoyed the build thread lol....
I just thought it would be good to put one of the bike in the early stages of cafe build ideas... originally the bike came from a guy who liked choppers and wanted one but knew absolutely nothing about fabricating and owned a welder.... it took me weeks of removing the crap that he built to fix or modify things... for example exhaust was held on by dyna bolt concrete inserts... highway bars attached directly to the front engine mount. heaps of washers holding on the wrong rear shocks... crappy handling oversized elkhorns.
but now I have just decided to rebuild and forget....
Comment
-
 gs750caferacer
More pictures to come my goal is to document the rest of the process more carefully now so stay tuned
Comment
-
 gs750caferacer
motor tear down ( head removal ) engine rebuild
ok so I decided to document the head removal since i couldnt find a thread that had a good engine tear down... so this section of my build is the head removal. nothing too hard but i did find a few things to look out for while doing this! I have uploaded the pictures to photo bucket and if someone would kindly inform me what the best way to get multiple pictures in one post that would be great! otherwise i will continue one picture per post. takes a bit longer but atleast you will get a more detailed write up this way! hope this helps anyone trying to tackle the head removal and has not yet done one.
Comment
-
 gs750caferacer
first we start with the valve cover pretty basic.. the square cover on top with four screws does not need to be unscrewed. i kept the speedo cable attached to the valve cover you can remove this if you want i prefer to try and keep most things together the best I can, to aid in reassembly and so i dont lose parts...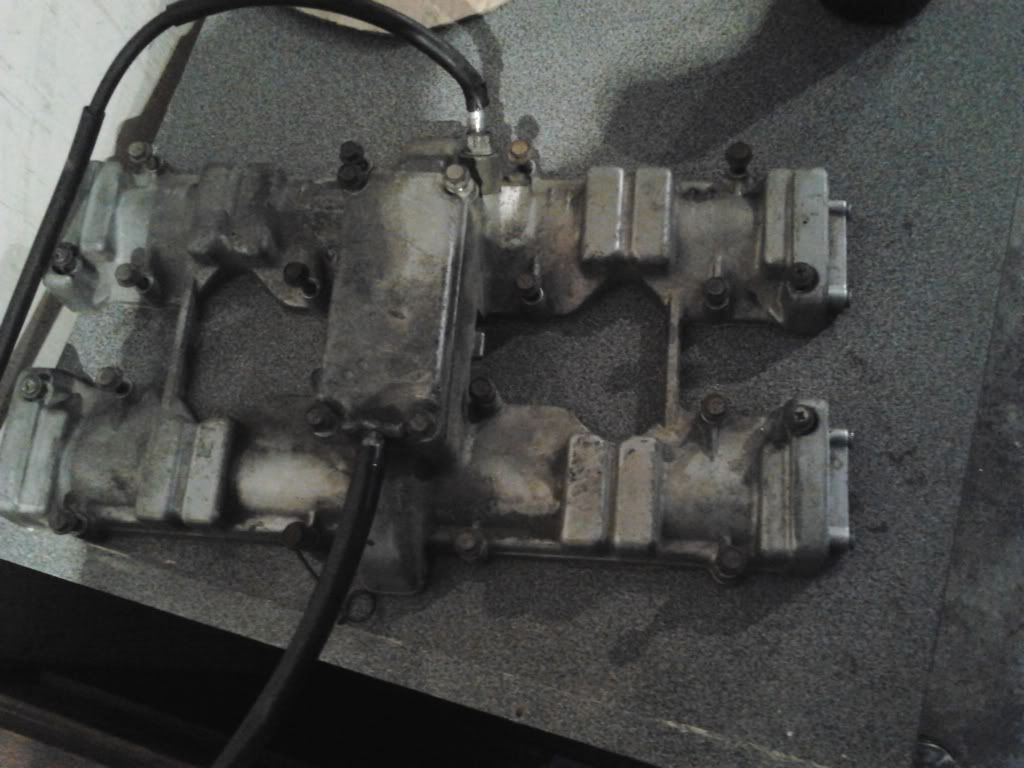 slightly worn speedo gear...
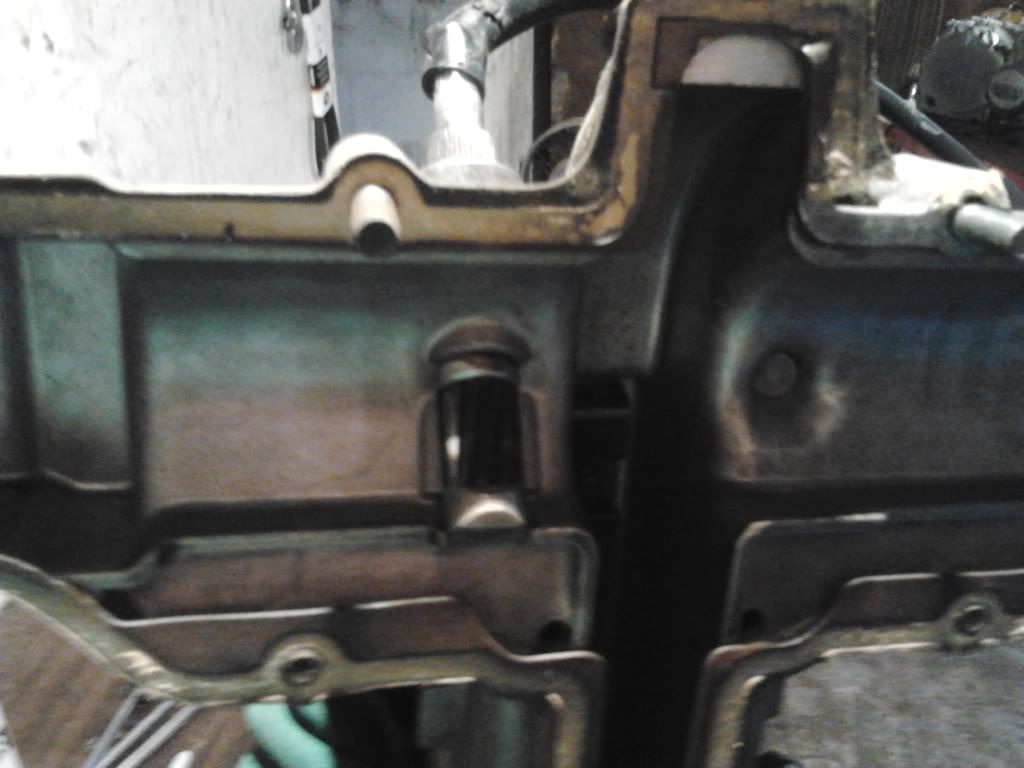 Last edited by Guest; 07-03-2012, 05:30 AM.
Comment
-
 gs750caferacer
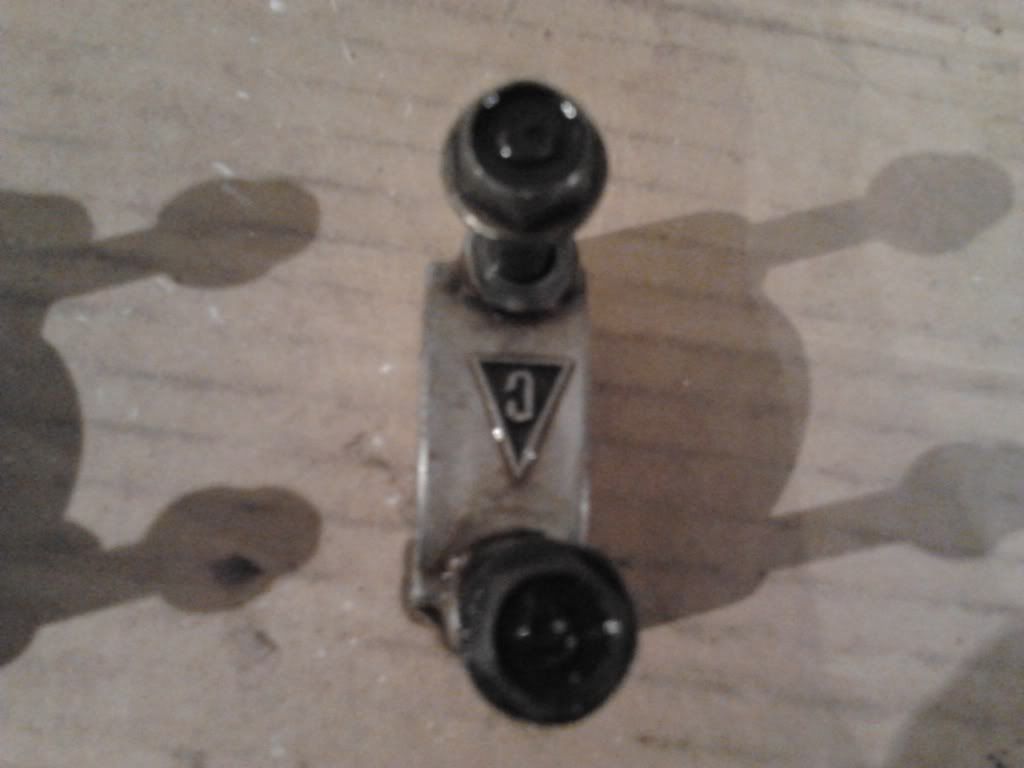
Ok after I removed the valve cover, you can start by removing the bolts from the cam guides. the guides are all worn together so its important to keep them in the right place when assembling/ The guides are conveniently stamped with the letters a-d in a quadrant grouping one big guide with four screws and one little one with two screws with the same letter in the quadrant. makes it easy to keep thing straight.. (Thanks suzuki)
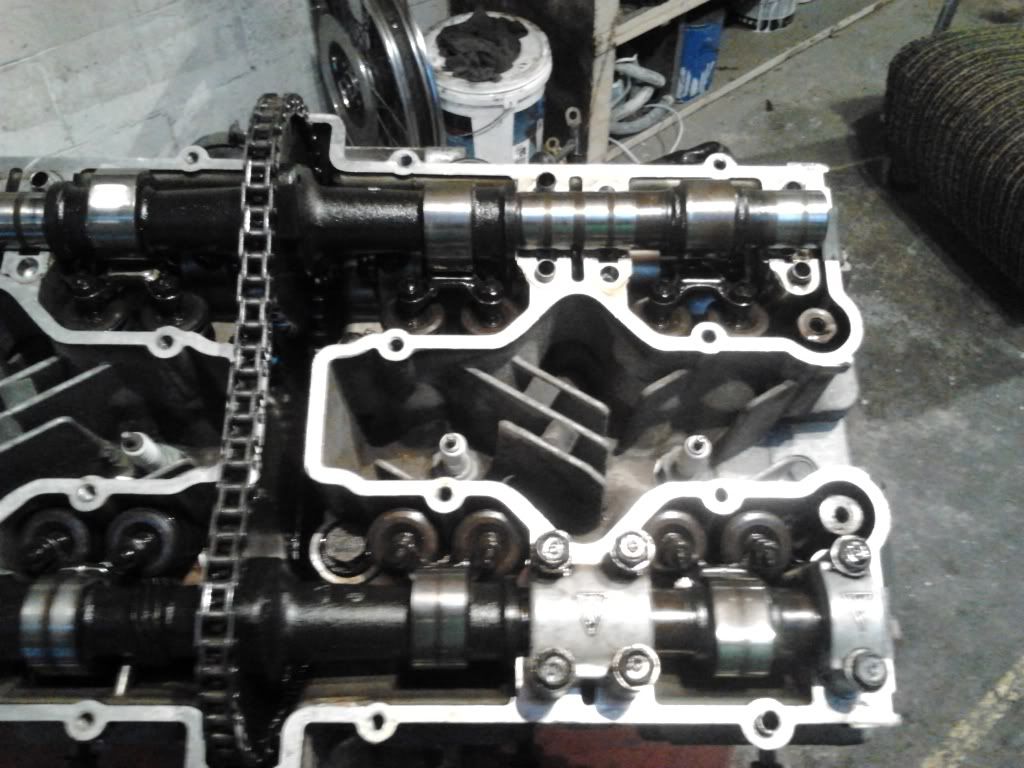
Comment
-
 gs750caferacer
I like to set them up in the order they came off even though they are stamped I still like to keep the reference for myself.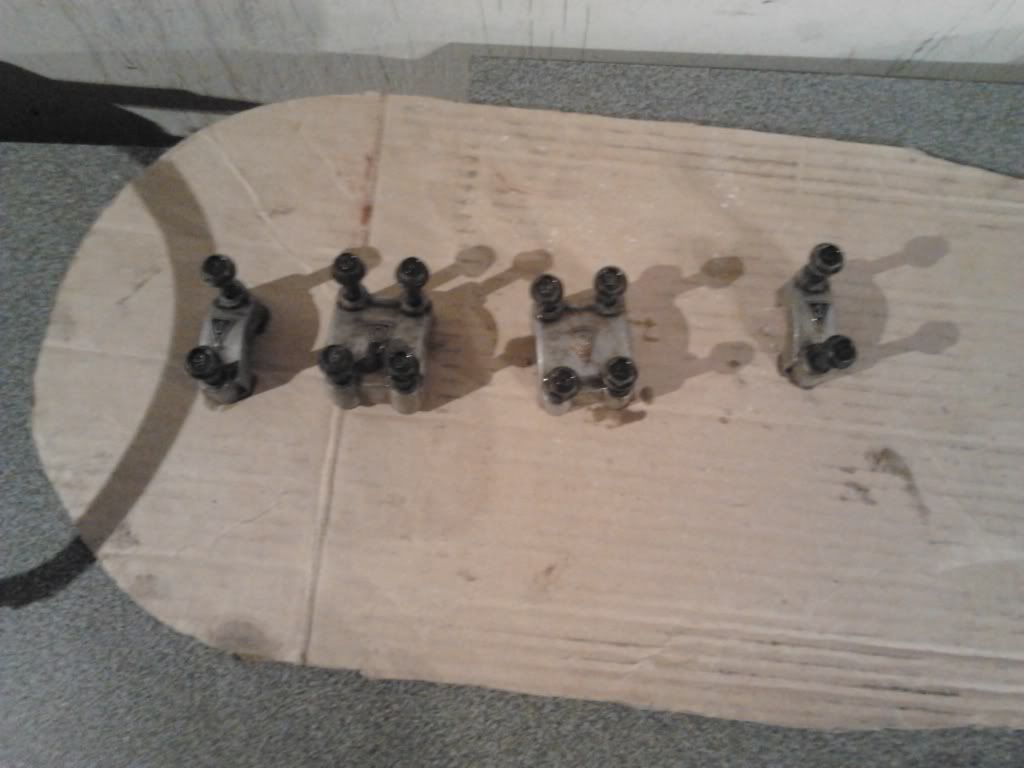 and as you can see they are stamped
Comment
-
 gs750caferacer
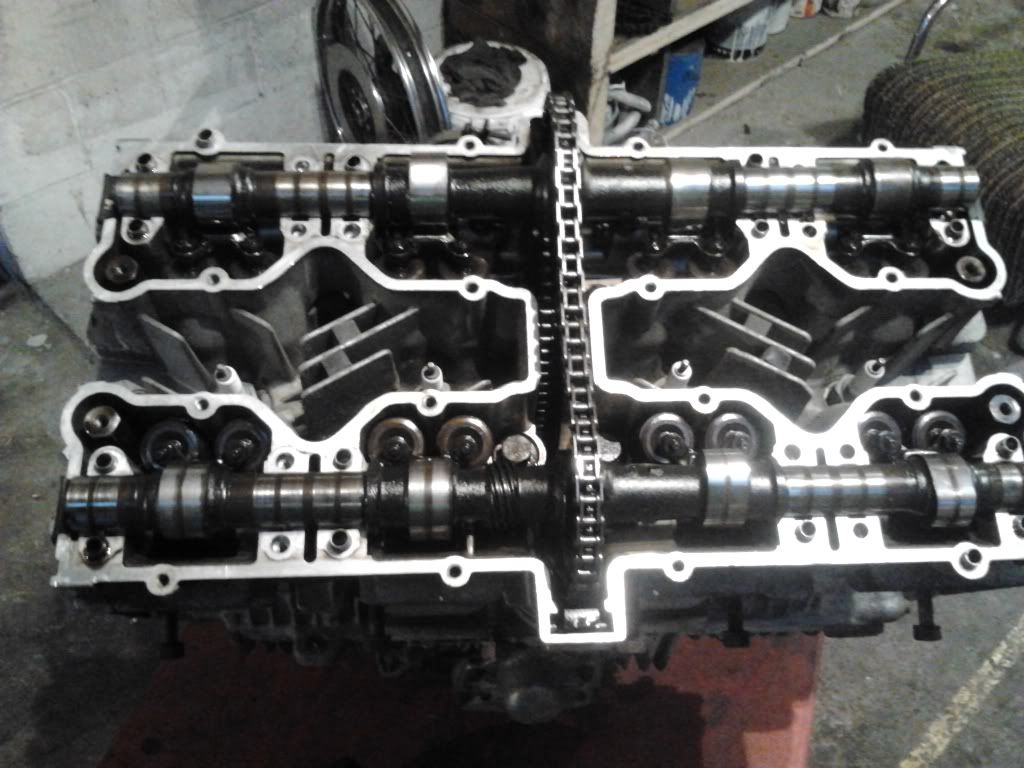
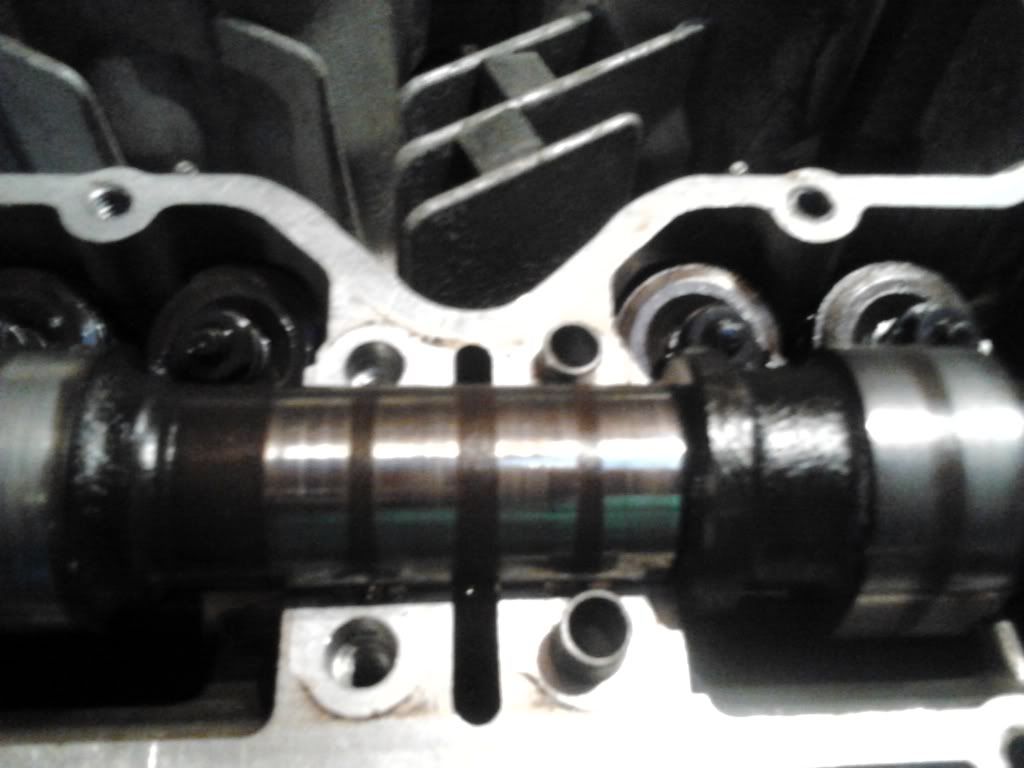
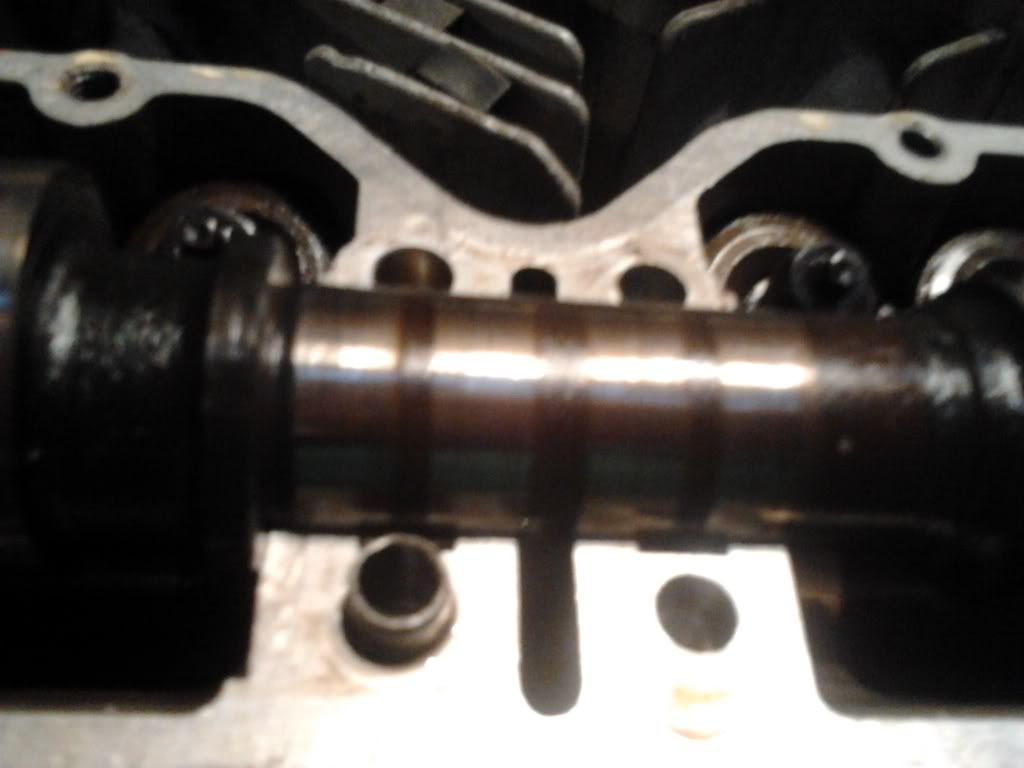
all guides removed! something i noticed after taking them all off was that some of the spacer things were not in every hole, im curiouss to know if they are needed in every hole or if they just need a few or one in each screw hole to line them up with, or if they are there to help stop over tightening?? any advice here would e great!!
 Last edited by Guest; 07-03-2012, 05:44 AM.
Comment
-
 gs750caferacer
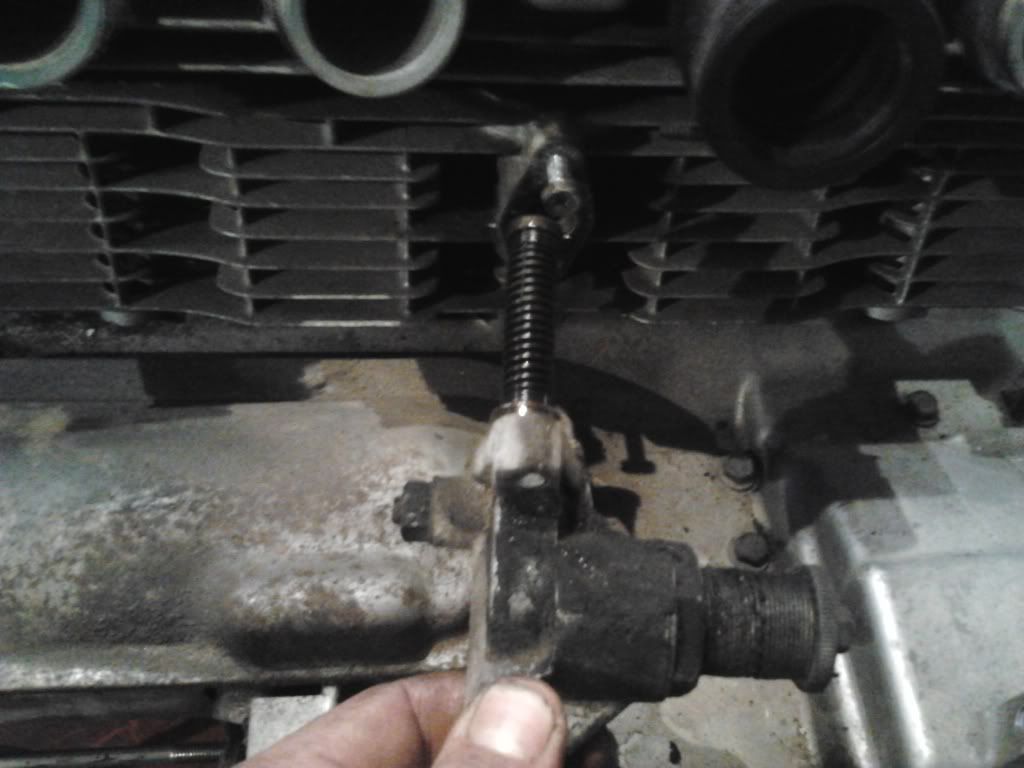
After removing all the caps for the cam, i took out the two screws holding in the cam chain adjuster on the back of the cylinder. no need to un adjust anything else its pretty easy just tak out the two screws and the whole unit pops right out. easy squeezy... take note the screws are put back in the places they came out not need to lose them...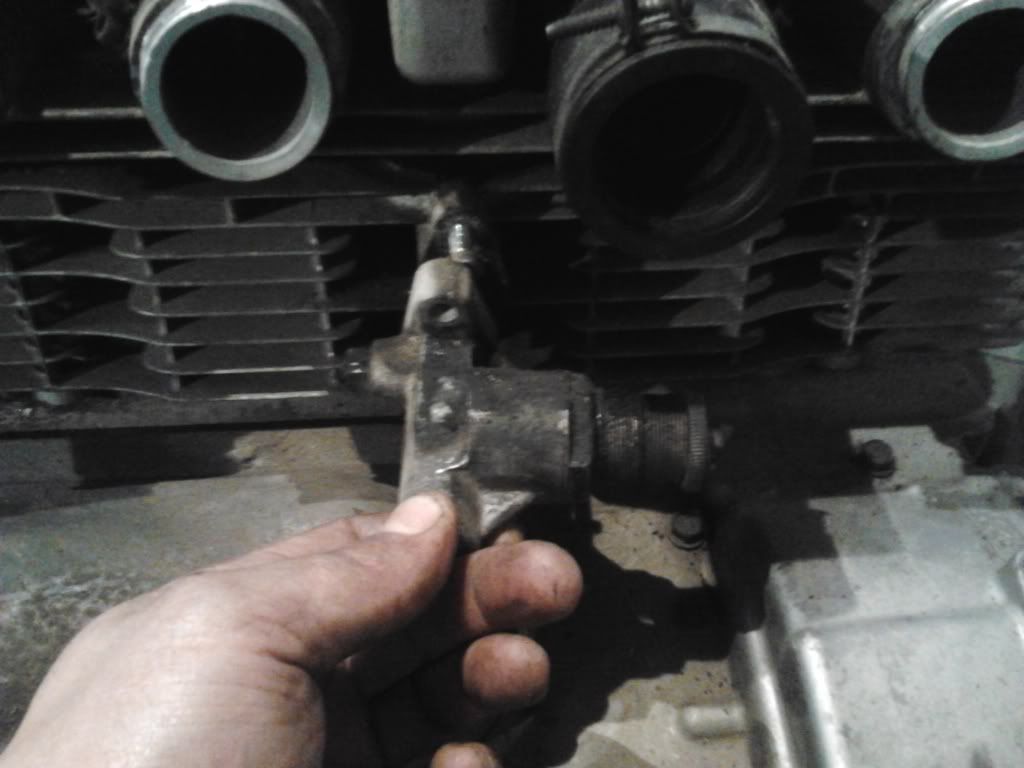
Comment
-
 gs750caferacer
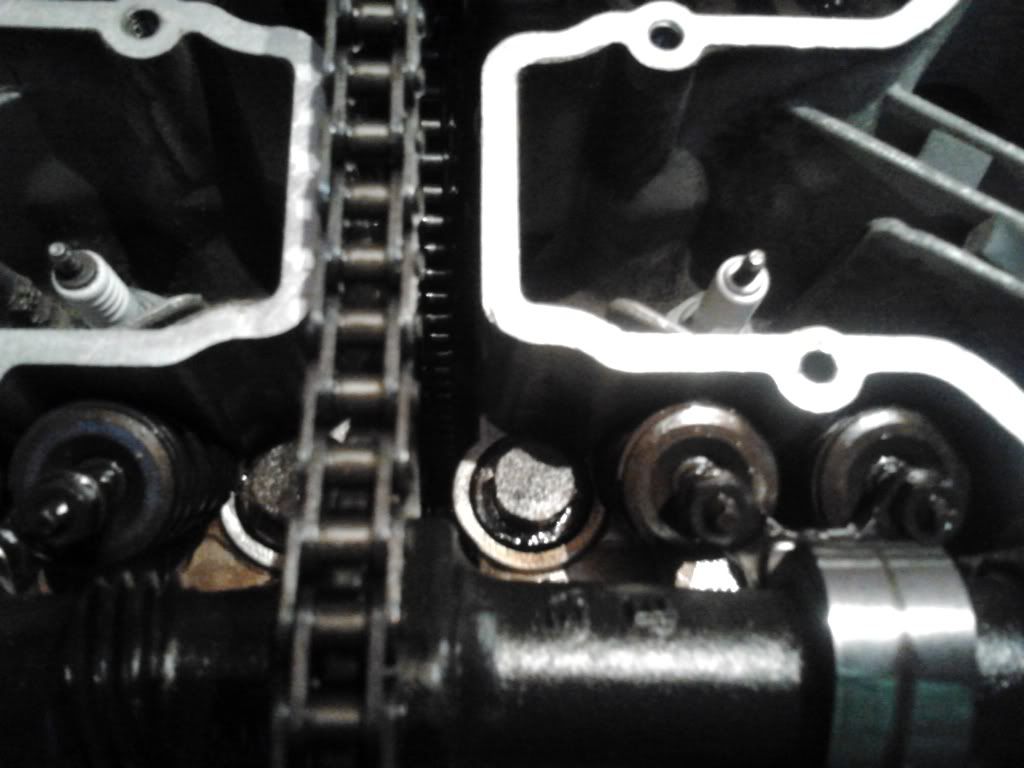
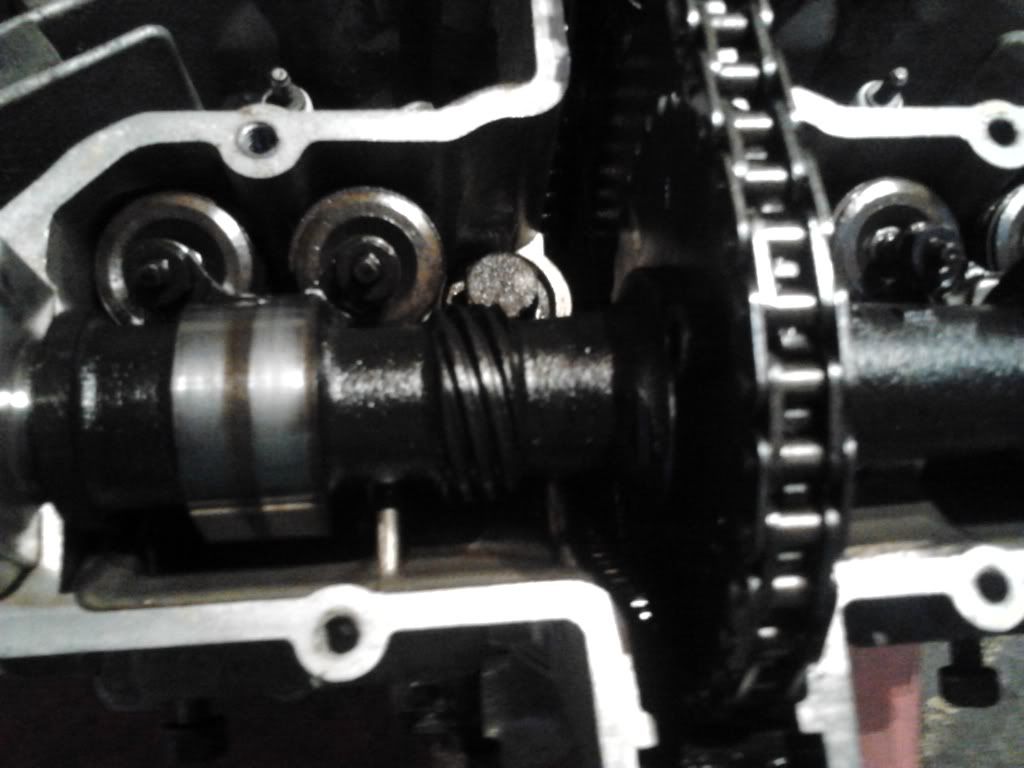
time to break loose some head bolts, be careful of these as they are really easily dropped into the guts of the motor down the cam chain hole..... i didnt do that but on a bike i built ages ago my daughter came in and dropped some sockets in the case of a bike i was building and i thought i got them all untill I started the bike the first time! so now im a bit nervous about things going down where i cant see them!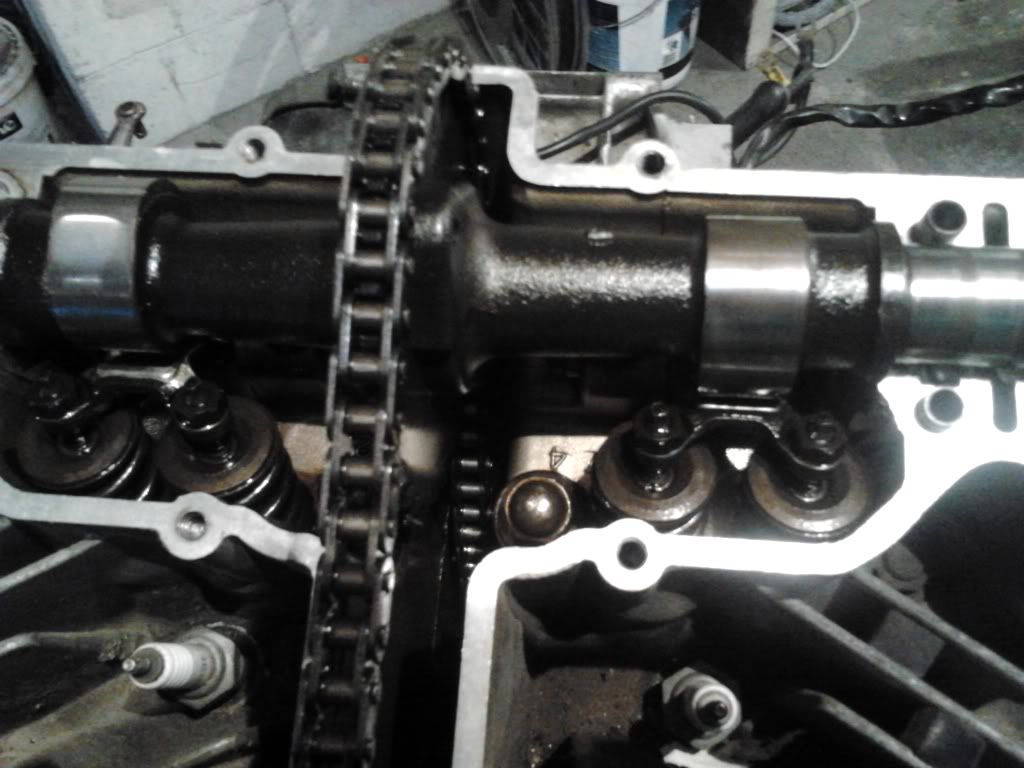
Comment
-
 gs750caferacer
.png)
Comment