
Announcement
Collapse
No announcement yet.
1982 GS300 Project - Where do I start
Collapse
X
-
 hjacobmiller
Not really, it just isn't as pronounced as it was originally. You can still see it, but not as well. I'll probably have to get another plate made and stamp it again, if I ever get it back together...Originally posted by jfman View Post
-
 hjacobmiller
It is almost like a cap on the "top" of the bearing, which is upside down since it is on the bottom triple. Its just basically a thin washer with a rubber edge that "caps" on to the bearing. It can't be more than a mm or 2 thick.Originally posted by Mekanix View PostWhat does the bottom seal look like ?
Is it between the bearing and the stem
or does it fit around the bottom of the bearing and allow the bearing to sit as far down as possible?
I'll take a look at it all today. I've been going back and forth with the Amazon seller, getting pretty vocal about the inconvenience of this all.
Comment
-
 GateKeeper
It's not sitting right, if it was it would just the same as it was with the old bearings, there should be no difference, as far as I am concerned.
wrong bearings ? too high
try to put bearing on without dust cap, will it sits down further ?
and the bearing races are seated all the way, double and triple check, did you put them in reverse top one on the bottom
I know to seat the bearings on the stem we used a small punch for the bottom bearing and ever so lightly and slowly tapped around and around on the inside wall of the bearing to have it seated just right
I will see if I have any pics, but I don't think I took any of this part of my rebuild
see if any of these pics help you out
Store your photos and videos online with secure storage from Photobucket. Available on iOS, Android and desktop. Securely backup your memories and sign up today!
.Last edited by Guest; 10-28-2012, 12:17 PM.
Comment
-
 hjacobmiller
Hmmm...
Hurricane Sandy has delayed my parts from Boulevard, but other than that no harm done. Lost power for about an hour or so but nothing major thankfully.
They did arrive today though
Took some measurements on the steering bearings.
The top are identical (16mm). The bottom are off - new Allballs is 2-3 mm thicker.
Time to get the old Sawzall out I guess.
Mechanix - what are your thoughts on the upper triple cinch bolt having enough grab on the stem? I don't remember the stem going all the way flush to the top of the upper triple, but I also don't remember it sitting very far below either. I guess it is my fault for not taking decent pictures...
Comment
-
 jfman
jfman -
 hjacobmiller
I'm $30 in with the new ones that the seller wouldn't take back and are better quality. I hate to get caught up on these but I'd rather have the higher quality ones in if I have them and have already paid for them.Originally posted by jfman View PostWhy not use you old bearings? Were they that bad?
Comment
-
Its in there far enough to work, Mine was similar after installing new bearings.
Did you tighten the nut down allot and back it off or just snug it up ?
What does the bolt look like when you just start to catch the threads? Is there lots of threads left ?Last edited by Mekanix; 10-31-2012, 11:55 PM.Stephen.
1981 GSX540L "Frankintwin"
1989 GS500E Resto-mod .
400 mod thread
Photo's 1
Photos 2
Gs500 build thread
GS twin wiki
Comment
-
 hjacobmiller
Comment
-
Can't tell without measurements...
You're going to need the fork slider outside measurement for the top inside diameter, the top of the fork lower outside measurement for the bottom inside diameter, and the fork travel for the length.
Too short and the boot will pull down, too long and the gaiter will be too scrunched up and pinch under compression...1982 GS450E - The Wee Beastie
1984 GSX750S Katana 7/11 - Kit Kat - BOTM May 2020
sigpic
450 Refresh thread: https://www.thegsresources.com/_foru...-GS450-Refresh
Katana 7/11 thread: http://www.thegsresources.com/_forum...84-Katana-7-11
Comment
-
 hjacobmiller
At a little bit of a road block. The bottom allen bolt of the right fork is rounded out and I'm debating as how to proceed because I need to change the seal, polish the lower, clean etc. and without removing the slider it is dang near impossible.
Any thoughts?
Progressive springs, gaiters and seals all arrived this week. Still waiting on another order from Boulevard though. Called on Friday and they said it was going out that day. Yet to see a tracking email though...
The gaiters from Summit racing might be a bit too long but they shipped so fast! I ordered them Monday night had them Wednesday afternoon.
This is with the forks fully extended:

On a side note, I've been going back and forth with Powersport Superstore about the lack of information provided about the additional machining for the AllBalls bearings on the Amazon link. They've been extremely rude and offered me a measely 5% discount off of my NEXT order with them, which will never happen because of the service I've received.
Spent a little time thinking about the seat, but not really sure where to go. I was thinking about making a solo seat with a little place to stash the battery like so:

Don't know though.
I'd appreciate any thoughts on the rounded out bolt though - thanks folks.
Comment
-
 GSScoobie
Take the #4 Phillips bit from your impact driver kit and beat it into what is left of the bolt head.
After it is deeply imbedded in what is left of the head, use the impact to break it loose.
Comment
-
Sounds like a good tip on the bolt!
Otherwise, a small cut off wheel in a dremel might let you slot it enough for a flat bladed tip in the impact driver.
Sounds like the mob with steering head bearings is better off avoiding... I hate getting bad customer service!
As for the seat/battery... if you're still going the low profile idea like in Tim Tom's mockup, that's going to be real hard to get a battery in there...
A solo seat also means you can't get your other half on the back...1982 GS450E - The Wee Beastie
1984 GSX750S Katana 7/11 - Kit Kat - BOTM May 2020
sigpic
450 Refresh thread: https://www.thegsresources.com/_foru...-GS450-Refresh
Katana 7/11 thread: http://www.thegsresources.com/_forum...84-Katana-7-11
Comment
-
 hjacobmiller
So a little progress made, but still waiting on Boulevard for a couple circlips to finish up the forks. Needed some of these too and a couple of other little things:
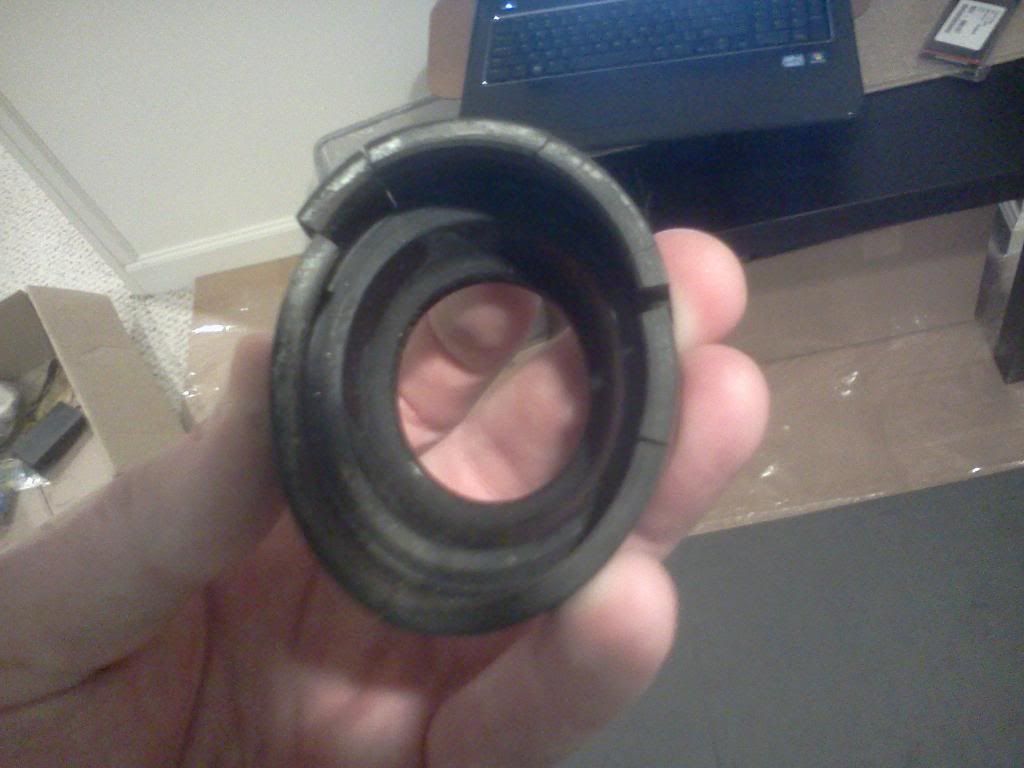
I just went to the machine shop who did my stem and he got the bolt out for a couple of bucks. Nice guy, not busy so I think he appreciates the company more than anything.
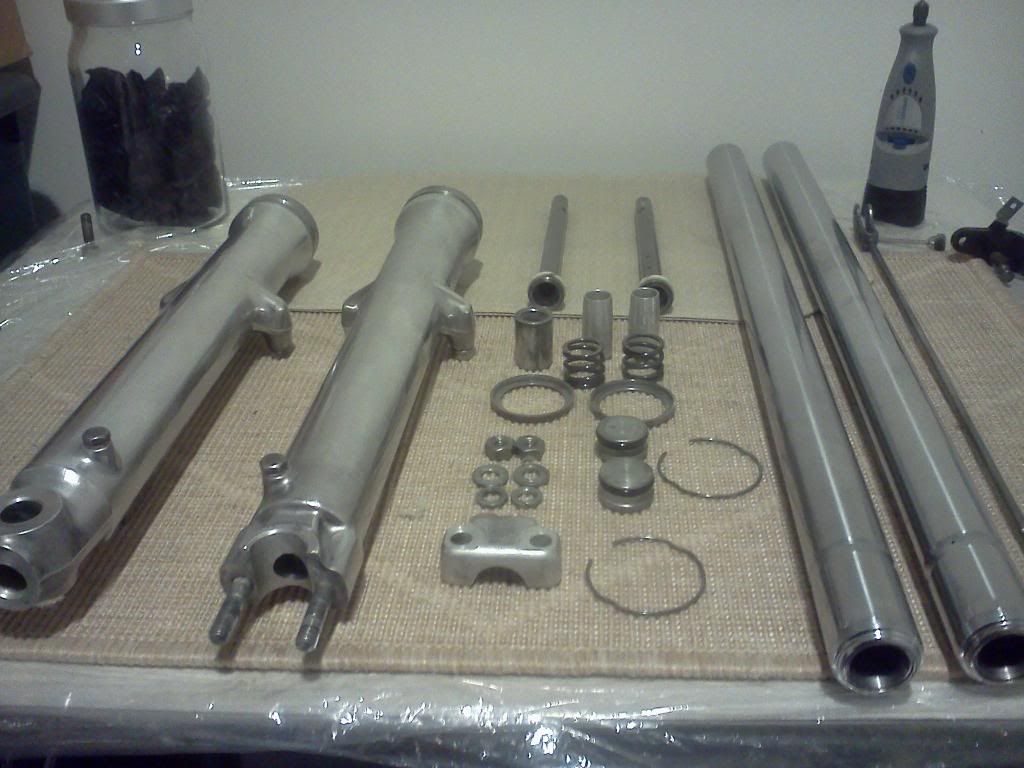
Anyways, froze my @$$ off giving the lowers a quick polish, cleaned up everything and got ready for assembly last night:
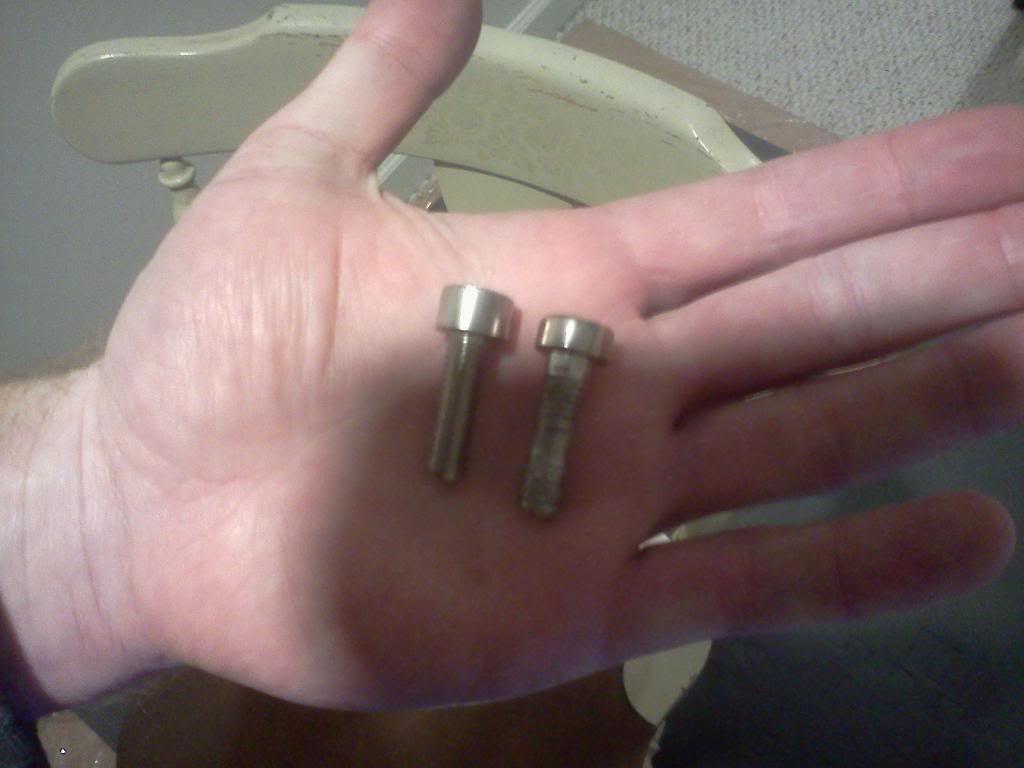
Instead of waiting two weeks for a stinking bolt that would cost too much from Boulevard I just went to a local hardware store and picked up these. Slightly deeper head and 2 mm or so less threads. Anyone see a problem with using these? (OEM on right Replacement on left)
The shop manual calls for threadlock cement and a bond on the allen bolt (8mm that holds the damper rod). I had this laying around - is it good enough?
Back to the progress. I had a crappy day at work and so I decided to "mock up" a couple of things and see how things would look. What do you all think of this?
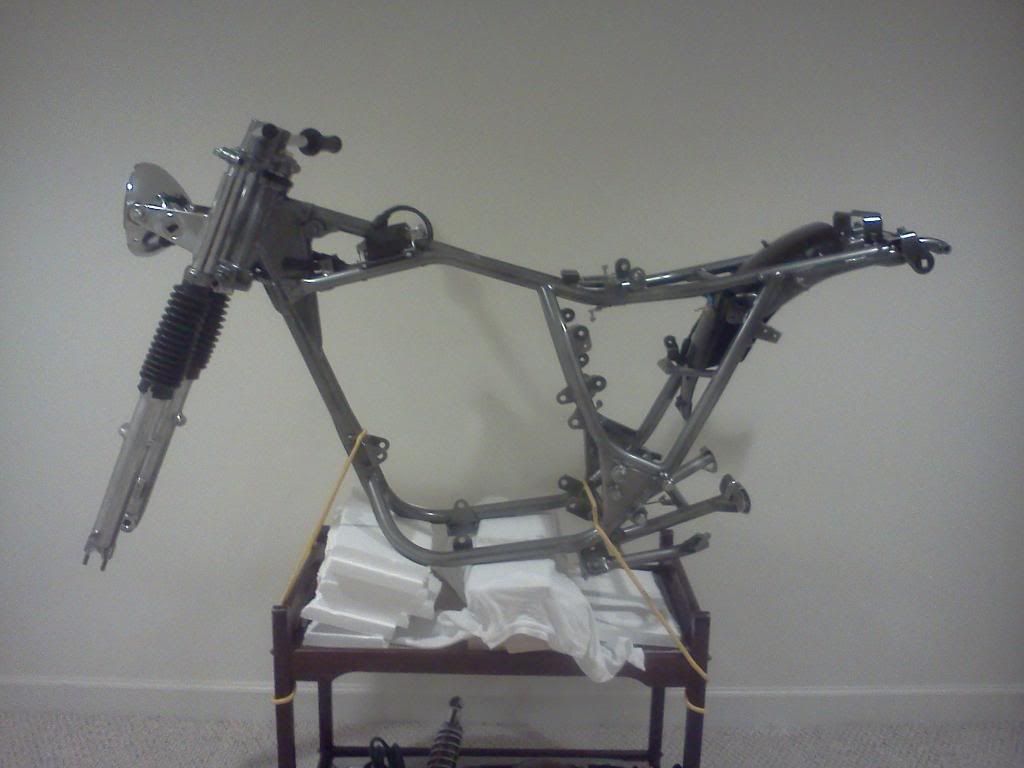
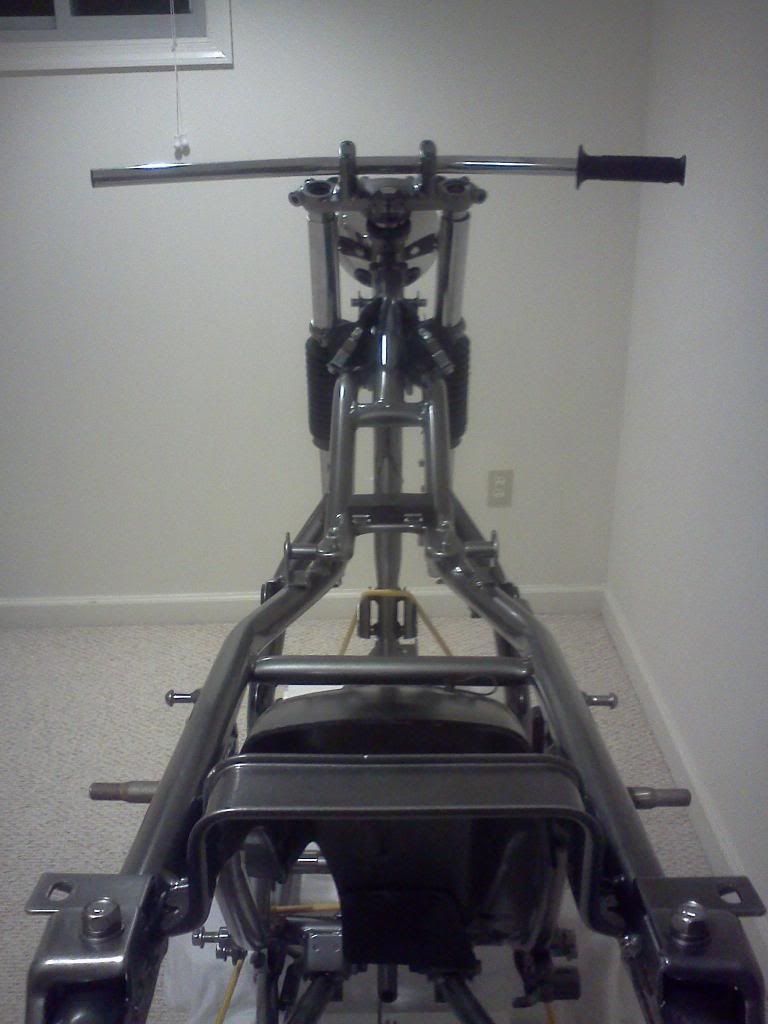
I think it needs some superbike/low euro bars or something to give it a more classic look. Especially thinking of the fenders.
Either way I'm pretty excited about it

Comment
-
First up Jake, *don't use the red threadlocker!!!!!!*
While you want the bolt to stay firm, you don't want it to only come out with a blow torch later... blue threadlocker is what you want. I used the blue version of that same stuff and it's holding well on everything.
As for the replacement bolt, make sure it's the correct strength steel for the job. I'm no guru on that stuff, but I do know there are different tensile strengths etc. so make sure it's at least as strong... although I have no idea how to tell the difference...
Mock up is looking good, but yeah +1 on different 'bars, you need a low 'bar with a reasonable pull back I reckon...1982 GS450E - The Wee Beastie
1984 GSX750S Katana 7/11 - Kit Kat - BOTM May 2020
sigpic
450 Refresh thread: https://www.thegsresources.com/_foru...-GS450-Refresh
Katana 7/11 thread: http://www.thegsresources.com/_forum...84-Katana-7-11
Comment
-
And so it begins Looking good.
Stephen.
1981 GSX540L "Frankintwin"
1989 GS500E Resto-mod .
400 mod thread
Photo's 1
Photos 2
Gs500 build thread
GS twin wiki
Comment
.png)


Comment