Announcement

Collapse
No announcement yet.

Project un-cafe

Collapse
X
 
  • Filter
  • Time
  • Show
Clear All
new posts

    Project un-cafe

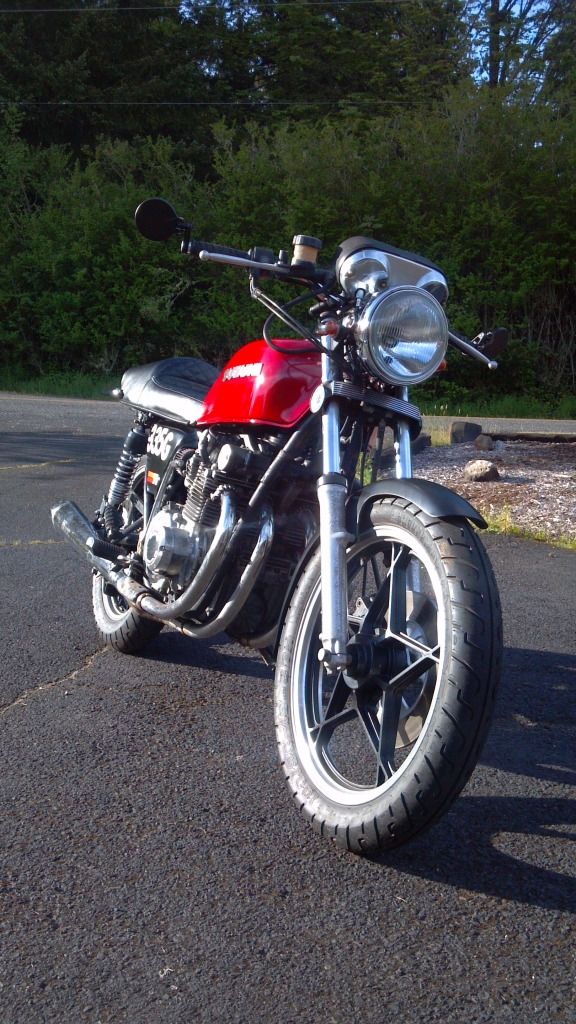
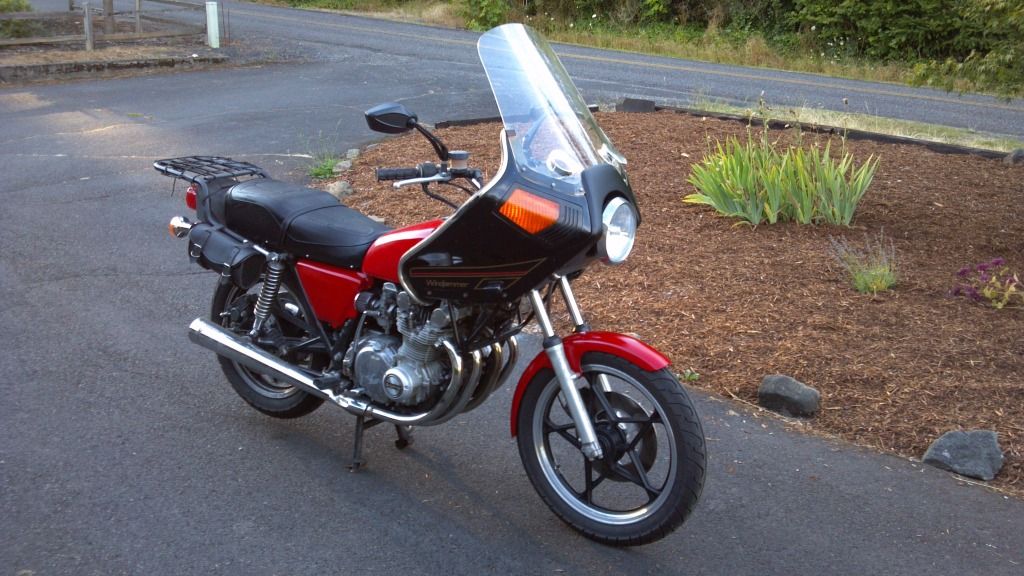
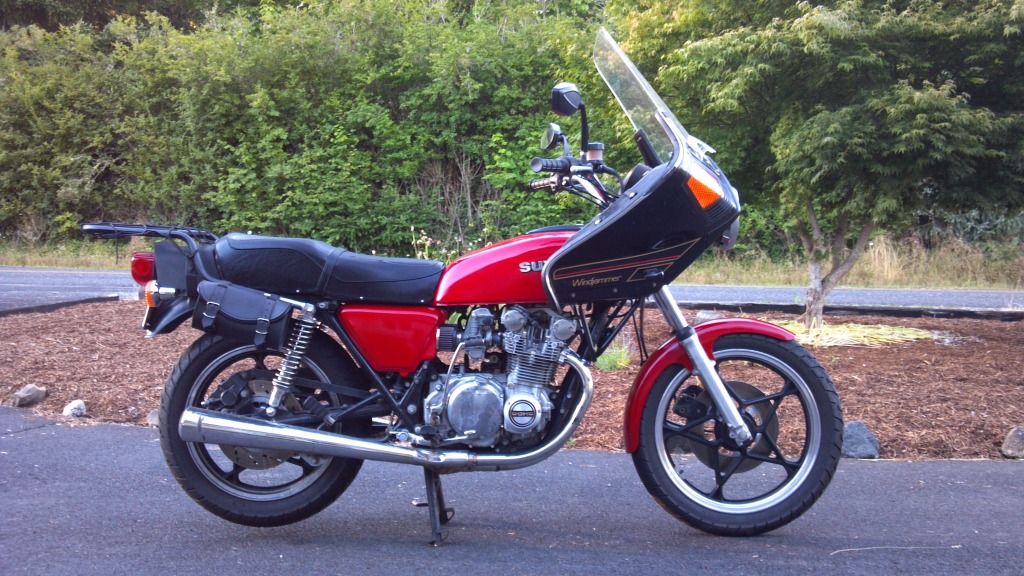
    So after riding my 550 to work and back for a while, and after having ridden bikes with at least a plexi fairing since I was 16, I grew tired of commuting without a fairing. I had plans of putting a Maier fairing on it, the ones that look like the Emgo Viper fairings. When I bought the bike, it had a Vetter WJ5 fairing on it, bates luggage, rack, etc. And ever since then, my old man has been telling me to put that fairing on, and how nice the bike would be to ride with it. I held of for about 4 months, finally gave in and tossed it on one day. And sure enough, I fell in love with it, SO relaxing to ride with that huge thing in front of you, no more worries of being caught in the rain either. Decided to pursue the vetter fairing instead of a plexi fairing or the Maier.

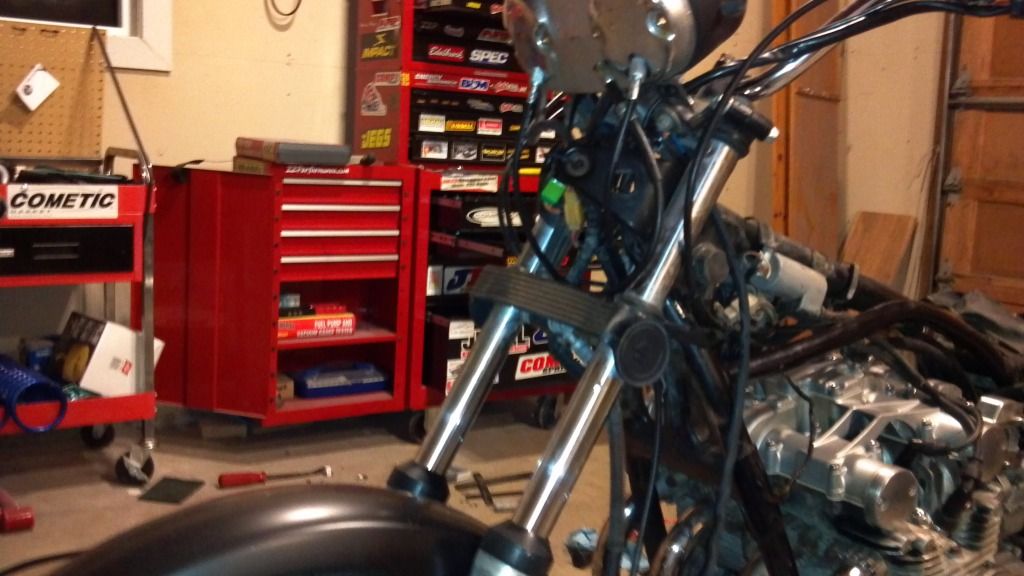
    But rather than toss it on with the cafe seat and no back fender as I had, I decided to do a full un-cafe, bought a stock 550 seat off ebay (waiting on UPS ever so patiently...), bought new mirrors (no more bar-ends), new grips, pulled the valve cover to go through the shims and replace some gaskets. And upon striping wires inside the vetter with a now retired attempt to put an HID light in it, found the stock 30 something year old harness needing to be replaced (the copper wire was all black and corroded under the insulation). The plug was also in poor shape, the main connection in the fairing.

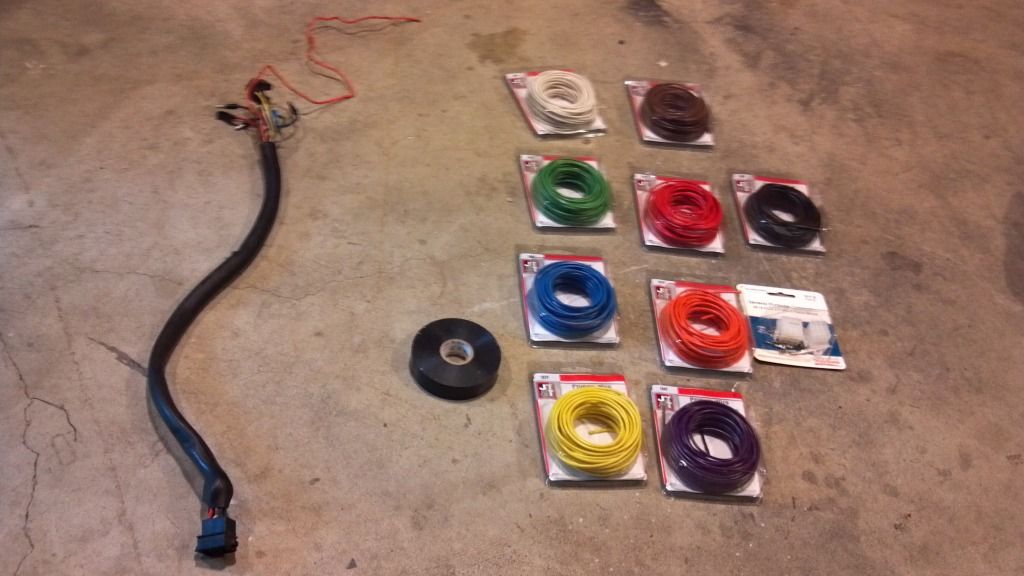
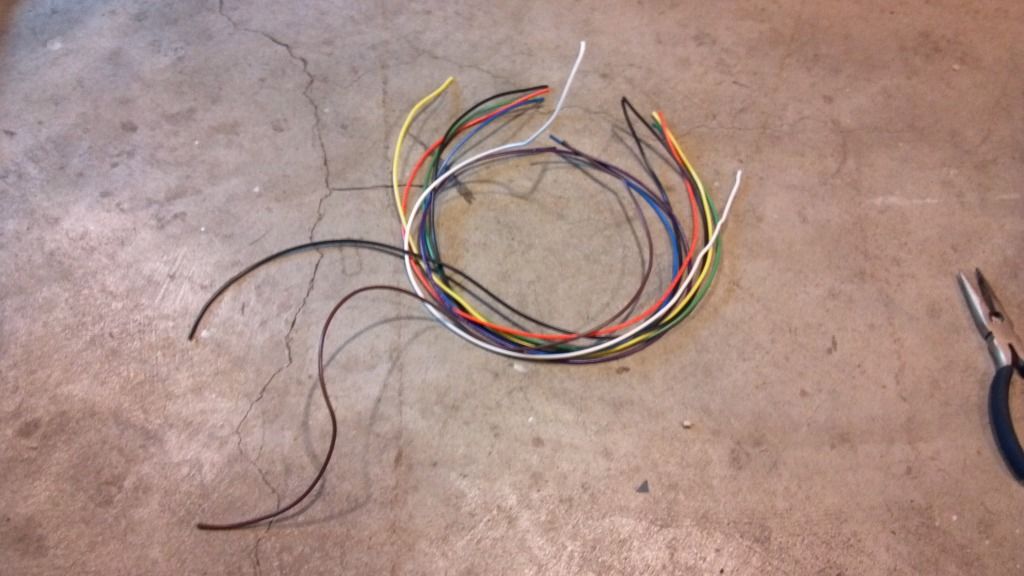
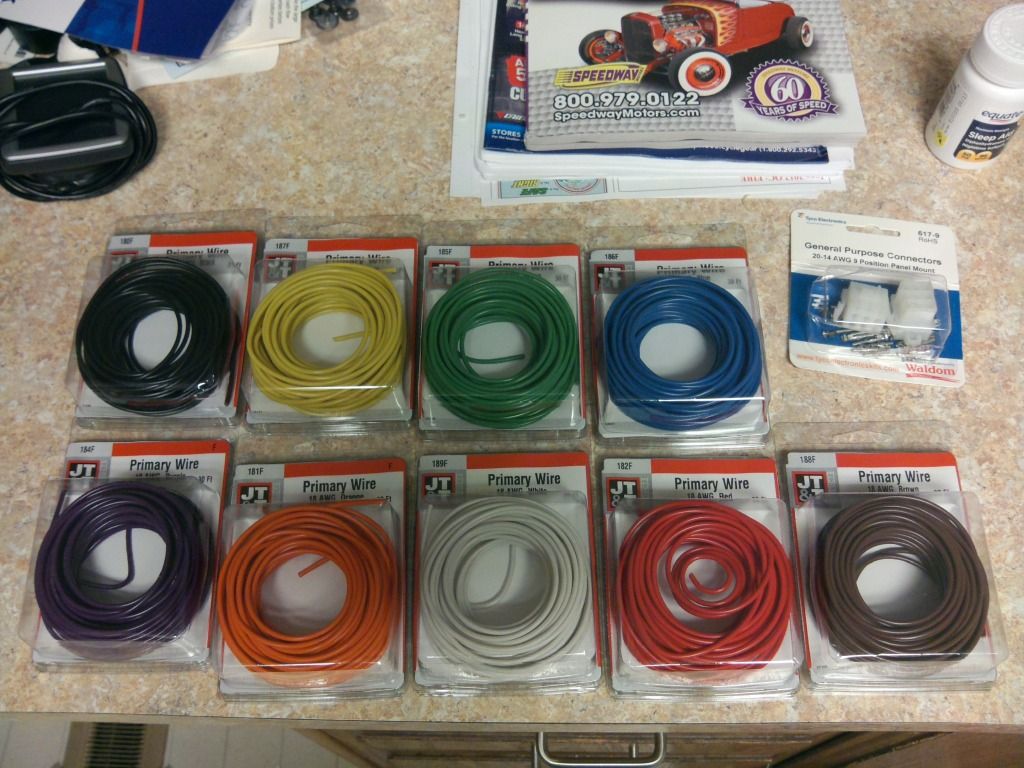
    So I ordered 9 rolls of primary wire from here: http://www.wiringproducts.com/
    Plug and snap vents from here: http://craigvetter.com/

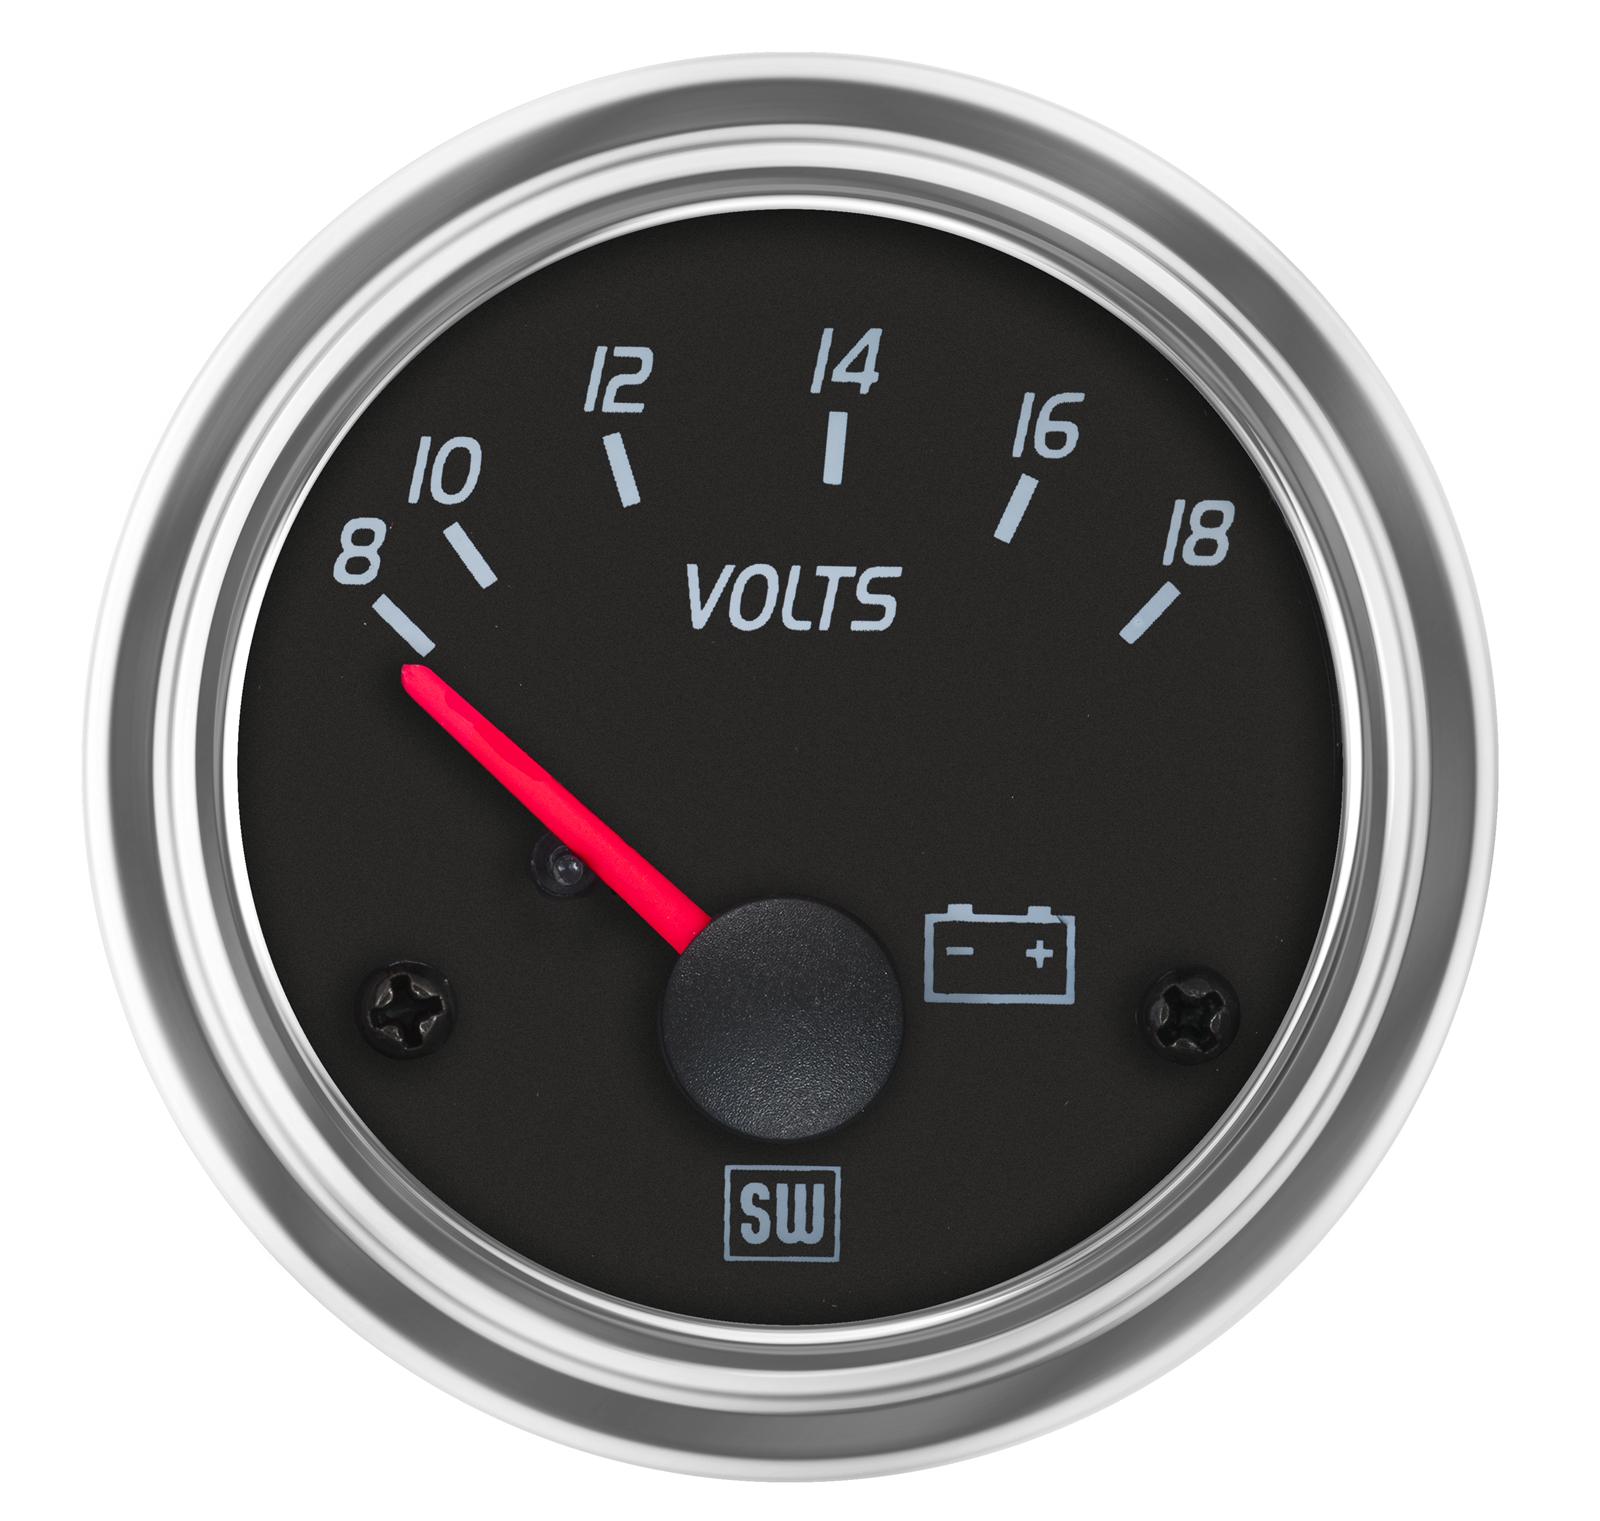
    Lots of stuff from Z1, Boulevard, etc. too. I'll be adding a voltage gauge in the fairing, this one actually:
    Free Shipping - Stewart Warner Gauge Line Series Gauges with qualifying orders of $109. Shop Gauges at Summit Racing.


    I'm probably going to leave the fairing black for now, and paint the duck tail, side covers, and front fender red like my tank is. I want to completely restore the fairing at some point, new clips/screws, decals, foam, chrome edging, etc. at some point, and I can't afford to do that this year. I'm "hoping" to have this thing back on the road in 2 weeks.

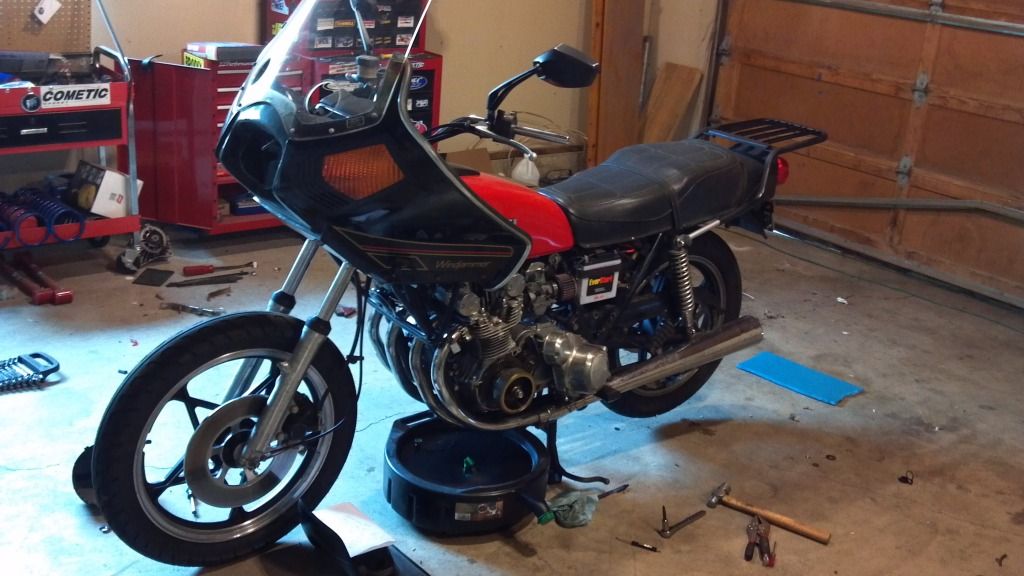
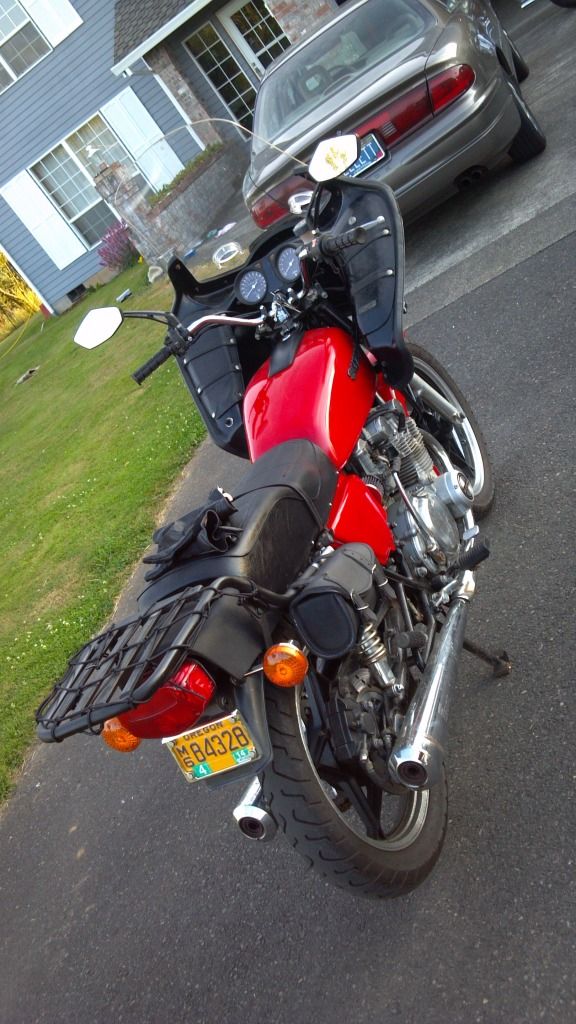
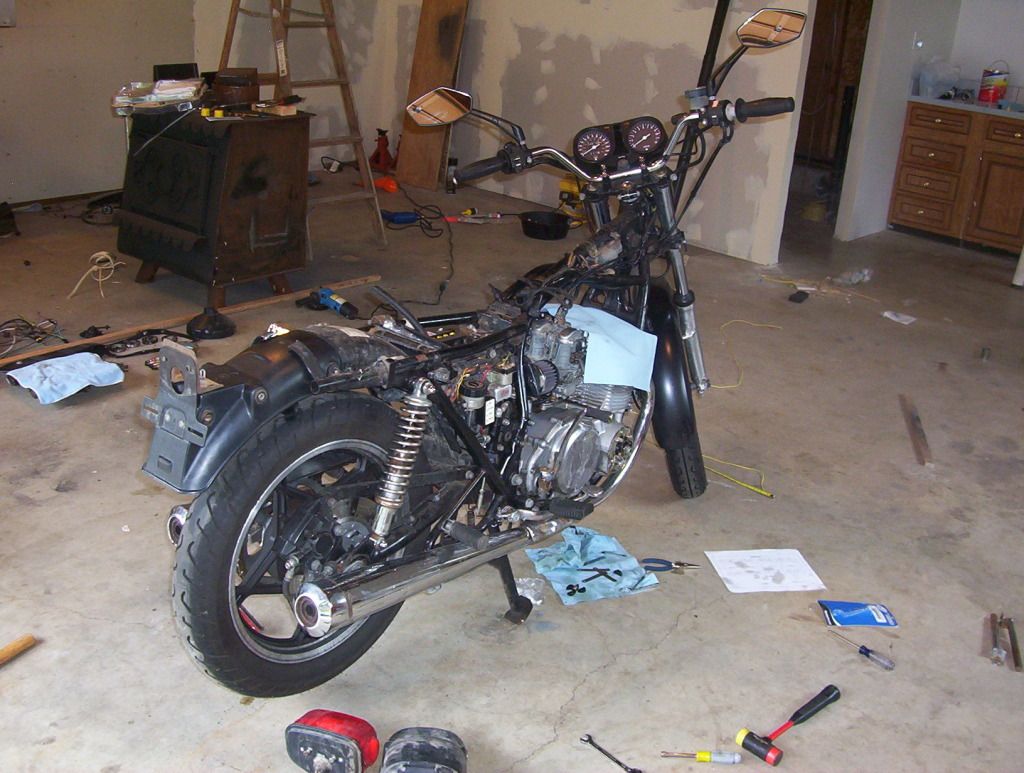
    Some pictures, as it came home several months ago:
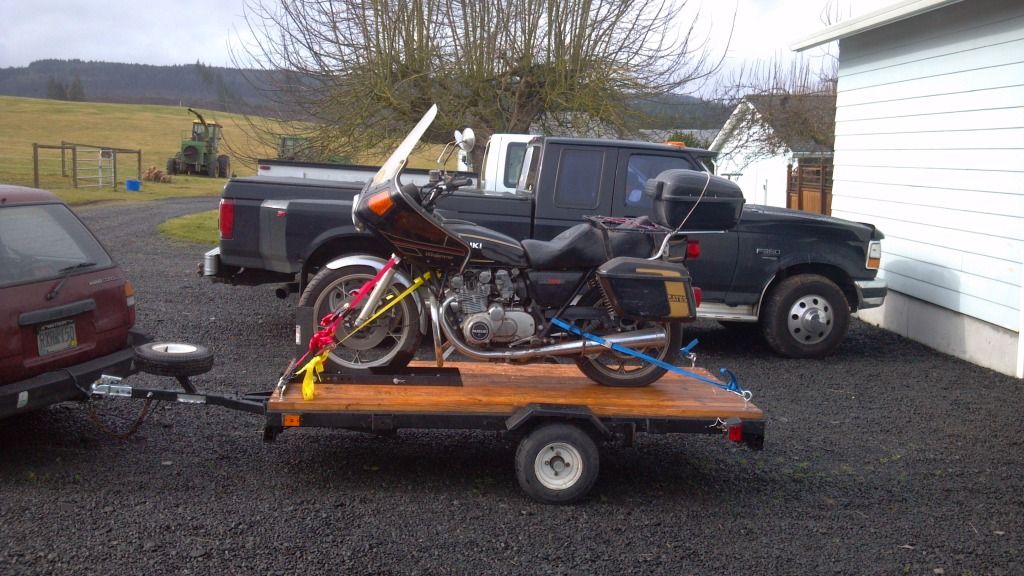

    Then:
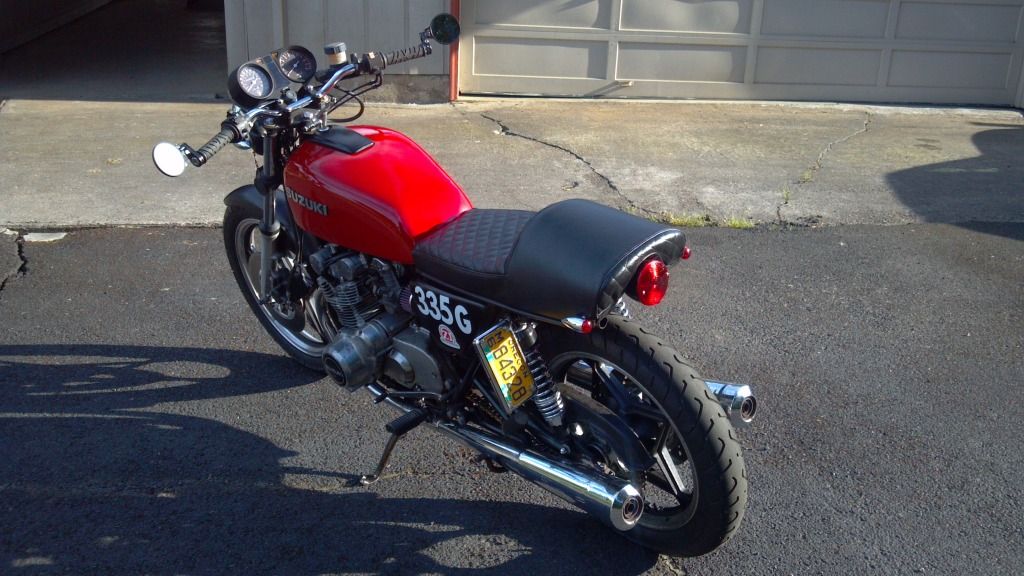


    Now:

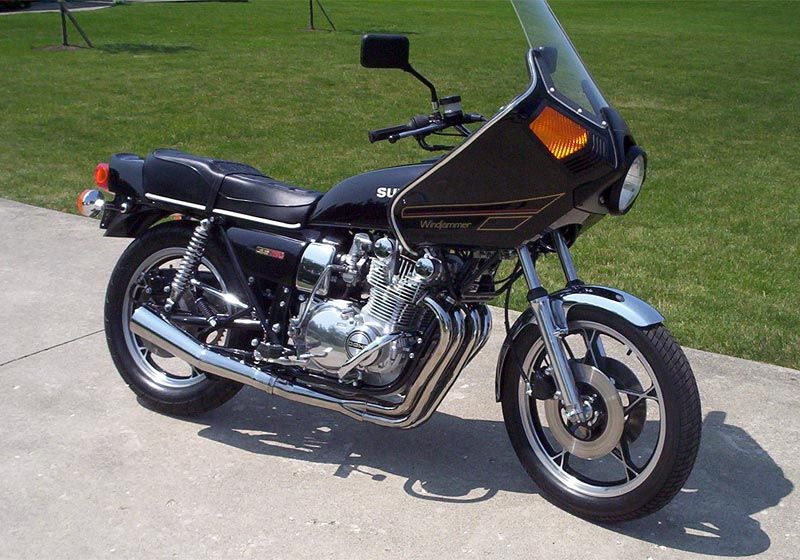
    Inspiration picture:

    Lots of wire!
    #2
    That will be nice....I would have traded you all those stock parts man .....

    BTW, want to sell that old cafe seat?? I need one ...

    Comment


      #3
      I might sell it later on down the road, for now though I stowed it away.

      Comment


        #4
        First time I've seen an de-caffeinated bike. Love it.

        It's official. Pendulum has begun to swing the other way. One day soon everyone will be building dressers out of everything they can get their hands on.

        This will be when the pendulum starts to swing back to cafe:

        Comment


          #5
          gotcha...looks to be built on a stock seat pan...is it?

          Comment


            #6
            do u want to sell the seat or handle bars i have a gs 550 i wanna start a little project

            Comment


              #7
              Just hit up Z1 for the handle bars, they're the chrome superbike ones and really cheap. Not looking to get rid of anything, I'm just putting it all away for now.

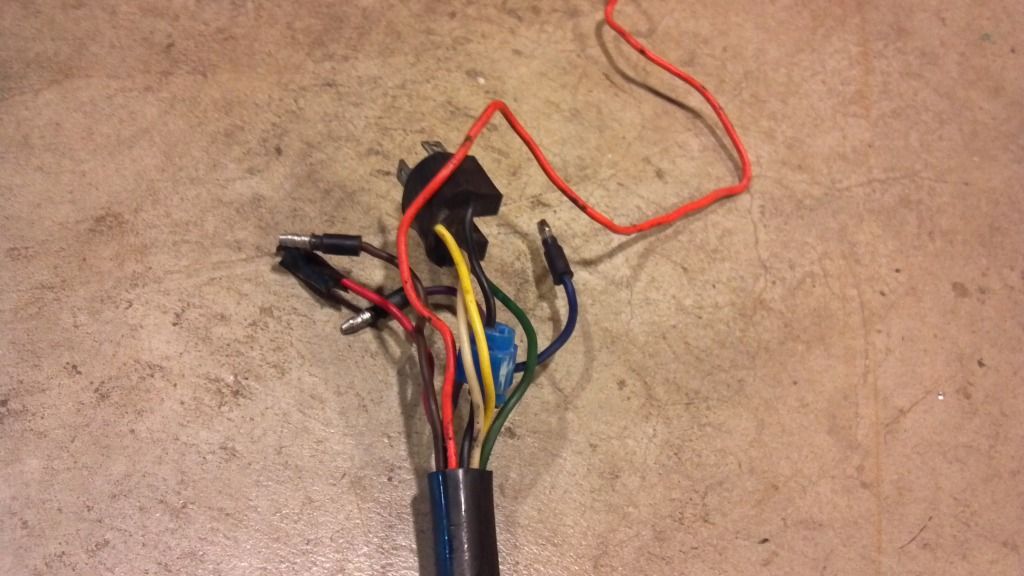
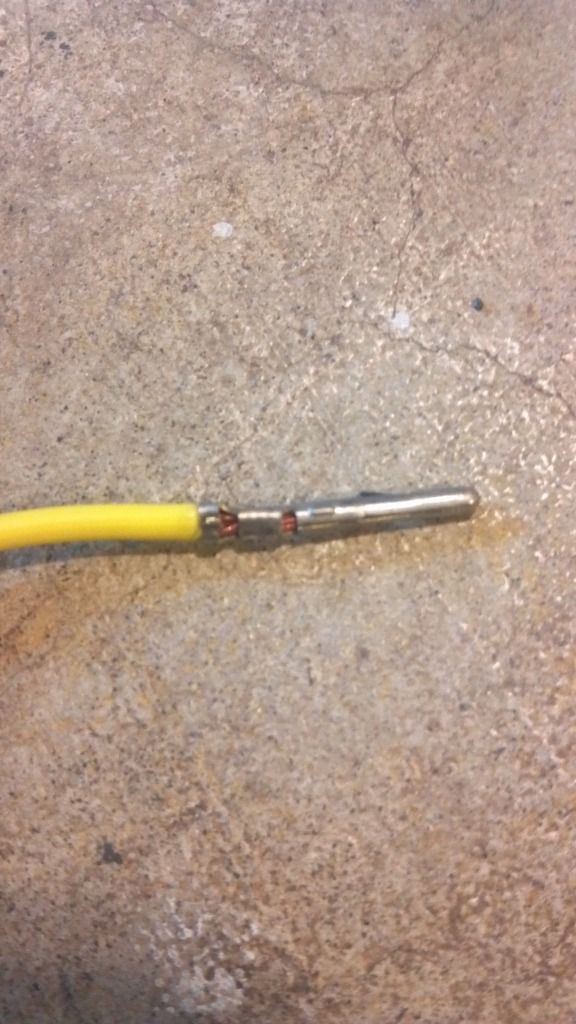
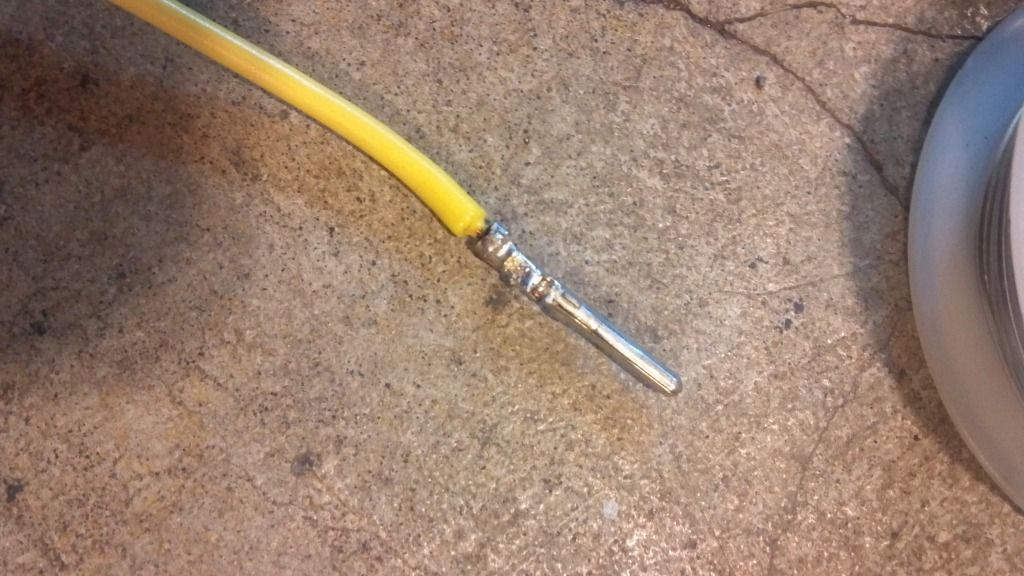
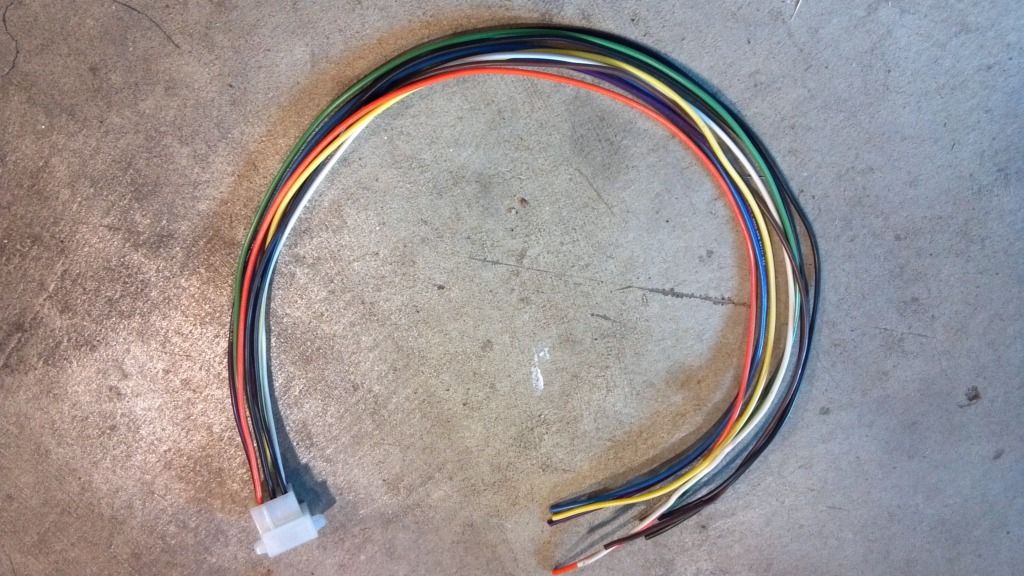
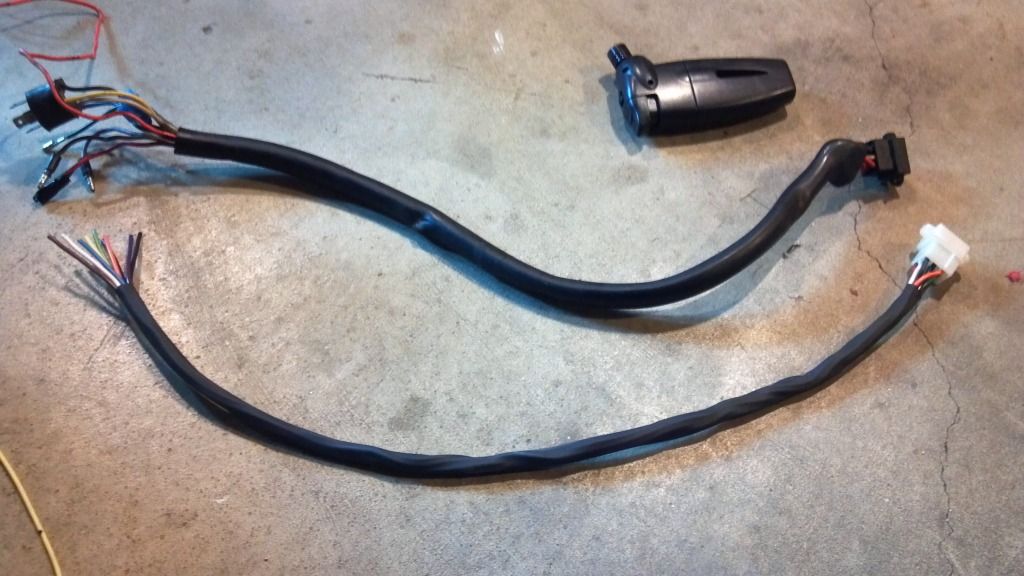
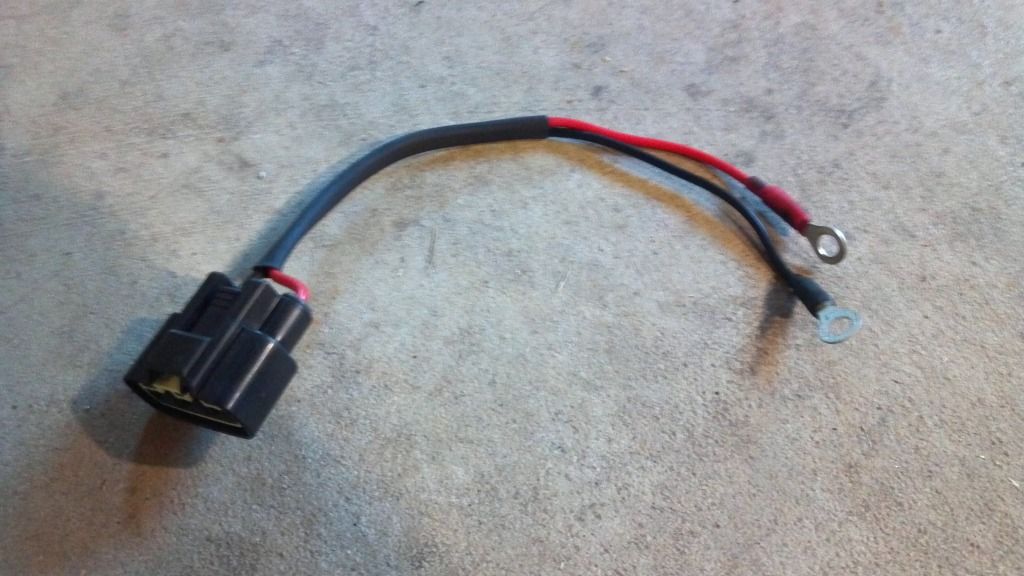
              Got a little done today, it's been almost 2 years since I've played with pinning terminals, crimping the pins, etc. And now I don't have access to the tools I used to back then, none of the crimpers I had worked. So I ended up crimping everything with needle nose pliers, just bending each tab over one at a time, and hitting them with a dab of solder afterwords. Just made the pigtail that goes from the tree on the bike to the fairing, ran the wires through some heat shrink, left some exposed on the plug end so I can wire the other plug to match, I'll cover them up with some super 88 3m tape.

              What I started with:


              End of the original Vetter harness I re-made:


              Cut some wire:


              Crimped with needle nose and soldered:


              Finished!


              Comment


                #8
                looking good so far ....

                Comment


                  #9
                  Nice

                  It isn't every day you see someone taking the bike back to stock. I agree 100% I was never a fan of windshields until I put one on my bike.

                  Comment


                    #10
                    I have ridden behind several different frame-mounted fairings, as well as SlipStreamer and PlexiFairings. Wind protection is actually about the same on most of them, the biggest difference is the storage capacity in the frame-mounted ones. Of course, you pay a penalty in weight, but it's easy to justify for some of us.


                    Originally posted by Good Times View Post
                    One day soon everyone will be building dressers out of everything they can get their hands on.
                    I am evidently on the leading edge of that rush. Click on the bikes in my sig to see pictures.
                    Of course, I did not have to do anything to the Wing, but "Junior" is wearing rear luggage from an 1100GK and a frame-mounted fairing.
                    Wife's bike has a PlexiFairing 3, leather saddlebags and a trunk.

                    Two bikes not listed (I have changed my sig, they are shown now) are #1 son's 650L that has saddlebags and a back rest (sissy bar) and #2 son's 1000G that has all the brackets for Vetter luggage at the rear, but he has all the actual luggage off for the summer. The Windjammer might get mounted over the winter.

                    .
                    Last edited by Steve; 09-13-2012, 07:48 AM.
                    sigpic
                    mine: 2000 Honda GoldWing GL1500SE and 1980 GS850G'K' "Junior"
                    hers: 1982 GS850GL - "Angel" and 1969 Suzuki T250 Scrambler
                    #1 son: 1986 Yamaha Venture Royale 1300 and 1982 GS650GL "Rat Bagger"
                    #2 son: 1980 GS1000G
                    Family Portrait
                    Siblings and Spouses
                    Mom's first ride
                    Want a copy of my valve adjust spreadsheet for your 2-valve per cylinder engine? Send me an e-mail request (not a PM)
                    (Click on my username in the upper-left corner for e-mail info.)

                    Comment


                      #11
                      Well, this is going slowly, lol. I've been in a bit of a financial pinch since the FJ came home, and I bought a corbin seat I couldn't afforrd... But today I finally had some free time to work on the 550 some more. The FJ is awesome to commute with, but the 550 gets better mileage and the vetter fairing will be nice in the rain if that happens.

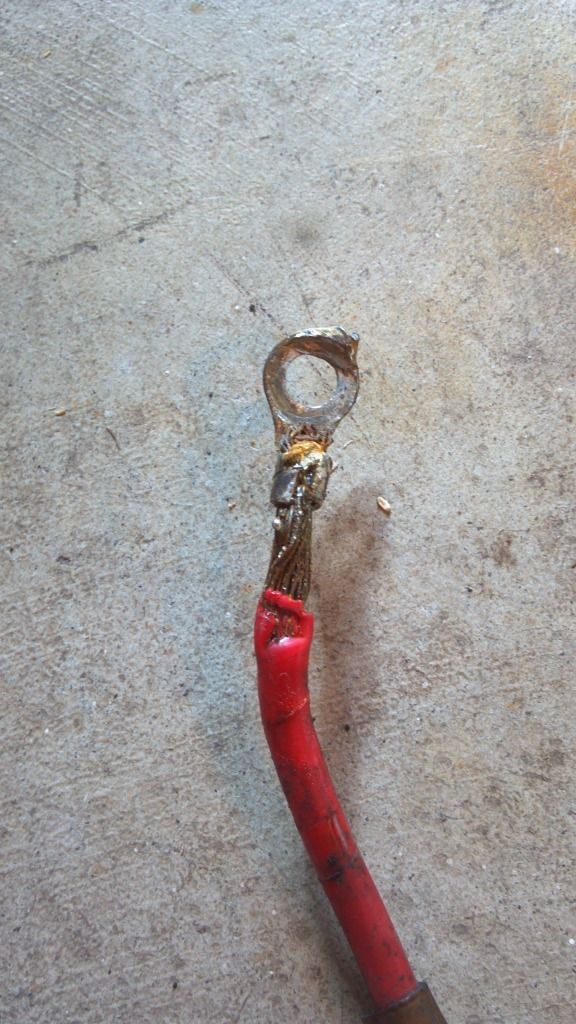
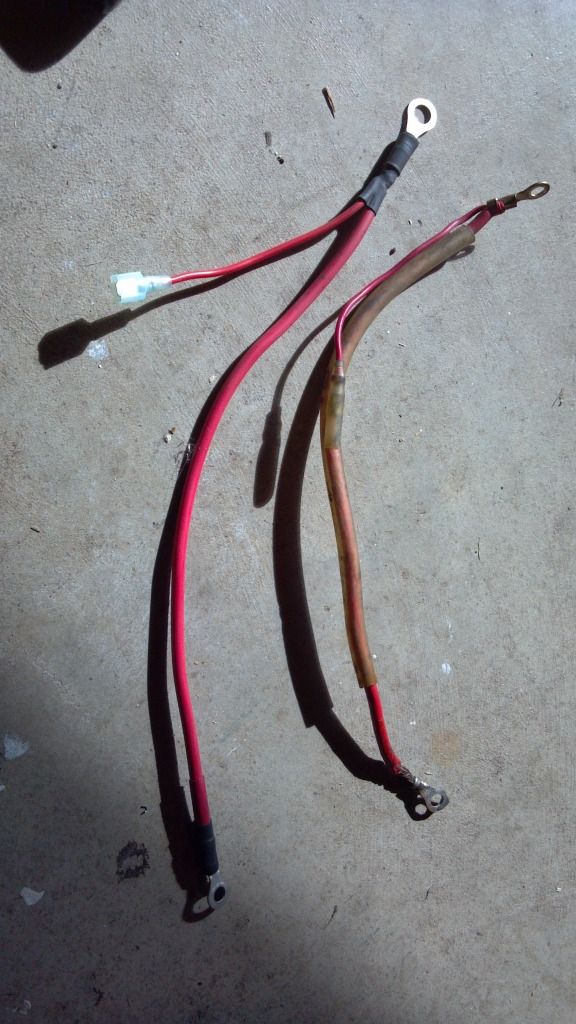
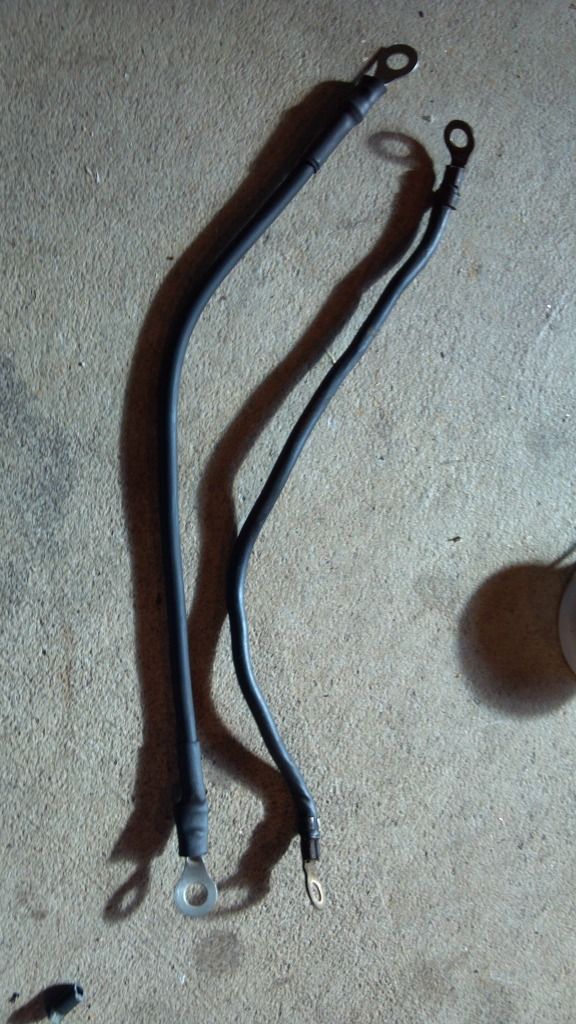
                      The first thing I did today was make a new negative and positive battery cable, both originals were corroded pretty bad, looks like the POS cable got a tad hot at one time too, insulation was burned away.


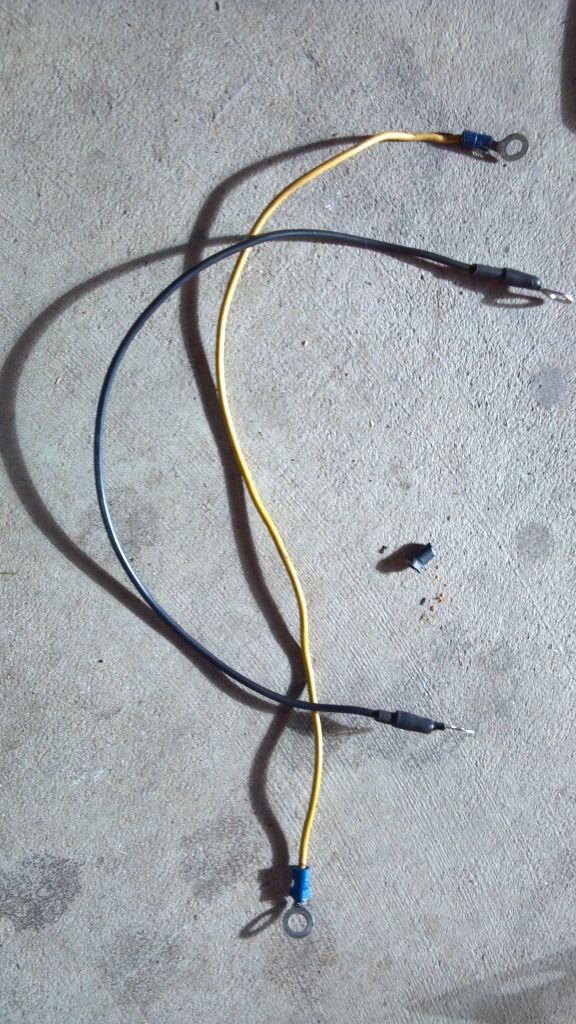
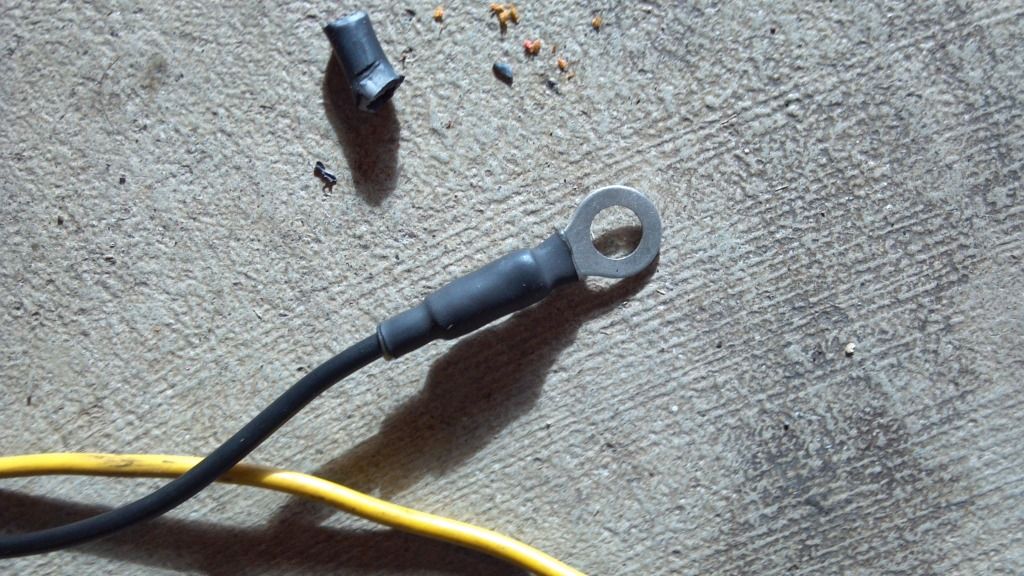
                      Made a new ground to replace the nasty looking yellow one (must just be an extra ground, goes from the battery to the mounting bolt on the starter 'noid)


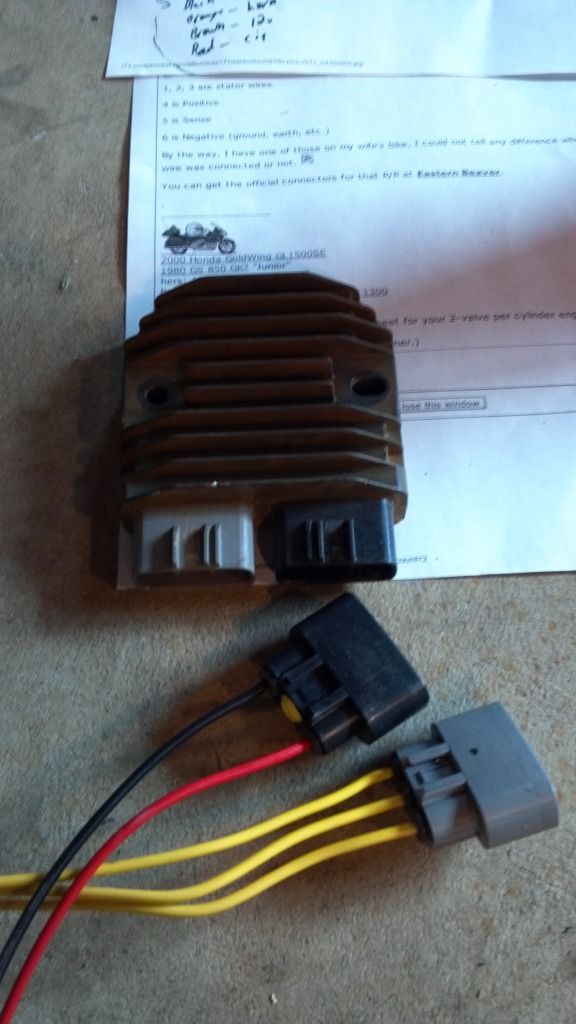
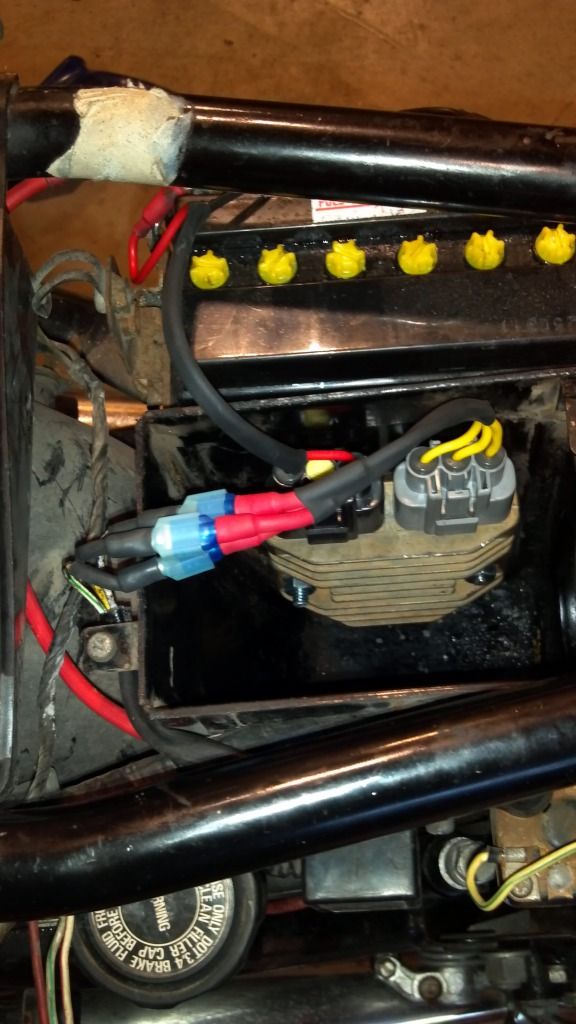
                      Then I started on my R/R swap, I hope I did this right, it seemed as though my '79 had separate regulator and rectifier, so I removed 2 things. Yes, I know there's no fuse on the POS from the r/r to the battery, I just now remembered that. I have a 20a waterproof fuse I bought, just spaced...


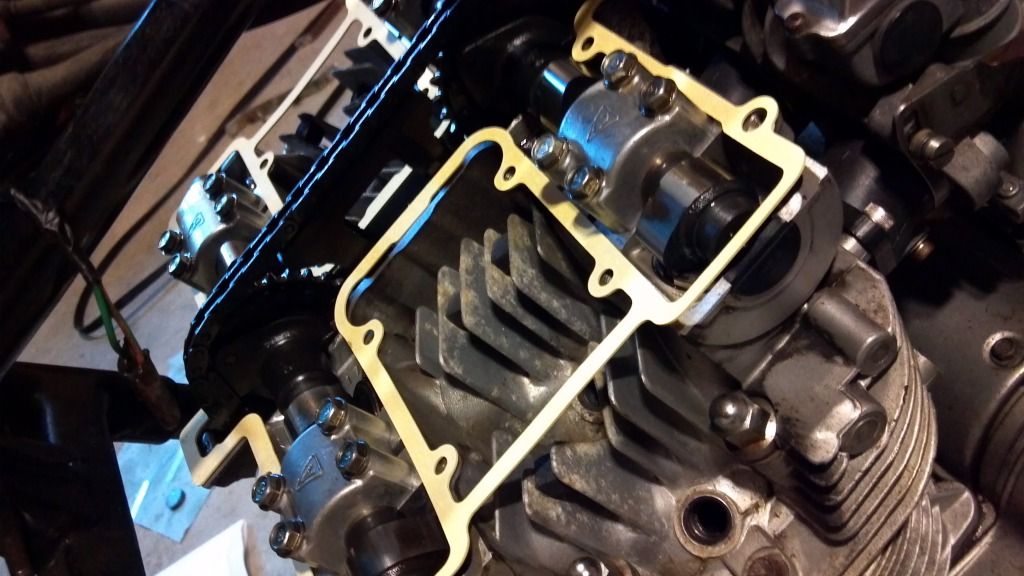
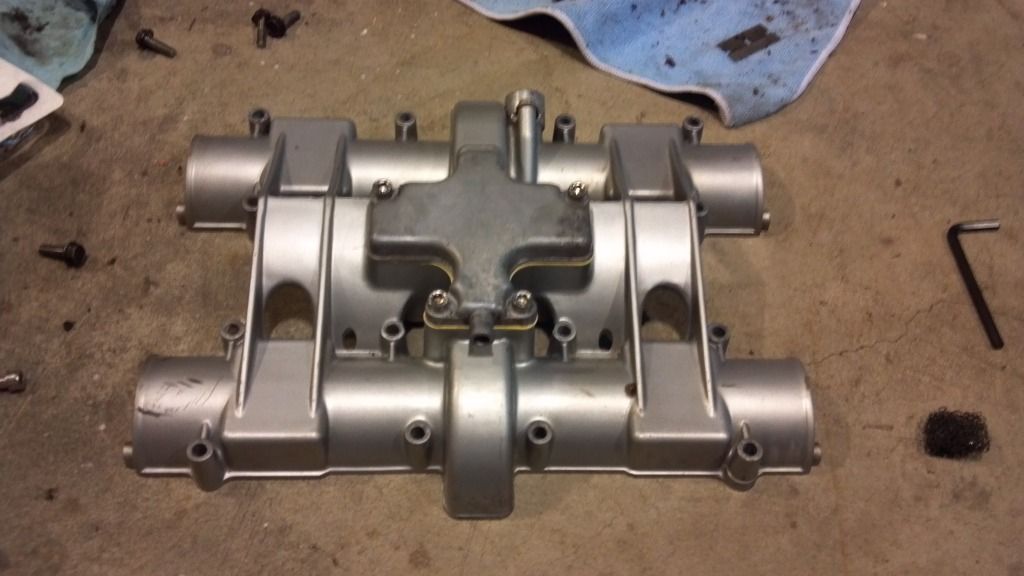
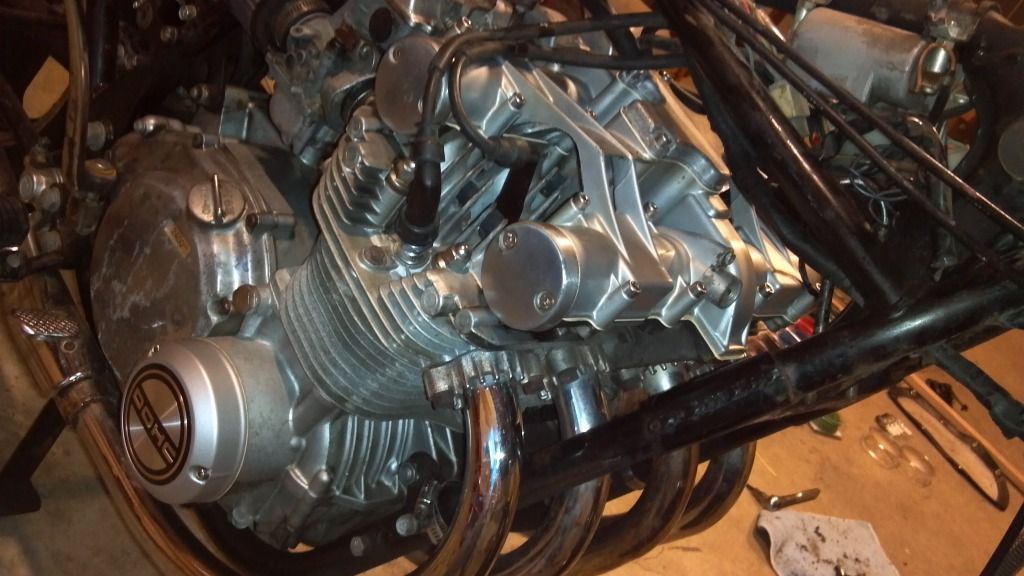
                      Then I finished adjusting the valves since my new shims came a few days ago. Spent a long time cleaning the valve cover, no new paint on it or the breather, finish was good enough for a commuter. New Suzuki gaskets, stainless bolts from Z1, even replaced the little mesh filters in the breather. This thing must have had the valves done once, the exhaust valves were all in spec clean and clear, had 2 tight intake valves though.


                      Comment


                        #12
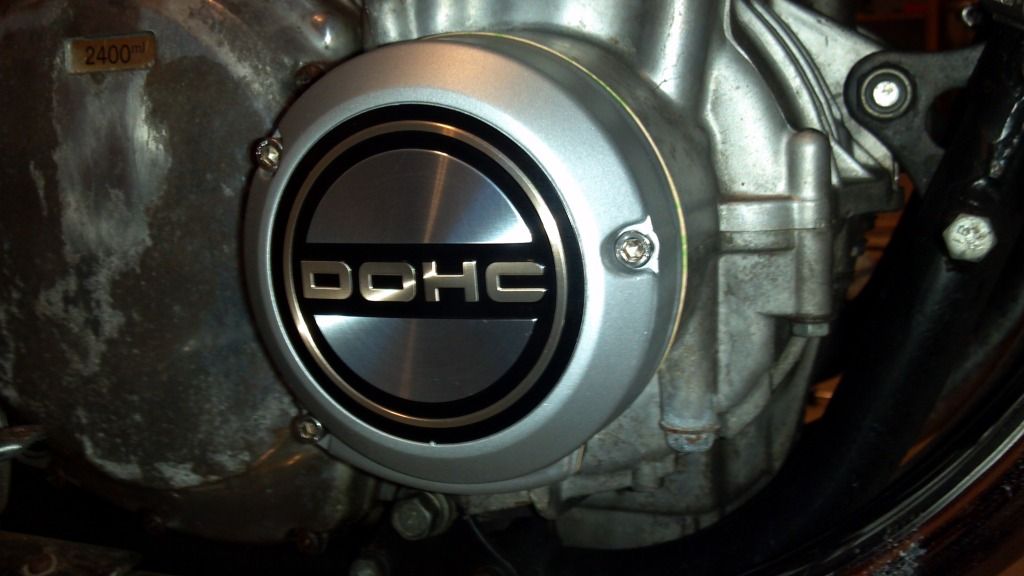
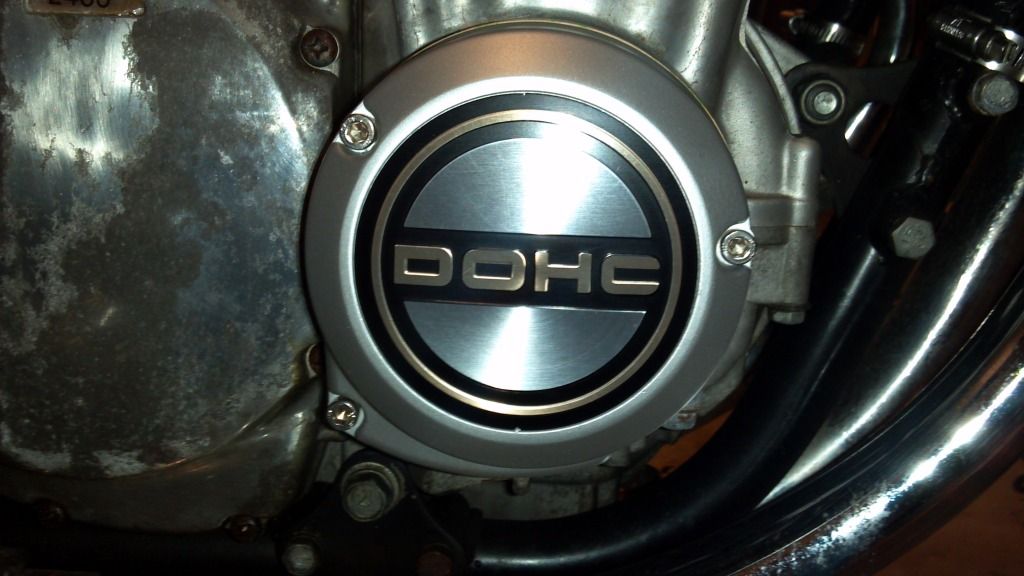
                        This looks out of place, lol. I bought new gaskets for all the side covers, and emblems. Sand blasted the points cover, hit it with some VHT engine paint, and a new decal. Looks nice! Little too nice though!


                        Also attached the new fairing pigtail and closed the headlight ears up, I didn't secure them last time and they were rubbing. No more of that.


                        Not pictured is the newly painted KG rack, sand blasted it and painted it with black VHT wrinkle paint, looks interesting.... I'm looking for a trunk to put on it though, so you won't really see it. I'd like a Vetter trunk to go with the fairing, but they're proving a pain to find by themselves, not to mention I can't afford any of them I've seen.

                        Comment


                          #13
                          Making some progress, kinda running out of steam already, lol. The other day I almost stripped her apart again and re-cafe'd it. But decided to keep on going with the project. And yes, the duck tail is painted with the VHT wrinkle paint... here's why. Years ago, I stripped the plastic fenders on my TL125 with a spray can stripper, and re-painted them, came out just fine, no ill effects on the material. Years later, go to Walmart, buy the same stuff, and spay the duck tail down with it... yeah, not so good. It ate the plastic and wrinkled it, made it soft. Rinsed the snot out of it with water and sanded on it for about an hour with 60 grit and couldn't save it. I also can't afford another used tail off ebay right now So just to keep the progress going, I painted it with the wrinkle paint.
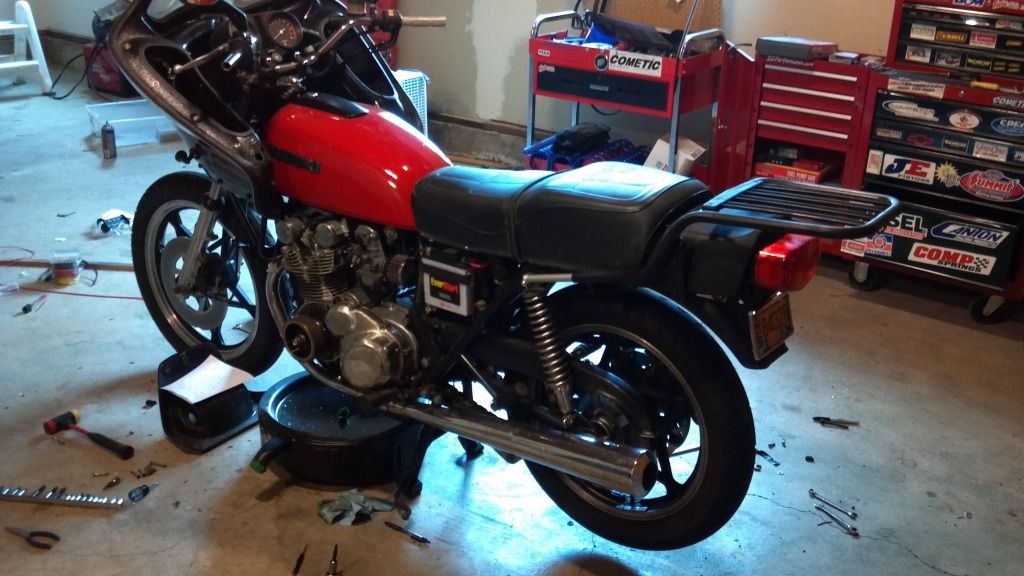
                          Also spent over an hour bashing this piece of crap seat I got off ebay with a hammer. The seller didn't use any packaging and it got smashed, twisted, etc. Seller was great and re-funded me most the money, and I went to work trying to save it. The cover isn't any good, but I did get the thing to fit finally. Meh, not having the greatest luck with this project, lol.


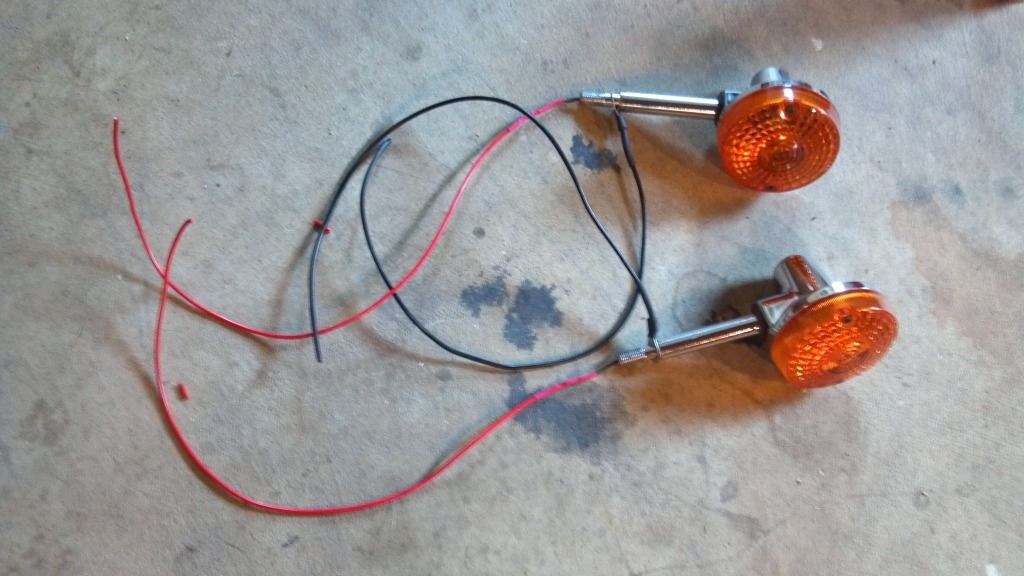
                          Also got the rear blinkers ready to go back on

                          Comment


                            #14
                            Got it all buttoned up last night, new valve cover gasket weeps up front in the middle like the old one did Dang! Oh well, many other things to address until then. The Hella headlight housing is AWESOME, this thing has the best beam pattern now of any bike I've ever ridden, and with just a cheapo walmart silvania headlight. R/R seems to be working, the 1977 seat foam sucks, after an hour I wanted off ASAP, and I need to find a good tail to paint red, get some NOS side cover decals too.

                            Oh well, it's back together at least, I don't know if I'll really ride it much anymore, been enjoying the FJ way too much.


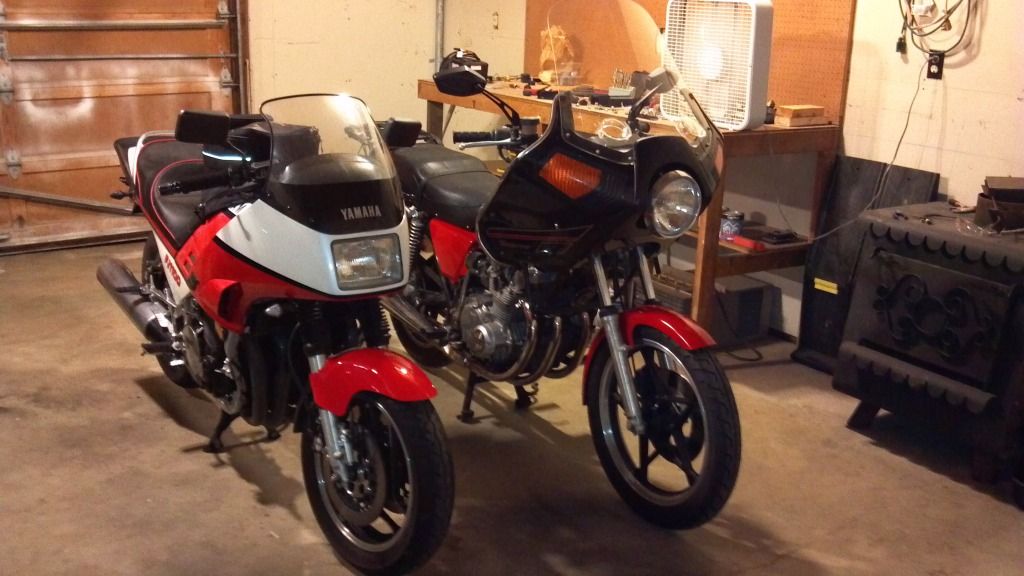
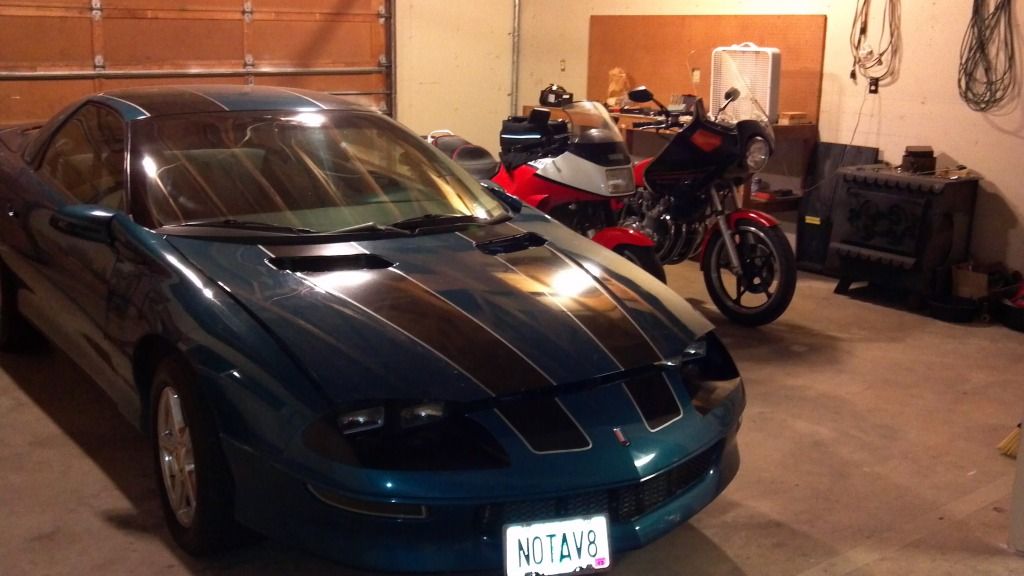
                            Need more room in the garage, got room for maybe 2 more bikes and that's it, one will be a dirtbike, and I want to build another cafe racer.

                            Comment


                              #15
                              Good stuff, you did a great job converting it back to a stockish look. I'm sure if you get a gel insert for the seat and you will want to ride it more.

                              Comment

                              Working...
                              X