Announcement
Collapse
No announcement yet.
taking the plunge
Collapse
X
-
Bugger! One thing I learnt very early on in my rebuild was to be very patient and don't rush... that's when you either bust things or forget things...1982 GS450E - The Wee Beastie
1984 GSX750S Katana 7/11 - Kit Kat - BOTM May 2020
sigpic
450 Refresh thread: https://www.thegsresources.com/_foru...-GS450-Refresh
Katana 7/11 thread: http://www.thegsresources.com/_forum...84-Katana-7-11
-
 Zbradley1215
carb day
after debating when i actually wanted to start the carbs rebuild, i took the bike out and pulled the carbs off. i guess i gotta do it now since they are off. some of those screws are on there good.
thanks for anyone that created the carb rebuild tutorials on basscliffs sit, those are very helpful.
now i just need to order the o ring kit
when i go to soak them, is it alright to use a plastic bucket/ dish or will the carb cleaner eat through that?
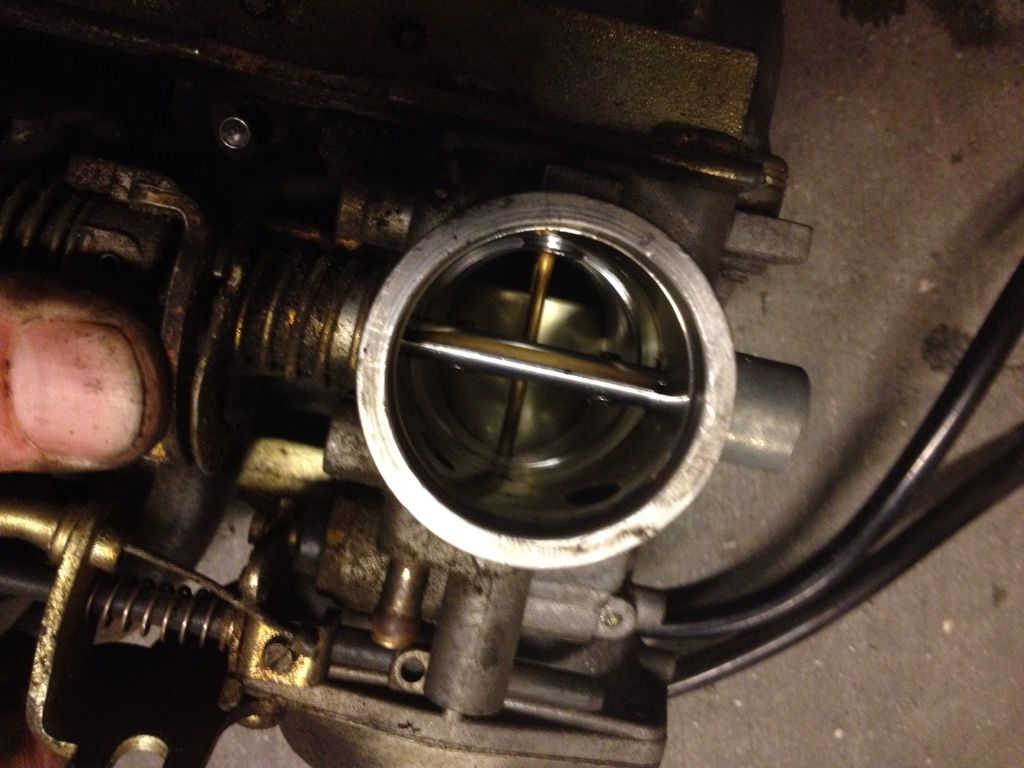
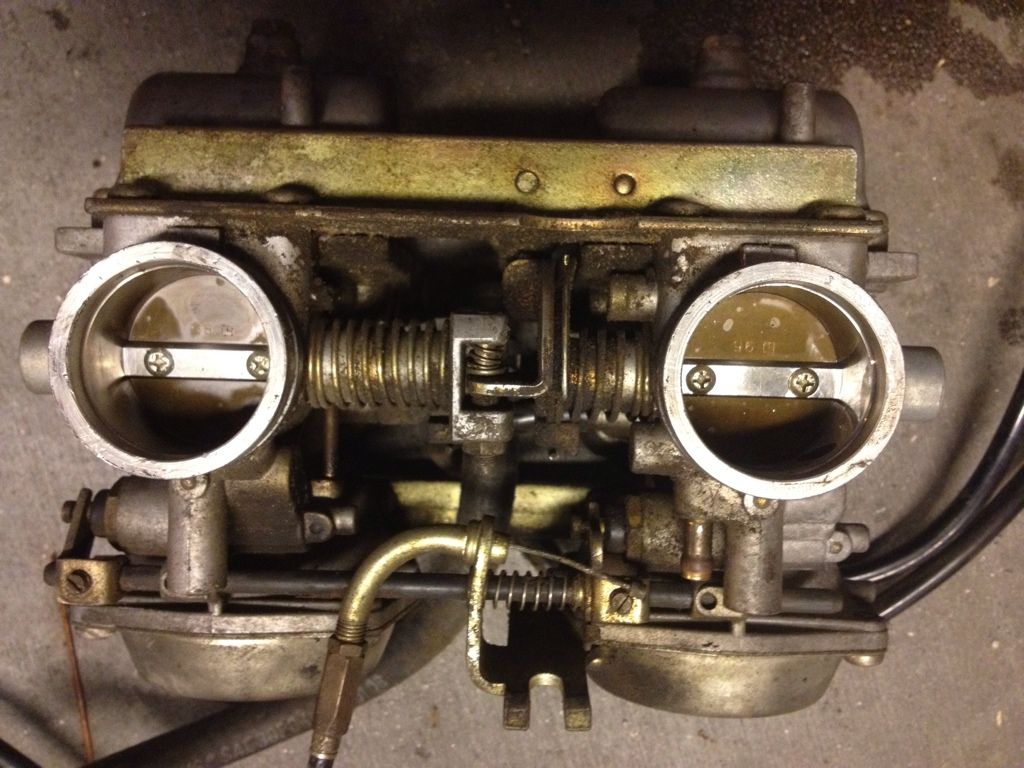
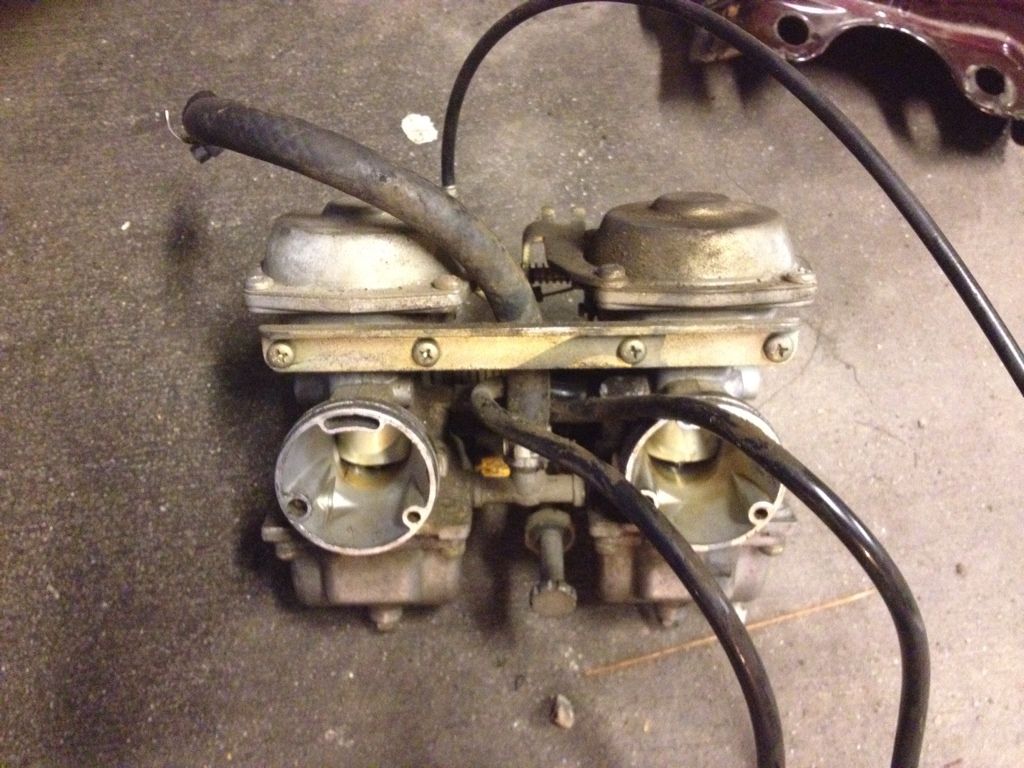
heres some pics in no particular order
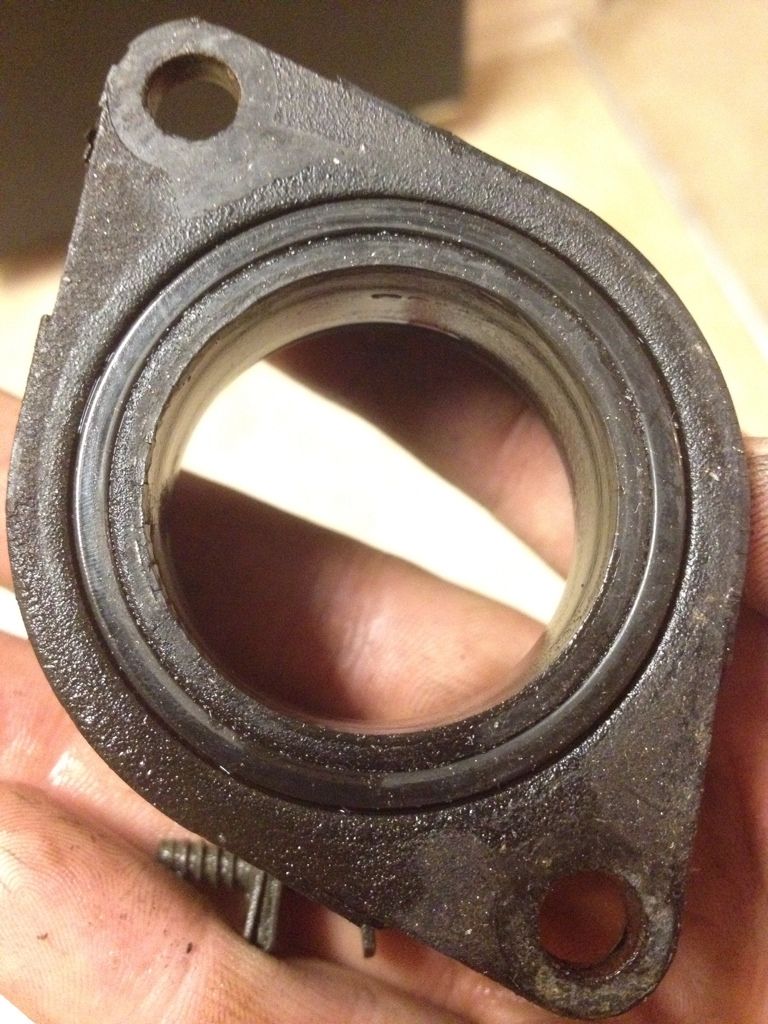
where does the boot o-ring go?
took the tank and seat off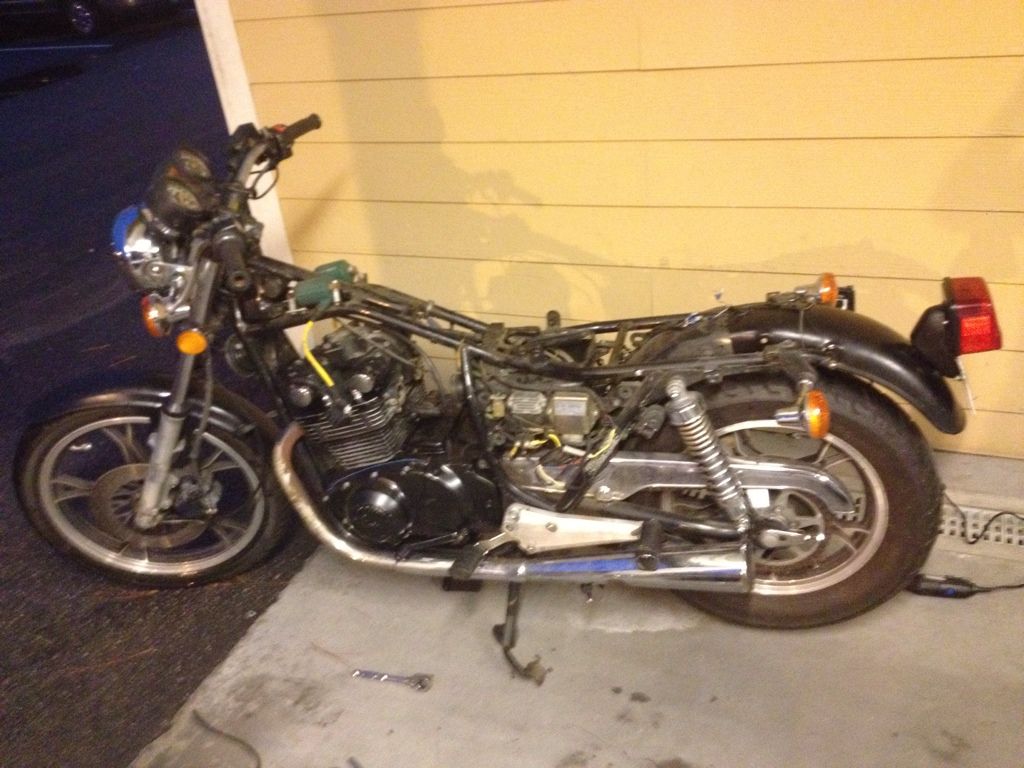
Comment
-
 hjacobmiller
Boot oring is that real flat squashed thing in the middle there.
Update: about 2 mm from the inner diameter. You're going to need a pick of some sort to get it out. It will look a lot more like a rubber washer than an oring when you take it out. That's pretty squashed.
Comment
-
No need to get anything special for dipping carb parts, the cleaner that you should get comes in a gallon-size can (that has about 3 quarts of liquid in it) that has a basket inside. Open the can, take out the basket. Fill the basket with parts for ONE carb, put the basket back in the dip. Wait 24 hours, take those parts out, put parts for the next carb in. Rinse off the first day's carbs with HOT water, follow that with some carb spray in the various holes, AFTER PUTTING ON YOUR SAFETY GLASSES. Follow the carb spray with some compressed air to dry out the passages. Poke some copper wire strands through the jet holes, rinse with carb spray, dry with air. Repeat on successive days with the rest of the carbs. Assemble carbs with new o-rings from cycleorings.com.
Yes, it takes the better part of a week to properly do the carbs, but if you do it properly ONCE, you won't have to do it again for several years.
Try taking 'shortcuts', you will be doing this again and again, until you finally do it properly.
.sigpic
mine: 2000 Honda GoldWing GL1500SE and 1980 GS850G'K' "Junior"
hers: 1982 GS850GL - "Angel" and 1969 Suzuki T250 Scrambler
#1 son: 1986 Yamaha Venture Royale 1300 and 1982 GS650GL "Rat Bagger"
#2 son: 1980 GS1000G
Family Portrait
Siblings and Spouses
Mom's first ride
Want a copy of my valve adjust spreadsheet for your 2-valve per cylinder engine? Send me an e-mail request (not a PM)
(Click on my username in the upper-left corner for e-mail info.)
Comment
-
Definitely a +1 to this, listen to Steve!Originally posted by Steve View PostNo need to get anything special for dipping carb parts, the cleaner that you should get comes in a gallon-size can (that has about 3 quarts of liquid in it) that has a basket inside. Open the can, take out the basket. Fill the basket with parts for ONE carb, put the basket back in the dip. Wait 24 hours, take those parts out, put parts for the next carb in. Rinse off the first day's carbs with HOT water, follow that with some carb spray in the various holes, AFTER PUTTING ON YOUR SAFETY GLASSES. Follow the carb spray with some compressed air to dry out the passages. Poke some copper wire strands through the jet holes, rinse with carb spray, dry with air. Repeat on successive days with the rest of the carbs. Assemble carbs with new o-rings from cycleorings.com.
Yes, it takes the better part of a week to properly do the carbs, but if you do it properly ONCE, you won't have to do it again for several years.
Try taking 'shortcuts', you will be doing this again and again, until you finally do it properly.
.
Mind you we don't have Berrymans or anything here, but I was able to get Yamalube carb cleaner which is essentially the same thing but more caustic as you need to dilute it with water.
I bought the cheapest sauce pan and stainless steel strainer I could find from the supermarket and used that for dipping, although I actually simmered mine on a portable hot plate (not recommended!!!!).1982 GS450E - The Wee Beastie
1984 GSX750S Katana 7/11 - Kit Kat - BOTM May 2020
sigpic
450 Refresh thread: https://www.thegsresources.com/_foru...-GS450-Refresh
Katana 7/11 thread: http://www.thegsresources.com/_forum...84-Katana-7-11
Comment
-
 Zbradley1215
After having to put working on the bike on hold for a little bit and only having an hour or two to spare every so often, I finally got it back up and running.
I dipped the carbs and replaced the o rings, put some clip on's on it and next I have a smaller speedo to hook up.
The only problem I have right now is that the petcock doesn't seem to be pumping fuel, I have to keep it on prime for it to run. Any ideas?
Comment
.png)
Comment