Are you going to return the seat trim and tail piece back to the original scheme?
Announcement
Collapse
No announcement yet.
Naked Cooley
Collapse
X
-
 GS Jim
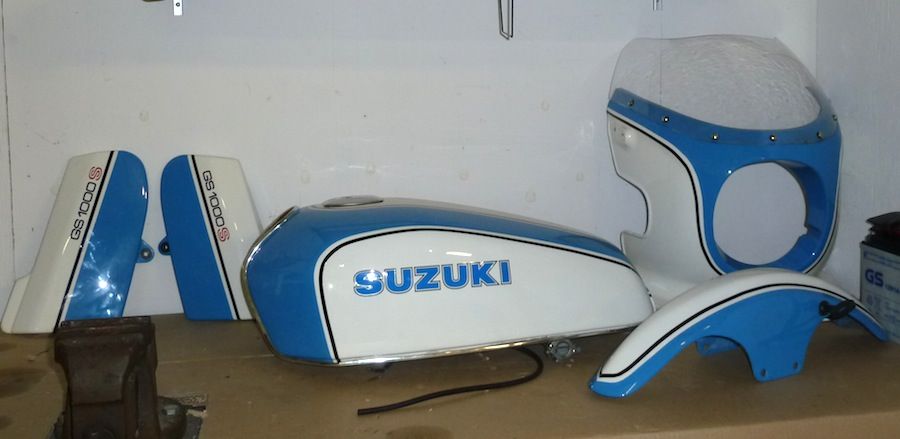
Hi Vmas, well spotted, but naw, I'm going to leave the paint scheme as is for now since the body work is in pretty good shape. Only Cooley experts notice.Originally posted by Vmass View PostGood luck with your project. I may have a couple bits left over from my project, let me know if you need anything and I will check.
Are you going to return the seat trim and tail piece back to the original scheme? I delivered the polished cases to the engine builder today and he said he would try to have it ready b4 Christmas, which would be nice.
I am in the hunt for a new or lightly used oil pump, if you happed to have one lying around. Plenty on fleebay, but hard to gauge the condition. Mine is prob OK, but with 68,000 Kms on the girl, one could argue in favor of a new pump.
AZR, I agree, the hardest part of polishing these old parts is removing the old factory clear coat. Might give the angle grinder a try, cause I had to repair several dings caused when the power drill got away from me.
Today I installed new needle bearings in the swing arm. I used the freezer suggestion and they went in no problem using a mallet and a 1/4" piece of wood to tap them in.
Also started painting some doodas like the dust cover for the swing arm (it's a disease, I know )
Last edited by Guest; 06-24-2013, 05:43 PM.
Comment
-
 GS Jim
Airbox question
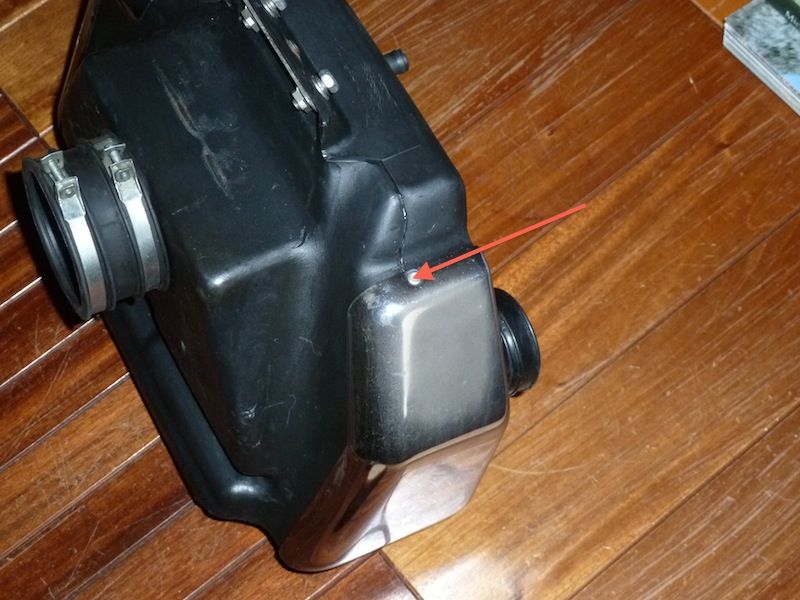
Hey guys, I want to remove the chrome trim pieces on sides of airbox to have them re-chromed. removing the screw on bottom is simple enough, but when I tried drilling out the 2 rivets the rivets started rotating with the drill bit.
Any ideas on how to remove the rivets??
Comment
-
 GS Jim
Frame Painted
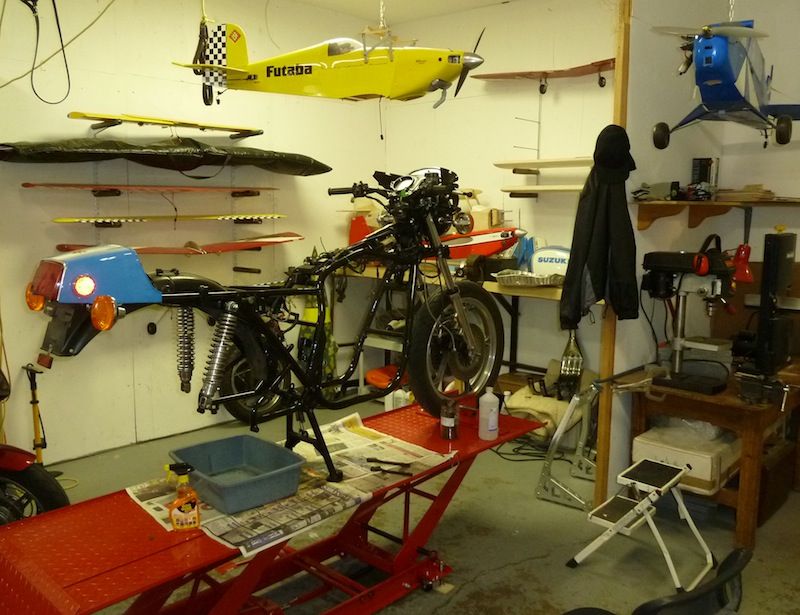
Paul K and I went down to Buffalo, NY to take advantage of a sale at Harbor Freight (any excuse for a road trip) and this is what I came with


Makes working on the bike much easier! Anyways, got frame cleaned and re-painted today.
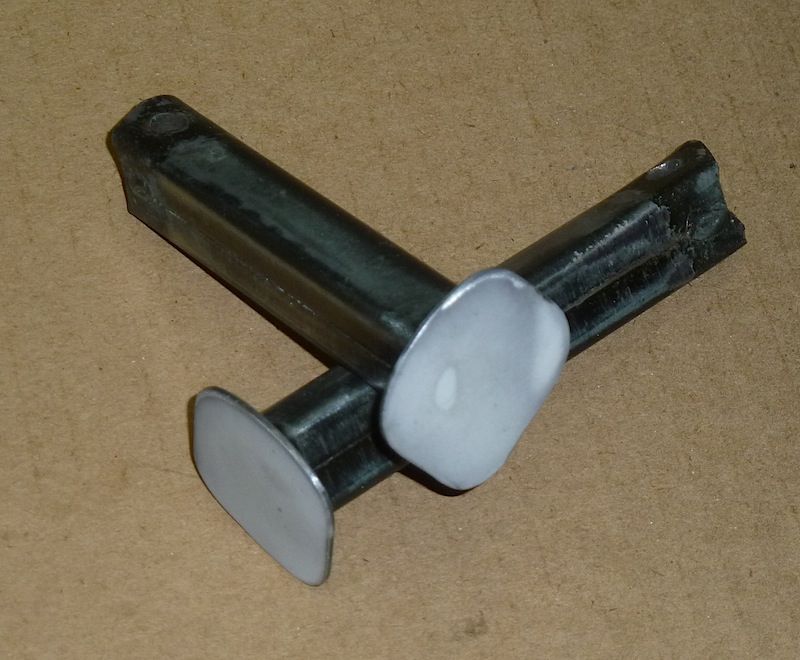
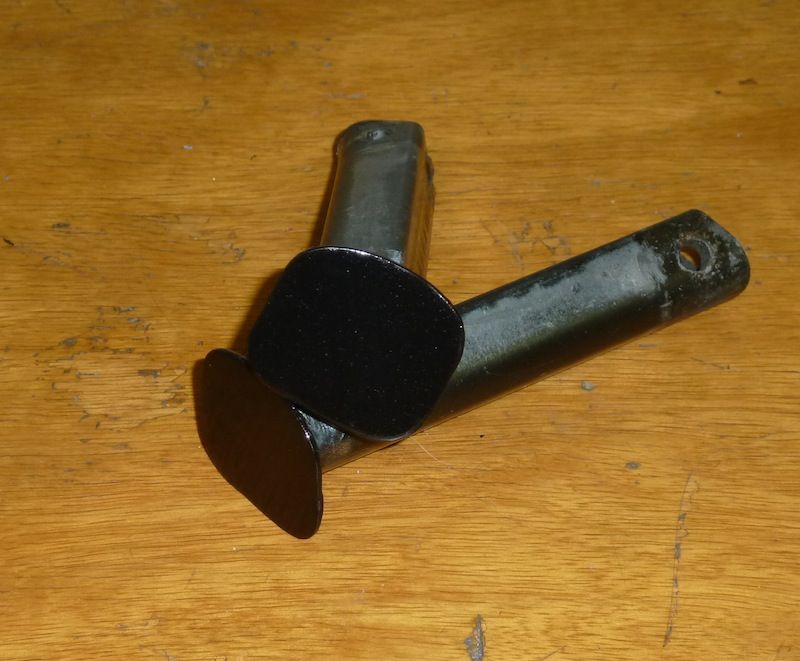
And reconditioned the rear foot pegs bars which had suffered some road rash at the hand of the PO. They were pretty beat up, I hammered them out as best I could, grinded them flat, then filled the divots with home made bondo (epoxy and micro balloons), which gave a nice smooth surface.
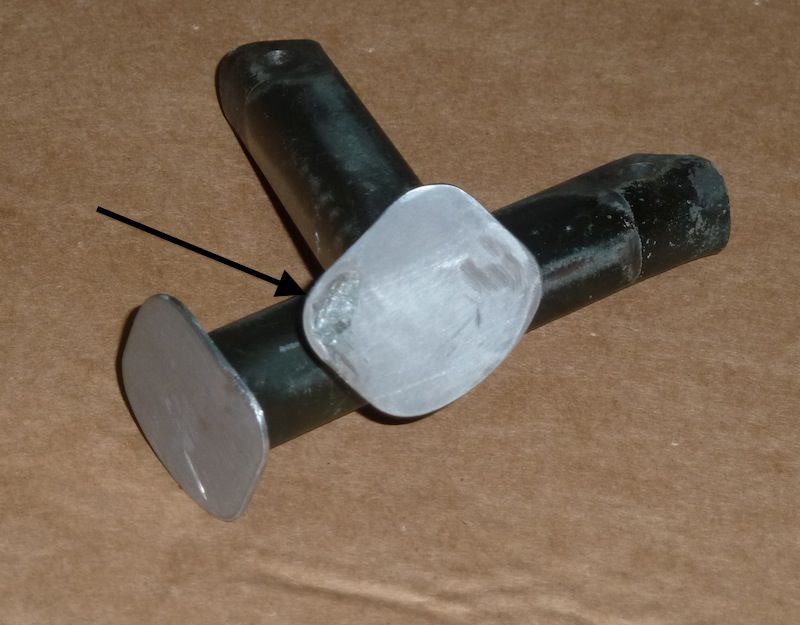
after filling
repainted
Comment
-
 GS Jim
Thanks GSJim (love that handleOriginally posted by GSJim View PostNice shop. I wish I could shoehorn a bike lift into my work space.
What paint did you use on your rear caliper and frame? I will be doing some black parts in the next few weeks.
The other GSJim. ), I'm happy with the new work space setup. It's heated and has an attached workshop (not seen in picture). My friends say I didn't buy a house; rather, that I bought a workshop with a house attached!
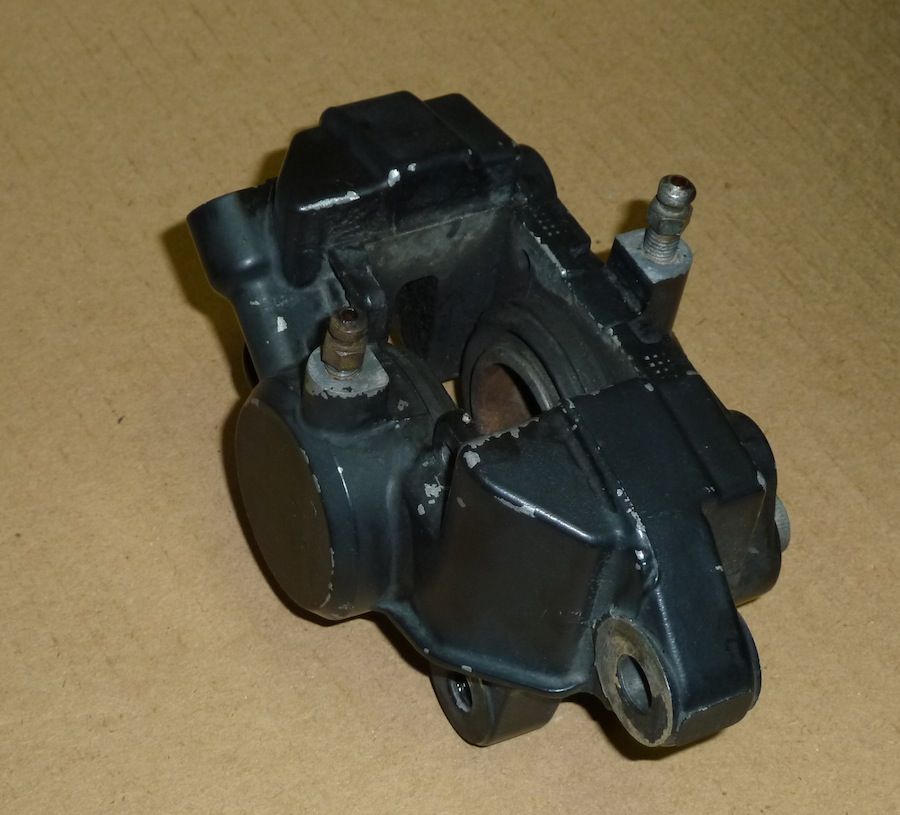
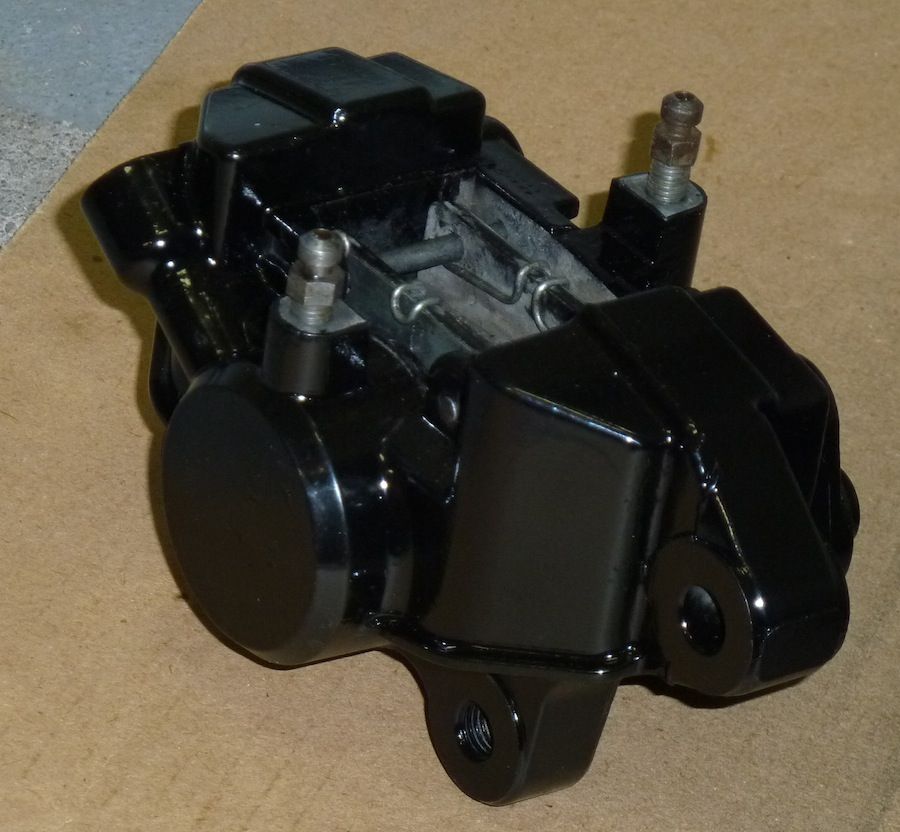
I figured the calipers needed as resistant paint as possible, so I used spray can RUST-OLEUM Engine Enamel on the callipers which is labelled gas & oil resistant.
On the frame, I brushed on TREMCLAD "Rust Paint" enamel.
I was originally going to use the engine paint on the frame too, but decided against it when I saw how much masking I would have to do to control the over spray. The Tremclad flowed nicely and left no brush marks, so I'm pretty happy with results.
The centerstand hasn't been done yet, so you can use it for a before/after comparison.

Comment
-
Your bike looked so good before, can't believe you're doing a frame up on it. Looking great!! I'll be interested to see how the frame paint holds up. As a note I see some people use that grey water pipe wrap around the frame pieces when they're putting the engine back in to save the paint.Rob
1983 1100ES, 98' ST1100, 02' DR-Z400E and a few other 'bits and pieces'
Are you on the GSR Google Earth Map yet? http://www.thegsresources.com/_forum...d.php?t=170533
Comment
-
 GS Jim
AZR, I didn't set out to do a frame-up resto, it just kind'a sneaked up on me, LOL. Despite the blown head gasket, I still rode the bike for about 2000kms this season. The bike needed a thorough cleaning because there was oil&gunk everywhere from the blown motor. Since the engine was out being rebuilt, I also had access to bits'n pieces that could use some tidying up, one thing led to another and soon enough I had the bike in pieces all over the garage.
This is by far the most ambitious project I've ever done on a bike, but I'm lucky to have a couple friends in the area who have a lot of experience.
Sam Longo, one of the premier Honda restorers in the area, is helping with engine install and mentioned something about protecting the frame. I'd like to have the pipe wrap on hand - where do I get it (Home Depot?).
Oh BTW, check out this video on Sam's shop - it's the ultimate man cave.
Last edited by Guest; 11-25-2012, 10:13 AM.
Comment
-
 GS Jim
Hey Steve, yeah they dinged me for 13% GST at the border, but it still came out way cheaper than the same stand at Princess Auto.
Since this ain't my first rodeo, I asked for 2 receipts at the store, one for the lift only and another for everything else that was in smaller bags.
The border guard at the booth, only fixated on the large crate in the back of the pickup containing the lift, so I ended up only paying taxes on about half my purchases that day.
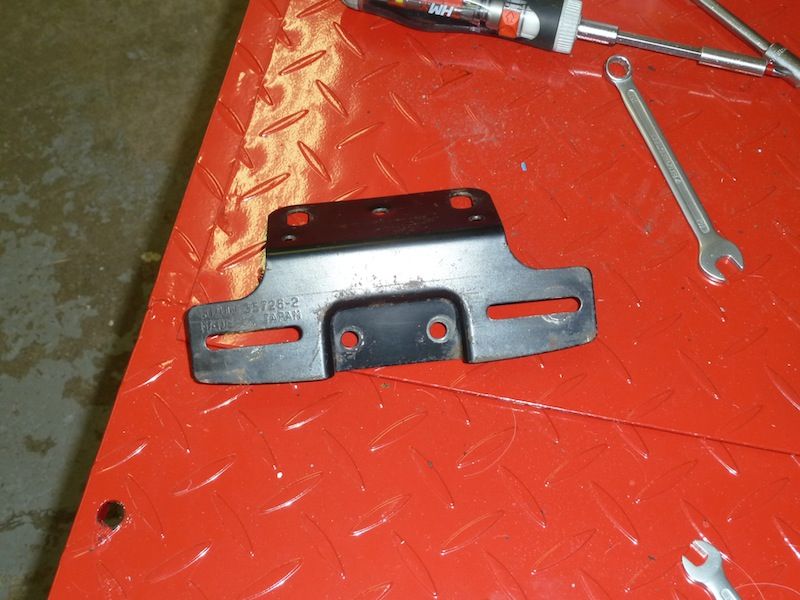
Here's today's little project. The license plate holder's paint was dead and showing a fair amount of rust, so off it came (you have to remove the tail cone and the rear light to free it). A light wet sanding and a fresh coat of paint and it's all back together now. This little project also exposed the ends of the rear frame rail, so now the whole frame is pretty much repainted now.
before
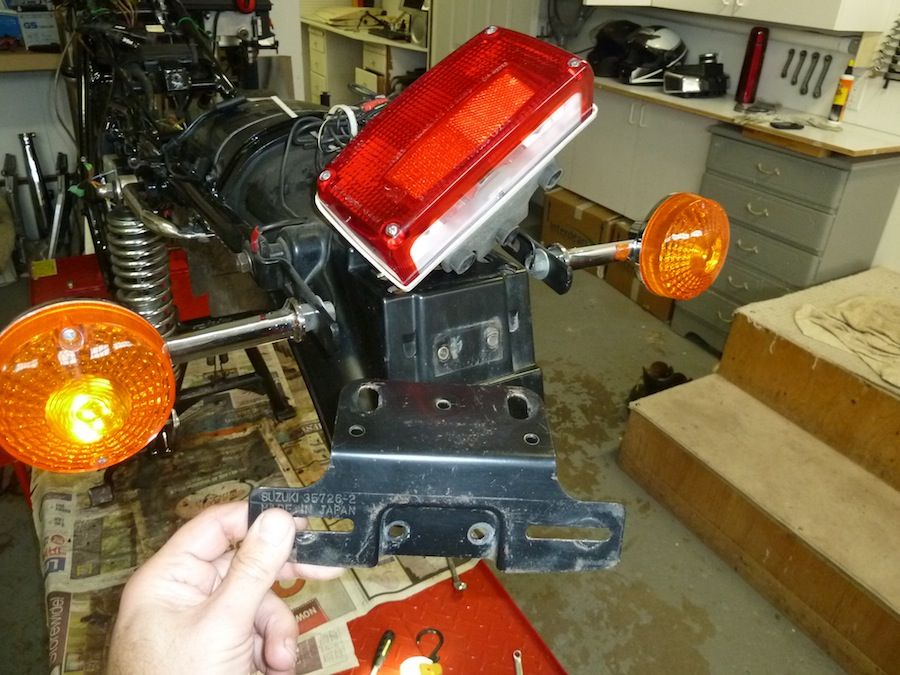
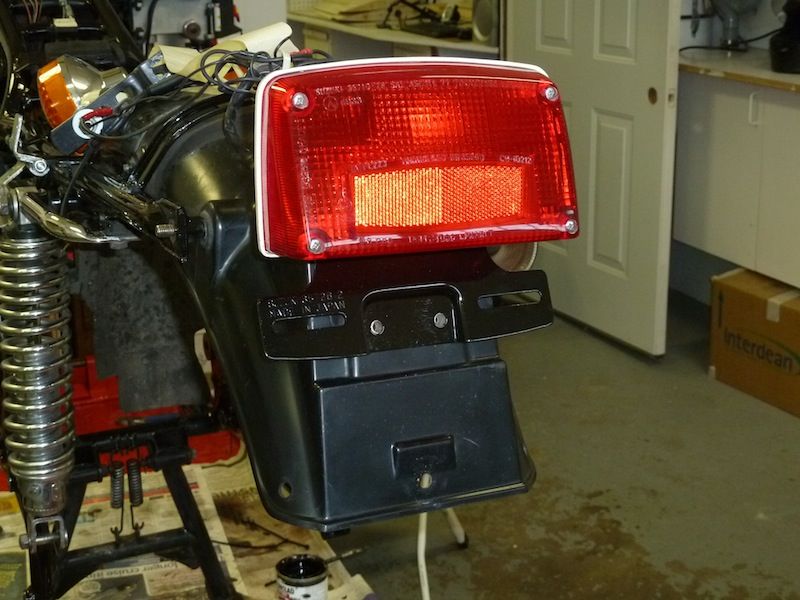
after
Comment
-
Rob
1983 1100ES, 98' ST1100, 02' DR-Z400E and a few other 'bits and pieces'
Are you on the GSR Google Earth Map yet? http://www.thegsresources.com/_forum...d.php?t=170533
Comment
-
 GS Jim
Thanks, will definitely get some. Paul Kahnert's coming over this AM to repolish the swing arm, seeing as my efforts do not quite meets his standards......Originally posted by azr View PostYou can pick up that pipe wrap just about anywhere, Home depot, Home hardware, Canadian Tire, etc... you can get it in a few different sizes I think.
http://www.google.ca/imgres?q=water+...9,r:1,s:0,i:88
Comment
-
 GS Jim
Airbox side panels removal
I had posted a question earlier bout something that had stumped me. I couldn't remove the rivets securing the chrome side panels on the airbox. An engineer friend suggested I try using a small router bit on my Dremel. It worked a charm, so I thot I'd post it here in case anyone else needs to do this again.
I carefully ground the rivet away starting from the inside, working outwards (I had previously been able to drill a 1/8" hole part way into the center post of rivet). Only took a couple of minutes on each and I was able to remove the side panels without so much as a scratch on them.
Side panels will now be sent to chromers along with the exhaust header clamps.
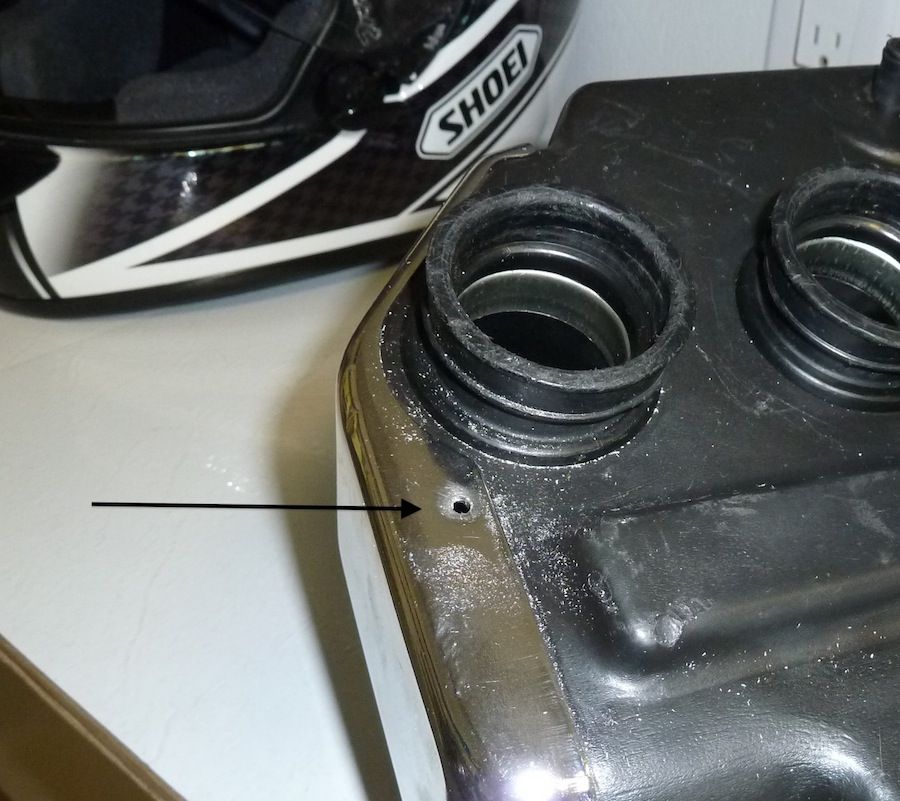
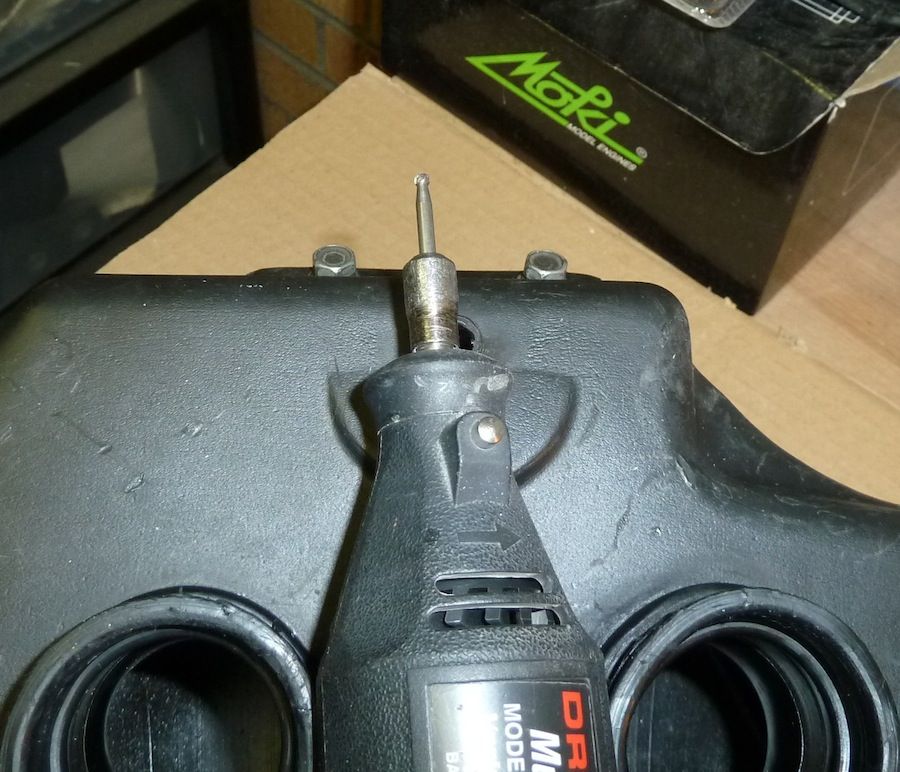
Pooch is enjoying the rebuild too - well, at least he's not complaining
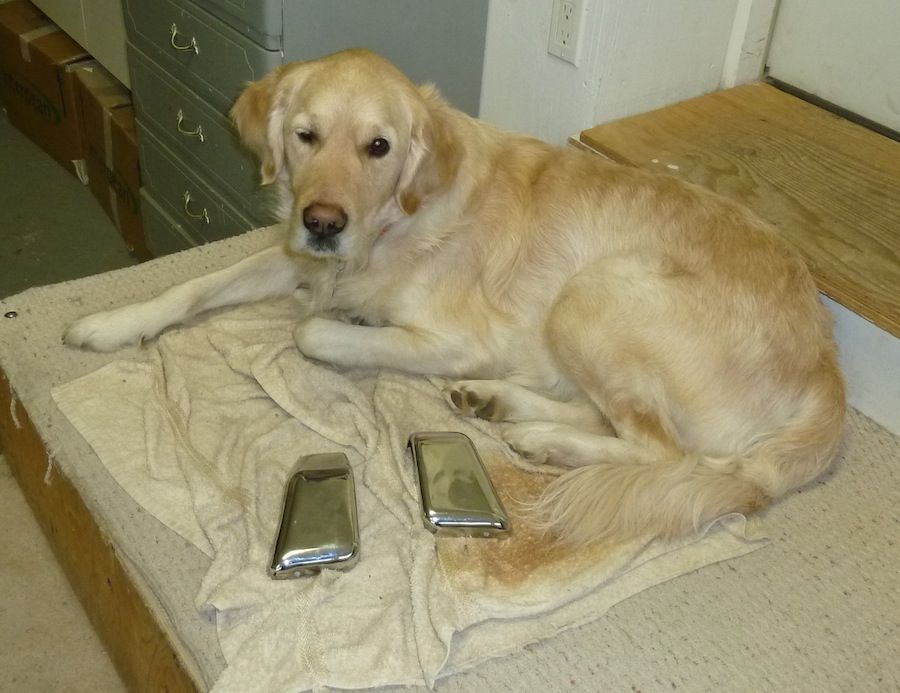
Comment
.png)


Comment