The other GSJim
Announcement
Collapse
No announcement yet.
Naked Cooley
Collapse
X
-
Nice to see the amount of attention you're paying your bike. It's gonna be a huge improvement on what looked like a really nice bike to begin with. As a painter, though..you're killin' me by not correcting the color scheme on the tail and seat trim sections.. 1979 GS1000S,
1982 Honda CX500 Turbo, 1982 Honda MB5 w/CR80 motor, 1977 Honda "nekid" Goldwing, 1976 Honda CB550F cafe', 1972 Honda XL250 cafe'
Comment
-
 GS Jim
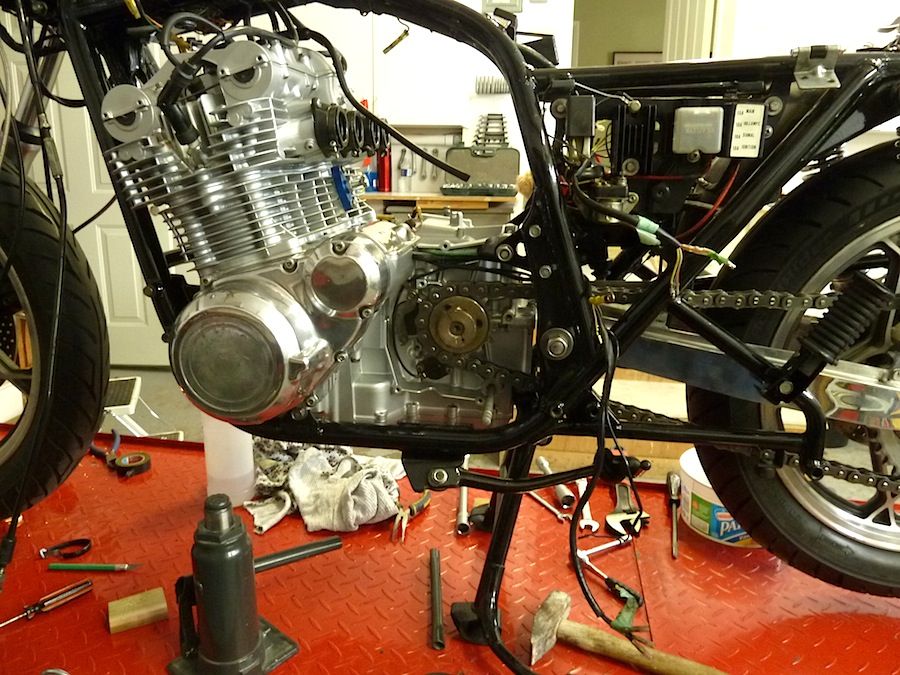
Haha, life is too short to sweat the small stuff , but hey Larry - I might have need for your very significant skills. Look to the left of the last picture. There lies the guts of my next project and I will need a custom paint job.
Seriously, I have a question for you all: When reinstalling the front wheel yesterday, I was uncertain as to the correct positioning of the speed drive unit. Fooling around with it, I concluded the most "natural" position was HORIZONTAL with respect with the position of the speedo drive pick-up. Correct?Last edited by Guest; 02-05-2013, 02:14 PM.
Comment
-
Just so long as it follows a nice steady curve is good.Originally posted by GS Jim View PostHaha, life is too short to sweat the small stuff , but hey Larry - I might have need for your very significant skills. Look to the left of the last picture. There lies the guts of my next project and I will need a custom paint job.
Seriously, I have a question for you all: When reinstalling the front wheel yesterday, I was uncertain as to the correct positioning of the speed drive unit. Fooling around with it, I concluded the most "natural" position was HORIZONTAL with respect with the position of the speedo drive pick-up. Correct?sigpic
Don't say can't, as anything is possible with time and effort, but, if you don't have time things get tougher and require more effort.
Comment
-
 GS Jim
Engine Installation
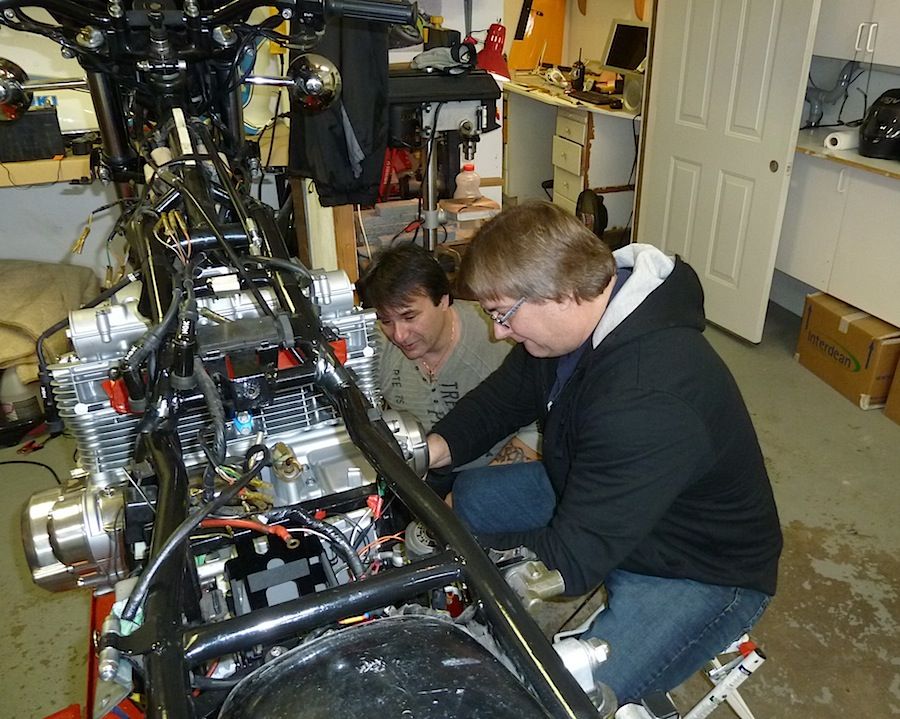
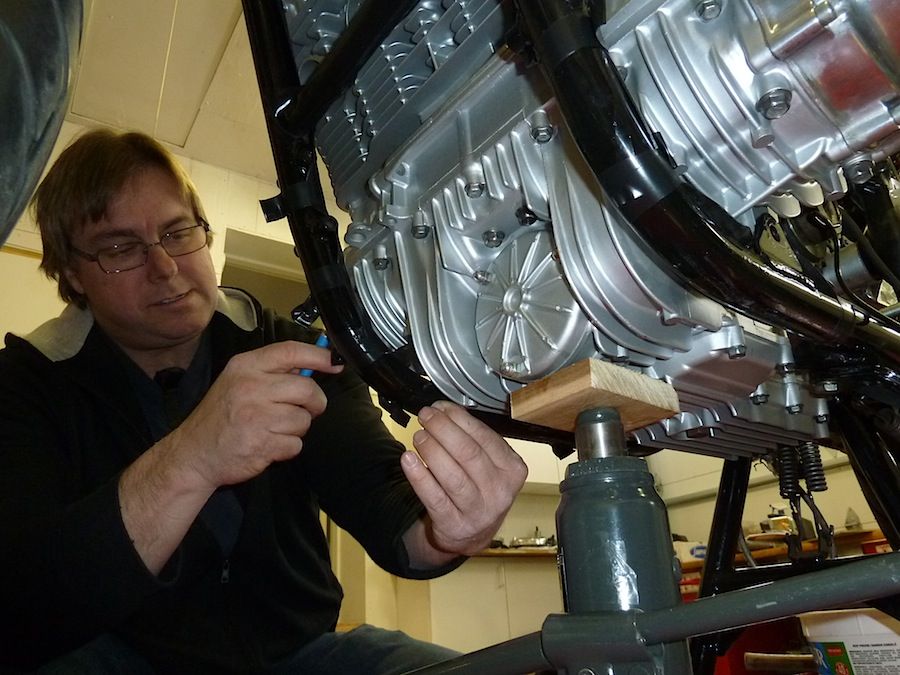
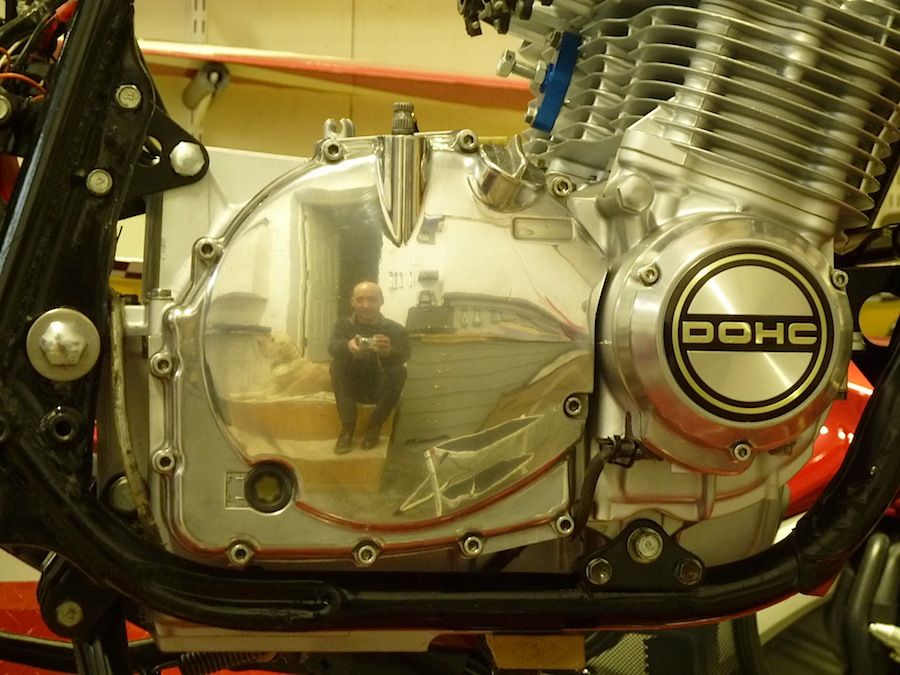
With a little (OK, a LOT of) help from my friends saints Peter and Paul, the olde gal has her guts back in.

Here's Paul at work

A QUESTION: No matter what we tried we couldn't get the airbox back in. We tried different arrangements: carbs first, airbox first, angling the engine, all to no avail. What's the trick to getting the stock airbox back in guys???
Lest you think all I did was wield the camera and pass the wrenches .... after Peter and Paul left I decided to instal the drive chain only to realized it was not correctly positioned when I reinstalled the swing arm a while back!
Off came the rear wheel, swing arm, rear caliper, etc. Two hours later everything is back together again.
 Last edited by Guest; 02-12-2013, 10:42 AM.
Comment
-
I, too, put the carbs in last. I bungeed the airbox as far back as I possibly could..a LOT of pressure on it to hold it back far enough to slide the carbs in and then pushed the airbox onto them after the carbs were secured to the intakes. A little WD40 on the airbox rubbers helps, too. It's a pain, but it works.1979 GS1000S,
1982 Honda CX500 Turbo, 1982 Honda MB5 w/CR80 motor, 1977 Honda "nekid" Goldwing, 1976 Honda CB550F cafe', 1972 Honda XL250 cafe'
Comment
-
The trick is also to keep the carbs horizontal
It also pays to install the throttle cables before sliding the carbs in place sigpicJohn Kat
My bikes: CB 77, GS 1000 ST Cafe Racer with GSXR 1052 engine, GS 1000 ST, XR 41 Replica with GS 1085 engine,
GS 1100 SZ Katana with GS 1135 EFF engine, KTM Superduke 1290 R 2020
Comment
-
 GS Jim
Thx guys will give it another try, though I fear poor Pippin (aka the Pooch) is learning far too many 4-letters words lately.

Comment
-
Things are looking GREAT! some good tips on the carb install, if you boots are a bit on the hard side I usually soften them up with a heat gun a bit, always helps to 'shove' the carbs back in. A note about the speed drive, it should have an arrow on it that points up, but like already stated it's about the angle.Rob
1983 1100ES, 98' ST1100, 02' DR-Z400E and a few other 'bits and pieces'
Are you on the GSR Google Earth Map yet? http://www.thegsresources.com/_forum...d.php?t=170533
Comment
-
 mpencegs
Can you use the trick where you move the mud guard out of its holder and back to create more room for the aibox.. Works a peach on my 450..
Comment
-
Jim,Originally posted by nvr2old View PostNice to see the amount of attention you're paying your bike. It's gonna be a huge improvement on what looked like a really nice bike to begin with. As a painter, though..you're killin' me by not correcting the color scheme on the tail and seat trim sections..
you could always fork out the $$$$ for this:
'83 GS650G
'83 GS550es (didn't like the colours in the 80's, but they've grown on me)
Comment
-
And then we can borrow it because the S is the pure red sample that we need for our GS650s.Originally posted by BigD_83 View PostJim,
you could always fork out the $$$$ for this:
http://www.ebay.com/itm/Suzuki-GS100...002929&vxp=mtr
The other GSJim1981 GS550T (Long gone)
1983 GS650G (Rolling rebuild is now a full rebuild.)
Comment
-
Looking sweet
Originally posted by BigD_83 View PostJim,
you could always fork out the $$$$ for this:
http://www.ebay.com/itm/Suzuki-GS100...002929&vxp=mtr I've bought my last three bikes for less than the, "Buy it now" price.
I've just been reading your build, The bikes I get are dead on arival and can only hope to look as nice as what you started with.
Looking forward to your air box carb solution, I picked up one to replace the pods on Suzy, my '78 1000C.
Still can't believe your frame has brush on paint. Any chance of a shot of the paint can. I've used VHT rattle can rollbar epoxy and Dupli Colour Paint Shop spray gun laquer and have been happy with the results, but the overspray from painting tubing results in alot of wasted material.
Do you know what was used on the engine?
Keep up the good work.Last edited by gsrick; 02-21-2013, 10:03 AM.:cool:GSRick
No God, no peace. Know God, know peace.
Eric Bang RIP 9/5/2018
Have some bikes ready for us when we meet up.
Comment
.png)

Comment