
79 550 Cafe-"ish" Build
Collapse
X
-
 Toasty
 -
 Mad Mark
good work! glad you grinded the rest of the welds off the exhaust. and that bike is going to look sweet with all the original body work with rearsets and low bars just how i like it!... if you leave it that way.
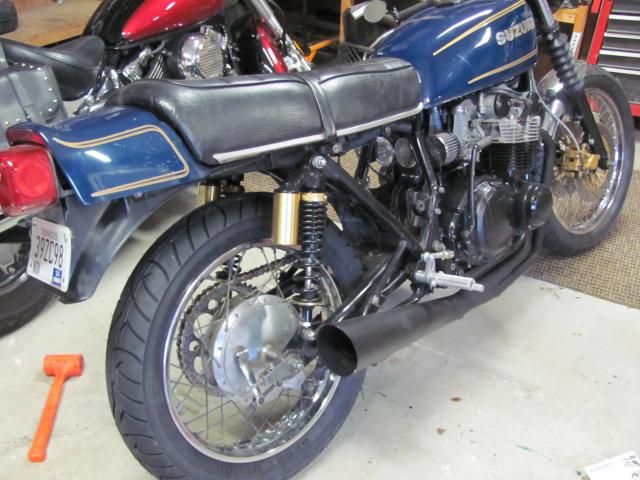
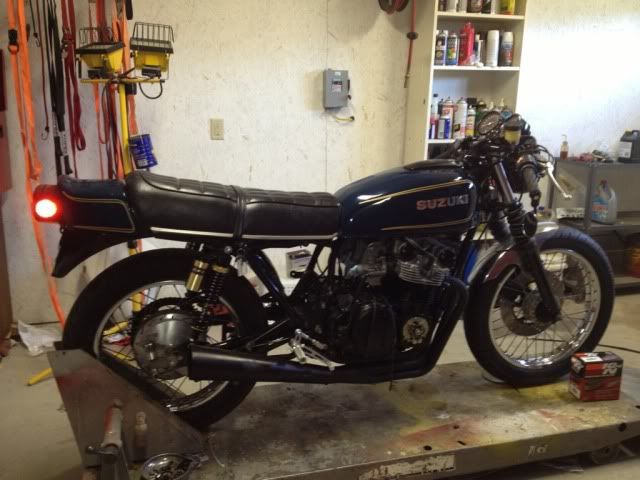
and we need a shot of the whole bike! unless its in pieces.Comment
-
1979 GS550, 2003 R6, 1998 XR400 Dual Sport, 2004 V-Star.........
Decisions, decisions, what to ride, today.
sigpic
My GS550 BuildComment
-
Update time:
These cheap Chinese RFY shocks were included in the pile-o-parts I got with the bike.
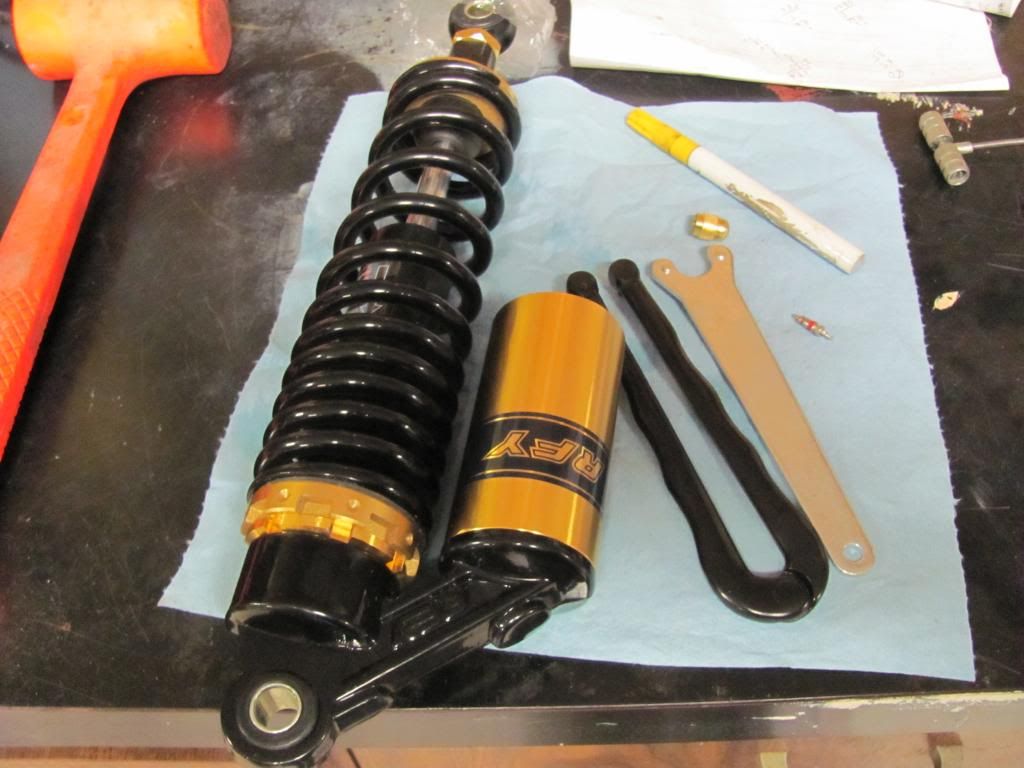
CrazyPJ, from one of the Cafe racer forums is the only person that I have found that has rebuilt these things, and he states that they are not bad, but out of the box, they don't have enough oil, or Nitrogen. And I found that to be the case with mine...
....so it's "service time". And a HUGE thanks to PJ for answering my few...OK, a dozen....questions. Between PJ's help and the following video from Youtube, I was ready to tackle a set of shocks for the first time.
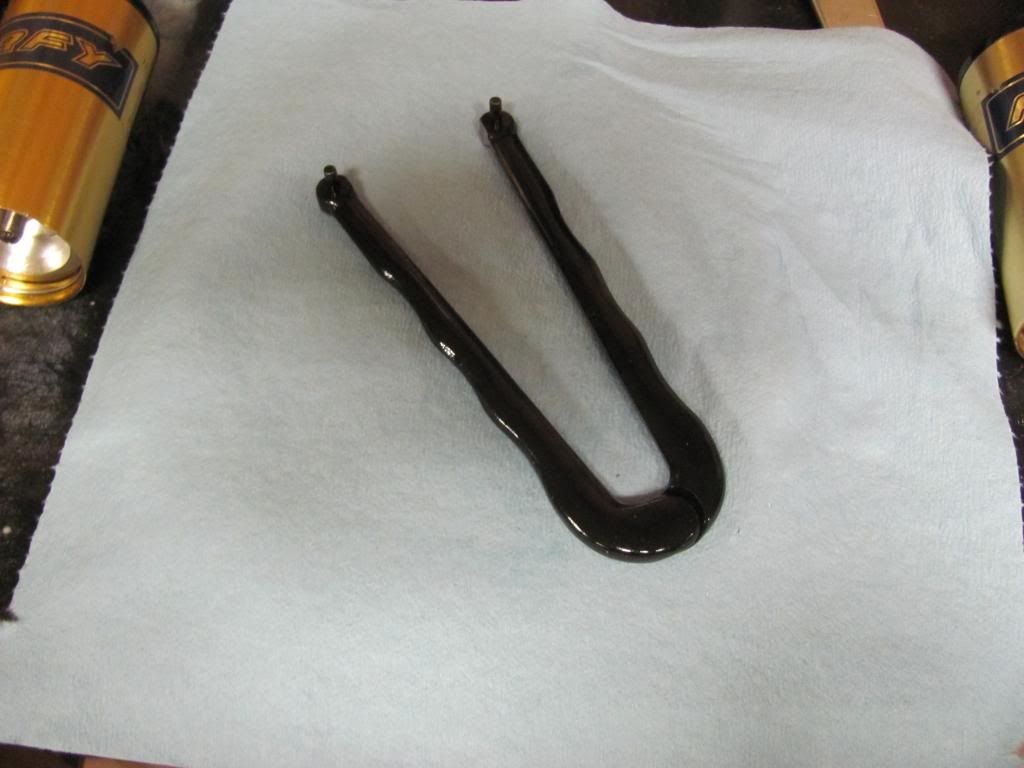
First, I bough an adjustable pin spanner wrench I found on eBay for 6 bucks (also good for my angle grinder)
Next, I need a spring compressor..which I don't have...but I do have a bead breaker on my tire machine:
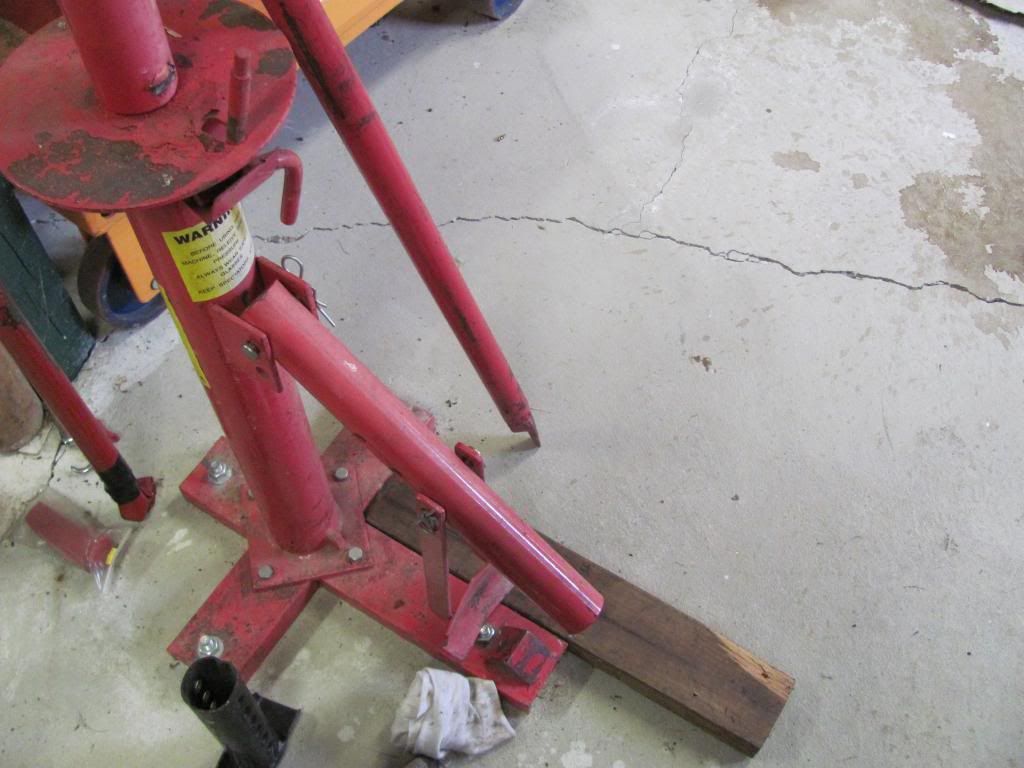
..and the center stand that was removed from the GS...
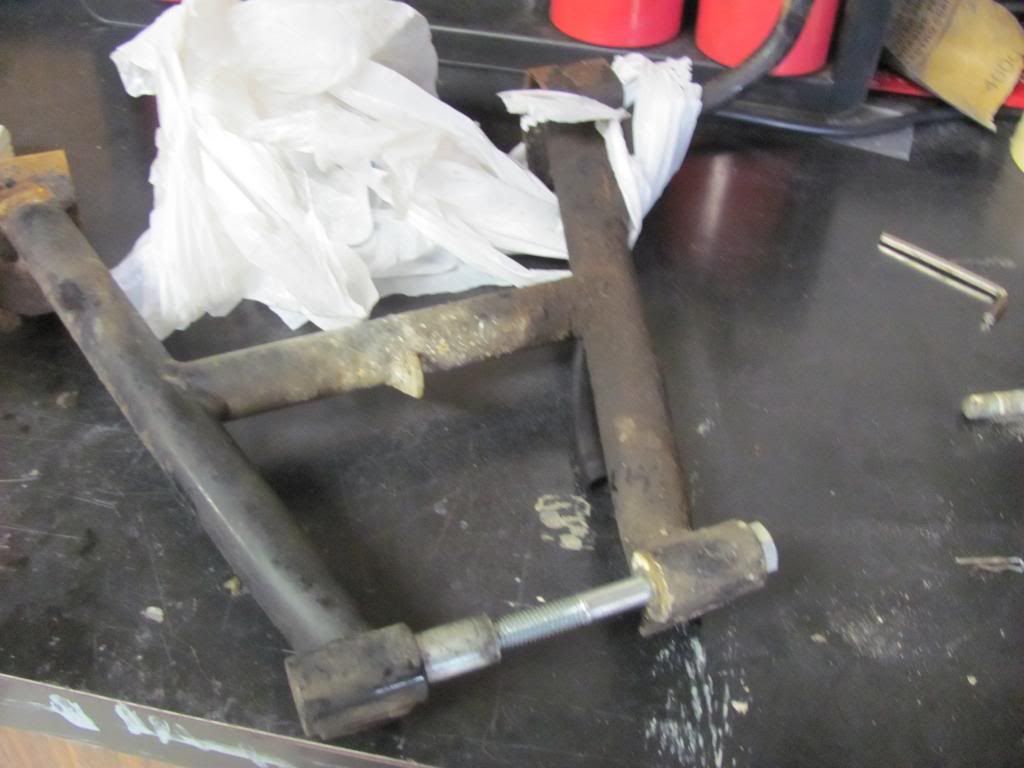
...and some flat stock...and a vise...
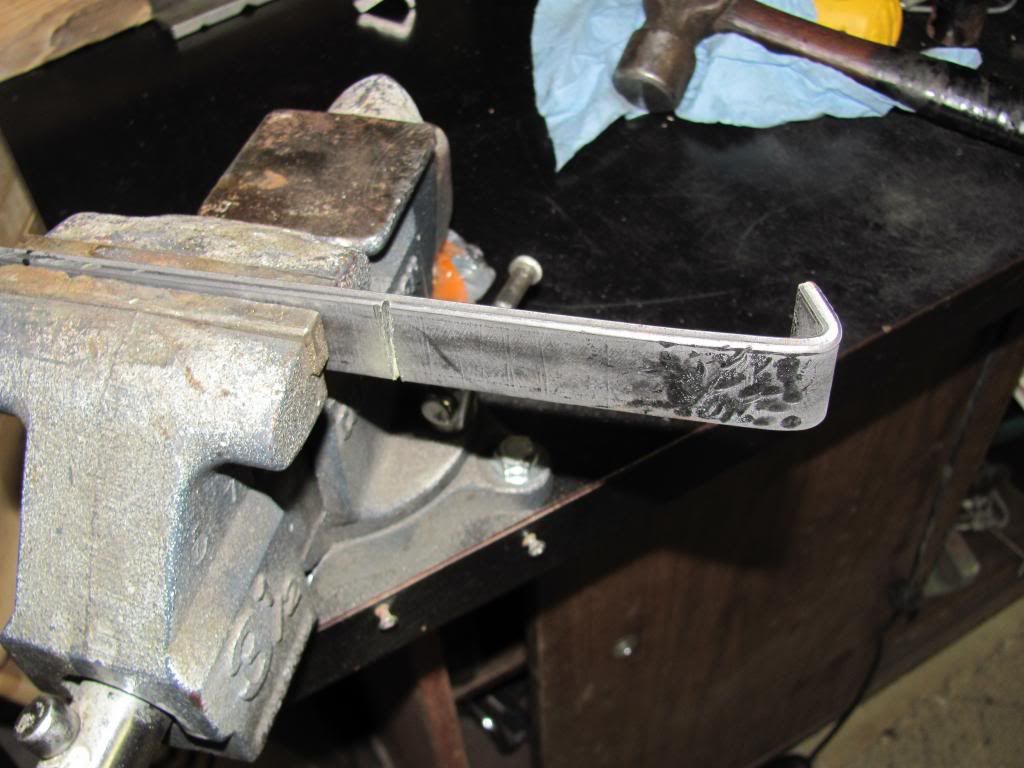
Some creative use of a tie down to stabilize it, and now it's a make shift spring compressor:
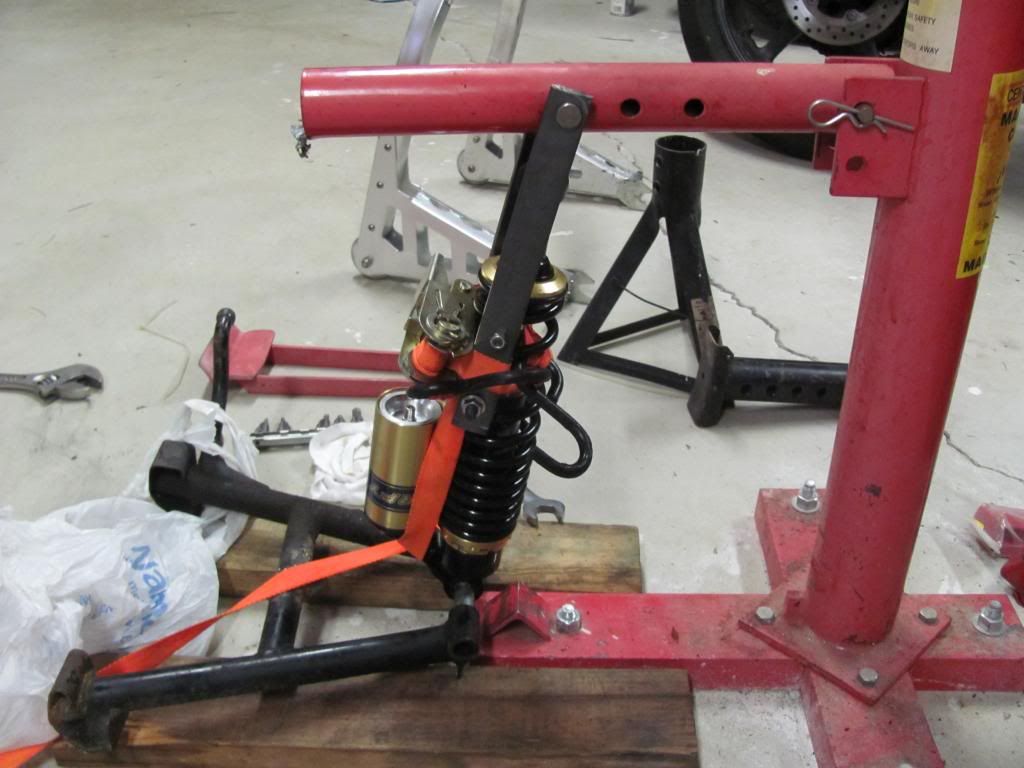
With the spring off and the seal retainer removed (with the pin spanner wrench) I cut an 8" piece of tubing off of an old porch swing this is in the scrap heap. With the spring seats, a couple of washers and the shock shaft nut, I used the tubing as a puller to pull the shaft seal.
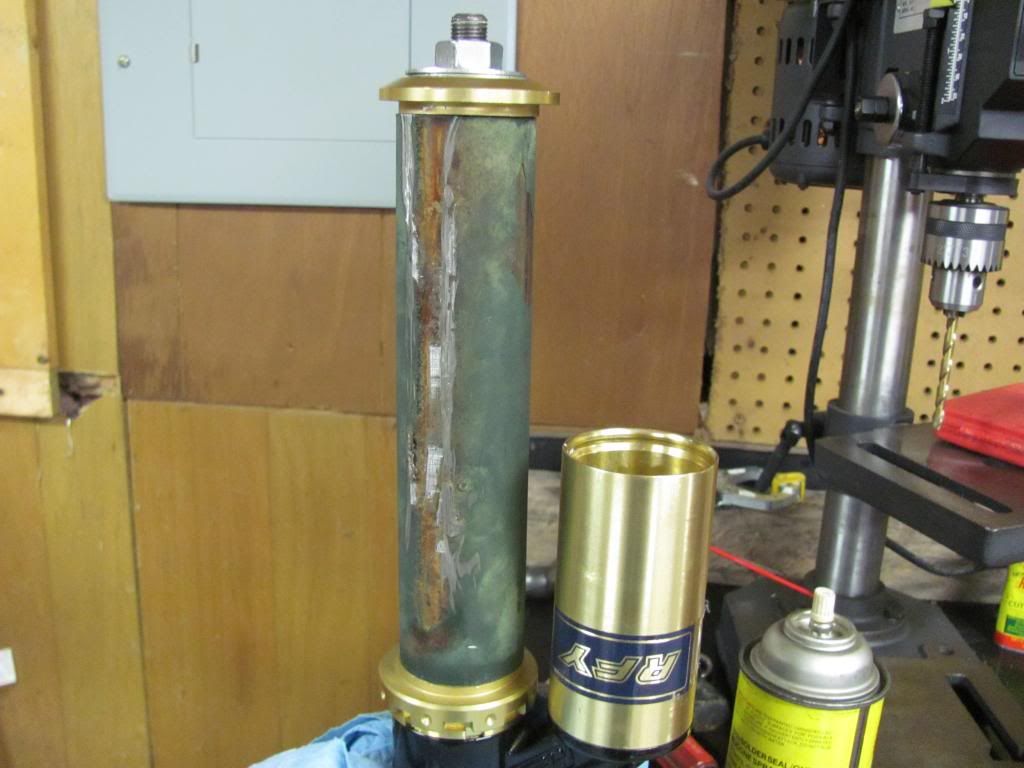
Here it is disassembled:
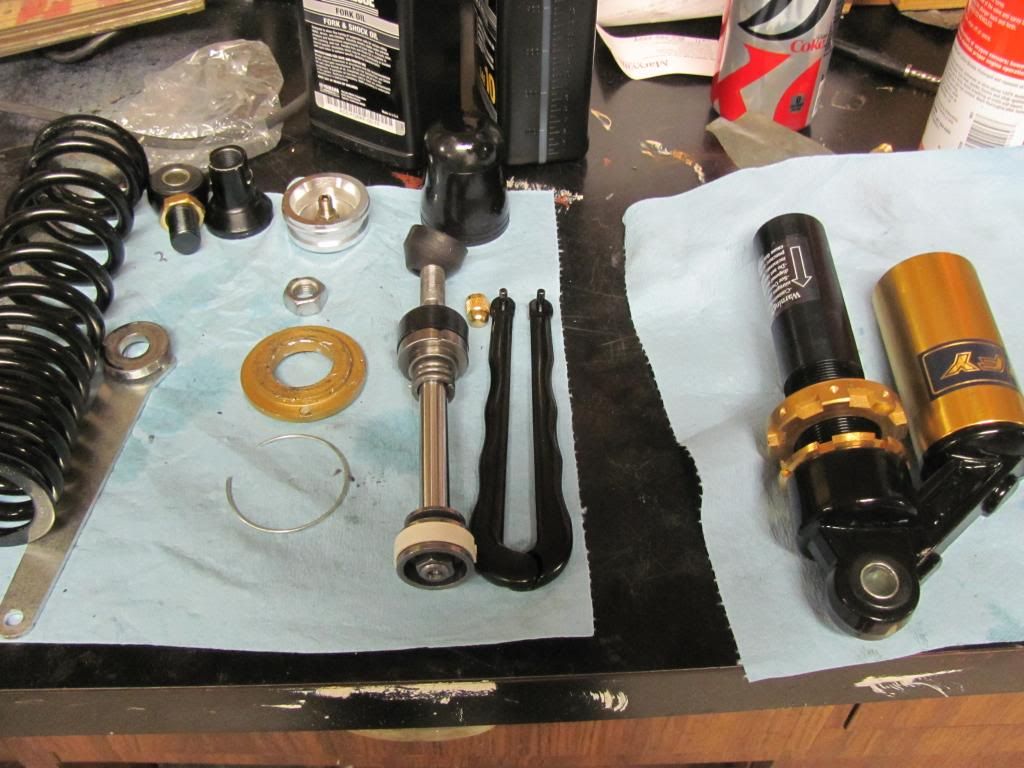
To reassemble, I followed the youtube video, with a few small modifications for the differences in design. In Crazy PJ's build, he drilled and tapped the shock body to install a bleed screw in this spot:
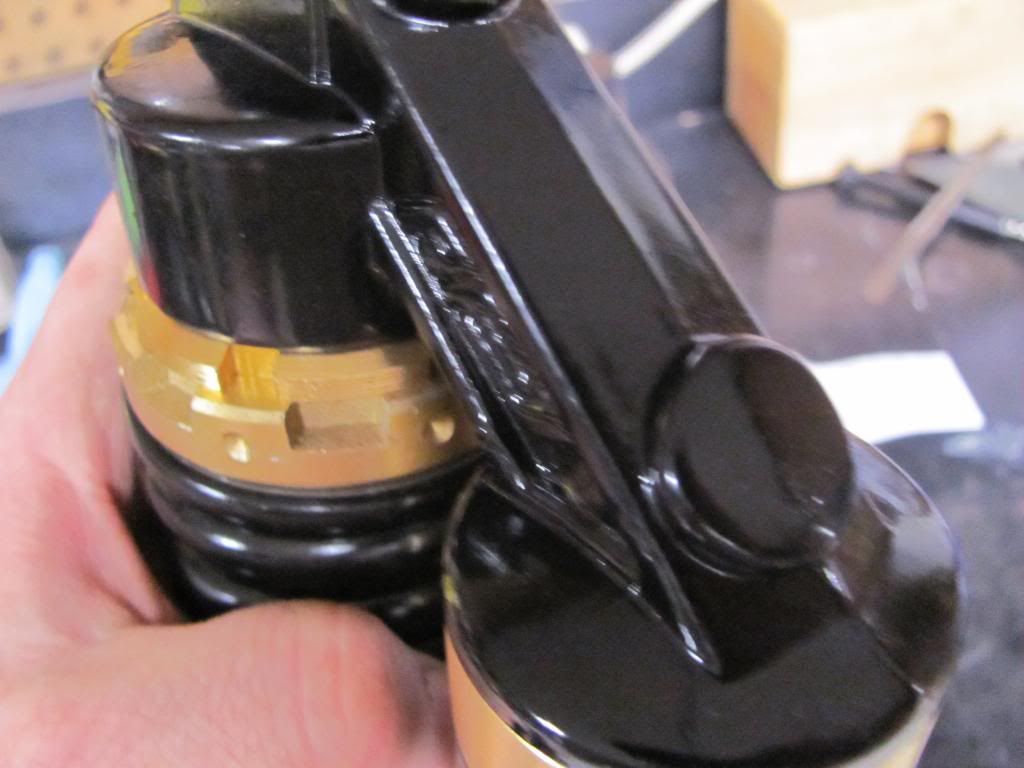
I didn't have a way to counter bore the hole to accept an o-ring, so I didn't do it. It isn't necessary, but it is a great idea, and allows you to get every bit of air out of the shock.
Here they are re-assembled. I took them to a tire store and had them charge them with 75 psi of Nitrogen.
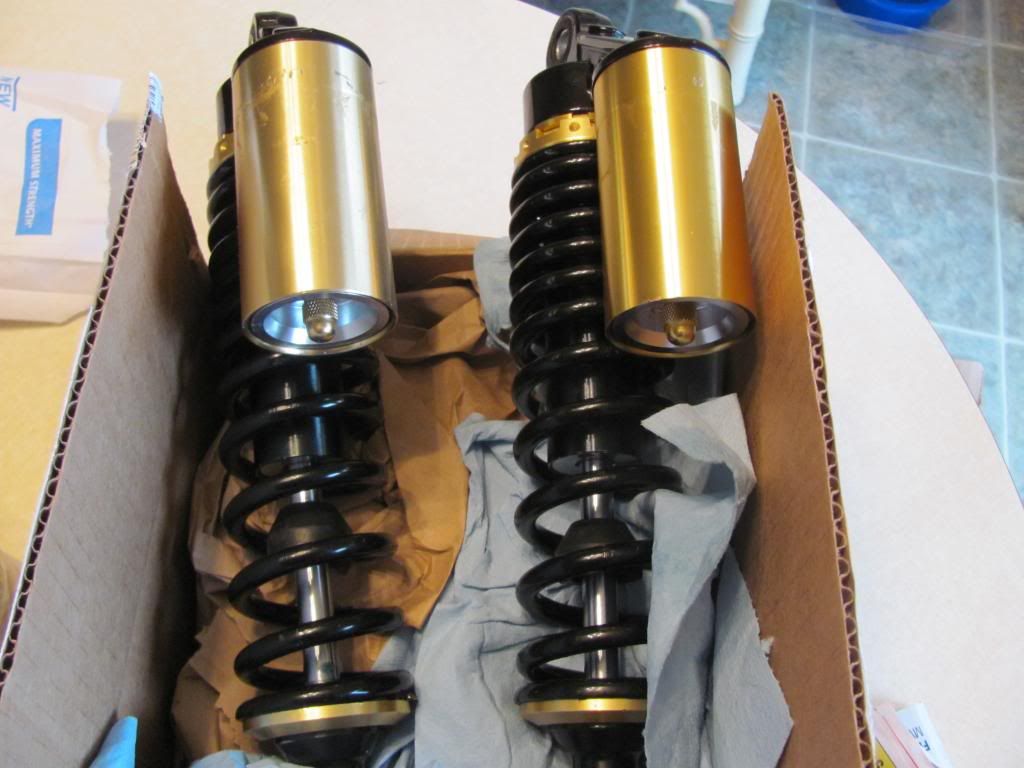
Job done. Oh, I used 10 wt fork oil. We'll see how well it works. I might need to go up or down in weight.1979 GS550, 2003 R6, 1998 XR400 Dual Sport, 2004 V-Star.........
Decisions, decisions, what to ride, today.
sigpic
My GS550 BuildComment
-
 tedk
tedk
Where did you get those shifter linkage ends? I need to modify mine as well and yours looks much easier.Comment
-
I got them from McMaster-Carr:
 McMaster-Carr is the complete source for your plant with over 595,000 products. 98% of products ordered ship from stock and deliver same or next day.
Click on "Easy Adapt Clevis Rod Ends" toward the bottom of the page.
They have a pretty good selection of heim joints and shackle rod ends.Last edited by 8ball; 03-06-2013, 09:19 AM.1979 GS550, 2003 R6, 1998 XR400 Dual Sport, 2004 V-Star.........
Decisions, decisions, what to ride, today.
sigpic
My GS550 BuildComment
-
There hasn't been a whole lot of reportable progress on this project in the last few weeks due to my work travel schedule, but I did get a couple of things done.
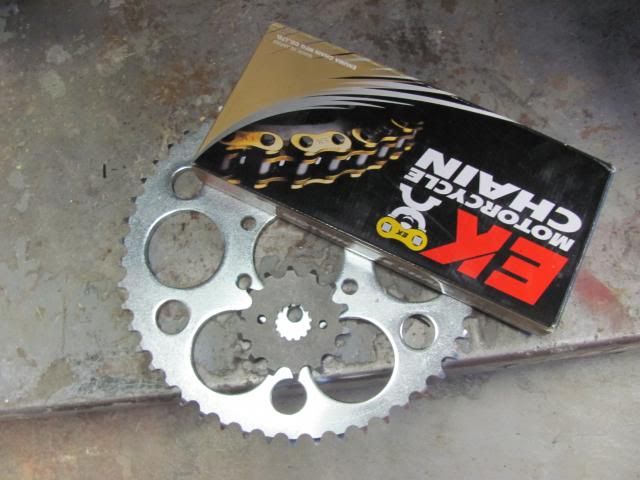
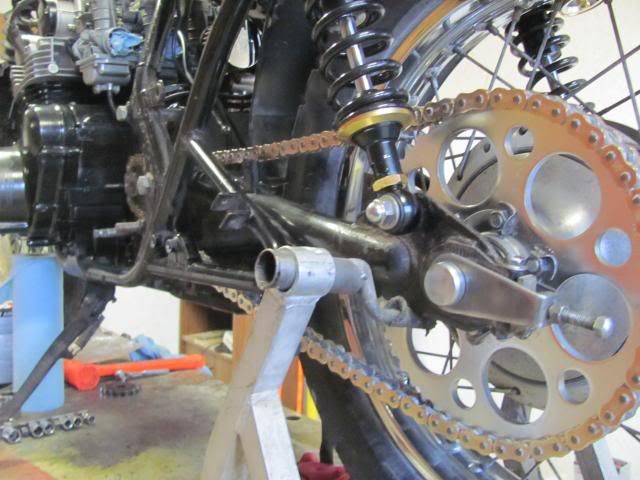
I spent a few hours cleaning the swing arm and rear wheel, then installed a new chain and sprockets:
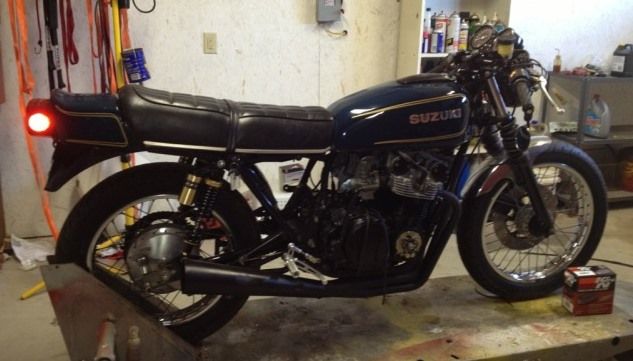
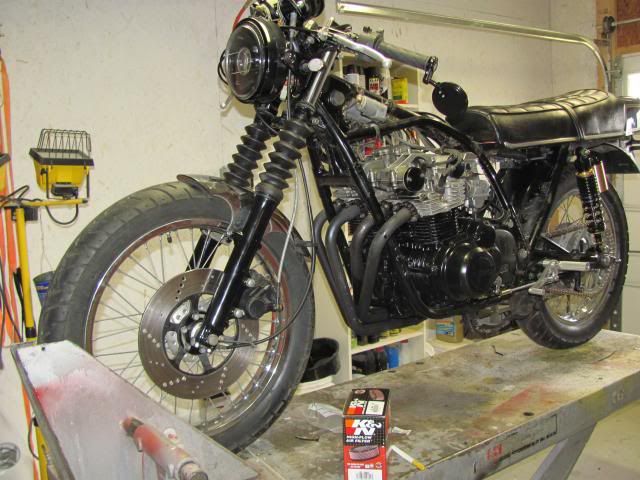
I also set the front fork oil level and installed some 1.5 inch spacers in the forks to set the front sag where I wanted it (aprox 1 inch) and it also raised the front ride hide to where it should be. The static sag seemed a bit too excessive before.
Since the fork tubes are just a bit too small for 3/4" inch PVC, I used 1/2" PVC and some 1" fender washers to keep everything flat (pictured are the 2" spacers that I started with, and found did not allow enough sag):
Ride height before:
Ride height after:
I also had an OCD moment. When I adjusted the valves, I rotated the engine without the shims in the buckets (shim over bucket arrangement). I found out later that this is not good on a GS engine, although not as catastrophic as I was first led to believe. Yes I did score the edges of my cam lobes, but I dressed them with a small file and I made sure that no filings were in the valve cover area. This was a few weeks ago.....my OCD kicked in and I removed the valve cover again, today, to double check for metal filings and shavings in the top deck. All is good and I should start carb tuning tomorrow. Hopefully I will have some warm, dry days soon to do some plug chops.1979 GS550, 2003 R6, 1998 XR400 Dual Sport, 2004 V-Star.........
Decisions, decisions, what to ride, today.
sigpic
My GS550 BuildComment
-
Got it running and got the pilot circuits dialed in, and I was gonna do a few plug chop runs to see how the needle and main jet settings are.....when the heavens opened up.
Here's a vid of it running, anyway:
Last edited by 8ball; 03-31-2013, 04:22 PM.1979 GS550, 2003 R6, 1998 XR400 Dual Sport, 2004 V-Star.........
Decisions, decisions, what to ride, today.
sigpic
My GS550 BuildComment
-
Out for some test/tuning runs.
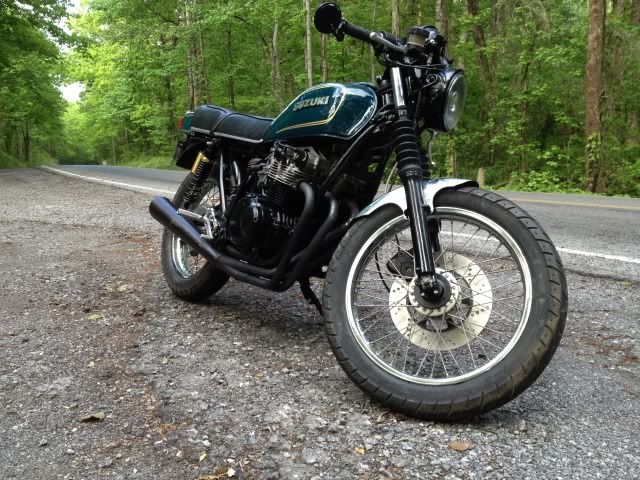
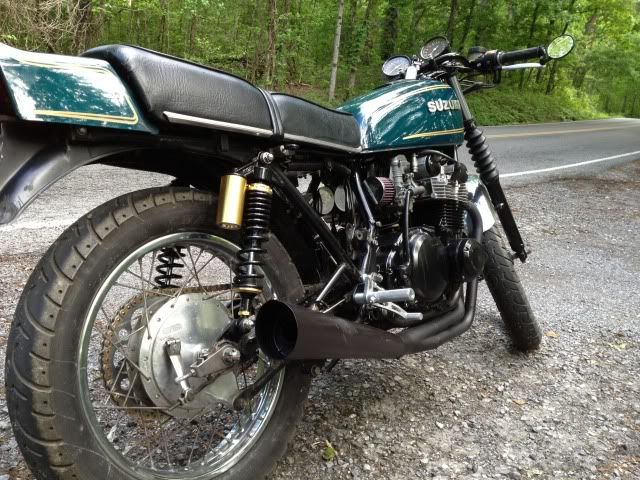
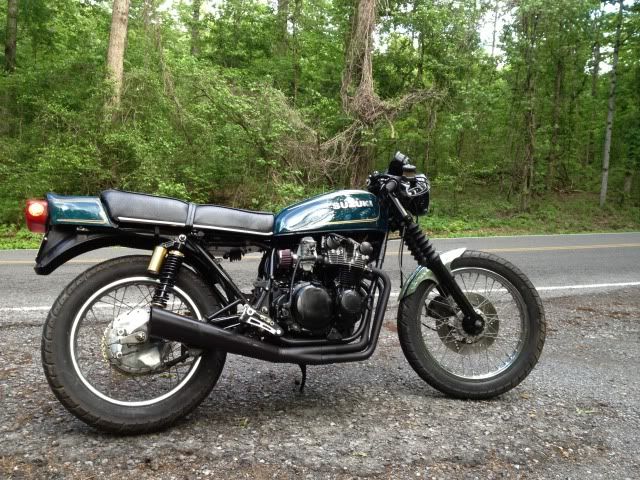
Running a bit lean, still.
This is the part of bike building that gets tiresome QUICKLY!!! This is, also, why I like fuel injected bikes sooooo much!!! Not working some where? A little off idle stumble? Flat spot at 5000 RPM? No problem! Hook the laptop up the the PowerCommander...a few clicks...<Enter>, and boom! put the computer back in the backpack and try out your new tweaks. No pulling the bike apart...No draining carb bowls...No gasoline smell all over your hands (and clothes so your wife makes you get undressed in the garage and leave them there).
Tank off and carbs about to be removed......again..
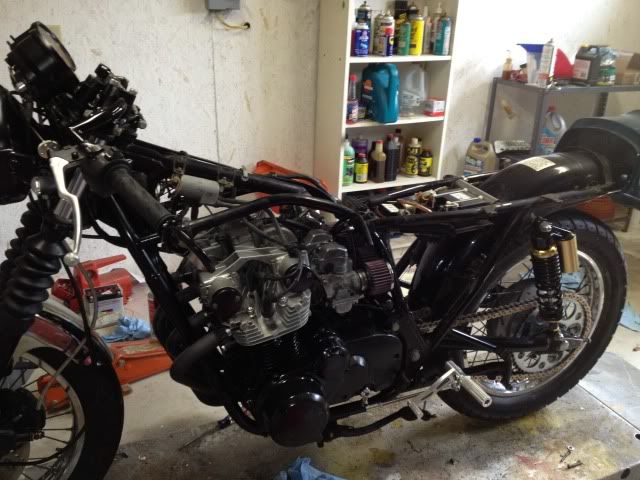
Float height is good. cyllinders 1 and 4 seem slightly richer than 2 and 3. Wonder if one coil is weaker than the other. Easy to check out by swapping the coils. input to both of the coils is 11.94 Volts. Batt voltage is 12.29 (with the bike not running and headlight off) With the bike not running and the headlight on, the coil volts are 10.97 Volts. Nope, not the issue.
Ended up with 100 mains on the outer cylinders, and 102.5's on the inners. #3 is still slightly lean. Checked for leaks around the intake boot. Found none. made sure the clamp on the carb had a good bite Some duct tape between the clamp and the boot helped.
Sync'ed pretty good (#4 gave me a little trouble)...
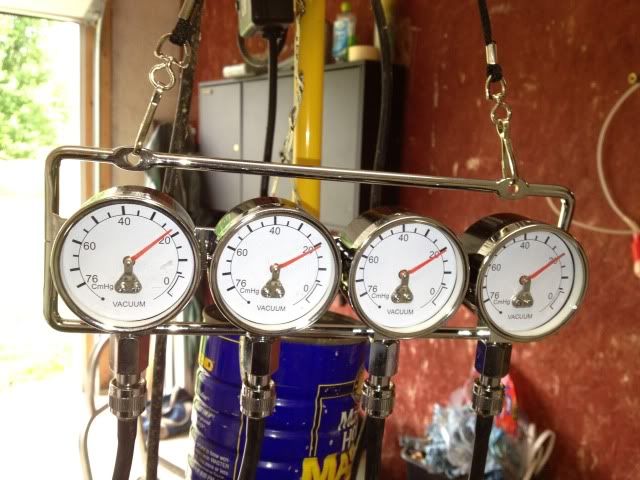
Revisited the idle circuit settings and went for a quick ride before it started to rain. Running much better. Very smooth power and pulls good, but I still think the #3 is a tad on the lean side......
...it sucks having this particular form of OCD!Last edited by 8ball; 05-11-2013, 11:00 AM.1979 GS550, 2003 R6, 1998 XR400 Dual Sport, 2004 V-Star.........
Decisions, decisions, what to ride, today.
sigpic
My GS550 BuildComment
-
 detorn
fun thread to read through, nice looking bike. if you don't mind can I ask a couple questions?
what do you mean by flat spot? like it stops pulling hard at a certain RPM or MPH? if so, what did you do to get over that? my bike almost wants to wheelie from a stop, but at highway speeds feels dead. carbs are synced perfect, but no power above 5k. this may be normal I don't know. it will go fast just no pull.
thinking of stealing your brake light idea now too.Comment
-
I was just describing the difference between tuning a carbureted bike verses a fuel injected bike. Those were just hypothetical examples of fueling issues, and how simple it would be to fix with fuel injection. Sorry for the confusion.fun thread to read through, nice looking bike. if you don't mind can I ask a couple questions?
what do you mean by flat spot? like it stops pulling hard at a certain RPM or MPH? if so, what did you do to get over that? my bike almost wants to wheelie from a stop, but at highway speeds feels dead. carbs are synced perfect, but no power above 5k. this may be normal I don't know. it will go fast just no pull.
thinking of stealing your brake light idea now too.
A flat spot is an RPM range that the bike tends to stop accelerating or falls off, then picks back up.
For your situation, I would need a little more info.
1. Is your set up stock or has it been modified (exhaust, intake, filters, etc.). This would make a difference whether your issue is a maintenance one, or a need for carb re-jetting.
2. If you accelerate from a stop, does it fall on it's face at 5000 RPM?
3. Also, what carbs do you have?
But from what you have provided, my first guess is that you need more fuel in the mid-range on up, (ie. raise the needles and/or bigger main jets).
Like I said, tuning a Carb'ed bike is a PITA!!Last edited by 8ball; 05-11-2013, 11:02 AM.1979 GS550, 2003 R6, 1998 XR400 Dual Sport, 2004 V-Star.........
Decisions, decisions, what to ride, today.
sigpic
My GS550 BuildComment
-
WOW! I haven't updated this in a while. Let's see if I can bring it up to date.
So I did a little tweaking....
The front end was very harsh. I had originally set the fork oil level at 140 mm (compressed with spring removed), which translated to 200cc. The service manual called for 165cc, but the stock ride height has the forks sitting about 2 1/2 inches into the fork travel, and the front seemed too low. So I set the fork level closer to what I used to run on my old race bikes in the 90's which also had damper rod forks.
I took the fork oil out and measured what the service manual calls for and that translates to 205mm fork oil level, a difference of 65mm. I raised it slightly to 195mm, because I have raised the static ride height with pre-load spacers. And the front end feels 10 times better!
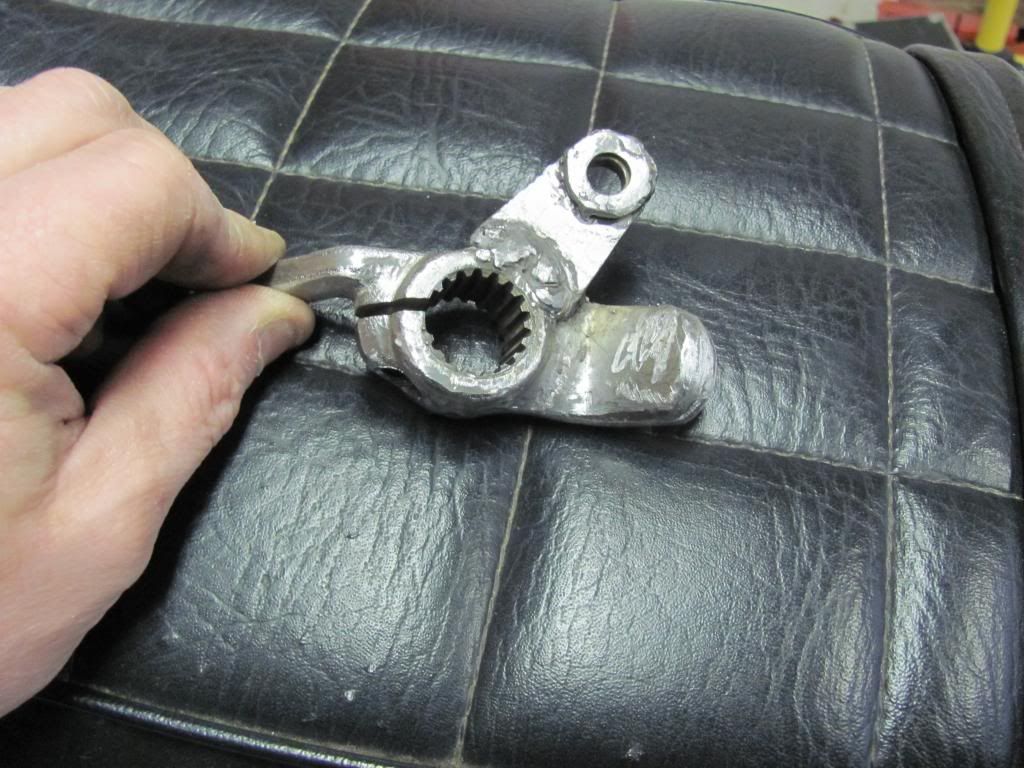
Next I needed to deal with the rear brake. The linkage set up I made for the rear sets was a bit.....well, not effective. I couldn't even get it to slow the bike down. I don't use the rear brake, usually, but since the front brake on this bike is pretty weak, The rear needs to work....at least some!
The link I welded to the collar was too short:
....so I made a new, longer one:
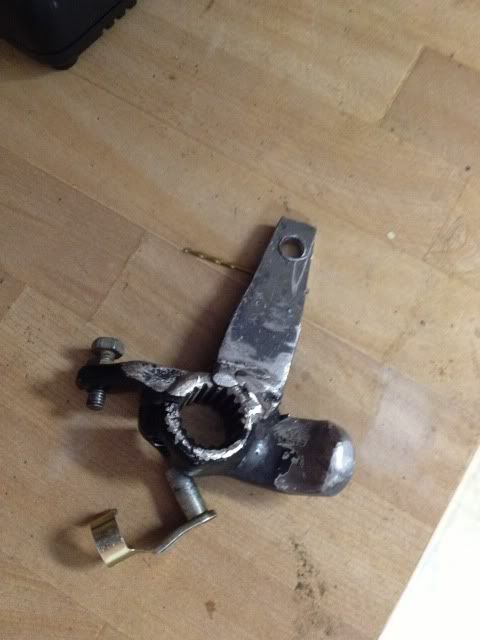
Now I can lock up the rear...with a little effort...but it is plenty. I will clean it up a bit, paint it and be done with that part. Aside from some more carb fine tuning, the bike should be good enough for the rest of the season, to ride around and figure what needs to be done next winter.
Next I have been planning the next phase of the build and I want better brakes, maybe get some super bike bars (not sure) and maybe another seat (if I can find a stepped one that doesn't look like crap and fits the stock tail). In preparation for the brake upgrade, I looked at a few options. One option was to swap out a modern front end (and consequently, rear end). But to be honest, you lose a bit of ground clearance and in my opinion some of the character. Another option was to get a set of dual disk forks, and put modern rotors and calipers on it. That would require hub spacers and caliper brackets made and getting the rotor offsets and the caliper positioning right. That is totally do-able, but I don't have access to machine shop, and would require a bit more money. But it was the direction I was going, until....
....While looking for a dual disc front end, I came across a good deal on a set of forks from a 1982 GS550M (Katana). It has the same diameter fork tubes (so I can use my current triples) and it uses the same axle part number, so I can use my current front wheel (Suzuki was nice enough to drill and tap the rotor mounting holes on both sides of my hub).
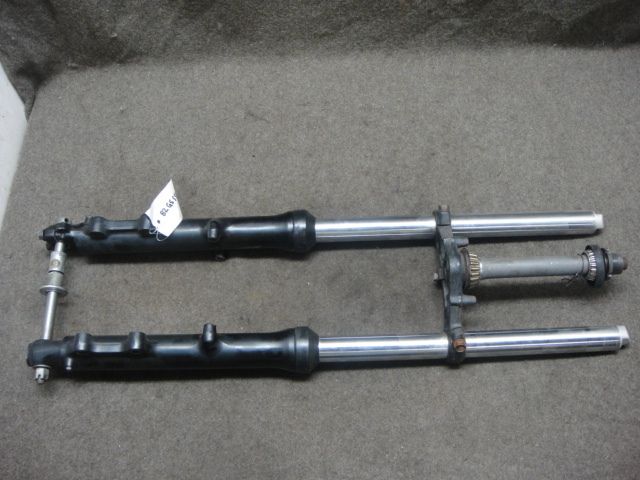
I also found the rotors and calipers from the same seller so I got a package deal.
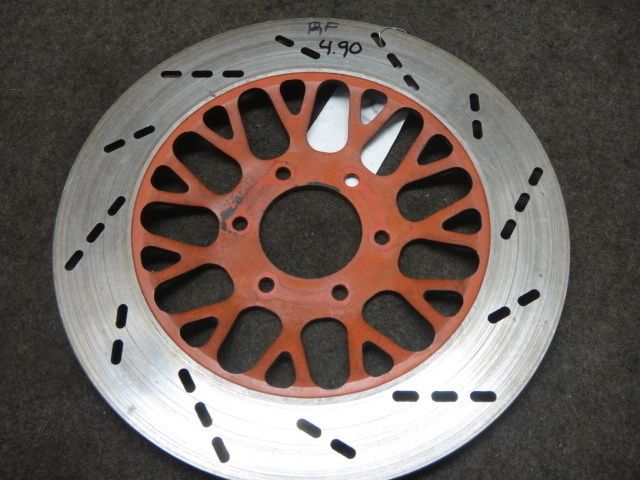
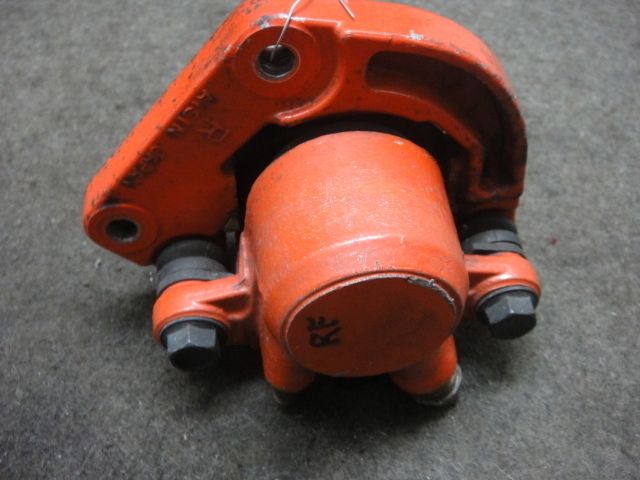
I will need to paint the carriers and calipers, cause the red won't go too well.1979 GS550, 2003 R6, 1998 XR400 Dual Sport, 2004 V-Star.........
Decisions, decisions, what to ride, today.
sigpic
My GS550 BuildComment
-
Disassembled the new calipers and had them media blasted, as well as the rotors.
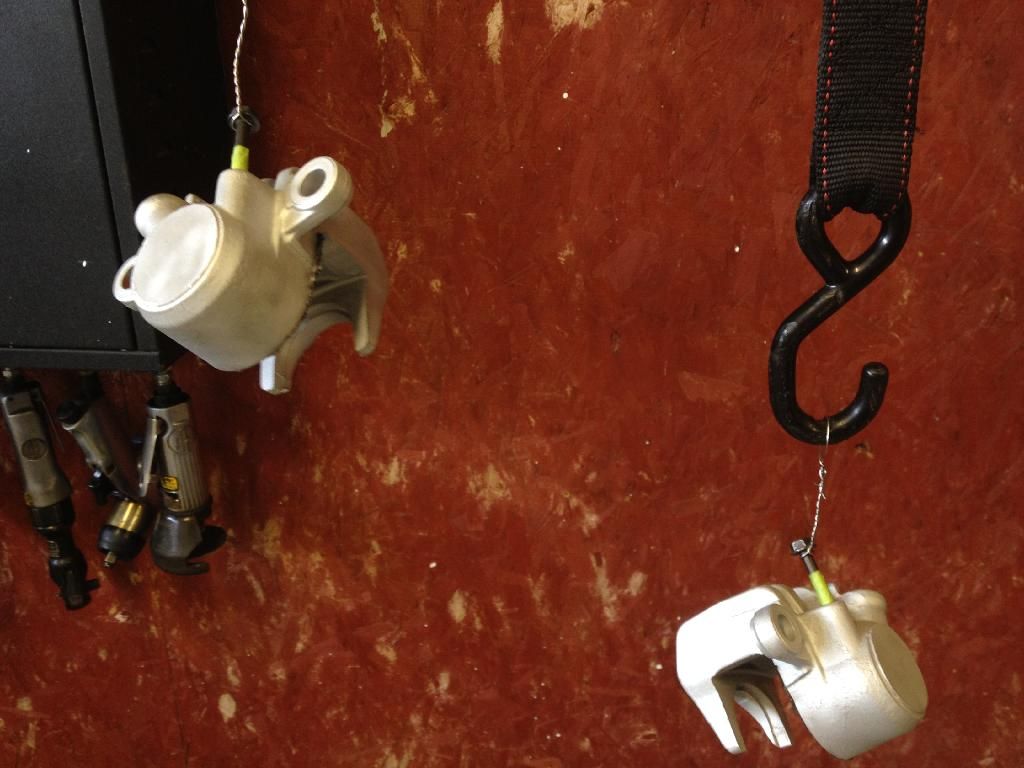
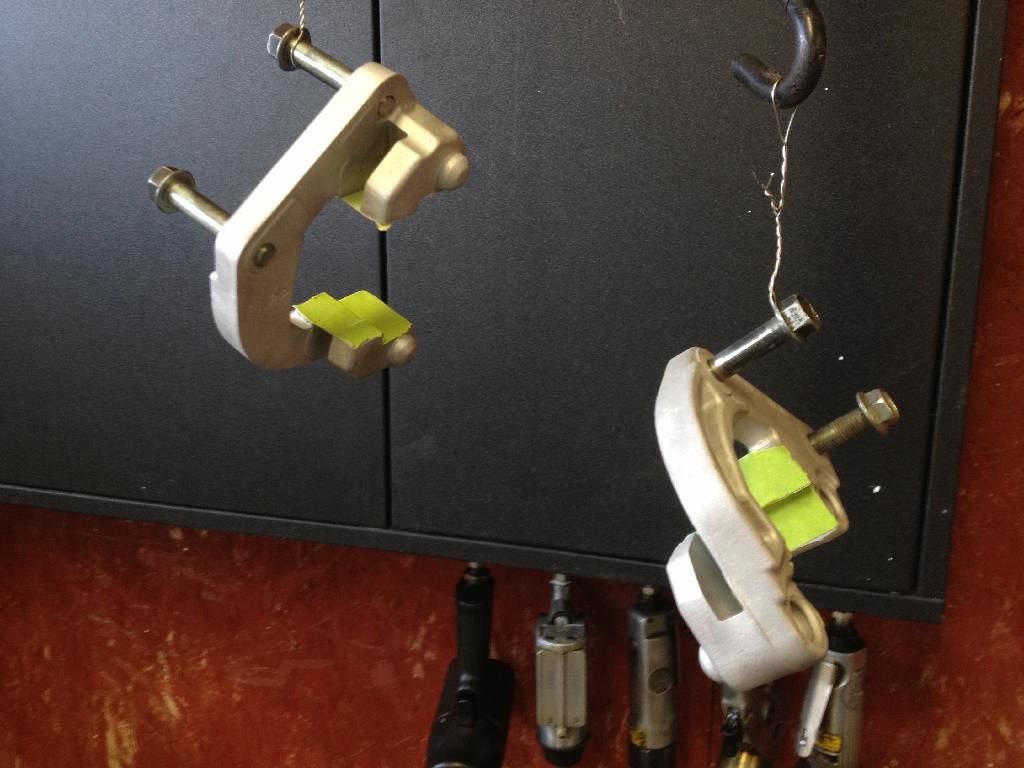
[img width=540 height=720]http://i962.photobucket.com/albums/ae106/werwin/GS%20Cafe/BE899C63-E214-4969-92AA-46A1E8FA0444_zpshyr4uabo.jpg[/img]
Painted them with G2 epoxy Gold paint
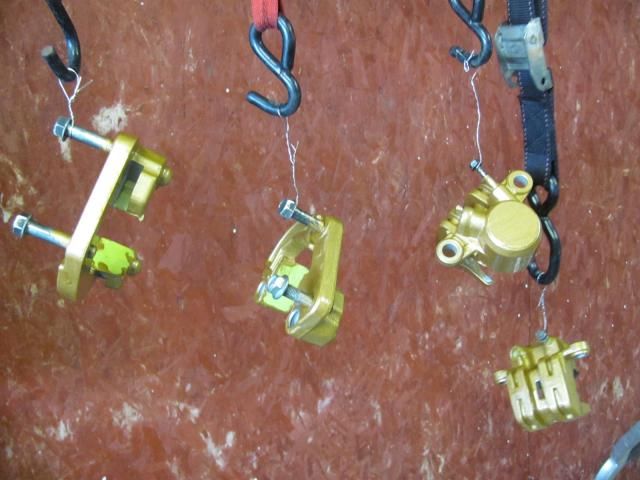
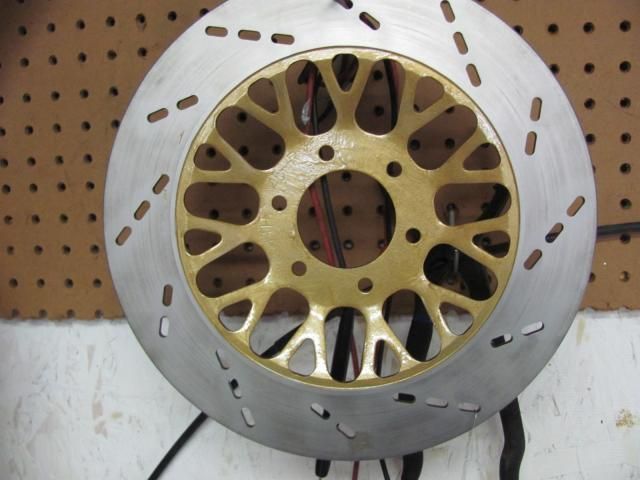
They came out OK, but it was a brush-on application, and I probably would have been happier if I had put the paint in a HVLP sprayer, but it isn't bad.
Here are the calipers after rebuild:
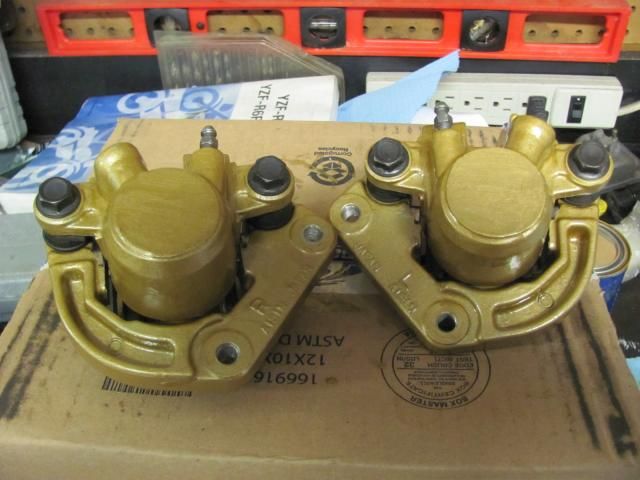
I mocked-up everything to test alignment and fitment.
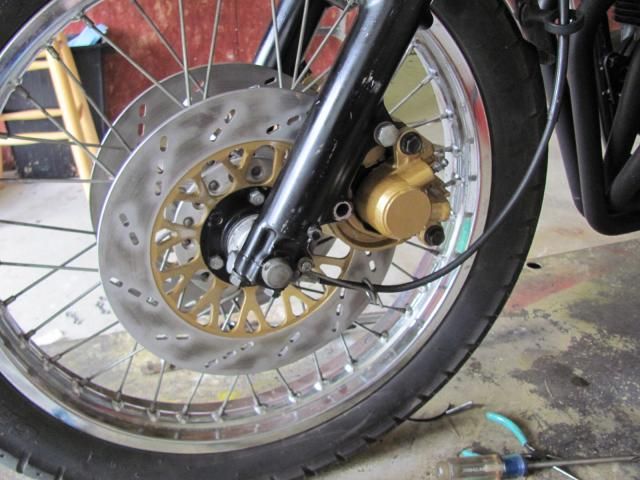
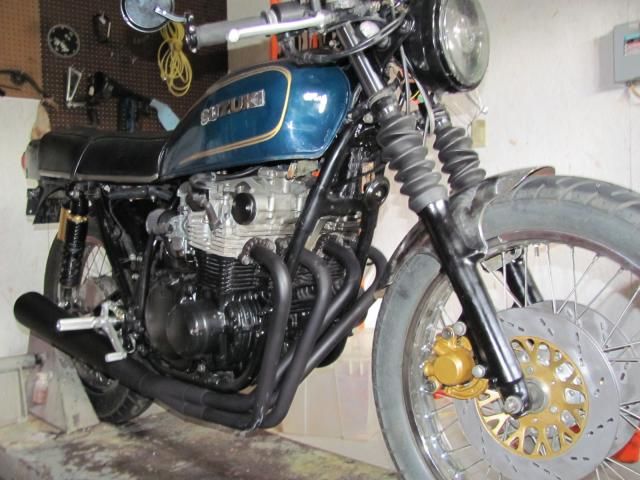
I still need to order one brake line, rotor bolts and retainers, right side wheel bearing cover and brake pads before the final install.
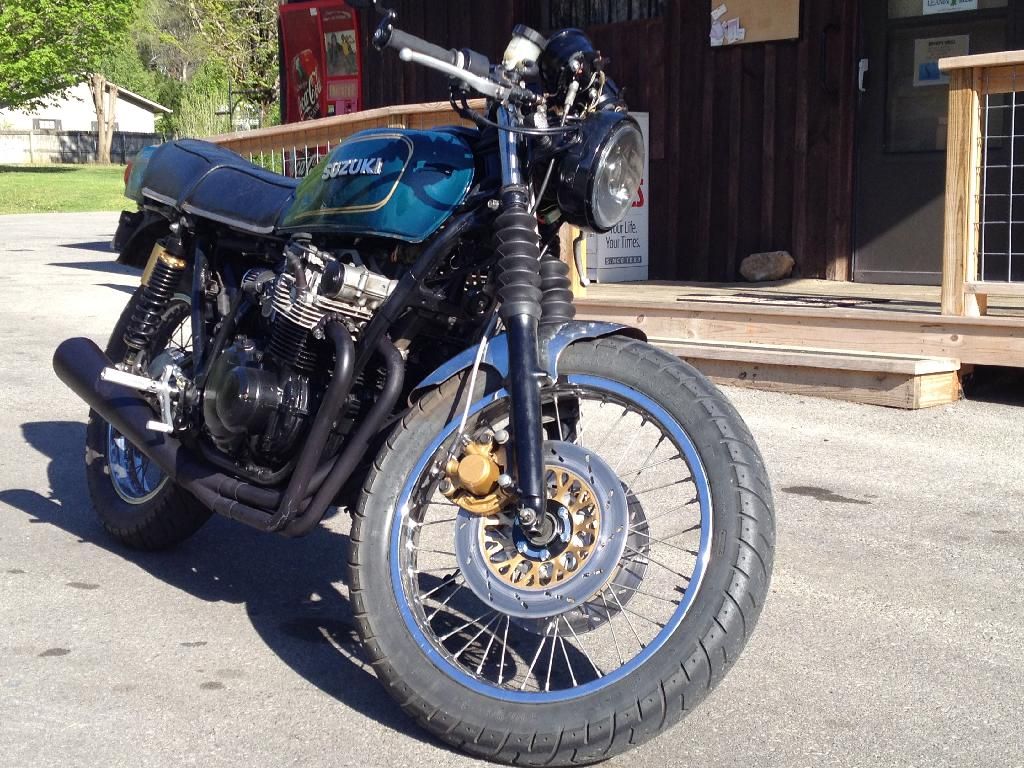
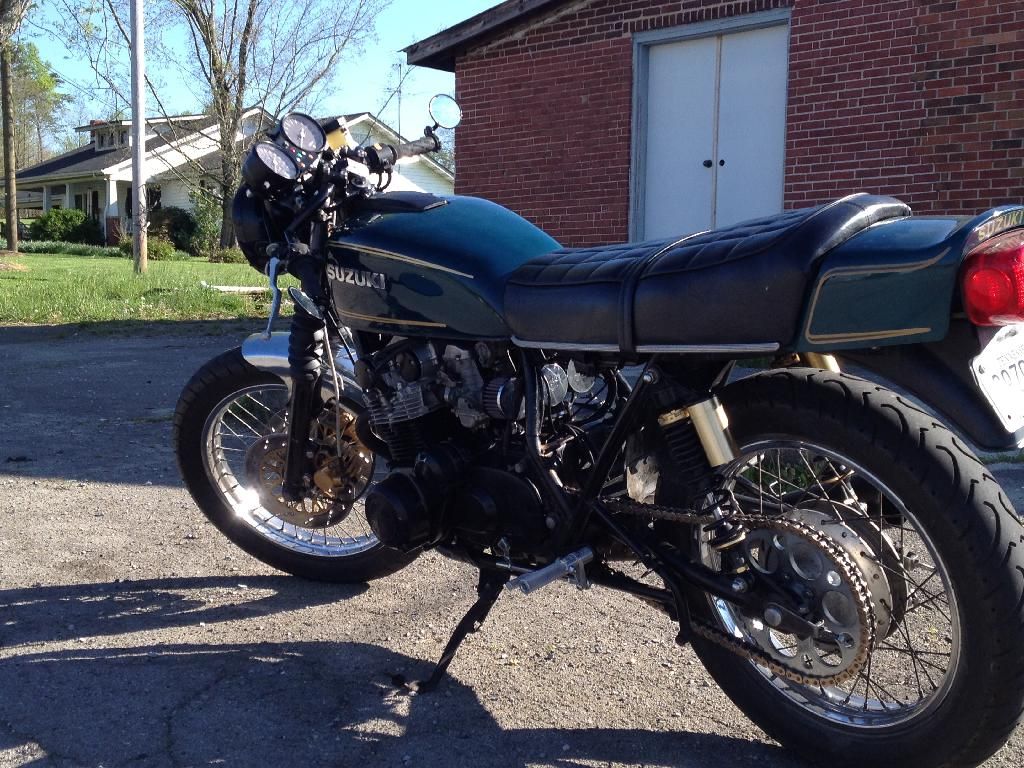
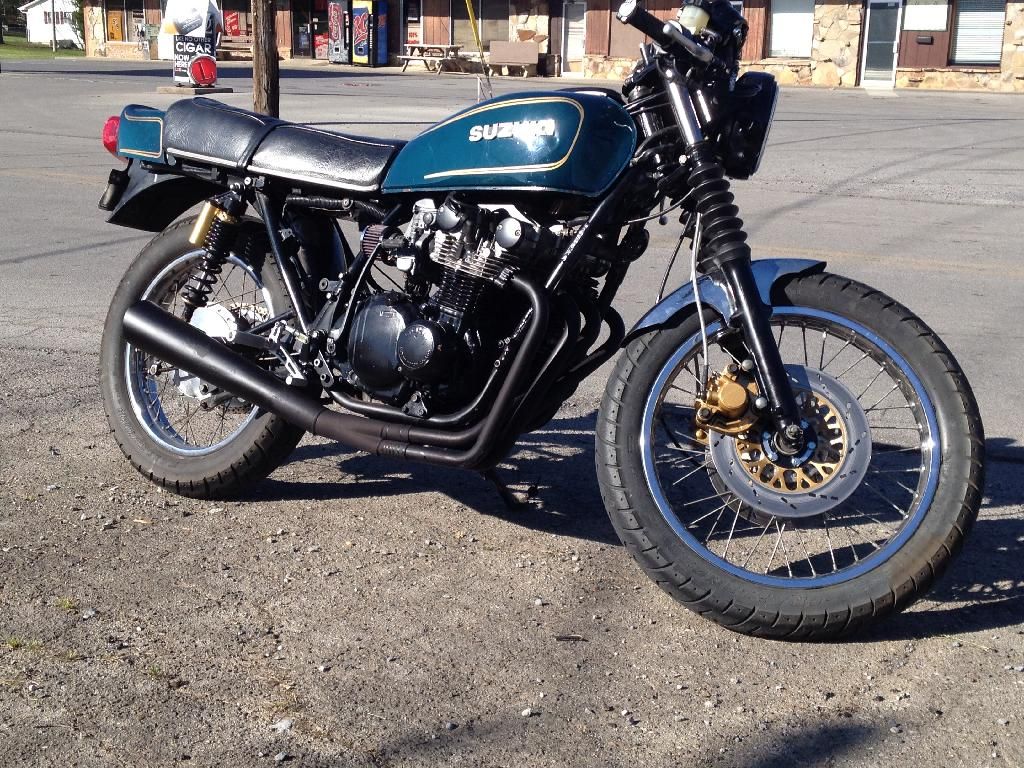
I got all the hardware and lines in to finish up the 2 disc front end install, and took it out for a short blast through the foothills to bed in the new pads and see how it works. I left the stock '82 springs in and put 7 psi of air in the forks to see how they would work before going with conventional spacers and new springs. Actually, that set up seems pretty good. The front and rear seem to work together, and it steers fairly well (still feels like a Mack truck compared to my R6, but hey it is what it is).
I put the GSX-R master cylinder back on (the one that felt like a block of wood with the single disc set up) and with the twin calipers it works well.
 Last edited by 8ball; 10-11-2014, 04:54 PM.1979 GS550, 2003 R6, 1998 XR400 Dual Sport, 2004 V-Star.........
Decisions, decisions, what to ride, today.
sigpic
My GS550 BuildComment
-
Sticky Buns!
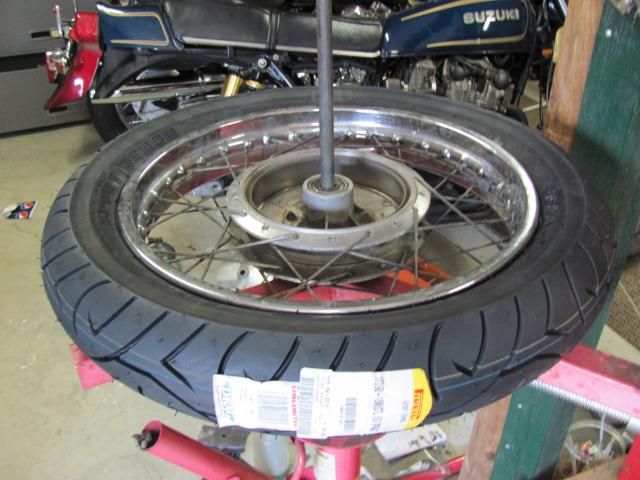
Pirelli Sport Demons...
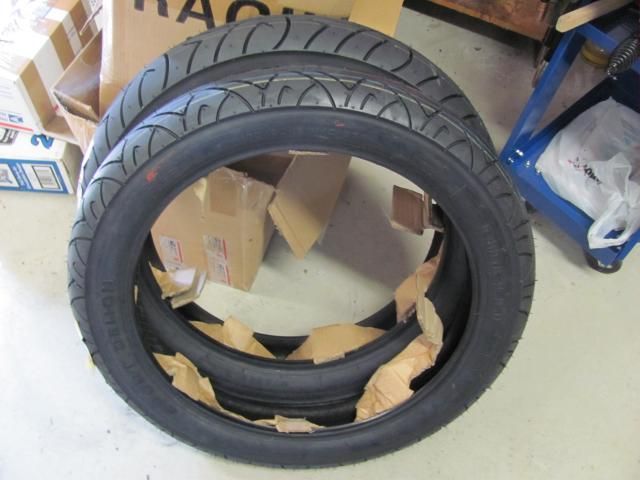
I find it is harder to mount tires on shallow wire spoked rims than deep sport bike rims. Had to use a combination of tire irons and my mount/demount bar.
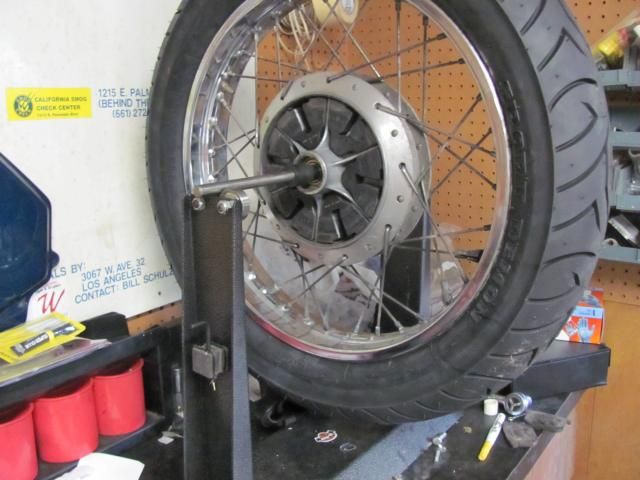
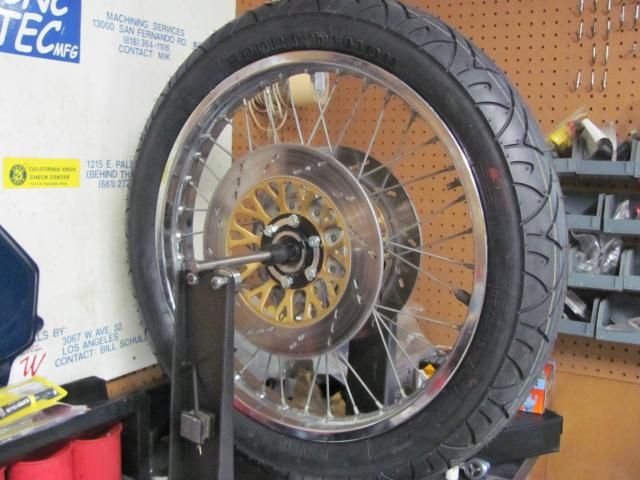
Balance front and rear:
Installed...Would have been easier on my lift, but since the R6 is occupying that space, it was kickstand and floor jack time!
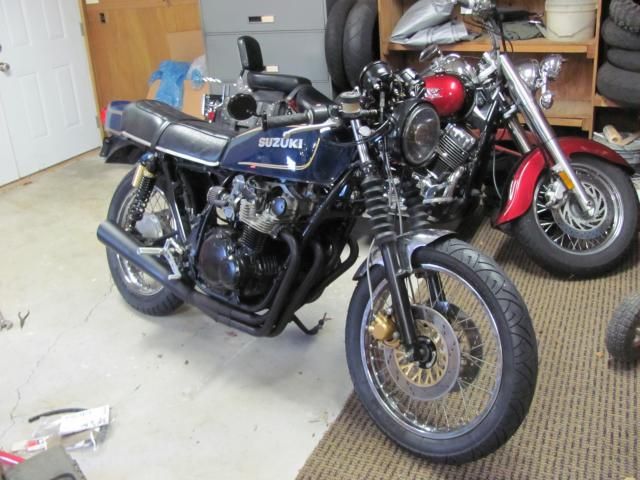
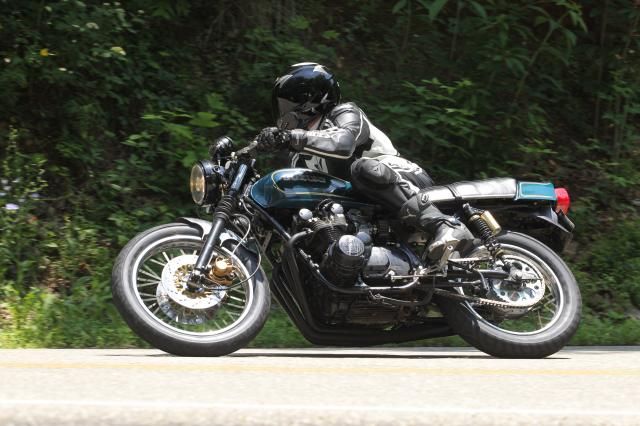
Tire testin' went well...
 1979 GS550, 2003 R6, 1998 XR400 Dual Sport, 2004 V-Star.........
Decisions, decisions, what to ride, today.
sigpic
My GS550 BuildComment
-
The last time I had the GS out I noticed a slight weeping of shock oil, so I figured, I'll just get some seals and re-do the build on them. The first time was more of a learning experience, and just to see if they could be made to work. They could, but I can do a better job, this time.....
First of all, my first version of a spring compressor was ....a little....well, Mickey Mouse:

This time I tried a little more finesse.
I had some Piston holders for assembling a four cylinder top end, and modified one of them:
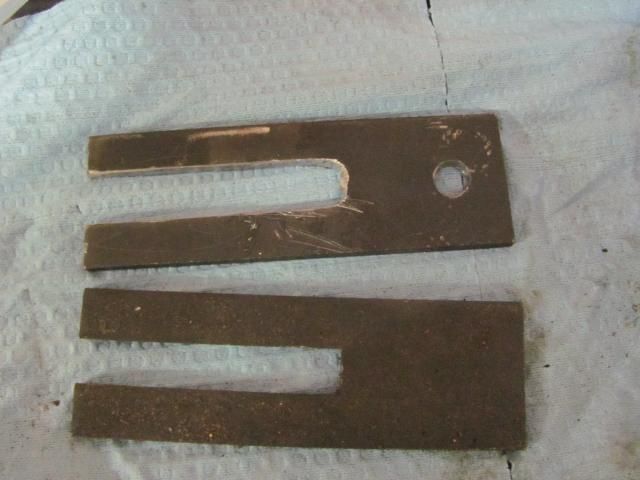
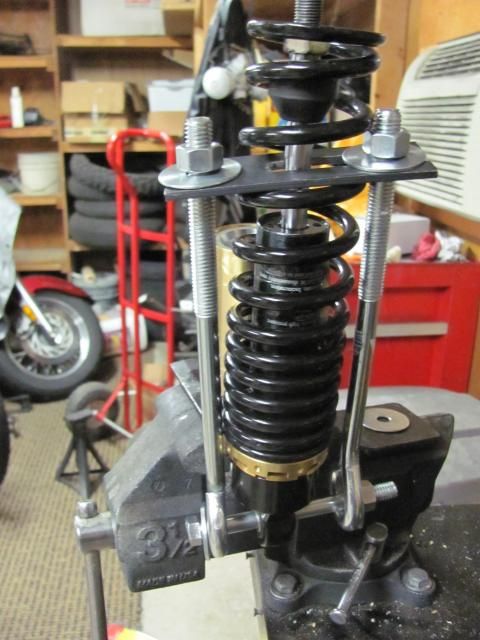
I got some turnbuckles, a bolt and some nuts....and tried that:
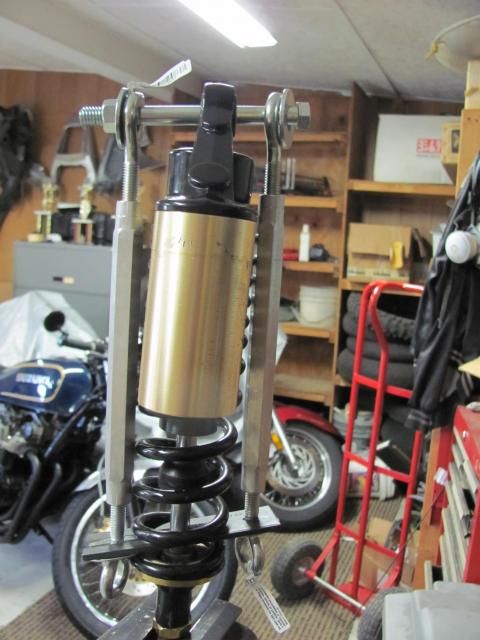
That worked, but the hex on the turnbuckle came in contact with the spring as I turned them, so I modified the assembly by using some large eye bolts. And that worked much better:
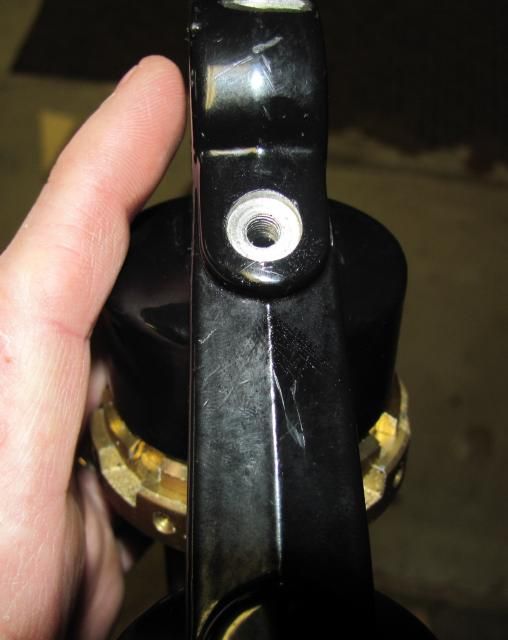
Next, I had bleed holes machined into the top bosses of the shock bodies. They are drilled and tapped for a 1/4-20 button head screw with a counter bore for an o-ring. This allows you to get ALL the air out of the shock. This is particularly useful if using the original seals, because they are very tall and you cannot get the air trapped in the seal out when you install them (this became less of an issue, for me as I will discuss momentarily):
The original seals are 12.5mm (ID) x 32mm (OD) x 15mm (H). I could not find these seals ANYWHERE! I found a distributor in China that sells them, but had no way to sell them to me.
I did find some 12 mm x 32 mm x 7 mm from SKF, and figured I'll stack them and see if that works. The ID is .5 mm smaller, but it doesn't seem like it binds, at all:
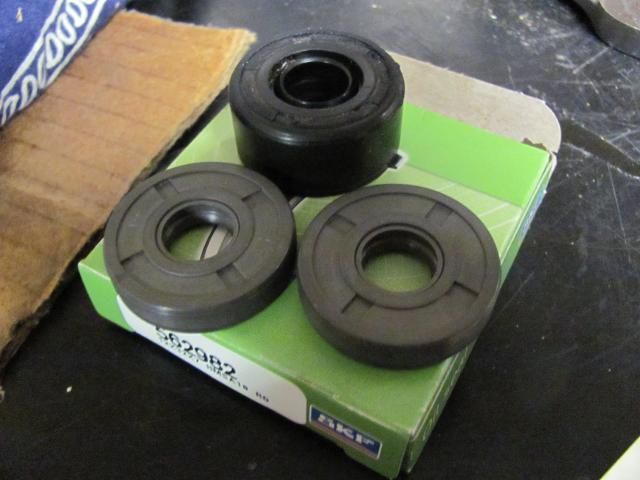
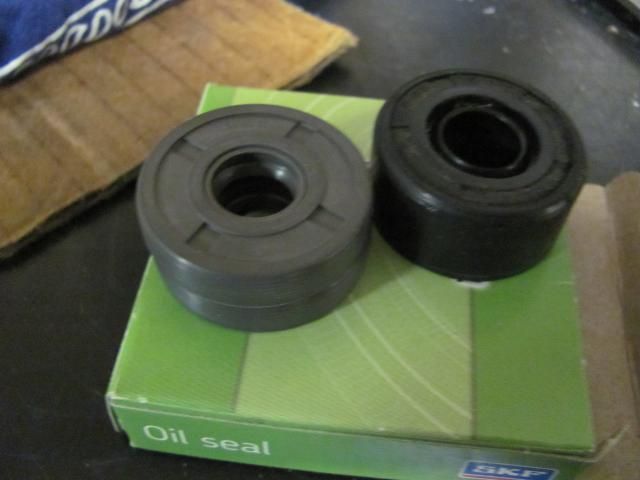
The two stacked seals are only 1 mm shorter than the original seal, and theoretically will provide twice the sealing around the shaft. I did put some grease between the two seals to keep the outer one lubricated. I am not recommending anyone take this approach....yet. Once I put some miles on them, I will report back on how the seals perform. Of course, at this point in the season, I may not get a chance to do that until spring. But I will report my findings, good or bad.
Ready for a Nitrogen charge and installation.
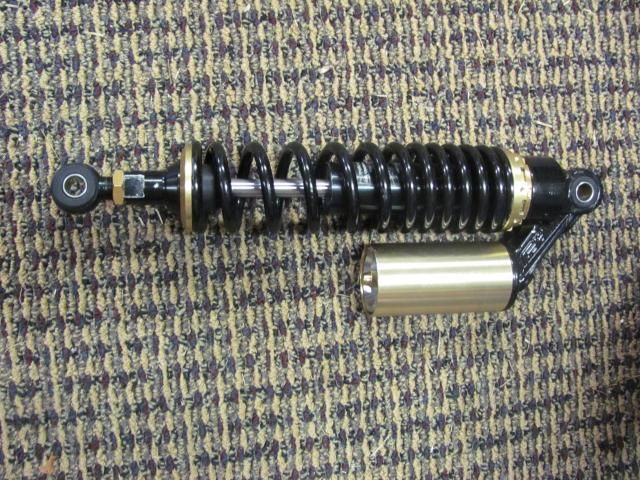
All up to date, now.....1979 GS550, 2003 R6, 1998 XR400 Dual Sport, 2004 V-Star.........
Decisions, decisions, what to ride, today.
sigpic
My GS550 BuildComment

Comment