Announcement

Collapse
No announcement yet.

here i go again.. project: 'too late to go back now'

Collapse
X
 
  • Filter
  • Time
  • Show
Clear All
new posts

    here i go again.. project: 'too late to go back now'

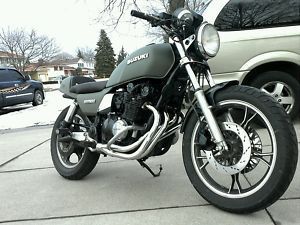
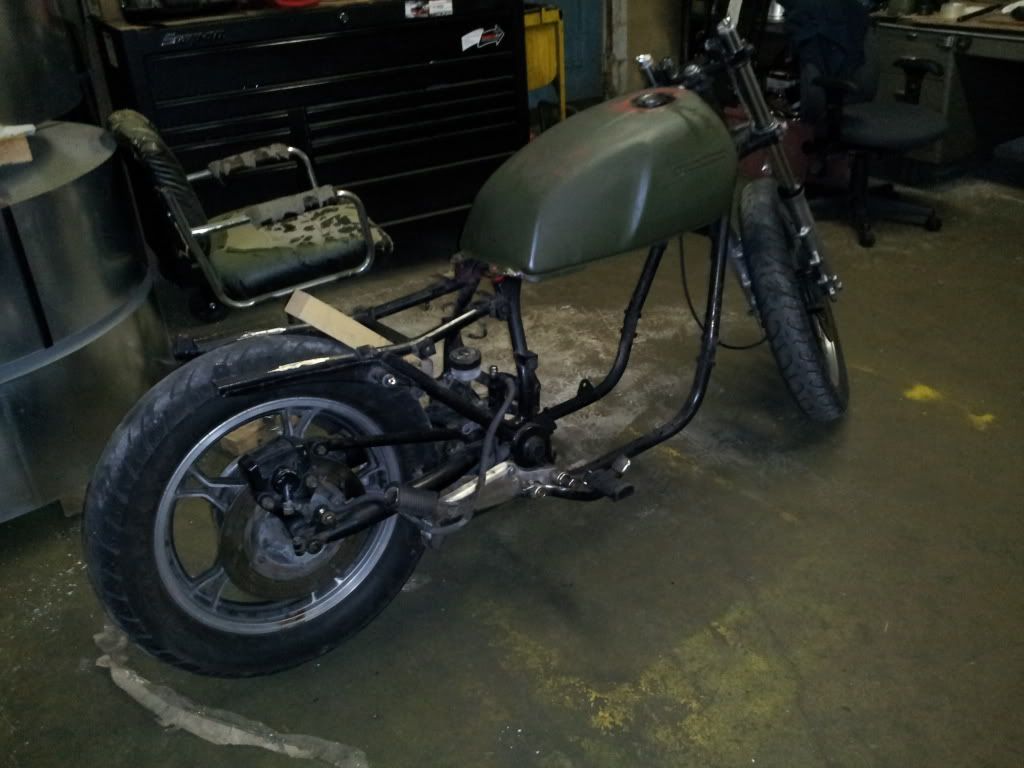
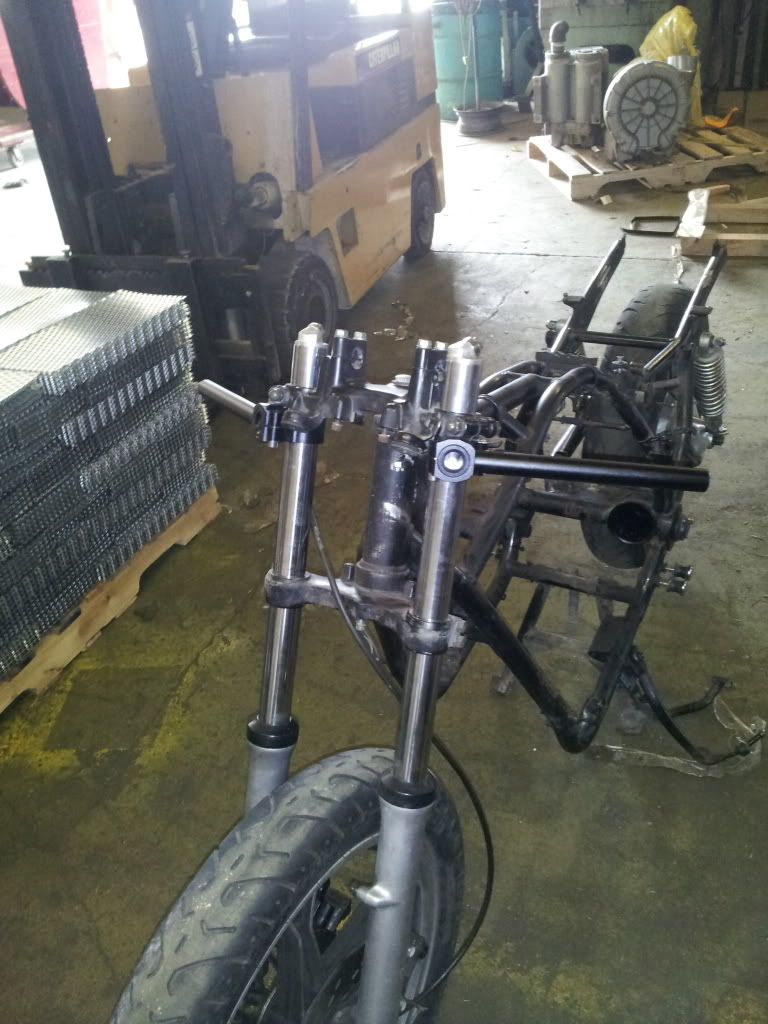
    Hey everyone, im new to these forums.. I now have aquired a new to me 1982 suzuki gs850g. I recieved this machine in a trade for a 91 honda cr250r that i had just gone over and completely rebuilt/restored.. I must have had over $3000 into that machine as a "project" but there was no way in the heavens that machine would ever sell.. I ended up giving into this old zuke that impressed me. All of a sudden soon after the trade i had an urge to dismember this frame and head into a familiar position..

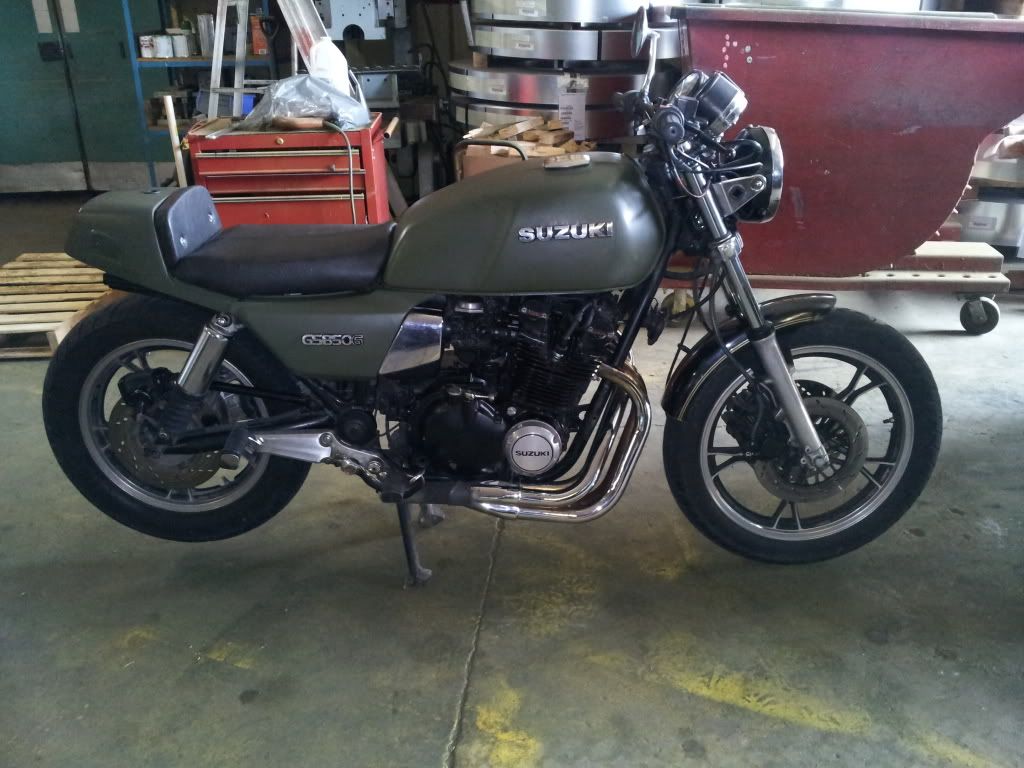
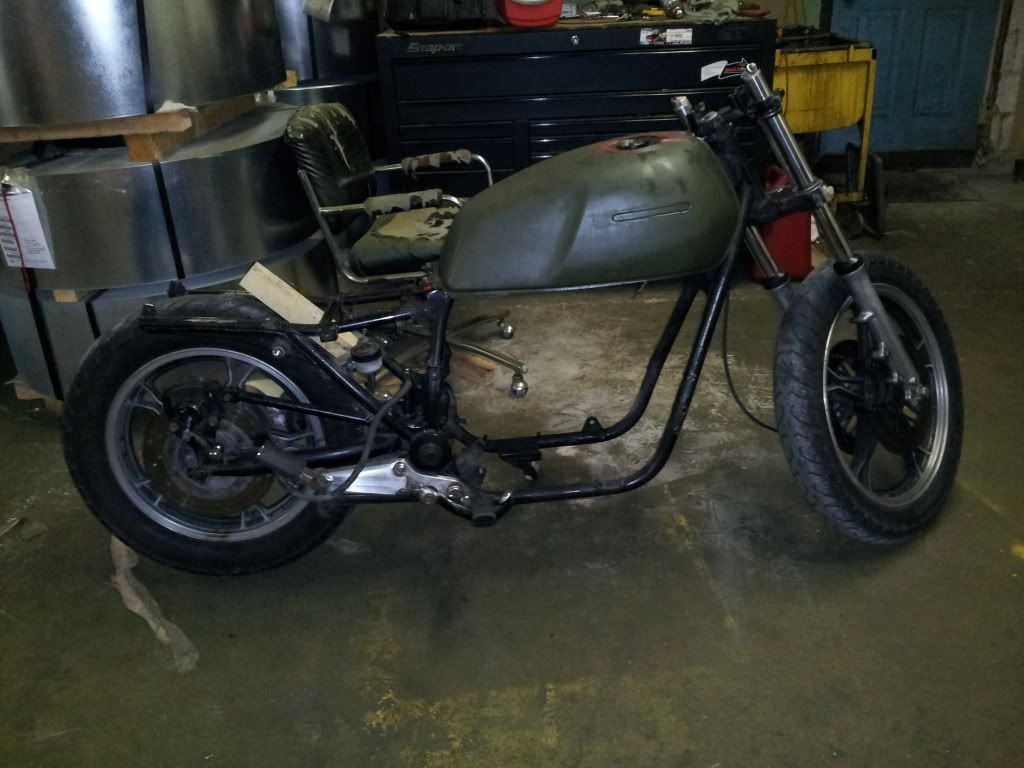
    Here's what i started with..


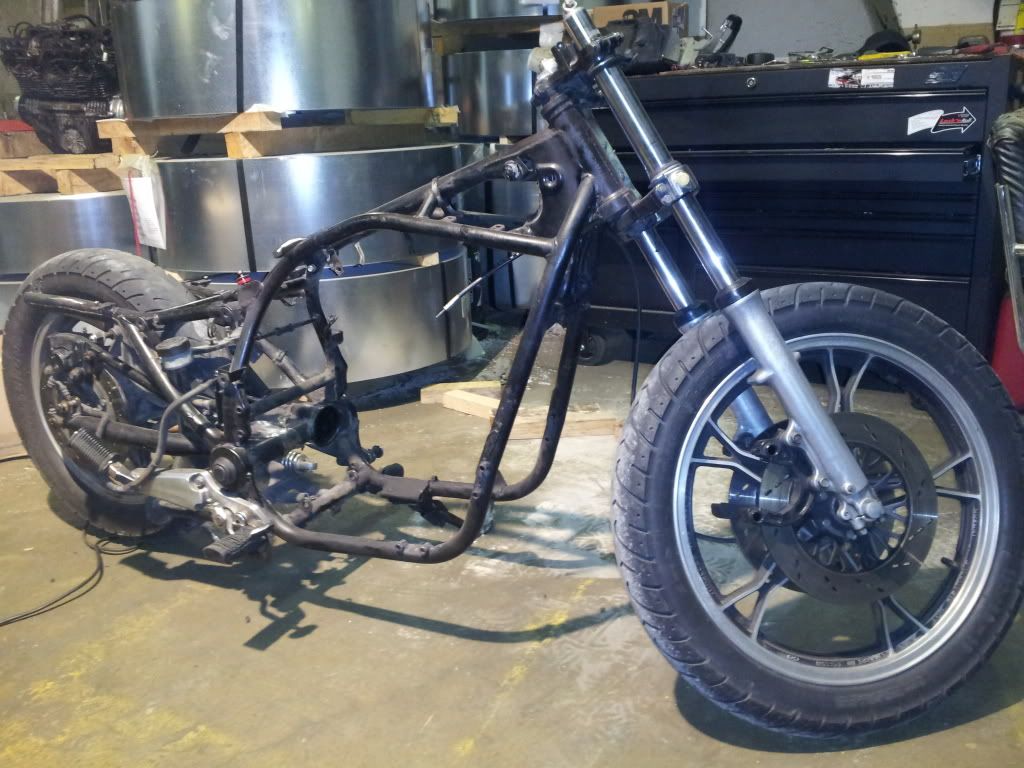
    The goal to this project is to make a bike custom to my liking. Learn about 4 stroke operations and all the mechanical, electrical, and technical operations involved of creating a new machine.. I plan to simplify the wiring (ill need plenty of assistance), remove any plastic and finally lower the stance and create more of an eye turning cruiser with a very clean mechanical look to it.

    When i recieved this machine, it was already headed in a custom direction. So dont think that i am cutting up a perfectly pristine machine. If i could restore it i would but i opted to keep going this route.

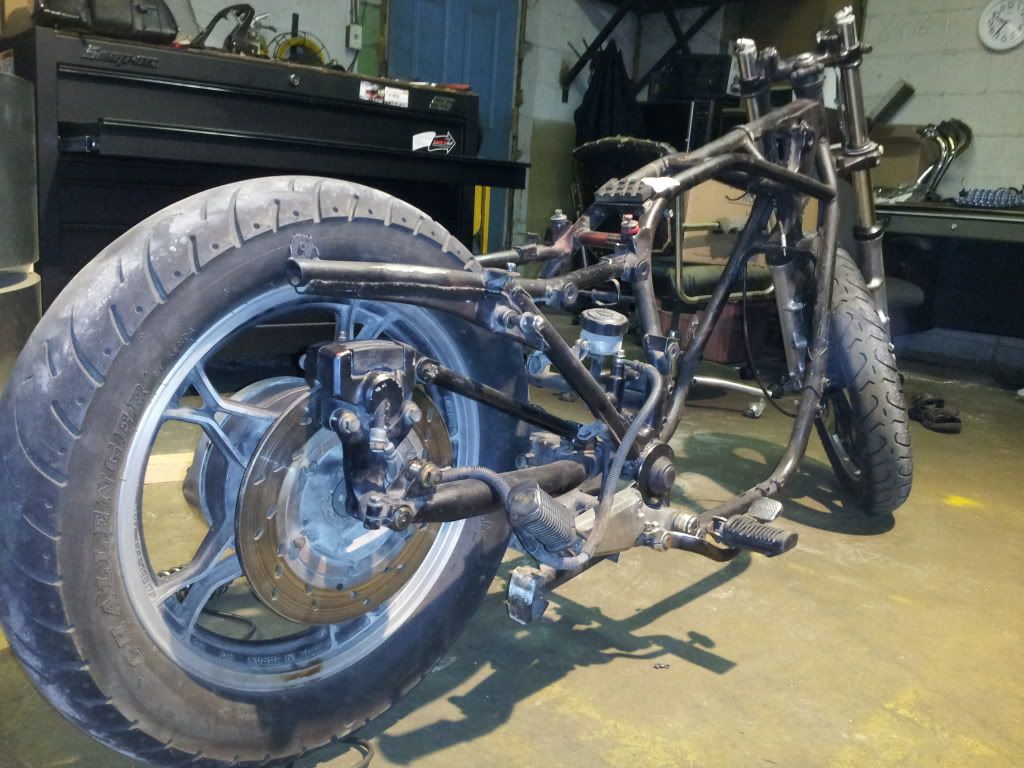
    Here is where i am as of this June 19th......


    #2
    Hello. Glad to have you aboard. Good luck on the rebuild and keep us posted with pictures.

    Comment


      #3
      What are your plans for the rear suspension?

      If you are ditching the shocks, I might be interested in them.

      .
      sigpic
      mine: 2000 Honda GoldWing GL1500SE and 1980 GS850G'K' "Junior"
      hers: 1982 GS850GL - "Angel" and 1969 Suzuki T250 Scrambler
      #1 son: 1986 Yamaha Venture Royale 1300 and 1982 GS650GL "Rat Bagger"
      #2 son: 1980 GS1000G
      Family Portrait
      Siblings and Spouses
      Mom's first ride
      Want a copy of my valve adjust spreadsheet for your 2-valve per cylinder engine? Send me an e-mail request (not a PM)
      (Click on my username in the upper-left corner for e-mail info.)

      Comment


        #4
        Plans are to keep the nice air shocks on it but won't have much travel due to the drop.. Plans may change but i want to make some use of the soft tail. Bbeing 13 inch shocks may prove to be a little much.. 11 inch would be great. Not sure if i can limit the travel easily with these or not
        Last edited by Guest; 06-20-2013, 02:14 PM.

        Comment


          #5
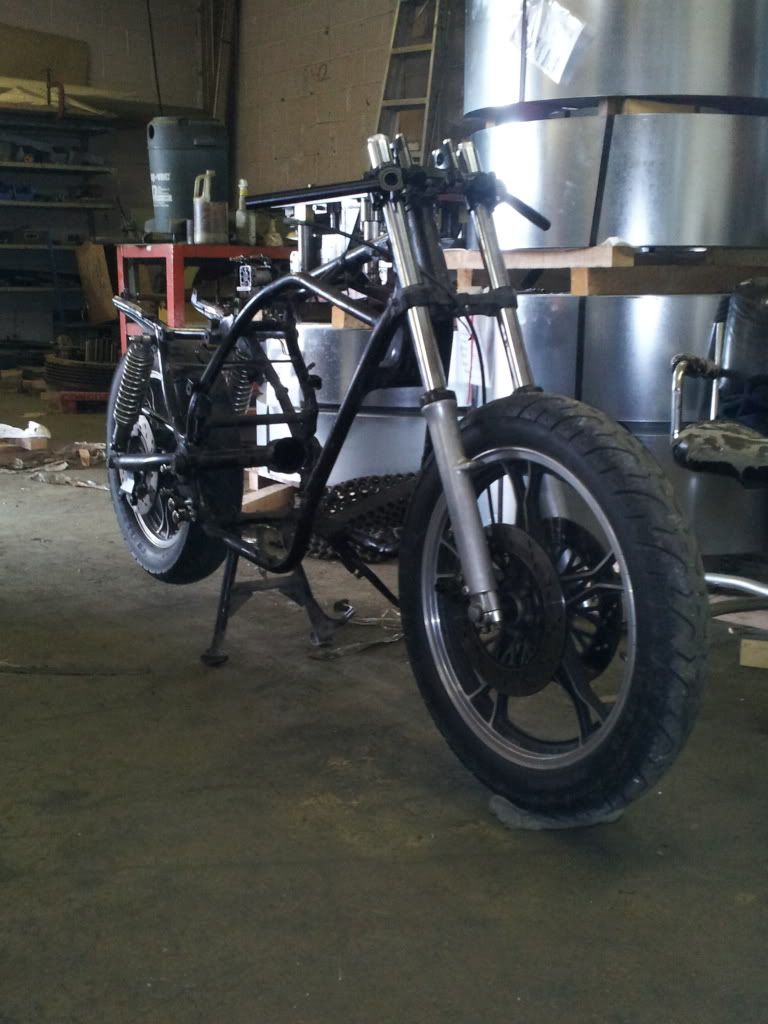
          A couple with tank.. The stock tank is growing on me, i was really set on a peanut or early style sportster tank. Something small and tall. What do you guys think when it comes down to tanks ?? Can't wait to get this frame out to blasting and powdercoat.. But alot more cutting and retrofitting to come

          I've got some clip on bars for the forks. and a carb kit coming in sometime soon so i can get onto the motor detailing and maintainance.


          Last edited by Guest; 06-20-2013, 02:30 PM.

          Comment


            #6
            This makes me want to tear down my second bike...but I'm gonna enjoy reading your thread instead.


            Ed
            GS750TZ V&H/4-1, Progressive Shocks, Rebuilt MC/braided line, Tarozzi Stabilizer[Seq#2312]
            GS750TZ Parts Bike [Seq#6036]
            GSX-R750Y (Sold)

            my opinion shouldn't be taken as gospel or in any way that would lead you to believe otherwise (30Sep2021)

            Comment


              #7
              Haha sounds like a smart idea. If i ever figure out the wiring harness id be alot happier.. Many long nights trying to figure out what does what and how to break it all down. I really want 3 main harnesses. One for charge, one for ignition and main power, and one for the running lights and accessory lights,,horn etc..

              Many connectors in the headlight got a little hot and melted. Also after i stripped all the sheath off of the main harness i found several strains with some good rub,, some down to bare copper and some other broken strands...
              Last edited by Guest; 06-21-2013, 08:30 AM.

              Comment


                #8
                Plans are changing in my mind again. Im not going with the lower stance anymore! Im now looking to do more of a resto-mod on this frame.. Different seat, Bars, and some control components plus some visual trim changes and ighting changes. Just some slight alterations to already modified and damaged areas. Ill do some updates after my electrical is configured
                Last edited by Guest; 06-26-2013, 09:27 AM.

                Comment


                  #9
                  Exciting. Keep us posted!

                  Comment


                    #10
                    Originally posted by 08rangerdan View Post
                    Haha sounds like a smart idea. If i ever figure out the wiring harness id be alot happier.. Many long nights trying to figure out what does what and how to break it all down. I really want 3 main harnesses. One for charge, one for ignition and main power, and one for the running lights and accessory lights,,horn etc..

                    Many connectors in the headlight got a little hot and melted. Also after i stripped all the sheath off of the main harness i found several strains with some good rub,, some down to bare copper and some other broken strands...
                    Hey, your bike looks pretty good already (way better than mine anyways).
                    I am currently rebuilding an entire harness and "replanning" the whole system as well. I would almost say I have the wiring memorized (at least enough to be able to pass a test on it). My plan is to do much of what you want. When I'm done redrawing the diagram I can send it your way (I'm about 1/3 done and is turning into an obsession).

                    Good luck.

                    I'll be sure to follow this thread.

                    Comment


                      #11
                      Thanks man! I really can't knock the bike too much. I got it on a trade and as soon as i got it, i rode it for a week straight and no real issues. Being open headers, may be a reason,, or hopefully THE reason it became buggy and slightly hesitant on higher rpms.. Complete carb kit and stage 3 from feebay should give me some help there.. Besides i intend to run pod filters also.

                      If you could send me some knowledge you have on the electrical, I would greatly appreciate it! Make it as easy as you can. I would love to break every circuit down to its basic routes and fully understand the whole bike.. but its time i just don't have. I've spent several long night just trying to plan out the ignition and charge systems, but i fear to create a loom and plug it all up until its been verified for proper order.. Worst thing to do would be to create some new wiring and somehow blow vital electronics because of a misplaced fuse or power.

                      It also doesn't help following these coloured wire diagrams when very few of the critical colours from my harness match anybody else's schematics.!? Its hard to find someone running the same ignitor unit with a simplified diagram.

                      I've come down to the tedious task of repairing all the overheated connectors and wires from my harness and keeping it intact.. I haven't been able to find much help on it so far..

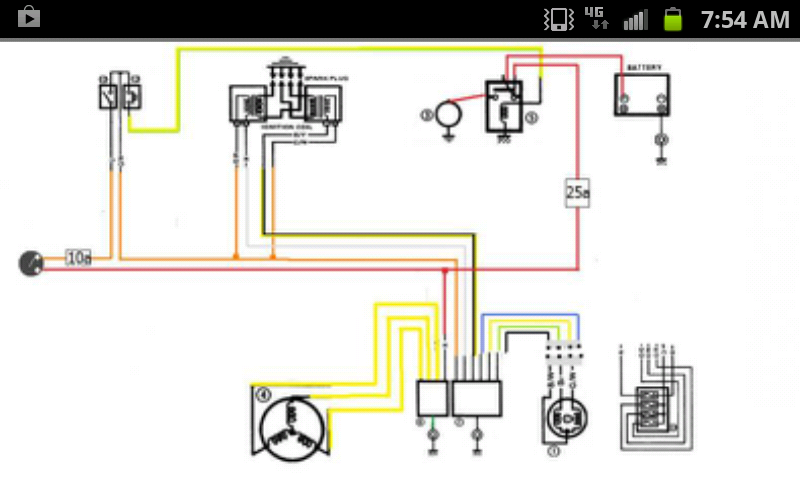
                      Here was my 'rough' ignition and charge diagram sorry no labels. I kept it very simple but its colour coded to my particular ignitor. When i figure out lighting ill work it in too..


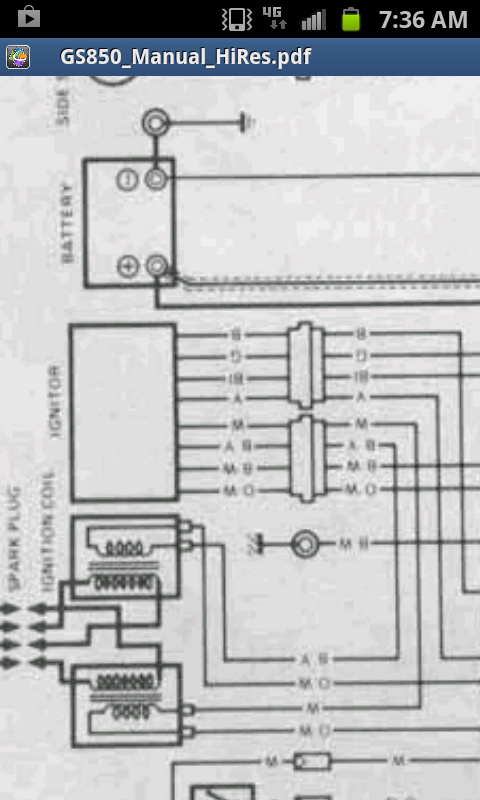
                      I did find a diagram using my ignitor!!

                      ** i believe this is the source i found the un-molested manual for the 850 in pdf file**


                      Order of colours from top to bottom are : blue, green, black, yellow, (to signal generator)
                      and on another plug its : white (to coil), black/yellow (to other coil), black white (to ground), orange/white (I've simply routed it as orange , and cuts into both coils after the kill switch)

                      Last edited by Guest; 06-27-2013, 08:03 AM.

                      Comment


                        #12
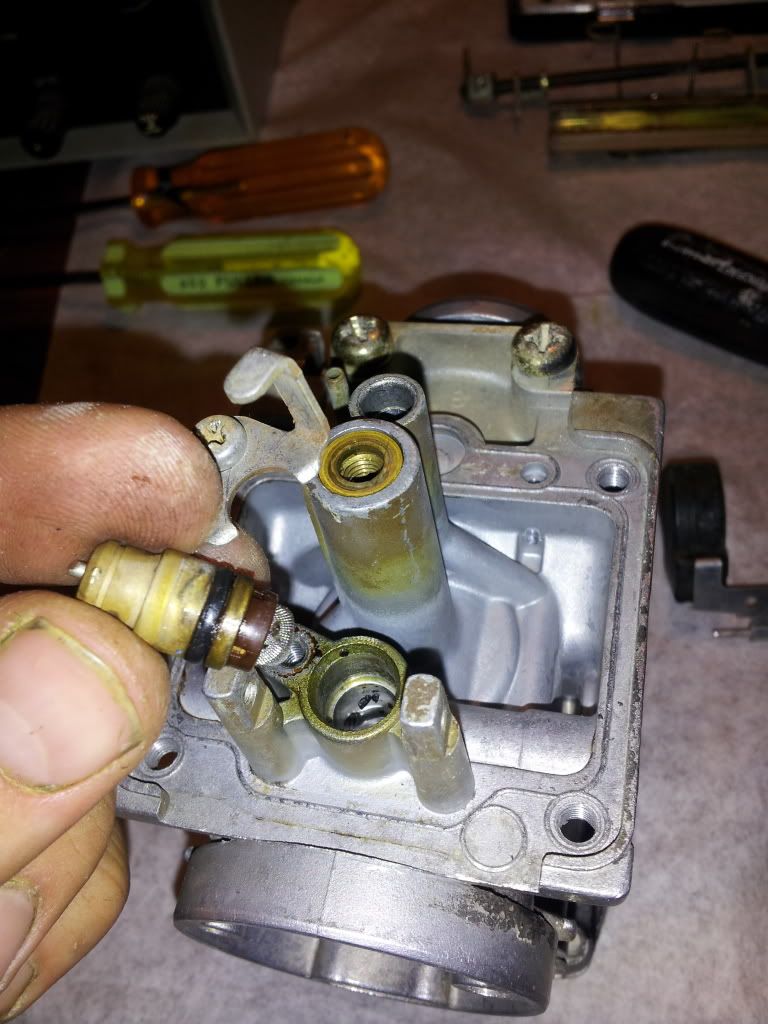
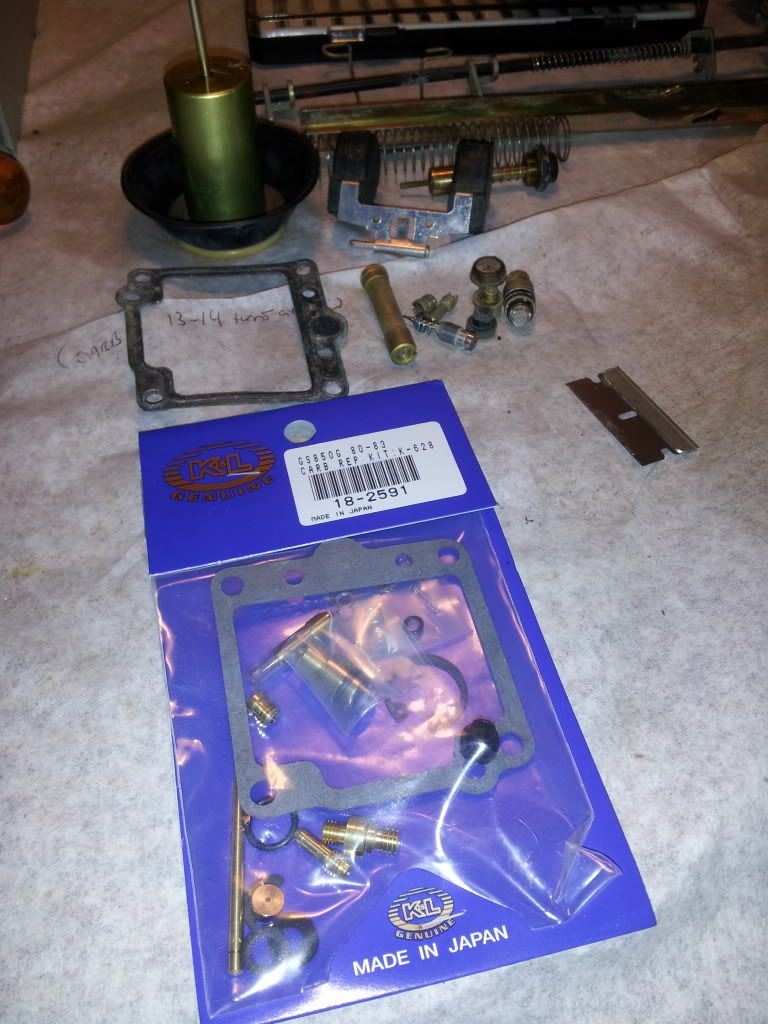
                        Ah well dang it all! Fee bay issues strike again.. I didn't realize a carb repair kit would be so useless.. For the price i got them at i expected everything needed but now Im having to source the o rings from here .. http://cycleorings.com/


                        Looking rough.. Good to have all those needles new!


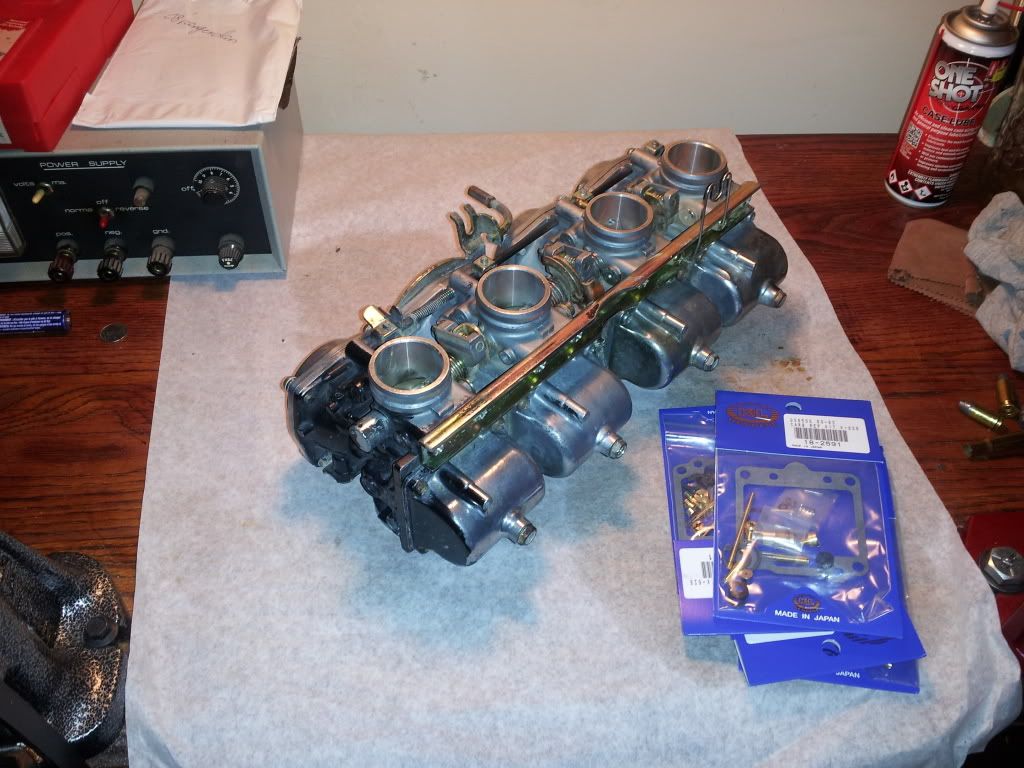
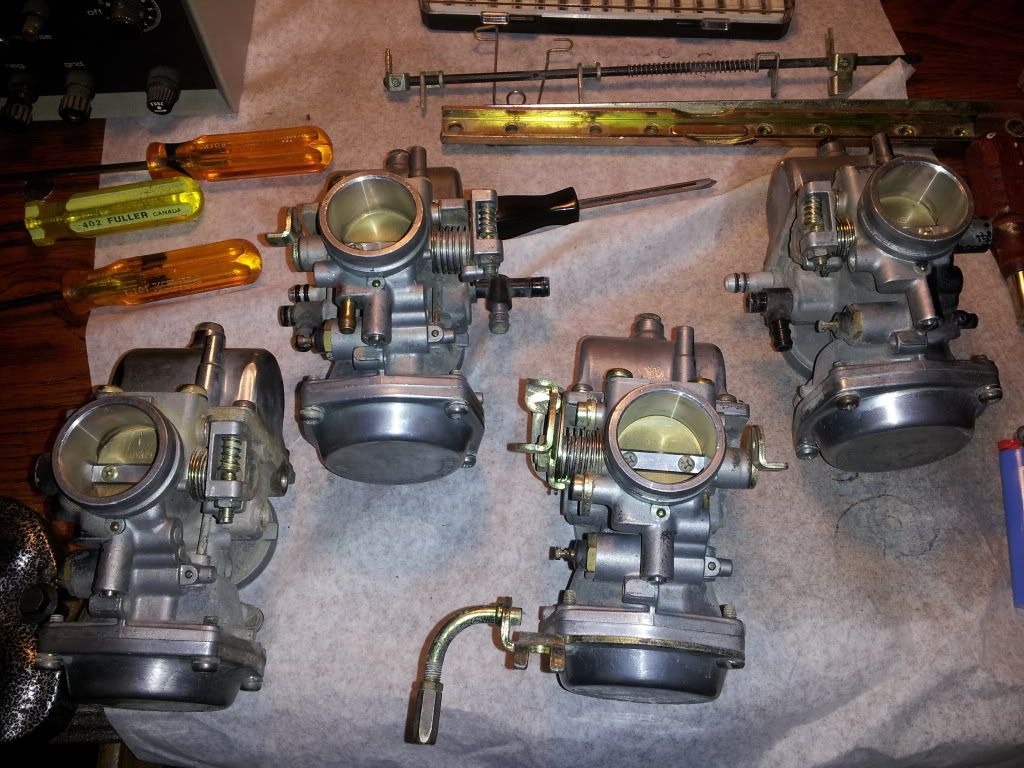
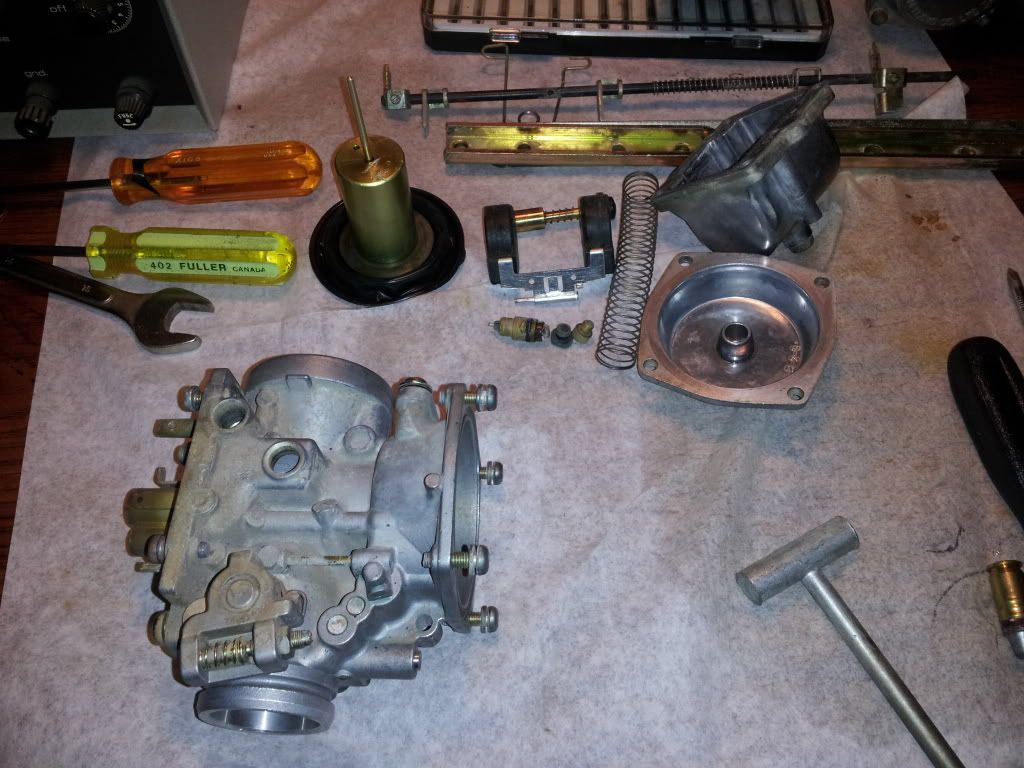
                        Kits came to my mail box tonight and i eagerly got into tearing my first pod apart. Not very much to it. I followed the online dissasembly for parts i wasn't sure about. Now Im looking for a chem dip to try out on my first stripped body.. I left the butterfly installed like the online walk through ..I HOPE THERE IS NO ORINGS OR OTHER MATTER IN THERE that will get melted by the dip that ill try to get from napa here in canada.. Im still awaiting a stage 3 dyna kit in the mail before i get these all done. Gives me time to get the carbs pretty.

                        On another note clip ons came in! Here's a preview of what Im looking to do for the bars.. Im not sure about milling the bar bungs off yet.. May be usefully for a gauge mount but i don't want to remove them incase i decide to run normal bars again..


                        Last edited by Guest; 07-10-2013, 10:58 PM.

                        Comment


                          #13
                          Hi there mate, good to hear you're doing the resto route, she looked good in those first few pictures.

                          On the carbs I'd use Simple Green and water or kerosene. Use a toothbrush and q tips, scrub what you can and tear her down to get to all the passages or you'll forever have problems. Don't just try and dip her, it doesn't work as well and you'll regret it.

                          Make suite the jets are free whilst you're at it. 4-1 exhaust and pods will have you looking at around a #130 Mikuni main jet, large round style. That shoiuild get you real close too start with, aloing with the air screws around 2.25 turns out from lightly seated. Adjust to a smooth idle and take the needles up two steps and you'll have a very strong running 850, should pull like a V8 from 2000rpm and then go ballistic north of 6000 or so.

                          That was the recipe for my last one, and will be again for the current as well.

                          All the best - boingk

                          EDIT: The old bar mount can be filled with a tube holding custom warning lights. Looks schmick and is easily reversed, cleans up the dash nicely if you're mounting new instruments. I'd go, from left to right, left indicator, oil, high beam, neutral, right indicator.
                          Last edited by Guest; 07-03-2013, 11:59 PM.

                          Comment


                            #14
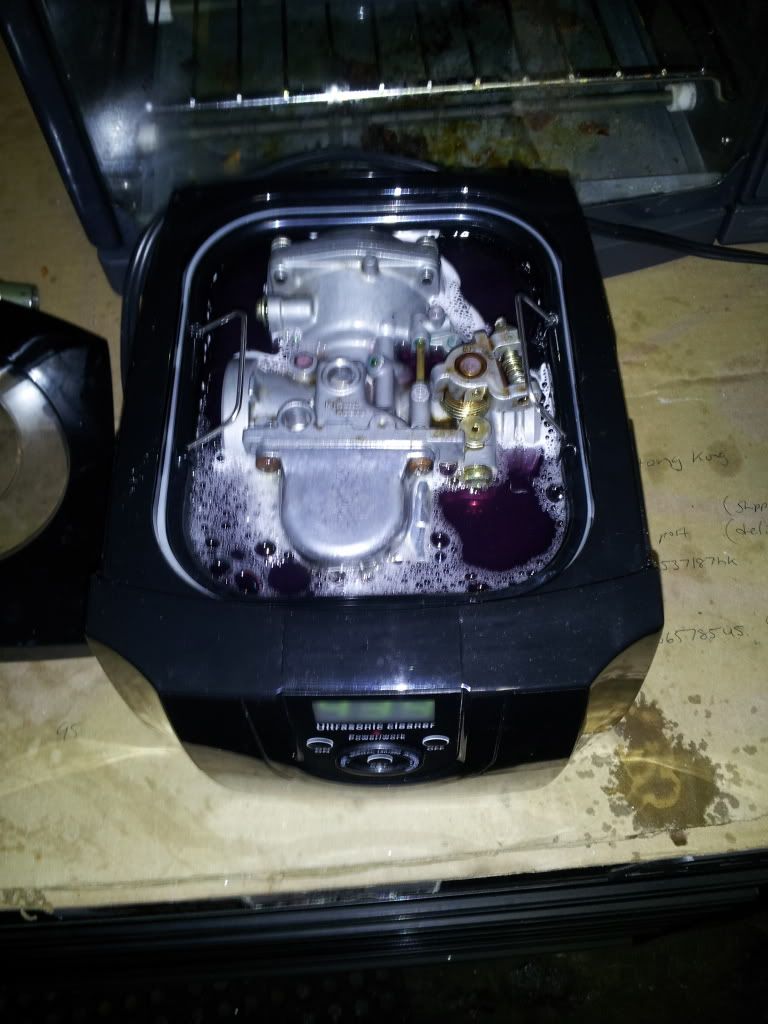
                            I decided to try a variant of simple green but a little tougher. Its called ex-plus. it just an industrial degreaser. I mixed with part water and tossed it in the sonic cleaner. Ill post the results later on.

                            Comment


                              #15
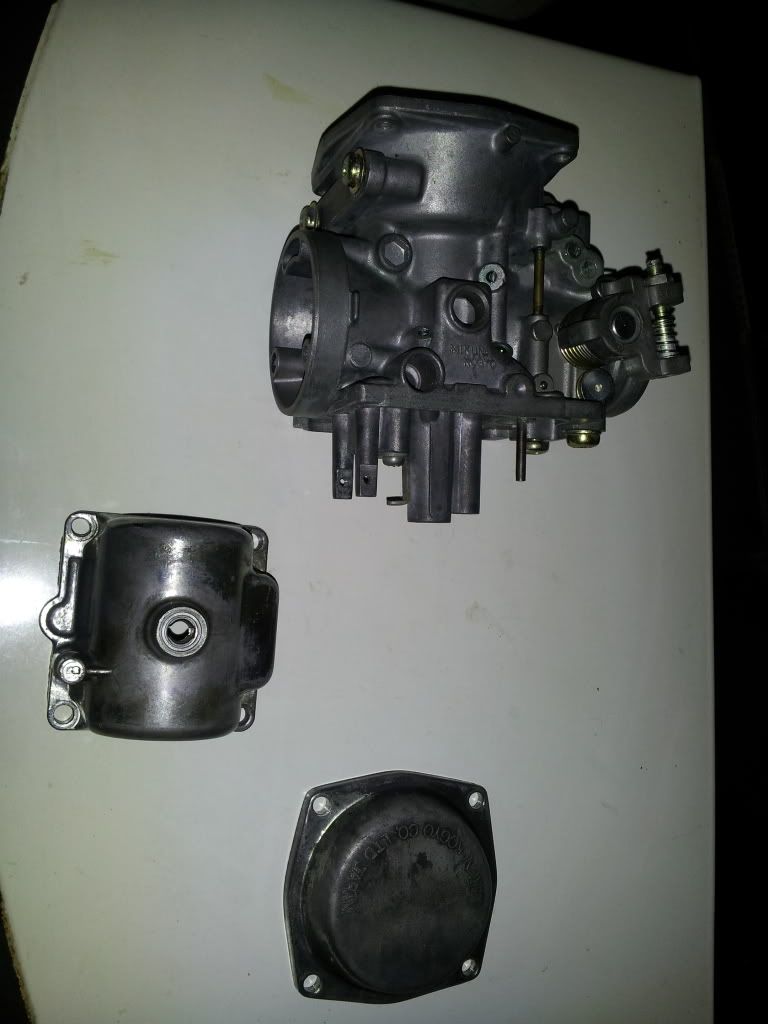
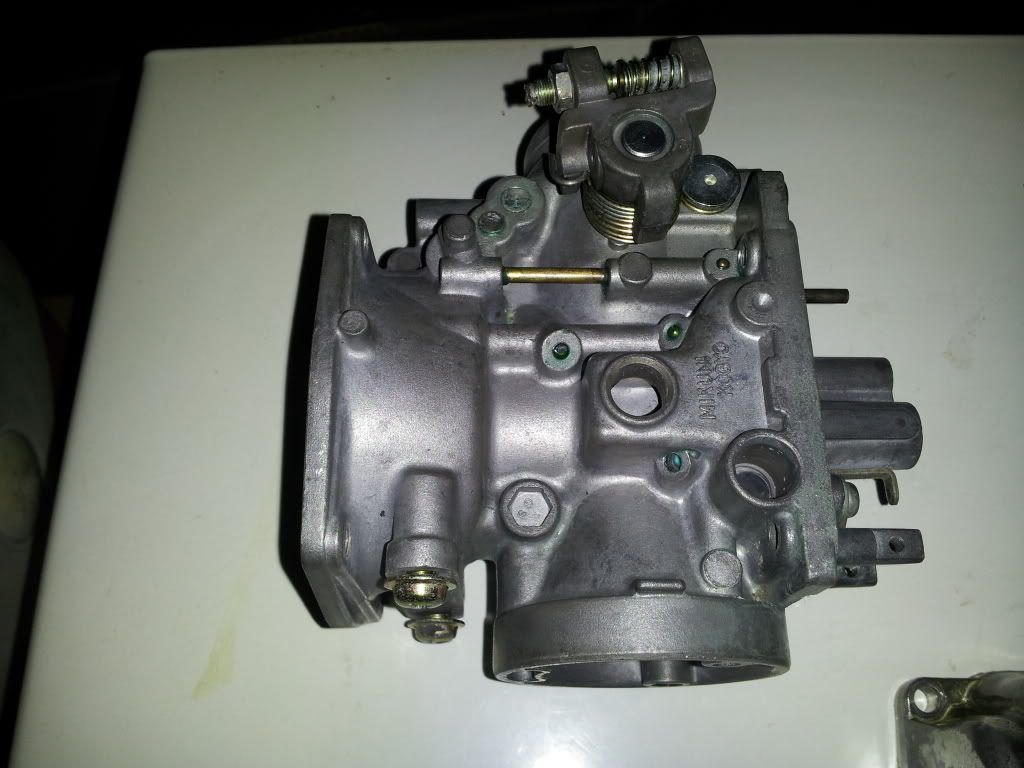
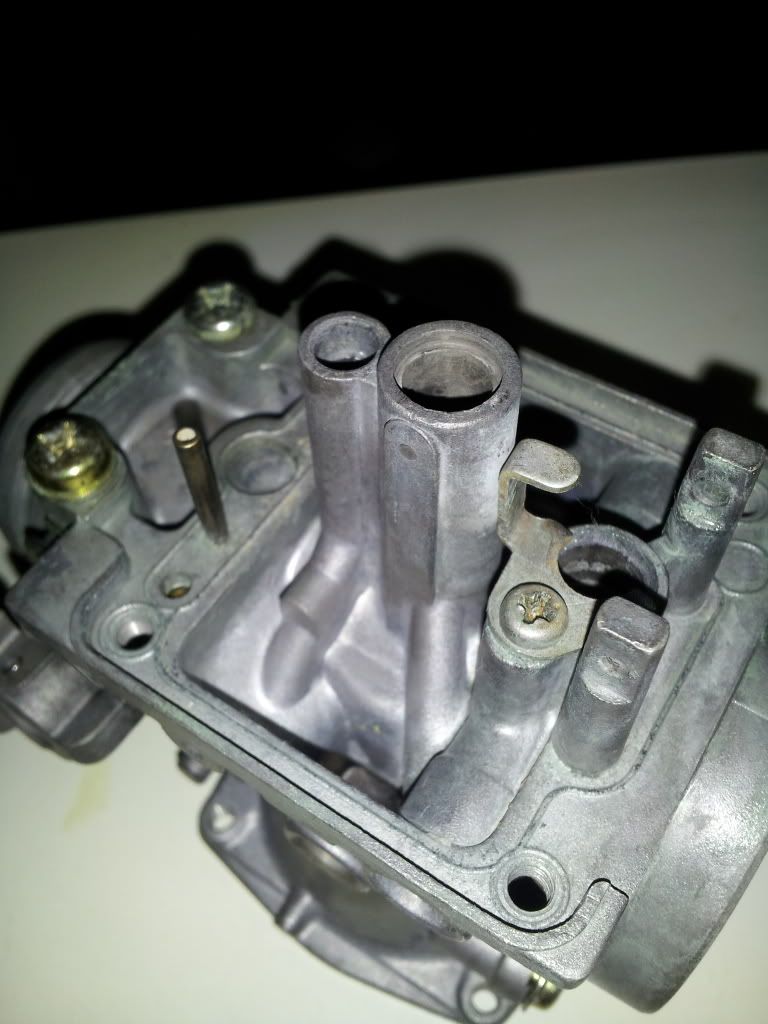
                              Didn't take hardly any time at all.. Metal was slightly altered though, all shiny bores are no longer shiny.. Coatings from the bowl and vacuum cover were stripped and anything else not coated with a yellow chromate are now a spotty flat aluminum colour. Not overly excited about that, but it is really clean. Im hoping i can polish the covers later.


                              Comment

                              Working...
                              X