Announcement

Collapse
No announcement yet.

here i go again.. project: 'too late to go back now'

Collapse
X
 
  • Filter
  • Time
  • Show
Clear All
new posts

    #31
    Originally posted by 08rangerdan View Post
    I only think they tell you to check them the way they say because you can spec 2 valves in that position.. Which may save time for that flat rate mechanic who likely wrote that procedure lol
    No, the real reason they have you check with the cam lobes in those specific positions is to ensure that the cam remains centered in the bearing for more-consistant results. If you check EX1 with the lobe away from the valve, EX2 is still pushing on its valve, possibly moving the cam in the bearing. When you rotate the engine to check EX2 in the same position, EX1 is no longer pushing on its valve and the cam will be centered in the bearing.

    Yes, we are talking about very small movements here, but the clearance is also very small, so any unpredictable movement should be avoided or at least minimized.


    Originally posted by 08rangerdan View Post
    Question:

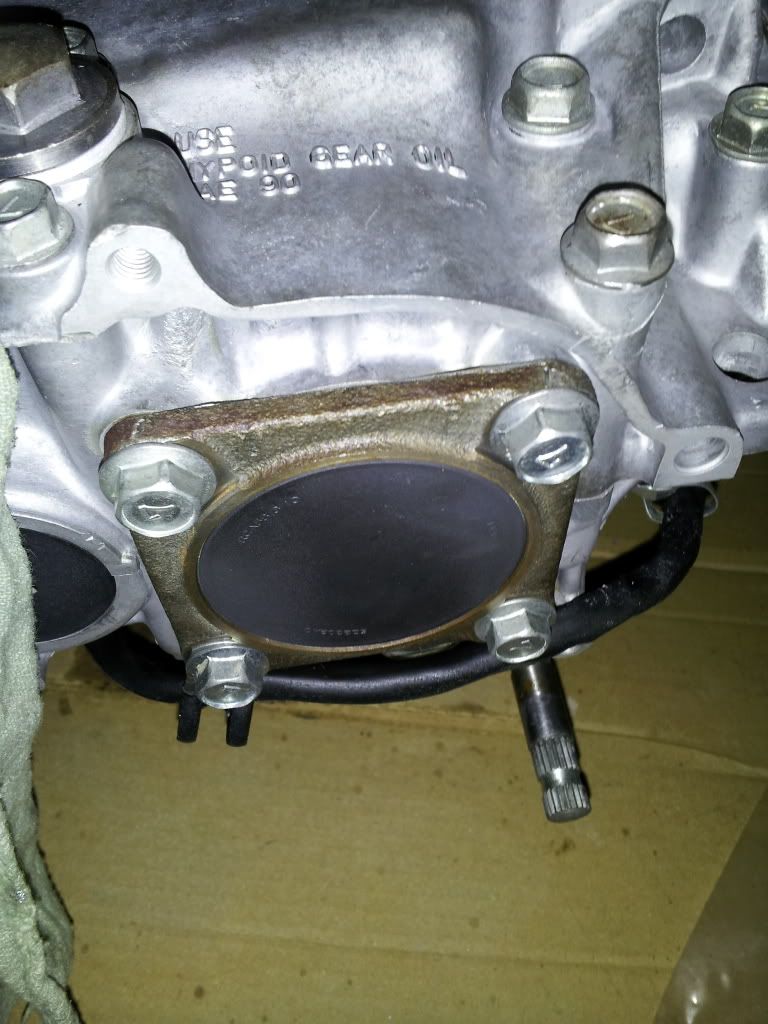
    Underneath the motor is a hole where i assume a breather line from the gear box runs into.. Im sure there is some debris in this hole.

    Should i be concerned? And what cavity does this hole belong to? Can i get to it from the oil pan? Should there be any kind of plug?
    Congratulations, you have found the "Mystery Hole".

    Its only function (that I know of) is to provide a drain for the starter cavity. There might be a model I don't know about that has a vent that exits in the hole, but I have not seen one (yet).

    .
    sigpic
    mine: 2000 Honda GoldWing GL1500SE and 1980 GS850G'K' "Junior"
    hers: 1982 GS850GL - "Angel" and 1969 Suzuki T250 Scrambler
    #1 son: 1986 Yamaha Venture Royale 1300 and 1982 GS650GL "Rat Bagger"
    #2 son: 1980 GS1000G
    Family Portrait
    Siblings and Spouses
    Mom's first ride
    Want a copy of my valve adjust spreadsheet for your 2-valve per cylinder engine? Send me an e-mail request (not a PM)
    (Click on my username in the upper-left corner for e-mail info.)

    Comment


      #32
      Well instead of picking a specific spot to take my clearance from, i gauged from different spots of every lobe to make sure none were pinching at different positions. The cams are either engaged or not at some point, and a couple of them would pinch up at exactly the wrong time. I feel better knowing they cant anymore. All in all, i got some good averages on the valves. But going for the larger spec wont hurt. Im keeping .0015" at the minimum clearance of all valves and a couple are .003" max clearance. But most are .002 -.0025" max
      Last edited by Guest; 07-26-2013, 09:55 AM.

      Comment


        #33
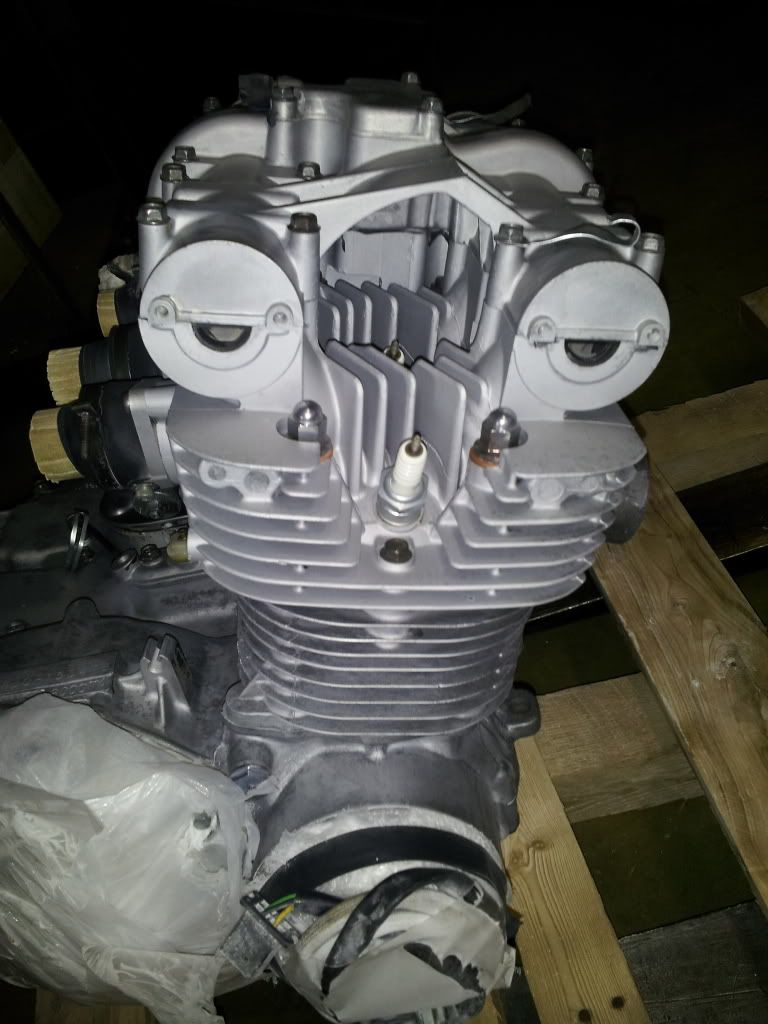
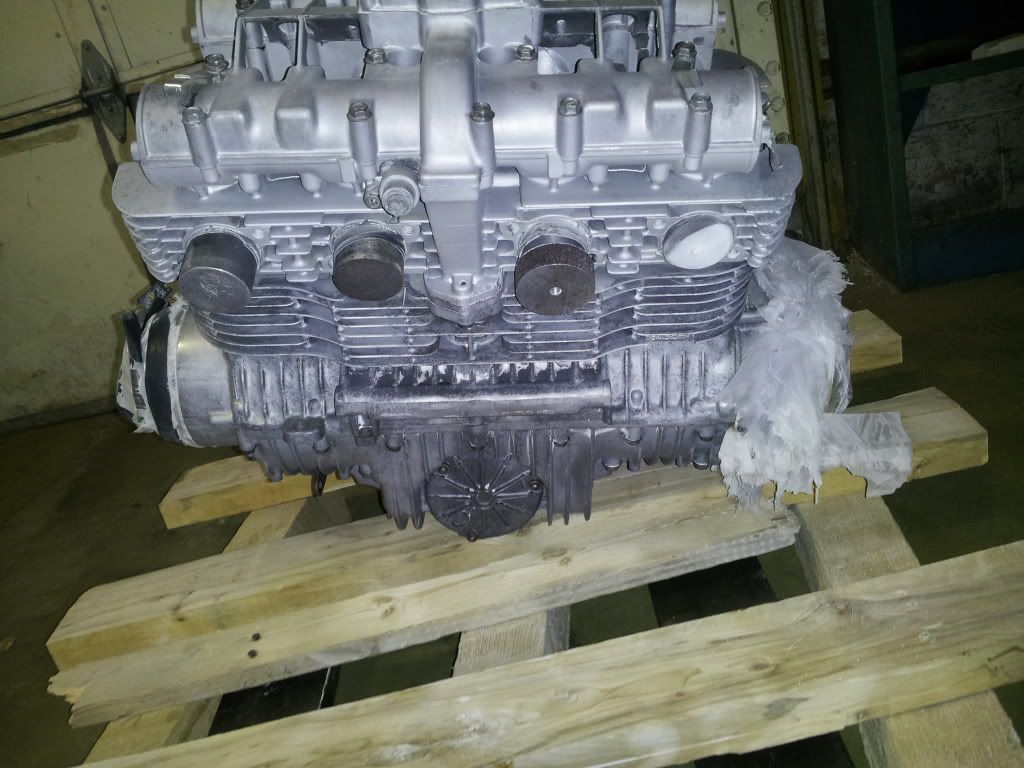
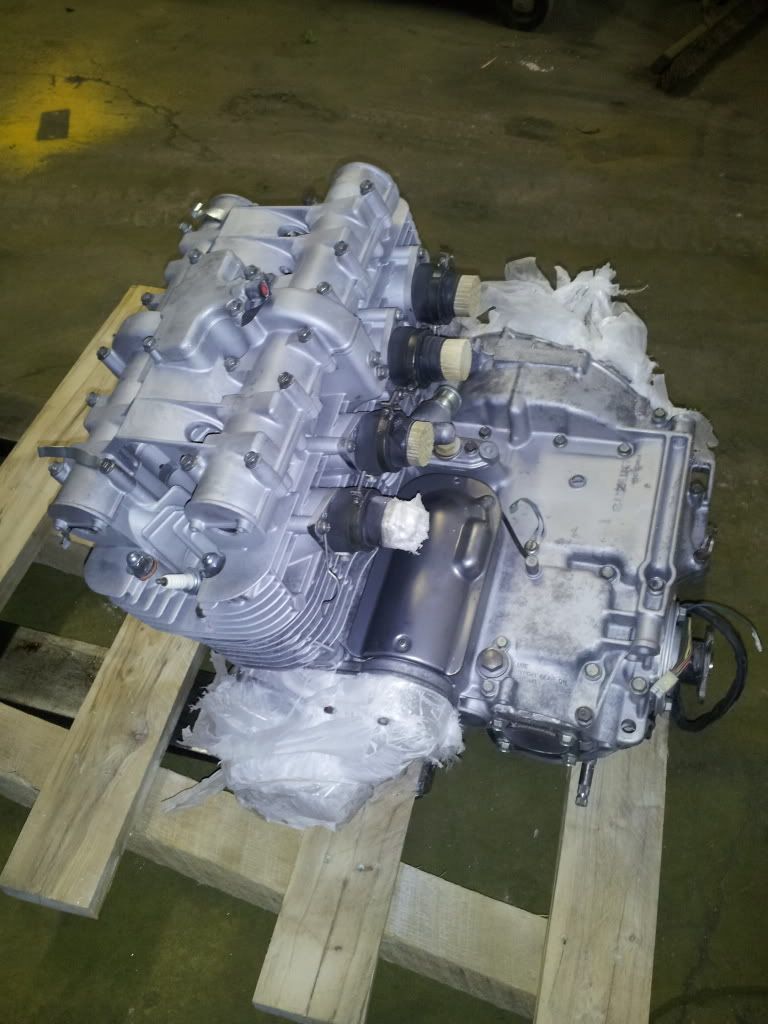
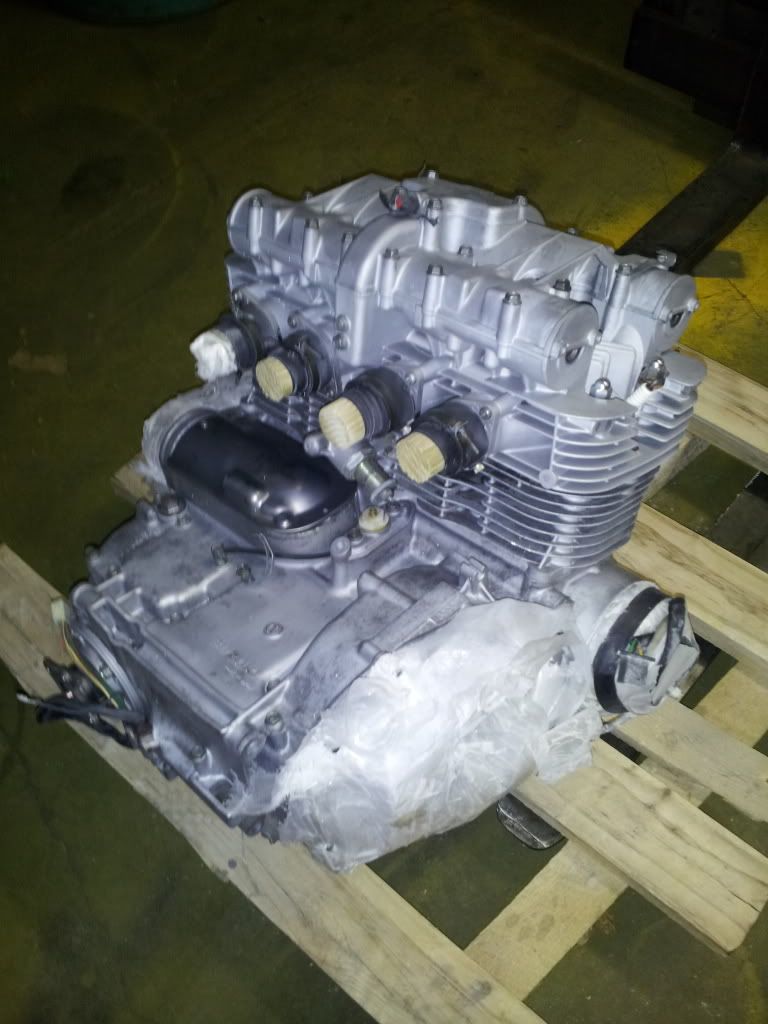
        Ohh ahhh motor finally came back a bit cleaner. Will need some painting but nice and smooth now.. What to paint with??? In thinking a good quality single stage aluminum would look and work nice .. Opinions?


        Comment


          #34
          I like the single stage aluminum. Nice build, I'll be following!

          Comment


            #35
            Originally posted by 08rangerdan View Post
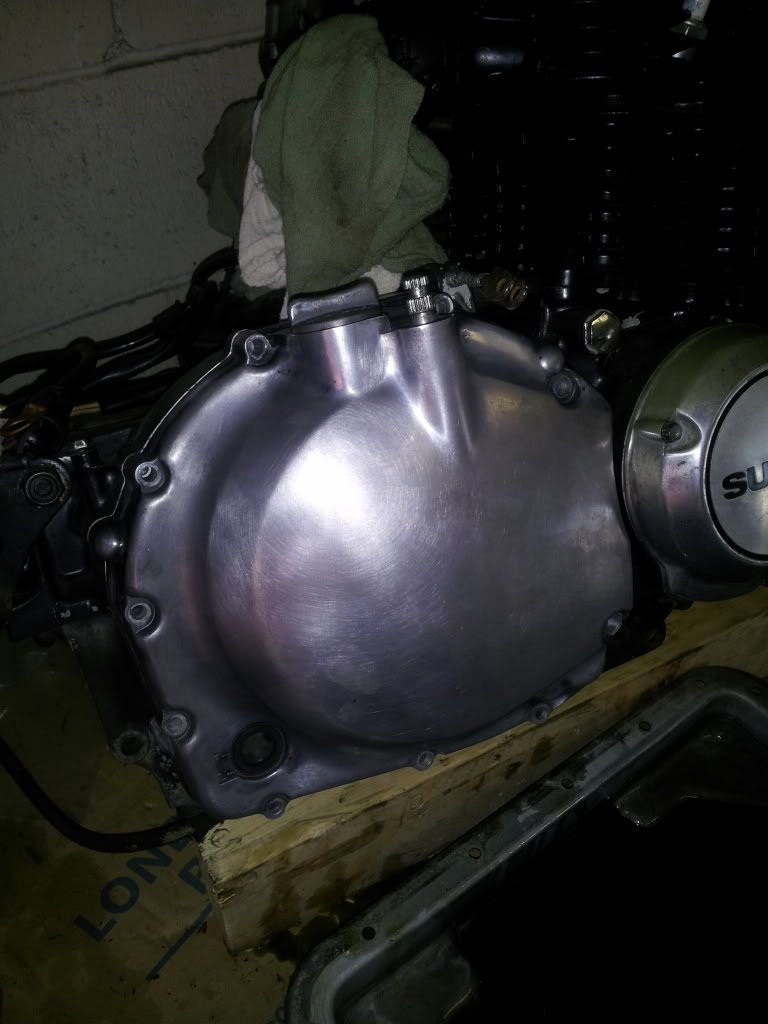
            And here is my stripped down clutch cover. I figure i will polish it up good and clear coat eventually.. But i gotta go get some real buffing wheels for the grinder first and some compounds

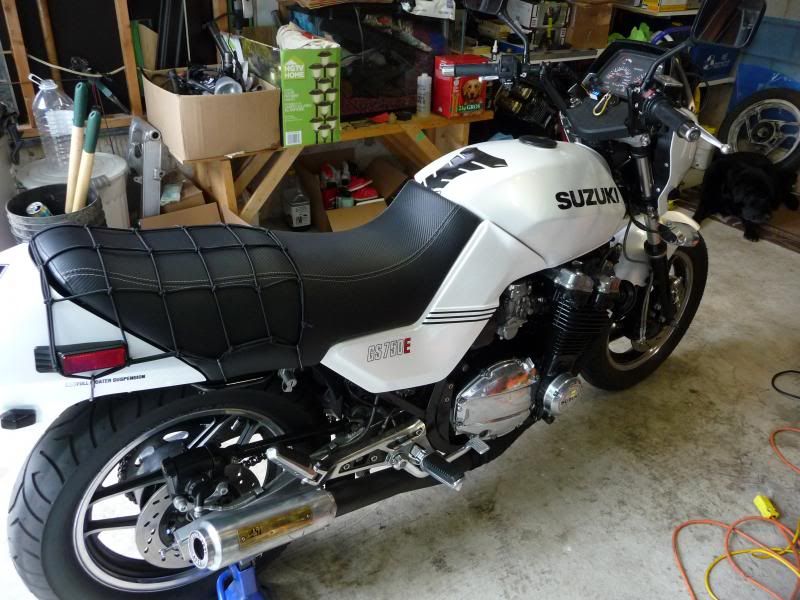
            I would suggest you don't put on any type of clear coat, generally they just yellow up and then you have to sand and polish all over again....

            Just buff to high shine, and maintain the lok with some polishing compound, takes only a few minutes every couple of weeks or so, and the finish will look much better longer......

            here is a pic of my bike close to 8 months after my rebuild, and it still looks good


            .
            Last edited by Guest; 08-05-2013, 09:00 AM.

            Comment


              #36
              good tip thanks. i will probably do that.. ive been reading up on sealers for polished surfaces and find that may be a better option. if i did go with a clear coat, i would be using 'glisten pc' a product from por15. i hear great things about it and no fade said to happen.

              next on the chopping block is to get the motor oil tight again..

              repair/rebuild the tensioner;

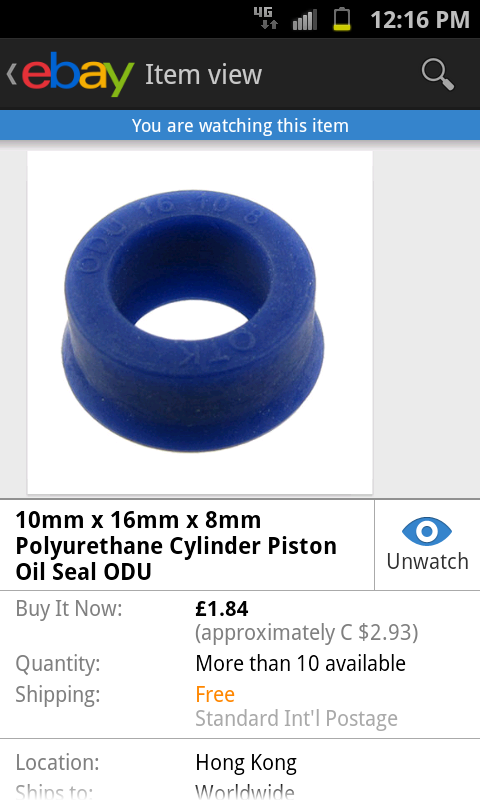
              i found all the o rings and gasket for it on ebay but im still sourcing the difficult to find seal (09284-10006) not one showing up active on ebay.. being in canada if i order through a supplier i get the seal for $3 but im stuck paying $25 in shipping.. i cant handle that..

              if anyone can help me out here please contact me!


              next...

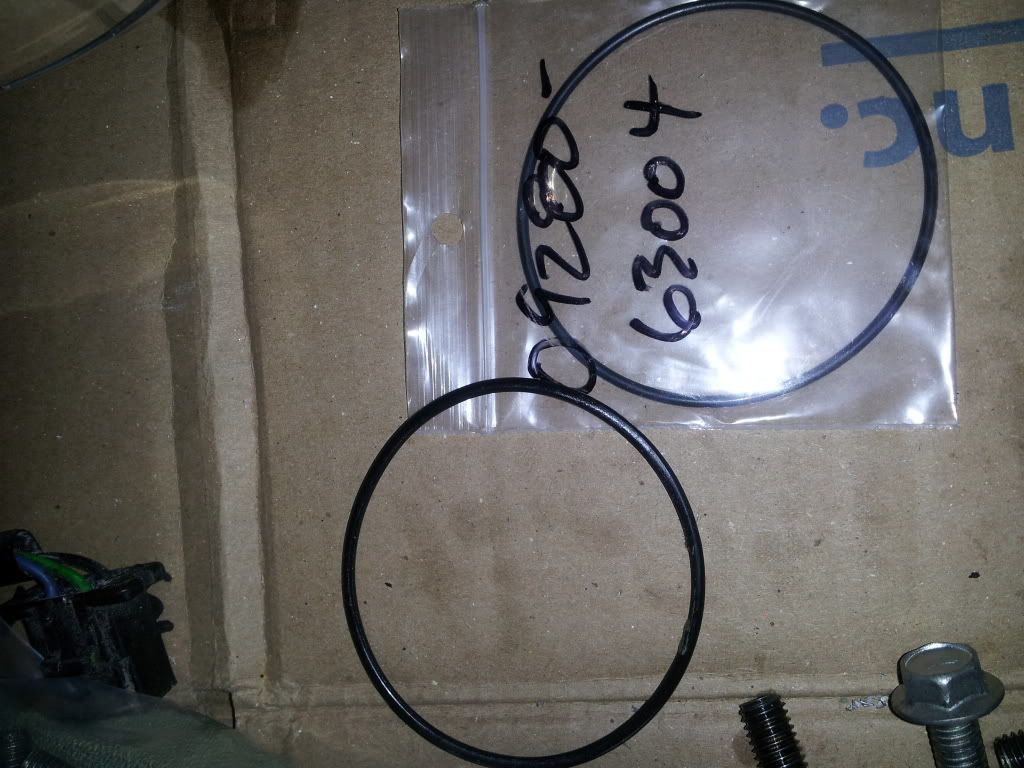
              replace o ring on secondary drive gear bearing carrier.

              i noticed a wetness in this area where the rubber plugs on the gear selector side are located.. more or less focused on the bearing support for the side gear. i pulled the carrier and found some wetness under the shims.. so im replacing the flattened 2.4" o ring in that area from ebay. i dont suspect the plugs to have any flaws,, so i leave those for now.

              then...

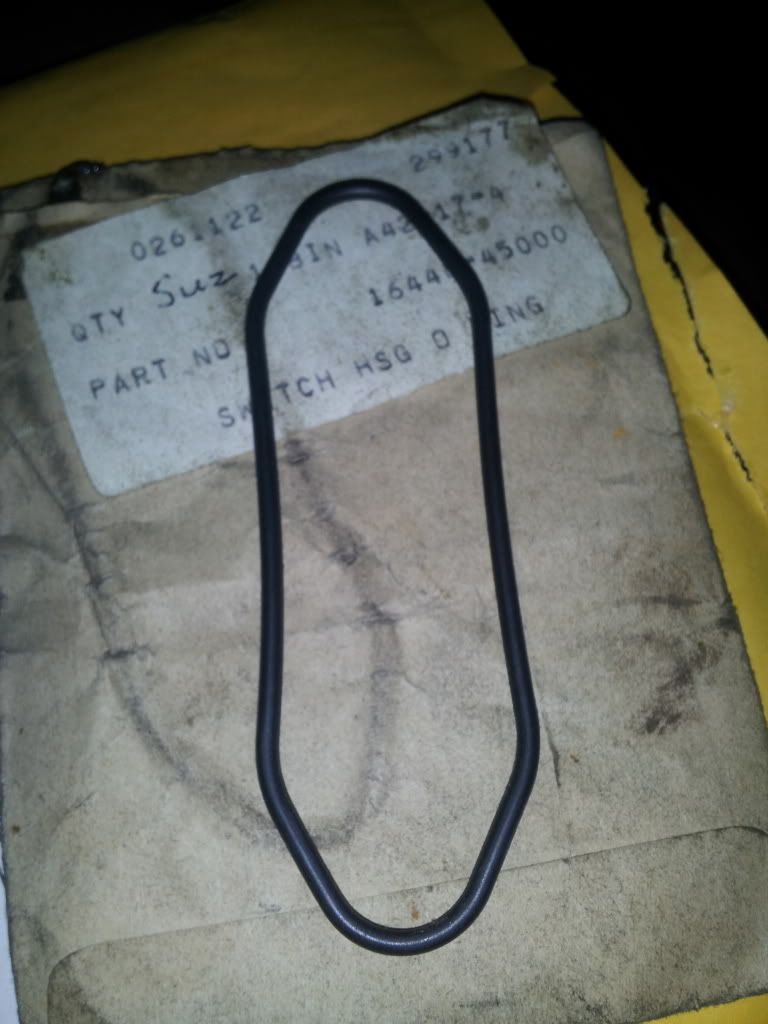
              replace o ring under oil pressure sending plate

              if anyone can help me locate one or send one of these to me without a rediculous shipping fee i would be very happy.. let me know please! ebay turns up to be clueless for this request also.

              finally..

              replace all main gaskets

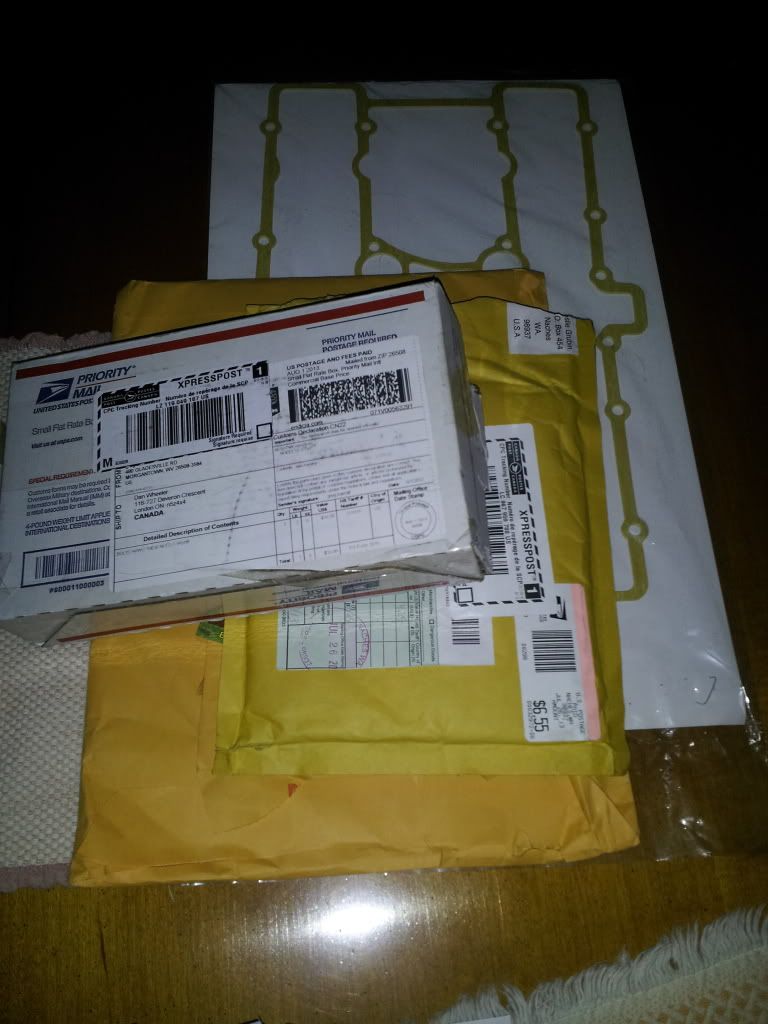
              valve cover, breather cover, side covers, and pan gaskets are all sitting on my bench ready for this step. new o rings for the intake boots also sit with my carbs ready to go onto the bike when time comes


              after all the oil is retained ill finish up degreasing and prep for paint. im looking into Eastwoods engine paints.. very good products from what i see and decently priced. once its painted the project will move along nicely and i can start enjoying the beginning of the build up.
              Last edited by Guest; 08-05-2013, 10:20 PM.

              Comment


                #37
                You're just about to go through what I'm planning for my GS850G - a full gasket replacement. My bike leaks oil at a steady rate under hard throttle and definitely needs a new sump gasket. While I was at it I ordered the entire rebuild kit and figure I'll go through it with a fine-toothed comb haha

                You can always take the old O-ring to a plumbing supply place and ask for one, they'll most likely have something that'll match. Tell them it's for fluid transfer so needs to withstand oil and elevated temperatures. Most likely they'll give you a vitron replacement or similar.

                The gasket for the camchain tensioner could most likely be cut from gasket paper if you're in a bind.

                Cheers - boingk

                Comment


                  #38
                  Its a funny shaped o ring under the pressure sender. Its specific to suzuki.. And its not the gasket i need, its the rubber seal. I need for the tensioner. Everything else i have coming.. But that seal is kinda rare over ebay.

                  What i need is someone with those parts or someone willing to order them and send them to me through post,, u.s. Side . Flat rate $30-40 shipping is rediculous for a couple seals
                  Last edited by Guest; 08-06-2013, 06:06 AM.

                  Comment


                    #39
                    One our former members has this response for you.....

                    He is trying to find a gasket for his cam chain tensioner.I don't use them myself. I use Permatex Ultra Black and forget about it.
                    They do not leak and fit wonderfully.


                    Eric
                    Old age and treachery will beat youth and skill every time1983 GS 750
                    https://c1.staticflickr.com/5/4256/3...8bf549ee_t.jpghttps://c1.staticflickr.com/5/4196/3...cab9f62d_t.jpg

                    Comment


                      #40
                      Originally posted by bccap View Post
                      One our former members has this response for you.....


                      Where did i say im having troubles finding gaskets ?????????? Its the oil seal i cant get.. Cant make one of those out of permatex

                      I HAVE all of the gaskets
                      Last edited by Guest; 08-06-2013, 10:49 AM.

                      Comment


                        #41
                        i found something that may work.. But its questionable.. Best i can do for $3

                        Comment


                          #42
                          Thanks to a fellow member of the forum i will be getting the actual Suzuki seal for the cam chain tensioner! I also found the o ring for the oil pressure switch cover... So. All is great!


                          As parts begin to pile up on my dining room table my hands have gotten back to work on the motor..

                          -stainless hardware for the engine side covers and carb covers and bowls.
                          - all gaskets for the covers and serviced areas
                          -some o rings have arrived.. Ive managed to finish up sealing the secondary side gear (bearing hub) and replaced one o ring on the tensioner


                          Secondary gear o ring install...

                          I dont have alot of experience dealing with oring seals within a bore.. When i got this oring i was sure it must have been the wrong part! There was plenty of float between the rubber and its groove and trying to seat it into the bore without pinching the oring prooved to be challenging..

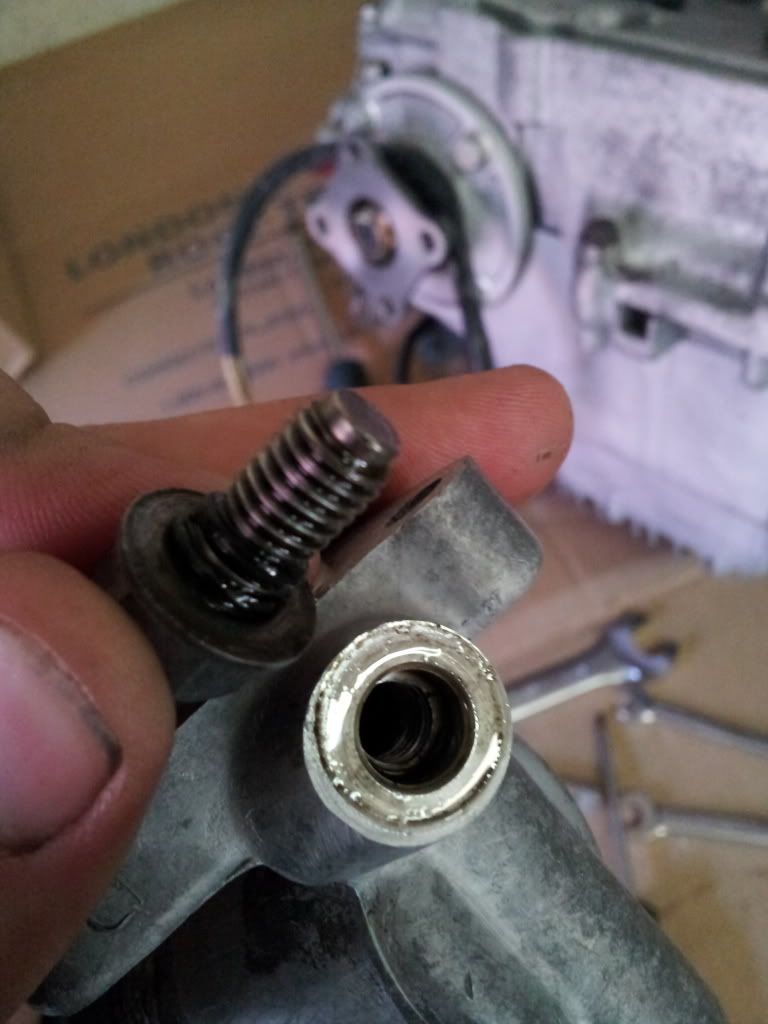
                          If anyone does go to the hassle to replace this rubber, my method was to get the hub and bore fully de burred and clean. Coat all surfaces with a coat of oil and begin easing it back straight into the bore.. Dont fight it! It should go it smoothly. But it is difficult to get it straight. Once started, pull the shims to the back face and slip the o ring over and into the groove. Give it a couple minutes to un stretch.. Slighty lift the extra rubber slack to the top. seating the bottom and sides of the ring and move the hub into the bore so that the ring just slightly starts under the taper, (this will keep the ring in place while you seat the top). While holding the hub in just enough begin working the rest of the ring into the groove with a blunt pick .. When it looks to be under the taper and in the groove, twist inwards making sure the ring doesnt pop out and get pinched. Once in past the ring and seated i had to run an 8mm tap to clear the old loctite in the threads then installed the cleaned hardware with New loctite. Be sure there is no burrs on any of the shims or components. the mesh of those gears depends on no interfearance

                          Side gear o ring


                          Finished install
                          Last edited by Guest; 08-14-2013, 06:00 PM.

                          Comment


                            #43
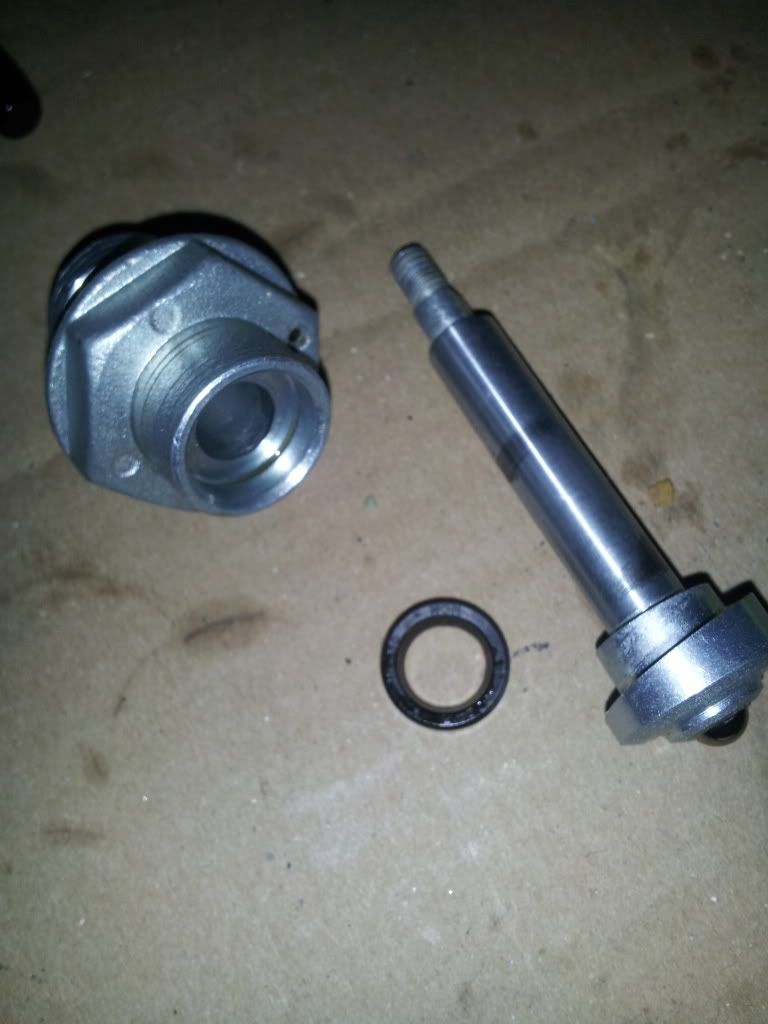
                            Im going to start on the cam chain tensioner hassles..

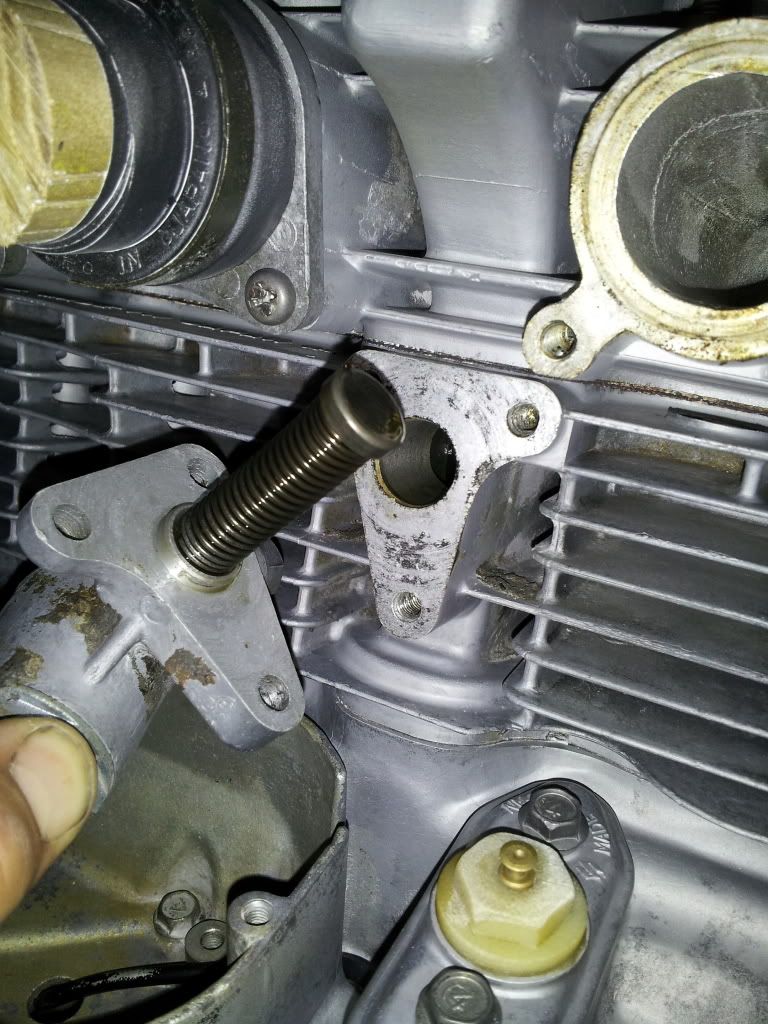
                            Using the log created here http://www.bwringer.com/gs/camchaintens.html i dissasembled and began aquiring the required components

                            Unit removed as described, rod and spring pinched with side bolt


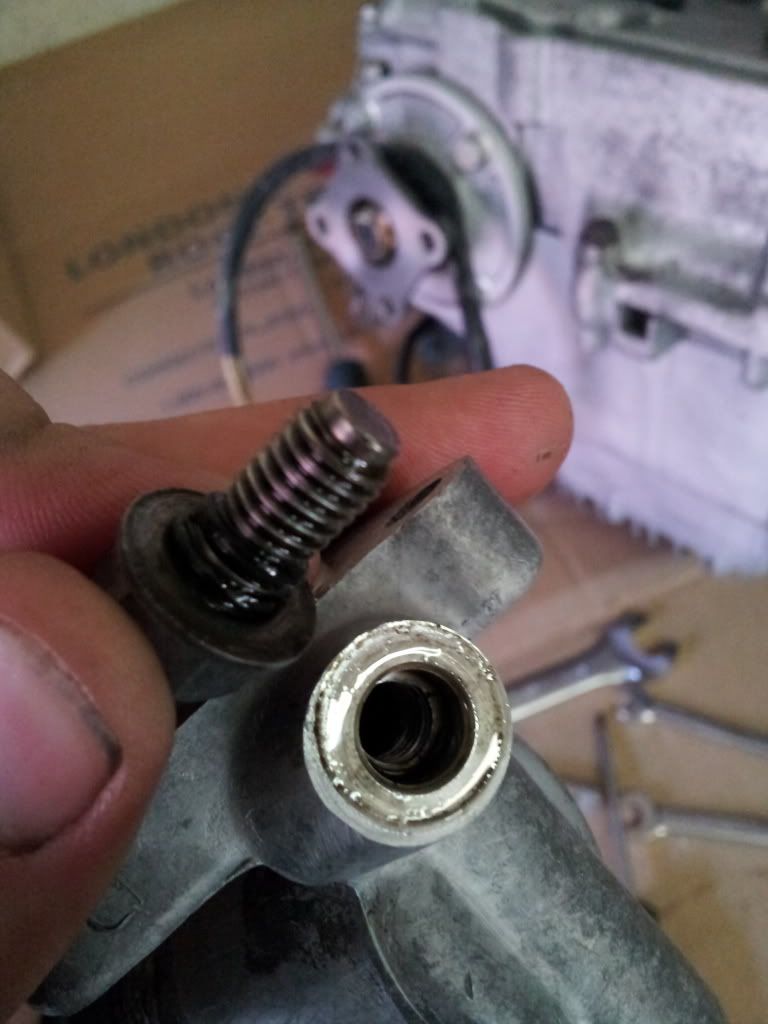
                            Dinged up o ring on lock bolt replaced


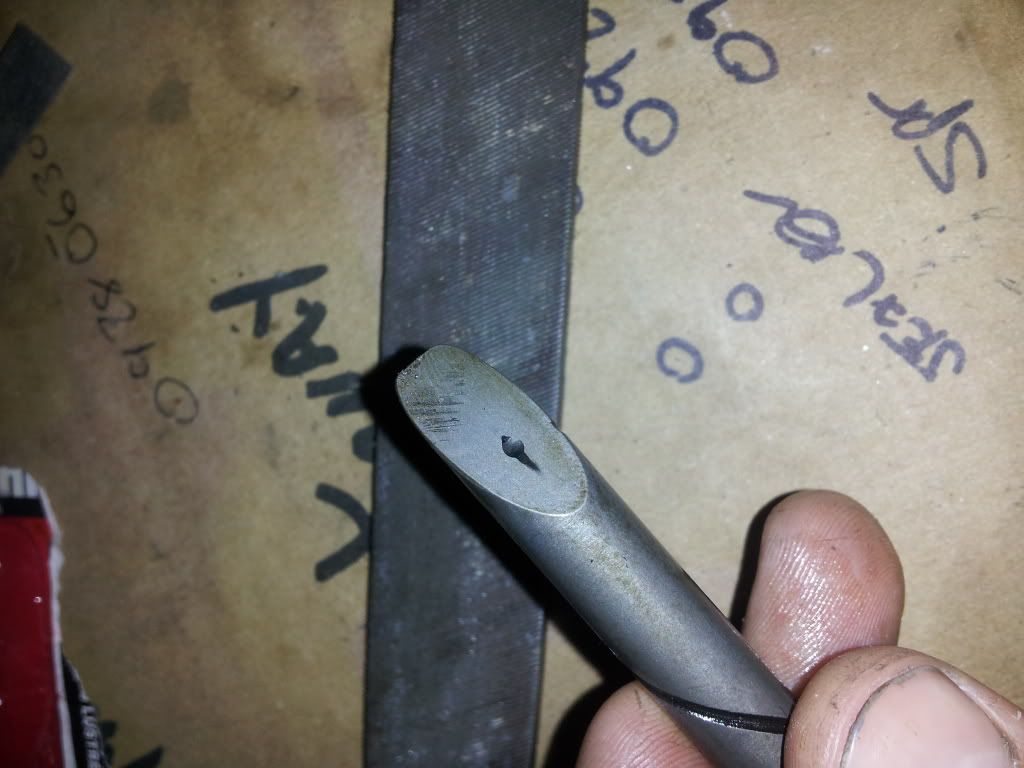
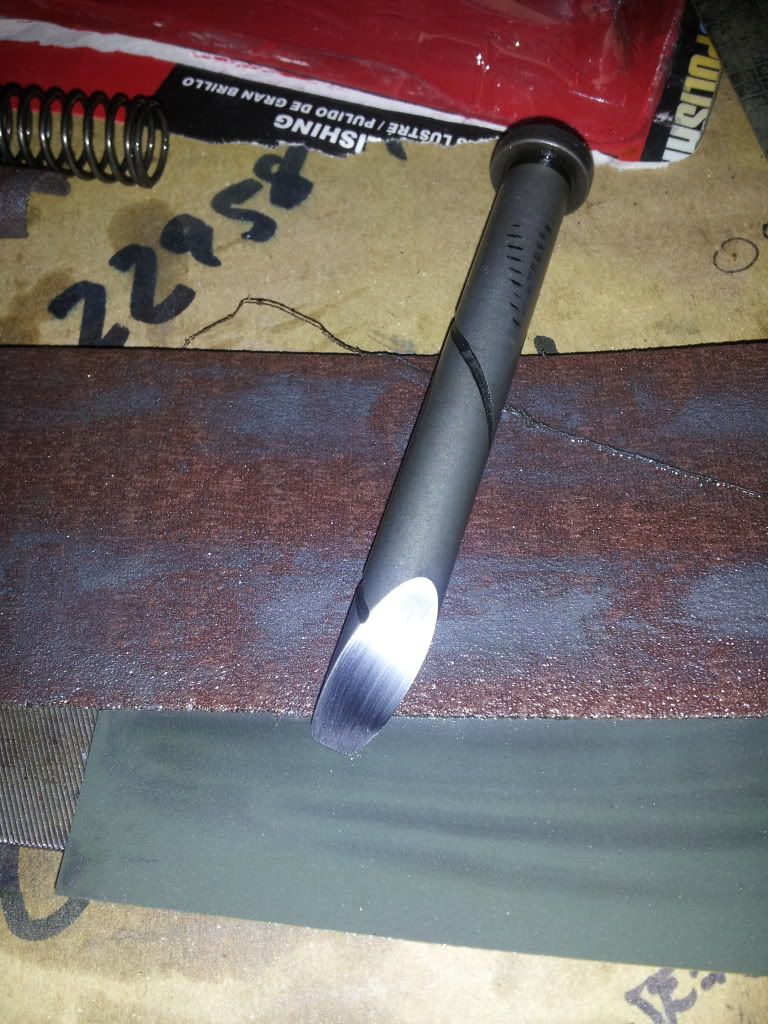
                            Cleaned up push rod taper with emery paper to remove wear mark from bearing

                            Before


                            After


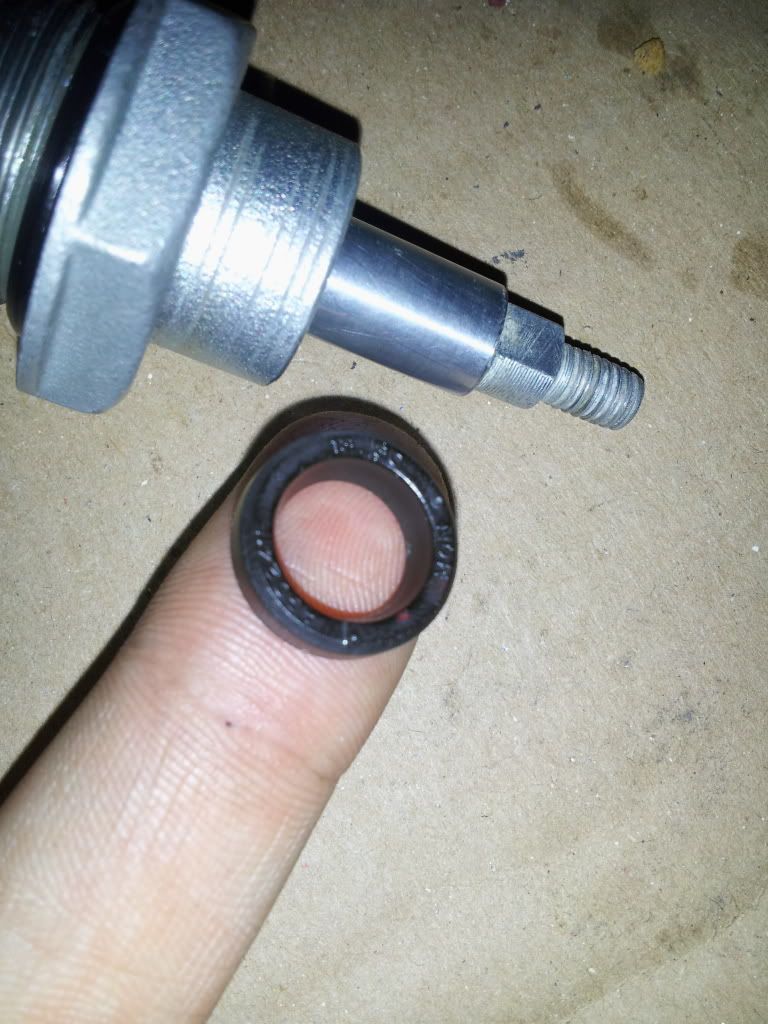
                            Im working on getting the seal but i was having a rather hard time finding it locally or ebay. A member here offered to pick one up and send it off to me. The one i removed was undersized in every way.. It looks to have shrunk some and became very hard plastic. Its seal lip doesnt even contact the sealing surface and the seal also falls right out of its bore! Correct numbers on the old seal AGO241F.. Just awaiting the New part now


                            Last edited by Guest; 08-14-2013, 05:55 PM.

                            Comment


                              #44
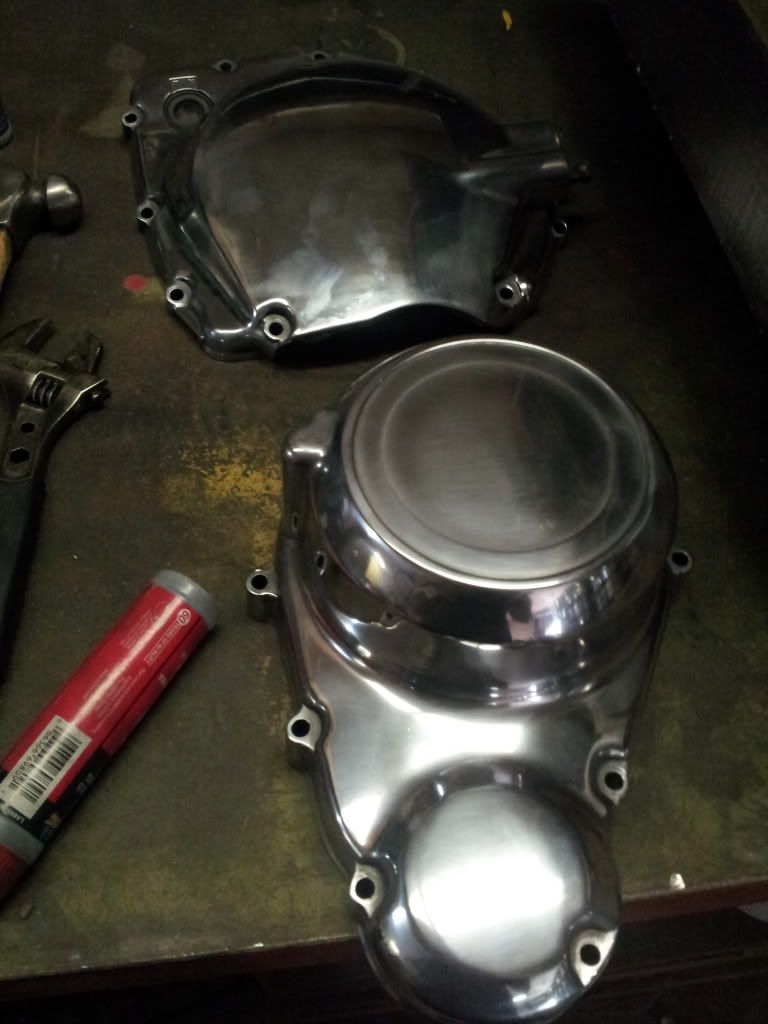
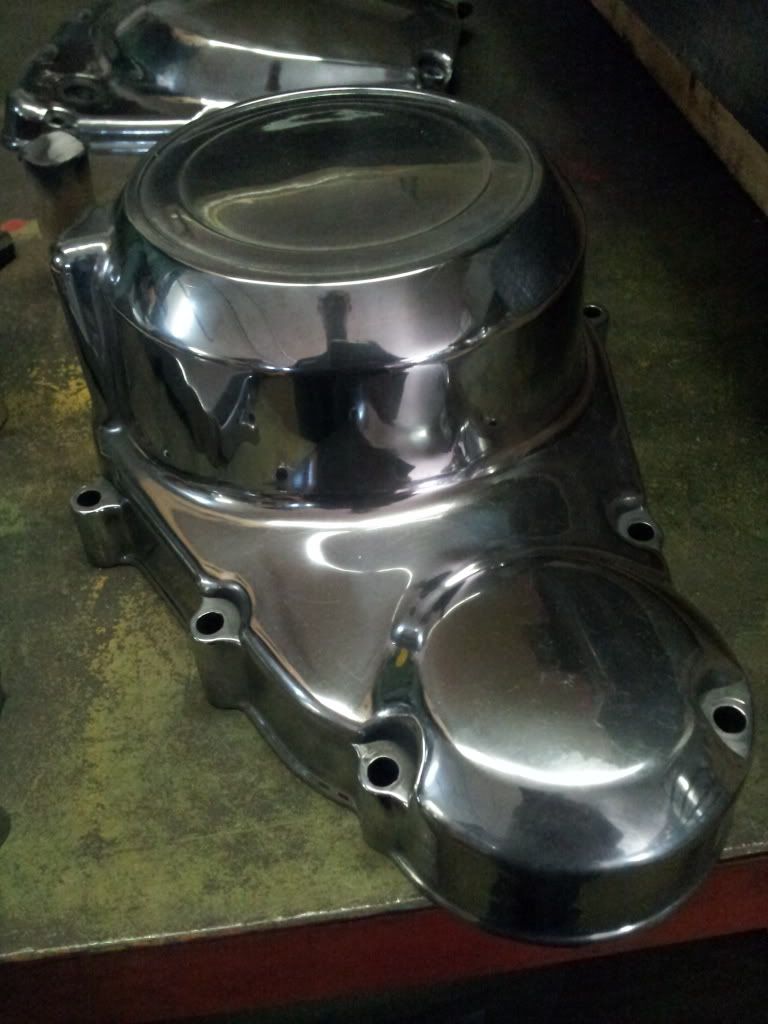
                              I officially hate polishing.. It never ends. Some of these covers were so badly pitted and scratched. Spent hours just sanding smooth and could spend hours more to perfection ..


                              Super fine.. Starting to pop

                              Last edited by Guest; 08-16-2013, 10:16 AM.

                              Comment


                                #45
                                Those covers look great WOW , nice

                                Comment

                                Working...
                                X