Announcement

Collapse
No announcement yet.

here i go again.. project: 'too late to go back now'

Collapse
X
 
  • Filter
  • Time
  • Show
Clear All
new posts

    #61
    Looks really nice and clean.....

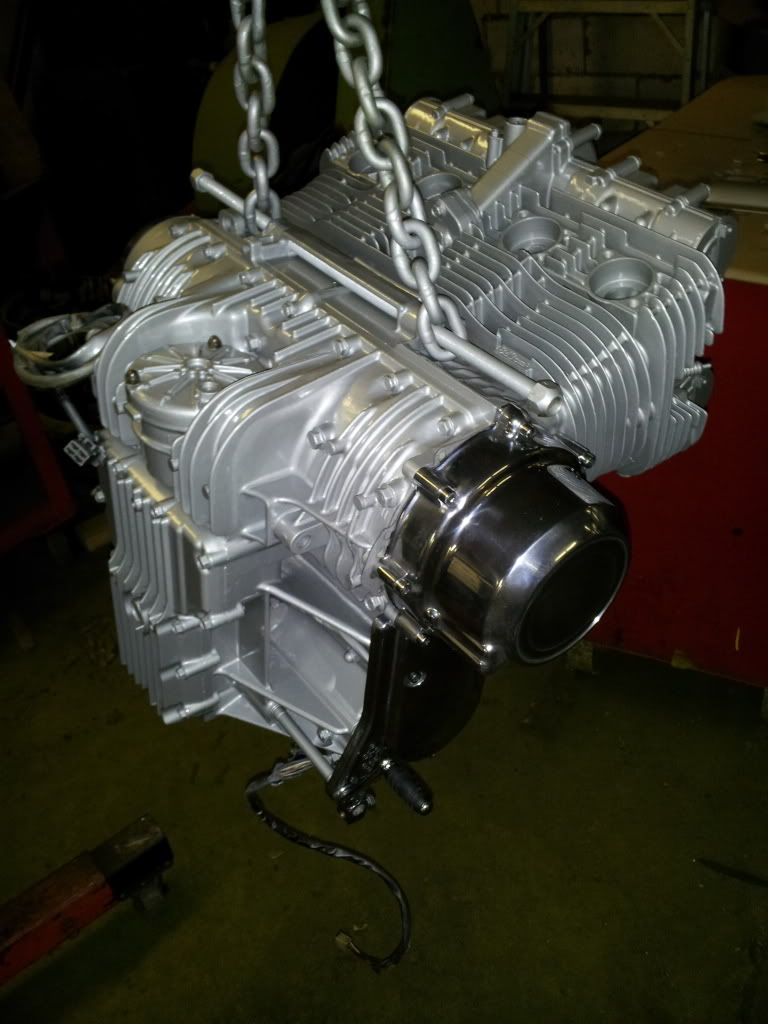
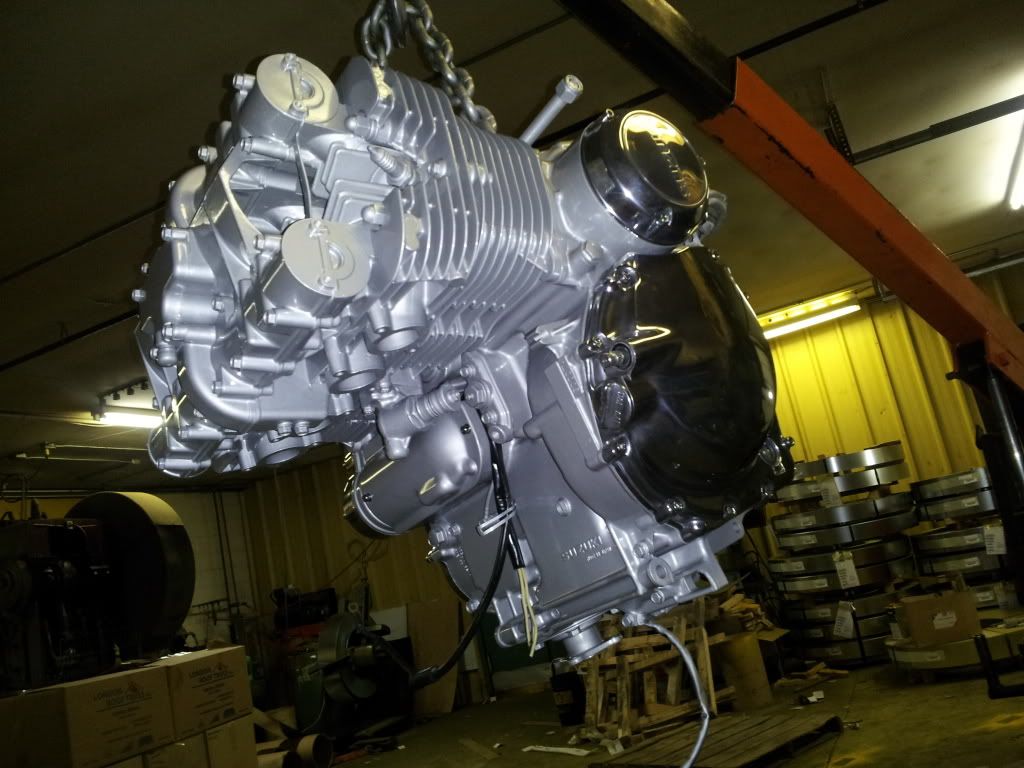
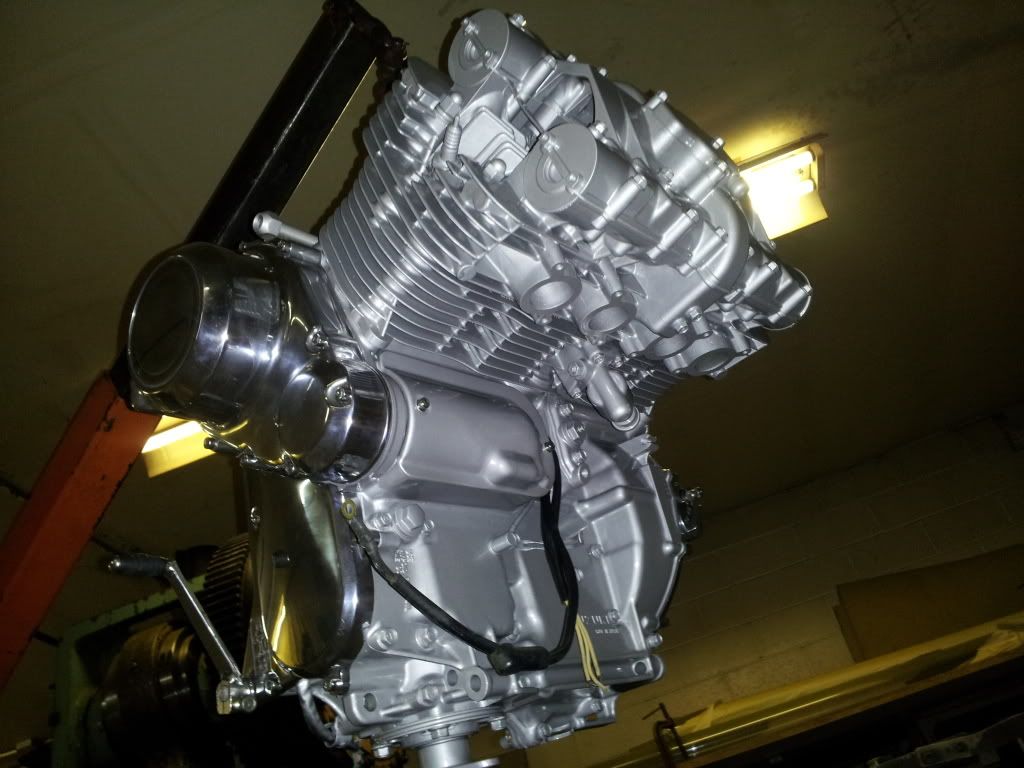
    I will say one thing though, you should have plugged up with either the original bolts/nuts and such, all the threaded holes, possibly covered up the oil filter area, the intake ports, the exhaust ports, the cam chain tensioner, the points area, and anything else you really should not have had paint on....

    it's going to be a real pain to get it all cleaned up now ?

    Just a thought....

    .

    Comment


      #62
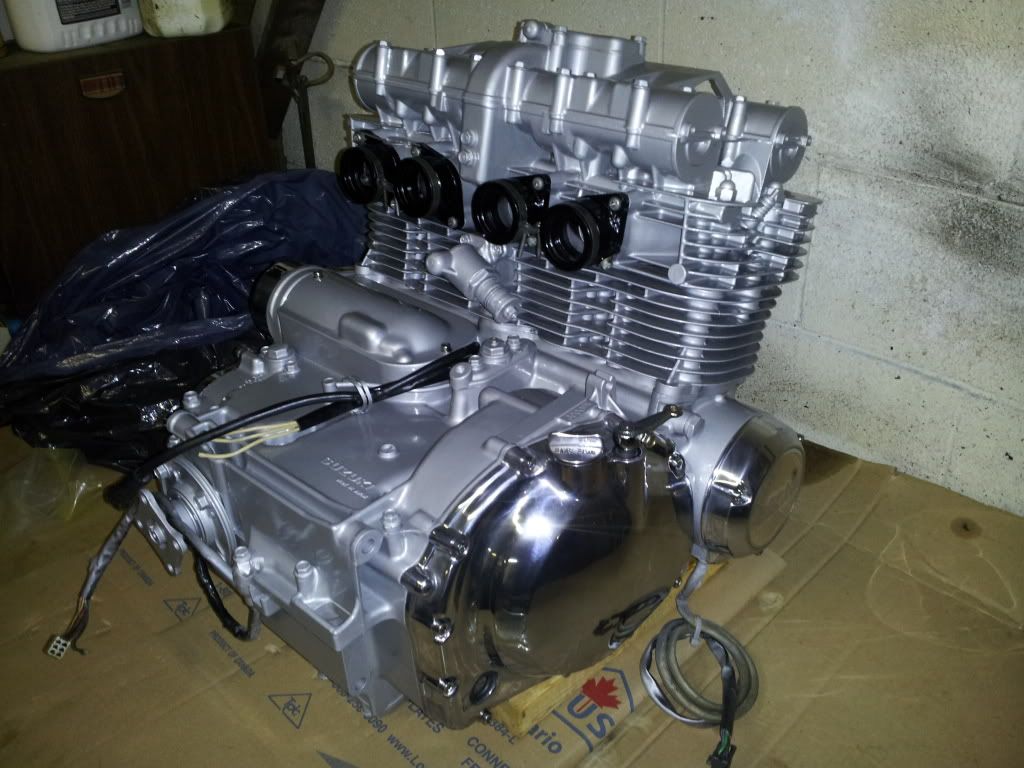
      Dunno why i would mask off parts i dont see. Not like paint overspray is going to cause an internal failure. Its not like i plastered paint in areas i wasnt planning to see... I seperated the coils of the tensioner spring with a razor since it got a little gummed up but other then that its all functional and sealed propetly.. No point in being tedious about painting like this.

      Starting to button up


      Last edited by Guest; 09-09-2013, 12:33 PM.

      Comment


        #63
        Nice polishing job on the covers. I know how much elbow grease that takes. Should look good back in the frame.

        Comment


          #64
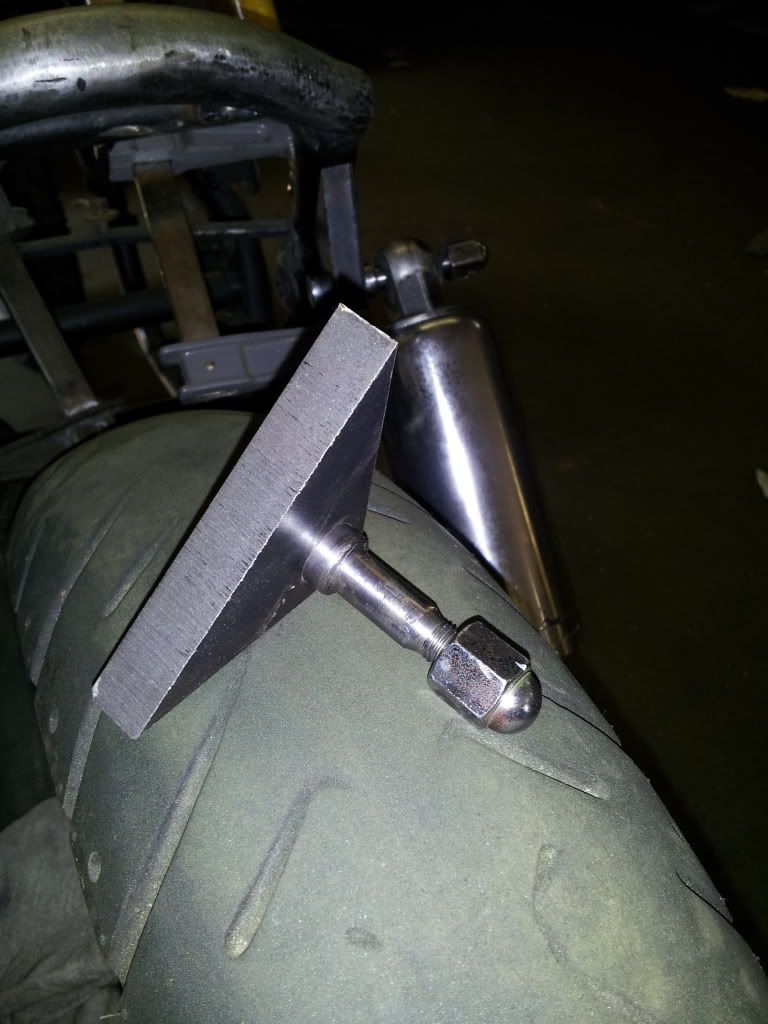
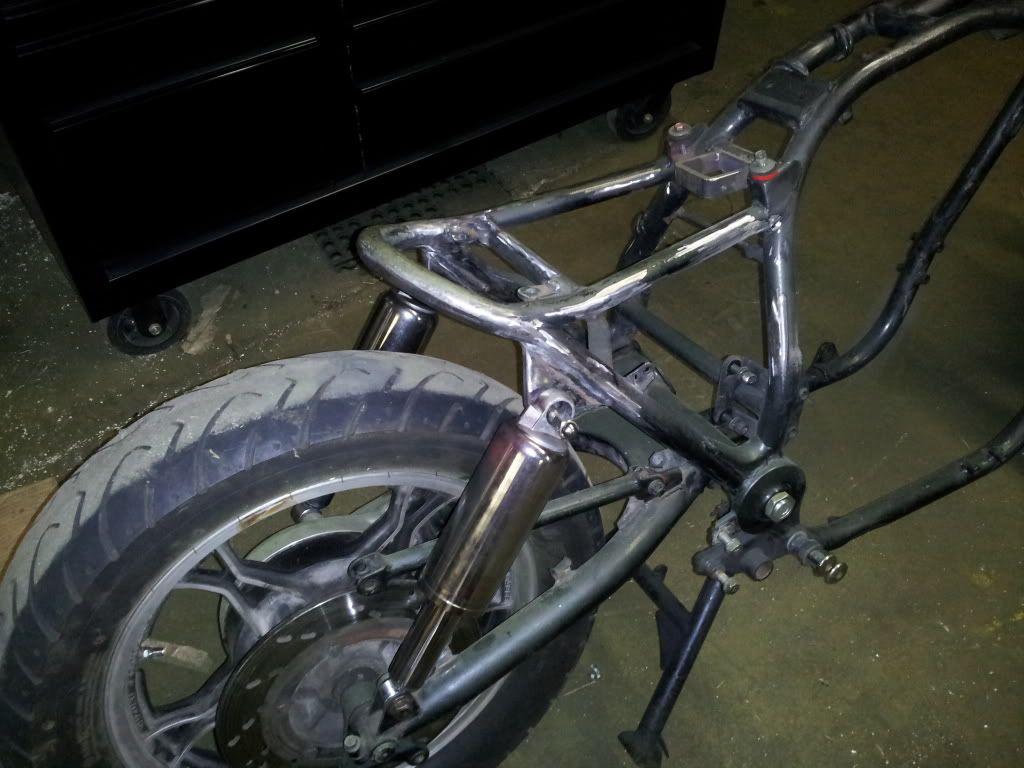
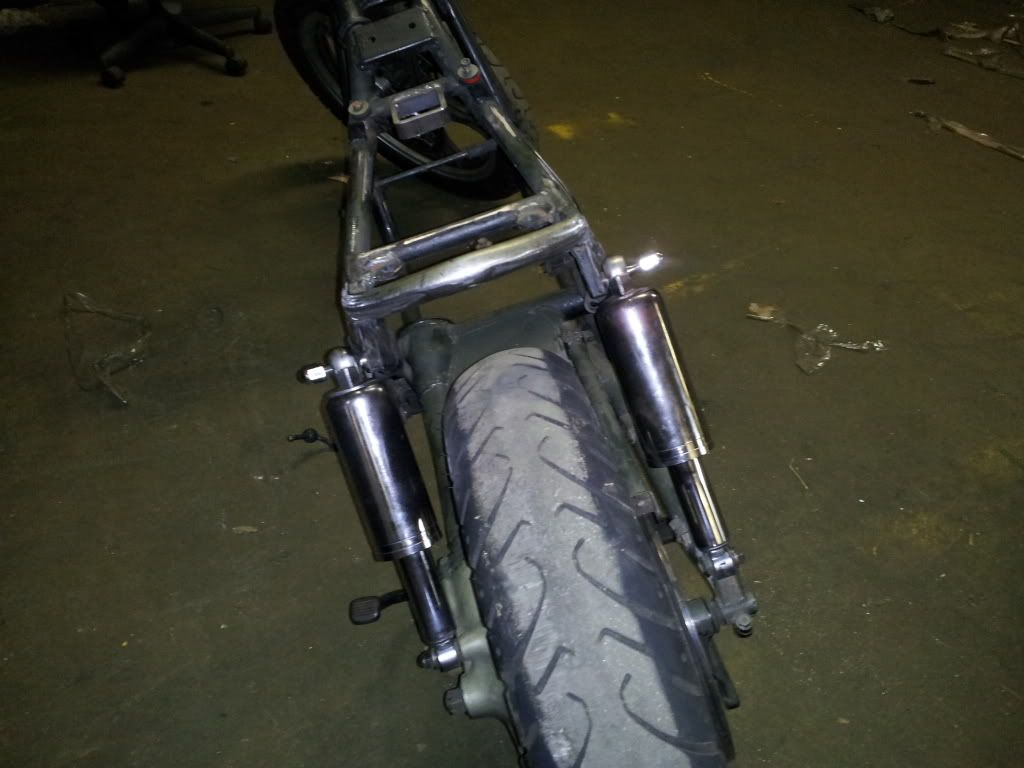
          Starting on the new rear shock mounts.


          Last edited by Guest; 09-11-2013, 01:02 PM.

          Comment


            #65
            Not sure if you will run into the problem I had but on my bike the shock mounts were around that location and the ride was so harsh I ended up selling it partly because of that.

            Comment


              #66
              Any more of an angle on them and i bet it would be pretty rough. These air shocks were pretty soft to begin with. With a bit of an angle i was hoping they would stiffen up alot more then they were fully gassed. If they feel that stiff ill just take a bit of air out until it feels ok

              Comment


                #67
                Originally posted by 08rangerdan View Post
                Dunno why i would mask off parts i dont see. Not like paint overspray is going to cause an internal failure. Its not like i plastered paint in areas i wasnt planning to see... I seperated the coils of the tensioner spring with a razor since it got a little gummed up but other then that its all functional and sealed propetly.. No point in being tedious about painting like this.

                Starting to button up
                OK

                It was only a suggestion, no need to have paint where it don't need to be, any contamination inside could cause an issue, it might not, but it could...

                Looks good

                don't mind me....

                .

                Comment


                  #68
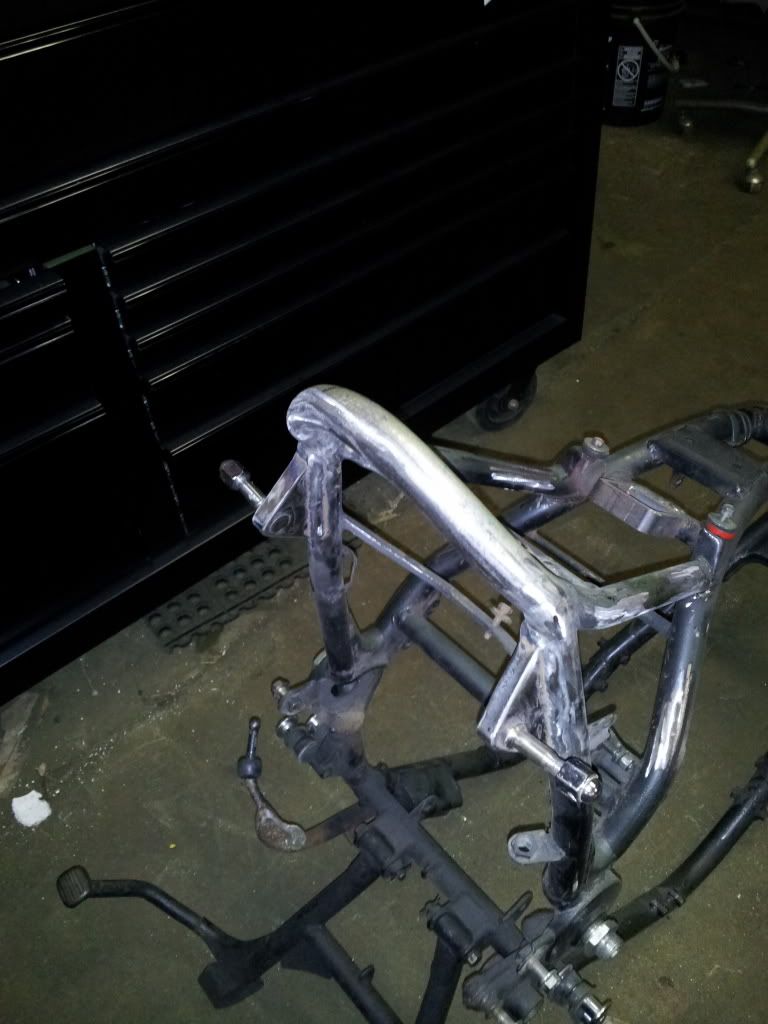
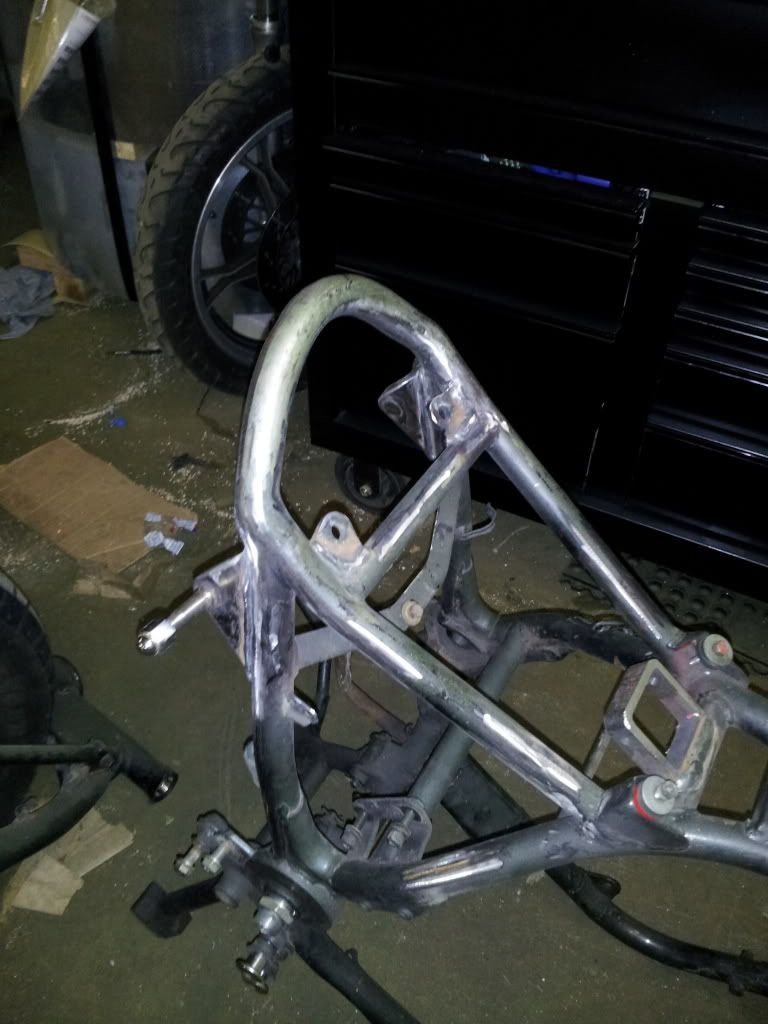
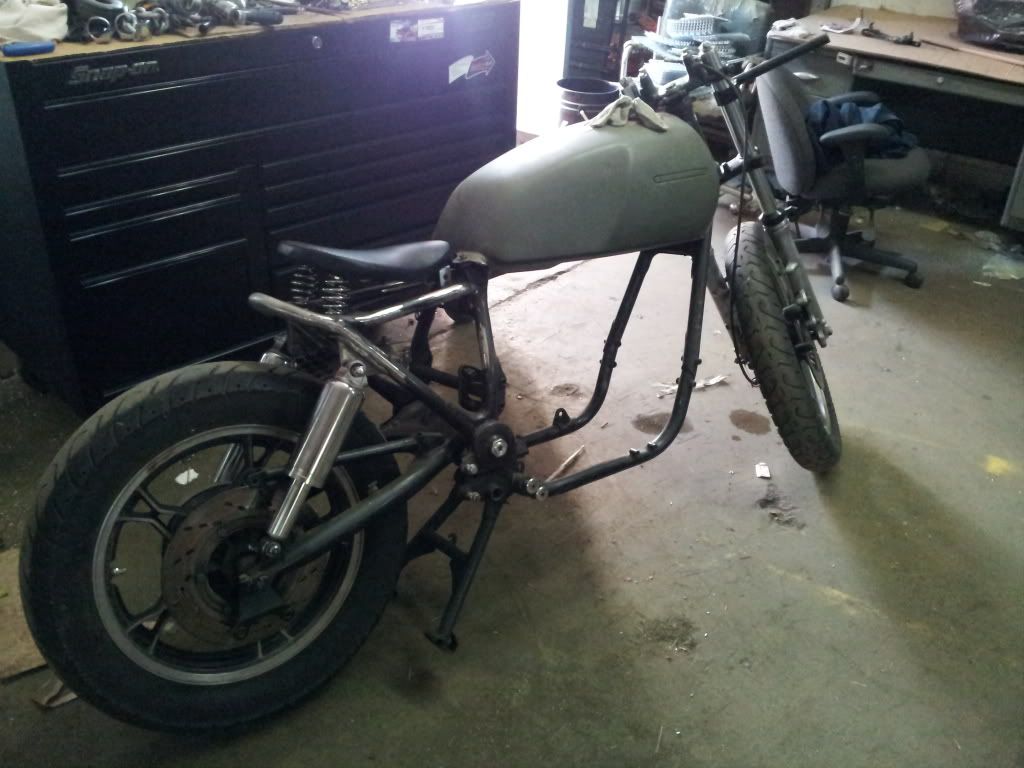
                  Shock mounts are on for good. Also removed most extra tabs and brackets.. Im short one set of shock bushings. I got a set from a member but thought i was getting a complete set.. Oh well.. If anyone has another set (pair) of bushings ill be looking for them any time.


                  Last edited by Guest; 09-13-2013, 02:36 PM.

                  Comment


                    #69
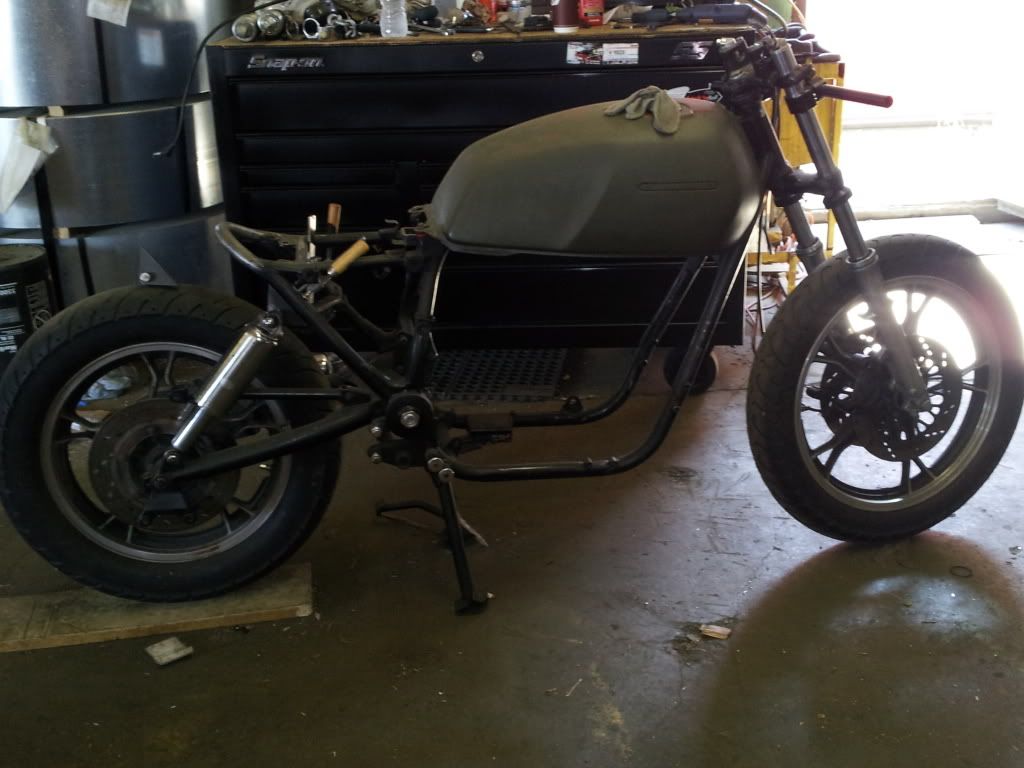
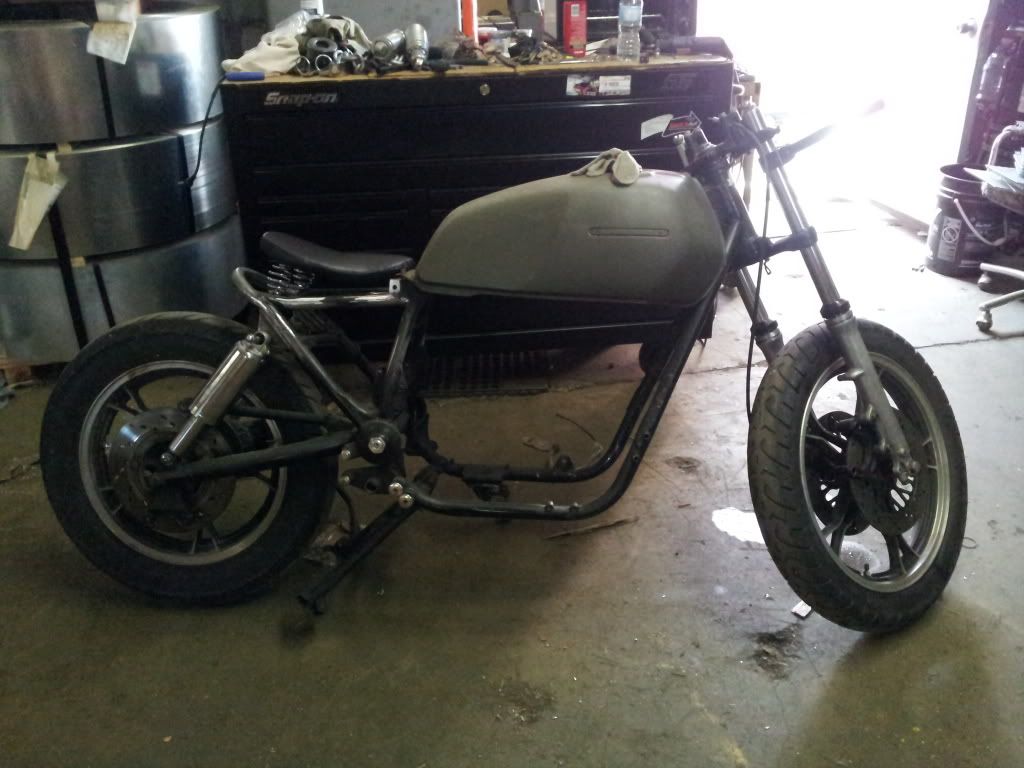
                    I like the lines that you created with your seat and the rear "hoop". Great looking bike so far.

                    Comment


                      #70
                      Originally posted by norman1950 View Post
                      I like the lines that you created with your seat and the rear "hoop". Great looking bike so far.
                      Thank you, once i got the rear tubing done i wasnt happy so i spent a little too much time attempting to put a curve in it to give it some personality. Was quite a setup.. But i managed to curve it up just an inch to achieve the radius i liked

                      Comment


                        #71
                        my engine looks like dung compared to yours.
                        future owner of some year and displacement GS bike,as yet unclaimed and unowned.

                        Comment


                          #72
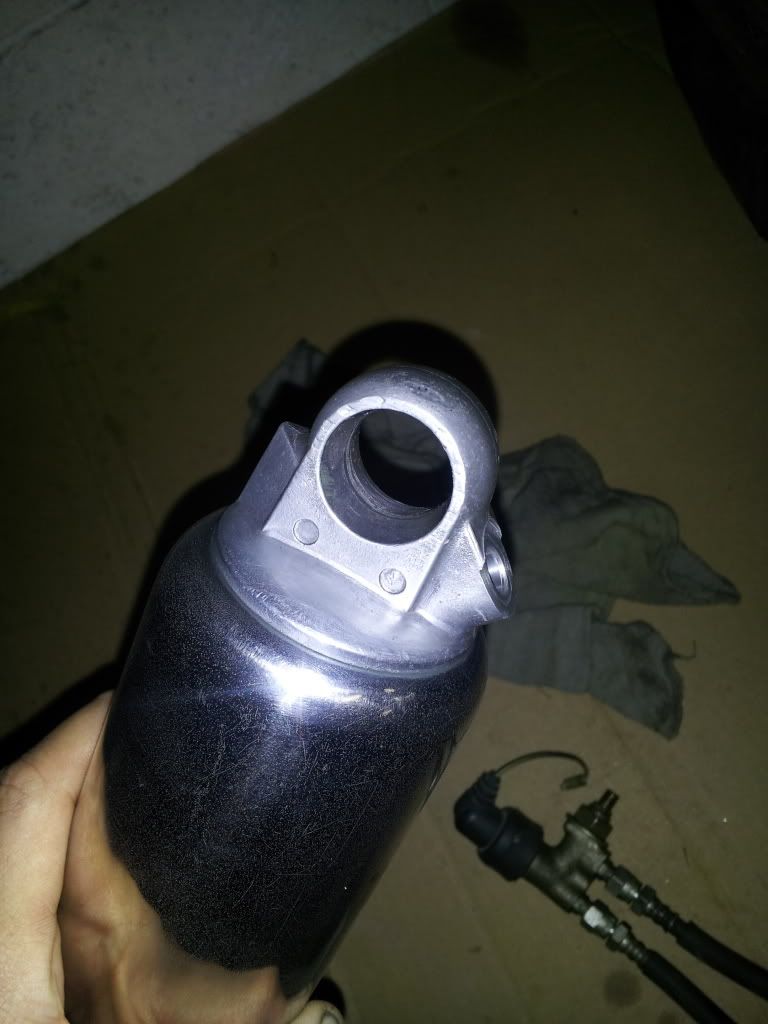
                          Im kind of in a pickle.. I need to really know what these air shocks are from.. Ive been doing alot of digging on them lately. My best guess is that these may be from an old 'interstate' air ride Honda goldwing. Give me some opinions on my discovery.. I need to know what i should put in them for oil and how much oil.. and i also need upper bushings..

                          Ive read that a common practice for the goldwing air ride was to use about 350ml of ATF for fluid per unit.. Does this sound acceptable?

                          Heres my shock and lines. The lines attach to a valve junction which also incorporates a pressure sensor/switch. The head of the shock tells me a similar description of the air ride suspension used on early to mid 80s goldwings, 1000-1200cc models. Not sure if it would be an oem accessory or aftetmarket but the name 'interstate' pops up frequently when I see a similar shock design pop up from a source.


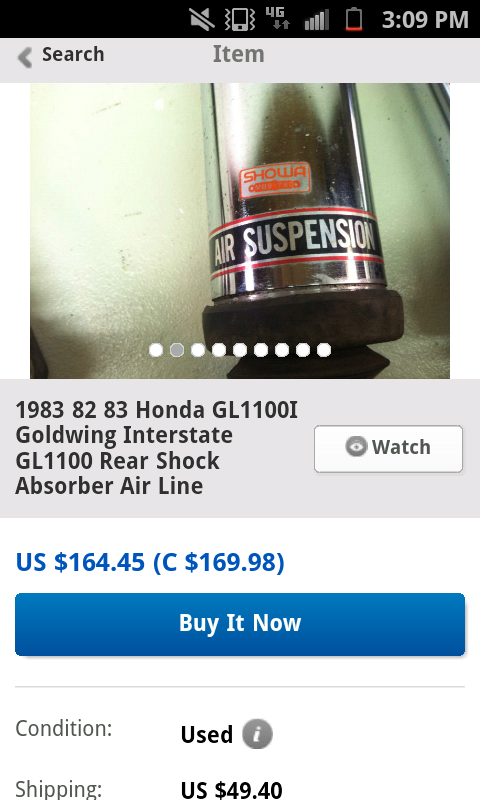
                          Heres one source i pulled up on ebay with a similar model shock with some identifying labeling. Can anyone be certain and pinpoint a make or model of this shock i have??


                          32/08rangerdan/20130916_162319_zpse37ff6e0.jpg[/IMG]
                          Last edited by Guest; 09-17-2013, 12:16 AM.

                          Comment


                            #73
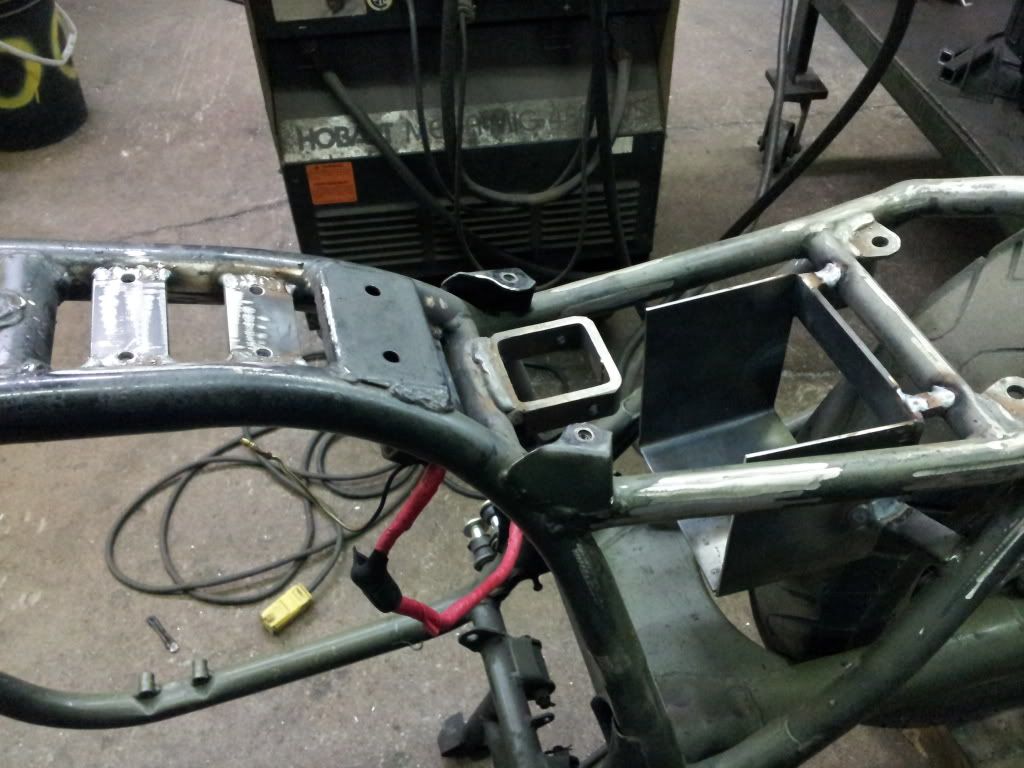
                            Battery box coming along.. Also made a mount for the starter solenoid and a couple strap mounts for a couple modules under the tank. In going to start mounting the harness and getting that finalized

                            Comment


                              #74
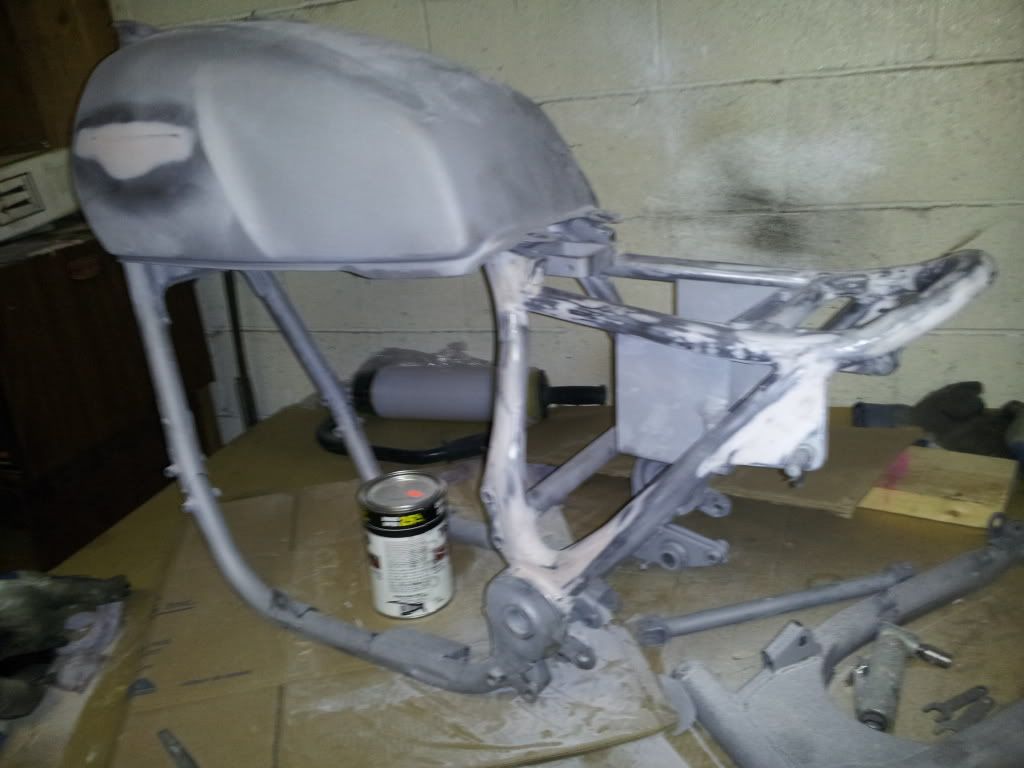
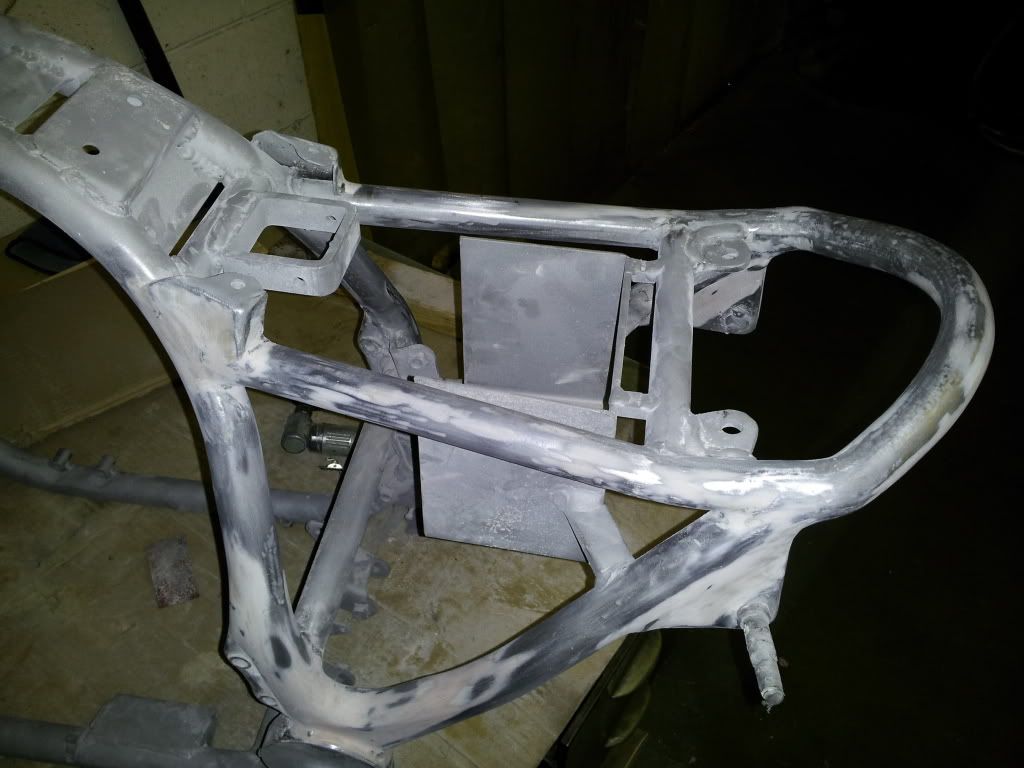
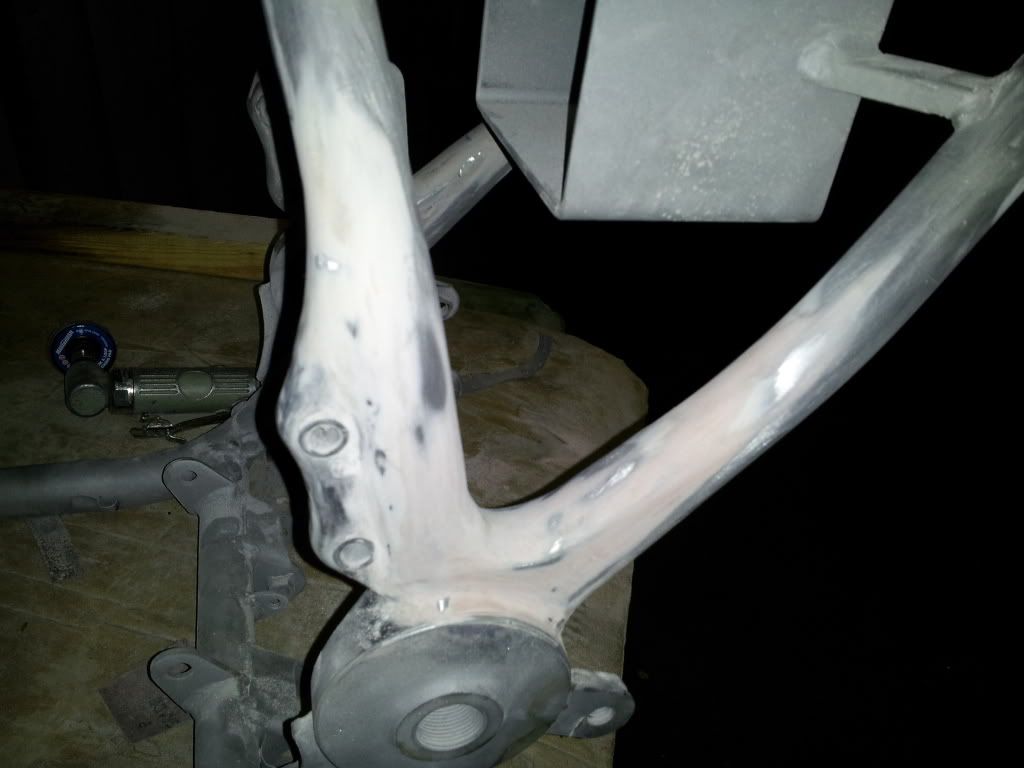
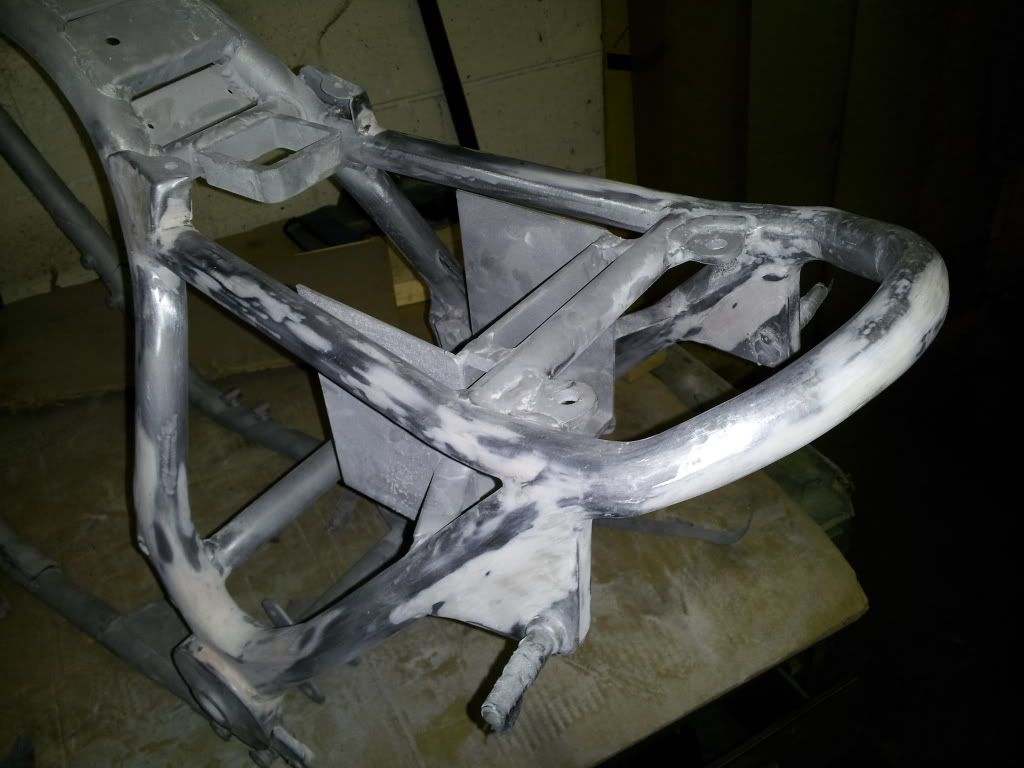
                              Frame and tank got blasted last Sunday. Ive spent a couple days working away at some bondo smoothing but only invthe visible framed areas of the rear end.. Ill be picking up paint this evening.. In just going to use a gloss black tremclad and a universal hardener. Should look nice when done!


                              Last edited by Guest; 10-09-2013, 09:55 AM.

                              Comment


                                #75
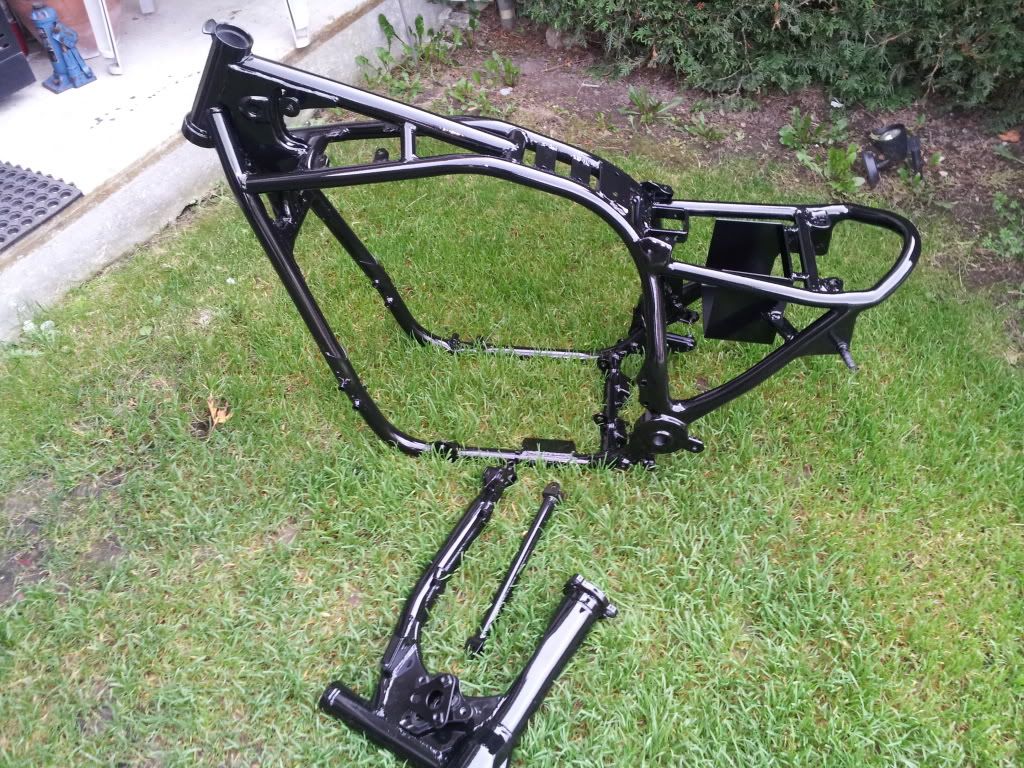
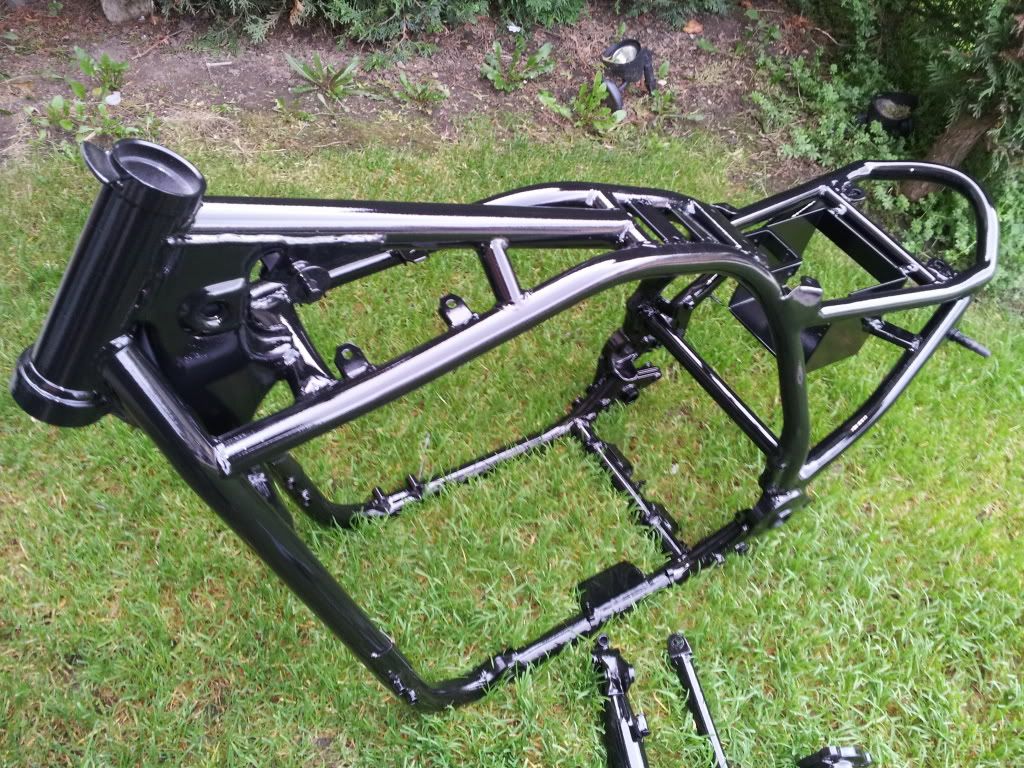
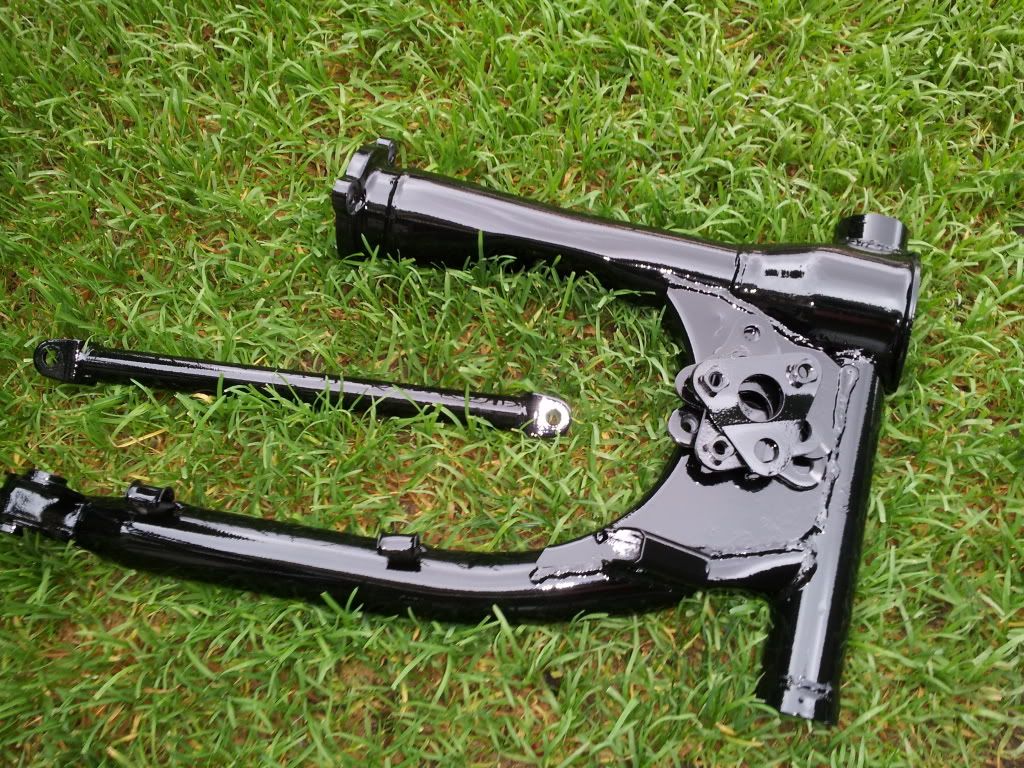
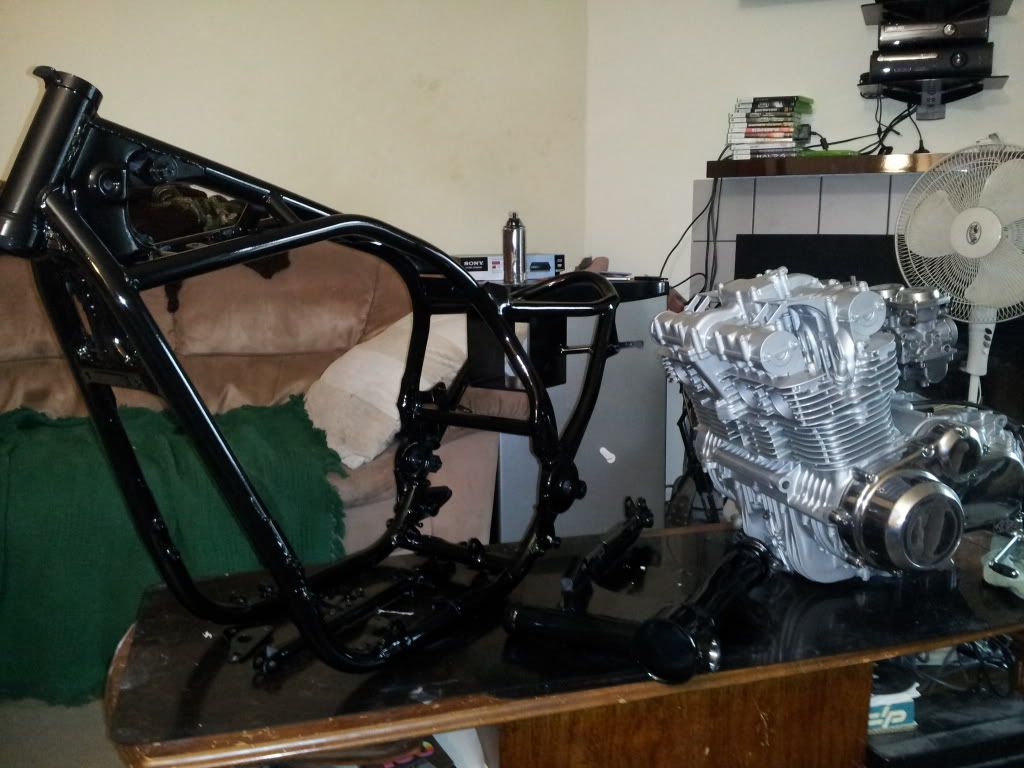
                                Frame is all painted and tank is epoxied and awaiting final body work and smoothing before my metalic candy/burgandy base.

                                Motor mounting party is planned for Friday night! Makes a great coffee table centerpiece haha..


                                Comment

                                Working...
                                X