Announcement
Collapse
No announcement yet.
here i go again.. project: 'too late to go back now'
Collapse
X
-
 08rangerdan
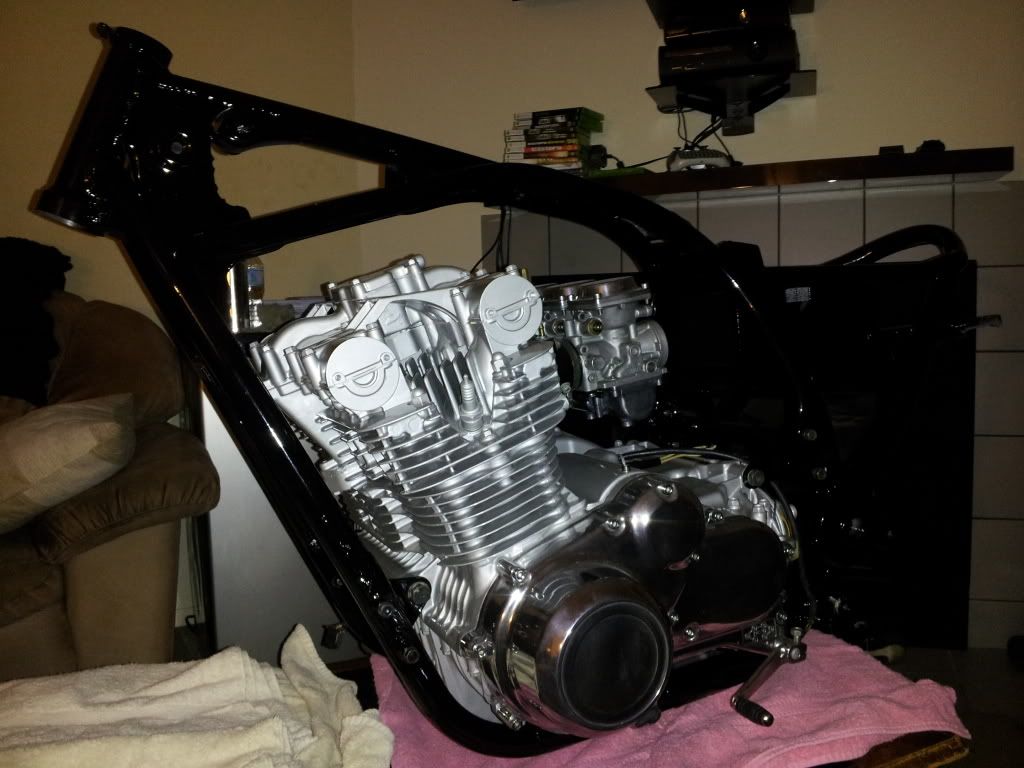
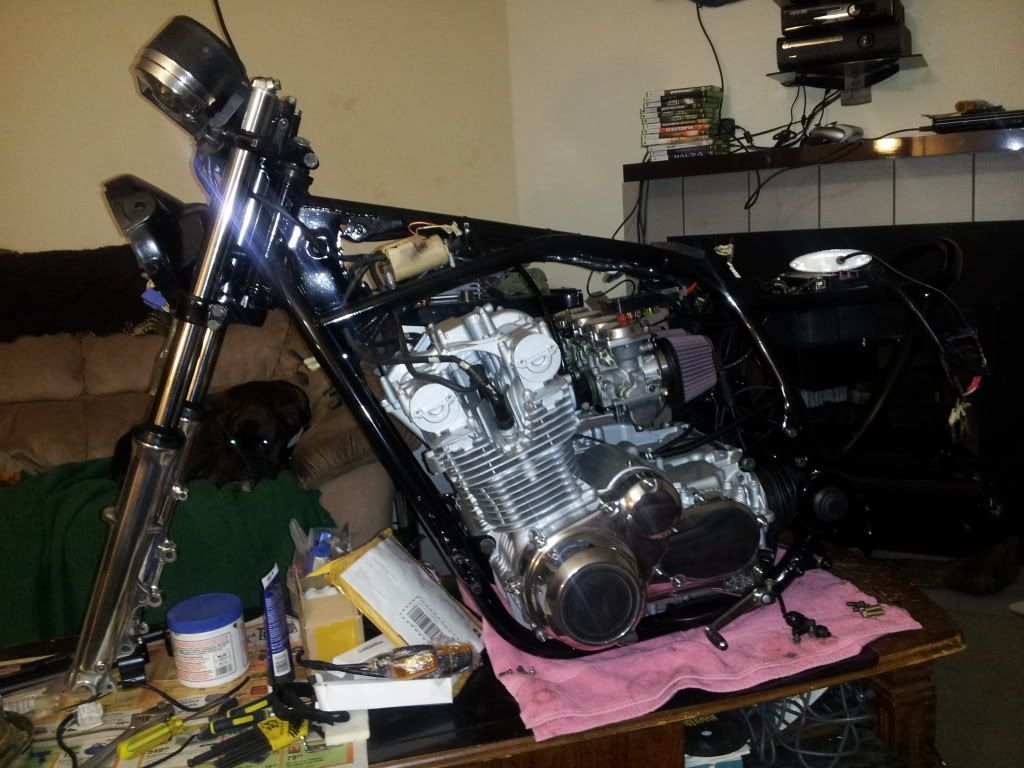
Easier then i thought to mount.. Layed the motor on its side and framed over it.. Done! Wiring next..

-
 08rangerdan
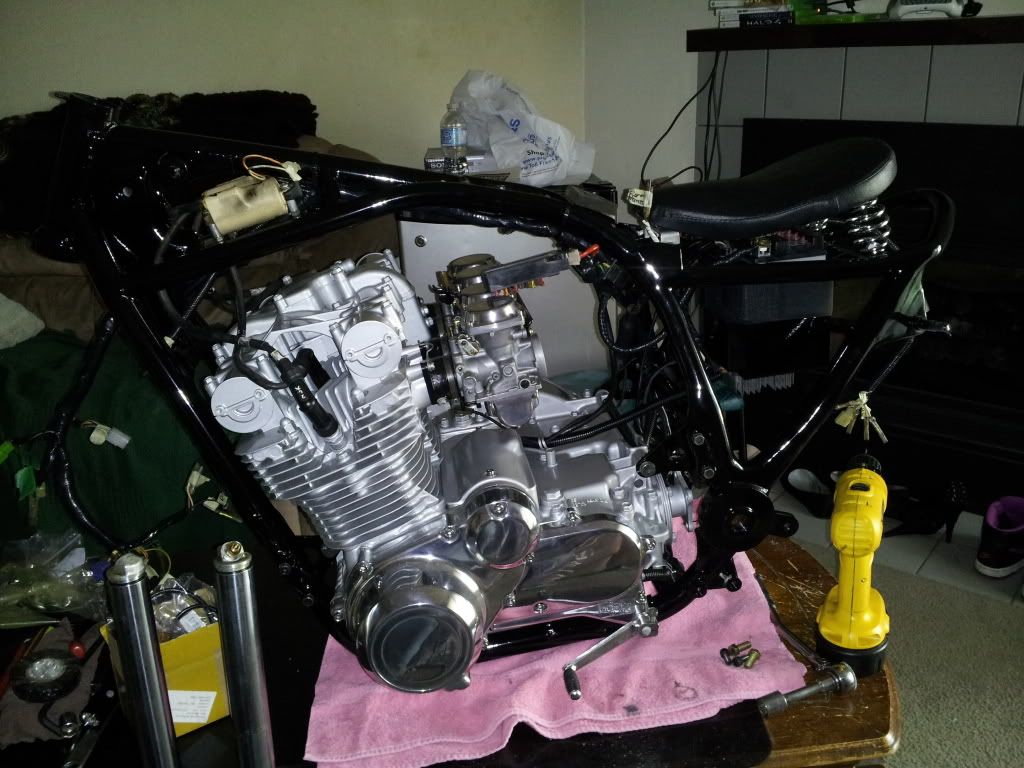
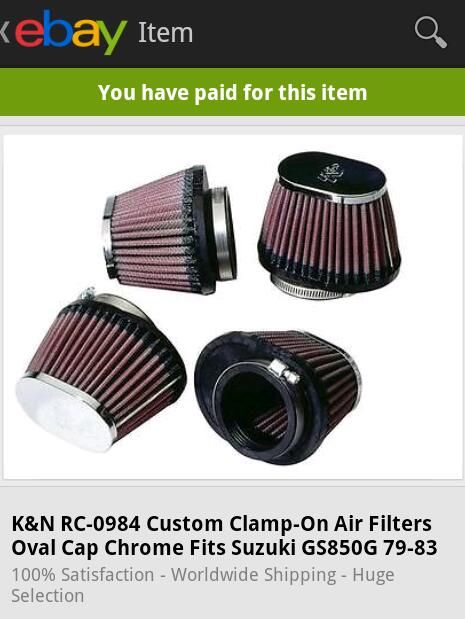
Frame electronics are all sorted out and installed. i just need to shorten up the rear harness for the new lighting. Im just starting on the front suspension, i have the forks drained and internals removed but i need to make a tool to remove the lower end internals. New pods ordered also..
 Last edited by Guest; 10-20-2013, 03:38 PM.
Comment
-
 08rangerdan
Comment
-
 08rangerdan
 -
 poorgradstudent
That engine looks so clean! Good to see a remodel for the shafty too. Doesn't seem to be too many of those well documented (at least from what I've been able to find).
Comment
-
 miked
miked
because leaving paint in the threads and bolt holes causes both paint and dirt debris to be in/on the threads when you go to tighten up, affects torque effectiveness and hogs the bolt holes out. The tensioner is understandable, but it only takes a few minutes to attend to the final details of putting tape over studs and dummy bolts in holes to protect the threads. Else you are left using a die to clean the studs off and chasing the threads to clean the holes out. The pre-paint prep actually saves you time during assy. Not doing this is kinda sloppy. My .02Originally posted by 08rangerdan View PostDunno why i would mask off parts i don't see. Not like paint over-spray is going to cause an internal failure. Its not like i plastered paint in areas i wasn't planning to see... I separated the coils of the tensioner spring with a razor since it got a little gummed up but other then that its all functional and sealed properly.. No point in being tedious about painting like this.
ETA: the motor and polishing look niceLast edited by Guest; 10-23-2013, 12:16 PM.
Comment
-
 08rangerdan
Originally posted by miked View Postbecause leaving paint in the threads and bolt holes causes both paint and dirt debris to be in/on the threads when you go to tighten up, affects torque effectiveness and hogs the bolt holes out. The tensioner is understandable, but it only takes a few minutes to attend to the final details of putting tape over studs and dummy bolts in holes to protect the threads. Else you are left using a die to clean the studs off and chasing the threads to clean the holes out. The pre-paint prep actually saves you time during assy. Not doing this is kinda sloppy. My .02
ETA: the motor and polishing look nice
I havent wasted much of any time with gummed up threads because of my painting.. Ive done a bit of this work and i pick my battles accordingly.. If there were obvious protruding studs or problematic areas they would have been masked off. The point is that everything is sealed at the point of painting. I do alot more machinery painting in my field of work. Im probably a little quick with the prep work.. But good luck trying to spot any flaws when its done lol..
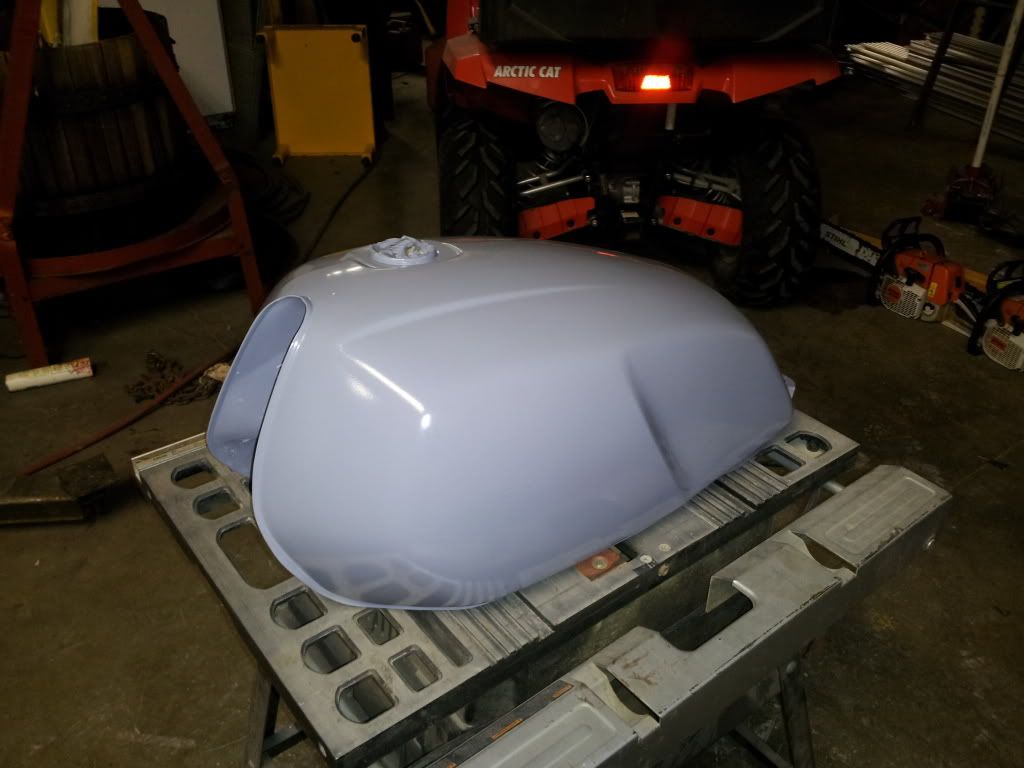
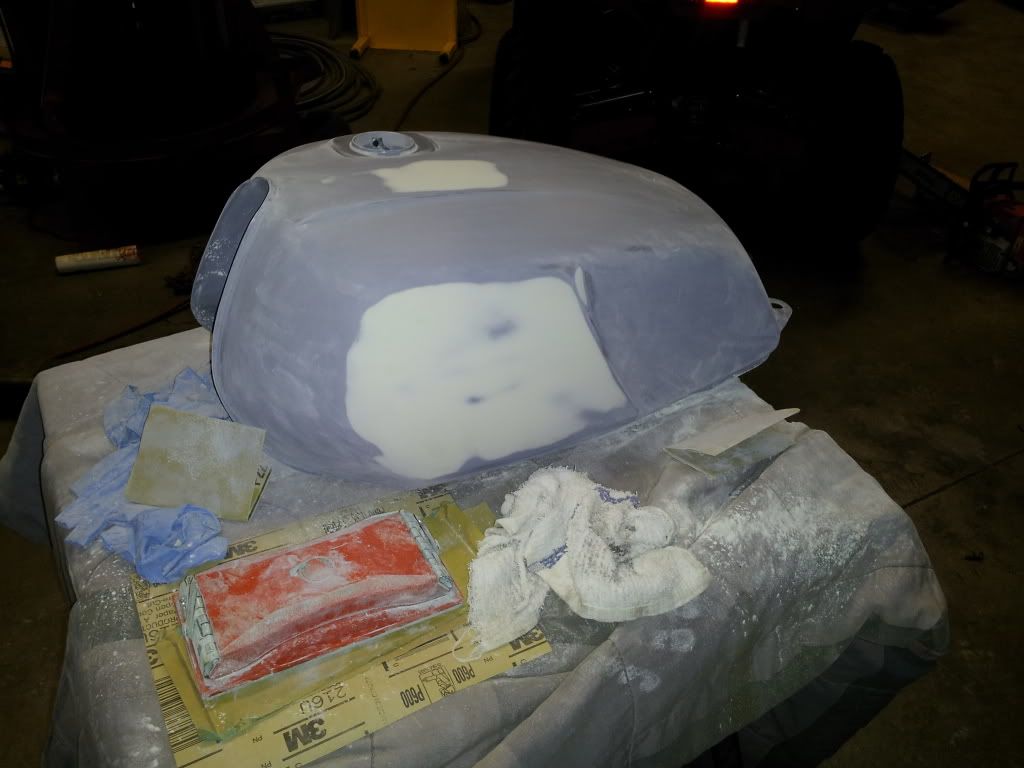
On another note, i was stuck in the booth all morning today doing a job and decided to do a side job getting the high build applied. After this sits and sinks ill do final sanding and apply my colour and clear
Comment
-
 08rangerdan
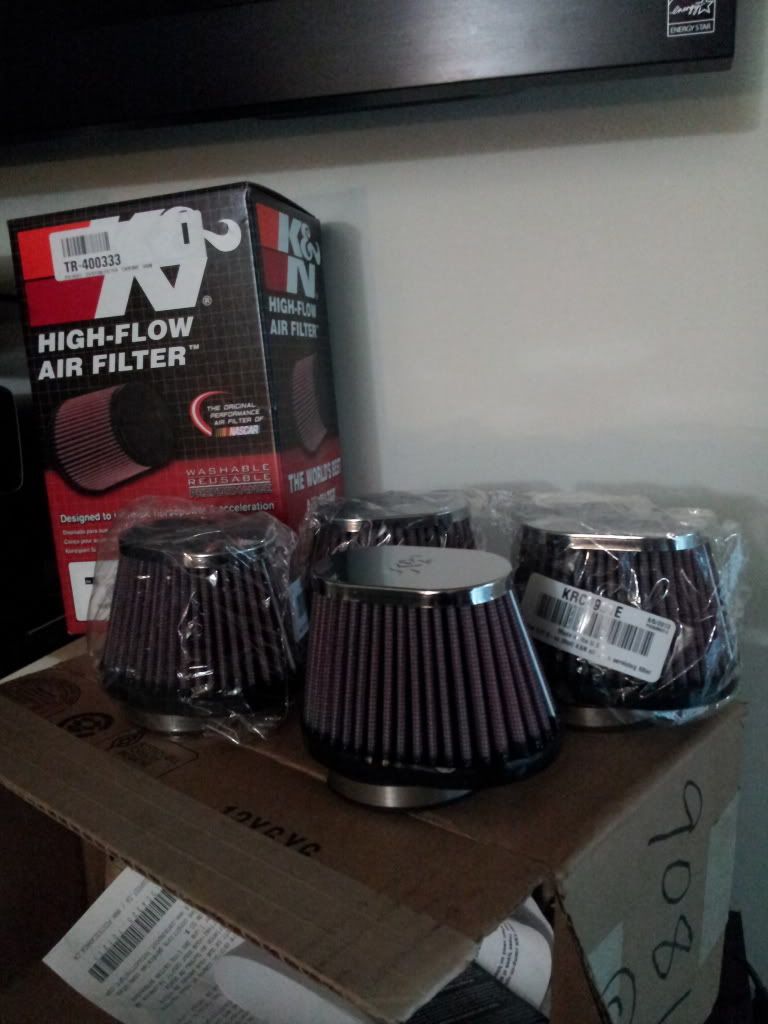
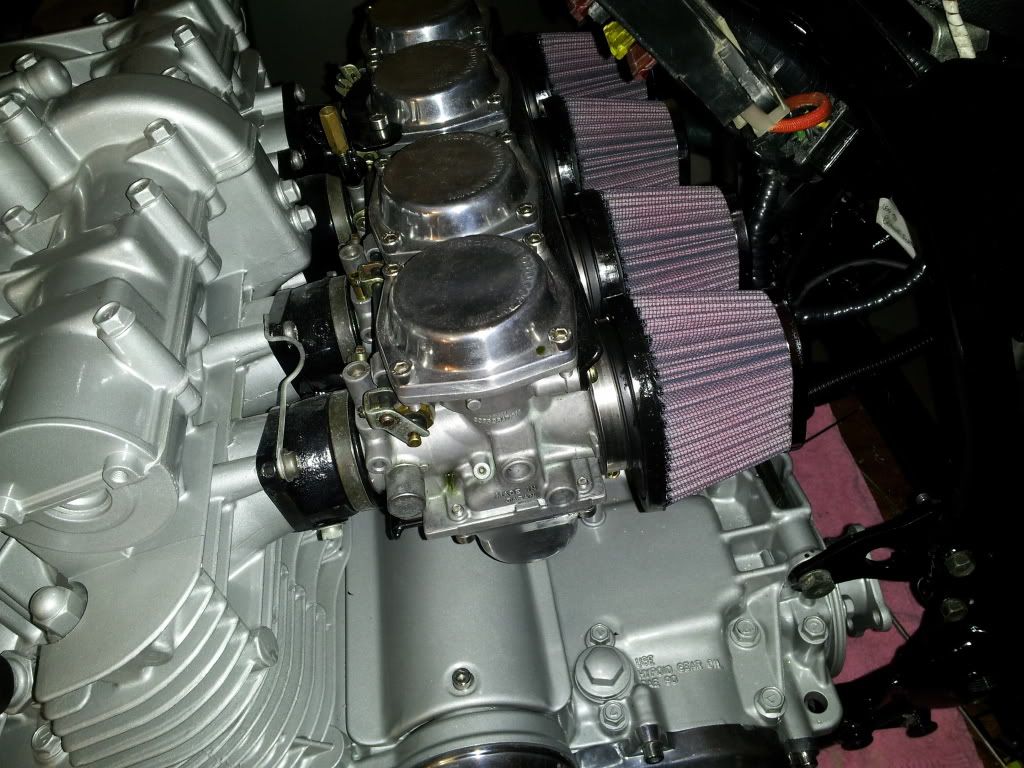
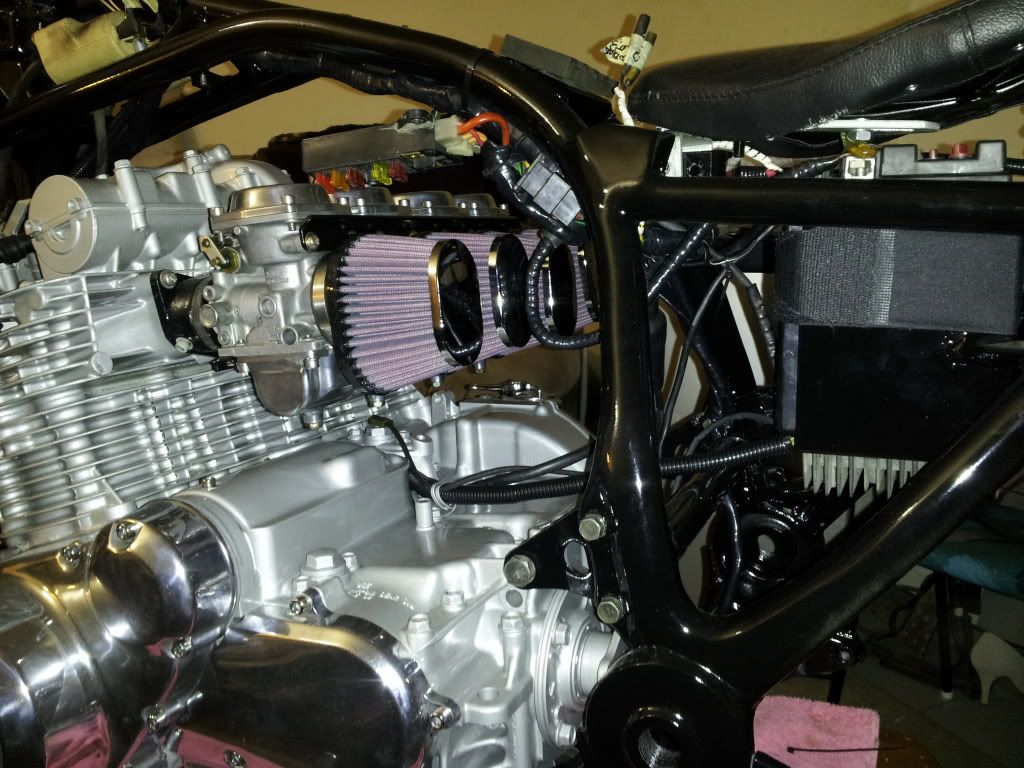
Pods arrived today. I was not impressed of the price of these, but figured k&n would be my best bet against some less expensive options.. And being such a critical component i might as well go with a good brand. Damn things got caught up in customs and ended up costing me more money..sure do look good though..

Comment
-
Man the motor looks good.
Seriously you will not enjoy getting it dirty.
Great build, enjoyed the thread.Current Bikes.... 81,1230Kat, 86,GSXR1100, 86,RG500, :D
The 80`s - Back in the days when men looked like women, women dressed like whores and the music F@#KING ROCKED! http://d26ya5yqg8yyvs.cloudfront.net/friday.gif
Comment
-
 08rangerdan
Received some 'Innteck' bushings today for my forks.. Outer teflons were proper fit and went in without hassle but my outers were 1mm too large in all diameters.. A bit of a set back on the forks.. Ill see if i can get the proper ones or ill just go with suzuki parts.
Finally got all the electrical gremlins out of the bike. First i had a very hot ignition circuit which cleared up now. I then had a problem with the flasher.. Which i just replaced. I then had a small piece of solder on the starter switch board causing the kill/start switch to be useless. Now all of a sudden my kickstand switch is functioning like it should be.
The best part is seeing all the proper lights working once again! Finally seeing some light into the final stages of this build.


Comment
-
 HaggisHombre
Comment
-
 08rangerdan
Mostly hand polished. 800 grit to 1000 grit then dome mothers. Was acceptable but i decided to get the wheel out and use a medium to lightly work out the last of the blemishes then again with the mothers to remove any haze
Comment
-
 08rangerdan
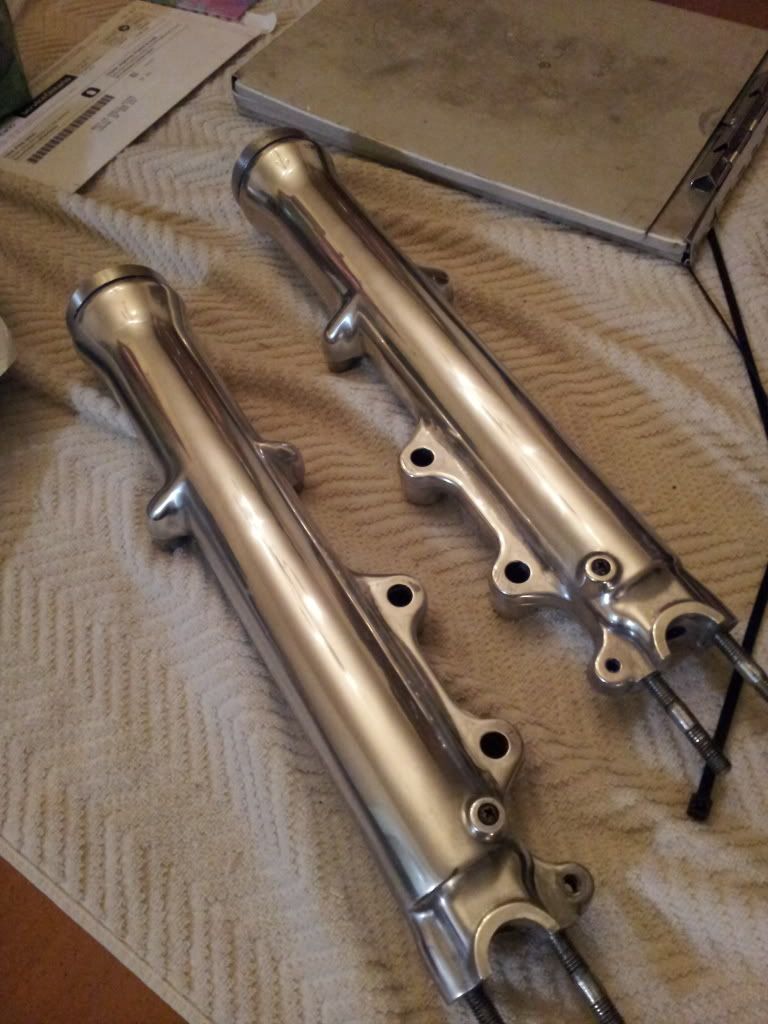
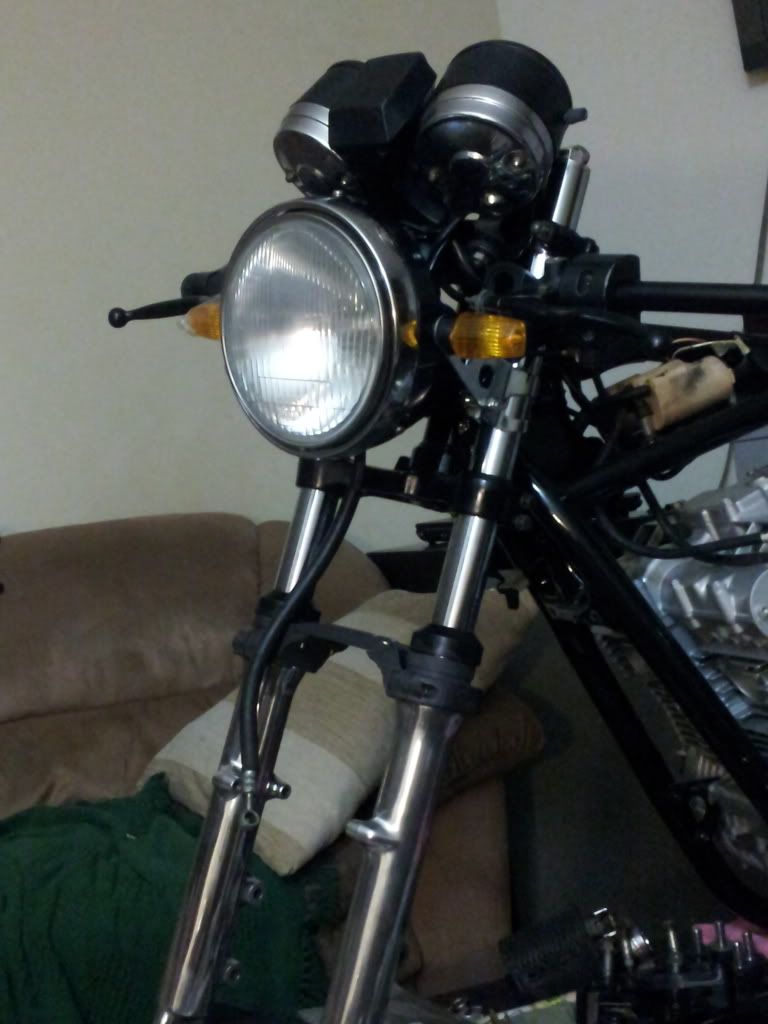
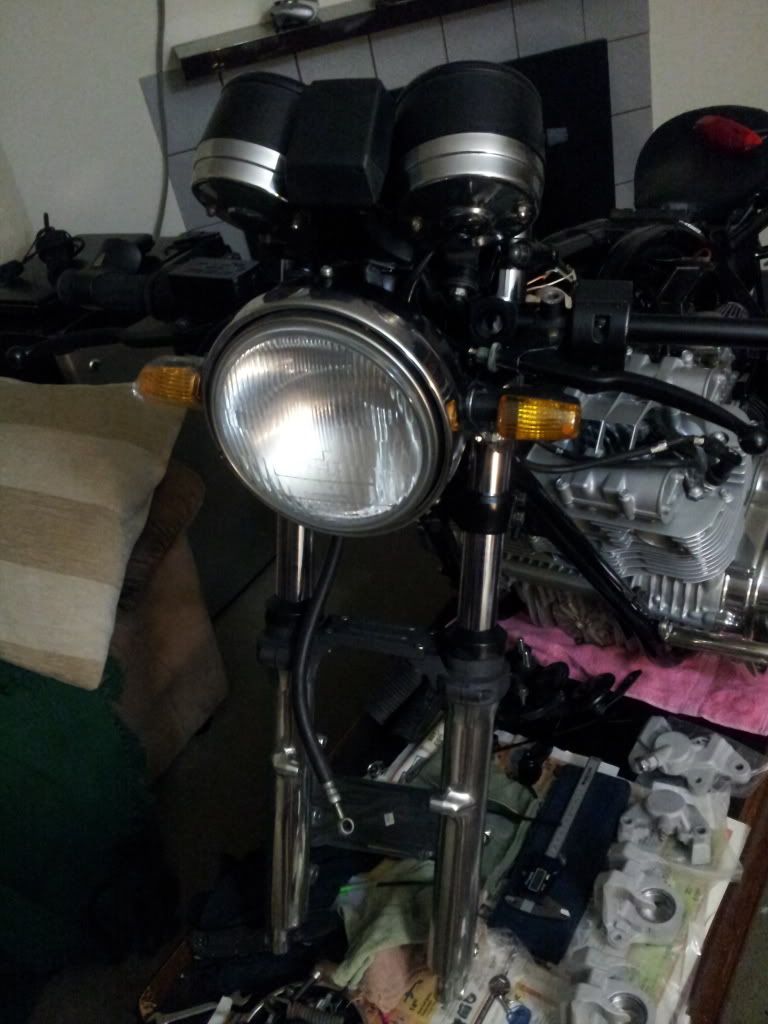
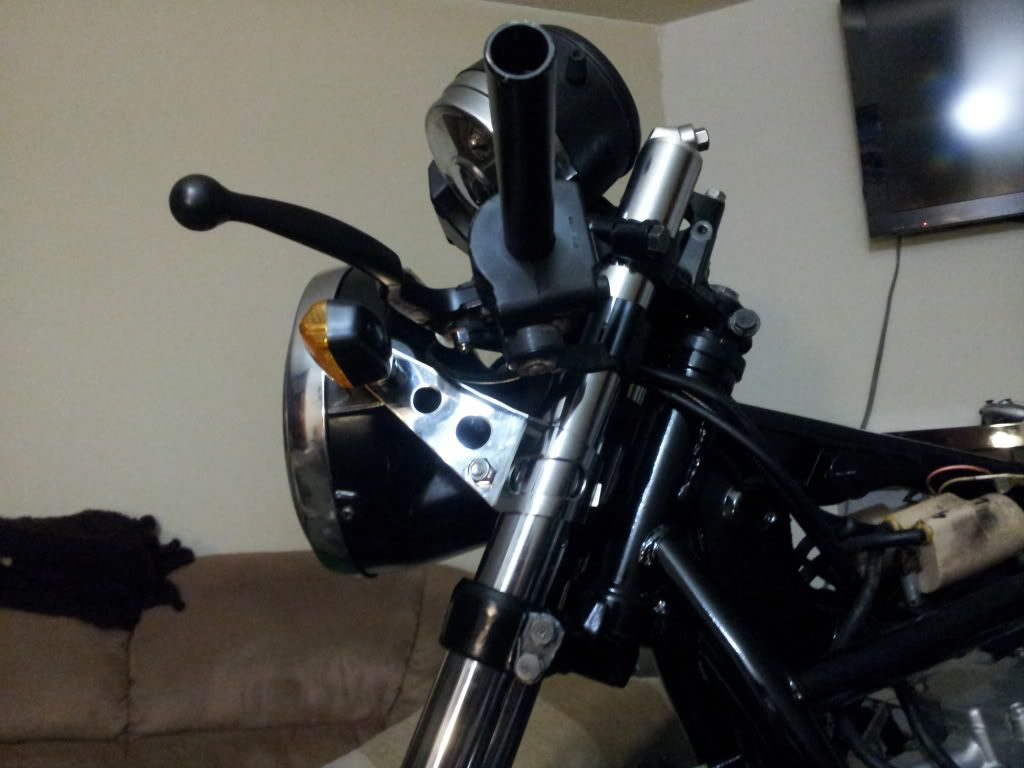
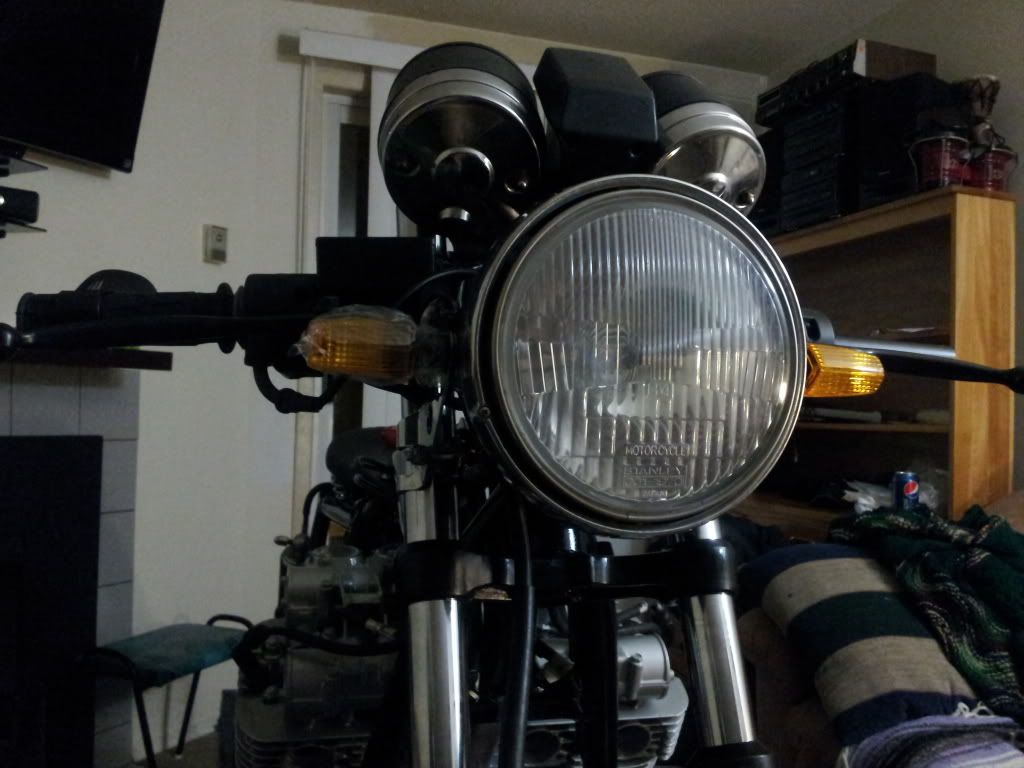
I finally got my forks complete. I decided to go with a seller on ebay who 'specializes' in fork bushings.. Needless to say he did nothing special.. Most of his ad titles didnt match his descriptions. Then simply confronting him about the issues was apparently my problem that i didnt understand the nonsense he was attempting to list. When the title clearly says '37mm bushing' i dont expect it to be a 38mm instead.. I ordered the closest. Relevant products he offered but for no precise reason he kept defending his 38mm bushing being true 37mm... Even though the description stated otherwise..so i ordered them. To my surprise they came to me at exactly 38mm....! Several emails to this loser and after several half assed replies (that hardly related to my problem!?) lead to some heated phone calls about the issue and his incompetence. He finally caved in and started to listen to me then realized something was finally wrong and overnighted me what i expected to be the correct fit bushing we discussed.. That i thought he measured. BUT HE SENT THE SAME UNITS!!!! I just about flipped. I decided to trim the extra material and make these fit. was actually quite easy to do. Ill be following up with this idiot tomorrow. But warning to all! Dont deal with 'rod_mate' on ebay. He deals for innteck bushings but is incapable of basic inventory, product identification, and customer service... Not to mention his incapability to measure anything first or do anything hes asked
I went with 20wt fork oil for these
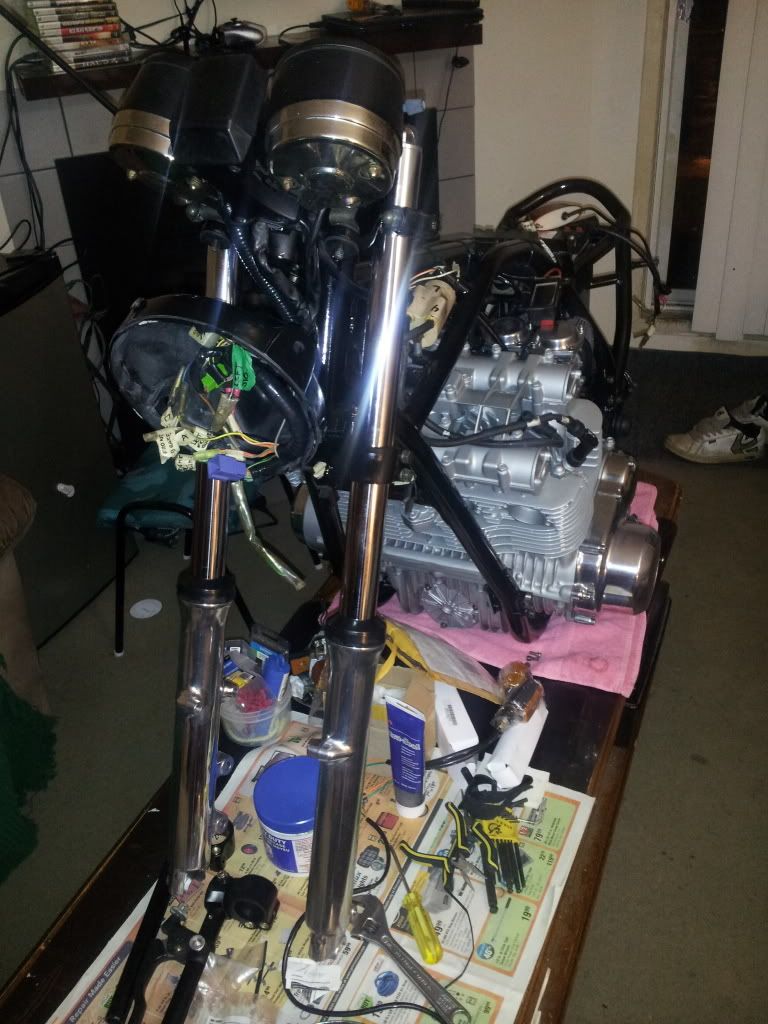
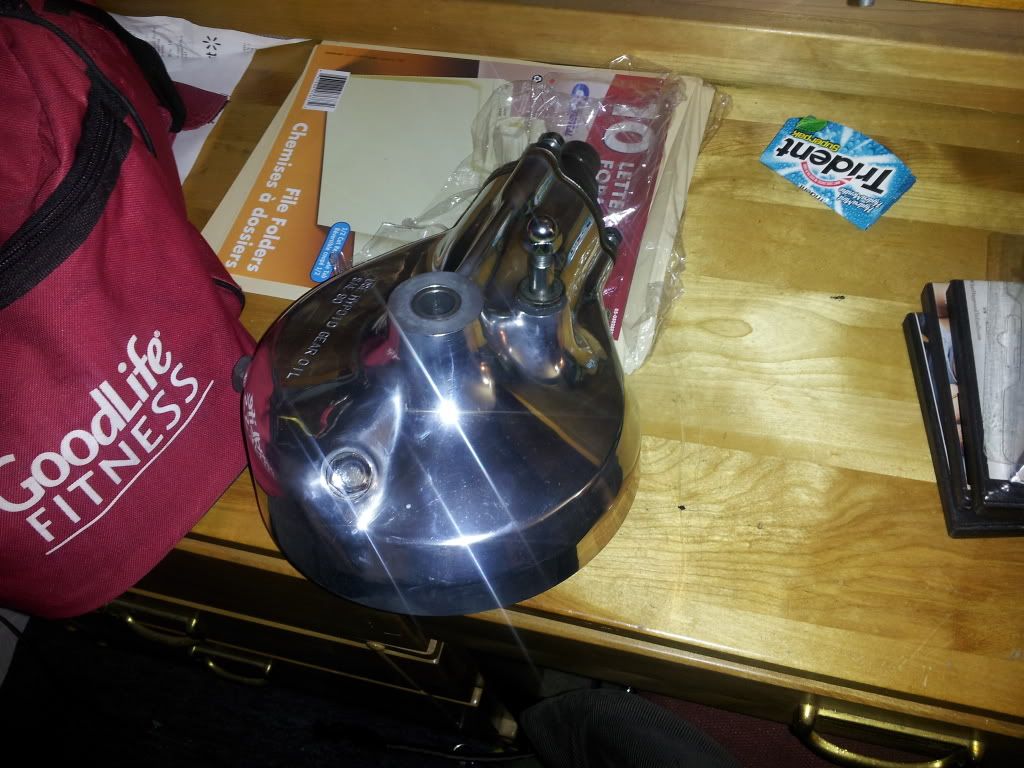
Rear end is polished and about to go on the trailing arm
Comment
-
 08rangerdan
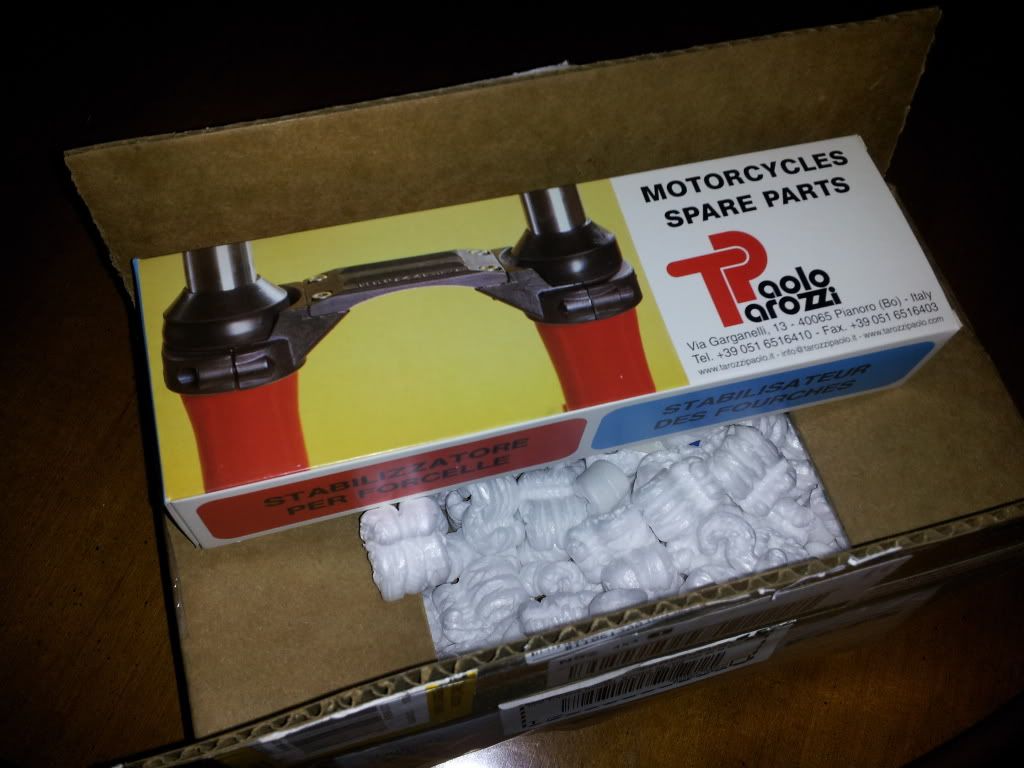
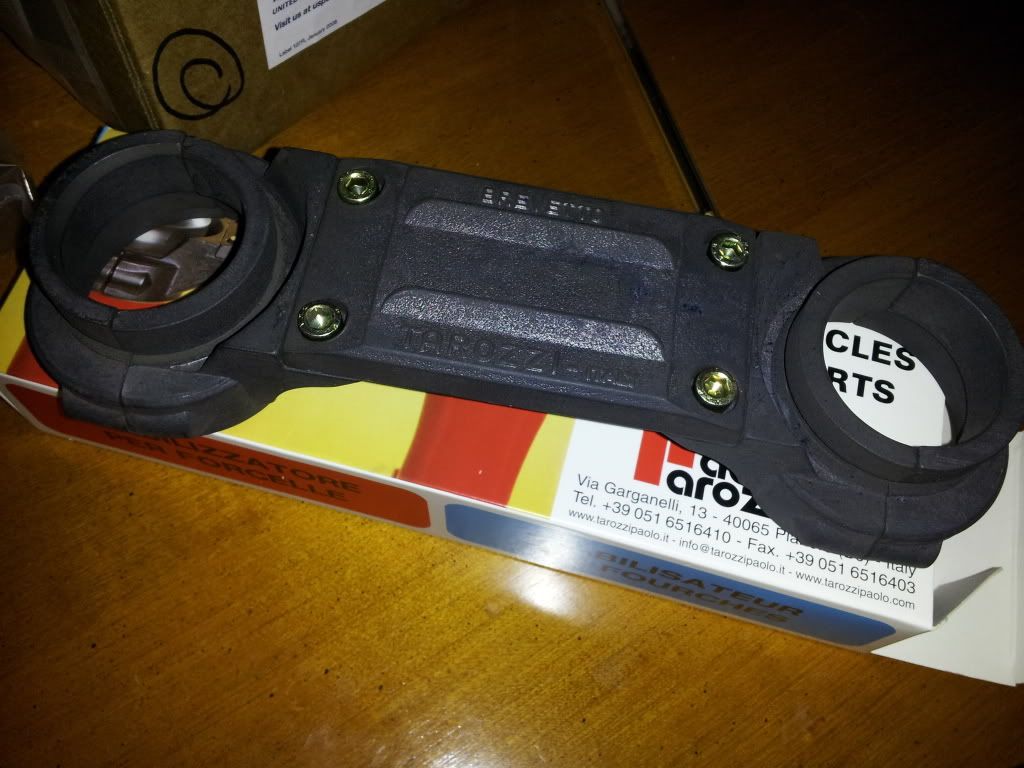
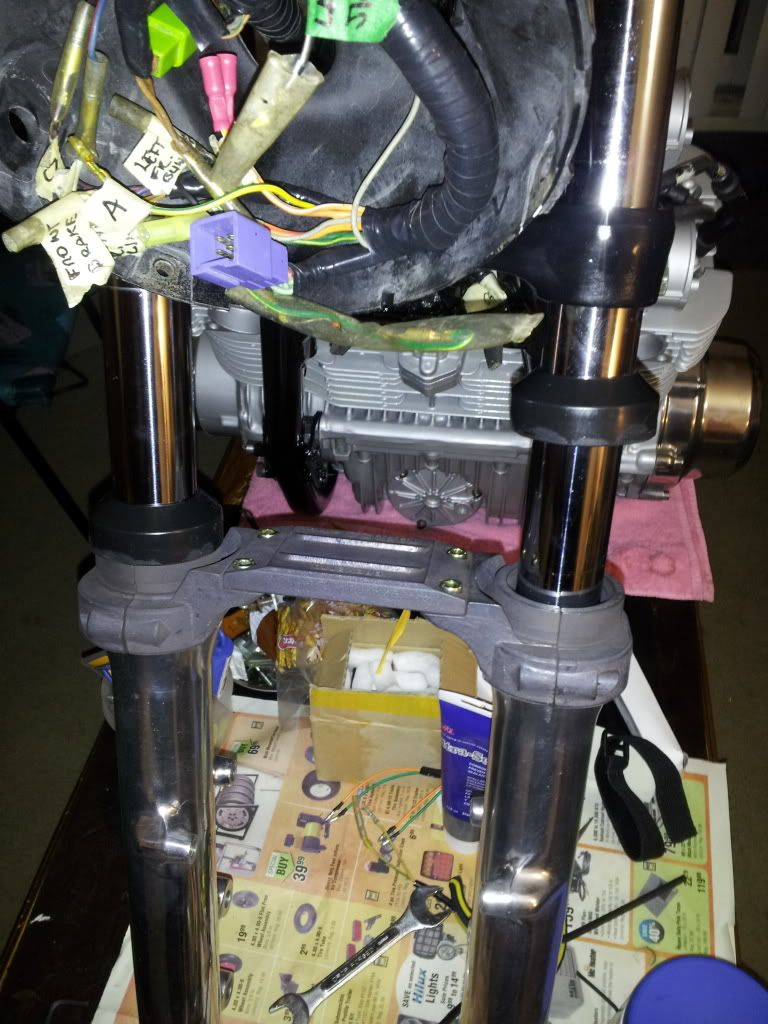
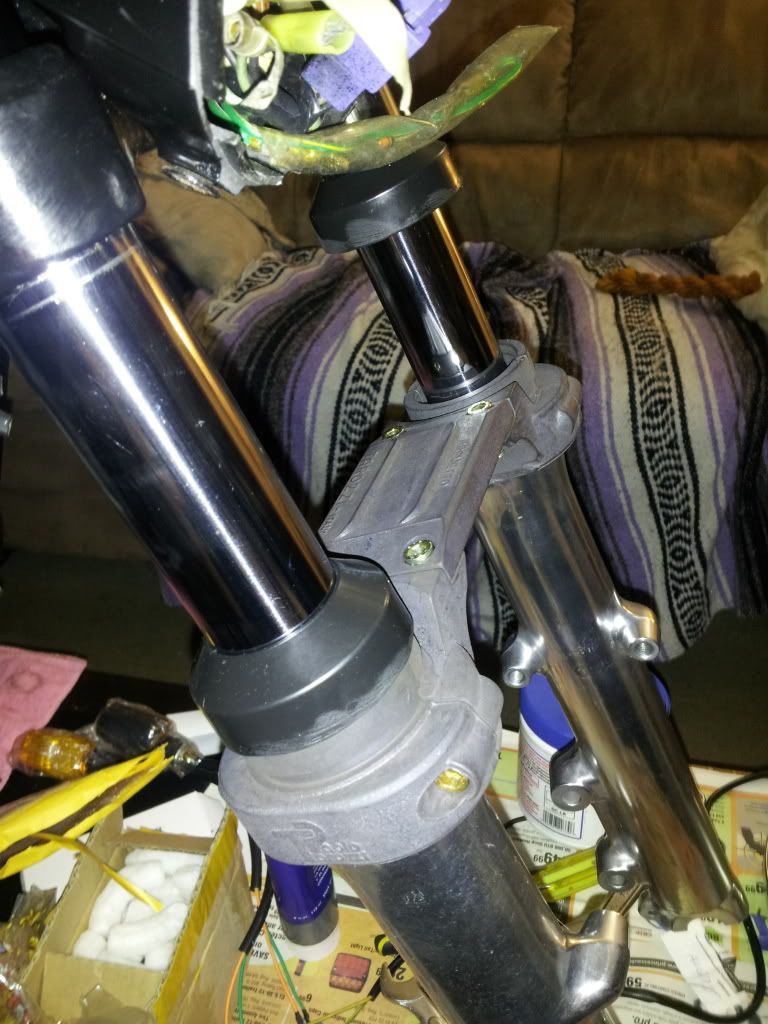
Fork brace showed its dirty face. Quite an ugly way of presentation imo.. Came in some kind of spotty and blotchy black oxide that was far from appealing. Might need to paint this. Looks to be all cast construction.. Not the best fit part i expected.
Comment
.png)
Comment