.png "Powered by vBulletin")
Hi, I'm at the beginning of a new Café Racer build based on a 1981 GS550e, which I bought off Ebay some time ago. The original brief was to build a sprint bike for racing the 1/4 and1/8th mile tracks but on tearing the bike down I found some major issues....... the biggest of the lot was a large amount of filler in the frame tubes
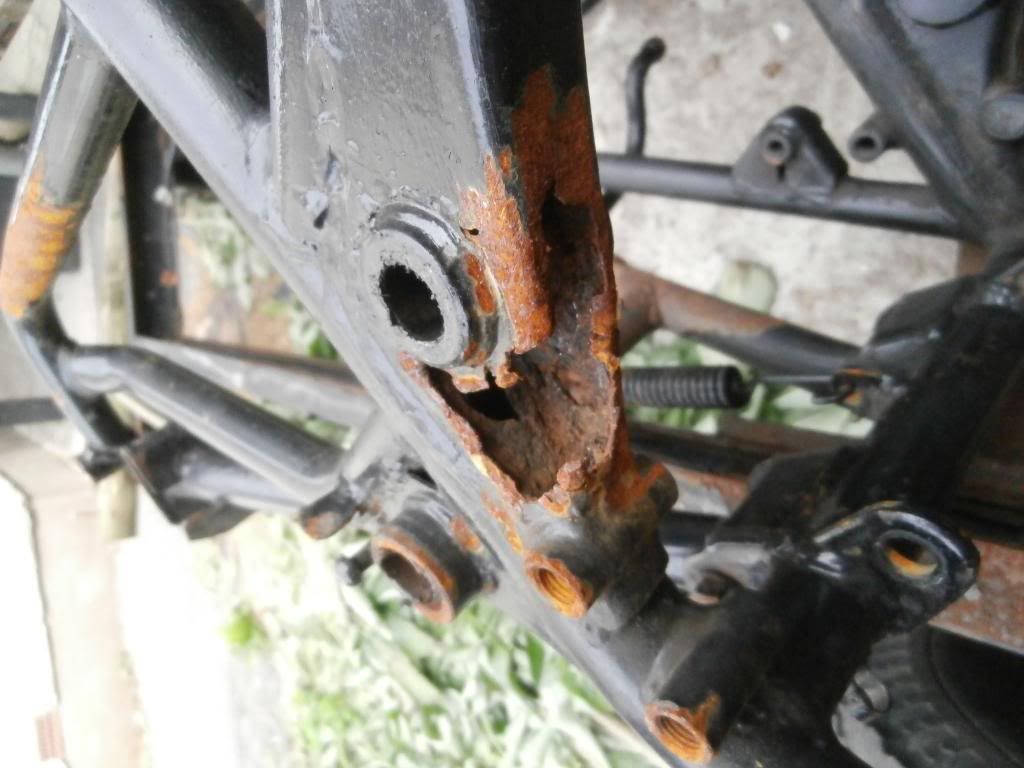
Yep, I'd been turned over real good! But not being a violent man, I figure what goes around, comes around and the little **** will get his............. eventually.
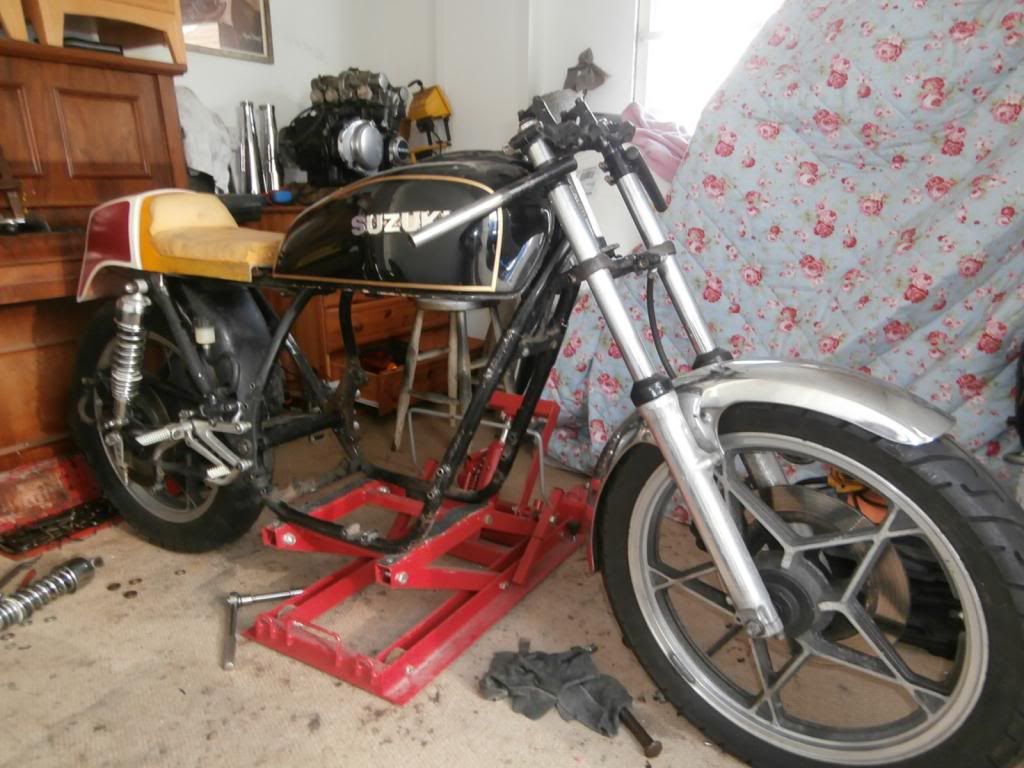
Anyway, after a while of contemplation, I bought myself a second hand frame and have begun the now long overdue build process. This is where we are at just now............
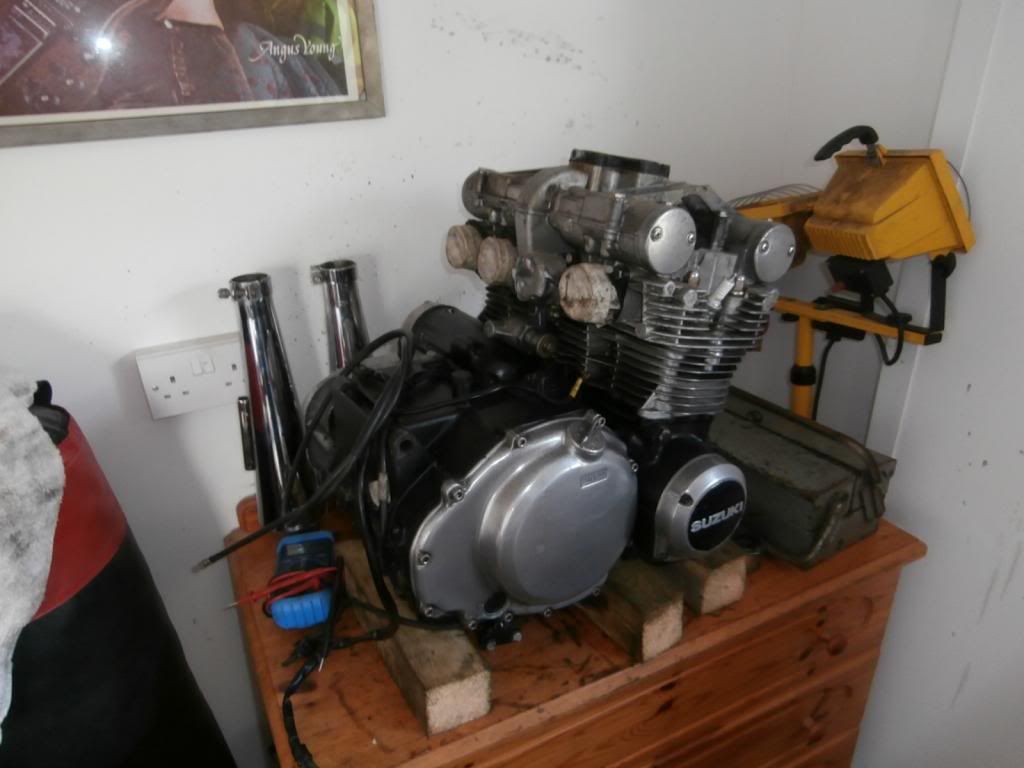
The engine was running when I bought the bike and so I figured a quick rub down with an oily rag would do just fine...........wrong again!
There were exhaust studs epoxied into the head and the drive sprocket had been welded onto the output shaft. The exhaust studs were an easy fix, helicoil the head and Bobs your fathers brother, but a call to JT's Suzuki in Bridgend (they have a massive stock of OEM old/new Suzuki stock) threw a spanner in the works. A new output shaft was going to be Ł118.00 + vat, so after another hunt on Ebay I found a second hand bottom end which I bought and robbed the shaft from.
The frame was a write off, so I sourced another from a 1979 model thinking I could just transfer the running gear from the 1981, but of course nothing is that easy. Suzuki improved the head race bearings in 1980 and the VGC bearings from the original frame were of no use in the replacement, and after some investigation I found that the older style bearings would not fit onto the later set of yokes.........back to Ebay and a set of 1979 yokes were mine.
The plan is to utilise the original tank, the shape is great, I had thought about bashing some knee dents into it but at present think I'll leave it as it is. The seat unit is from a 1978 Ducati 350 Desmo, it has be shortend and will be recovered in black leatherette.
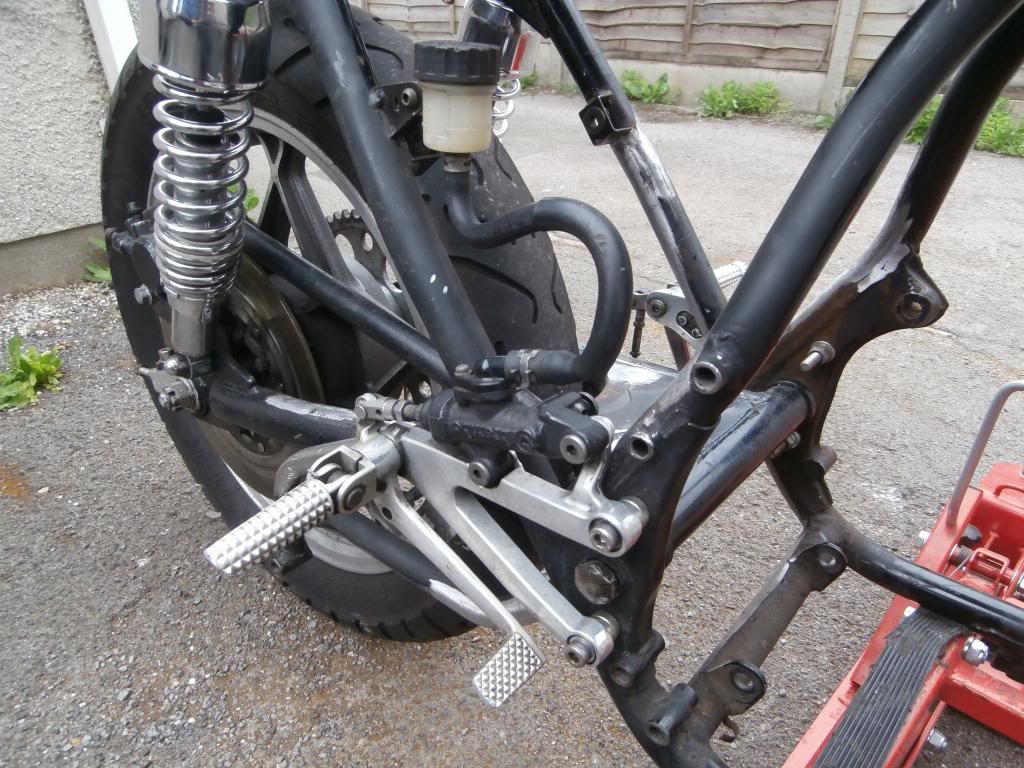
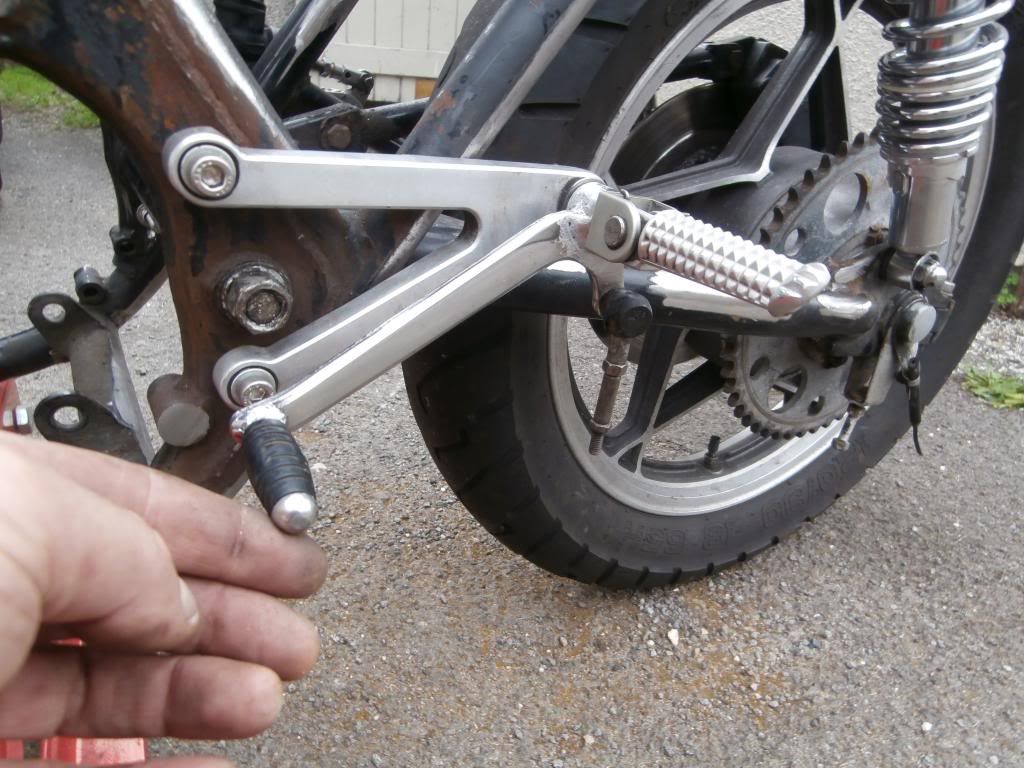
The rear sets are from a 2002 Yamaha R1, they fit straight on, with only a little work required to make the gear selector work properly. The R1 shifter has the linkage on the top of the lever, whereas the GS requires the linkage to be underslung.........the fix was fairly simple, I got a local engineering firm to turn a collar the same size as the one on the R1 peg, cut the original GS lever and welded the new collar to the old lever.
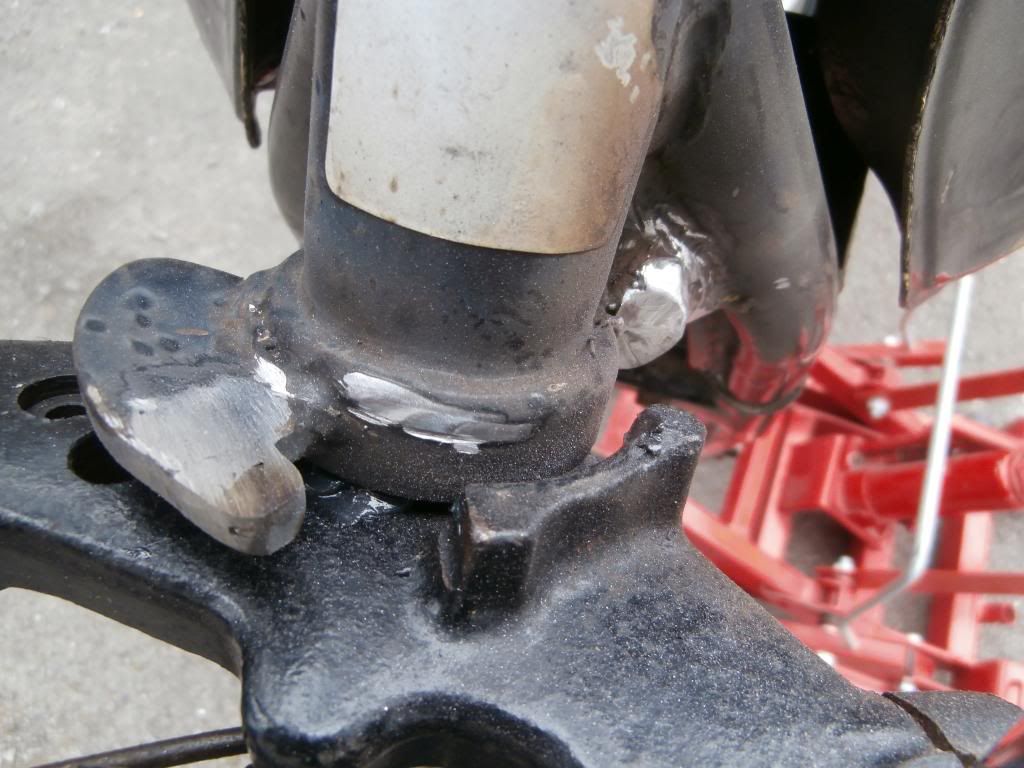
The Clip on bars came of a Yamaha RD400 and set in the ideal place fouled the tank on full lock, so the frame steering stops were modified, solving the problem
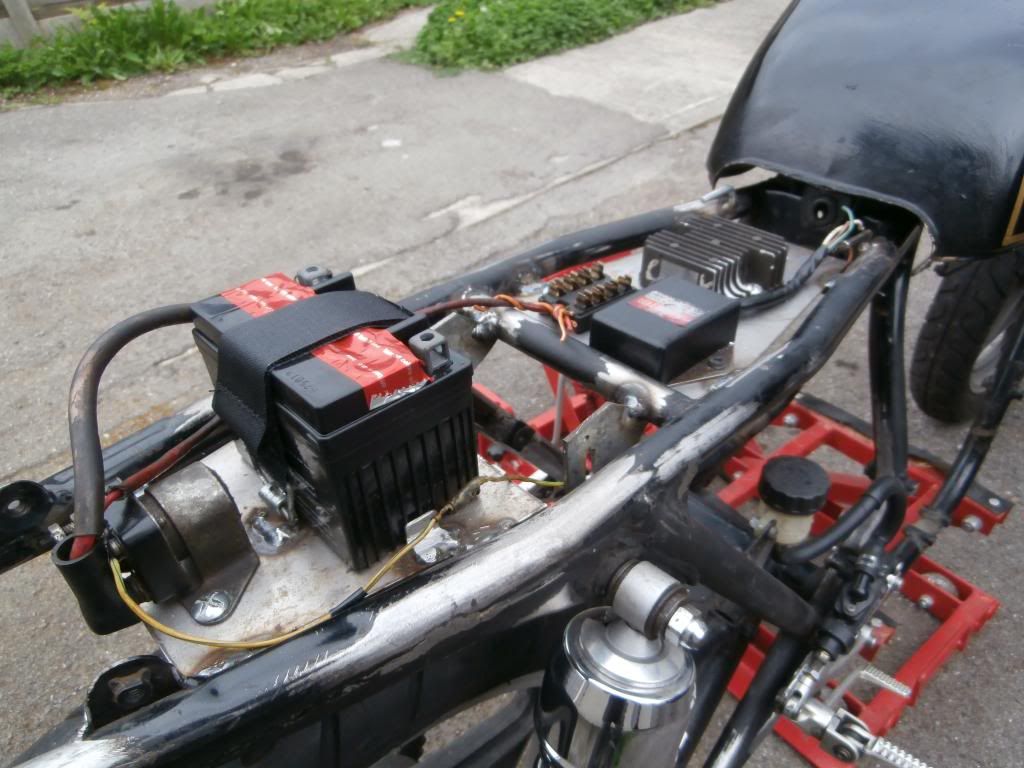
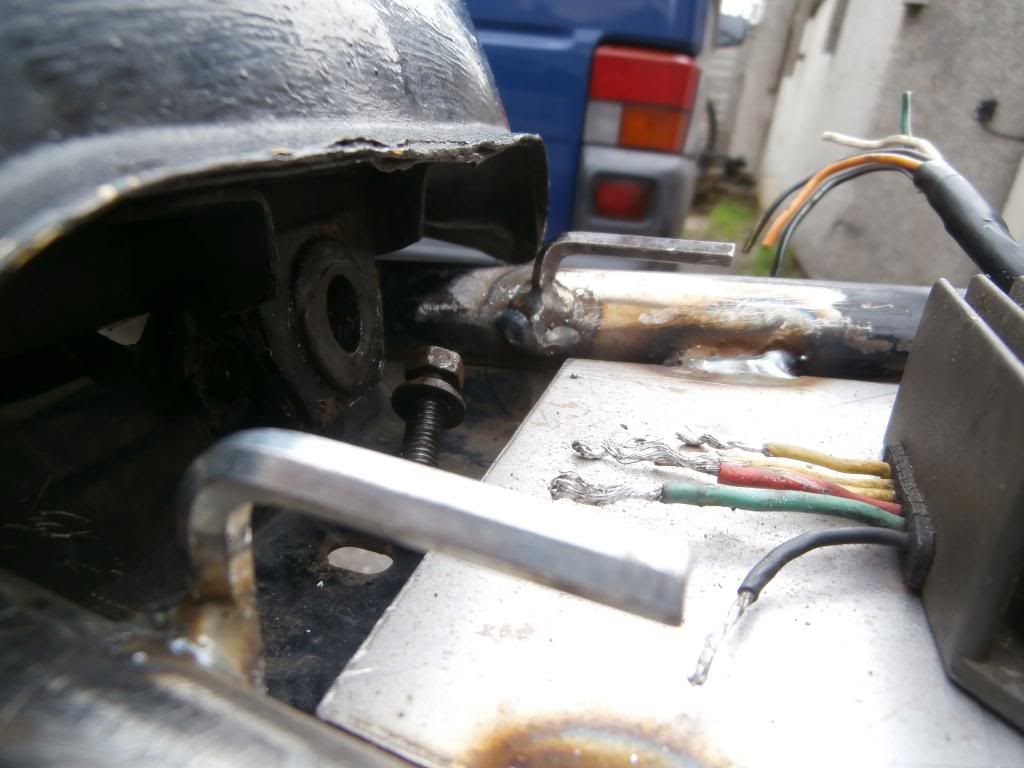
The electrics which used to live under the side panels have been hidden under the seat pan and hump on trays fabricated between the seat mounting hardware
.......now where did I put those Allen keys? (Sometimes you just have to improvise LOL!)
With the majority of the build in hand and no more work on the frame to do until the full fairing arrives, it is time for paint
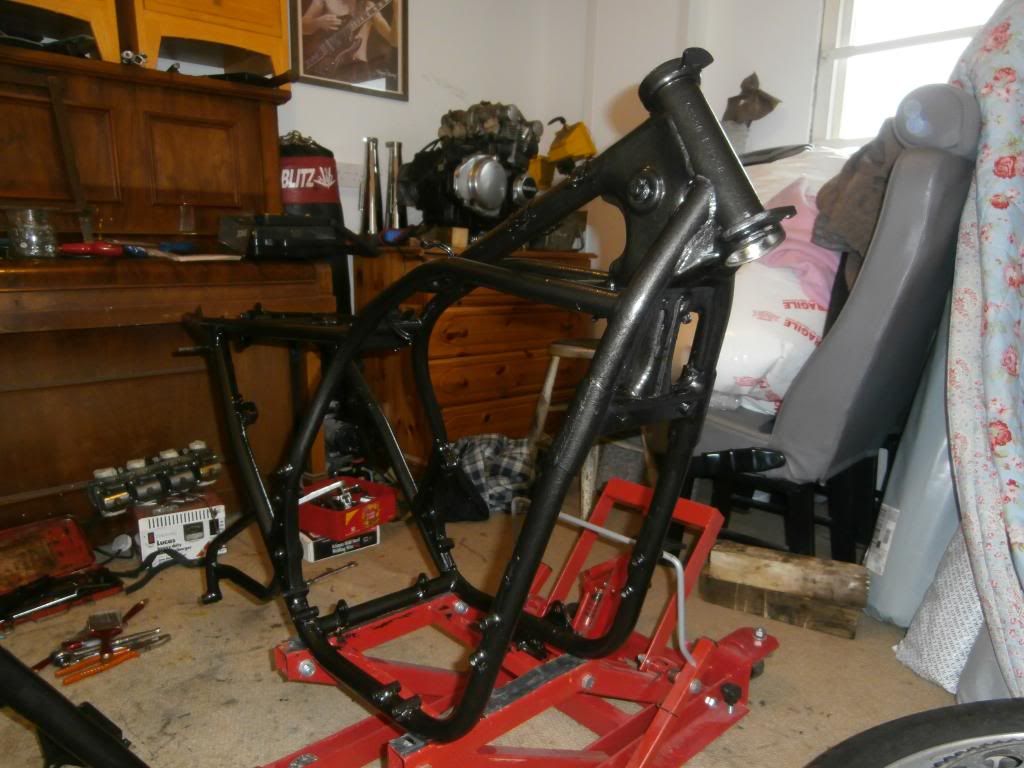

Dark gunmetal grey..............just waiting for it to cure hard before I can load the motor up and start on the wiring
Keep watching this space for more updates.................

Yep, I'd been turned over real good! But not being a violent man, I figure what goes around, comes around and the little **** will get his............. eventually.
Anyway, after a while of contemplation, I bought myself a second hand frame and have begun the now long overdue build process. This is where we are at just now............
The engine was running when I bought the bike and so I figured a quick rub down with an oily rag would do just fine...........wrong again!
There were exhaust studs epoxied into the head and the drive sprocket had been welded onto the output shaft. The exhaust studs were an easy fix, helicoil the head and Bobs your fathers brother, but a call to JT's Suzuki in Bridgend (they have a massive stock of OEM old/new Suzuki stock) threw a spanner in the works. A new output shaft was going to be Ł118.00 + vat, so after another hunt on Ebay I found a second hand bottom end which I bought and robbed the shaft from.

The frame was a write off, so I sourced another from a 1979 model thinking I could just transfer the running gear from the 1981, but of course nothing is that easy. Suzuki improved the head race bearings in 1980 and the VGC bearings from the original frame were of no use in the replacement, and after some investigation I found that the older style bearings would not fit onto the later set of yokes.........back to Ebay and a set of 1979 yokes were mine.
The plan is to utilise the original tank, the shape is great, I had thought about bashing some knee dents into it but at present think I'll leave it as it is. The seat unit is from a 1978 Ducati 350 Desmo, it has be shortend and will be recovered in black leatherette.

The rear sets are from a 2002 Yamaha R1, they fit straight on, with only a little work required to make the gear selector work properly. The R1 shifter has the linkage on the top of the lever, whereas the GS requires the linkage to be underslung.........the fix was fairly simple, I got a local engineering firm to turn a collar the same size as the one on the R1 peg, cut the original GS lever and welded the new collar to the old lever.


The Clip on bars came of a Yamaha RD400 and set in the ideal place fouled the tank on full lock, so the frame steering stops were modified, solving the problem

The electrics which used to live under the side panels have been hidden under the seat pan and hump on trays fabricated between the seat mounting hardware

.......now where did I put those Allen keys? (Sometimes you just have to improvise LOL!)

With the majority of the build in hand and no more work on the frame to do until the full fairing arrives, it is time for paint


Dark gunmetal grey..............just waiting for it to cure hard before I can load the motor up and start on the wiring
Keep watching this space for more updates.................

Comment