Announcement

Collapse
No announcement yet.

1978 GS400 Barnyard Rescue

Collapse
X
 
  • Filter
  • Time
  • Show
Clear All
new posts

    1978 GS400 Barnyard Rescue

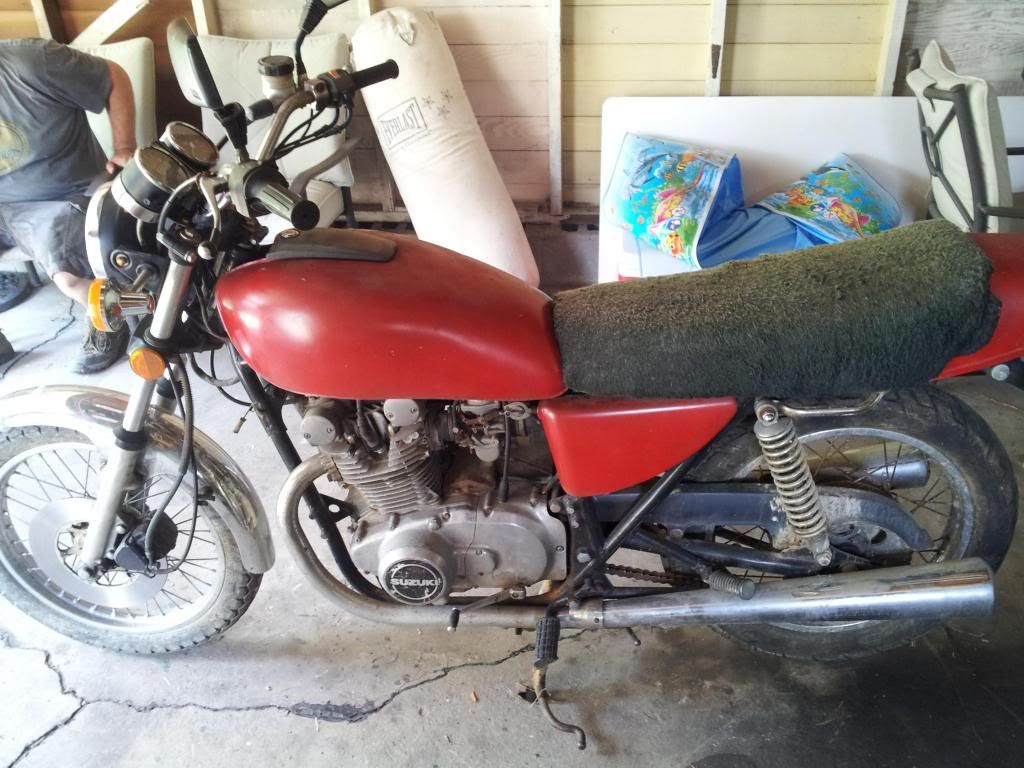
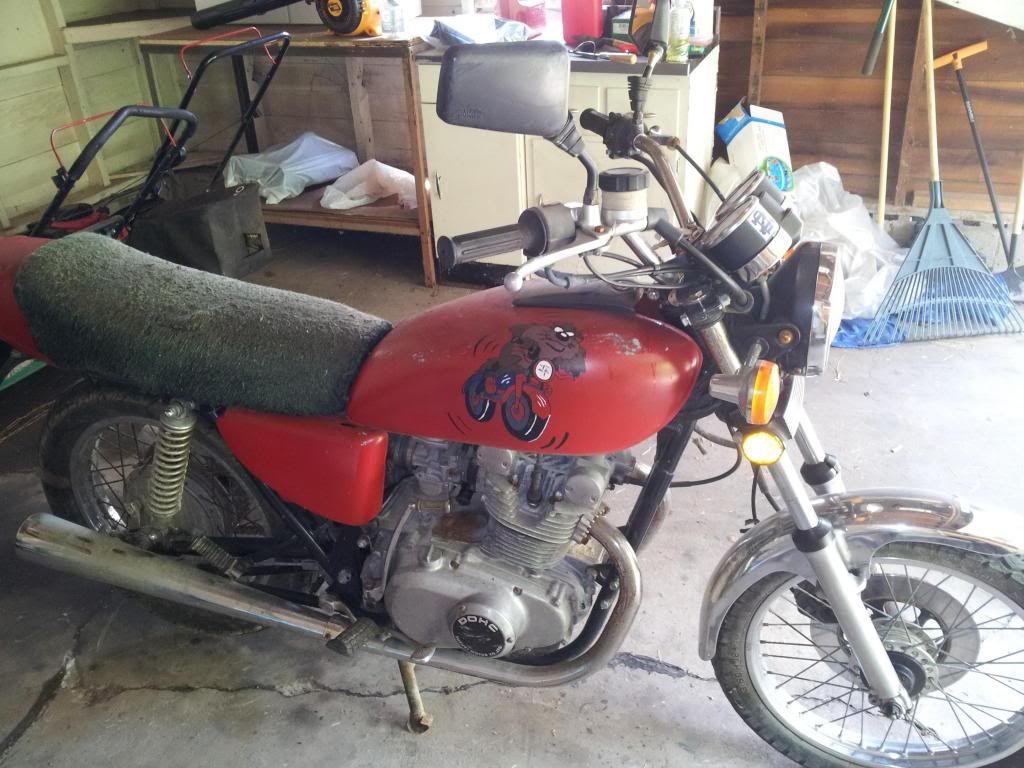
    I scooped up this 1978 GS400. I watched a long marathon of Barter Kings and got inspired. Traded some computer hardware I had laying around collecting dust that I got for free so the bike, in turn, was free.

    This is my first forum post, and my first bike build. I would love to hear your feedback. No lie, I made all the quintessential mistakes a first timer makes. Get bike, tear apart. I am about half way done on this and needless to say, the learning curve has been intense. I want to have this thing on the road by June, so I'll post what I have, show you where I am at and soak up all the knowledge you guys can drop me!


    Thanks!

    #2
    Very nice, been loking for one of those, thy are hard to find. What are your plans for it?
    http://img.photobucket.com/albums/v5...tatesMap-1.jpg

    Life is too short to ride an L.

    Comment


      #3
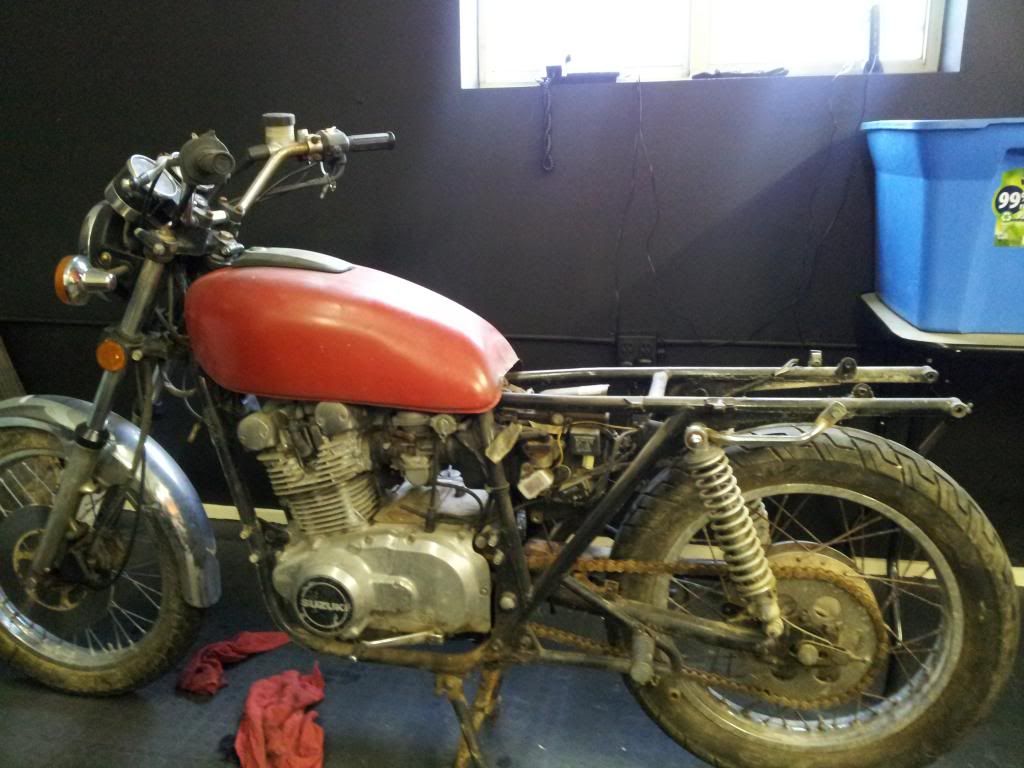
      Tore it apart.

      Because I am a noob and didn't bother reading or researching anything other than 9 episodes of Cafe Racer TV, I decided the best first step was to tear it apart. Of course I did.


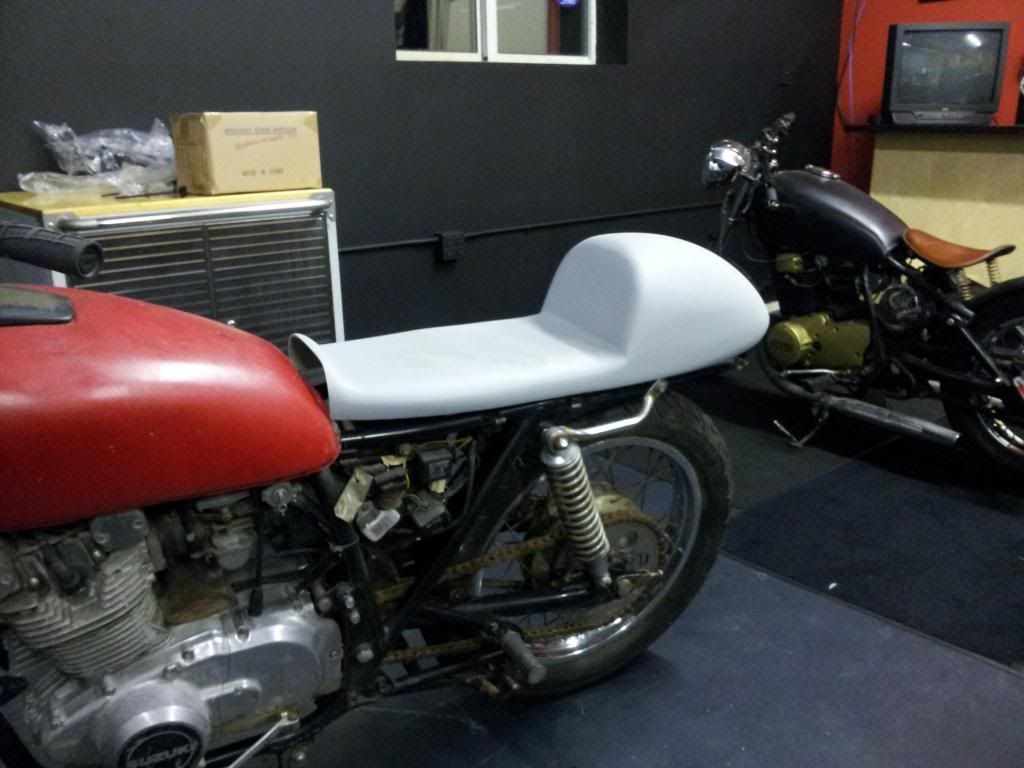
      As a newbie, I even started out with stereotypical missteps. Like "hey, let's worry about the carbs later, how about a kick-ass seat!"


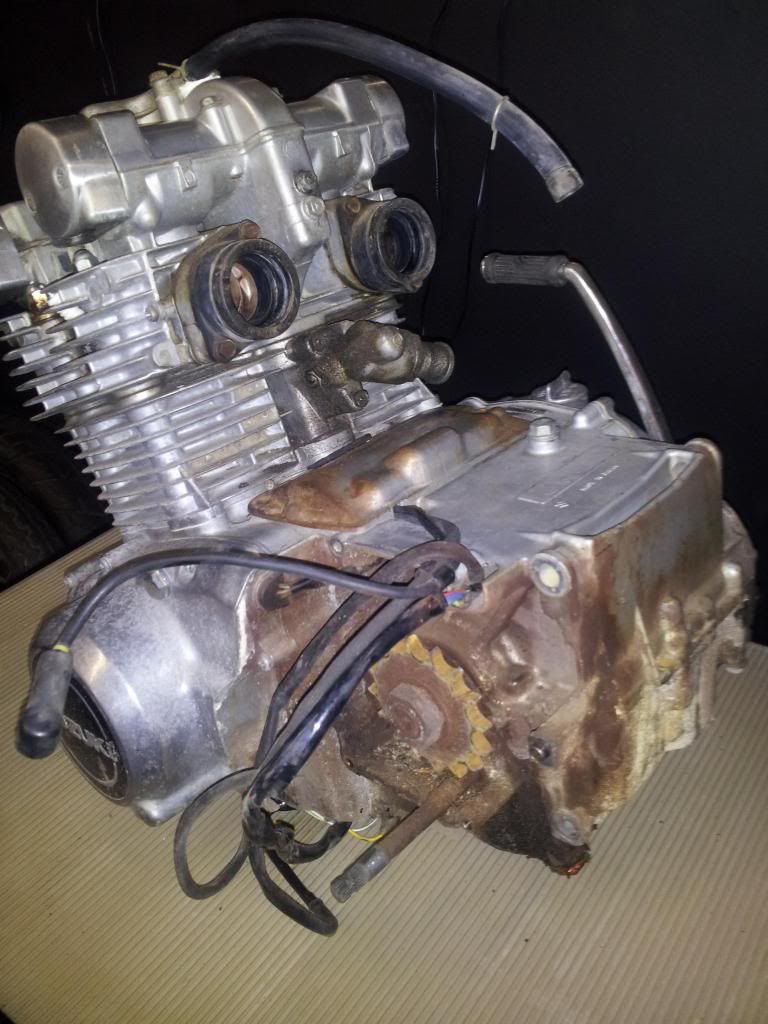
      Better than that, let's yank that filthy engine out!

      Comment


        #4


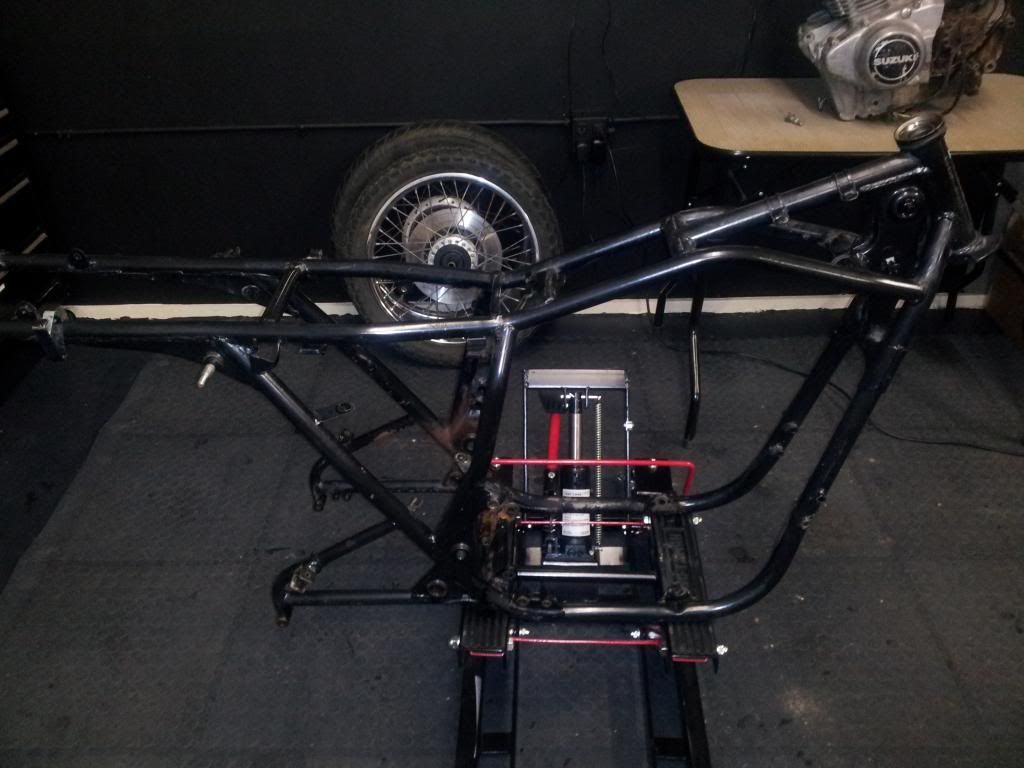
        This is where I found myself in October. Down to the frame with no clue what to do next.

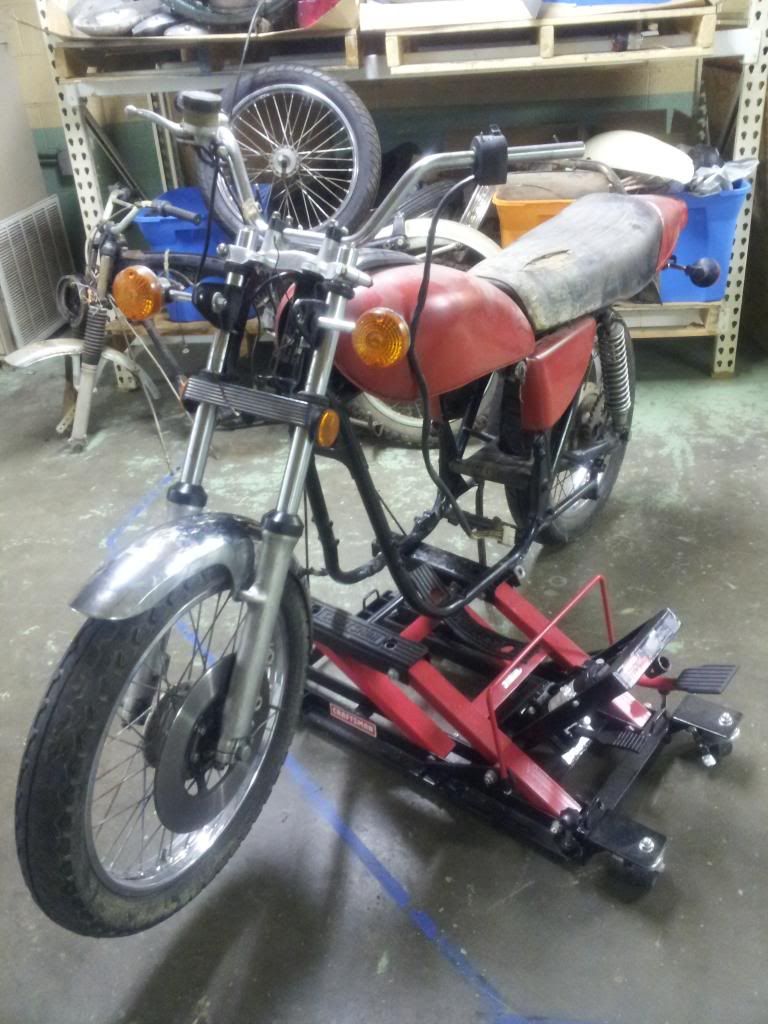
        I decided to waste a weekend and "mock up" what I had just torn apart. Again, why not?


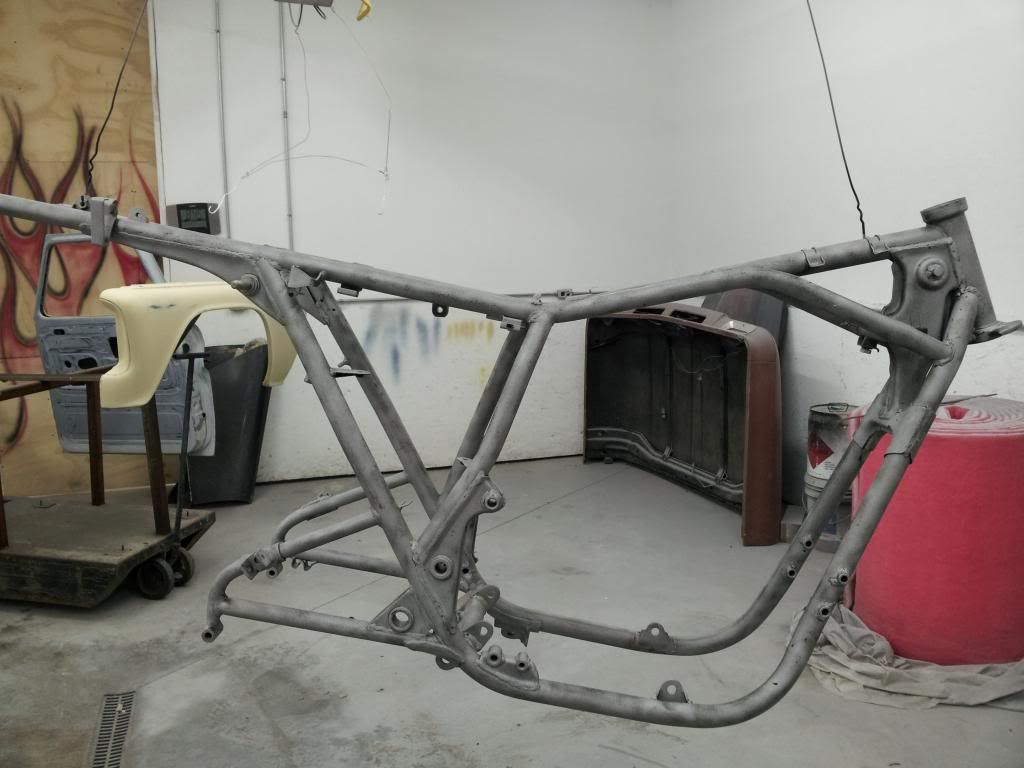
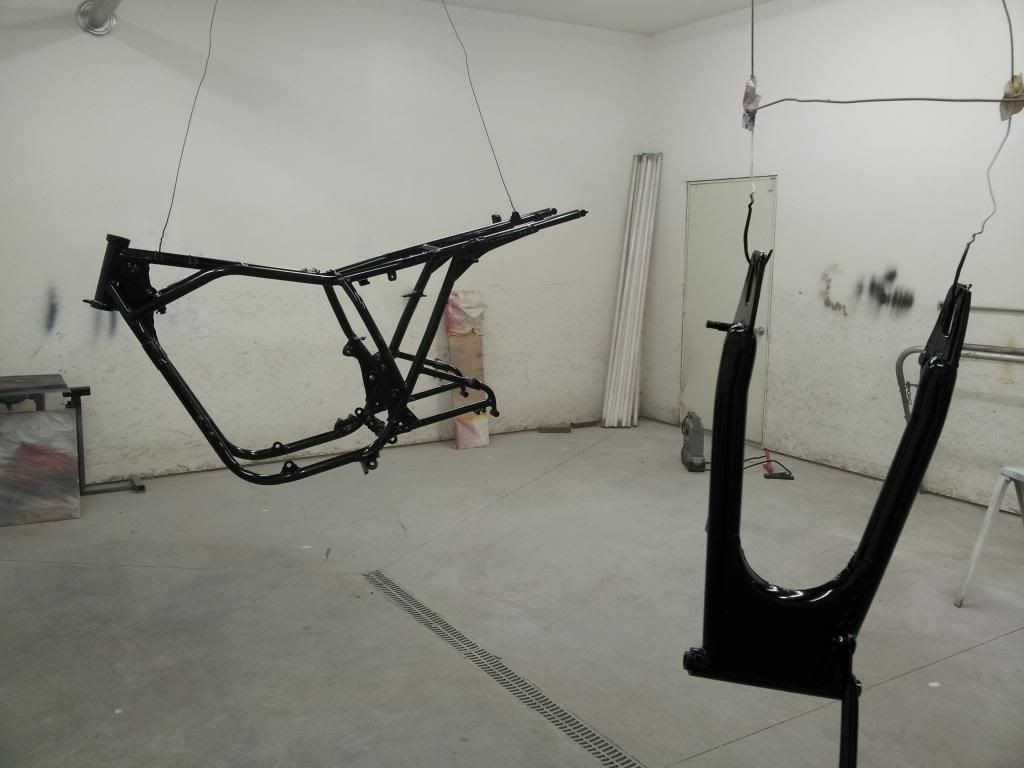
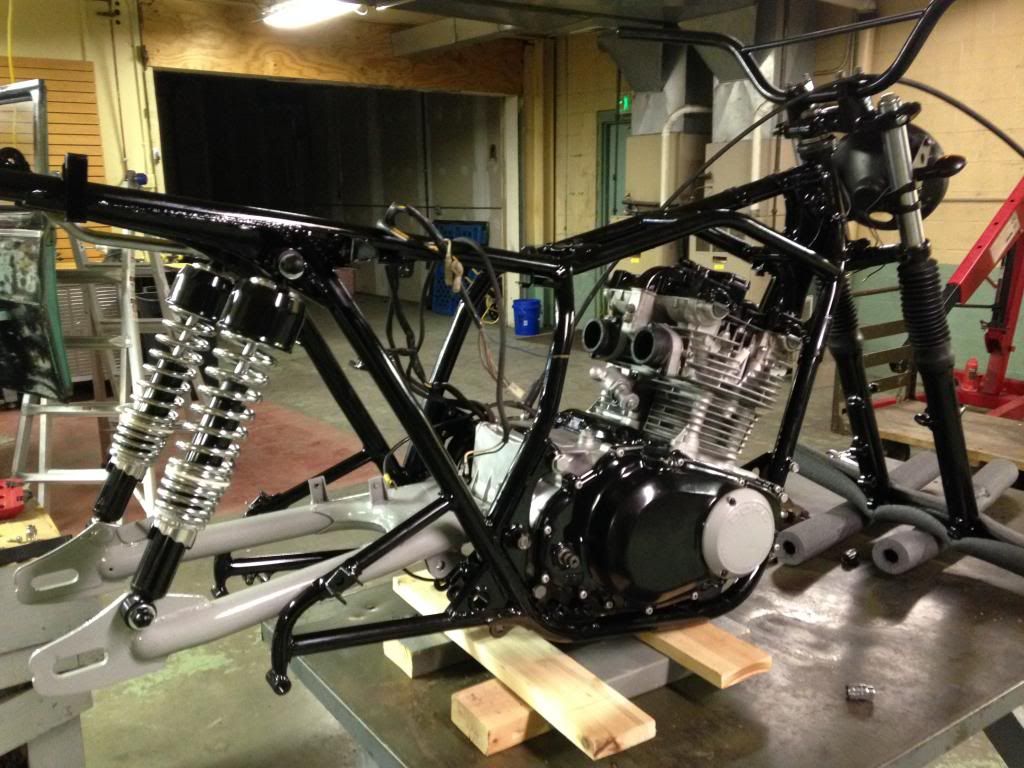
        Learned a bit. Decided as long as it is down to the frame, let's make her pretty!


        TADAH!

        Comment


          #5
          Powdercoating

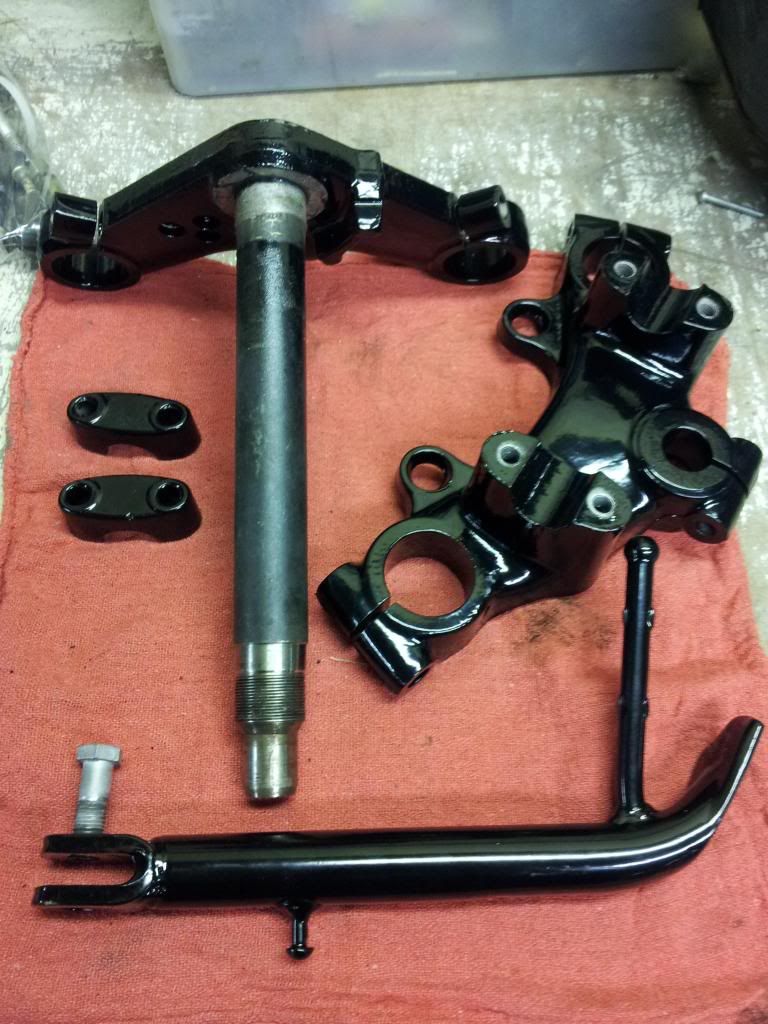
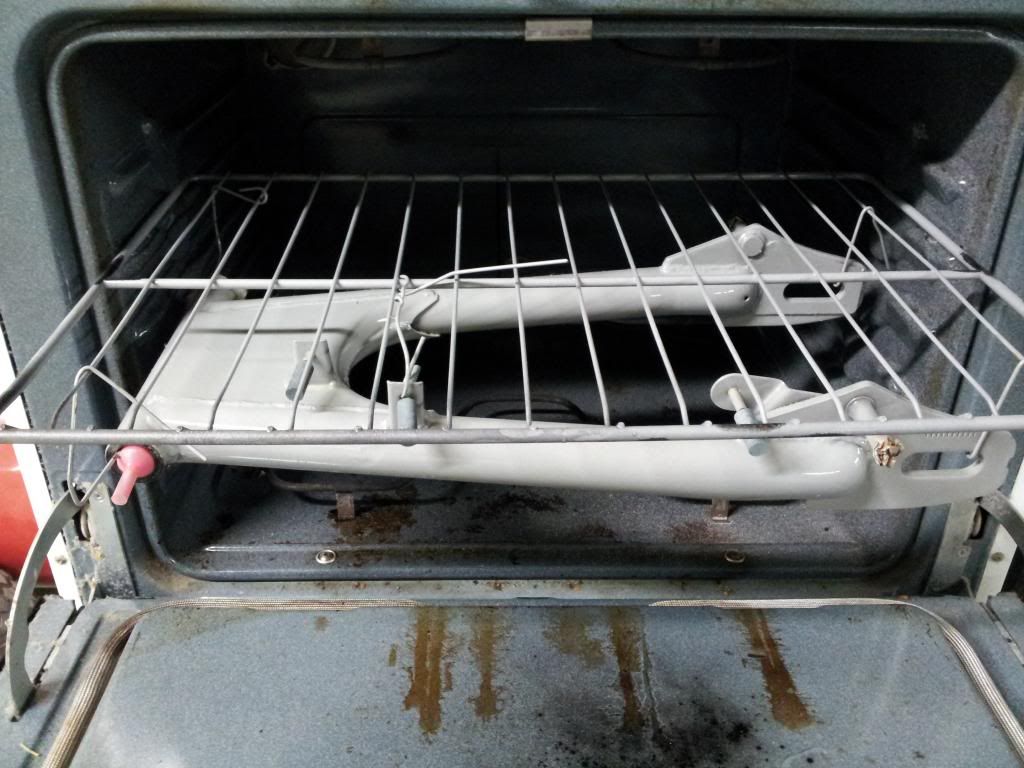
          I did learn how to powdercoat. Got a gun, a junk oven and went to work after I hit the sandblasting cabinet....


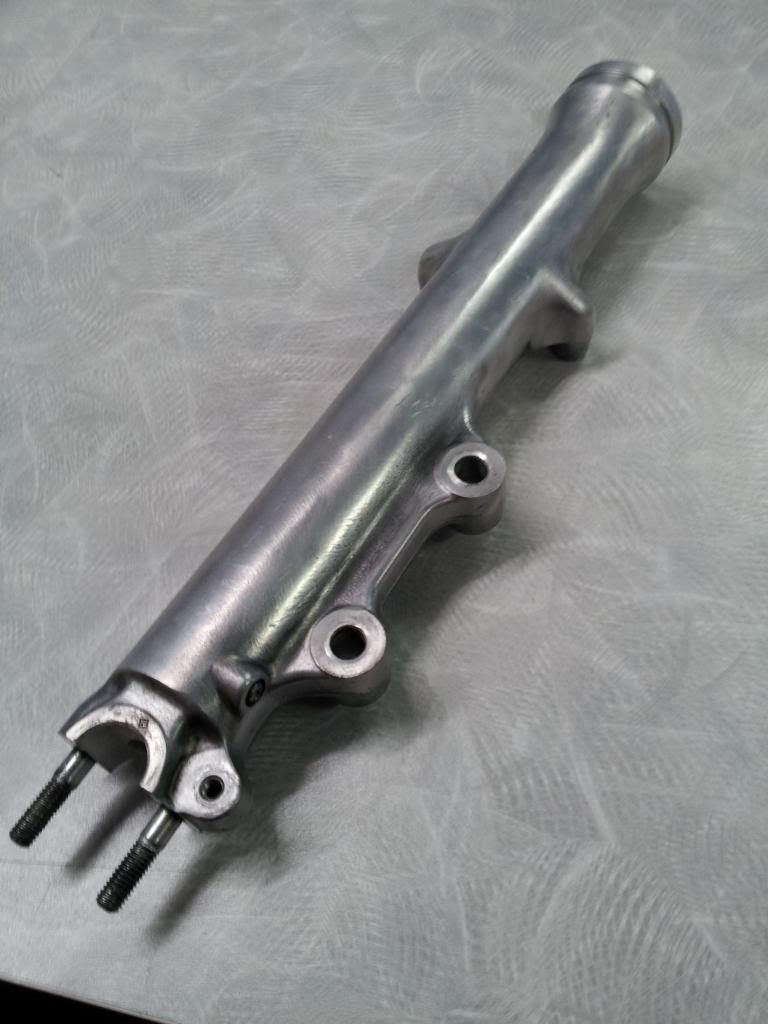
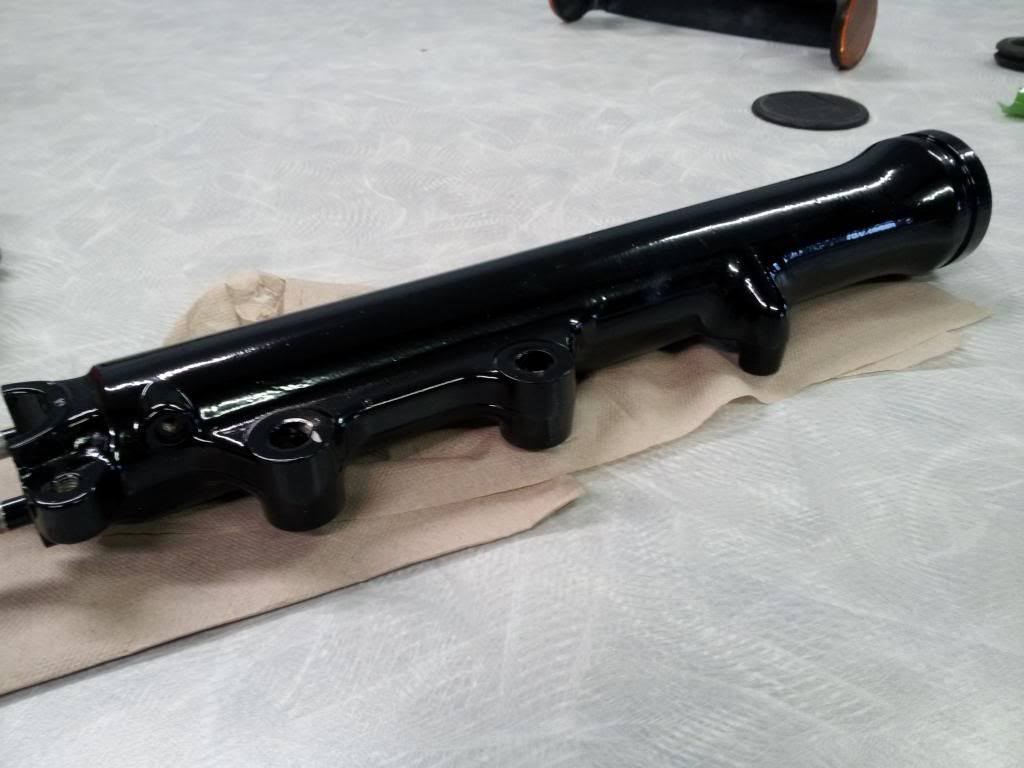
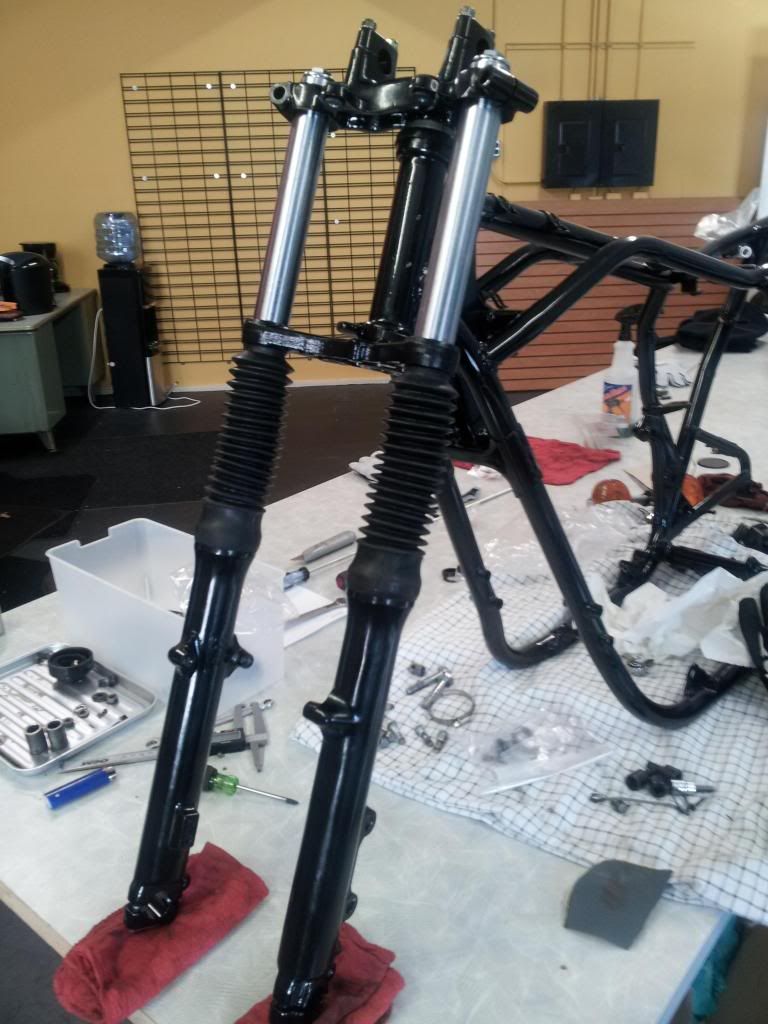
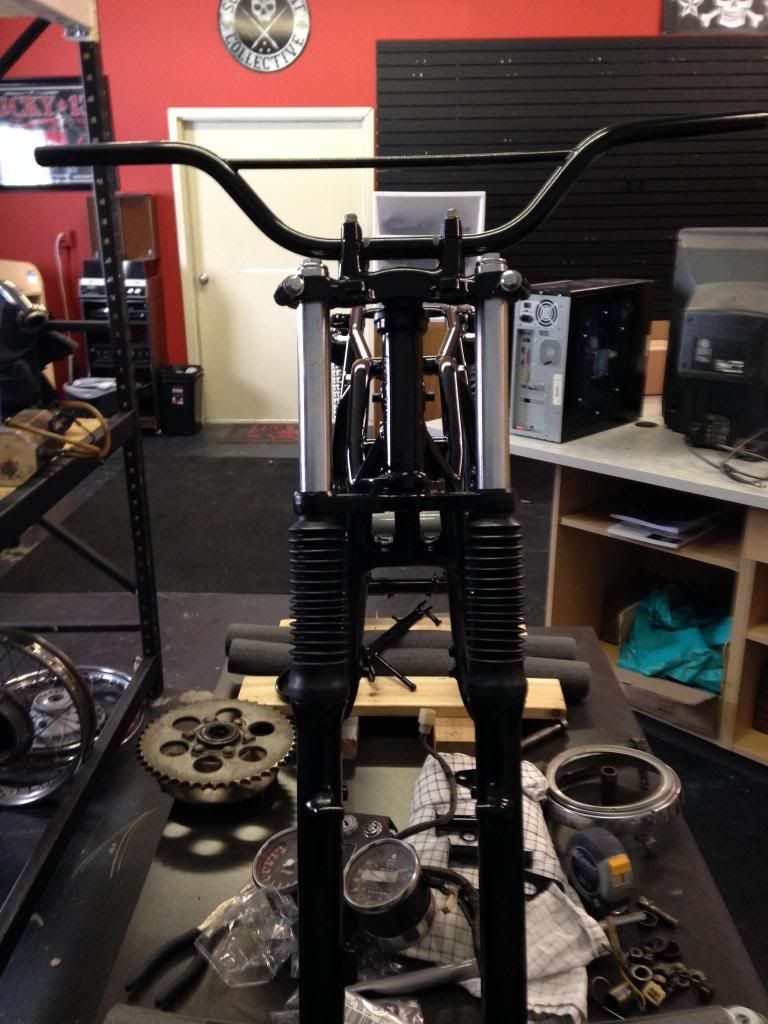
          Had to learn to rebuild forks....because I learned how to powdercoat and wanted to powdercoat EVERYTHING!


          Scooped up some fork boots, still not sure where this bike is headed....forks turned out great though!

          Comment


            #6
            MOAR building


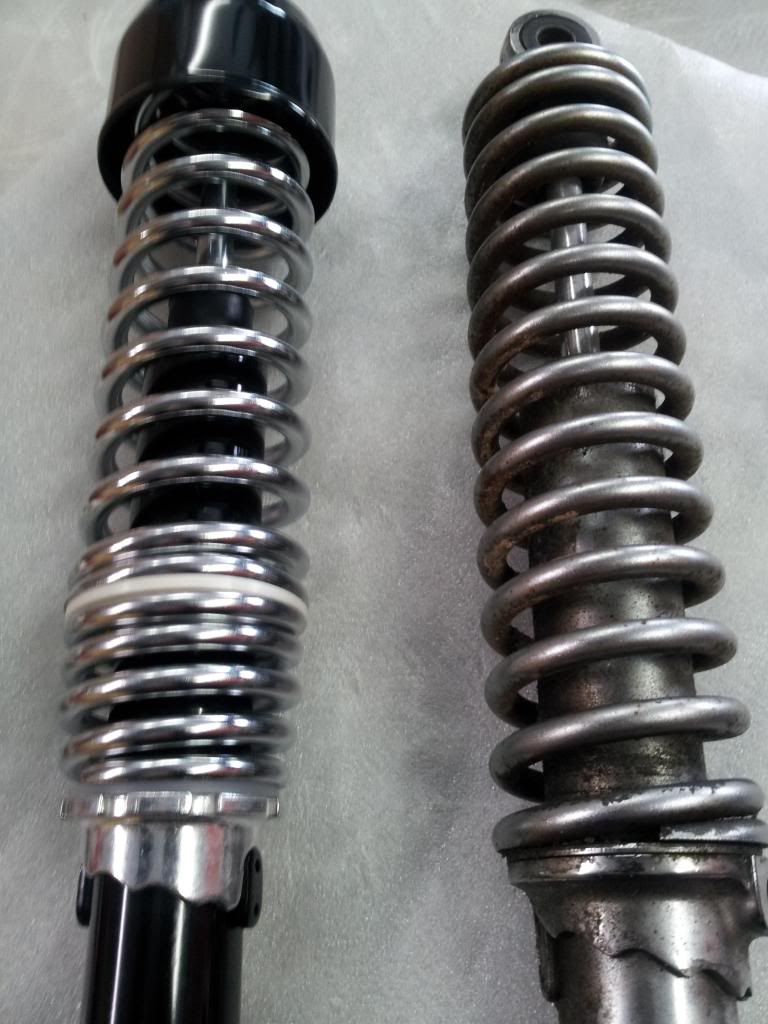
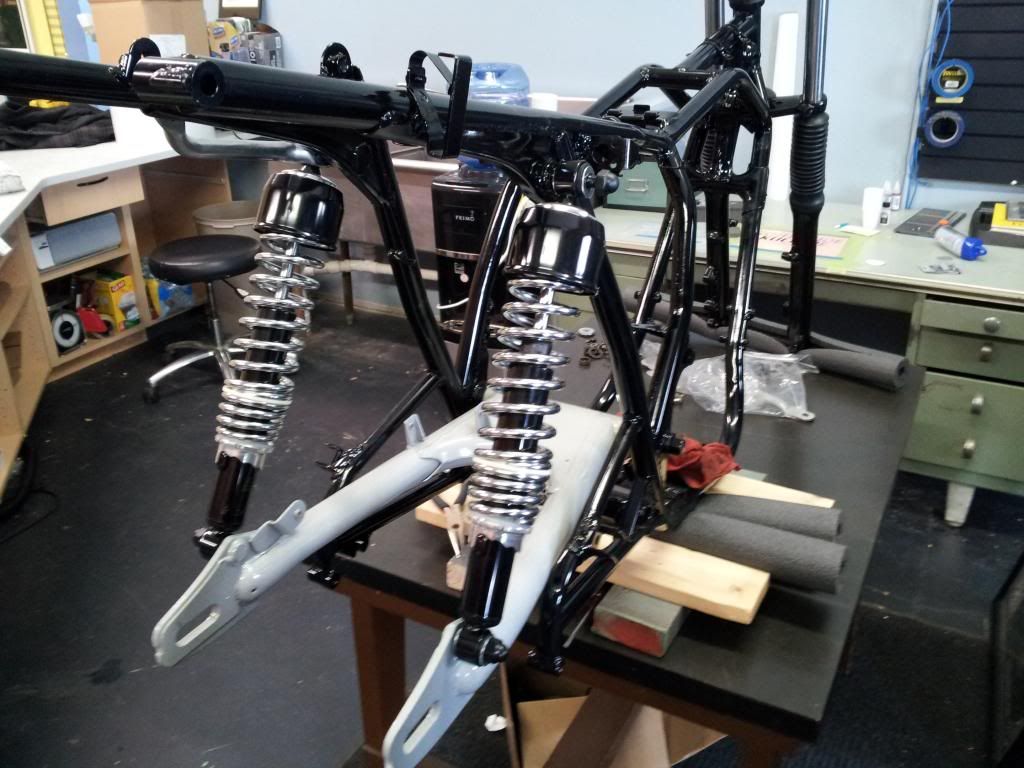
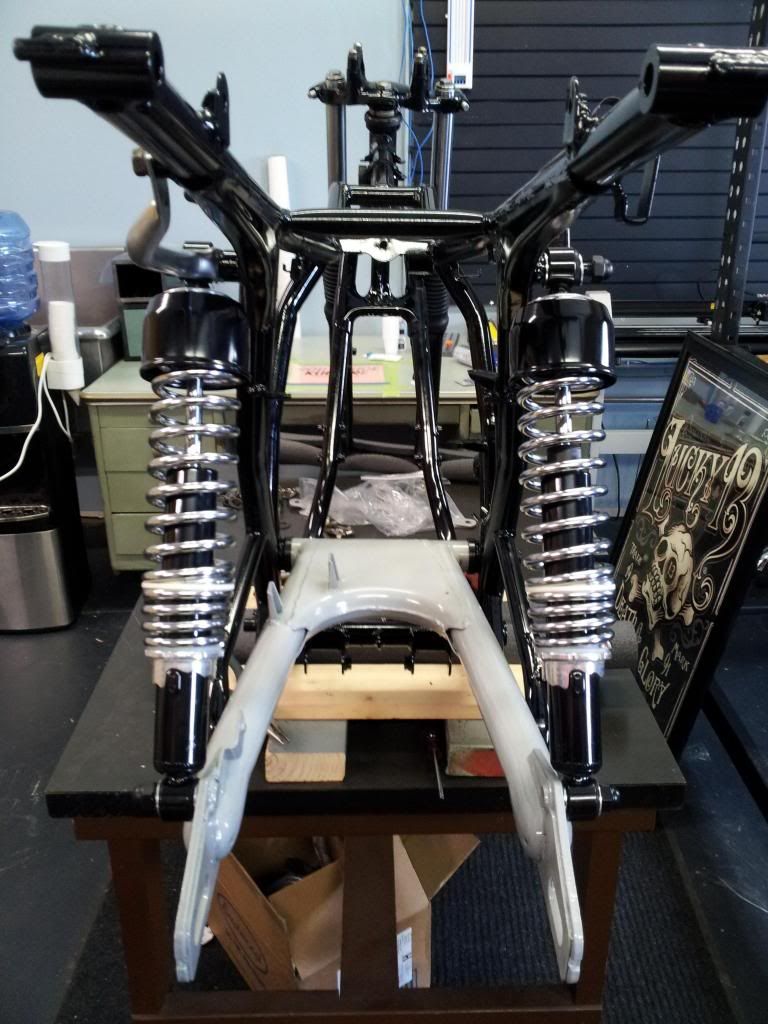
            December 2013 I had amassed the smarts to realize that $80 in shocks were better/prettier than screwing with the old ones.

            Right before Christmas my shop partner Bill and I decided that this build needed something...a little eye catcher. So we stripped the freshly painted swingarm and applied a coat of Eastwood's "blasted aluminum" powder followed by a thick coat of their clear powdercoat....


            After a ton of "learning" about needle bearings, here we are on New Years' Eve.

            Comment


              #7
              Still working on the chassis...


              So, I've learned hot to powdercoat. Next up, I HATED the stock bars, found a pair of CR250 bars on CraigsList for $5. Boom, sandblasted, and in the oven they go!


              I didn't take any pics, although I wish I had....I bough a $30 portable sandblaster at Harbor Freight in January. Worth every penny! Made an impromptu tarp out of shrink wrap, blasted the engine!


              CLEAN!
              Last edited by Guest; 04-05-2014, 05:49 PM.

              Comment


                #8
                Going to powdercoat the engine? I have been doing engine covers lately, gloss is hard to do, matte is easy. I'm thinking a fine wrinkle texture would be great since some of the castings are quite rough.
                http://img.photobucket.com/albums/v5...tatesMap-1.jpg

                Life is too short to ride an L.

                Comment


                  #9
                  I've done two since I have started powdercoating...after you clean the piece...bake it raw....clean it again, then powdercoat it. Anything that touches oil can yield better results if you clean, bake raw then clean again before you coat....

                  Comment


                    #10
                    Broken brain


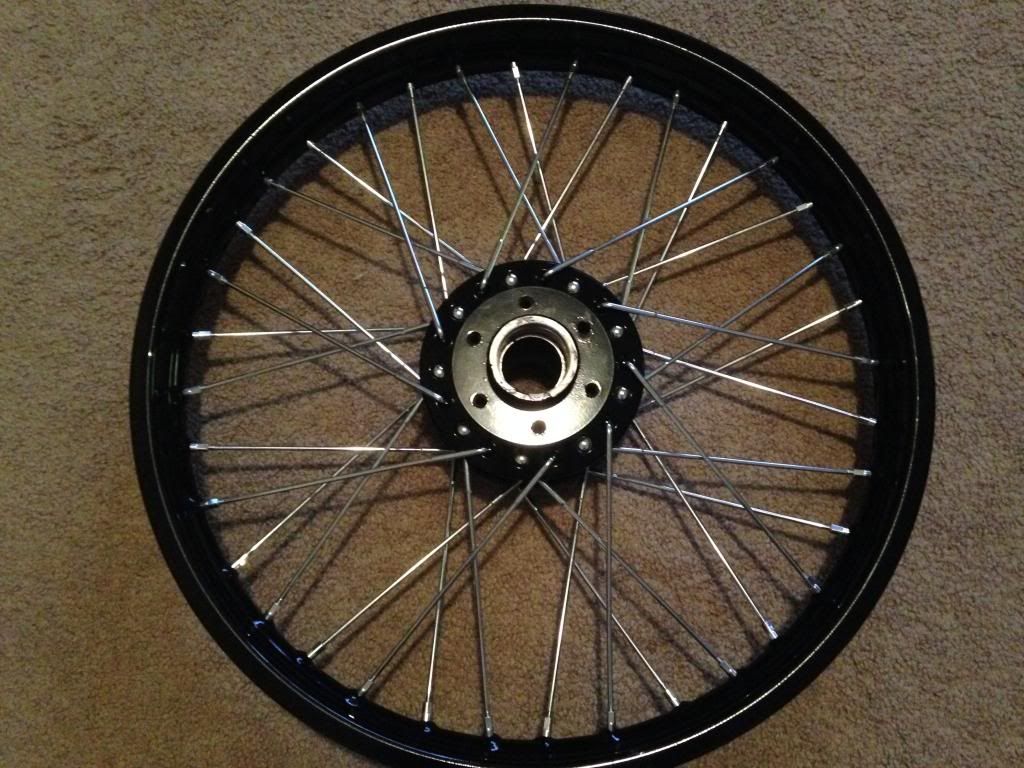
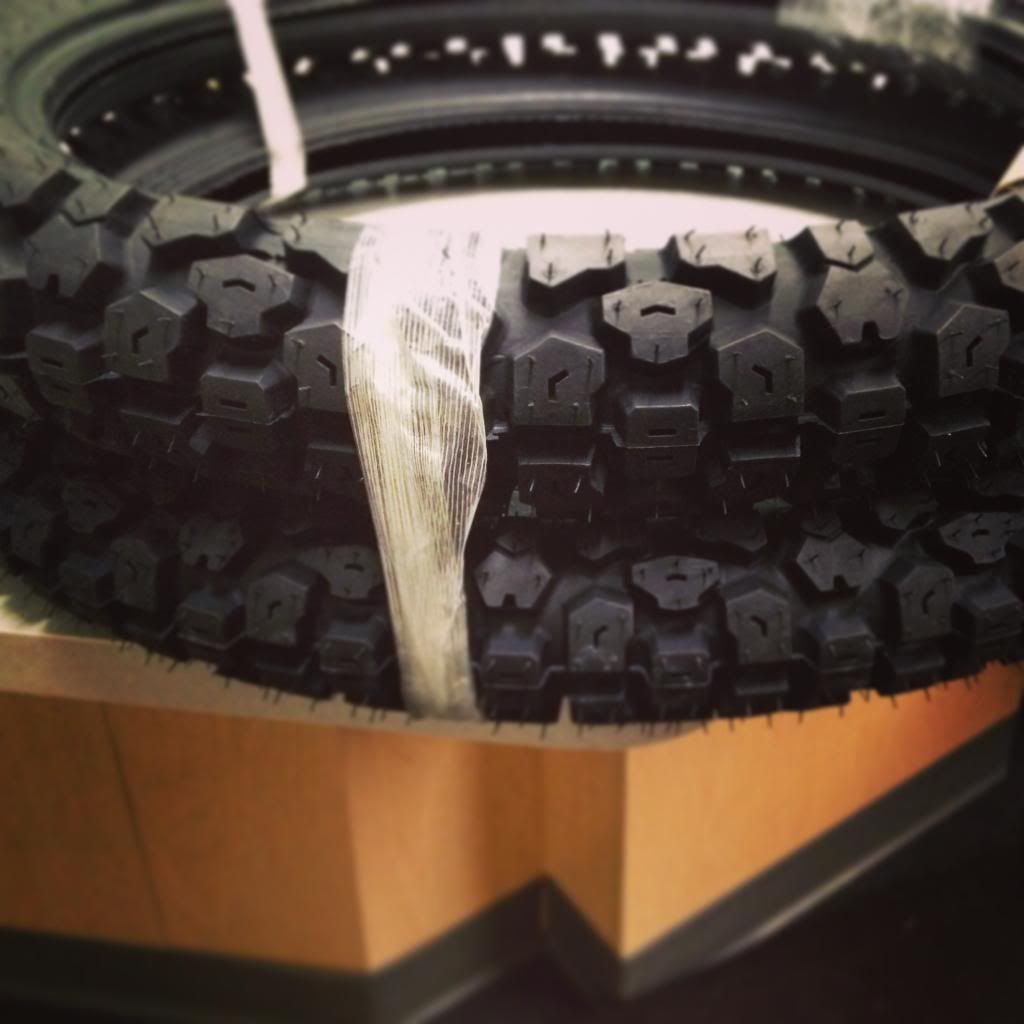
                    LONG story short. Biker pals told me I couldn't do it. 4 weeknights without the fiancee, and yeah, figured it out (through tears, ha!) Laced new galvanized spokes from BikeBandit.com into my freshly powdercoated rims and hubs.

                    Much gnashing of teeth and reading of user reviews, went with the Shinko 244...

                    Comment


                      #11
                      April 5, 2014

                      This is the work I did today, that should bring this build thread to present day!

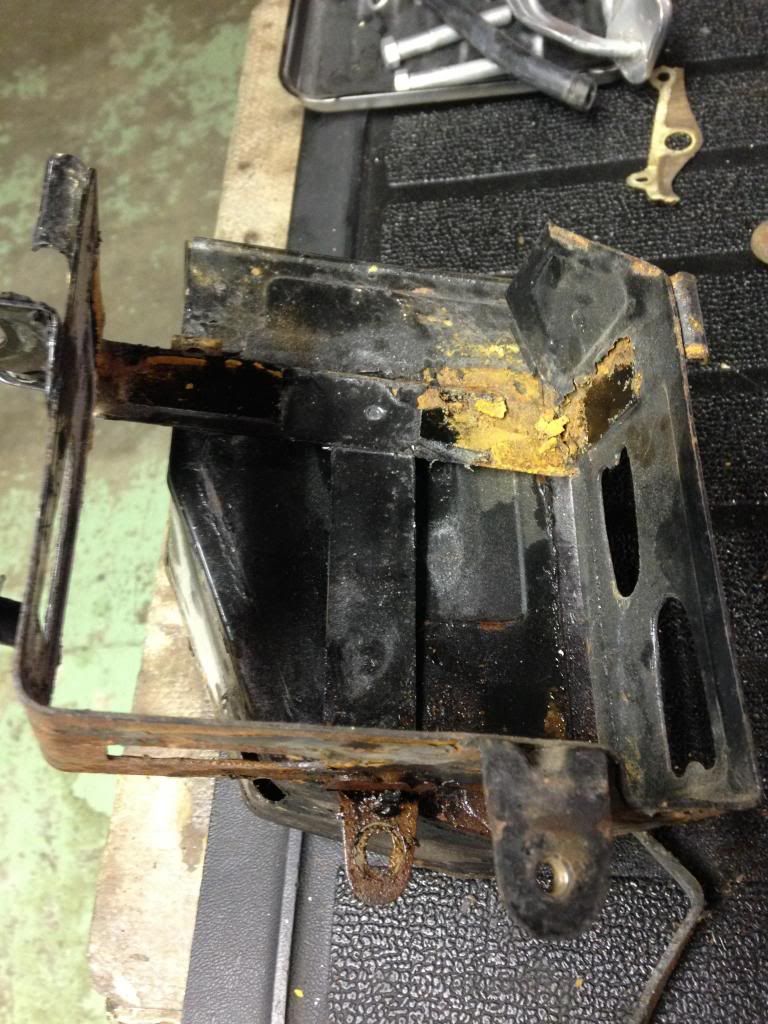
                      Battery box.


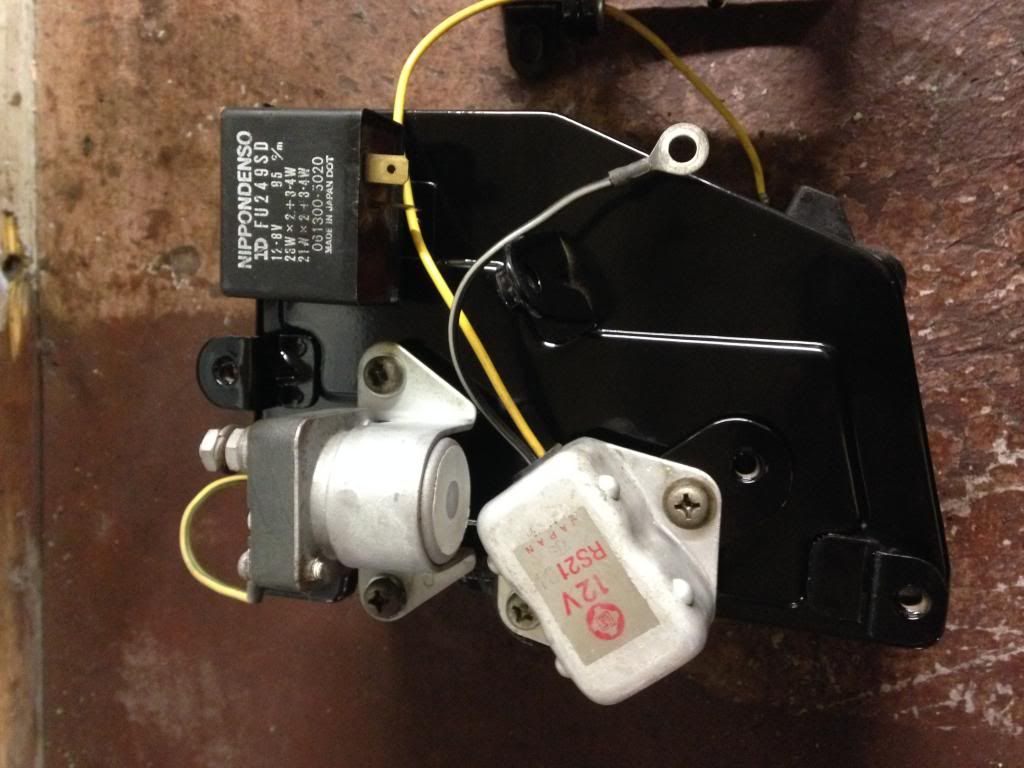
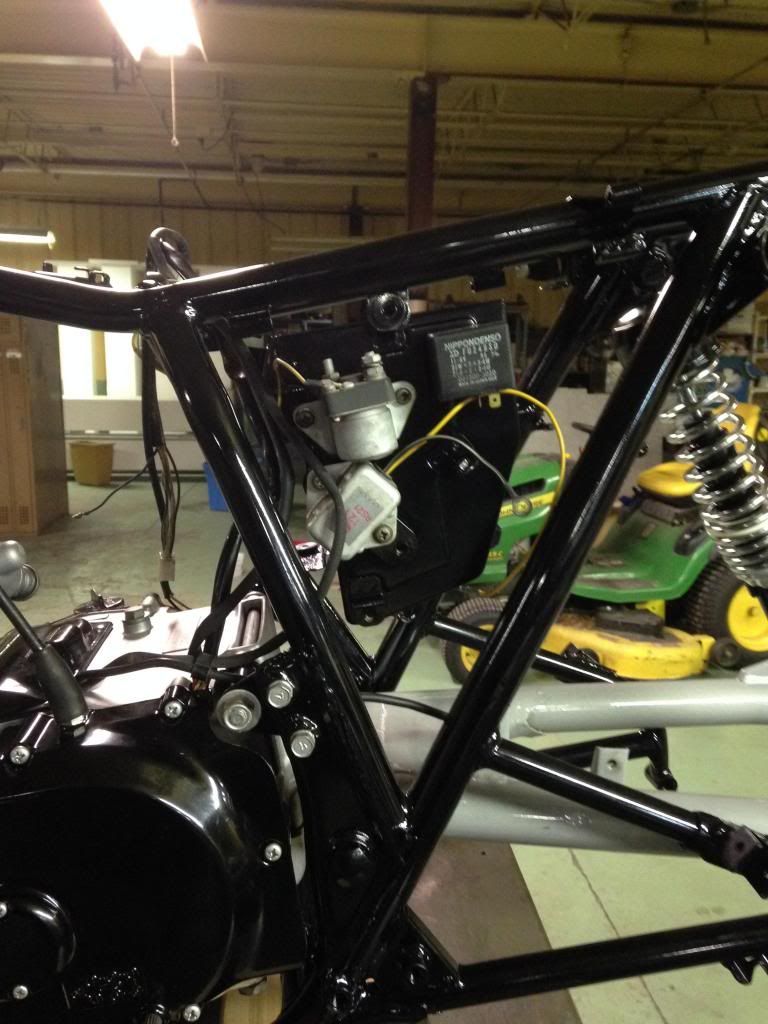
                      Cleaned, disassembled, 'coated, polished the factory electronics, BOOM!


                      Comment


                        #12
                        Looks great.
                        http://img.photobucket.com/albums/v5...tatesMap-1.jpg

                        Life is too short to ride an L.

                        Comment


                          #13
                          Tuning in, looks great, loving the twins!

                          One potential issue I see on your electrics tray is to scrape some powder off one of the starter relay mounting holes as that's where it grounds. The way it is now you may find it doesn't turn the relay on.
                          1982 GS450E - The Wee Beastie
                          1984 GSX750S Katana 7/11 - Kit Kat - BOTM May 2020

                          sigpic

                          450 Refresh thread: https://www.thegsresources.com/_foru...-GS450-Refresh

                          Katana 7/11 thread: http://www.thegsresources.com/_forum...84-Katana-7-11

                          Comment


                            #14
                            Engine

                            Pete, thanks for the heads up! Nuggets like that are what motivated me to reach out to the GS community. Well, that, and I was beginning to feel like a bit of a free loader lurking the last year or so.

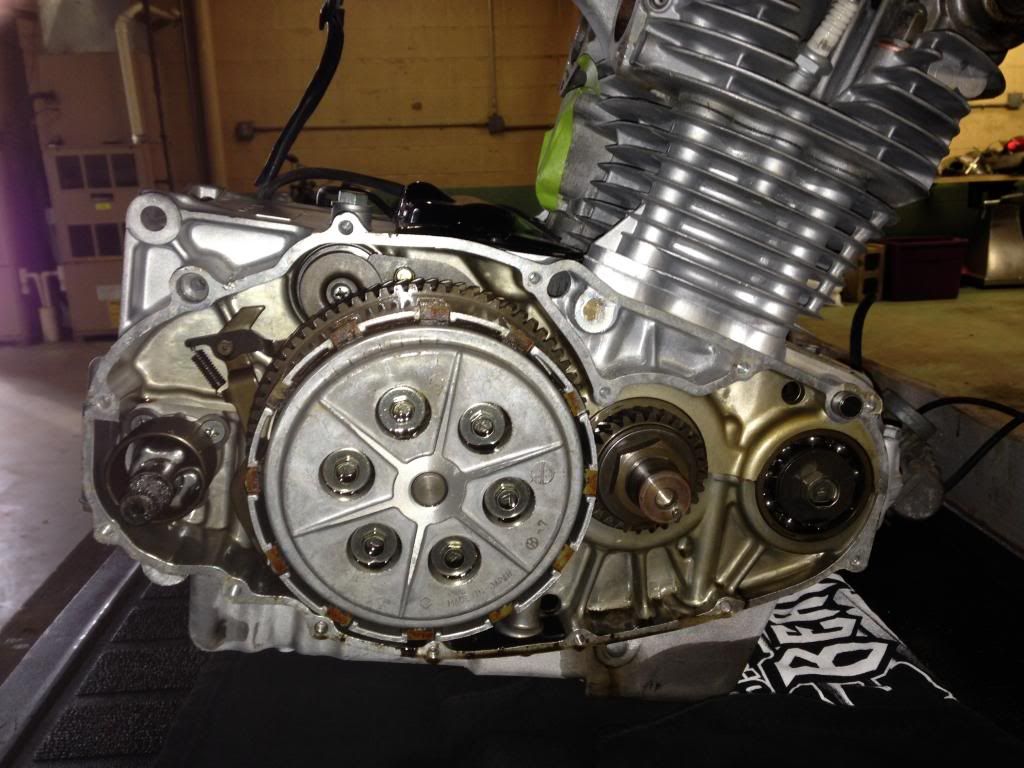
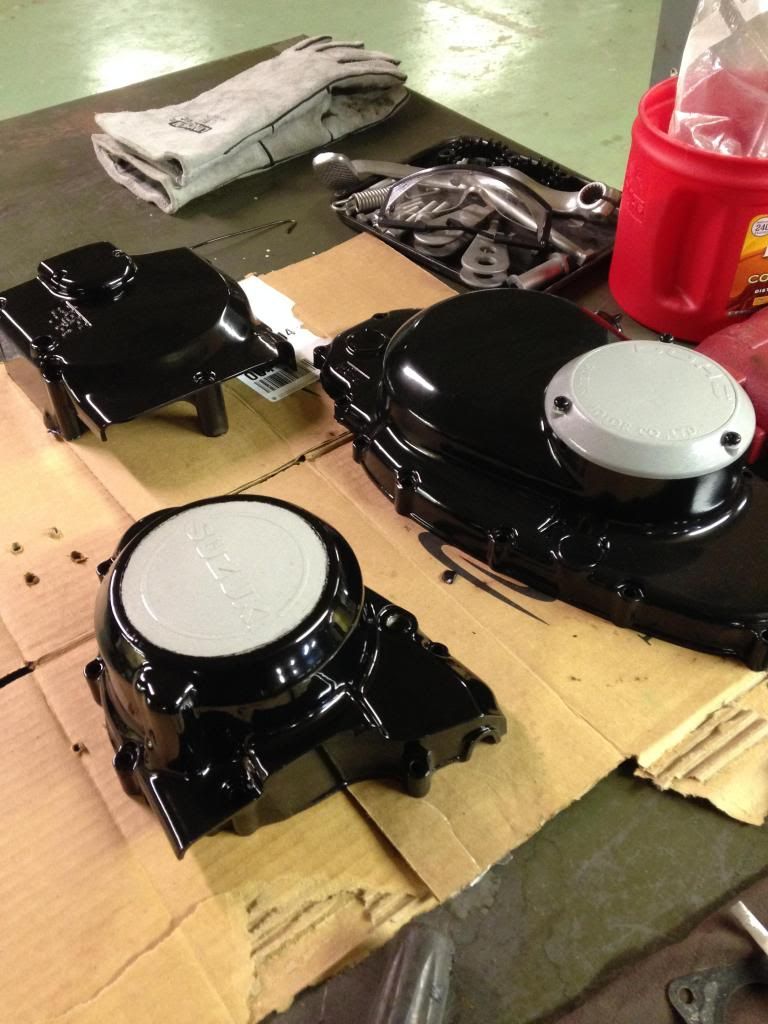
                            A month ago I tore the covers off the engine for polishing. Didn't go well. Spent about three hours on a wheel and still did not give me the eye catching look I wanted. So I lost patience and decided to powdercoat them.


                            The right side cover had the oil gauge window and I could not find a replacement so I had to paint that one black, but the rest has been coated. Masking off the silver parts was a bit of a pain, but it turned out and gave me the look I want. Got the engine covers regasketed, and we're on to the next stop....


                            Just spent the last 7 hours of my Saturday learning how to true a wheel. Thought I was the man after I figured out how to lace one but damn, truing is ridiculously tedious work! I was going to post a pic, but the wheel looks the same as the earlier one I posted.
                            Last edited by Guest; 04-05-2014, 06:00 PM.

                            Comment


                              #15
                              Which gloss black power are you using? I looks better than mine so far, smoother finish.
                              http://img.photobucket.com/albums/v5...tatesMap-1.jpg

                              Life is too short to ride an L.

                              Comment

                              Working...
                              X