Announcement

Collapse
No announcement yet.

BanditRE's GS850

Collapse
X
 
  • Filter
  • Time
  • Show
Clear All
new posts

    #31
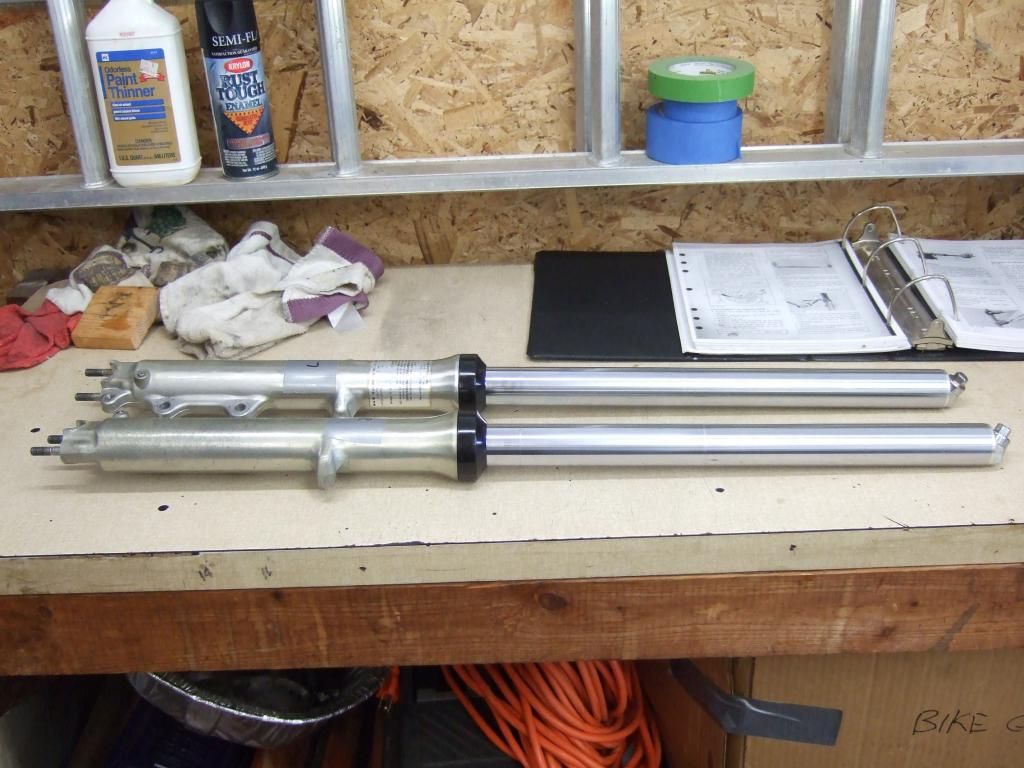
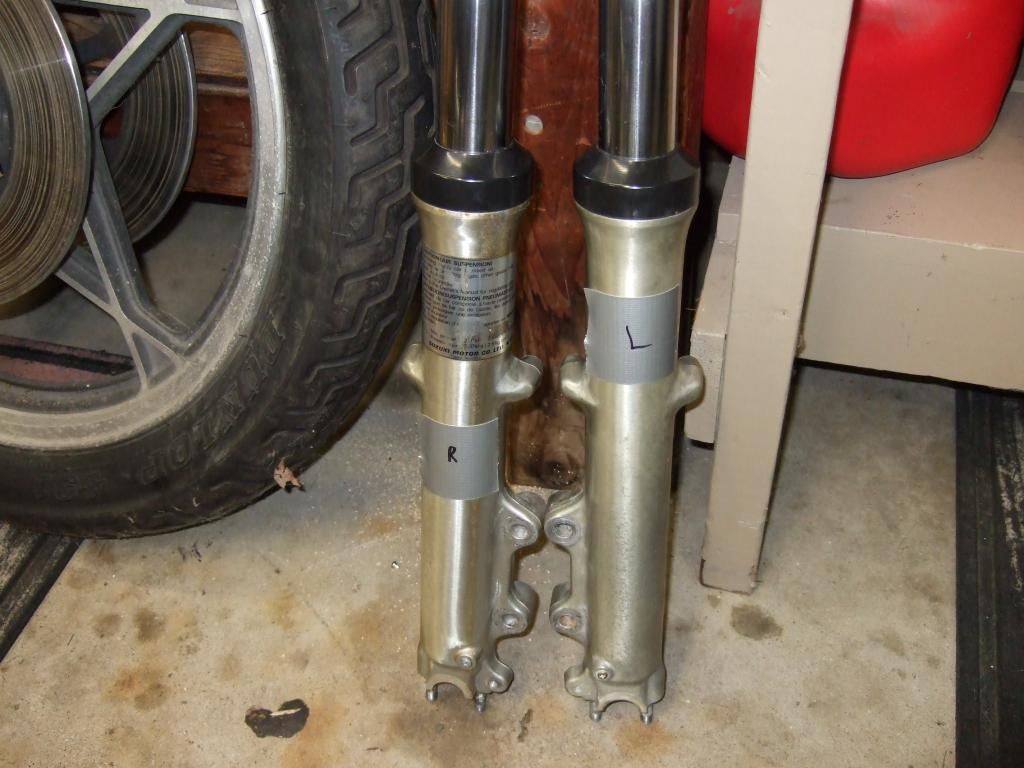
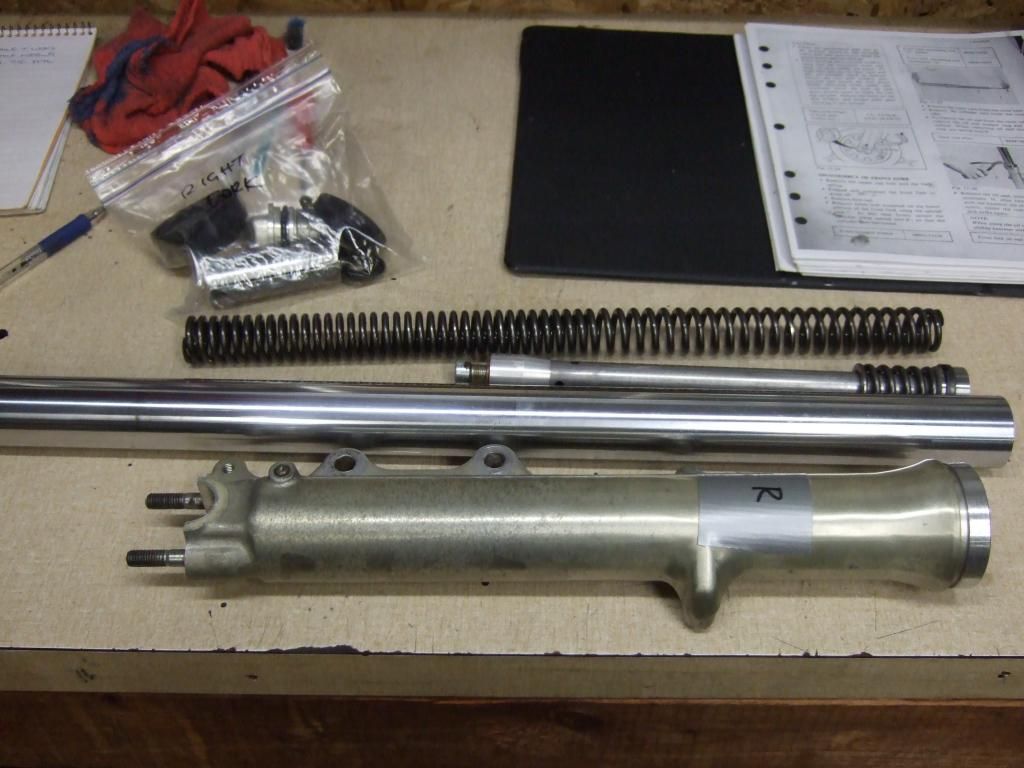
    And after the wheel, I started on the forks. The rust cleaned up well, and all parts were ok except the fork seals. So I'll replace those and likely splurge on some new progessive springs. Used the various brake and fork tutorials available on this site for doing all this work. Many thanks to all those who created them. There was some mention in those write ups about how tricky it is to get the bolt out of the bottom of the fork, special tools required etc. I soaked it in penetrating oil for about 24 hours and then put a 8mm hex bolt in my air impact wrench. A quick blast on the impact wrench loosened the bolt without having to hold the inner fork parts in place. Worked fine.


    Forks apart, oil looked pretty good. All parts looked pretty good too. The seal came out fairly easily using a seal remover I bought some years ago for $10-15
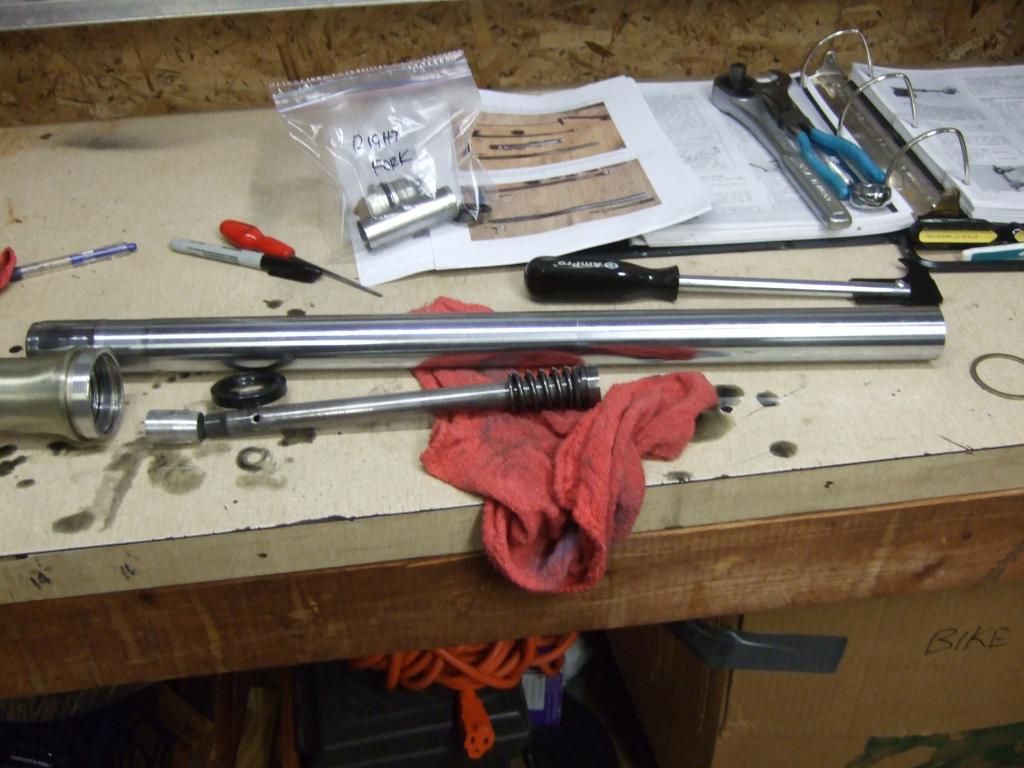


    Cleaned up and ready for new seals and springs........still waiting on those in the mail.
    Comment


      #32
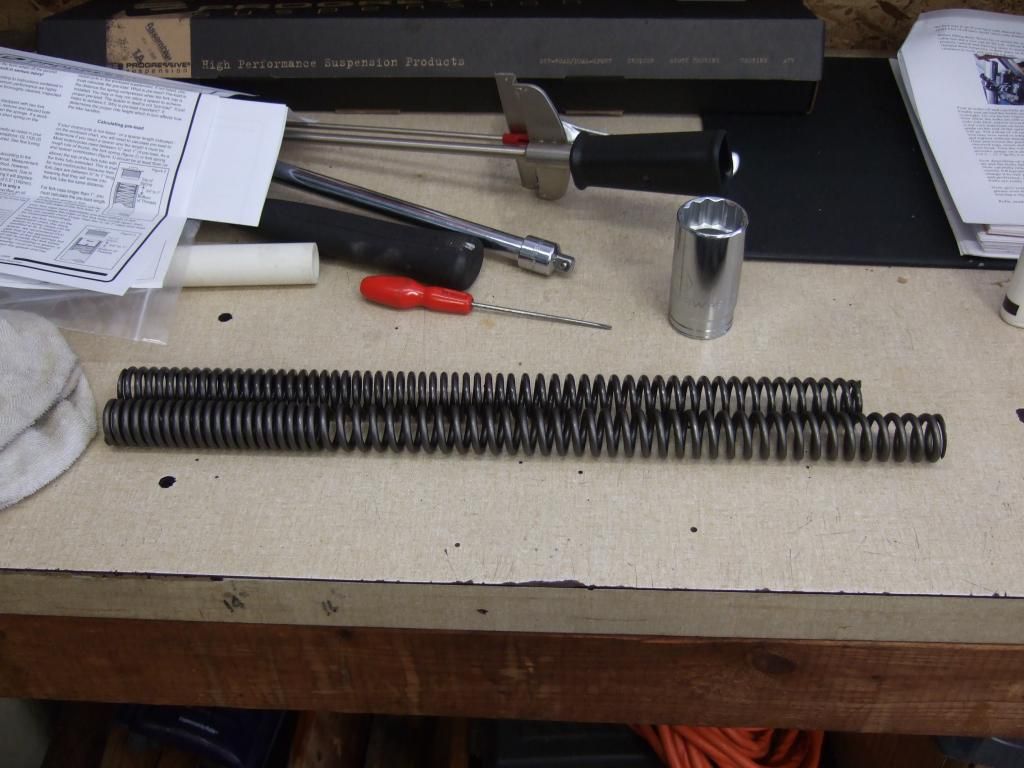
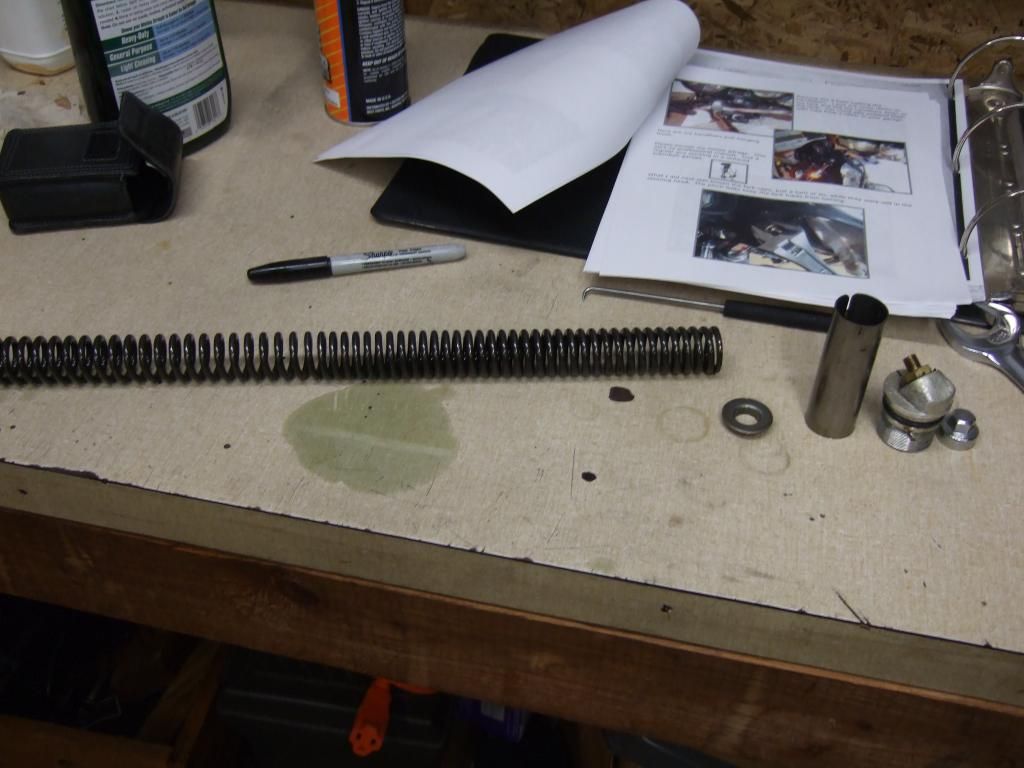
      Parts arrived, so its back re-assembly of the forks, brakes and master cylinder. I installed new fork seals and new progressive springs, topped off with 10w fork oil, new spacers and now two almost brand new forks.


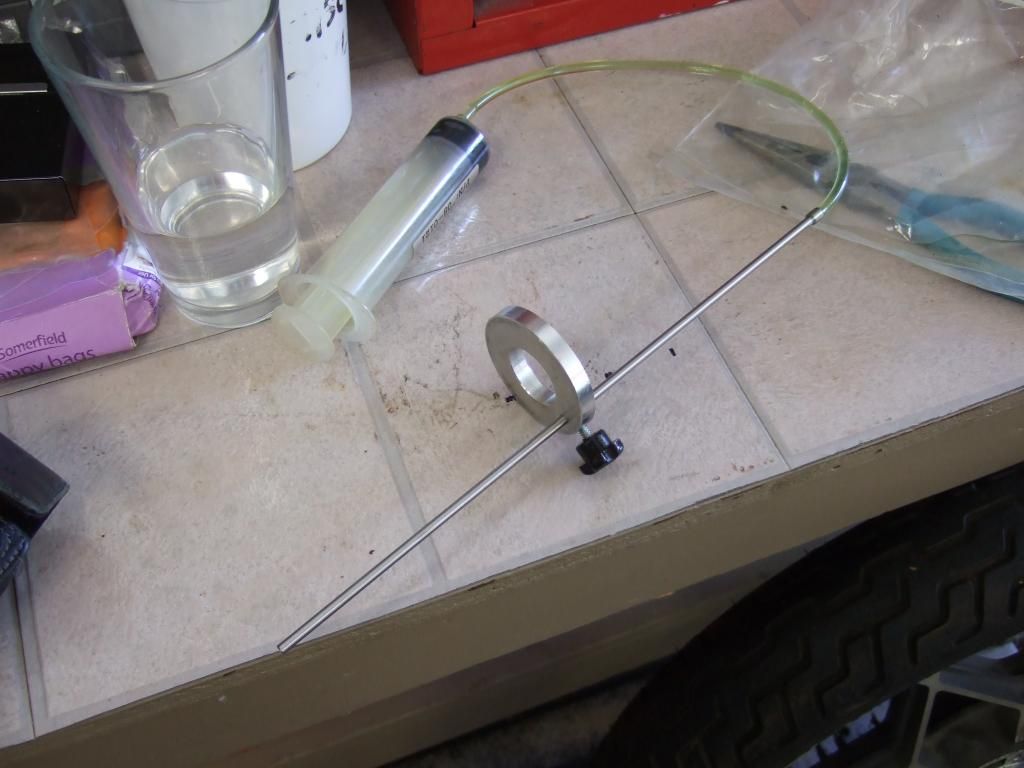
      Fork oil level tool. Purchased many moons ago when I thought I needed it. You don't. I used it again, and I think adding the specified amount and or using a soap dispenser nozzle or even a taper measure is easier and cheaper.


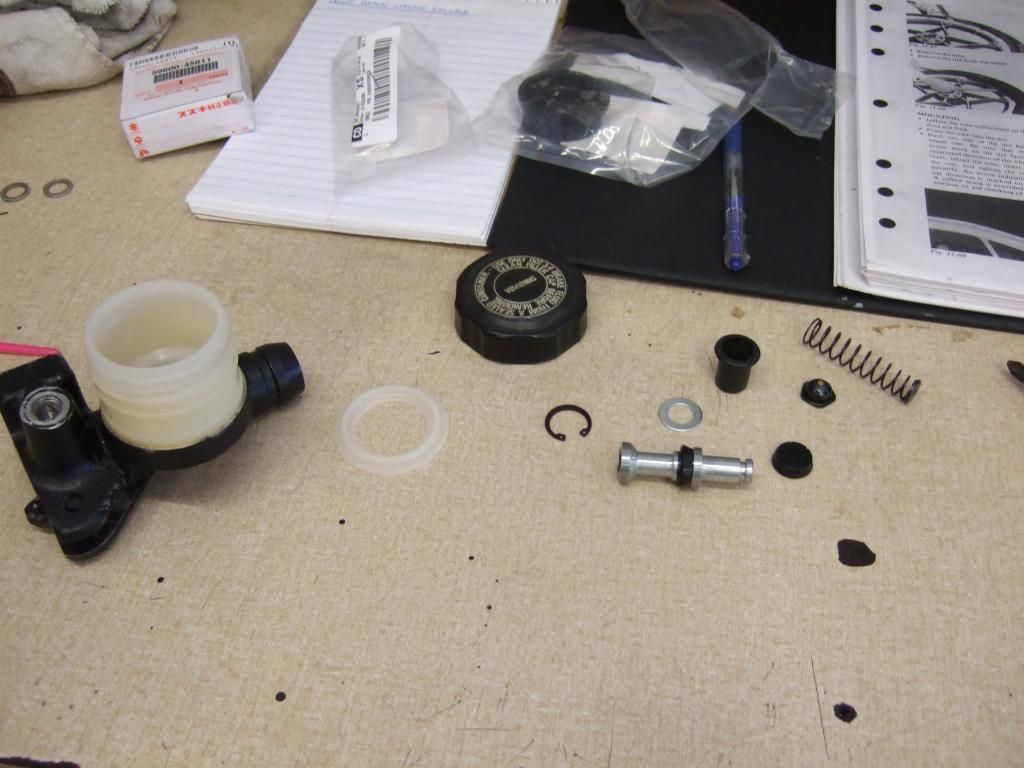
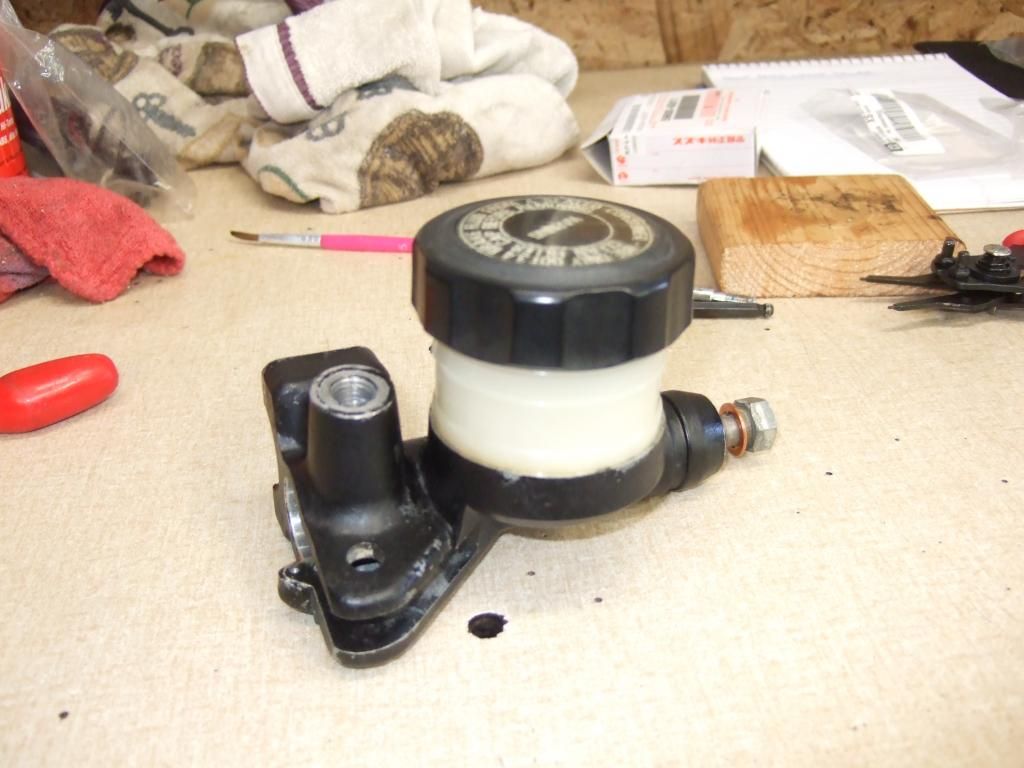
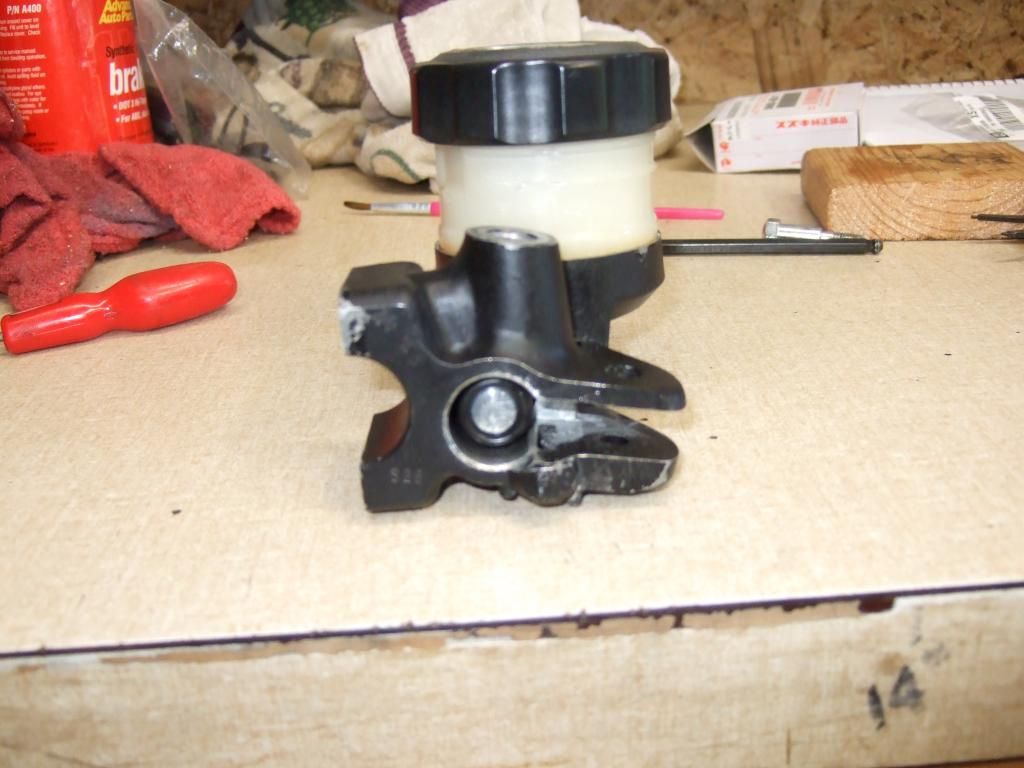
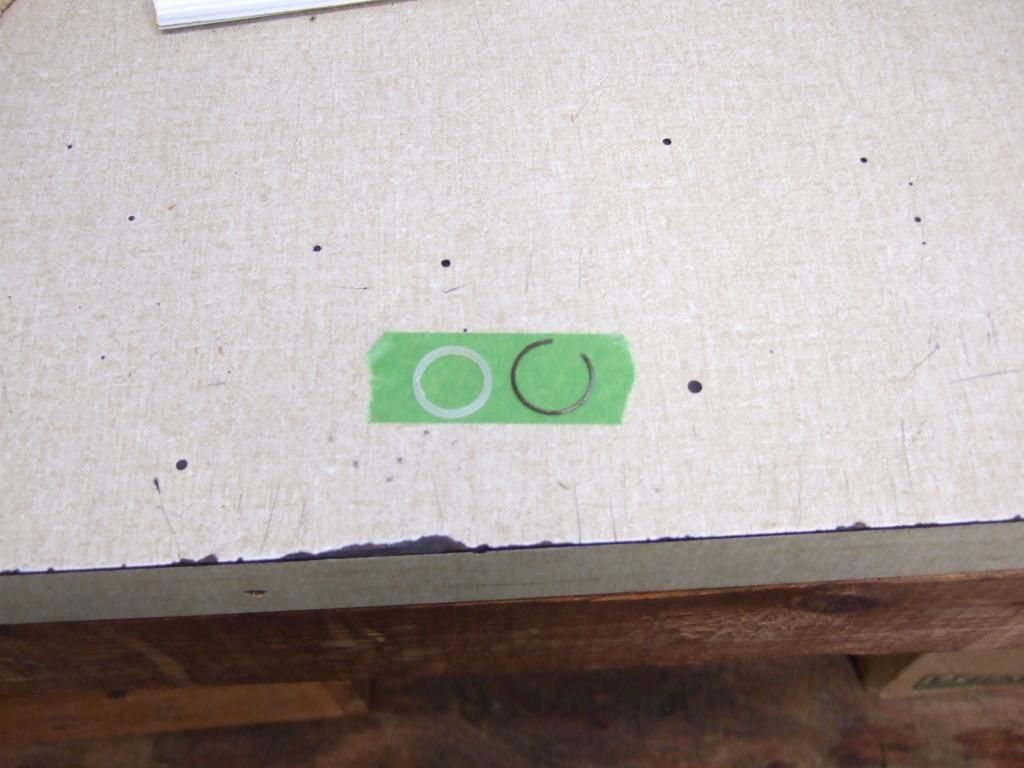
      Then on to the master cylinder. I had ordered a new piston set for the front MC as the old one was shot. Everything went back in easily enough and according to the shop manual. I am left with two questions though. Does the final rubber dust boot looked correctly installed? Also I have a leftover plaster washer and metal clip (shown in the picture) that obviously came out of the master cylinder but as it was so covered in grunge and grime during disassembly, I'm unsure of exactly where its supposed to go or even if I need it. There's no mention of this piece in the manual at all. During removal it came out before the circlip and steel washer. But it won't fit in the recess with the new steel washer and circlip. Any advice is appreciated....

      New parts......


      Reassembled master cylinder.....


      New rubber dust boot. Installed correctly?


      Mystery plastic clip and metal piece. Any ideas?


      Caliper reassembly and/or MC repeat next.

      Comment


        #33
        Originally posted by BanditRE View Post
        Hopefully you don't get confused by these later, but they appear to be labeled incorrectly.

        The left side of the bike is under your clutch hand, the right side of the bike is under your throttle hand.

        .
        sigpic
        mine: 2000 Honda GoldWing GL1500SE and 1980 GS850G'K' "Junior"
        hers: 1982 GS850GL - "Angel" and 1969 Suzuki T250 Scrambler
        #1 son: 1986 Yamaha Venture Royale 1300 and 1982 GS650GL "Rat Bagger"
        #2 son: 1980 GS1000G
        Family Portrait
        Siblings and Spouses
        Mom's first ride
        Want a copy of my valve adjust spreadsheet for your 2-valve per cylinder engine? Send me an e-mail request (not a PM)
        (Click on my username in the upper-left corner for e-mail info.)

        Comment


          #34
          Nice spot! I noticed that right after I took the picture! Its corrected now, but thanks.

          Comment


            #35
            The plastic washer and clip are from the old dust boot, which you probably ripped apart when removing. The new one has them inside already, so the old ones can be tossed.

            Hurry up, it's starting to smell like fall!
            Charles
            --
            1979 Suzuki GS850G

            Read BassCliff's GSR Greeting and Mega-Welcome!

            Comment


              #36
              Ah hah! Awesome news. Thanks for that. I can smell fall coming to, but I've still got the rear end to do yet! Work heated up and I got picked for jury duty! I'll get there eventually!

              Comment


                #37
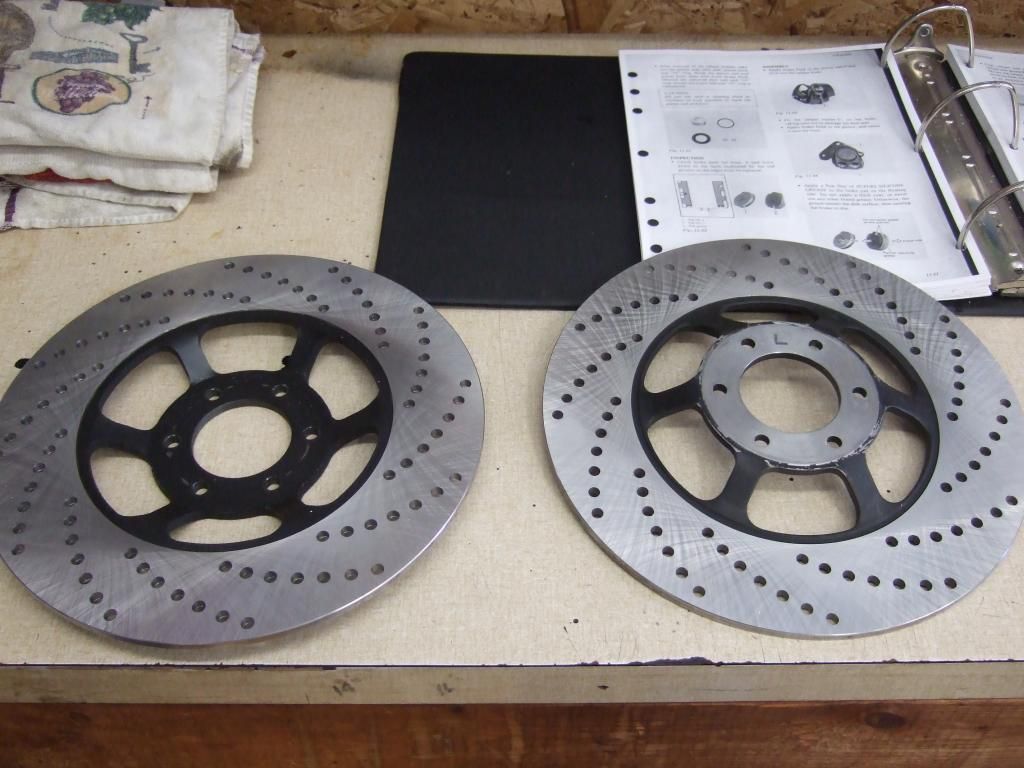
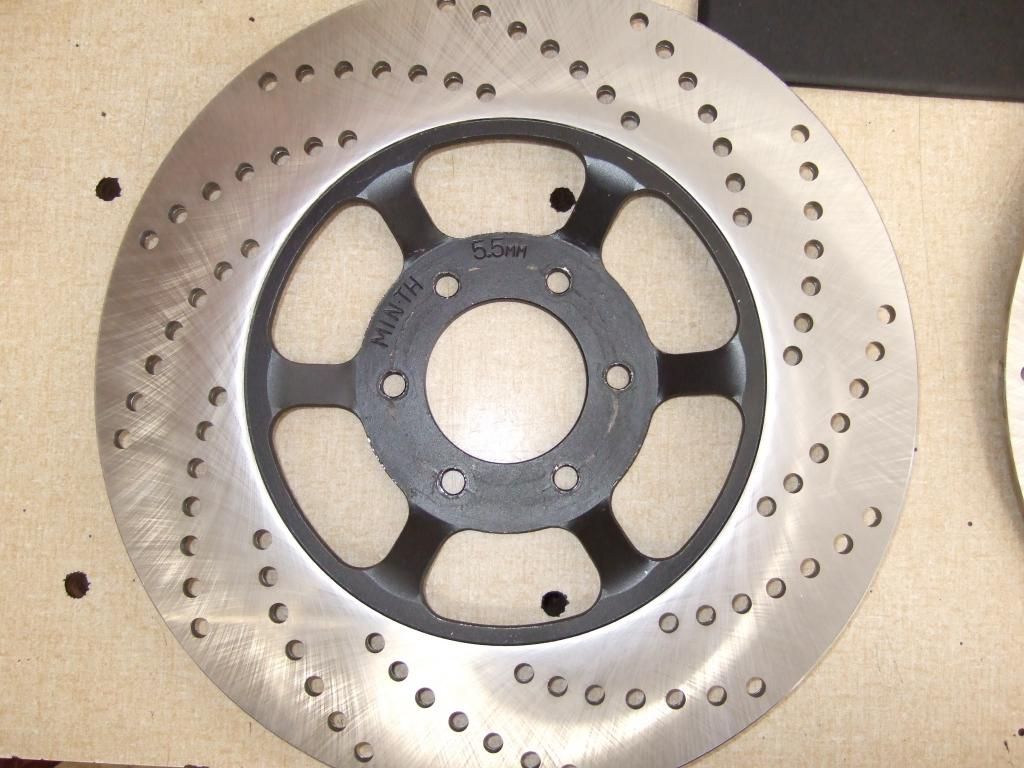
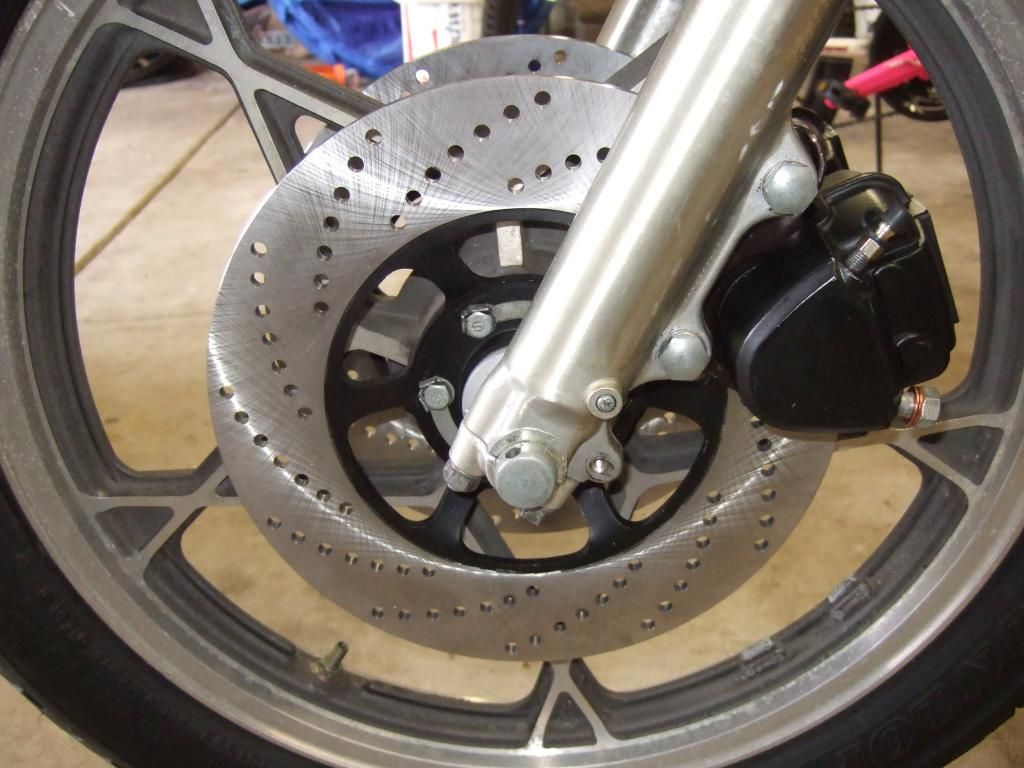
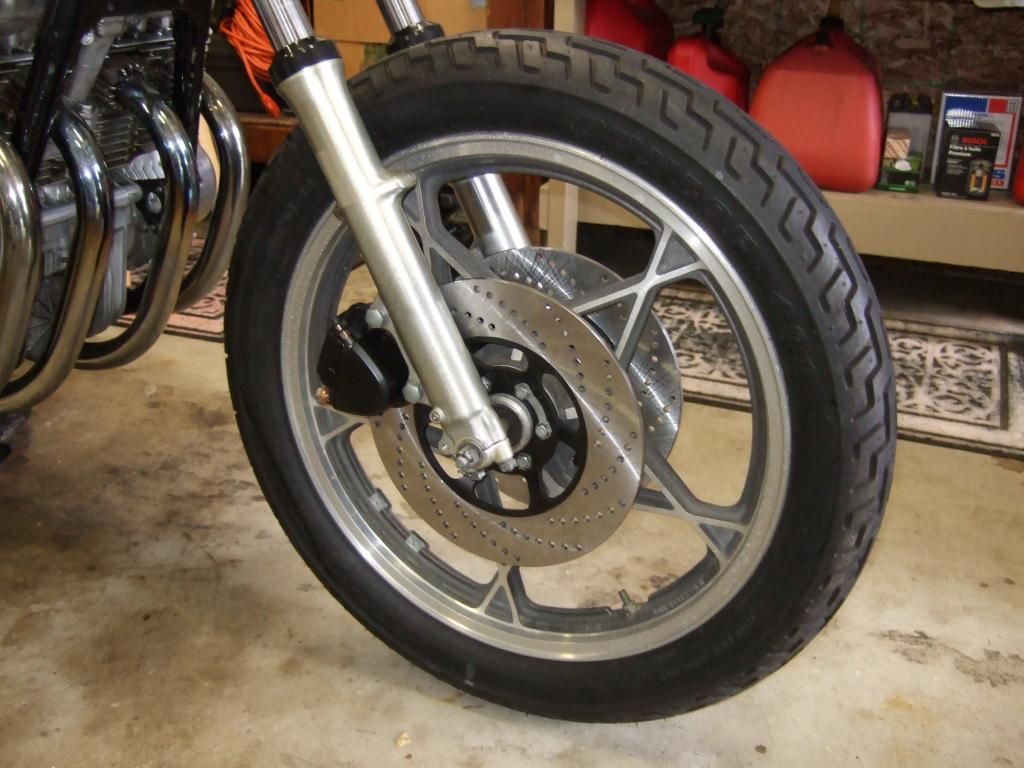
                Finally got some spare time again to work on the bike. Reassembled the calipers with a new K&L kit with new seals. I know some have criticized them but I had no problems with the kit at all. Everything went together fairly easily. I also sent the front disks out to get resurfaced and cross-drilled. I got those back on Friday and they look great. So with all that, the forks are reinstalled with the wheel on and the new disks and calipers ready. On to brake lines and controls next..........

                Shiney "new" rotors. I sent them out to Tom Tokarz with Truedisk LLC. www.truedisk.net. He did a great job as you can see and had them back to me in a few days. All shipped in those USPS standard rate boxes. Cost was $70 a disk to resurface and cross-drill.


                Forks installed, rotors on, wheel on and new calipers ready to go.


                Comment


                  #38
                  Looking good, I have a small bitch to make though....


                  WHY did you oversize drill that hole in the head and put a bigger bolt in? They make these things called helicoils... If you ever sell this bike the next owner will be cusing you as the PO who did that rigged fix. I had an m8 exhaust bolt that was stripped and the PO decided to wallow out the hole in the head, and the flange to "fix" it. I was able to take an m12 tap and tap that hole without even drilling it bigger cause it was so wallowed out... Then I used an m12 bolt and drilled an m8 hole and tapped the bolt. They even sell an m8 insert that goes into an m12 hole... It just seems like such a "rigged" fix when you could have put a helicoil in it and stuck with the stock sized bolt.

                  Comment


                    #39
                    Really? Ok, well if you got to know. I screwed up the cover and the cylinder head badly getting what was left of the old bolt out of the head. To make matters worse a bolt remover that I tried to use to extract the sheared bolt broke off as well. Drilling out the remnants of both the bolt and the extractor made a big mess and a large off-round hole in the head. I should have asked for help sooner than I did, but once a friend of mine came over to help we decided to get something quick and ugly to work so I could get to checking and setting the valve clearances to verify whether or not I had bad compression in the #2 and #3 cylinders. I didn't want to spend a whole lot of time trying to fix a bolt hole in a cylinder head that could have more serious problems. After checking all the valves, the #2 and 3 exhaust valves were way too tight. If it has run that way for long I'd guess the valves could well be burned. The only way to know for sure would be to take the head off and check. I reset the valves and they have decent compression, enough that the bike should run. Knowing that I'll likely have to remove the head in a year or two anyway to replace the valves and guides, I elected to leave the crappy bolt as it is. Also, I was advised against using helicoils all along in bolts that get removed and re-tightened frequently as helicoils can often fail in such applications. I'm no expert, just listening to people I know who have made the same mistakes and offered me advice. The proper way to fix it I'm told, is to remove the head, set it on a drill press to ensure the hole is straight, drill out an oversize plug and install a sleeve so I can use the same size bolt again. Not such a big deal if I already have to remove the head to replace the valves and guides. A giant pain in the ass to do now especially if I don't even know how well this bike is going to perform. So the crappy bolt remains, the rest of the bike will get fixed up, we'll see how it runs, and if its as good as people say it is, I'll fix it properly when its time to do the valves.
                    Last edited by Guest; 09-21-2014, 09:19 PM.

                    Comment


                      #40
                      Originally posted by BanditRE View Post
                      Really? Ok, well if you got to know. I screwed up the cover and the cylinder head badly getting what was left of the old bolt out of the head. To make matters worse a bolt remover that I tried to use to extract the sheared bolt broke off as well. Drilling out the remnants of both the bolt and the extractor made a big mess and a large off-round hole in the head. I should have asked for help sooner than I did, but once a friend of mine came over to help we decided to get something quick and ugly to work so I could get to checking and setting the valve clearances to verify whether or not I had bad compression in the #2 and #3 cylinders. I didn't want to spend a whole lot of time trying to fix a bolt hole in a cylinder head that could have more serious problems. After checking all the valves, the #2 and 3 exhaust valves were way too tight. If it has run that way for long I'd guess the valves could well be burned. The only way to know for sure would be to take the head off and check. I reset the valves and they have decent compression, enough that the bike should run. Knowing that I'll likely have to remove the head in a year or two anyway to replace the valves and guides, I elected to leave the crappy bolt as it is. Also, I was advised against using helicoils all along in bolts that get removed and re-tightened frequently as helicoils can often fail in such applications. I'm no expert, just listening to people I know who have made the same mistakes and offered me advice. The proper way to fix it I'm told, is to remove the head, set it on a drill press to ensure the hole is straight, drill out an oversize plug and install a sleeve so I can use the same size bolt again. Not such a big deal if I already have to remove the head to replace the valves and guides. A giant pain in the ass to do now especially if I don't even know how well this bike is going to perform. So the crappy bolt remains, the rest of the bike will get fixed up, we'll see how it runs, and if its as good as people say it is, I'll fix it properly when its time to do the valves.
                      Hey no problem. I understand **** happens. I made one of the sleeves you mentioned. I just didn't know if the actual answer was, "because it's what I had". Don't get so upset. These bikes are fun btw.

                      Comment


                        #41
                        Progress continues. Finally got the brake lines connected, full of new fluid and bled. They're still a little mushy so I will have to continue bleeding. I have a feeling I may have some air stubbornly stuck in the master cylinder. I really don't want to take apart the brake lines again to bleed the master, but it may be in the books.

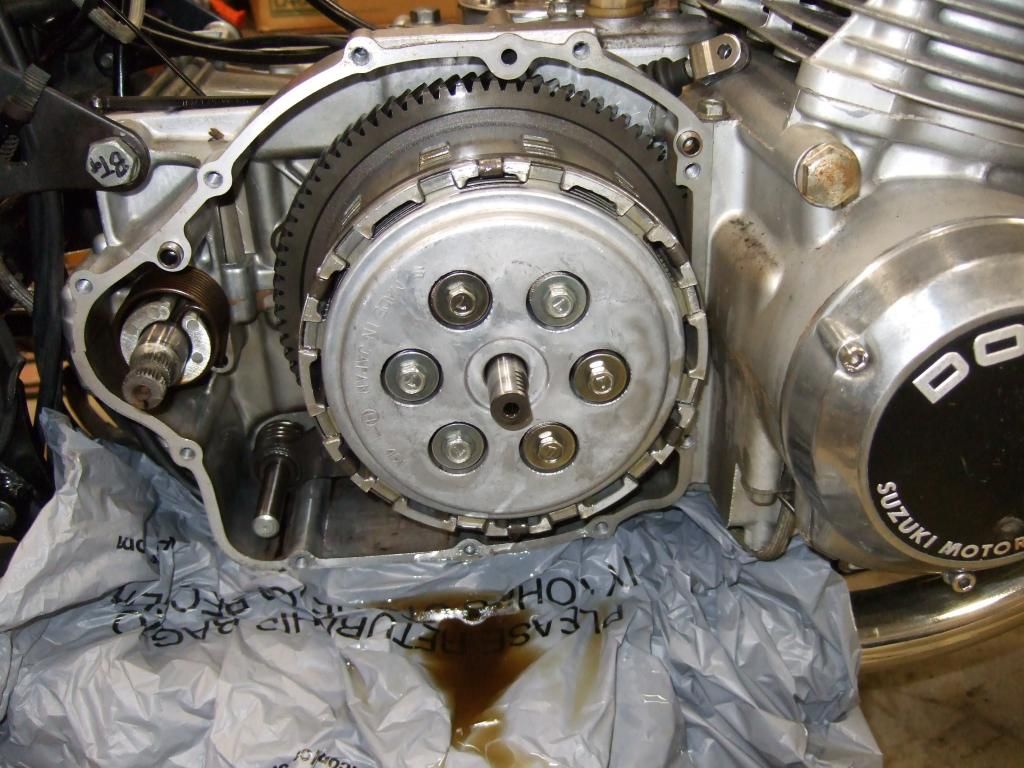
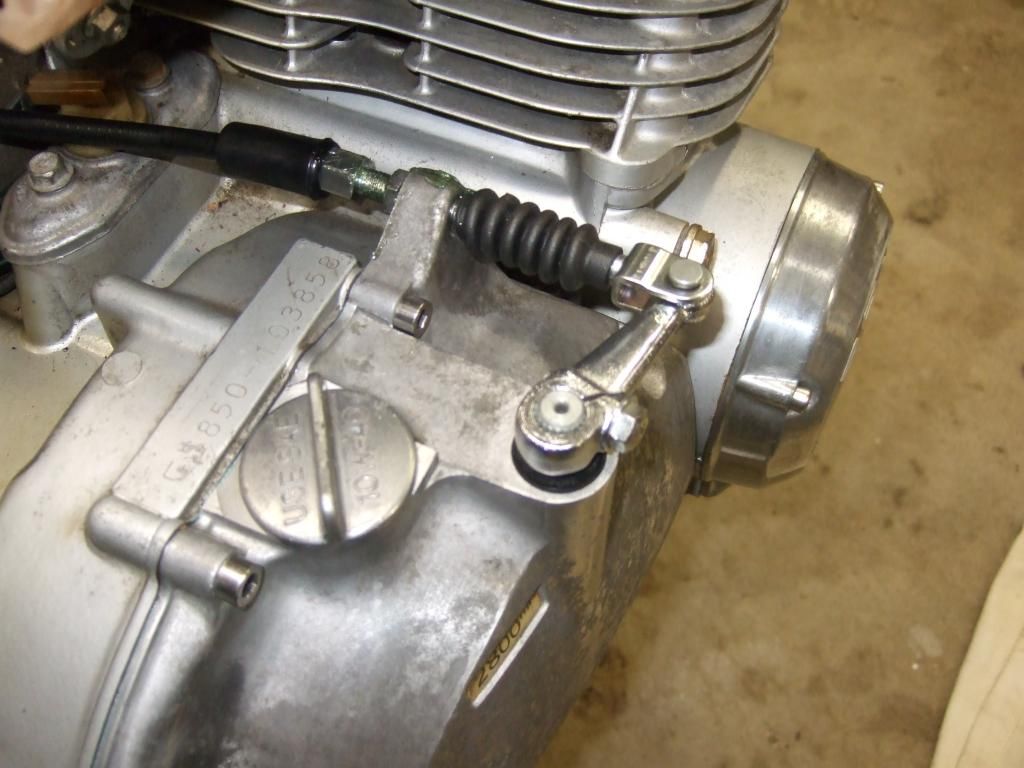
                        Had enough of brake work for a while so I started in on the clutch. It all looked very clean but the friction disks and springs were all at the wear limit and they hadn't been used in 13 years anyway.


                        Reassembled and buttoned back up with a new gasket and finally installed a new clutch cable. The new springs really make a big difference to the lever pull. Its quite a heavy clutch pull now, hopefully not too heavy, or I'm either too weak or too old.


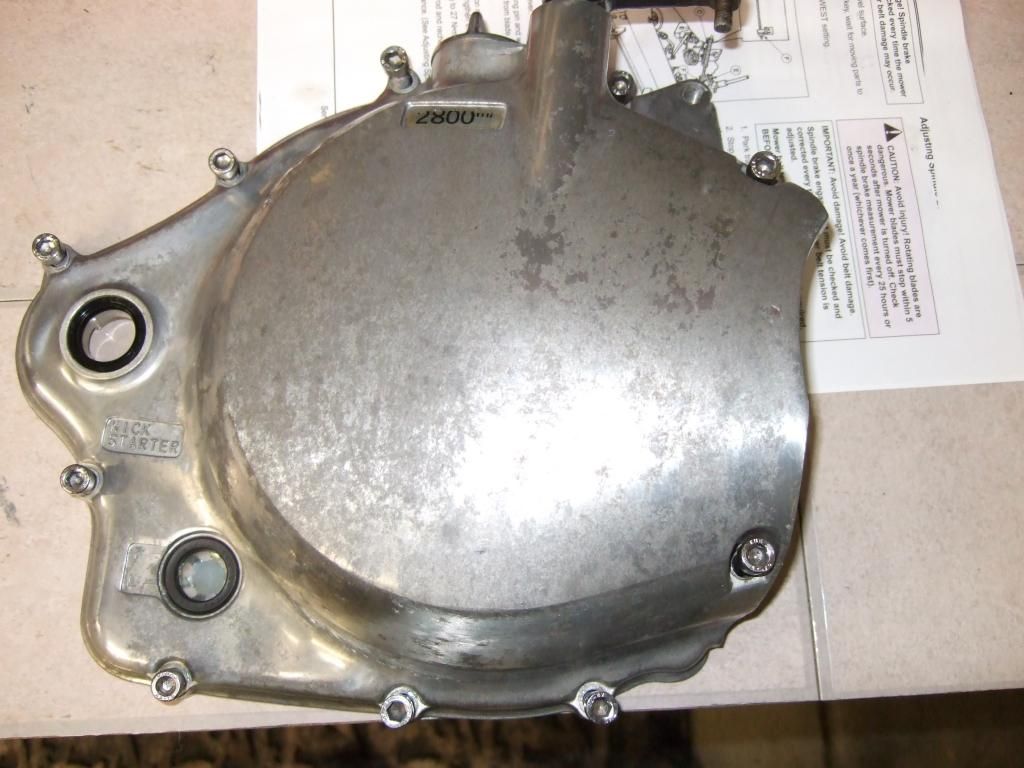
                        Anyone have ideas on how best to clean this clutch cover up. Pretty ugly corrosion.

                        Comment


                          #42
                          Some of that corrosion is the old clear coat
                          Get some aircraft stripper and test a few areas
                          The n sand progressively finer to 1500 or 2000 grit, then polish
                          Or blast if you have the equipment
                          1978 GS 1000 (since new)
                          1979 GS 1000 (The Fridge, superbike replica project)
                          1978 GS 1000 (parts)
                          1981 GS 850 (anyone want a project?)
                          1981 GPZ 550 (backroad screamer)
                          1970 450 Mk IIID (THUMP!)
                          2007 DRz 400S
                          1999 ATK 490ES
                          1994 DR 350SES

                          Comment


                            #43
                            Cool, I'll try that. Thanks for the info. A couple of the other covers have similar appearance issues, so if works I'll do all of them at some point.

                            Comment


                              #44
                              Search for polishing

                              Or check the Bass cliff site

                              A pro did a good write up on it

                              Steve is also a good source
                              1978 GS 1000 (since new)
                              1979 GS 1000 (The Fridge, superbike replica project)
                              1978 GS 1000 (parts)
                              1981 GS 850 (anyone want a project?)
                              1981 GPZ 550 (backroad screamer)
                              1970 450 Mk IIID (THUMP!)
                              2007 DRz 400S
                              1999 ATK 490ES
                              1994 DR 350SES

                              Comment


                                #45
                                Thanks a lot. I found it in Cliffs site under Richard's Restoration blog for GS1100. VHT aircraft strip. He used it on his forks and the results looked great. There's so much stuff on Cliff's page!

                                Comment

                                Working...
                                X