Announcement
Collapse
No announcement yet.
1976 GS750 Clean and Rebuild
Collapse
X
-
 shryke300
I don't know if they are Athena's, but yes, I did get it in a cheap pack on ebay. My head gasket is cometic, though. I was hoping the base gasket would not be as critical due to low pressure...?
-
Do not cheap out on the base gasket, only Suzuki gasket there, there is a great deal of pressure from the torque of head nuts.
Just sayin.......1978 Gs1085 compliments of Popy Yosh, Bandit 1200 wheels and front end, VM33 Smoothbores, Yosh exhaust, braced frame, ported polished head :cool:
1983 Gs1100ESD, rebuild finished! Body paintwork happening winter 2017:D
I would rather trust my bike to a technician that reads the service manual than some backyardigan that THINKS HE KNOWS how to fix things.
Comment
-
Buy an OEM Suzuki base gasket before you reassemble! What rings did you get? The source of the rings may be the source of the failure, although a proper ring compressor (2,actually) or even a diy pop-can&zip tie method would suffice & make the installation go much smoother.Last edited by Chuck78; 02-06-2015, 01:45 AM.'77 GS750 920cc heavily modded
'97 Kawasaki KDX220R rugged terrain ripper!
'99 Kawasaki KDX220R rebuild in progress
'79 GS425 stock
PROJECTS:
'77 Suzuki PE250 woods racer
'77 GS550 740cc major mods
'77 GS400 489cc racer build
'76 Rickman CR1000 GS1000/1100
'78 GS1000C/1100
Comment
-
 shryke300
 -
 shryke300
Hi! I am putting my 1976 GS750 motor back together. I seem to have missed taking ANY pictures between the motor sitting on the bench and after the jugs were off. Fortunately, I know a great group of people that are great at solving problems!
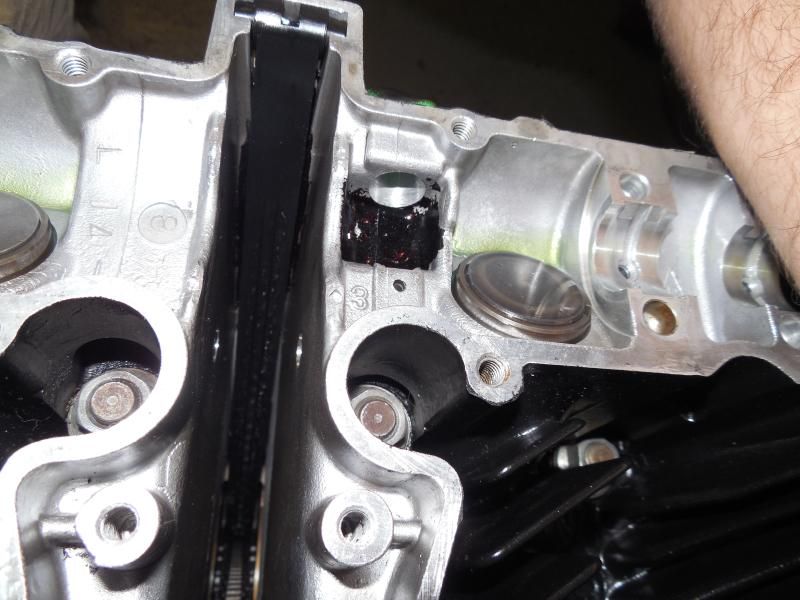
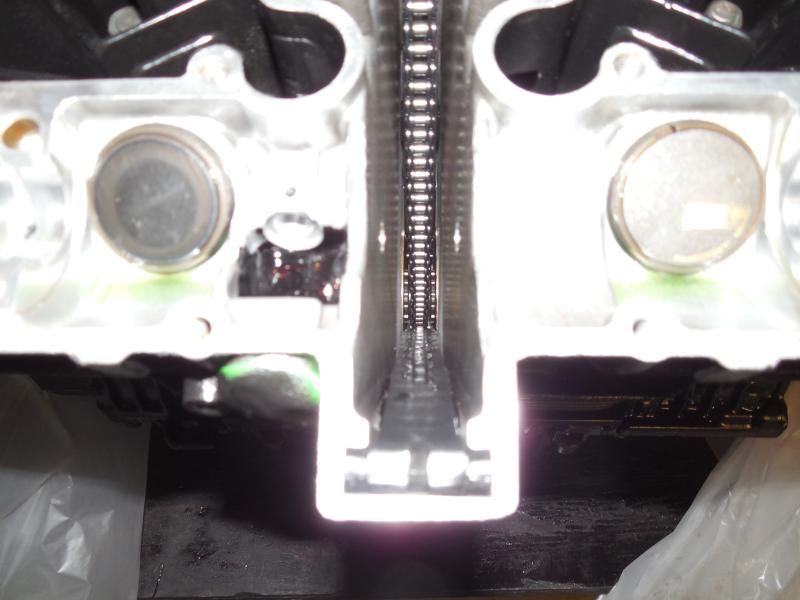
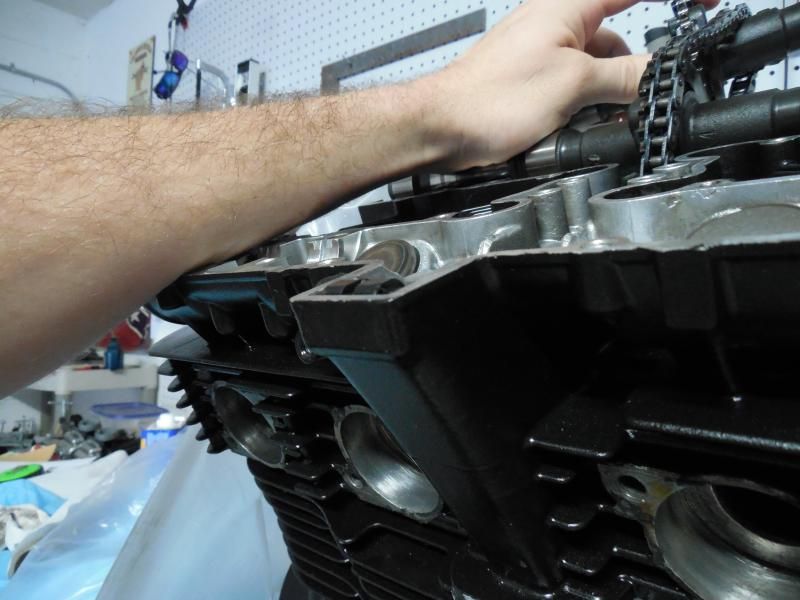
  (That's you guys) SO.... I have the head on and torqued down. Next step is to install the front (exhaust side) cam chain guide. As i understand, it slides INTO the "U" shaped cup screwed to the bottom of the case that "hugs" the chain/gear going around the crankshaft. However, after sliding it into the cup and bending it back (yes, it is under some tension, wanting to force the top towards the intake side. Not a whole bunch, though) so that the ears on the top of the guide can slide into the recesses in the head, I hit my snag. It seems like the guide is touching the cam chain. I can't tell how much and the flashlight causes some reflections and its hard to see down there. It may just be REALLY close to touching, I can't tell. Thinking through it, It seems to me that that would cause a lot of wear on that part and probably isn't right. I'm pretty positive I installed the "cup" correctly. As I recall, the other side of the cup has a small triangular divot that the rear (intake) chain guide mates with. I also cannot install the guide outside the cup as it would have to bend WAAAYYY too much to fit into the head. The only solutions I see are that it is installed correctly and I am worried about nothing, or that there is a slightly different way to slide it into the cup. Can anyone offer a solution? Something I haven't thought of?
Comment
-
Just to be clear, the question you're asking is: should the cam chain be riding on the cam chain guide? Correct? (If not, some pics of your current situation would help.)
Short answer: yes.
Long answer: I don't know what they made the guides out of that keeps the chain from sawing clear through them within the first kilometer but somehow they work and generally last the life of the engine. For proof, open up your factory service manual and turn to the section on cylinder head installation and cam timing. There will probably be an illustration of the cam chain routing. Note that the chain has a slight inwardf bend on the exhaust side and a rather severe inward bend on the intake (tensioner) side. These bends are caused and fully supported by the cam chain guides.
Comment
-
 shryke300
Comment
.png)


Comment