Announcement
Collapse
No announcement yet.
1981 GS1100E build
Collapse
X
-
If you are going to a new R/R, I would installed a new/rewound stator (From Steve) as well just to make sure everything is as new as possible with the charging system.sigpicMrBill Been a GSR member on and off since April 2002
1980 GS 750E Bought new in Feb of 1980
2015 CAN AM RTS
Stuff I've done to my bike:dancing: 1100E front end with new Sonic springs, 1100E swing arm conversion with new Progressive shocks installed, 530 sprockets/chain conversion, new SS brake lines, new brake pads. New SS fasteners through out. Rebuilt carbs, new EBC clutch springs and horn installed. New paint. Motor runs strong.
-
 Stockis4bitches
So I have been working on some mounting tabs. I ran out of metal until today now I am finally restocked. A few more minor trims and they will be getting welded to the frame. The new mounts for the ignition coils are finished and welded on. I started looking at my front forks the other night and need some info.
Better to replace the shocks with an upgraded version or rebuilt the existing ones with better springs?
Also on the triple tree a few of my stop tabs are busted off, any ideas on replacements or just go OEM?
btw what is the upgrade for ignition coils? Or does everyone use OEM?
Comment
-
 Stockis4bitches
Some more progress pictures.
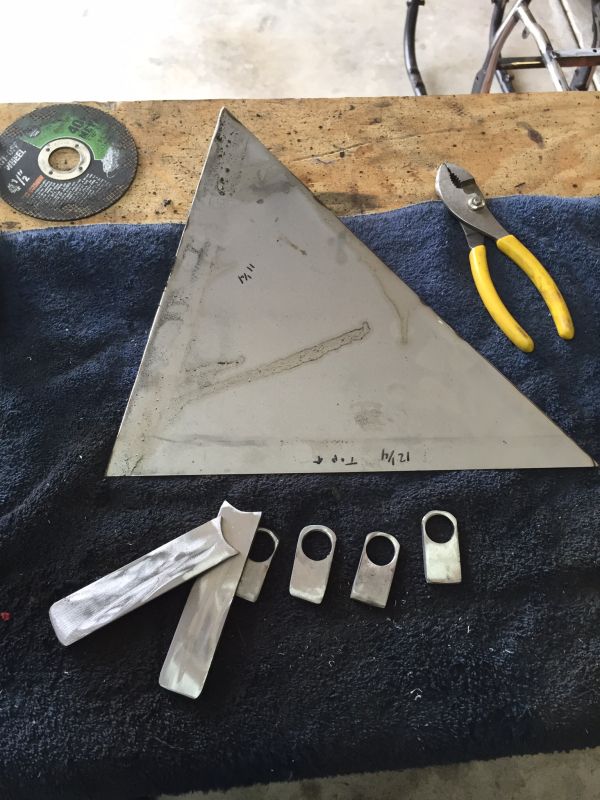
mounting tabs for side panels
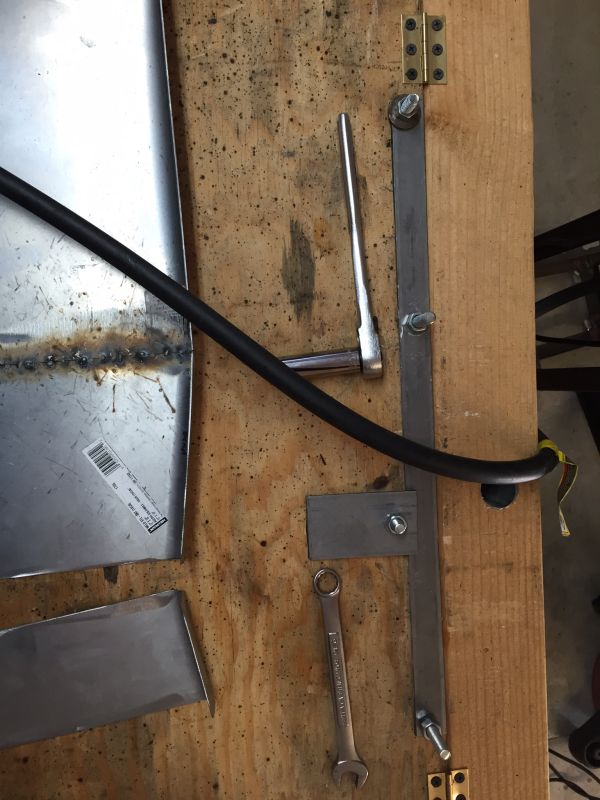
had to make a make shift break because my vise wasn't cutting it. It's the 2x4 with the hinges attached to my work bench. Used a piece of 3/8 inch thick steel, few bolts, a handle I had laying around and bam it bends metal. Ghetto as hell but worked in a pinch until I can build a better one.
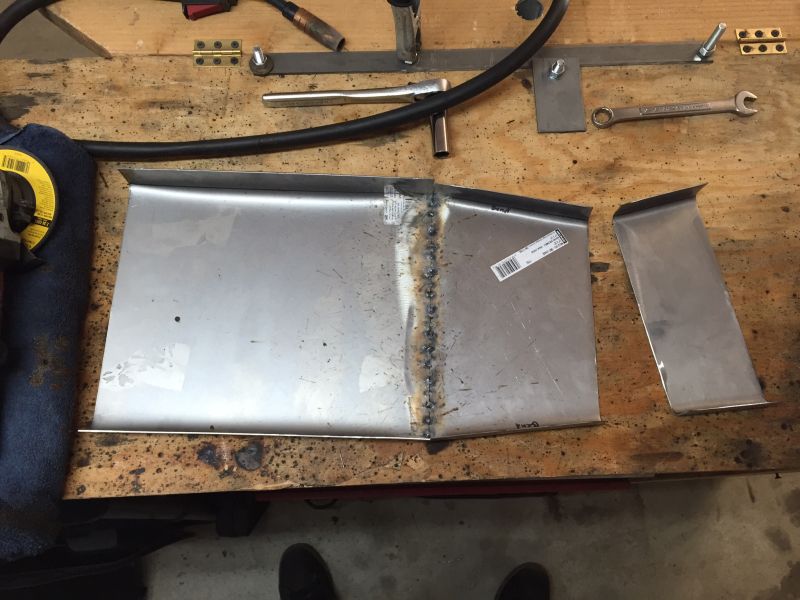
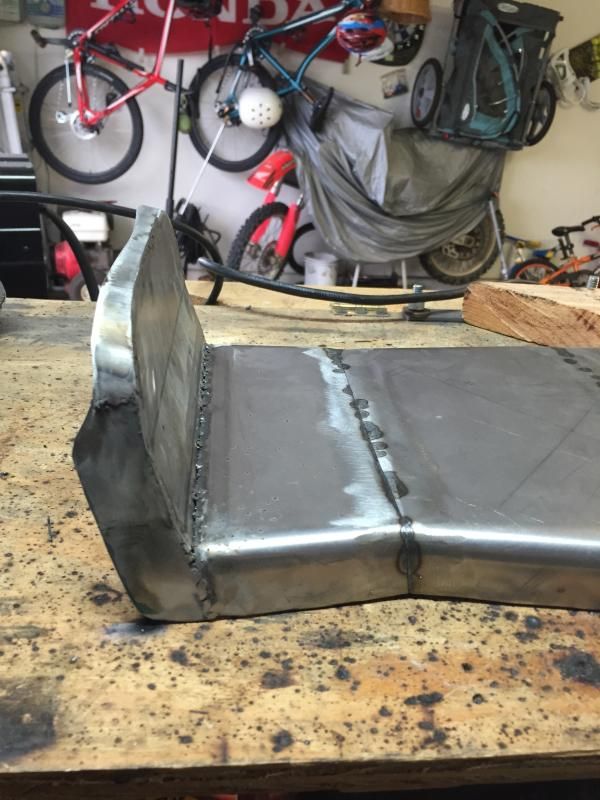
start of the seat pan. Made it 3 pieces to accommodate the bending in the frame. That's was freshly welded, looked much better after I cleaned it up.
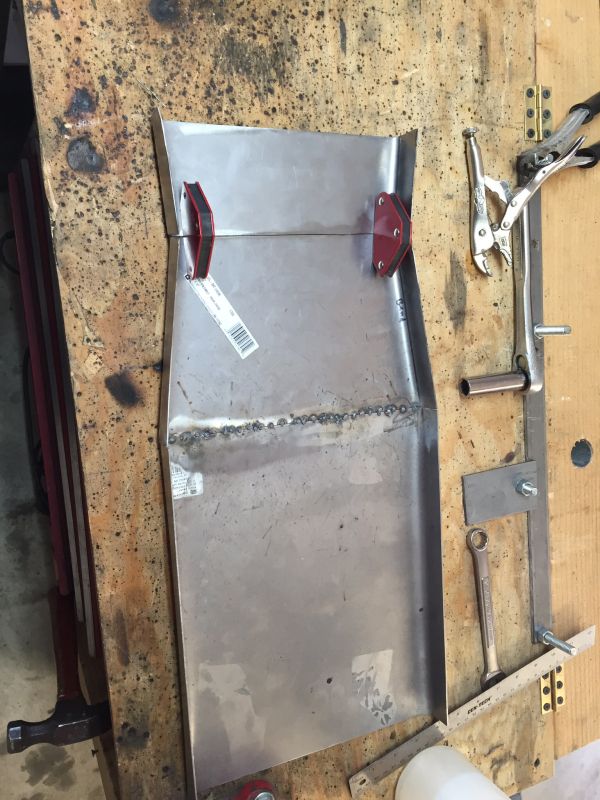
seat pan welding 16 gauge sheet metal is a pain in the dick. Tac after tac! Haha. Welds cleaned up nice though.
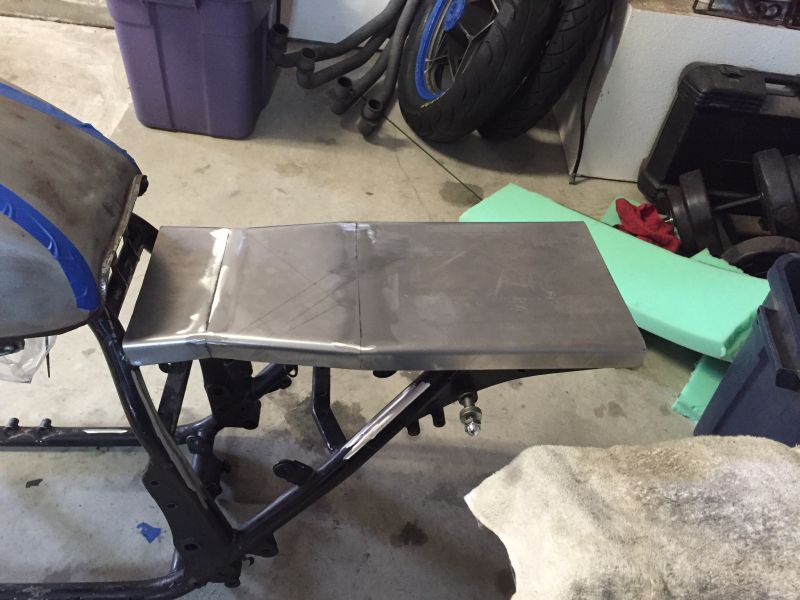
its almost finished just have to finish the tac welds. Fits pretty good though. This being my first build of any kind I was rather satisfied with this end result.Last edited by Guest; 11-17-2014, 10:51 PM.
Comment
-
 Joe Garfield
 -
Seems like some people upgrade their forks to newer GSXR forks (and rear ends) and others just recommend upgrading the springs in yours to Progressive brand springs. User RichDesmond here is the owner and a regular member.Originally posted by Stockis4bitches View PostBetter to replace the shocks with an upgraded version or rebuilt the existing ones with better springs?
btw what is the upgrade for ignition coils? Or does everyone use OEM?
I will likely upgrade one of my project bikes wth GSXR forks and just adapt the head bearings with an All Balls kit. On my other I'll just upgrade the springs and follow along what you do to yours and others here in the meantime since it'll be a little while before I get to mine.
I don't know about the stop tabs but as far as the coils go seems like the people that upgrade prefer the Dyna's or just do the coil relay mod and stick with OEM.----------------------------------------------------------------
2014 BMW F800GSA | 1981 GS850GX | 1982 GS750T (now the son-in-laws) | 1983 GS750ES | 1983 Honda V45 Magna (needs some love) | 1980 Yamaha GT80 and LB80 "Chappy" | 1973 and 1975 Honda XL250 projects
Comment
-
 ShadowFocus603
Sonic straight rate springs have been reviewed as superior to the Progressive springs. Sonic sells them in different rates depending on your weight and riding style. They even have a calculator on their site to help you sort it out.
Comment
-
+1 on the Sonic springs. I have progressives in my 750 and Sonic in my 1100. Much prefer the Sonics.Originally posted by ShadowFocus603 View PostSonic straight rate springs have been reviewed as superior to the Progressive springs. Sonic sells them in different rates depending on your weight and riding style. They even have a calculator on their site to help you sort it out.No signature :(
Comment
-
 growler
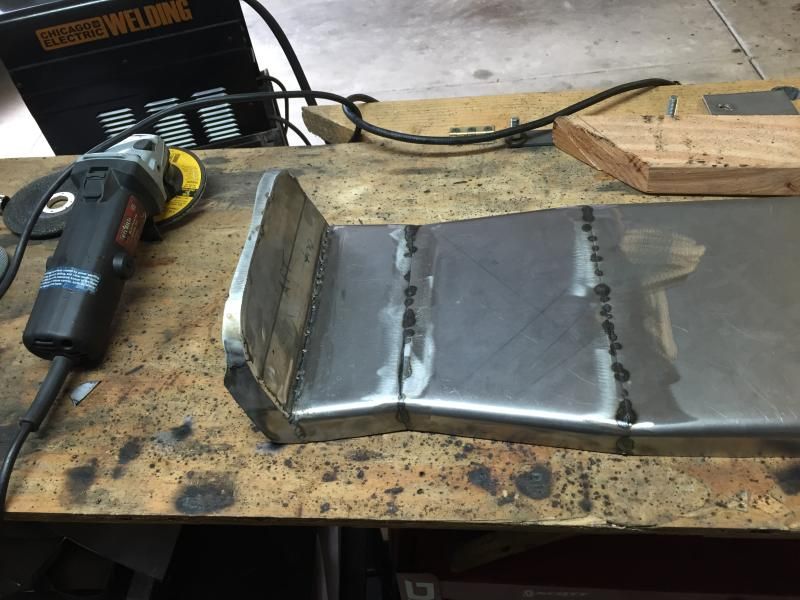
Thank you for doing this. So many folks leave the gap there and half ass the job. I think this will look better and also feel better on your junk.
Originally posted by Stockis4bitches View PostI decided that I didn't want to see the back of the tank so I added another piece to the seat pan. Its not complete yet but its coming along.
Comment
-
 Stockis4bitches
I wasnt a fan of the look with the gap, I dont want to see the tank pressed edges. My junk will appriciate it I am sure of it!Originally posted by growler View PostThank you for doing this. So many folks leave the gap there and half ass the job. I think this will look better and also feel better on your junk.
Comment
-
 Stockis4bitches
Took some time off for a family vacation, got back on Tuesday and had some parts waiting for me. More progress pictures. Rear seat cowl build.
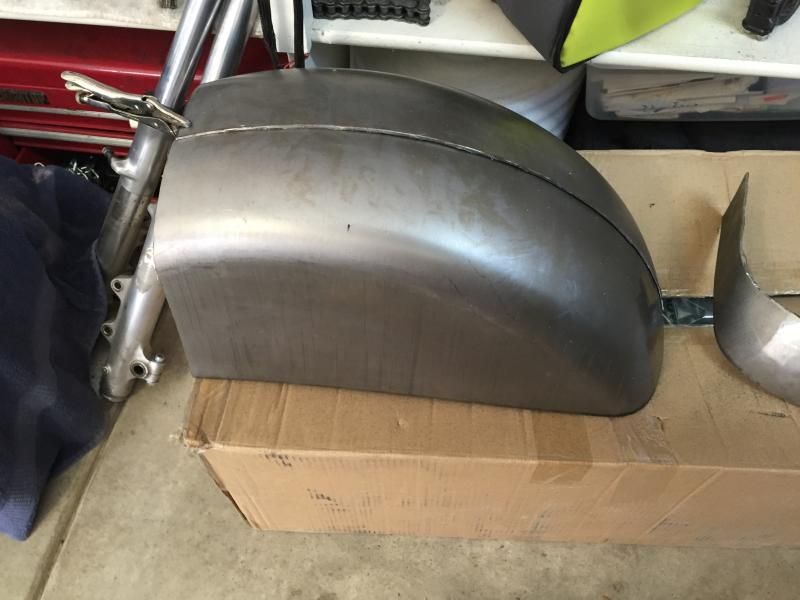
Fender I cut the cowl from, It as 11.5" wide so I had to make it skinnier to fit like I wanted.
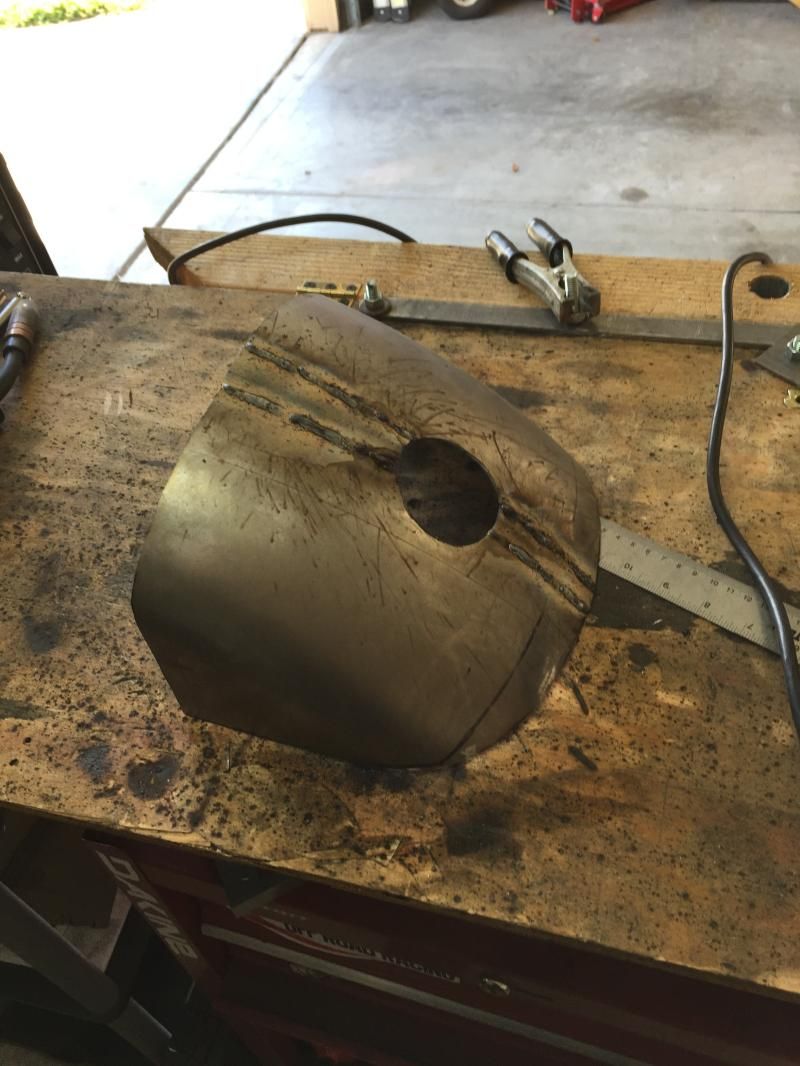
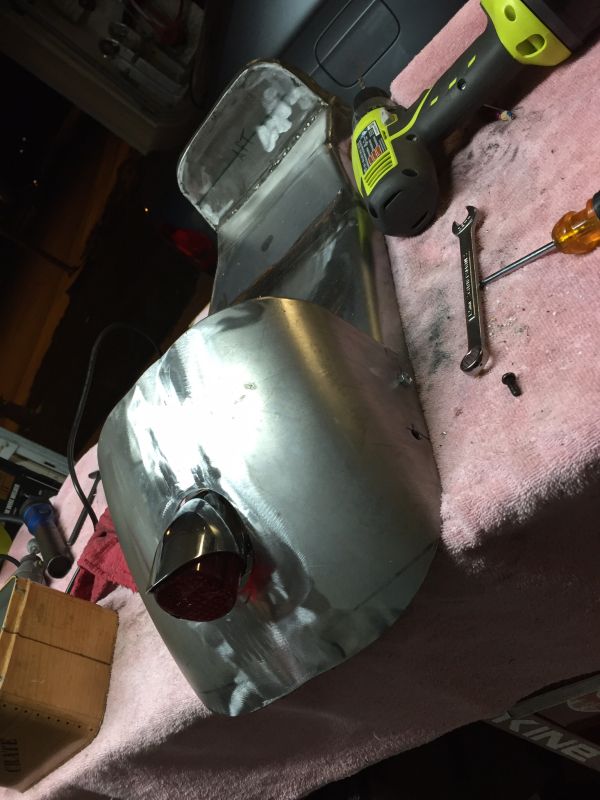
Rear seat cowl after cutting and welding and cutting more

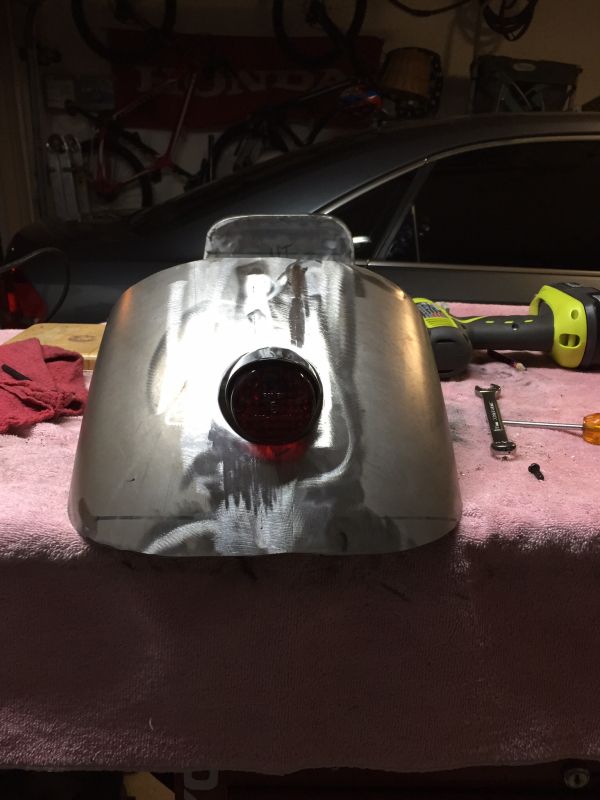
Rear cowl all cleaned up
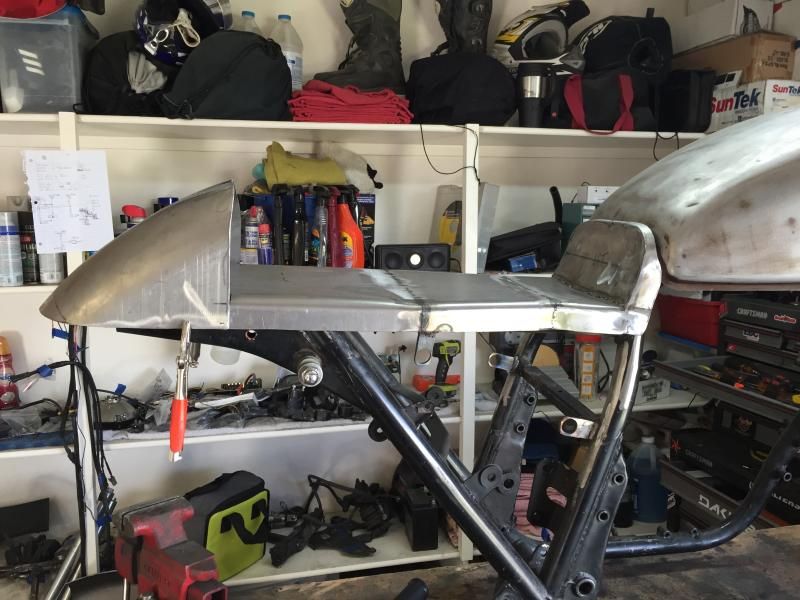

The hole is going to be where I mount my tail/brake light. Saw something similar on another bike and stole the idea, put a twist on it and made it my own.Last edited by Guest; 12-04-2014, 10:50 PM.
Comment
-
 Stockis4bitches
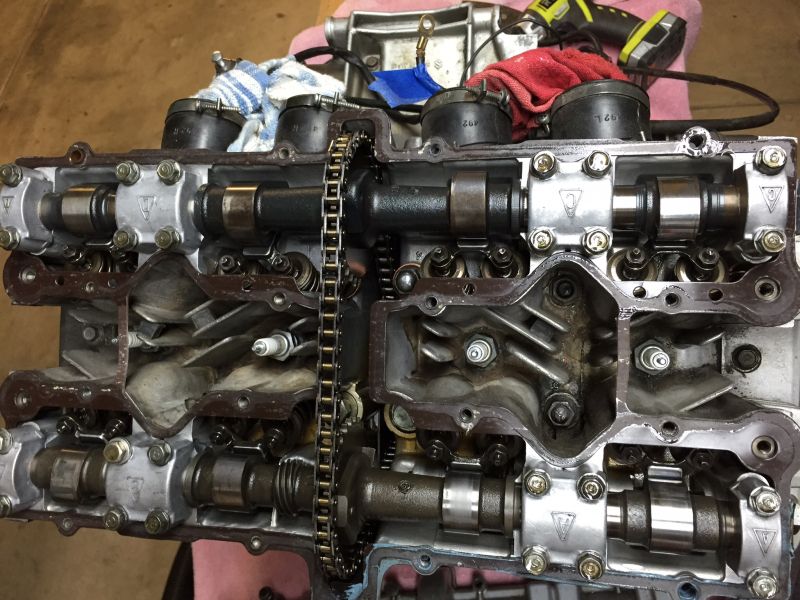
Ok need some motor heads to take a look at some pictures or tag a motor post. I started pulling off the valve cover and side covers. Motor looks really clean aside from a few leaks. Just want a second opinion. I'll get more pics up soon.
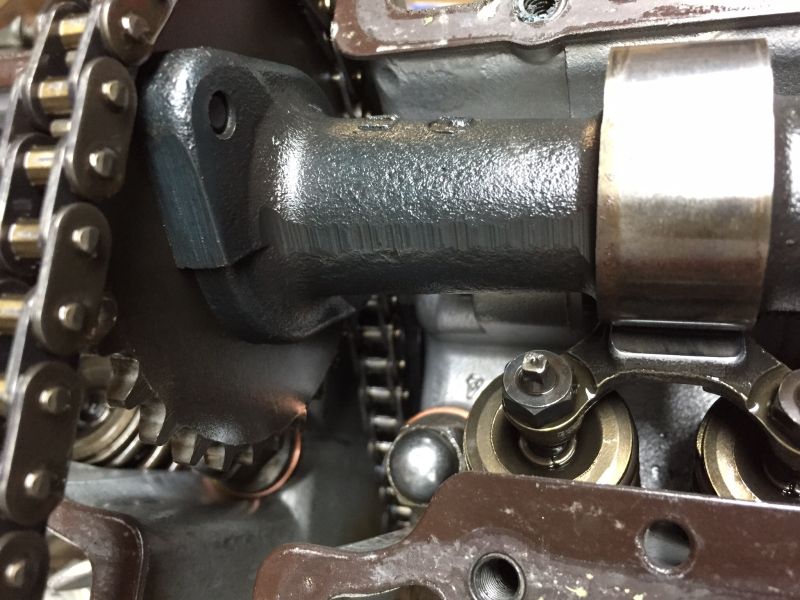
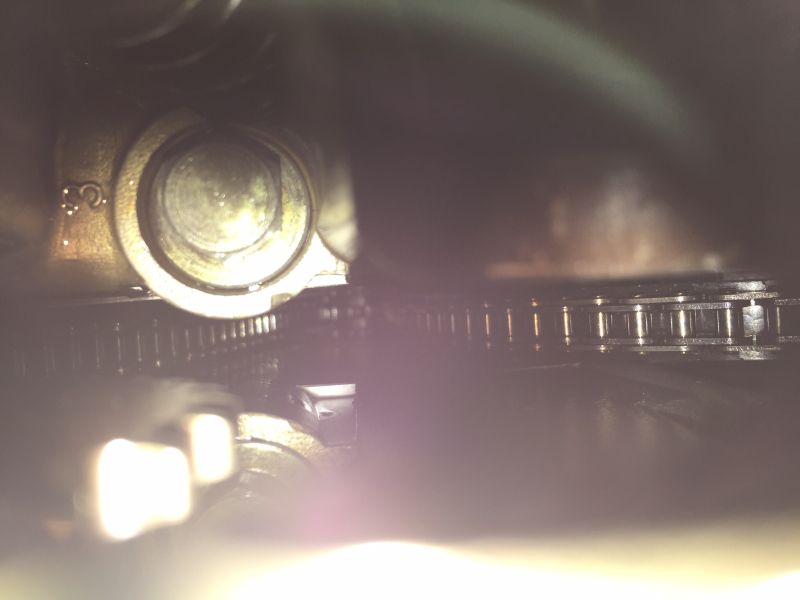

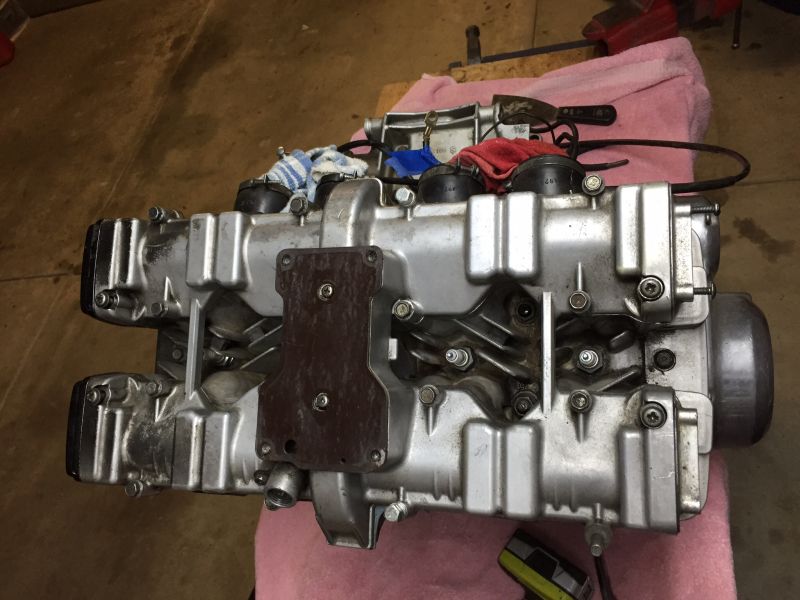
Comment
-
Looking good. How does it look when lit up?
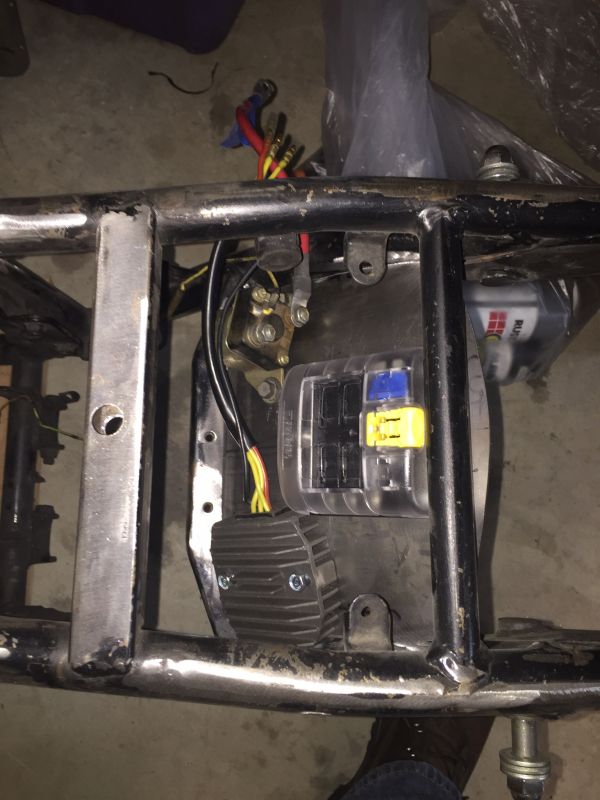
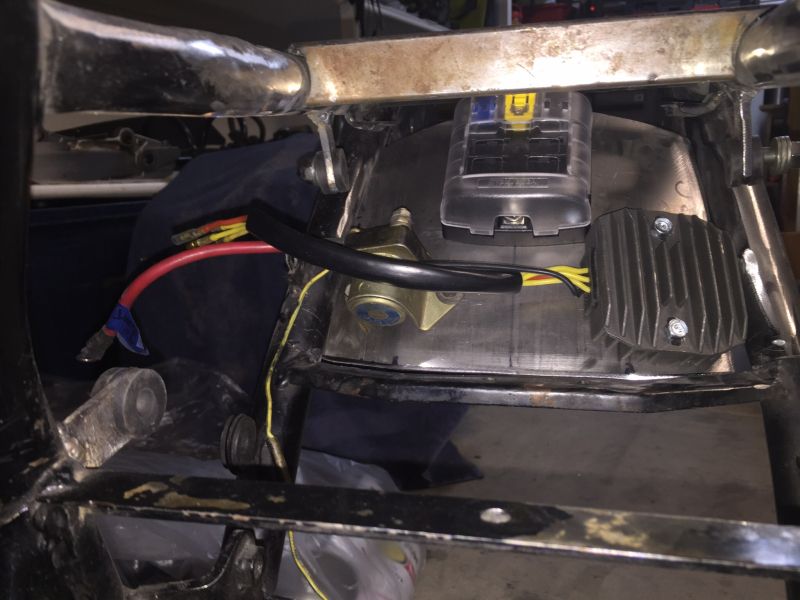
I like what you've done with the rear cowl. Looks like you went with the Polaris SH775 R/R?----------------------------------------------------------------
2014 BMW F800GSA | 1981 GS850GX | 1982 GS750T (now the son-in-laws) | 1983 GS750ES | 1983 Honda V45 Magna (needs some love) | 1980 Yamaha GT80 and LB80 "Chappy" | 1973 and 1975 Honda XL250 projects
Comment
-
 Stockis4bitches
Light looks good lit up. 2 position so it glows brighter when I hit the brake. The R/R is a direct replace from eBay. Ran me about $50. I have to put the finishing touches on the rear cowl then it's off to paint.Originally posted by mikerophone View PostLooking good. How does it look when lit up?
I like what you've done with the rear cowl. Looks like you went with the Polaris SH775 R/R?
Comment
.png)
Comment