Announcement

Collapse
No announcement yet.

1982 GS450L Build

Collapse
X
 
  • Filter
  • Time
  • Show
Clear All
new posts

    1982 GS450L Build

    I figured it would be easier to collect my thoughts in one thread so I am making one here. For those of you who don't know yet, a little backstory:

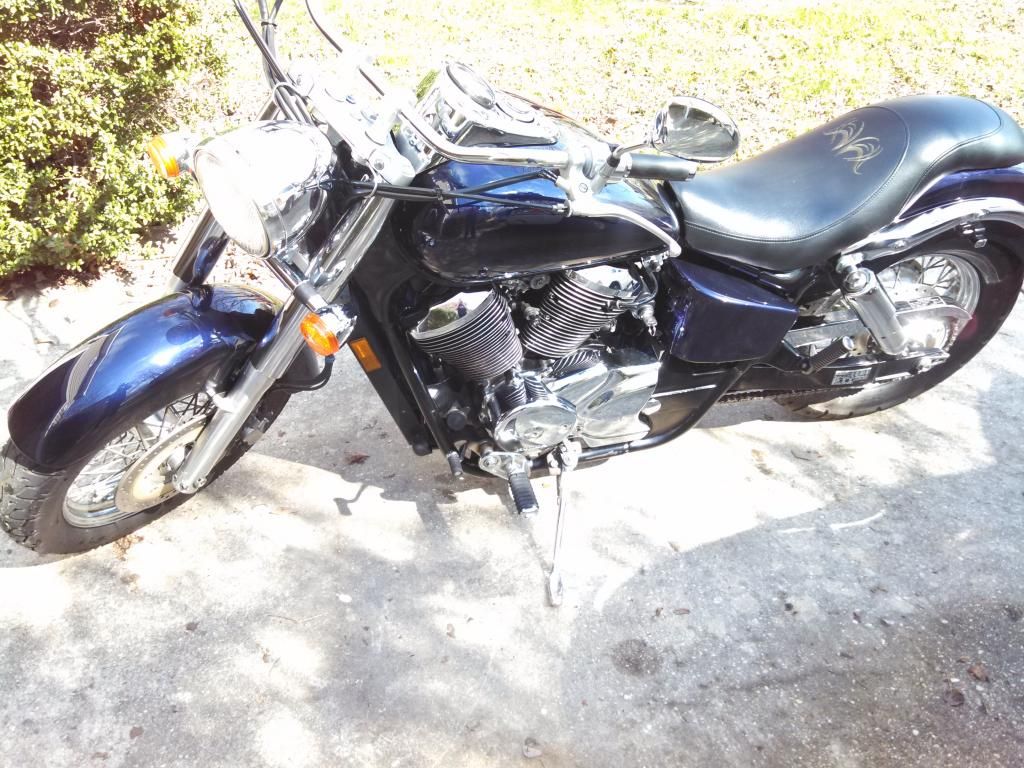
    I have been riding and fixing bikes for a long time, but my experience has been limited to oem repairs and factory restorations. I have never done a custom before. For example here is an '02 Honda that I spent 18months rebuilding:


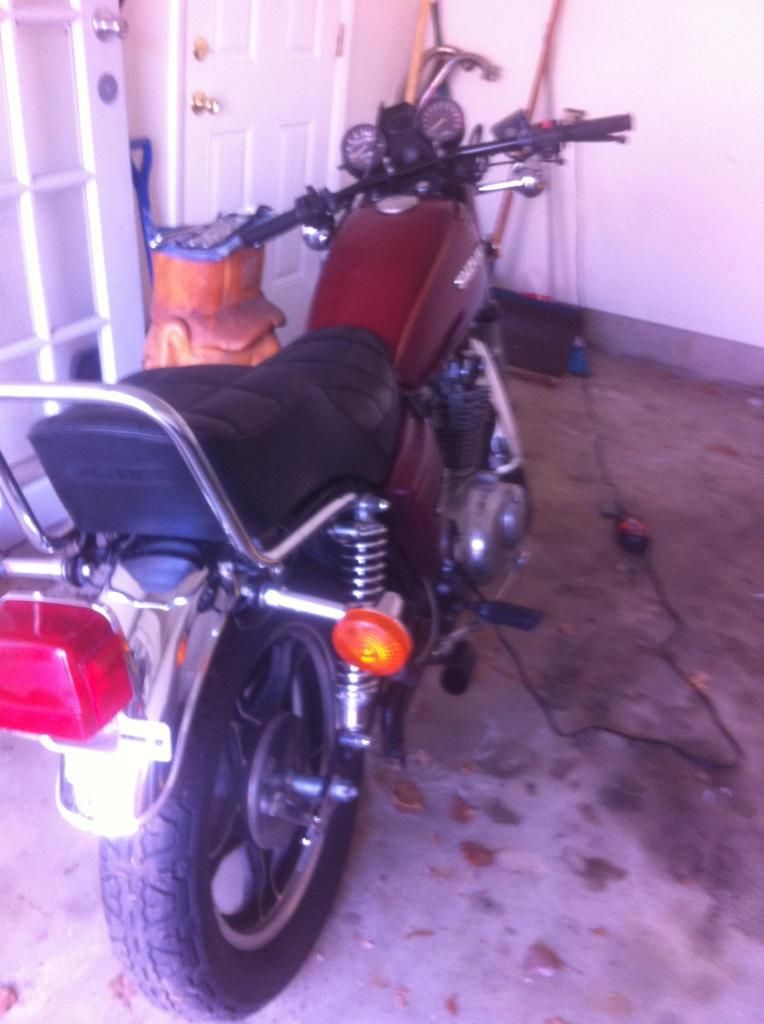
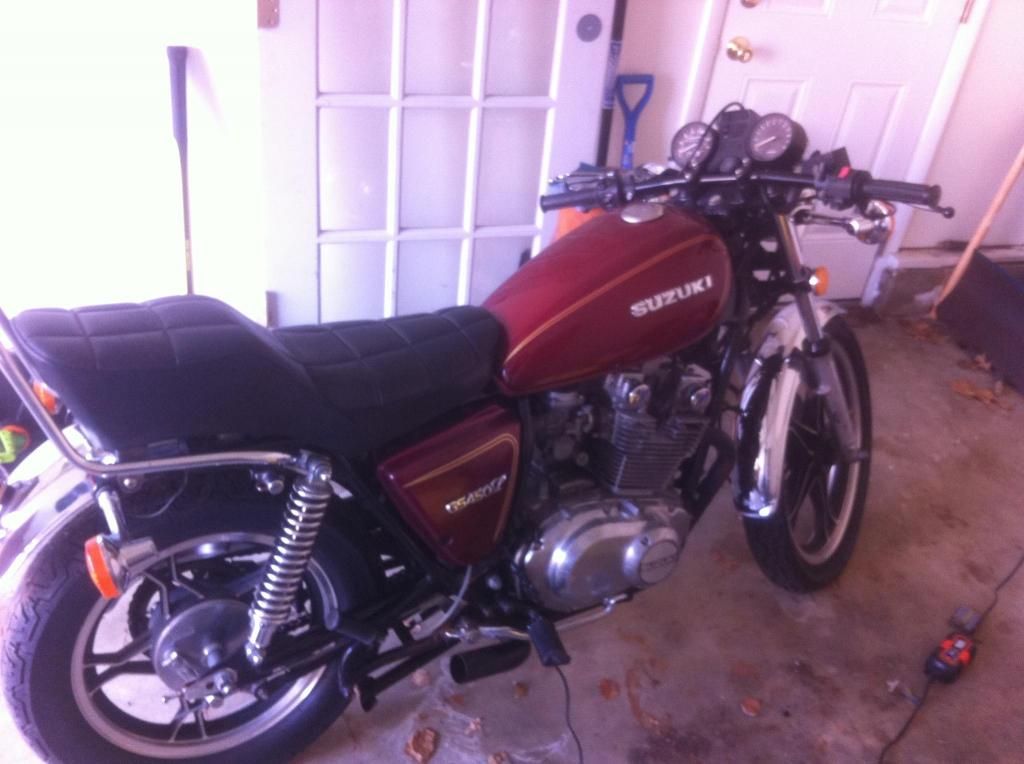
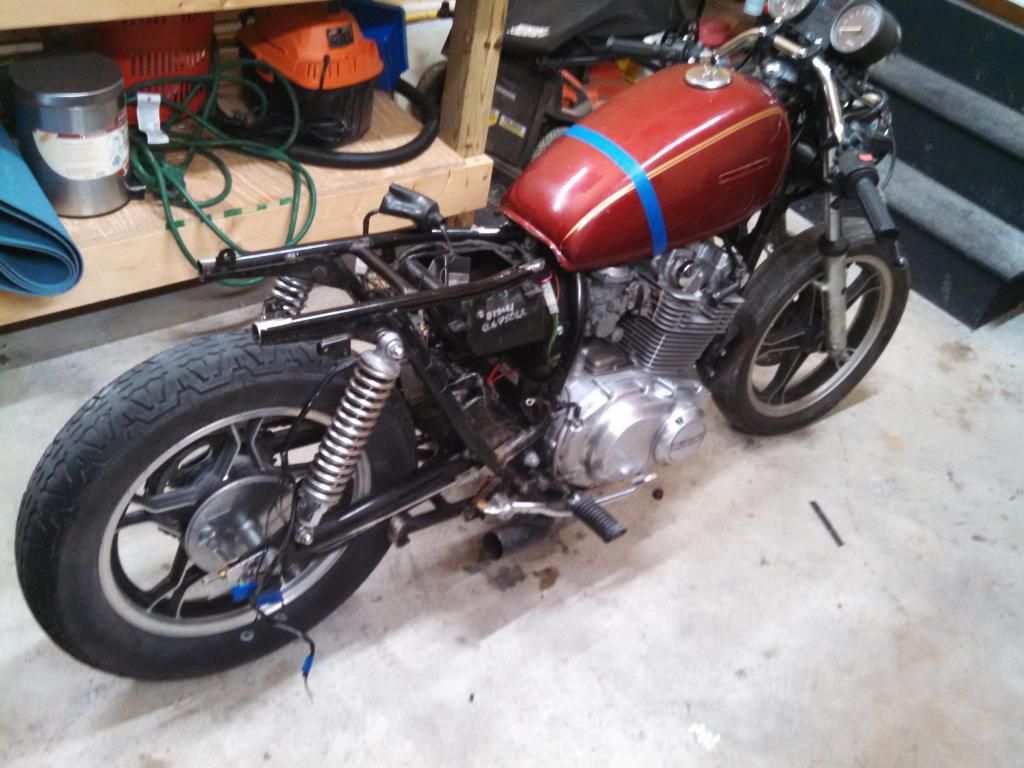
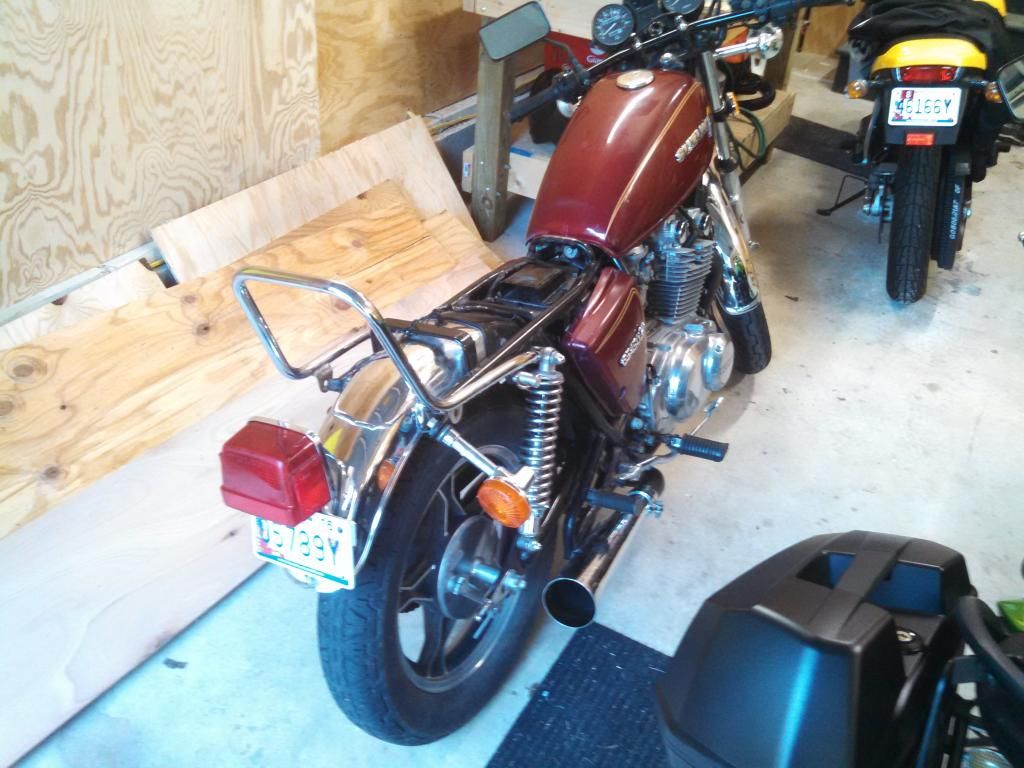
    Pictures do that bike no justice, but this is a GS site so onto that. I had an old 1991 Suzuki DR250 that was pretty banged up, but a great runner. I had no title for it and I wasn't using it so I decided to throw it up on the good old craigslist for trade. After a bunch of paintball gun offers and a totaled Yamaha blaster (seriously why does everyone on Craigslist want to trade you paintball guns or is that just me?) I got a phone call from a guy about two hours away. Said he had a nice GS450 with title that he wasn't using and wanted a 4-stroke trail bike. My experience with these was 0, but I always wanted to do a cafe build, the right opportunity had never presented it self. He agreed to drive down to meet me with bike in tow. Half an hour after showing up we made a deal, swapped bikes, and that was that. Bike as I received it:


    And this is where my adventure starts.

    #2
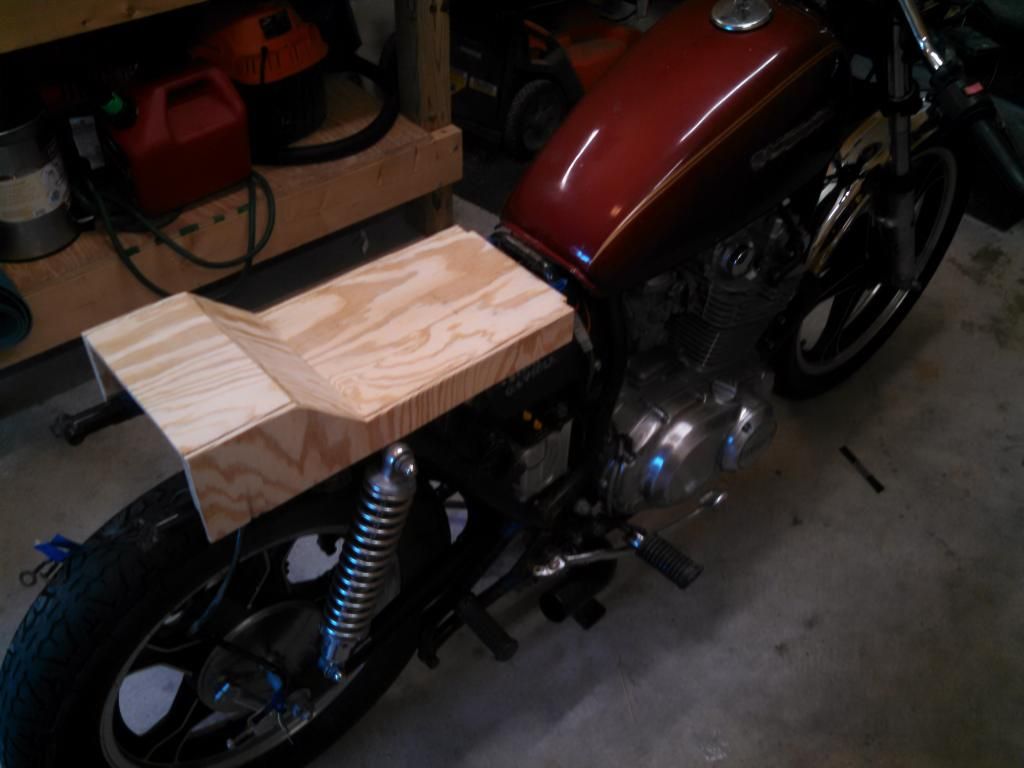
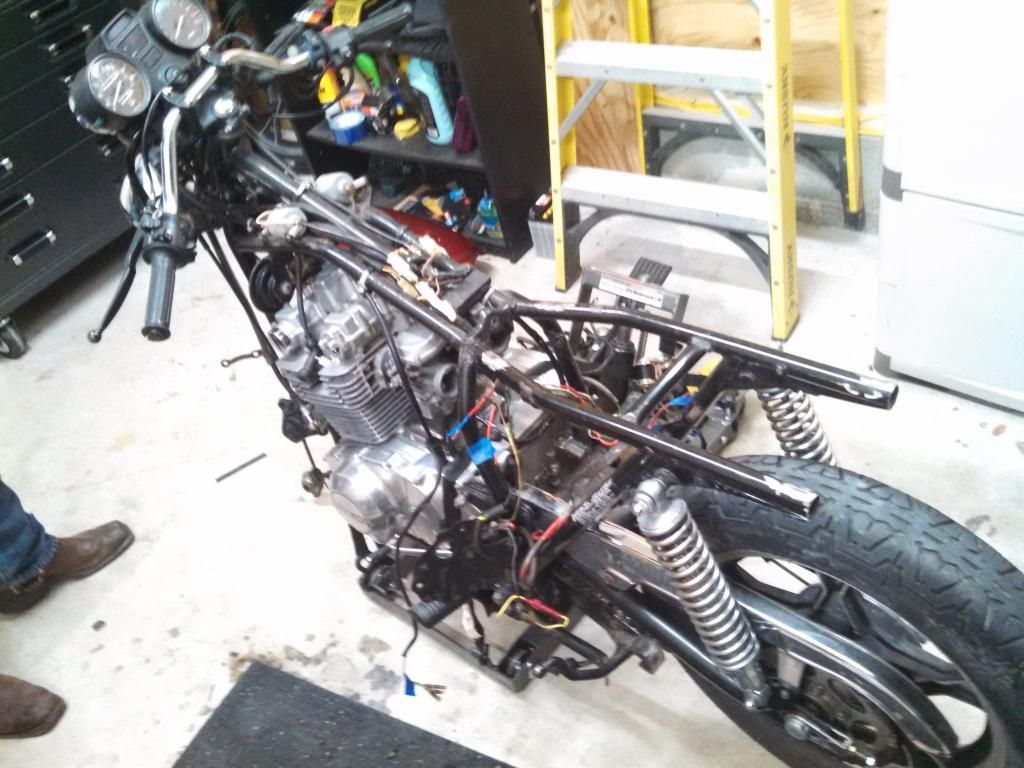
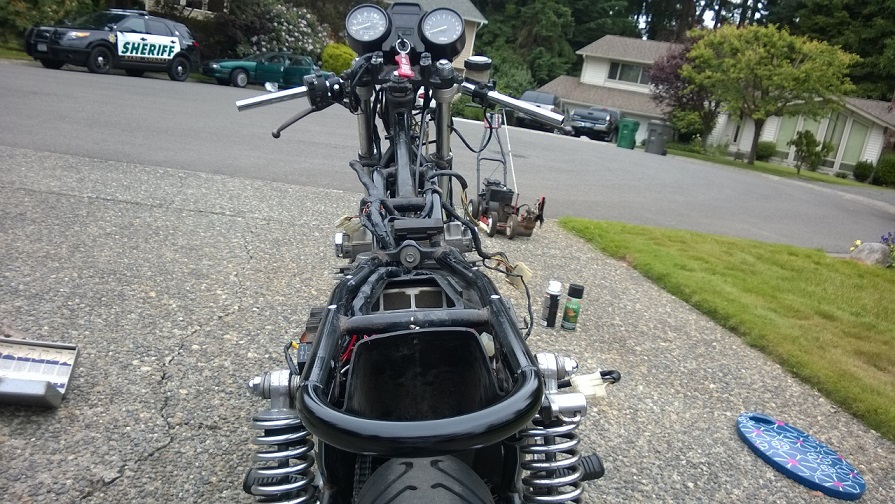
    The bike came with a bunch of paperwork with receipts dating back to 1998 and the first thing I did was re-organize it and enhance all of it. For a bike with a little over 6000 miles there seems to be a lot of serious maintenance done. Top end gaskets and piston rings twice, Oil pump, bottom end gaskets, and CRANK BEARINGS????? After an initial inspection and going over, I determined that it was running a little rich reciepts show that it had been rejetted twice (as well as new needles and floats) and appears to have been set up for open exhaust and K&N filters. However, there was a factory airbox on it when I got it, although it appears to not be original. I am hoping reverting back to pods will balance it back out. I changed the oil and filter. The oil that came out was very clean but incredibly thin. I refilled it with RotellaT and I will monitor it closely. It has a broken throttle tube, so I ordered a new one of those, along with a new master cylinder, tail light, and a holey headlight bracket. I cleaned up the bike and started taking it down to mock up a seat:
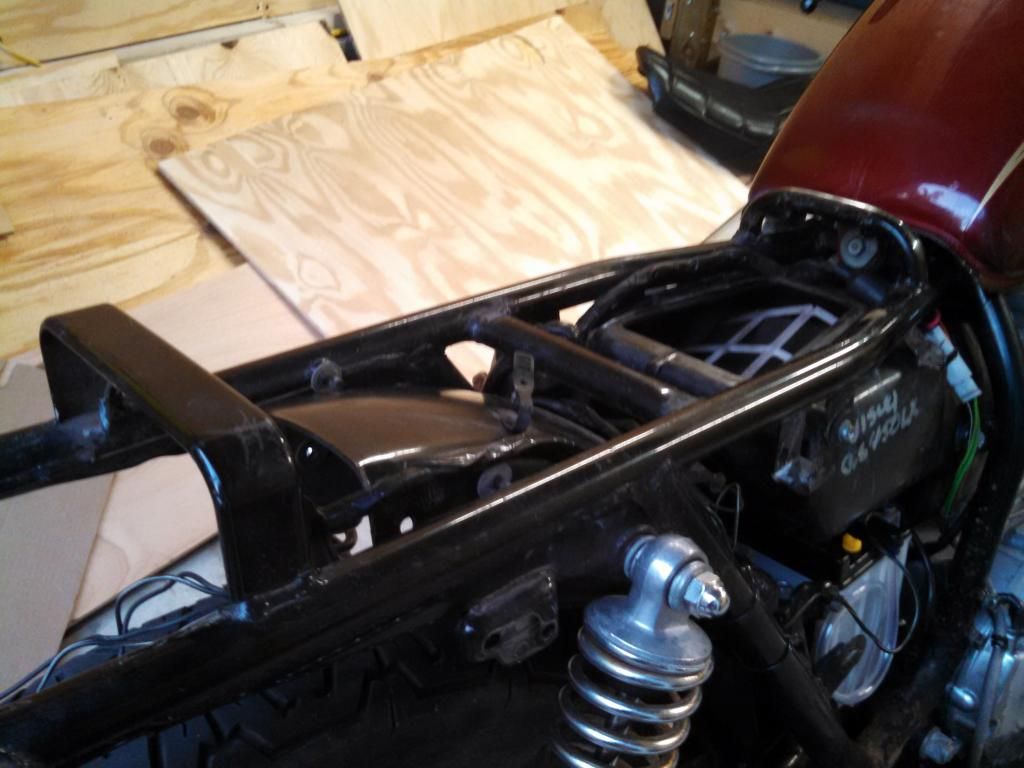
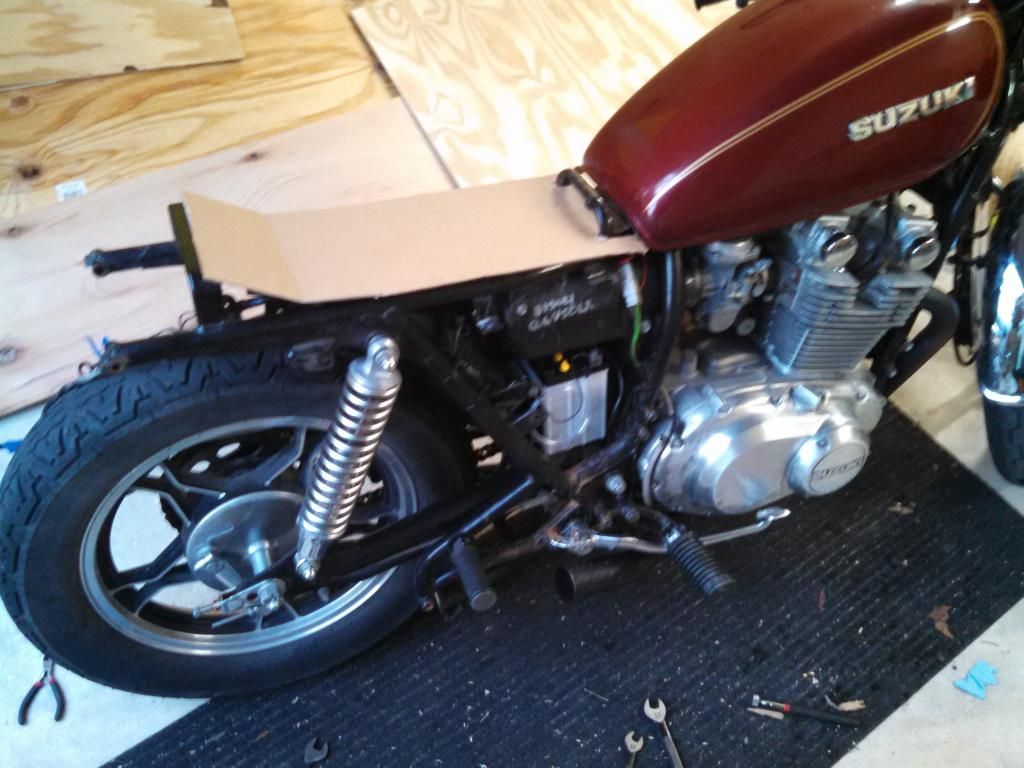


    I still havent figured out exactly what I want to do with it, but I think I want to incorporate the factory rear hoop somehow. I want to remove the side panels and rewire the whole thing as well. Maybe make some aluminum number plates. Meanwhile, an MC buddy of mine gave me some nifty things:
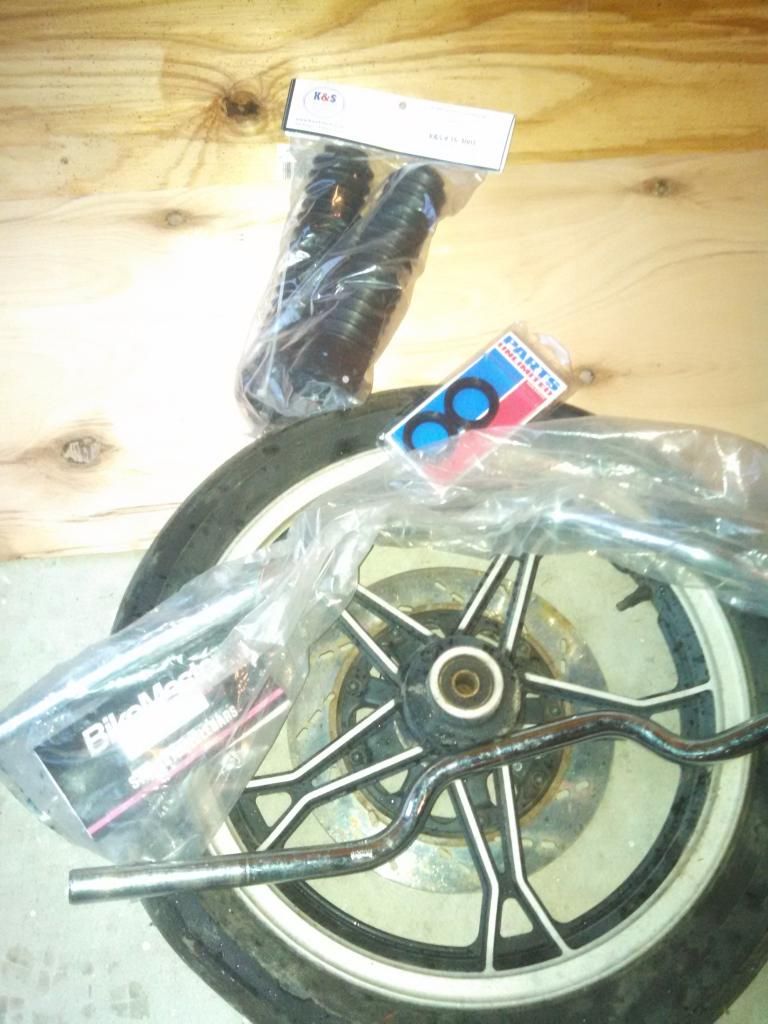
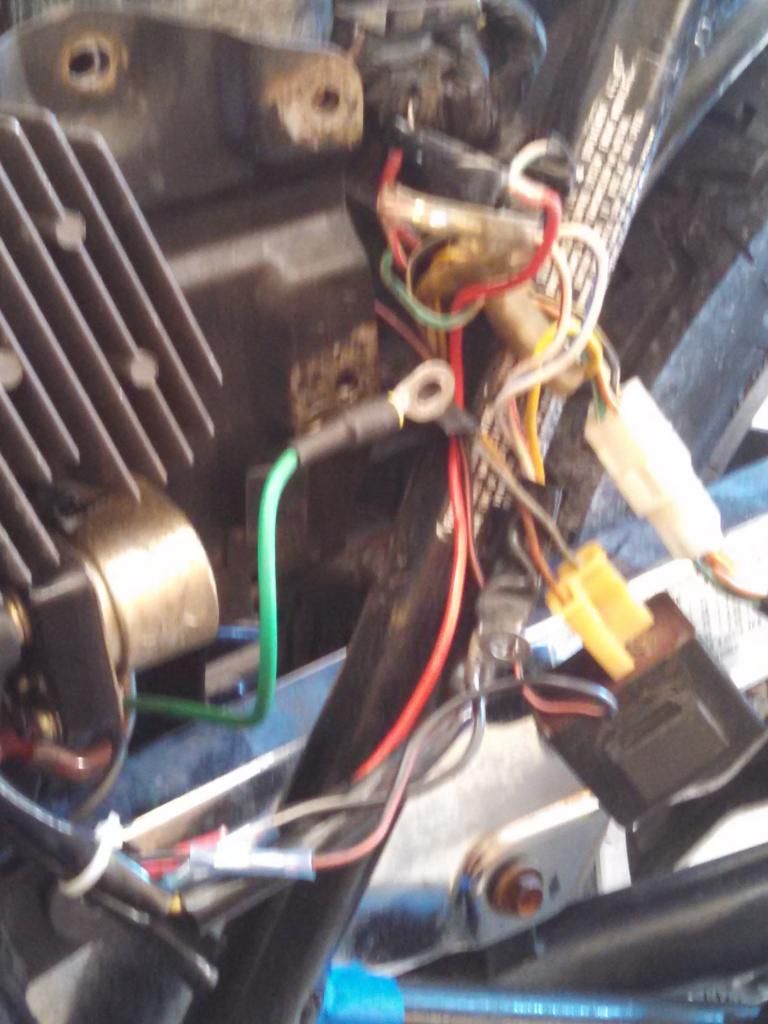


    Fork gaiters, fork seals, two types of handlebars, and a 16" front wheel in the same style as the 16" rear. No idea what it came off of.

    Comment


      #3
      Welcome, working on one myself, seems to be following for the 450 twins, have fun keep us posted on the build.

      Comment


        #4
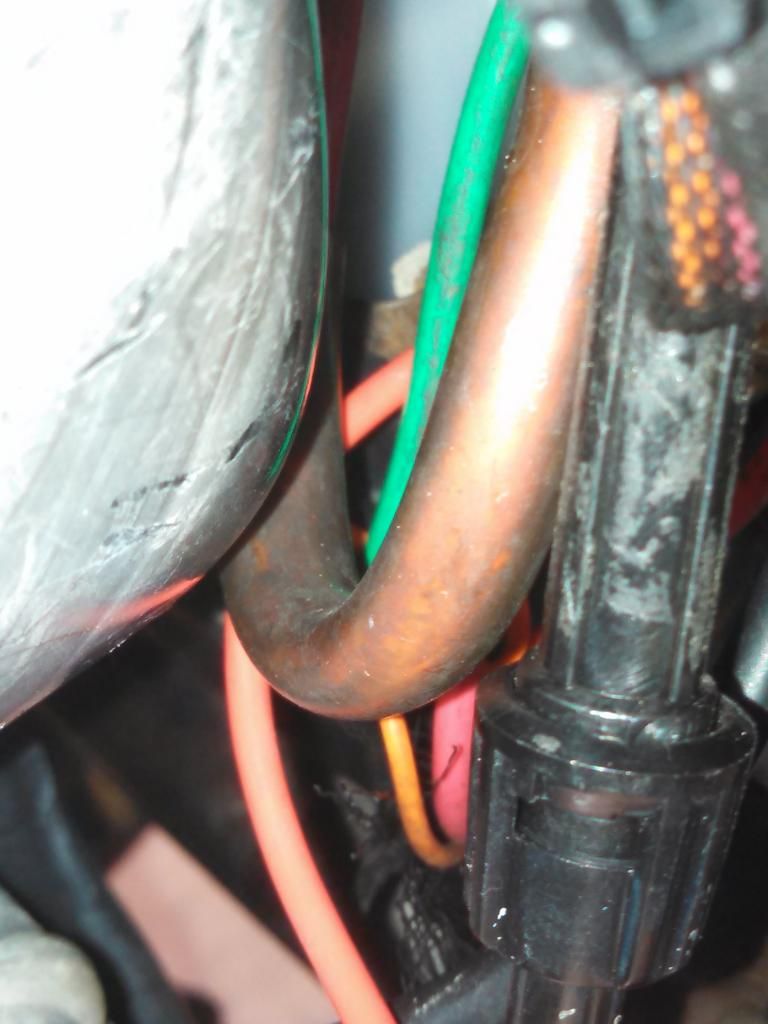
        Well she lost spark yesterday out of the blue. The only thing that had changed was the tail light and signals being removed. No spark at either plug. Ignitor? Bad wires? Puzzled

        Comment


          #5
          Check your fuses and grounds.
          http://img633.imageshack.us/img633/811/douMvs.jpg
          1980 GS1000GT (Daily rider with a 1983 1100G engine)
          1998 Honda ST1100 (Daily long distance rider)
          1982 GS850GLZ (Daily rider when the weather is crap)

          Darn, with so many daily riders it's hard to decide which one to jump on next.;)

          JTGS850GL aka Julius

          GS Resource Greetings

          Comment


            #6
            Originally posted by JTGS850GL View Post
            Check your fuses and grounds.
            Thats where I am headed next: Bleh


            There is definitely some homemade ingenuity going on here. Inline fuse holders, split wiring, etc.

            Comment


              #7
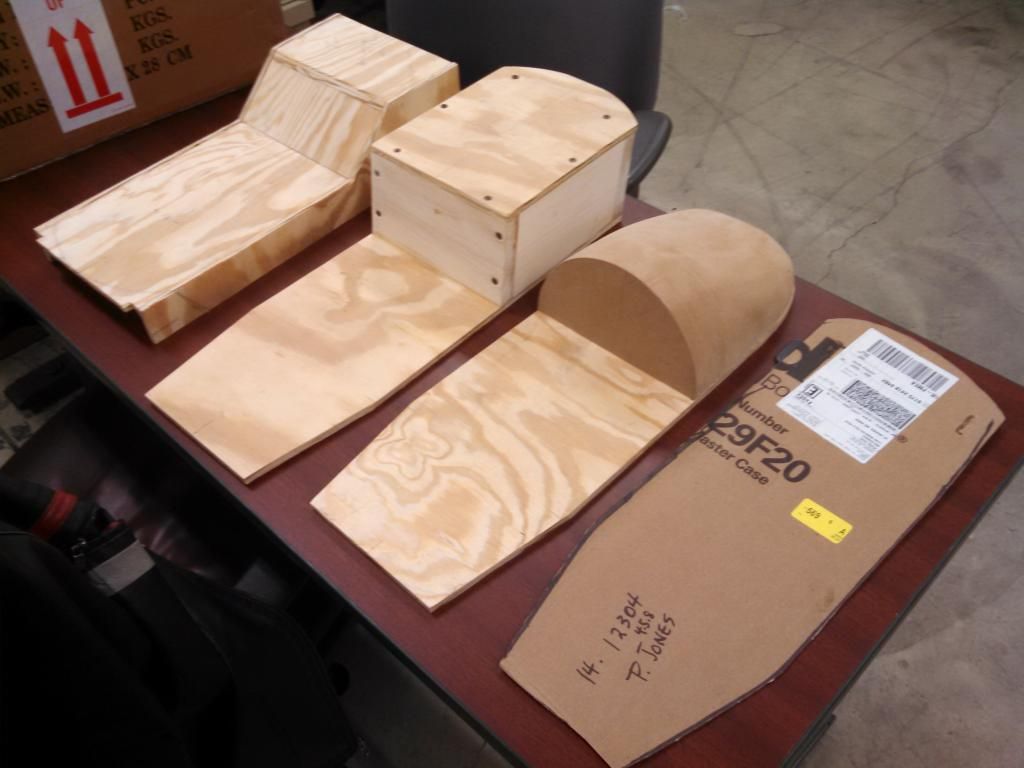
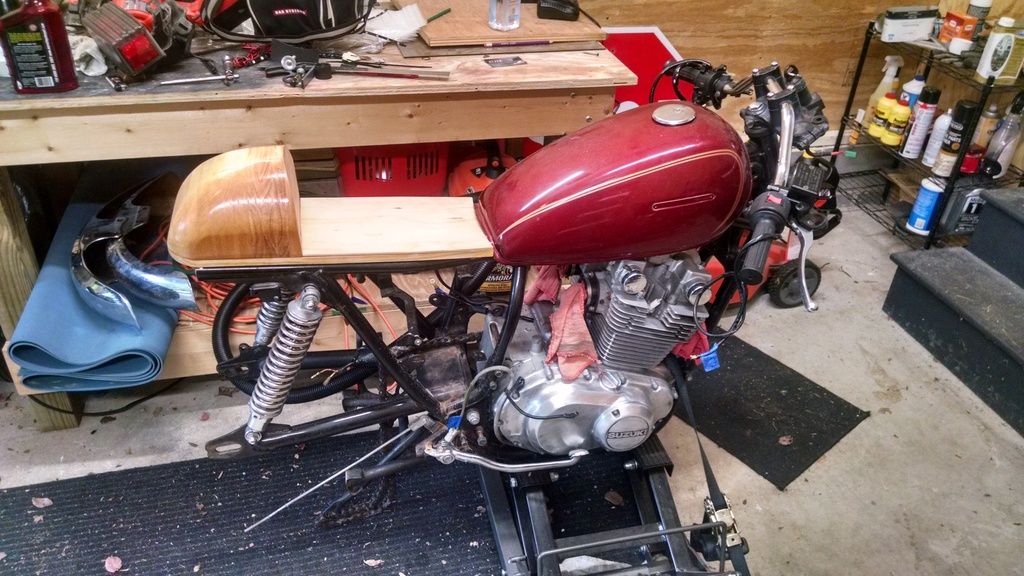
              Thoughts? Opinions? I cant really decide how to do the seat. Thinking about reversing the direction of the cowl.

              Comment


                #8
                dont be afraid of gs wiring.It is very simple when you understand suzuki color code.i can give you a quick rundown of basic color circuits if needed............

                Comment


                  #9
                  Small update. Chugging along as time and money allows. Got the tabs ground down and the airbox removed. The wiring is FUBAR. Not sure whether to patch or just start over.


                  Comment


                    #10
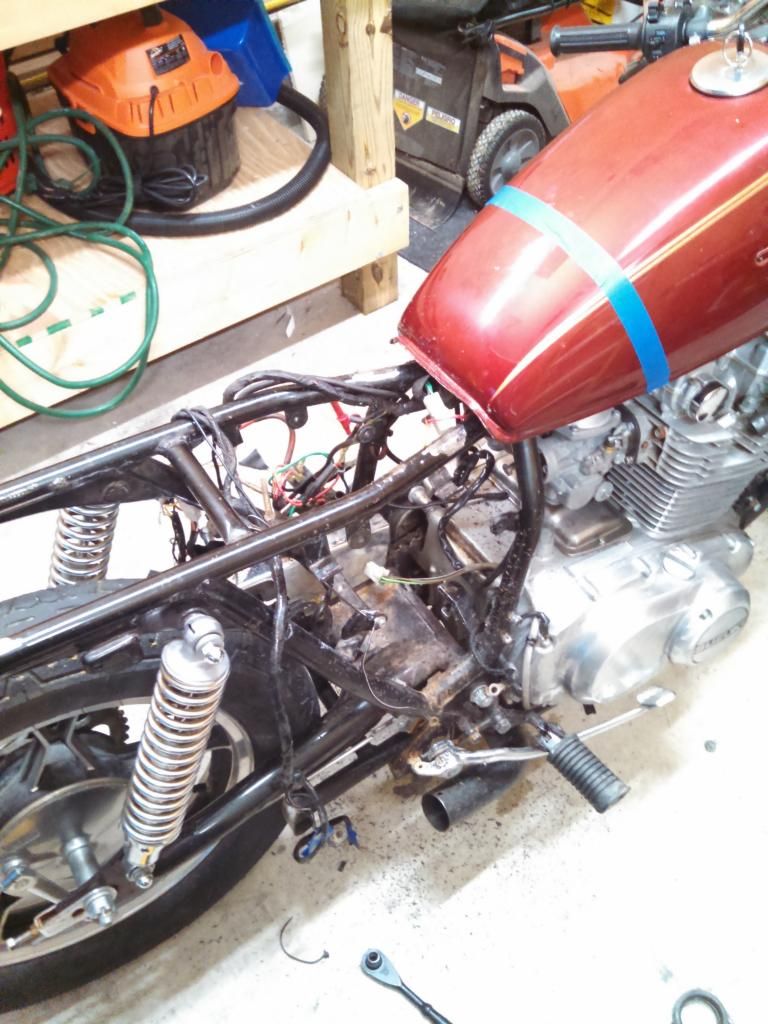
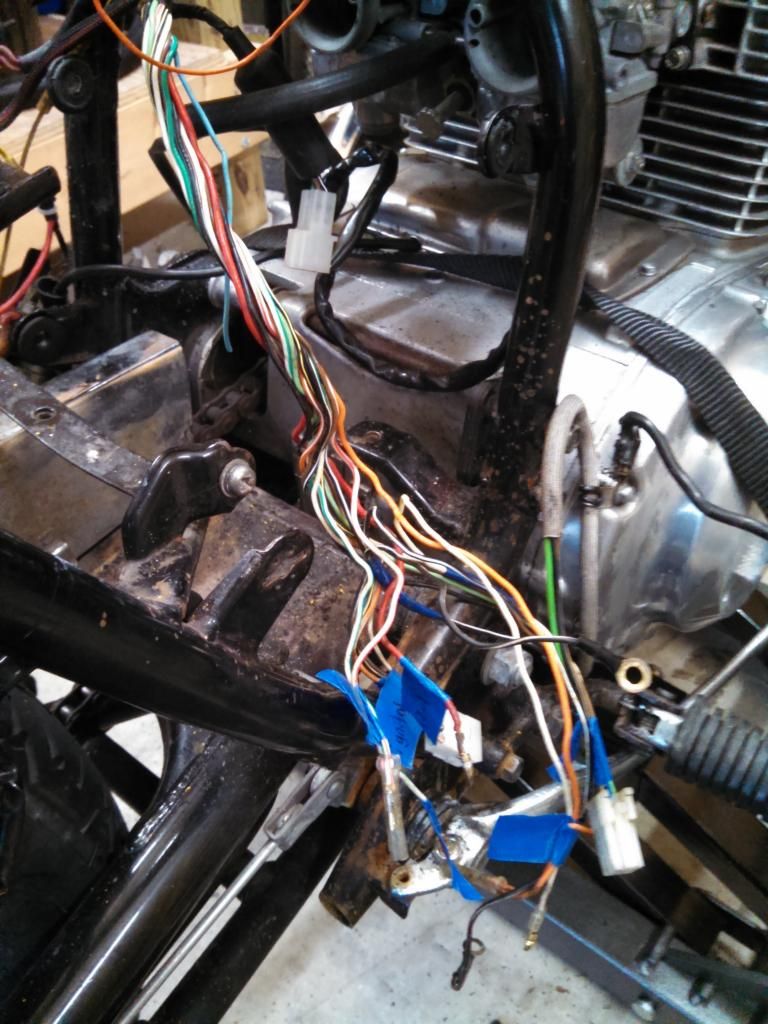
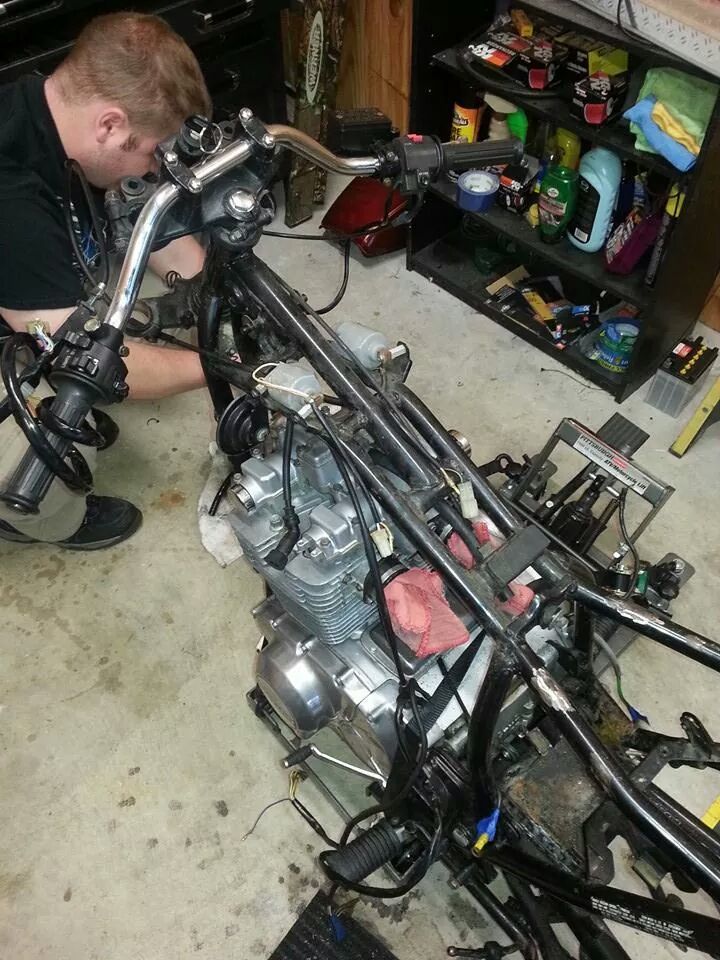
                    Overdue update. Got some good wrench time in the other day and will be working again this weekend. Took the forks off to put new seals in, swapped the rotors around, and did some work to the new 16" wheel. My next obstacle with that is making a spacer that will work. Thinking of removing the fender and going with a fork brace? Thoughts? Decided to Tear into the main harness, and man what a mess. As someonw with virtually 0 wiring knowledge I was pretty intimidated at first. I had a friend read off the wiring diagram while I worked on the harness. About 2 hours later I had it all back to clean factory wires south of the coils. Dealing with the headlight is next. The more stuff I take off the more stuff I feel like I want to replace.


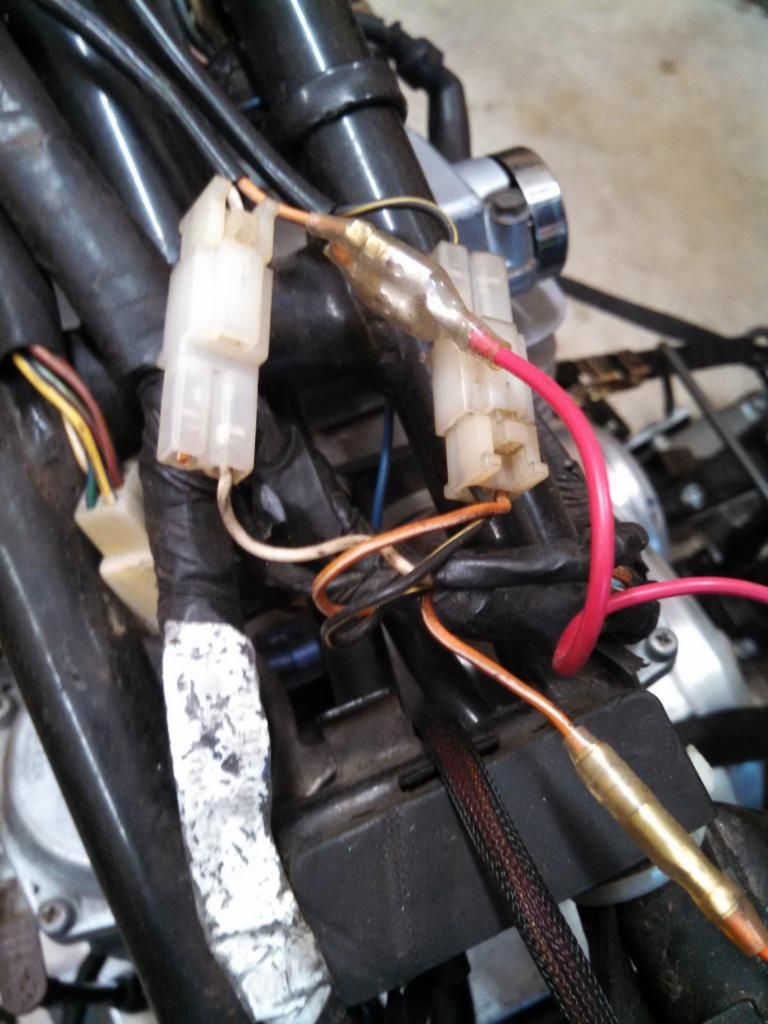
                    Check out this jerry rigged ridiculousness....WHY?


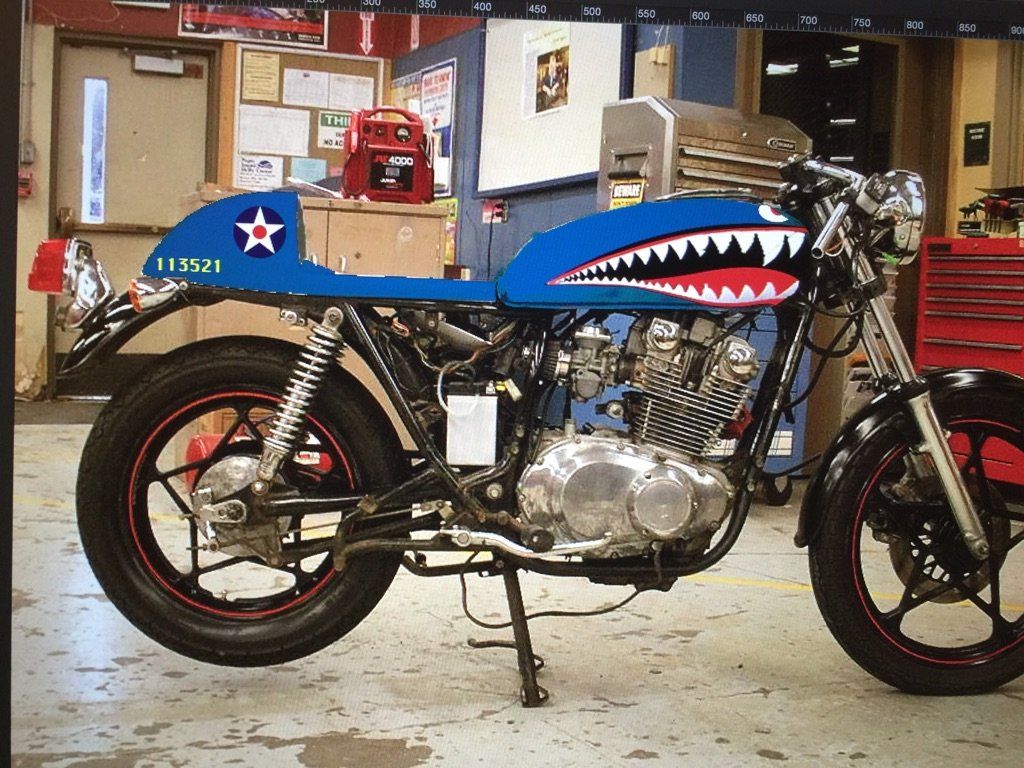
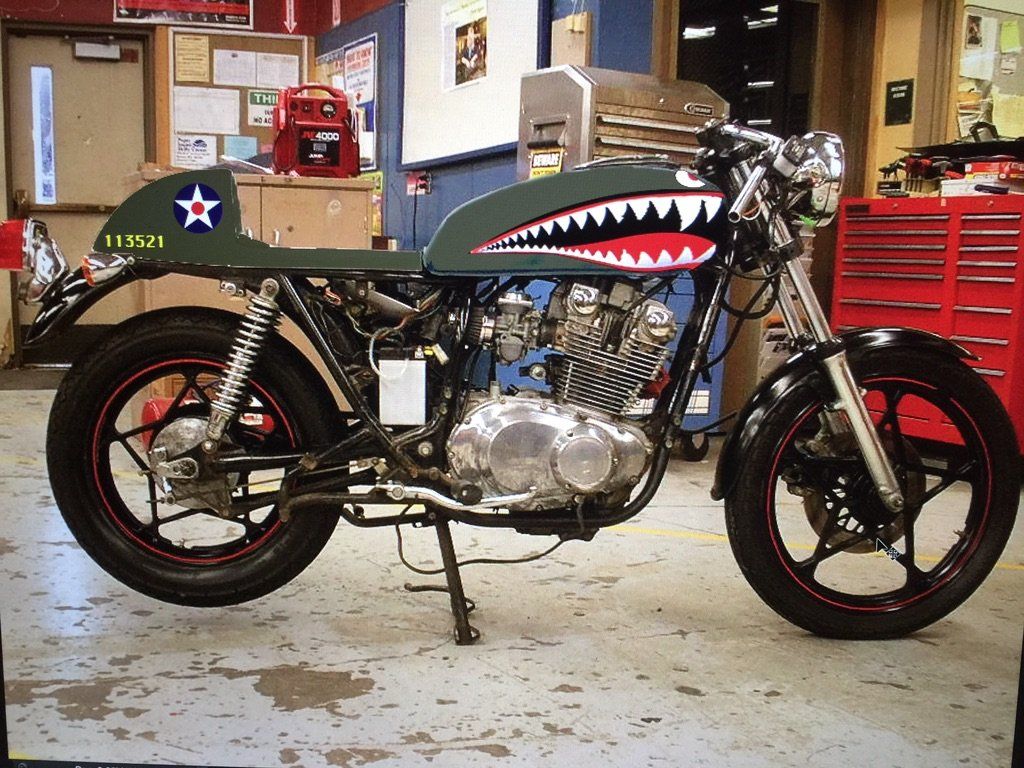
                    I had a friend of mine over at http://rsvision.com do a quick shop job for me. He mostly does websites but he does some cool work. Note: not my bike, I could not get a clean profile shot of it for this purpose. I pulled this one from google images:


                    Comment


                      #11
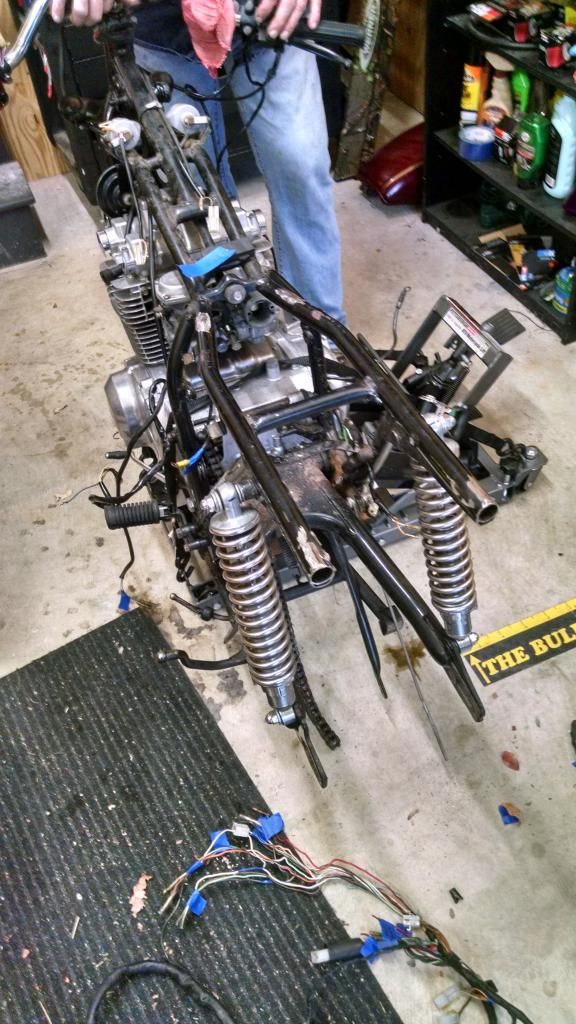
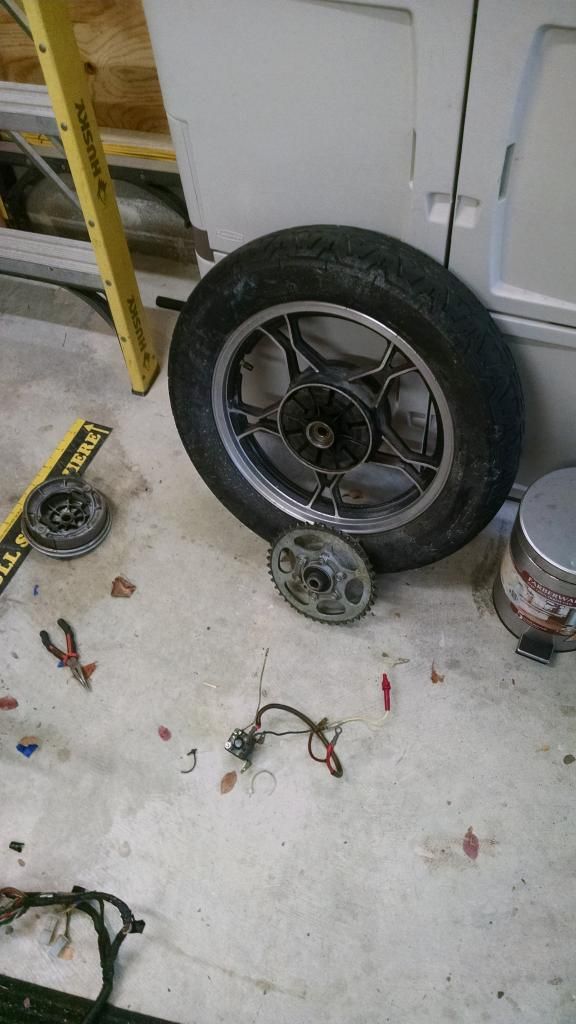
                      So small update. Bike is down to just a motor and frame now. Going to pull the motor later and start welding work on the frame. Took the sprocket cover, rear hub, brake drum, and both axles and ran them through the parts washer. Carbs came off and were cleaned/new orings/gaskets. I begna polishing them and I am awaiting new hardware to put them back together. Took brake caliper apart, mounted new MC to test fitment. Vinegar bathed my headlight bucket and some misc, hardware. Removed old gauge cluster and wiring for gear indicator. Pulled main harness completely off of bike for rewiring.


                      I need to figure out how I am going to remount the pegs and where to put the electronics.

                      Comment


                        #12
                        Originally posted by RaiderGT View Post
                        I need to figure out how I am going to remount the pegs and where to put the electronics.
                        I know it's optimal to put the R/R with fins perpendicular to the wind but I was able to mount mine between the frame and the gas tank, tucked neatly under the frame. There's enough clearance on the 400-450's that it hasn't gotten too hot yet, and I've put a few thousand miles on the bike since replacement as of this post. Keep in mind I'm using the Polaris upgrade R/R so it's quite a bit bigger and I wasn't able to mount it in the usual spots.

                        Comment


                          #13
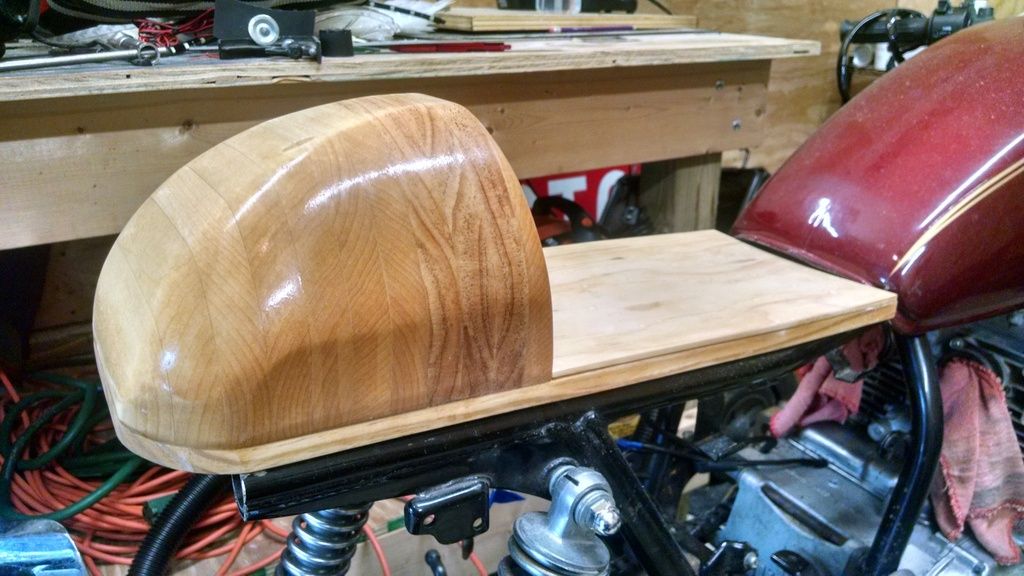
                          So small update. Been hectic working 70+ hours a week, plus I picked up a KZ1100 basketcase and ive been messing with that. But hey my seat is done after waiting nearly 7months! Well done except for paint....and mounting brackets.....and upholstery, ok so its not done yet. Suggestions on how to mount it?


                          Comment


                            #14
                            Wow, that wooden cowl is looking great! Will you have an upholstered cover that will go over that seat pan? If so, I drilled the top of the frame tubes in 4 spots under the seat pan and installed nutserts to screw through the seat pan down into the frame. I'm using low profile screw heads with big washers and they will be covered by the upholstery.

                            This isn't the best picture of it, but you can just make out where I installed the nutserts here.

                            Comment


                              #15
                              Essentially, yes but i have another plate that the actual foam and fabric will attach to which will then attached to the pan. Keeps everything accessible and easy to remove. I do like the nutserts idea though, I was thinking about some kind of trick hinge and magnet system or some kind of leather strapping like they use on vintage car hoods but havent figured out how to make that work. where did you get your rear hoop from? Whats your seat look like?

                              Comment

                              Working...
                              X