.png "Powered by vBulletin")
Wow!
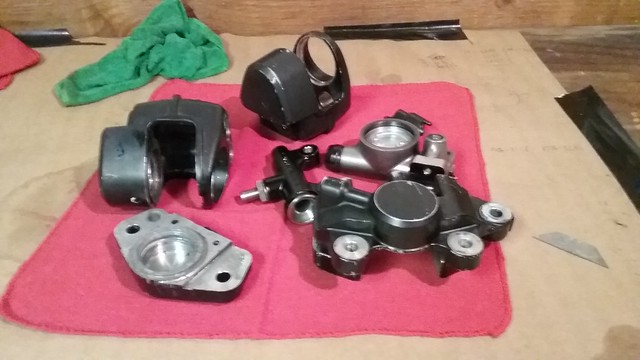
I did a break job a while ago...but not to this extent! Nice job!!!
Ed
-
Leave a comment:
-
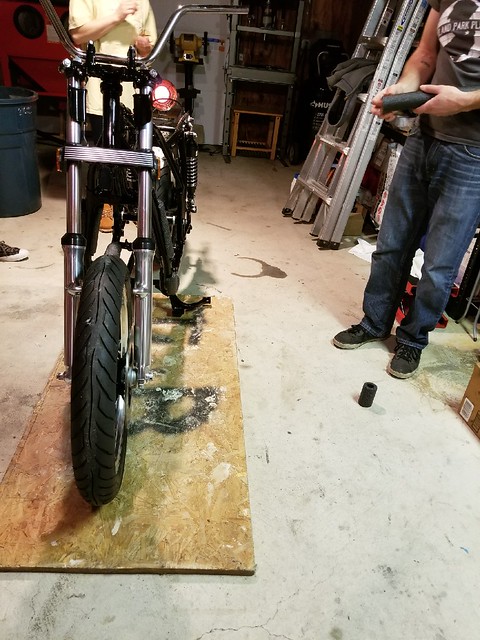
Not gonna see the oil pan so to me it doesnt matter. And i dont recall seeing any silver smears on my board. I have a dedicated plank for on top of the floor jack.Leave a comment:
-
13 min 28 sec is impressive, Chuck. I thought about the motor on the side/install the frame onto the engine method. Parts availability, etc. made it so I moved on to getting a rolling chassis going before the engine was ready to go in...frame's way too heavy at that point.
I've seen the removal video before, but not the install one. Looks easy enough, but I didn't have enough confidence in the VHT engine paint on the oil pan to slide the engine around like that. Thought it might chip off. Would the paint really hold up installing the engine that way?Leave a comment:
-
My best time inserting an engine was 13 minutes and 28 seconds. from setting on the stand next to the bike to taking the support jack out from under the oil pan. All bolts in and tightened. And I do this alone. I use the Eric Bang method and they slide in and out like butter. I use a 2X6 on my floor jack under the pan to lift the engine even with the top of the frame and slide it out onto my custom made stand. Reverese the process to insert into the frames.
I take off the cam cover for another inch top clearance and Im not quite as brutal on extraction. Just a little wiggle and pull and shes out.
Installation....... https://www.youtube.com/watch?v=lIv9wonIViYLast edited by chuck hahn; 03-05-2018, 08:01 PM.Leave a comment:
-
Definitely helped. I had no worries about just resting the engine on the frame while I got the jack in place to line up the bolts. Can't claim credit for the idea though. Someone on this site had pics of them doing the same thing in a rebuild thread. Just one of many great tips I got from TGSR...Originally posted by jabcb View PostLeave a comment:
-
I'm not entirely sure. They're the ones that were on the bike when I bought it around '08 or '09. Someone else on the site may be able to speak better to what's stock on this bike. I found out after riding the bike for a few years that the forks are from an '82 GS650, so the bars might be also...Originally posted by RogerW View PostLeave a comment:
-
I've been keeping an eye on your build thread, Nicky. At the rate you're going, you may just finish before I do... Since you're cleaning as you disassemble, and looks like you're super organized... When you go to put everything back together you'll thank yourself, trust me.Originally posted by NickyGS750 View PostLeave a comment:
-
Nice work.
I hadn’t thought of using pipe insulation to protect the powder coat. Will be doing the same soon.Leave a comment:
-
 Guest repliedNice work Sam ! Are those stock handlebars?
Leave a comment:
-
Guest repliedKiller work on this project. Clean build... definitely lots of inspiration for me. I cannot wait till im at this stage... Im still cleaning and prep'n parts.Leave a comment:
-
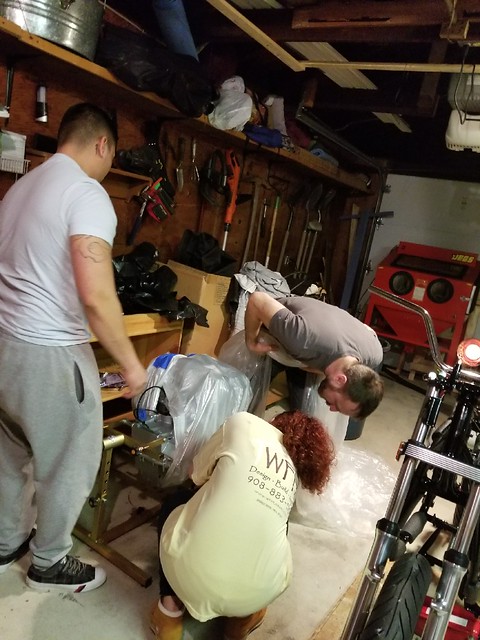
Here's us doing our best impersonation of the Keystone Cops trying to get that first bolt to line up...
Leave a comment:
-
A bit more stuff done since then...
Got the chain on
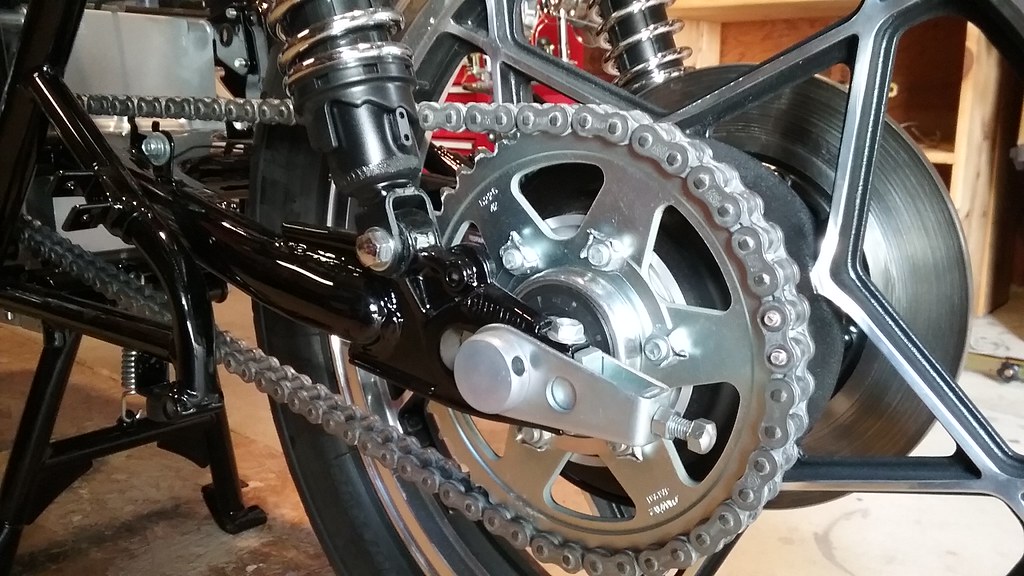 20180304_115354 by samL9, on Flickr
and so I buttoned this side up
 20180304_115420 by samL9, on Flickr
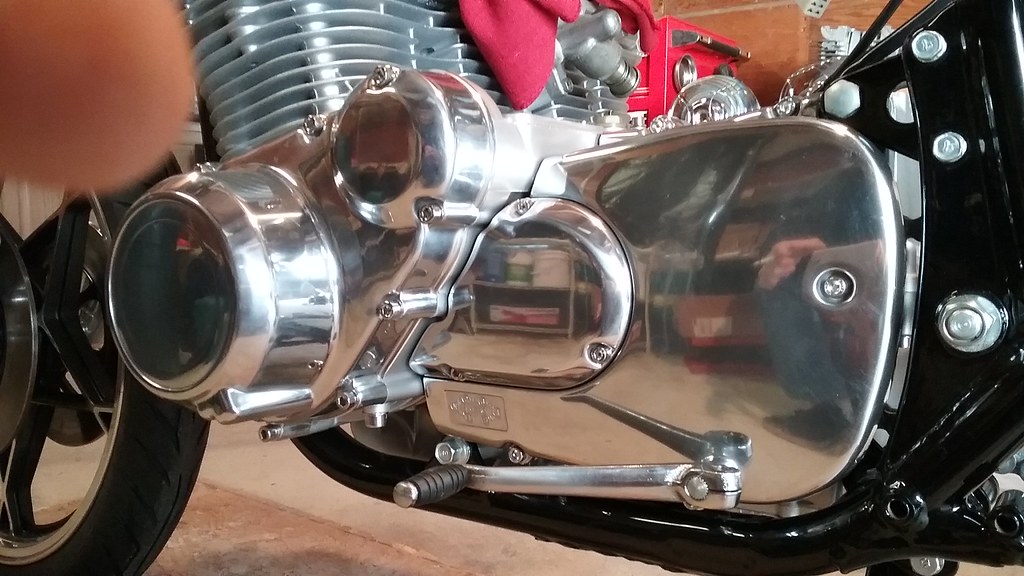
a few more pics...ignore the greasy fingerprint smudges on the polished covers, etc.
 20180304_115538 by samL9, on Flickr
 20180304_115445 by samL9, on Flickr
 20180304_115310 by samL9, on Flickr
 20180304_115222 by samL9, on Flickr
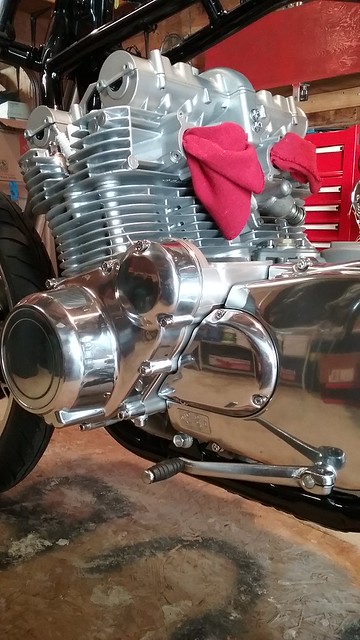
...up next
 20180304_115658 by samL9, on Flickr
Leave a comment:
-
So finally getting around to posting pics of the engine going in the frame...
Wrapping the frame in pipe insulation to protect the powder
 Eng1 by samL9, on Flickr
...and wrapping up the engine
 Eng2 by samL9, on Flickr
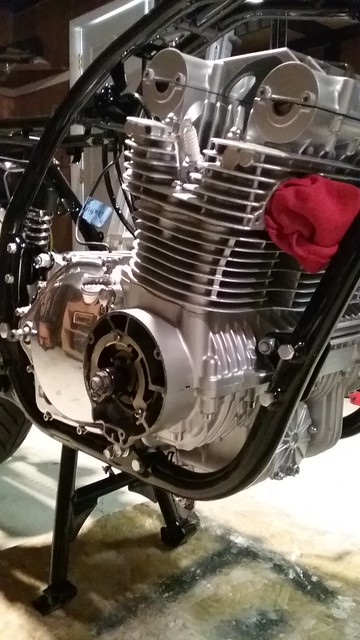
Not many pics of the 'in progress' but this is it finally in
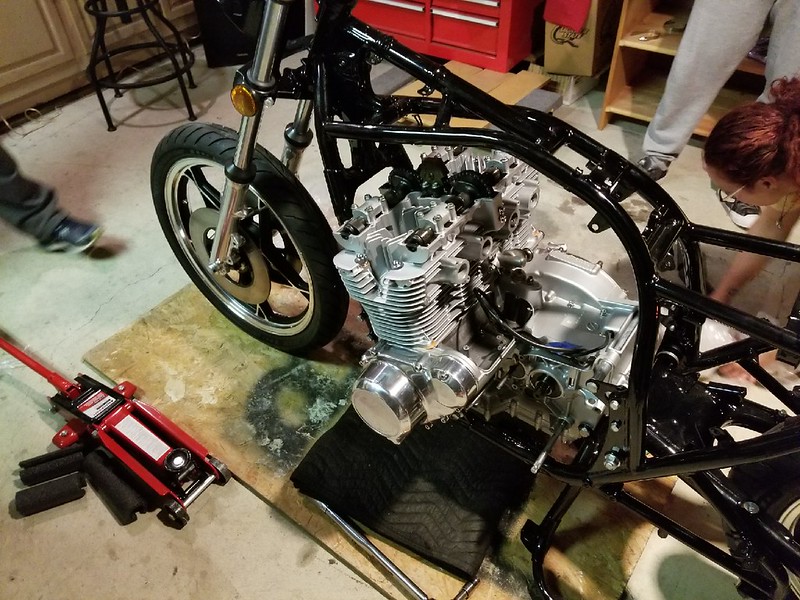 Eng3 by samL9, on Flickr
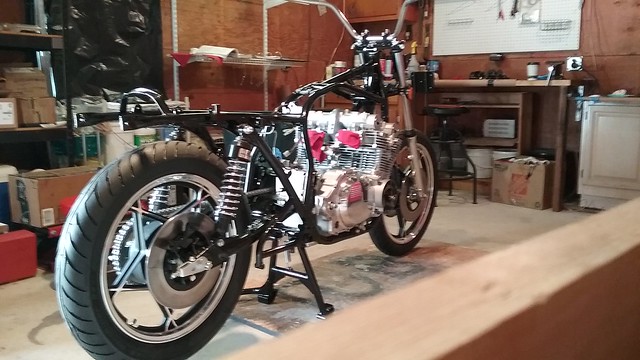
She's just about ready to take for a ride...
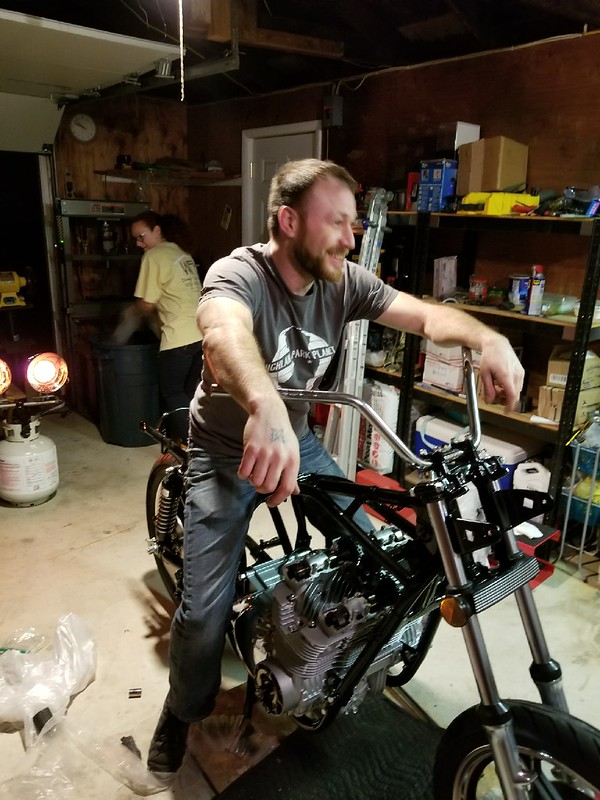 Eng4 by samL9, on Flickr
Leave a comment:
-
Thanks, Ed and Nicky. It's definitely coming along. Got the engine in last night with the help of a couple of strong friends, and my wife and sister were johnny on the spot with the bolts and such..... I'll post a few pics later tonight.Leave a comment:


Leave a comment: