Don't keep any flammable or toxic chemicals stored inside the house. And if I may offer a bit of advice, you definitely want to show your girl some genuine appreciation once the bike is put back together. Doesn't have to cost much or anything at all, just find a sincere and thoughtful way to say, "thank you for letting me decorate our house in greasy smelly motorcycle parts for a while." Trust me on this, it's important.
Announcement
Collapse
No announcement yet.
78 GS 750 Rebuild
Collapse
X
-
I gotta say, I often feel cramped for space in my 2-car garage but I got nothing on some people like yourself who can rebuild a motorcycle in a modest living space. I seem to recall one fellow here rebuilding a GS500 in what looked like a walk-in closet in his house.
Don't keep any flammable or toxic chemicals stored inside the house. And if I may offer a bit of advice, you definitely want to show your girl some genuine appreciation once the bike is put back together. Doesn't have to cost much or anything at all, just find a sincere and thoughtful way to say, "thank you for letting me decorate our house in greasy smelly motorcycle parts for a while." Trust me on this, it's important.
-
Ran into a slight snag splitting the cases... http://www.thegsresources.com/_forum...44#post2186344
Finally figured it out and got them apart...
Now I'm just cleaning up the crank and gears and putting them aside for reassembly. Soon I'll be ready to prep and paint the engine parts.
Fun stuff. I feel like I'm making real progress here. The real fun will be once everything's all cleaned up and I start putting it all back together.
Comment
-
I'm definitely missing my garage on this one, but you do what you can with what you have... I got tired of putting this off, so I just got to work. And you're right, I need to think of a really great way to thank her for putting up with this with a smile on her face.Originally posted by eil View PostI gotta say, I often feel cramped for space in my 2-car garage but I got nothing on some people like yourself who can rebuild a motorcycle in a modest living space. I seem to recall one fellow here rebuilding a GS500 in what looked like a walk-in closet in his house.
Don't keep any flammable or toxic chemicals stored inside the house. And if I may offer a bit of advice, you definitely want to show your girl some genuine appreciation once the bike is put back together. Doesn't have to cost much or anything at all, just find a sincere and thoughtful way to say, "thank you for letting me decorate our house in greasy smelly motorcycle parts for a while." Trust me on this, it's important.
Comment
-
Back at it after a loooooooong break. Between work and night classes I didn't have much time to begin with. Then we bought a house in need of some serious repairs, so that took up all of my time. Kind of hard to justify working on the bike when I was gutting and rebuilding our home... But you know what they say about excuses...
Good news is, the house has a garage so no more working in my hobbit hole!
More to come....
Comment
-
 Dub-K113
Comment
-
Still at it...
So it's been awhile since I posted in this thread... Still at it. Progress is slow, but I've been getting there a little bit at a time.
Since my last post some things I've done (in no particular order):
- Finished disassembly. Everything completely apart in boxes and ziploc bags, all meticulously labeled for sanity's sake in the reassembly
- had the welds in the frame cleaned up, and a minor crack repaired
- frame swingarm and some other bits powder coated
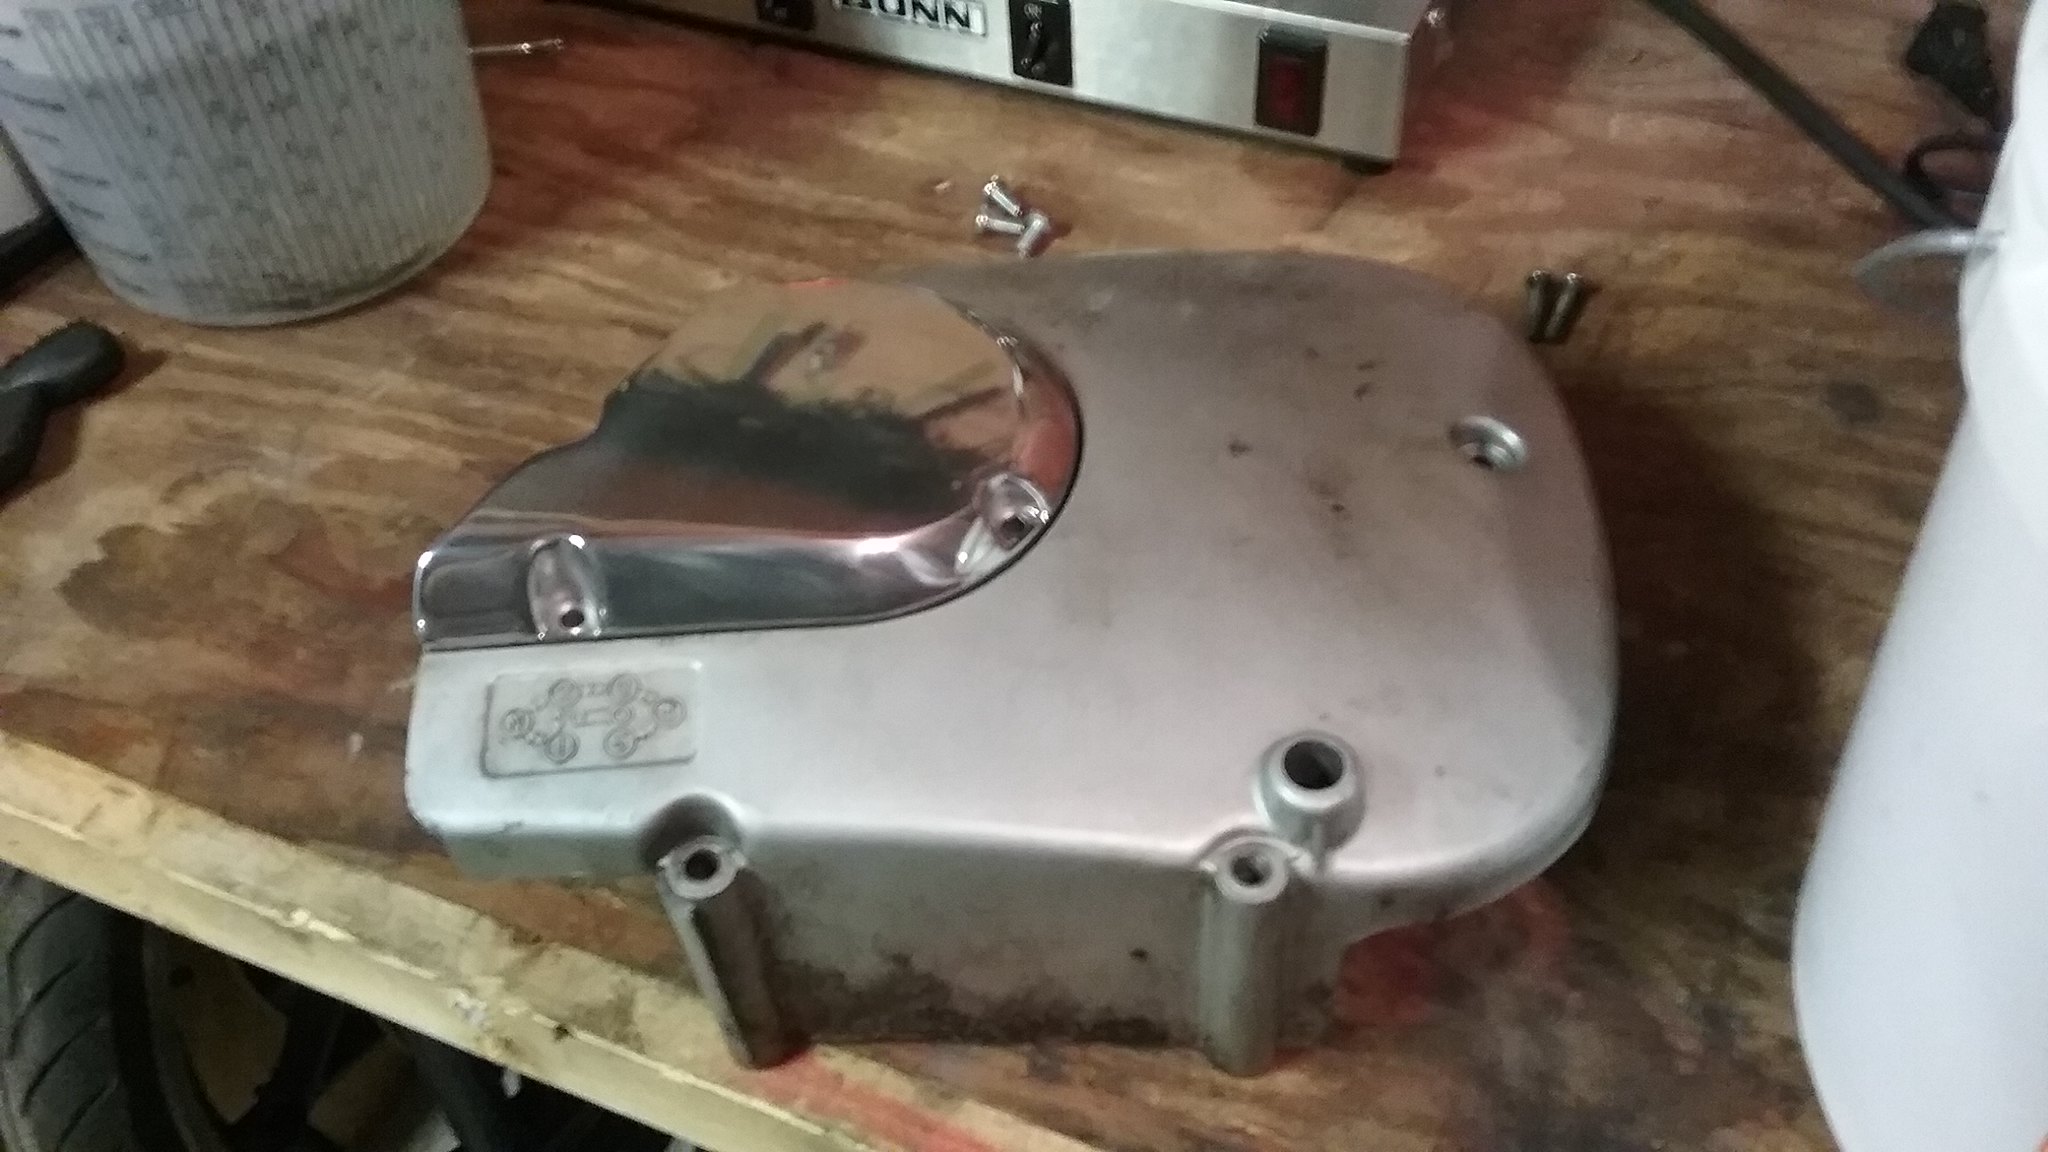
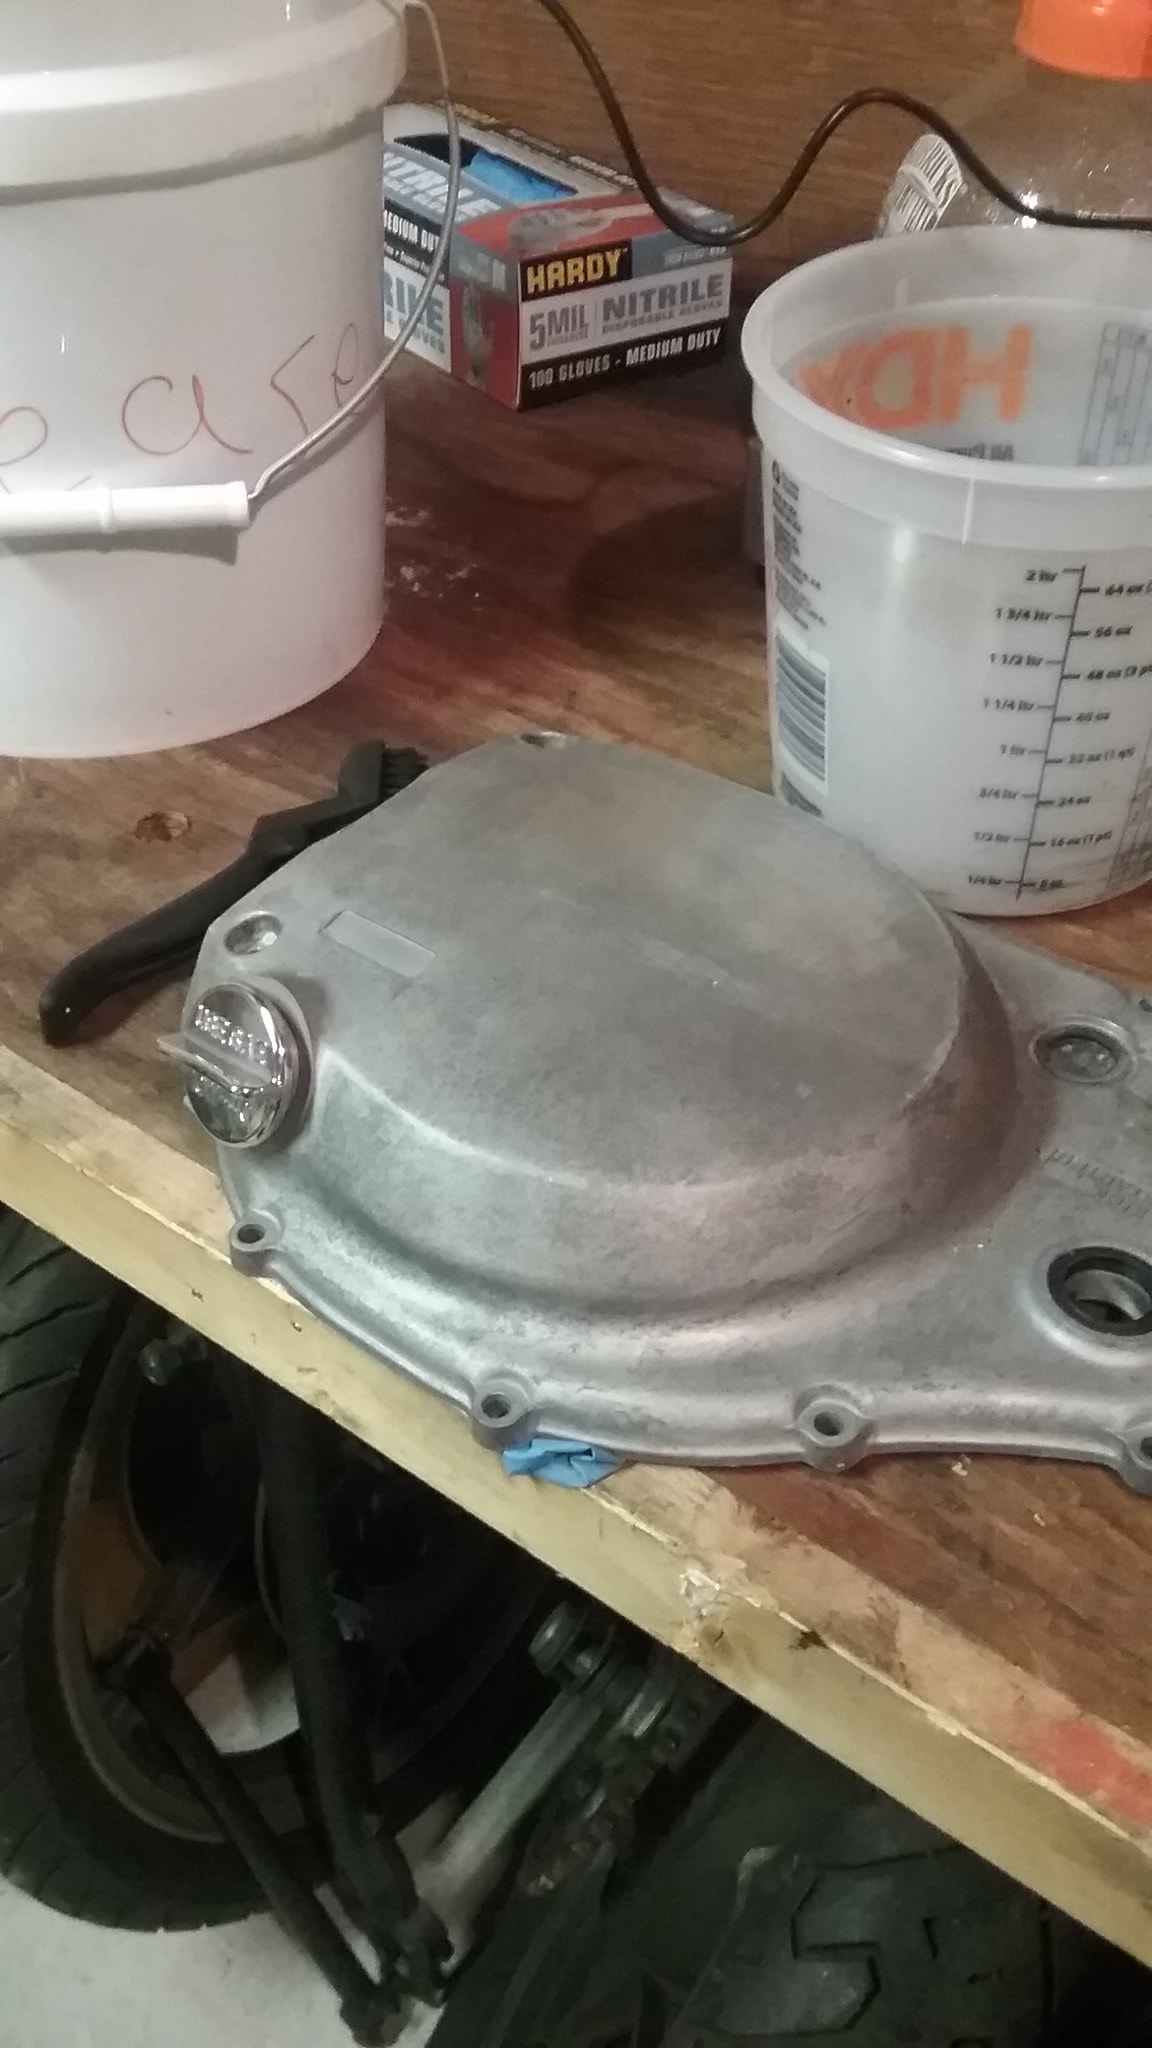
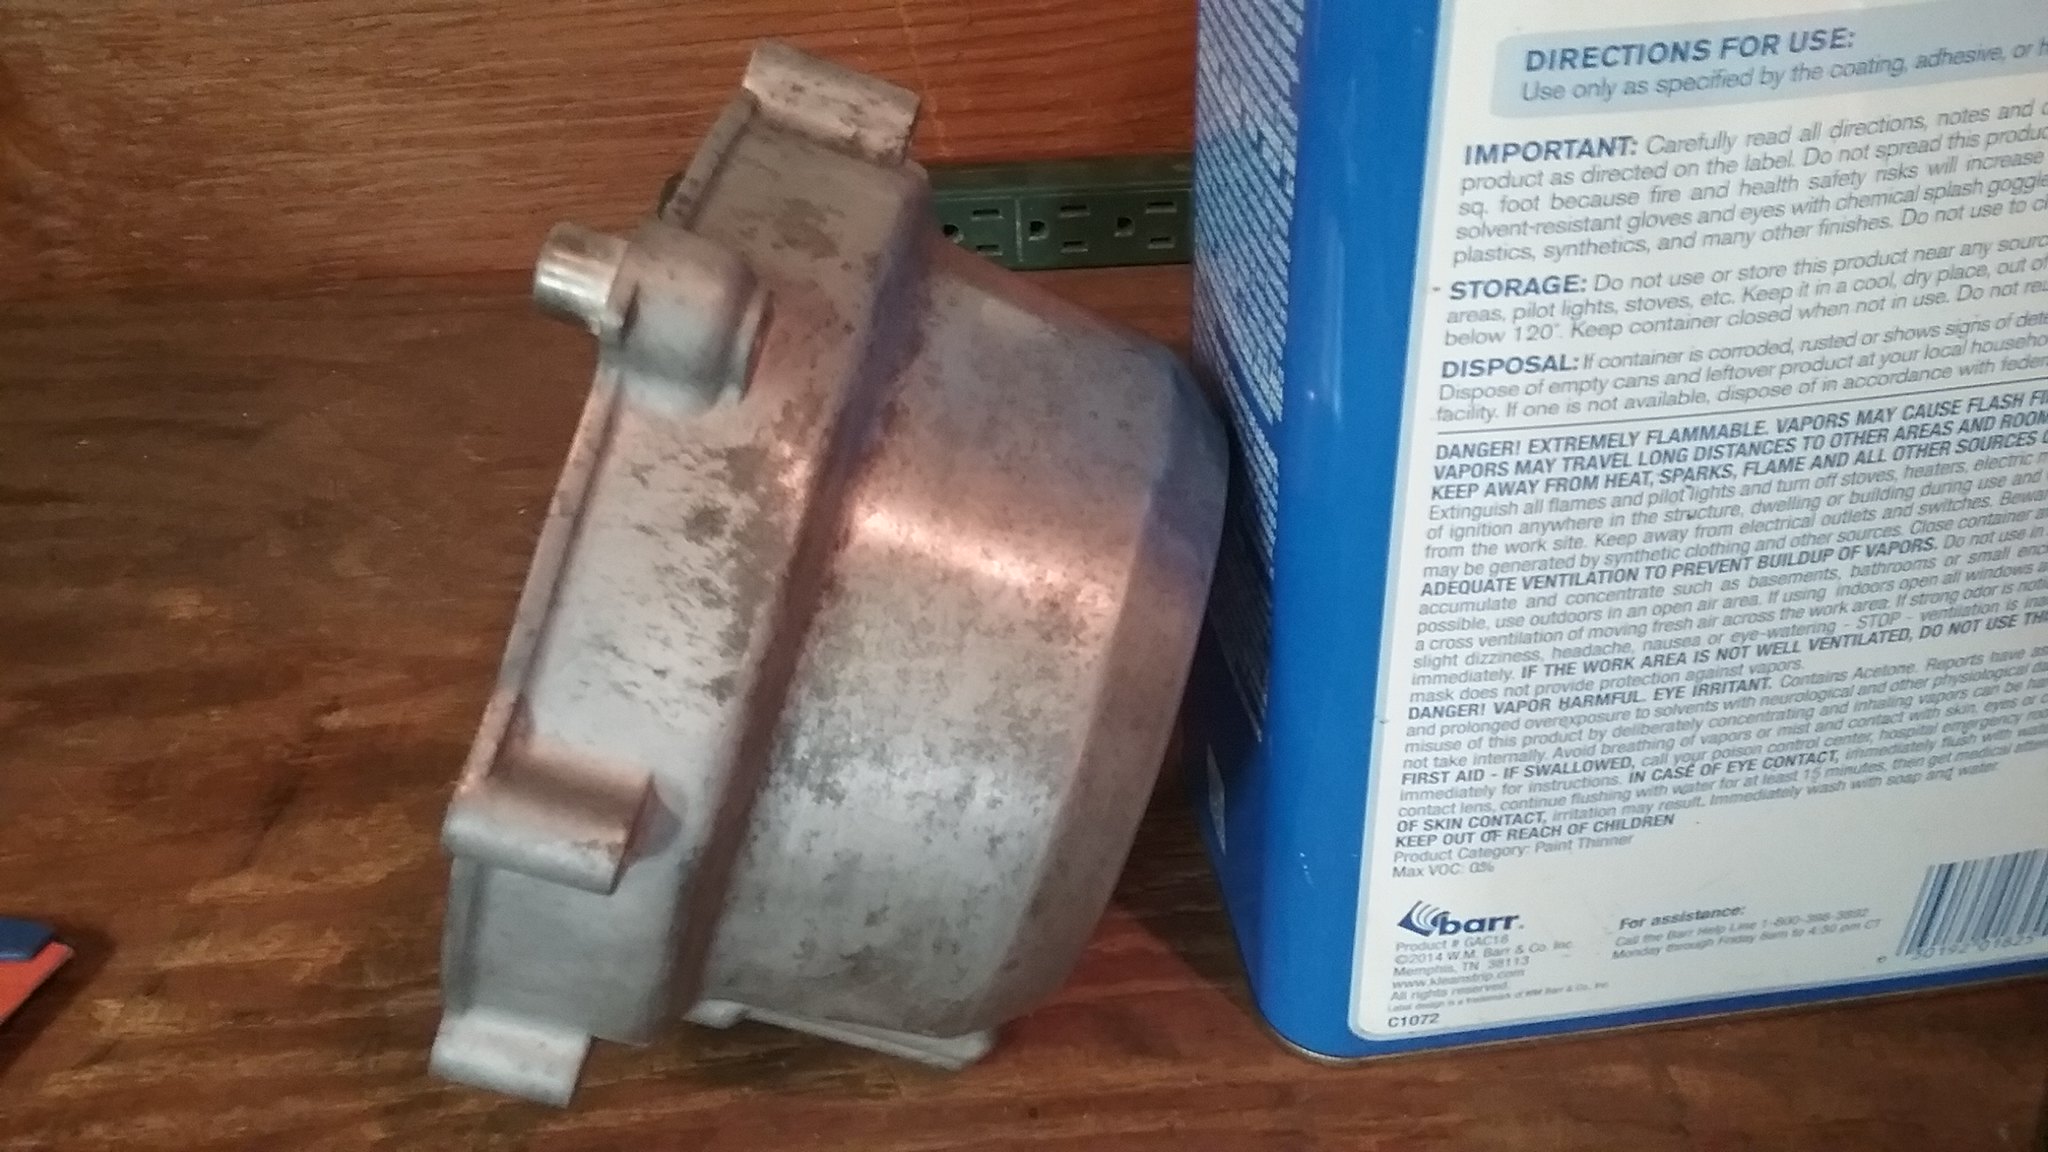
- polished engine cases
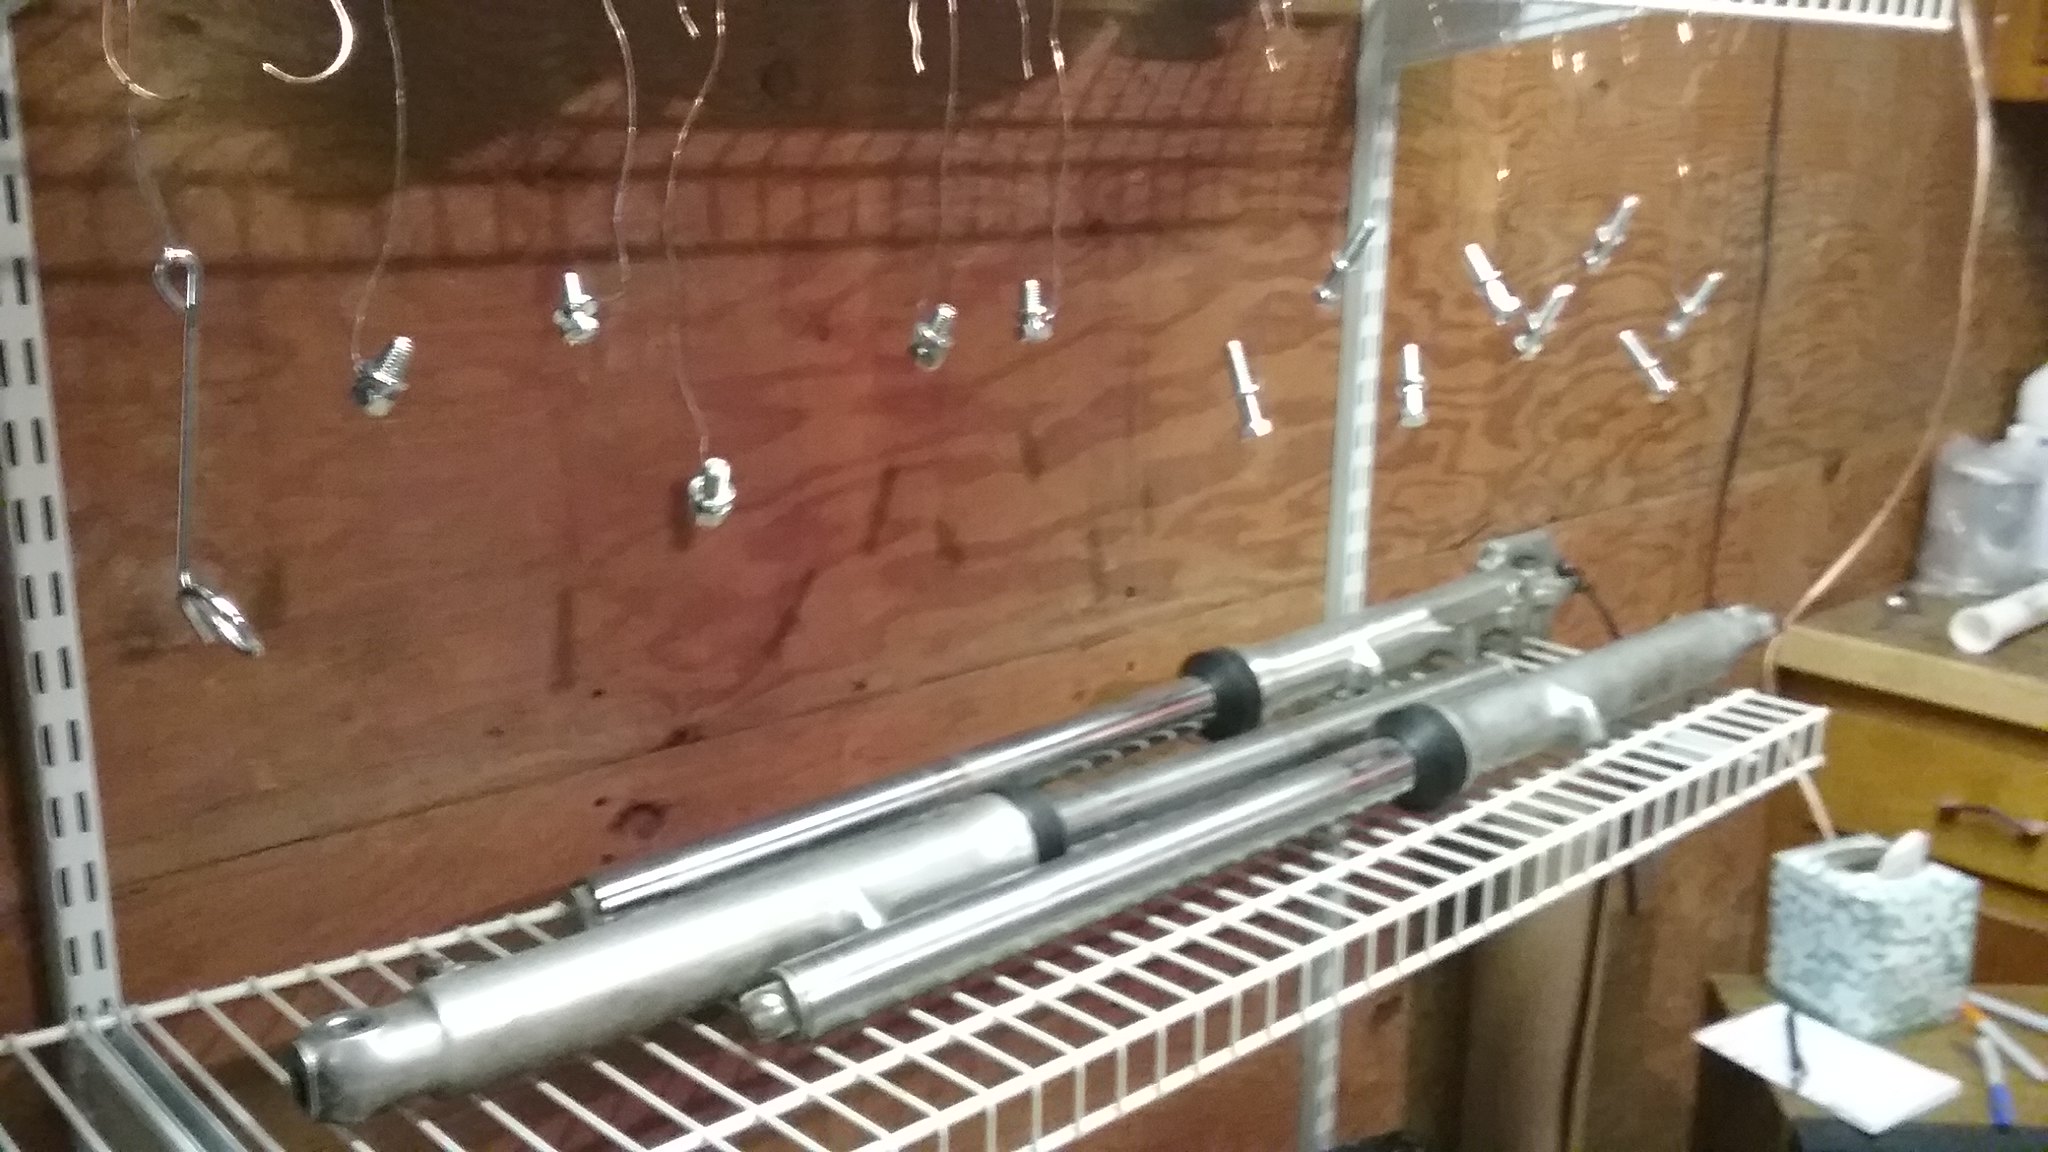
- Got a zinc plating setup from Caswell (just bought their chemicals. sourced power supply, etc. from ebay) Philosopheriam's write up was priceless in getting set up. He also got on the phone with me for a good hour walking me through his process and giving me some tips that saved me a lot of time in trial and error. I'm about 80% through replating all the hardware.
- Painted engine. Soda blasted cases, cylinders and head, then sprayed with VHT Engine Primer and Universal Aluminum and baked in the wife's oven.
- Wheels cleaned, hand polished (couldn't get the polishing wheel in there) and painted
- New swingarm bearings and bushings
- Reassembled crank halves with all new seals, etc.
- Head decked, valve seats cut
- Valves reinstalled with new seals
- cylinders deglazed/cross hatched
- dozens of other odds and ends that I can't recall right now.
This thread got hit with the photobucket fiasco like a bunch of others on the forum. I may go back and switch out the links... not too many photos to replace. Maybe I won't wait another year to post an update this time...
Comment
-
...and since everyone loves pics. Again, in no particular order.
Wheels. Wish I would have gotten a before pic...
 Wheel by samL9, on Flickr
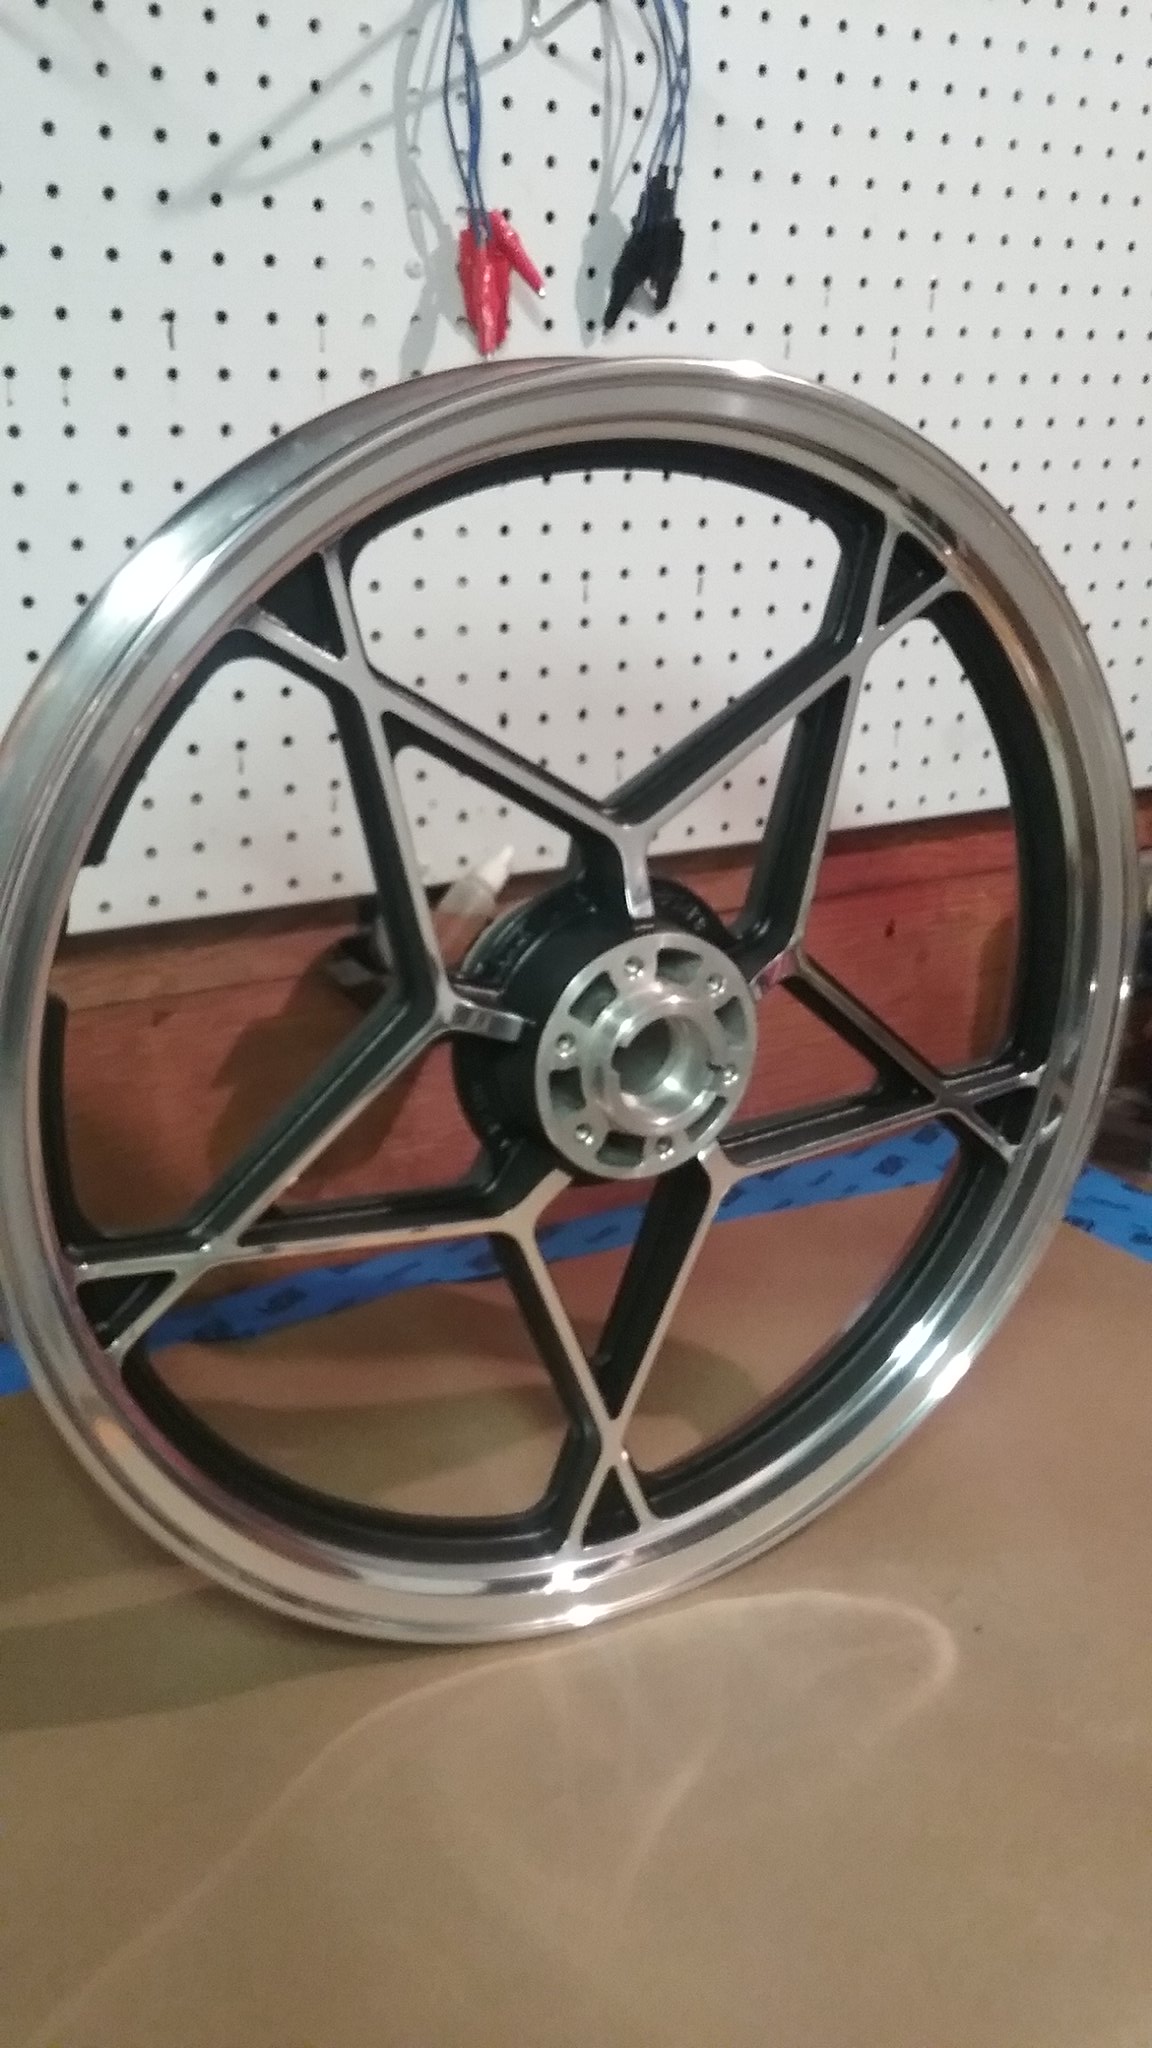 Wheel2 by samL9, on Flickr
Plating setup and some before and after.
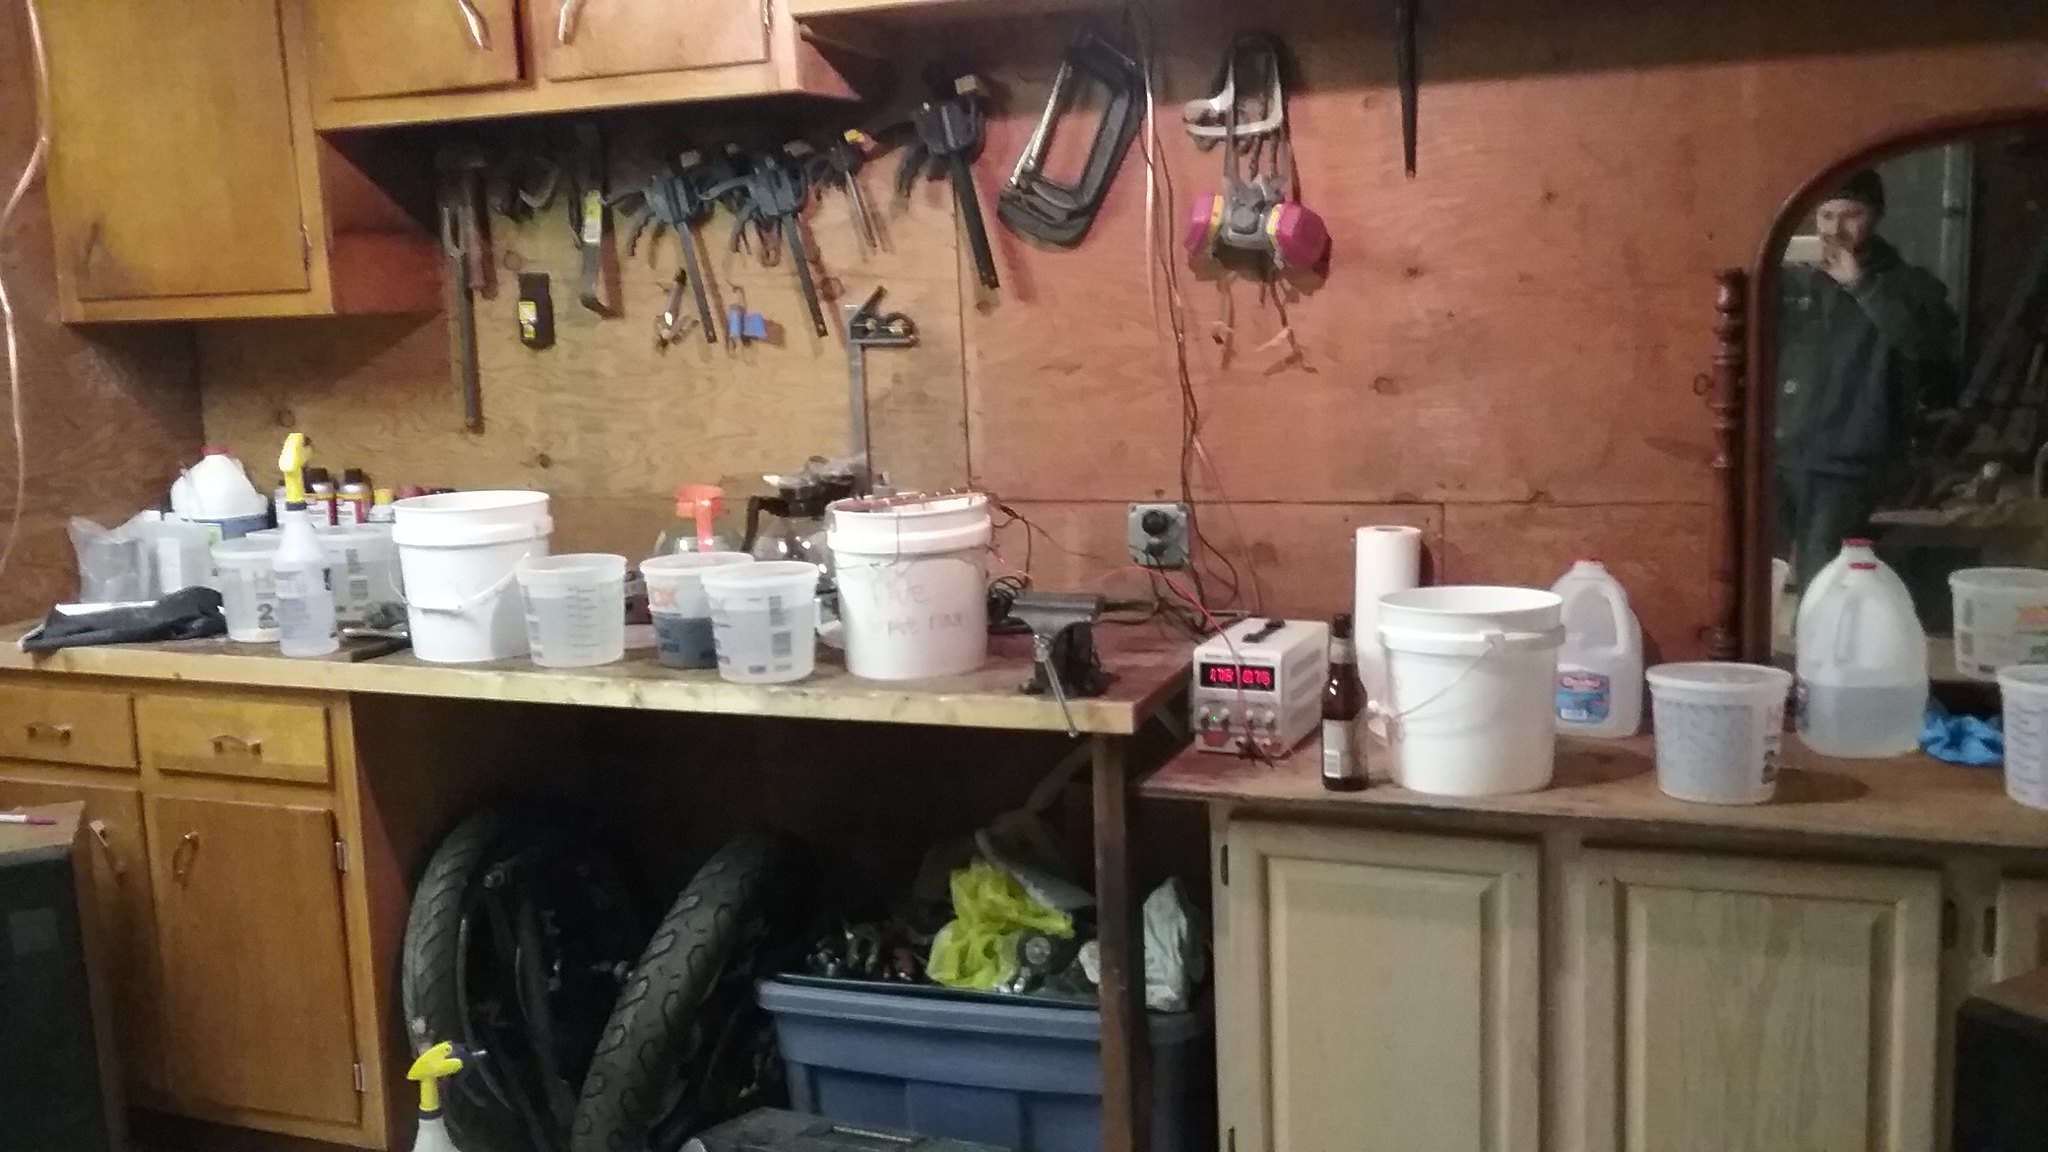 20170115_173633 by samL9, on Flickr
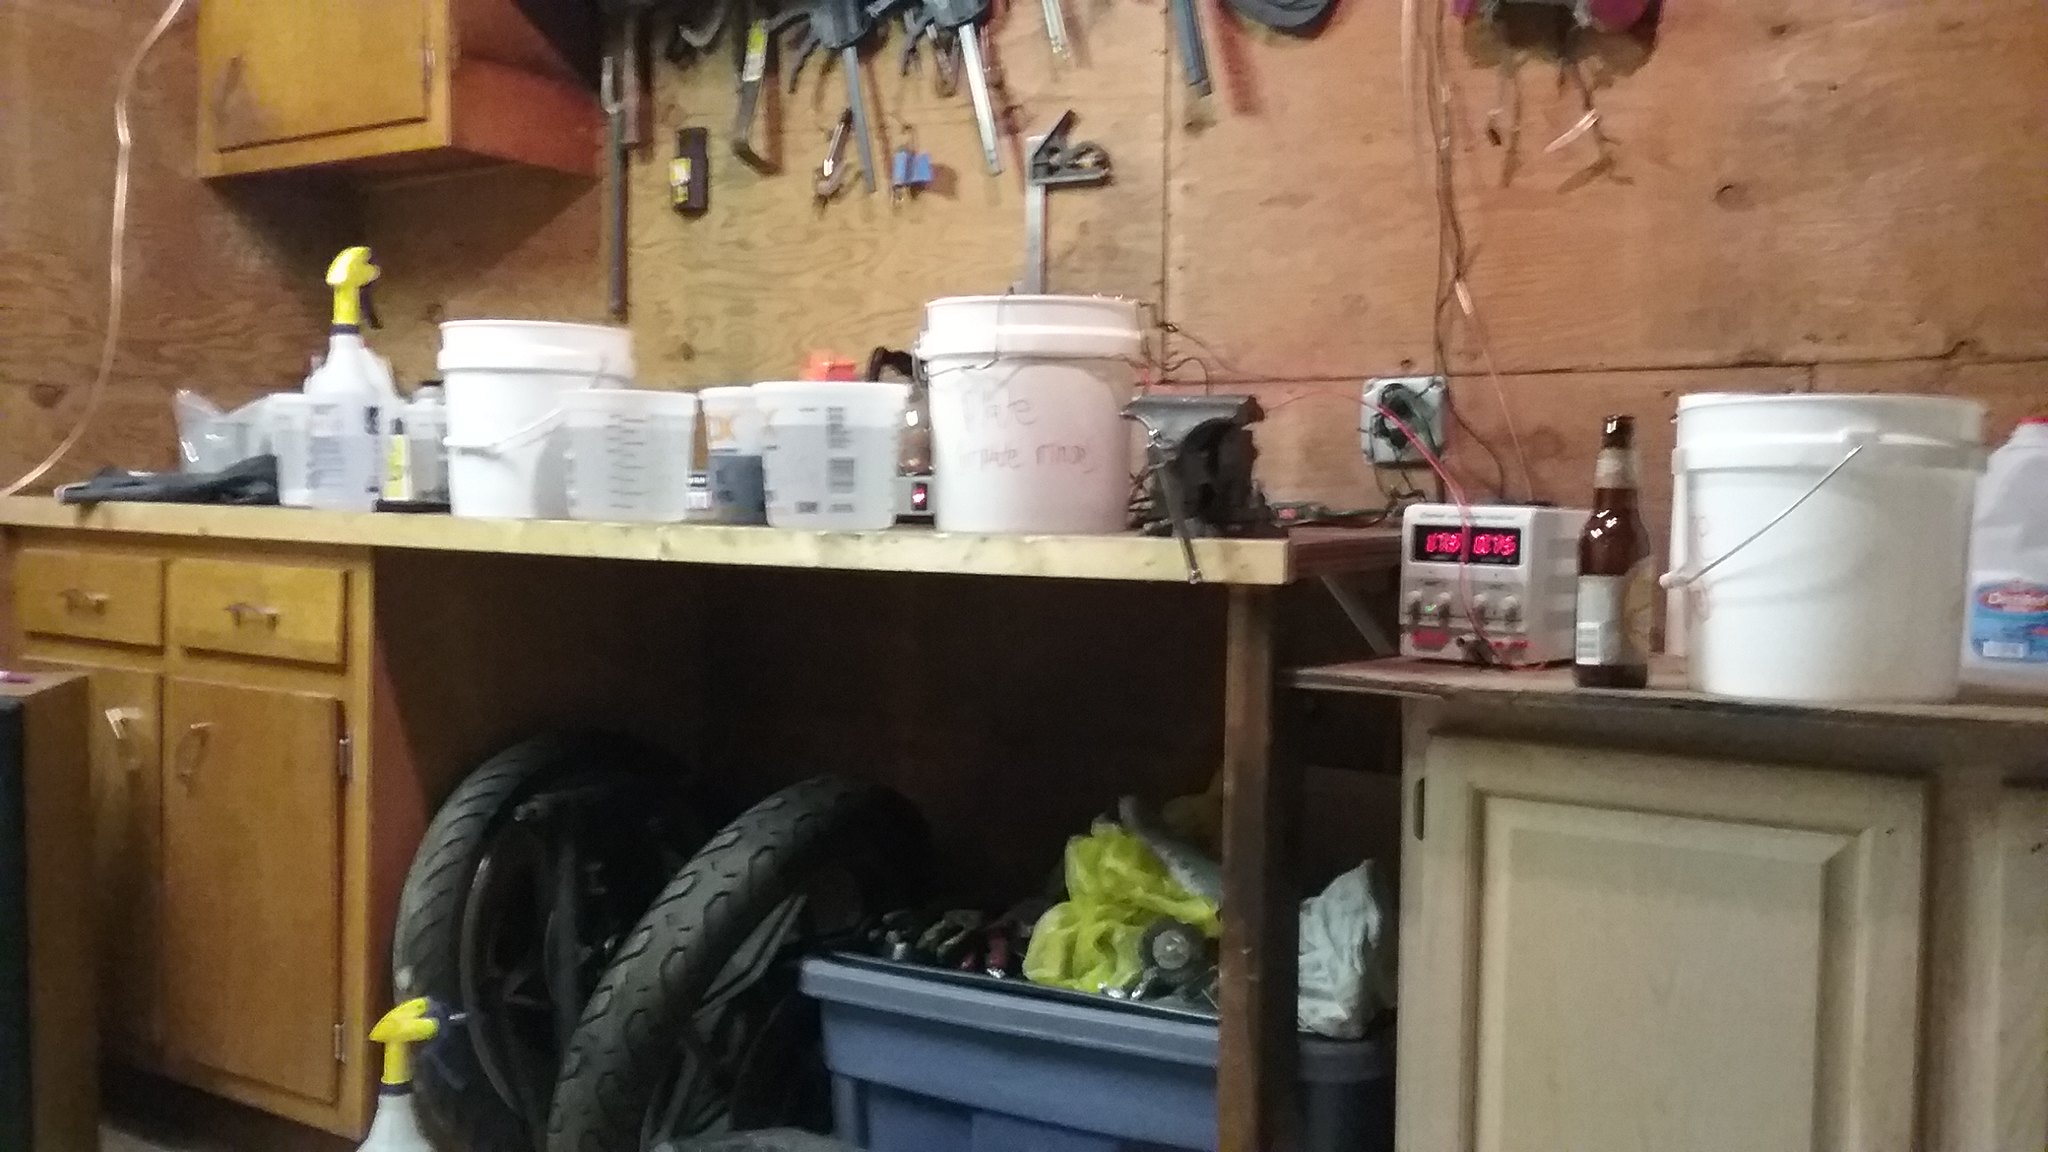 20170115_173645 by samL9, on Flickr
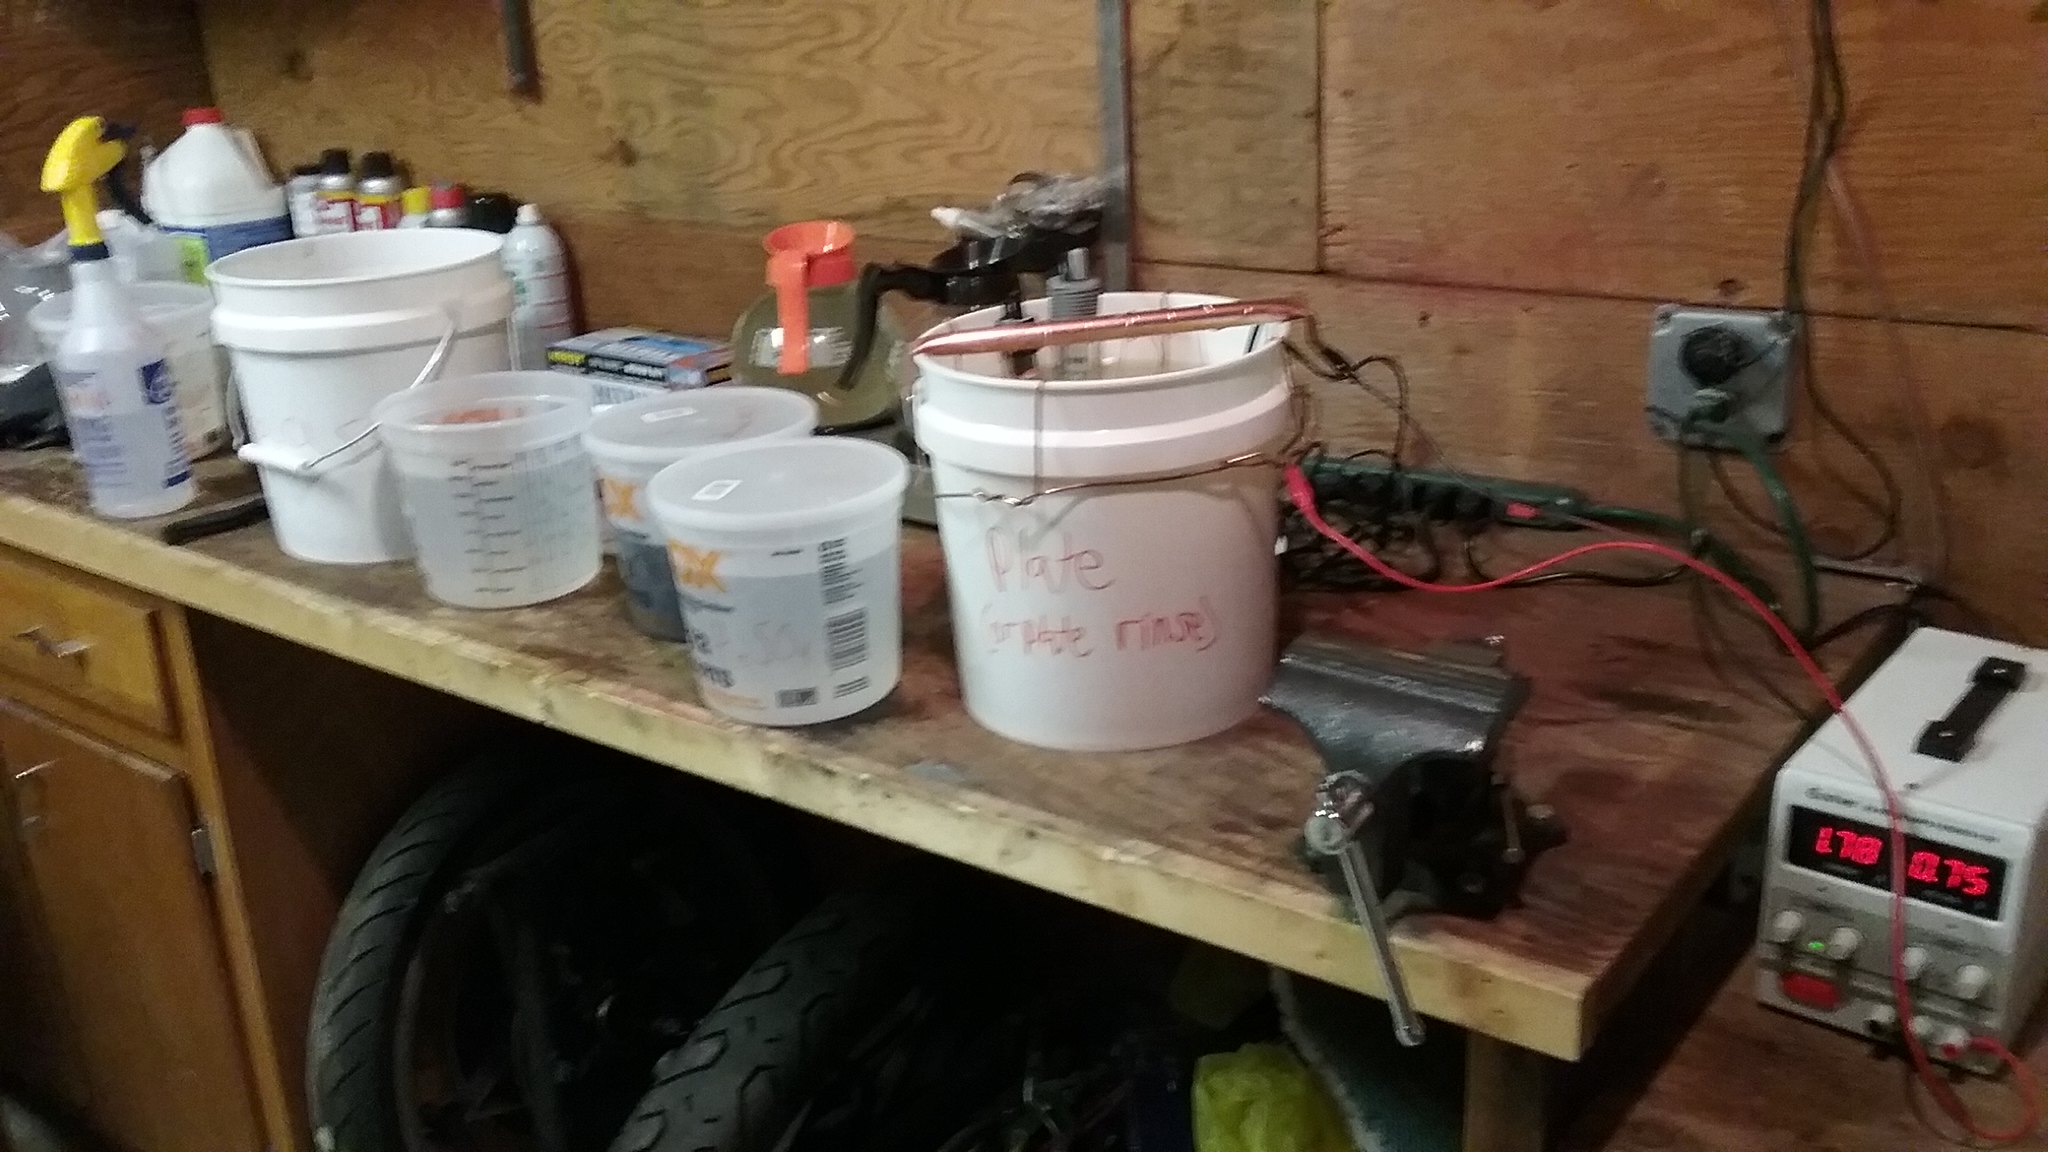 20170115_173726 by samL9, on Flickr
 20170115_190927 by samL9, on Flickr
 20170115_211732 by samL9, on Flickr
Comment
-
Some polishing pics
 20170122_190219 by samL9, on Flickr
 20170124_001358 by samL9, on Flickr
Before
 20170402_143350 by samL9, on Flickr
600 grit
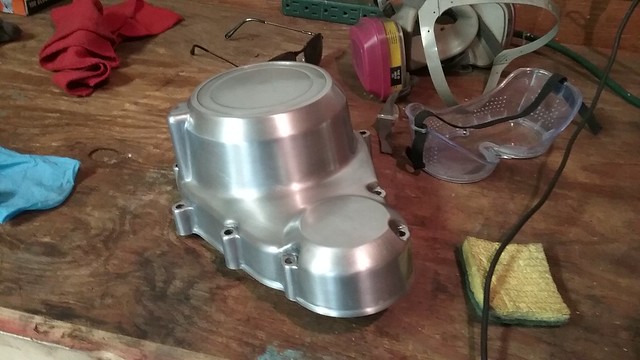 20170402_172115 by samL9, on Flickr
1000 grit
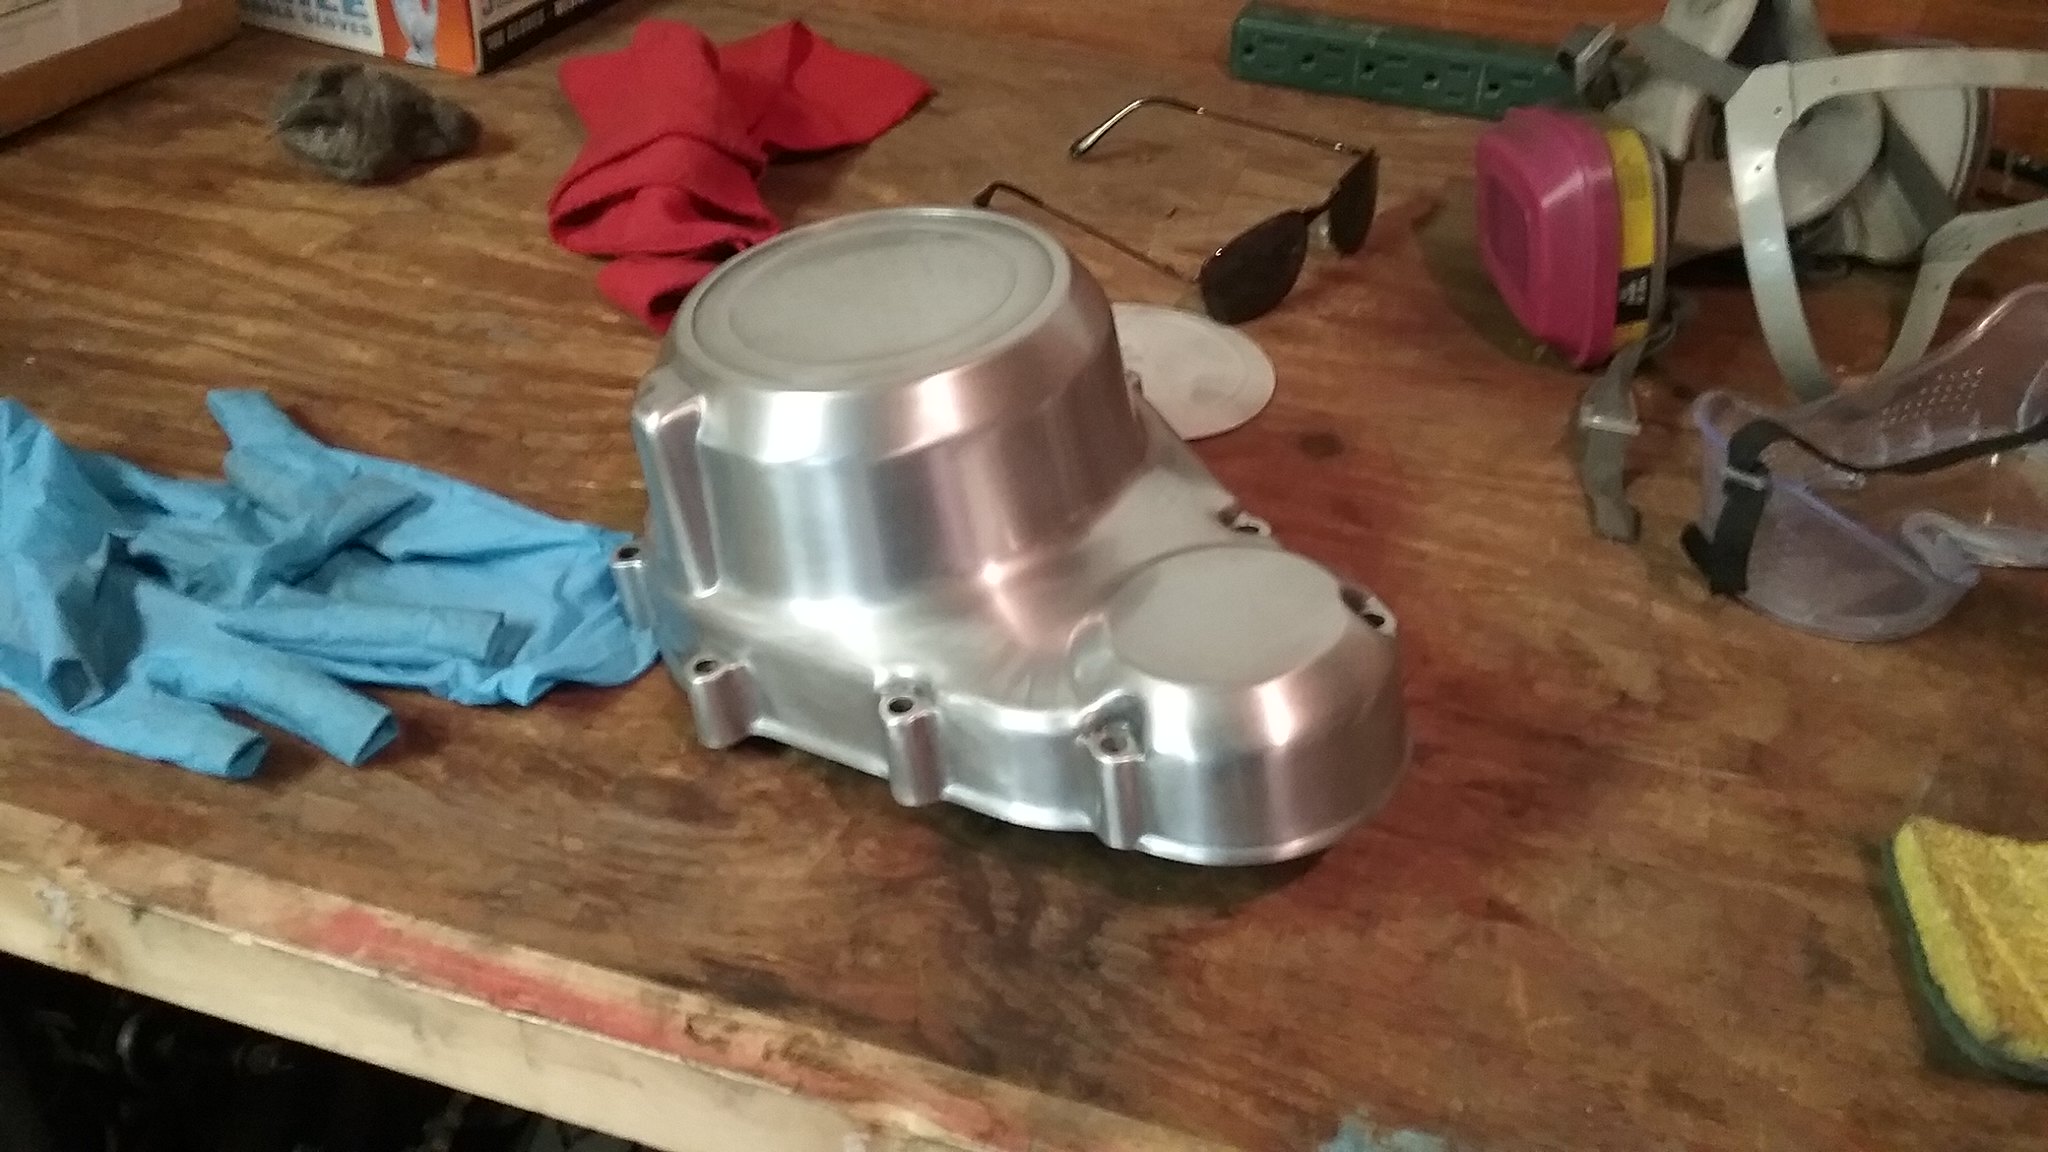 20170402_175941 by samL9, on Flickr
Black compound on sisal wheel
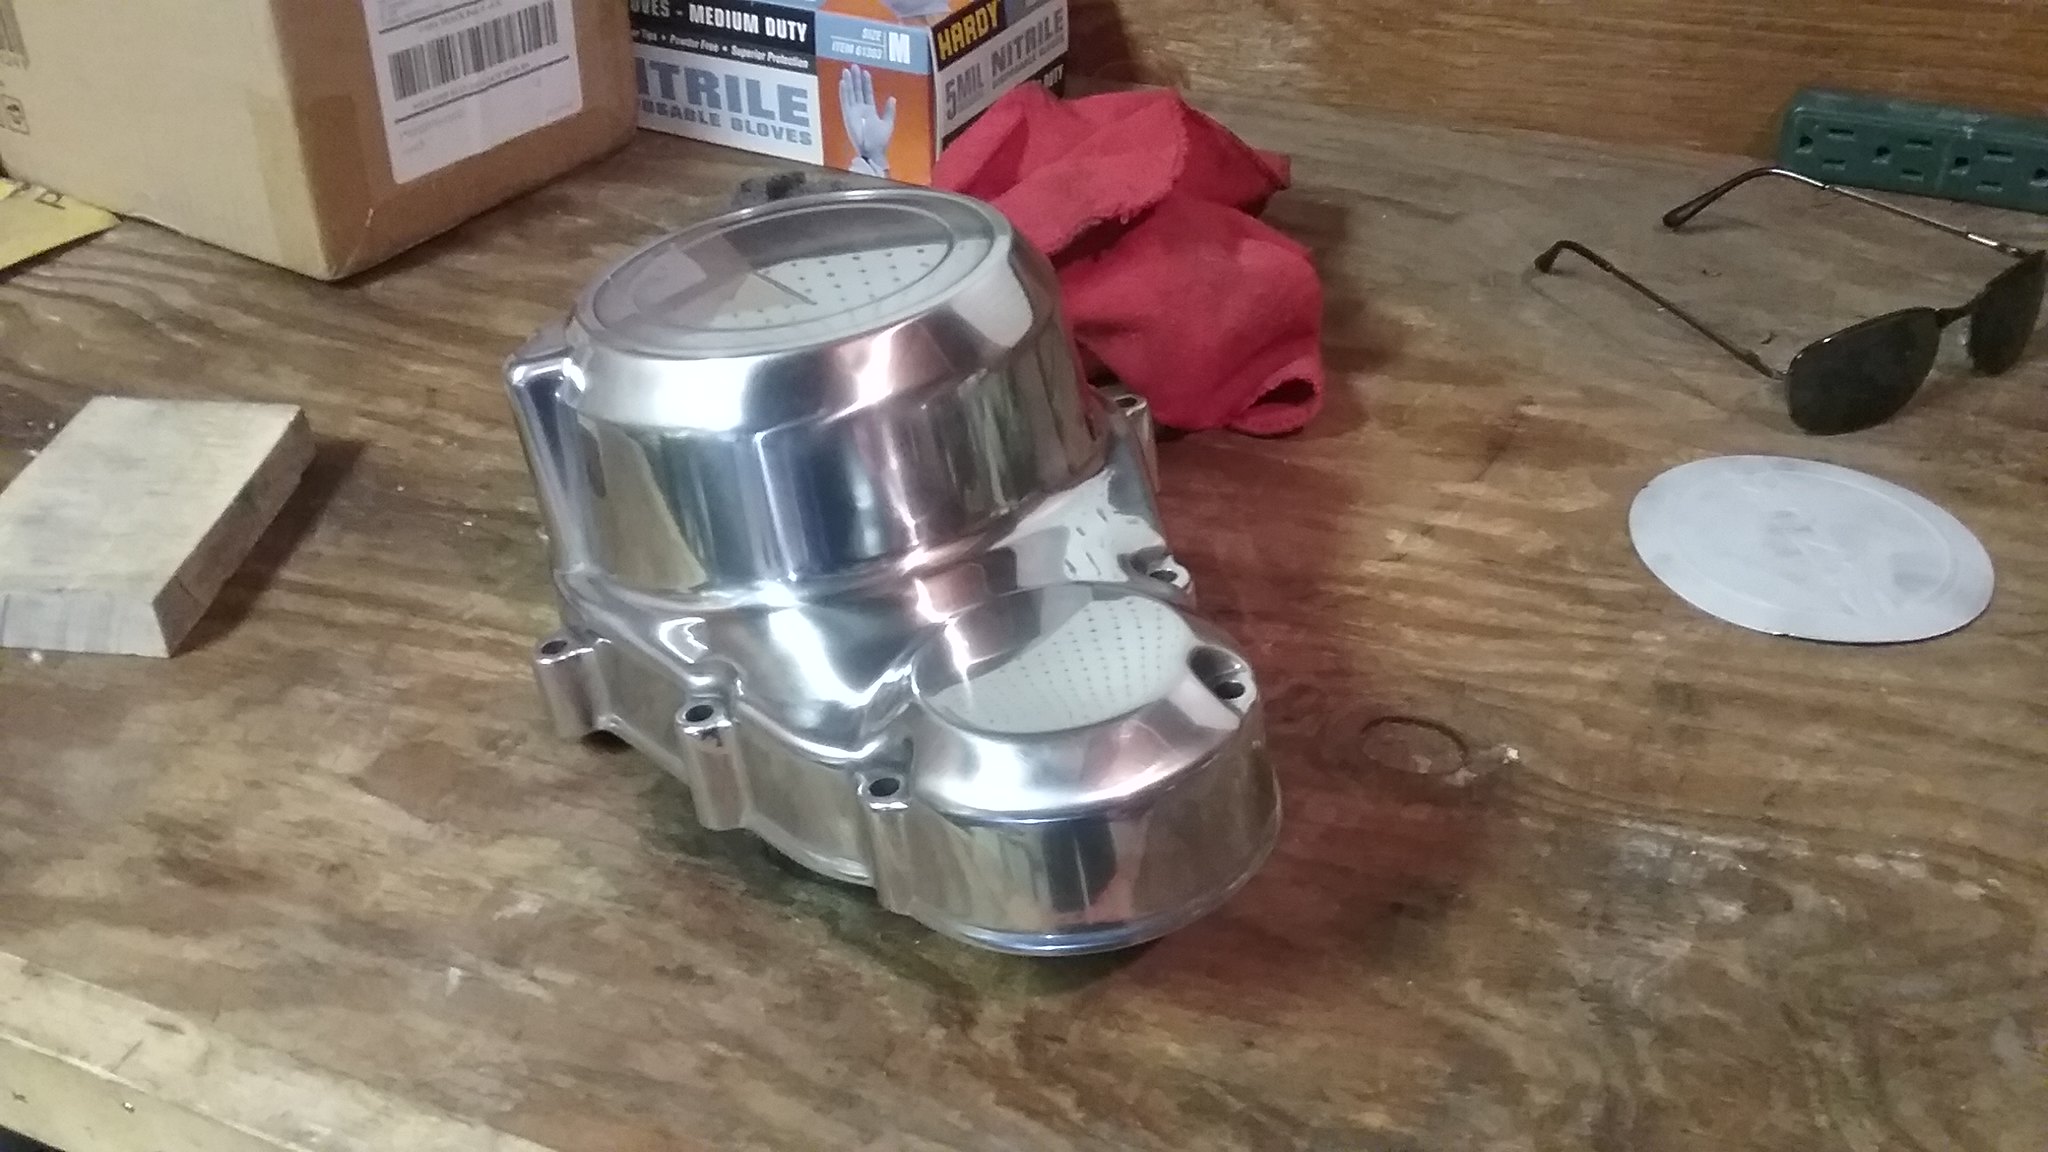 20170402_191629 by samL9, on Flickr
brown compound on stitched cotton wheel
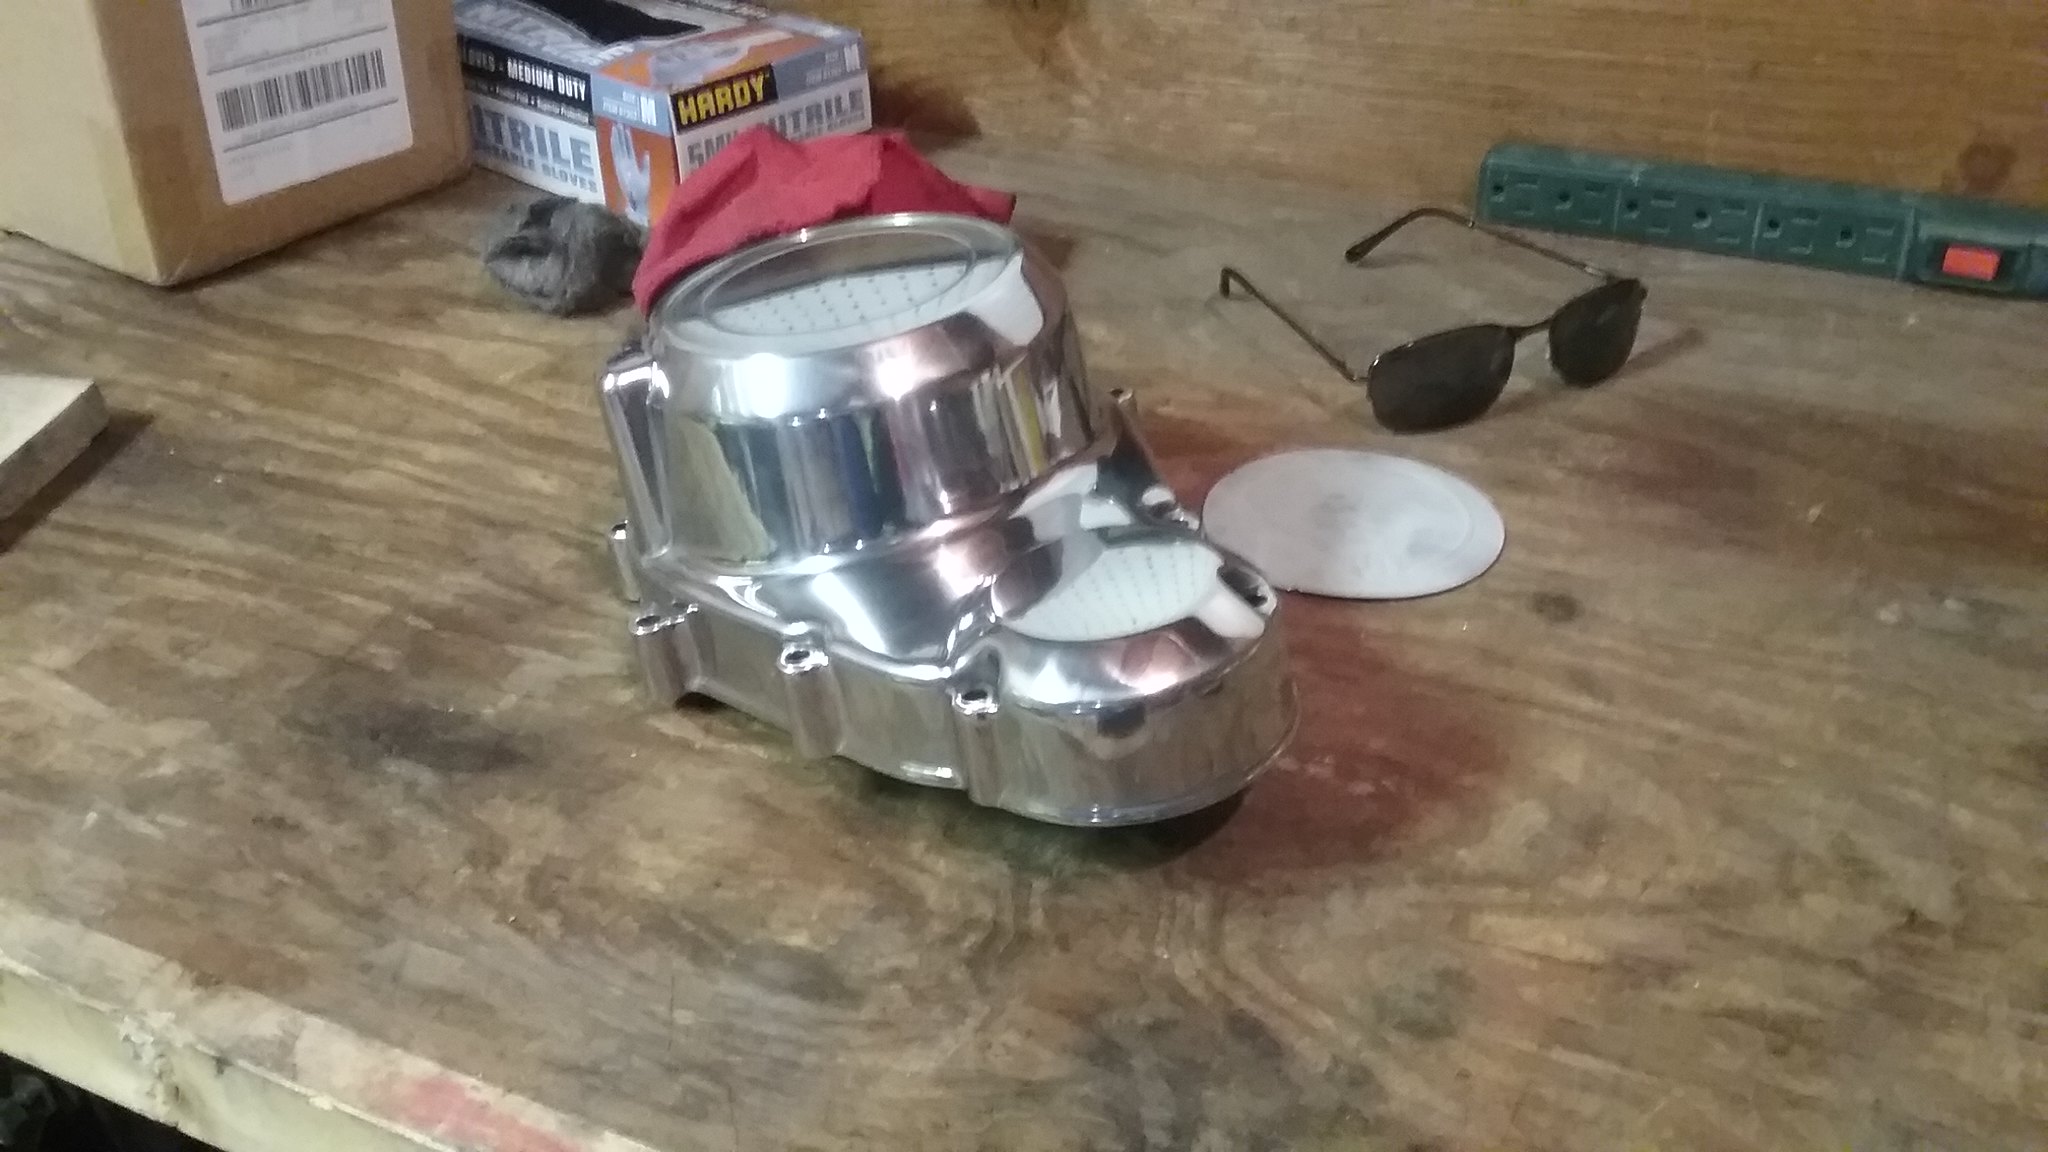 20170402_200719 by samL9, on Flickr
White on loose cotton wheel
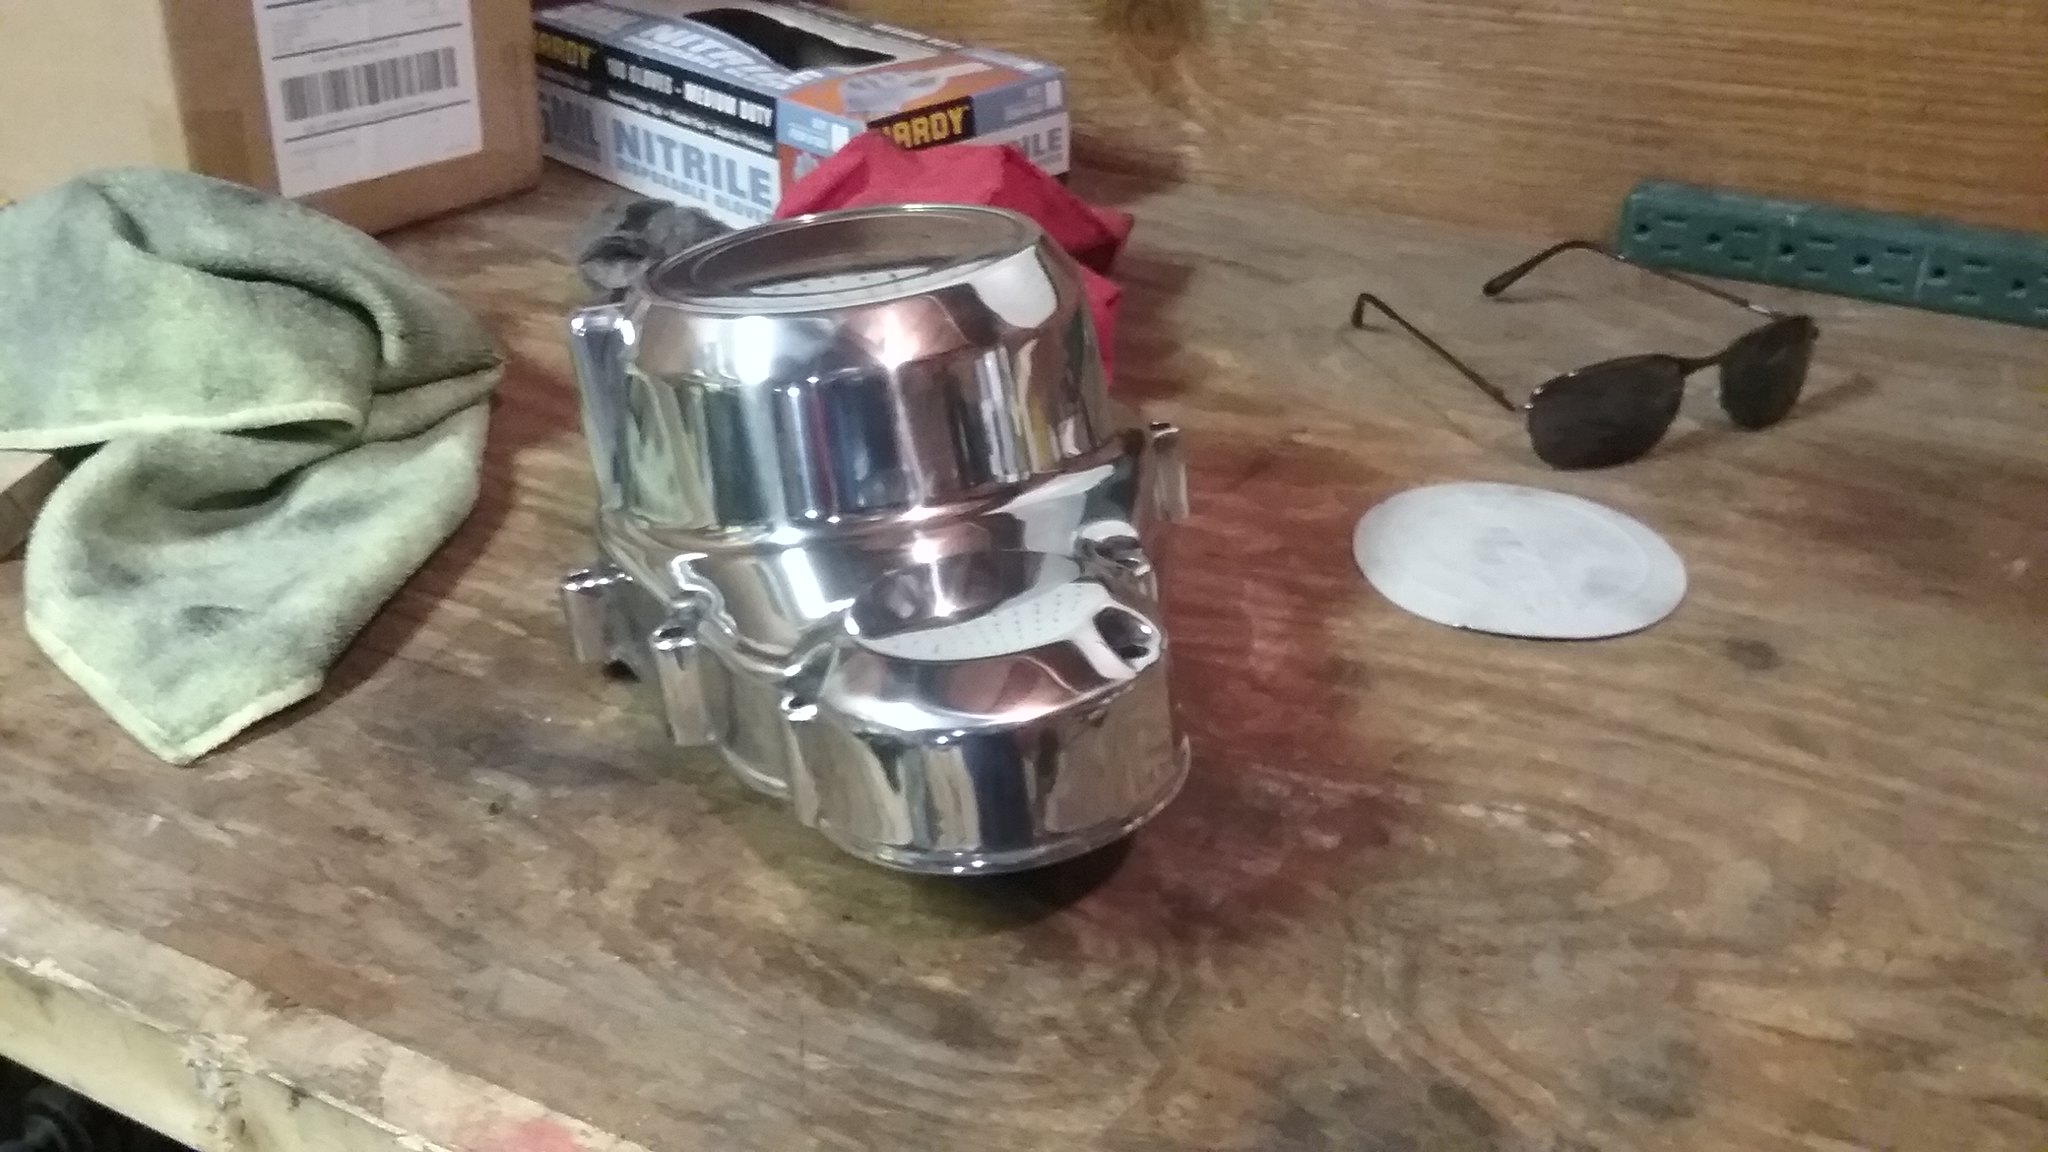 20170402_204742 by samL9, on Flickr
Red on flannel wheel
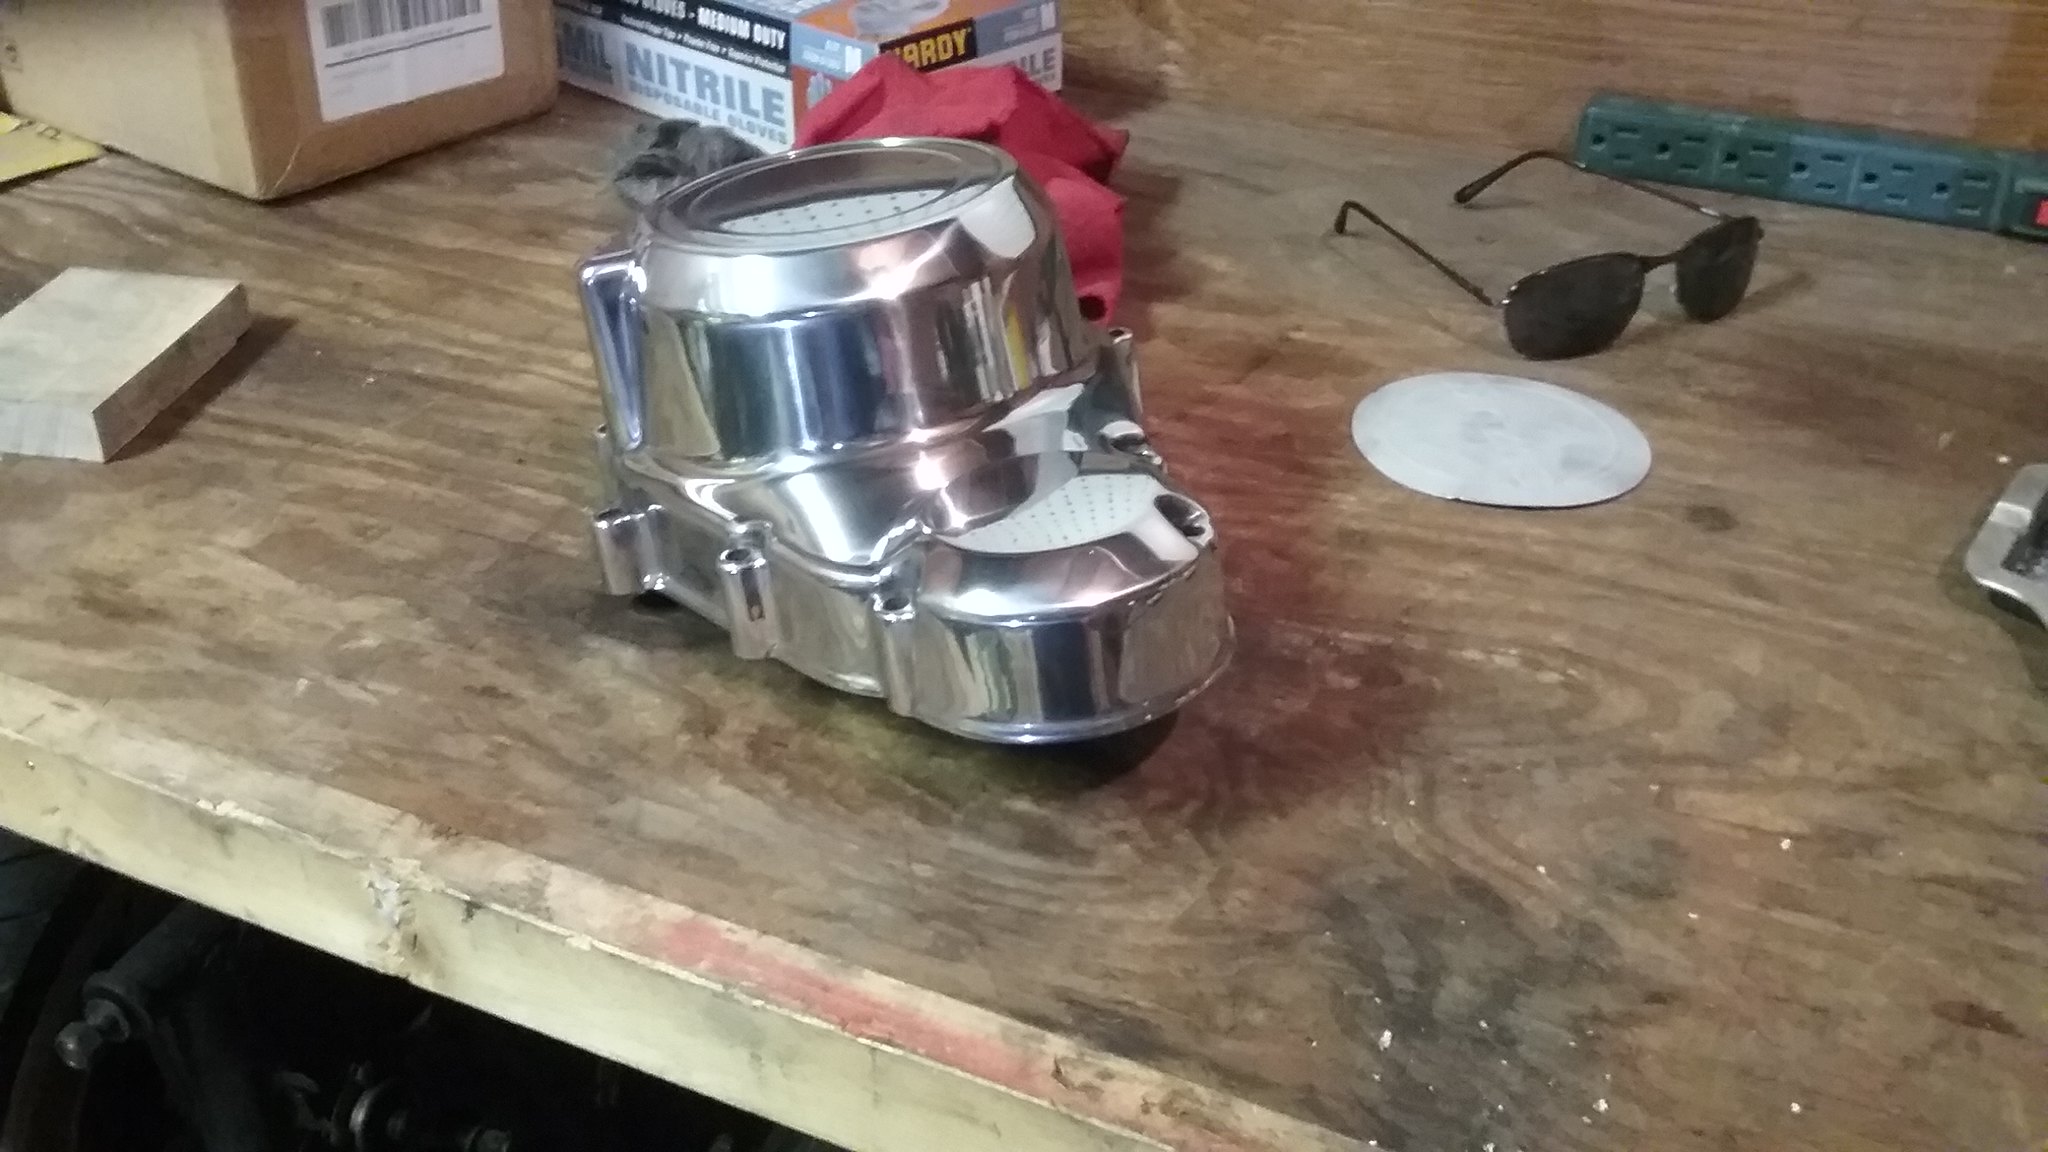 20170402_213510 by samL9, on Flickr
And after Wizards Power Seal. Took a little bit of the shine off, but the protection is worth it.
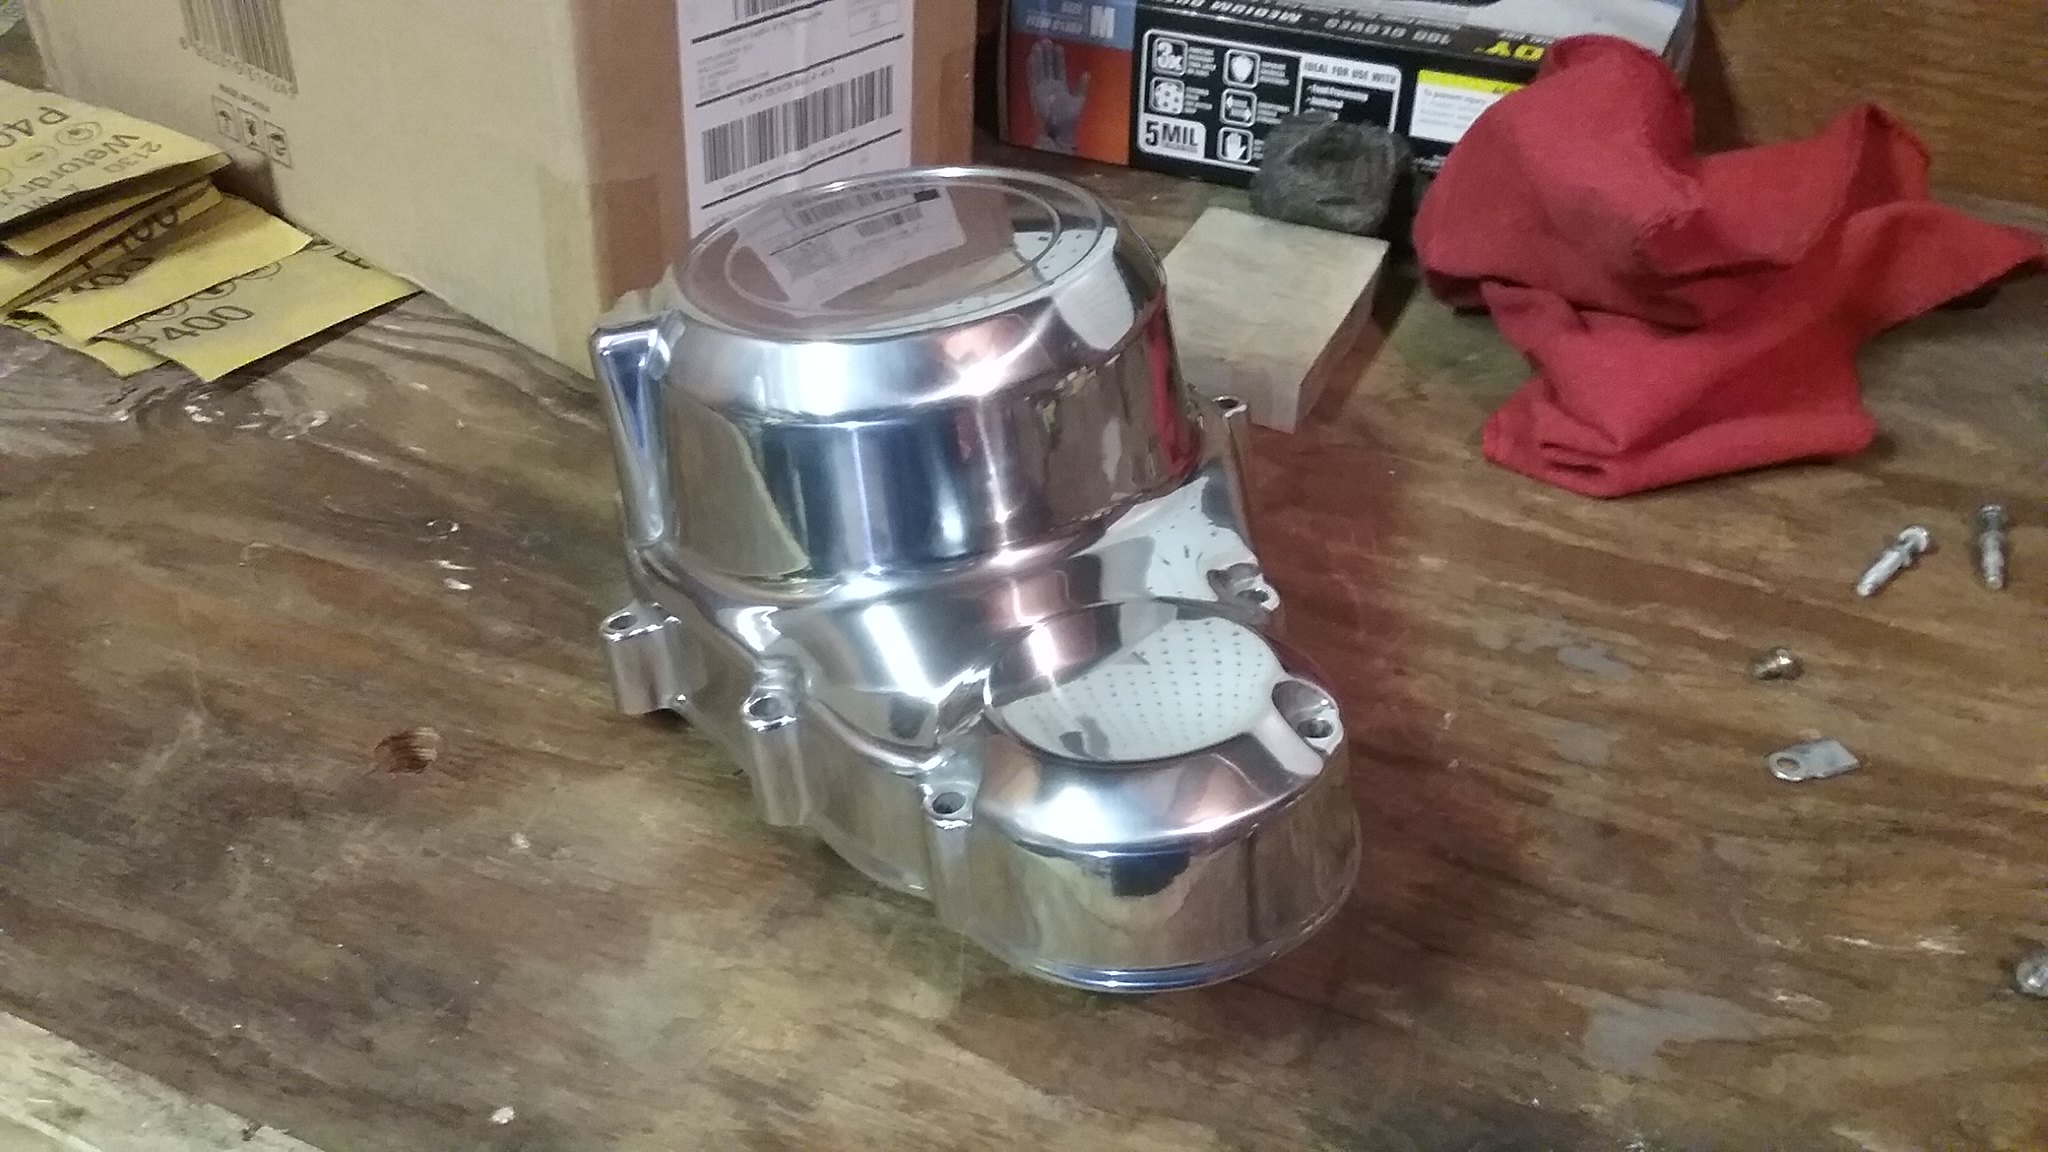 20170402_222507 by samL9, on Flickr
Did all of the engine covers like this...
Comment
-
Zinc plating starts at post# 129, and continues on throughout the next couple of pages... http://www.thegsresources.com/_forum...61#post2177061Originally posted by jabcb View PostSome very nice work.
Am trying to up my game & am curious about that zinc plating.
Wasn’t that cable guide originally chrome plated? Does zinc plating work on chromed parts?
Any tips / more info on zinc plating?
You mentioned a writeup — do you have a link?
After you read through the zinc plating write up, go back to post# 1. You'll be blown away by the attention to detail in his build...
as far as the cable guide, I don't think it was chrome plated. If it ever was, any chrome on mine was long gone...
Thank you. It's taking a long time, but I may just have this thing up and running by the spring (although that's what I said the last 2 winters..)Originally posted by steve murdoch View PostThe sunglasses in the background of the plated covers are appropriate. haha.
Nice work, Sam.
Comment
-
I tend to put things partly back together during disassembly so I don't lose them. After I took the pistons off, I put the wrist pins back in....
The other day I was putting new piston rings on, and I noticed I was missing one of the wrist pins. I looked in all the boxes where I thought it would be with no luck. I looked in all the boxes where I didn't think it would be...still no luck. A couple of days later I was driving around and racking my brain trying to think of where it would be. All of a sudden it hit me, but I thought no way...
Sure enough
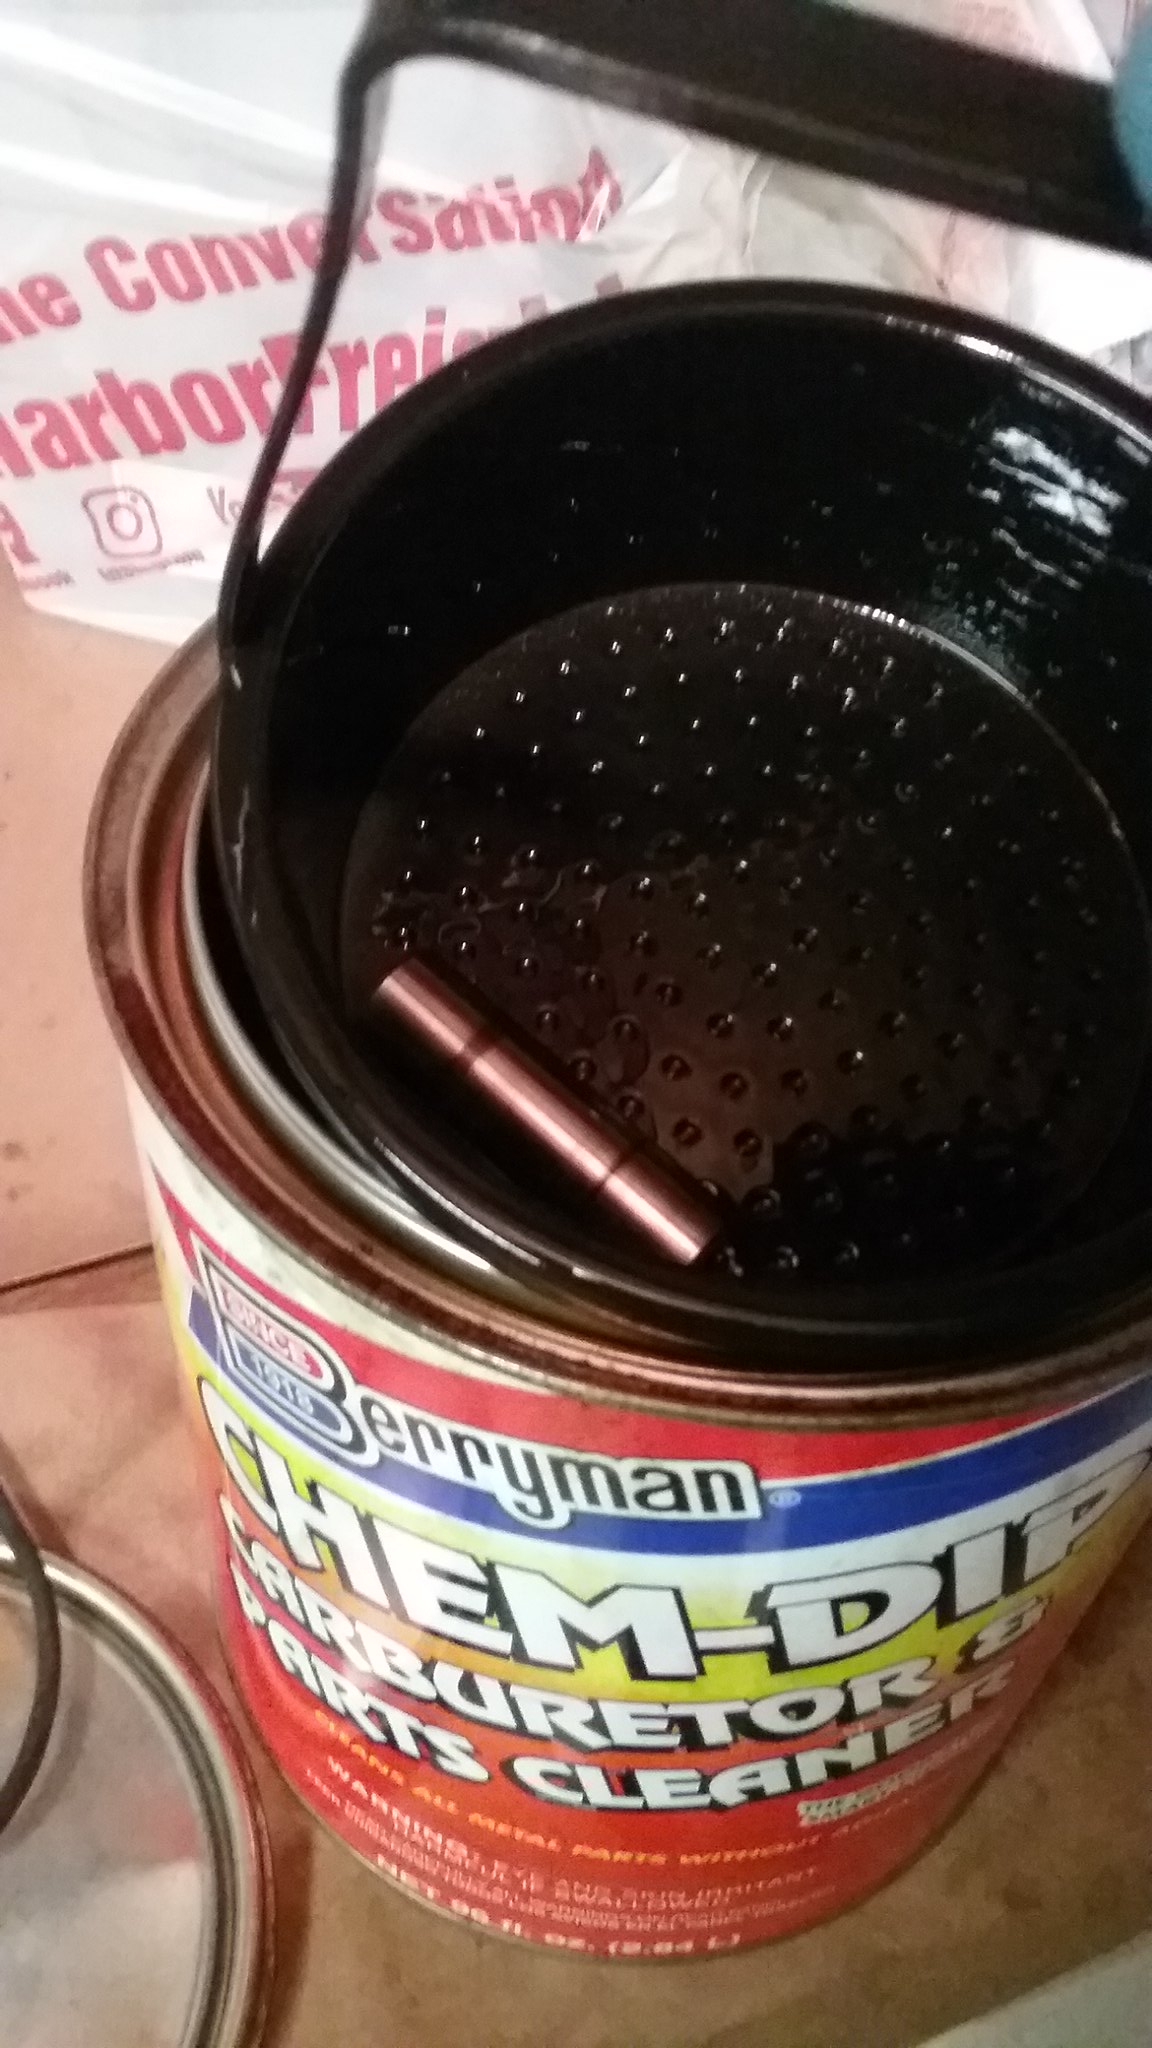 20171223_171204 by samL9, on Flickr
Think 2 years is long enough of a soak?
Comment
-
Some more random progress pics
Just to get an idea of the before on the engine...
 cases assbld kickstart iolpan straps by samL9, on Flickr
painting in process
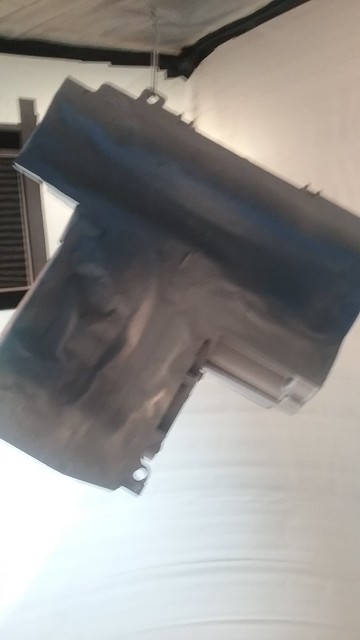 20170805_130449 by samL9, on Flickr
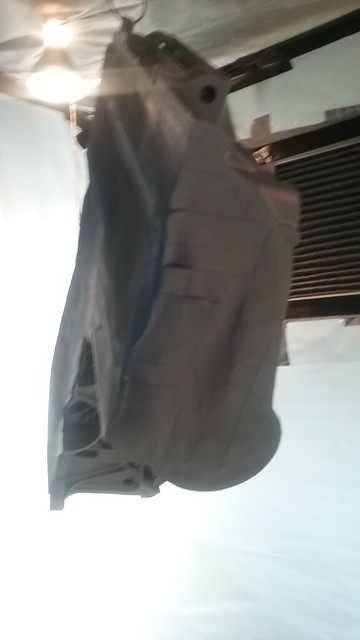 20170805_130458 by samL9, on Flickr
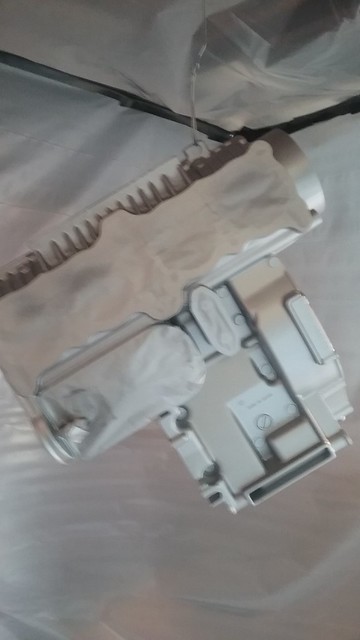 20170805_130439 by samL9, on Flickr
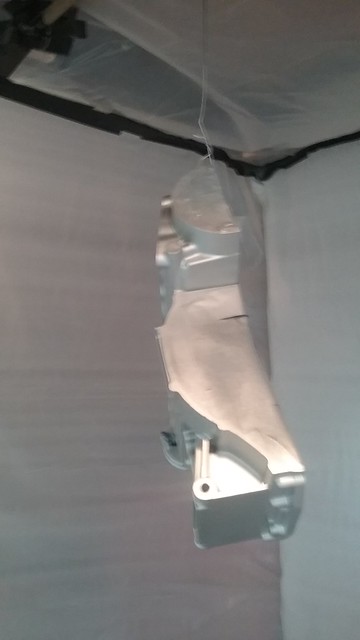 20170805_130431 by samL9, on Flickr
and the after...
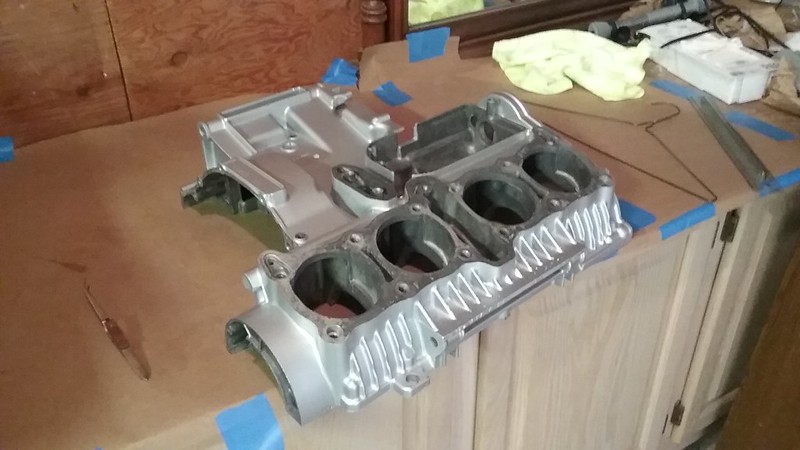 20170805_134457 by samL9, on Flickr
Did all the engine parts the same way. Baked at 200 F for an hour, garnished with parsley, and done.
Comment
.png)
Comment