Announcement
Collapse
No announcement yet.
78 GS 750 Rebuild
Collapse
X
-
Thank you. I thought it would be cool to have it back on the road this month, since the date stamped on tag is 5/78. Not gonna happen. I definitely want to have it on the road this season though. I've decided to work on cosmetics of functional items as I work on them, but maybe leave pure cosmetics until next winter so I can ride. In other words, I'm probably not going to paint the tank and side covers, etc. It will look rough with everything else cleaned up, but oh well.Originally posted by dorkburger View Post
Hadn't thought of that. I'll give it a shotOriginally posted by aclaytonb View Post
-
 Guest repliedI've heard of printing on hobby model transparencies and then clearing over them. Never tried it myself.
Leave a comment:
-
You're doing a great job on this.. Are you planning to have it on the road this season?
Leave a comment:
-
New battery came in last night, threw it on the charger this morning. Once that's done, I'll wire everything up to test. Hopefully it all works and I'll be able to wrap up the harness.
Leave a comment:
-
Also did a bit of plastic repair on my gauge case. It was pretty cracked, and I thought it was a lost cause. Actually turned out solid. Once I paint it will be good as new. Just need to figure out how to get the labeling back on the indicator lights. Turn and ignition aren't too bad, but Neutral, etc. are gone.
 20180522_071511 by samL9, on Flickr
 20180522_071526 by samL9, on Flickr
left it ugly on the inside for strength...
 20180522_071541 by samL9, on Flickr
Leave a comment:
-
Got a new headlight, because the old plastic bucket was all cracked up.
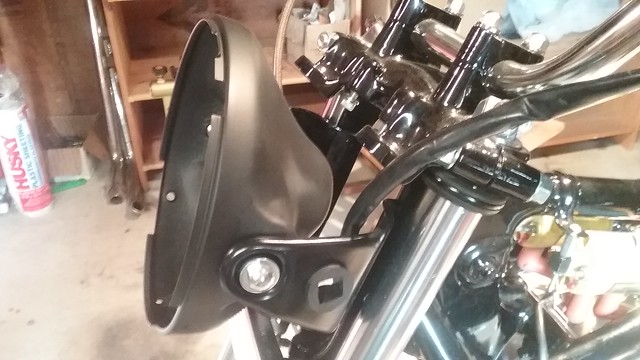 20180522_070454 by samL9, on Flickr
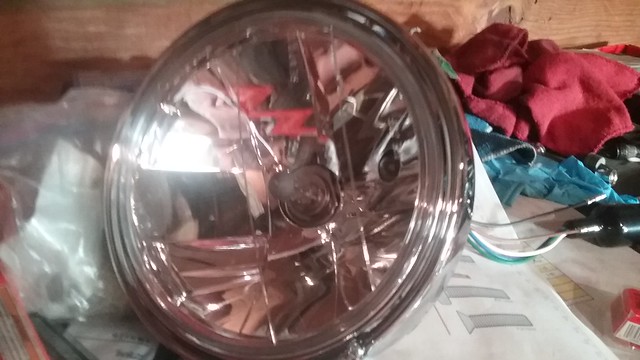 20180522_070501 by samL9, on Flickr
Got the front MC all sorted, and brakes installed and bled. Oddly, the new boot didn't fit. I wasn't about to take the line off and re-bleed just to put the old boot on. May sort this out, but for now, I'm calling it done.
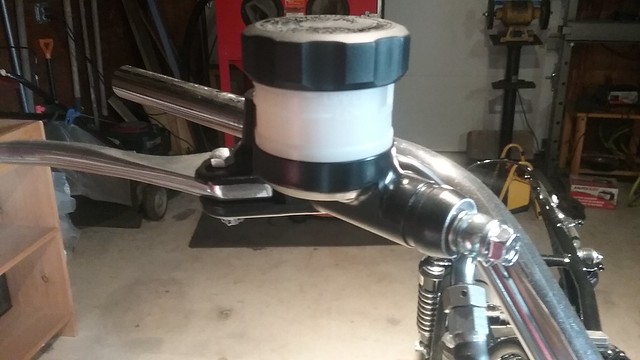 20180522_070436 by samL9, on Flickr
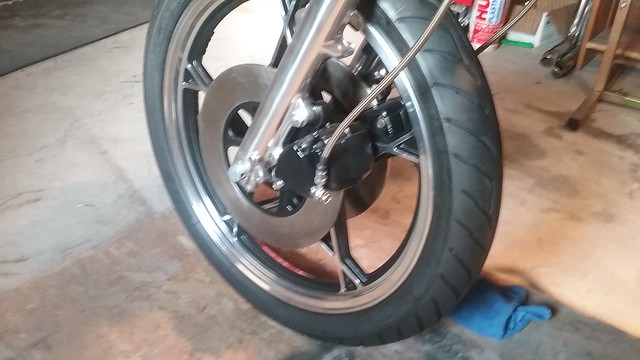 20180522_070421 by samL9, on Flickr
Got the starter cleaned up and back in... Can anyone tell me what wire goes in through the grommet? Can't remember, and it's hard to tell, even with the labeling I've done. Hot is huge and comes from the back. Grounds through the mount to the engine... Hmmm?
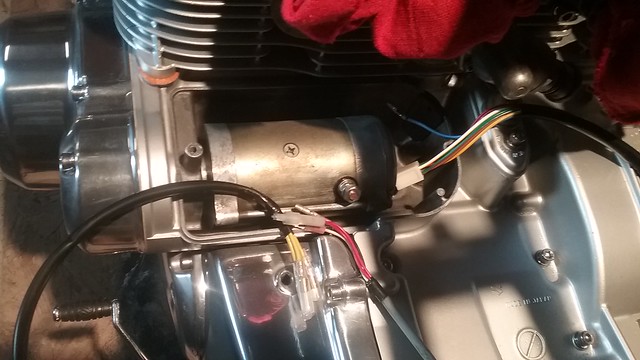 20180522_070612 by samL9, on Flickr
Leave a comment:
-
Just about have my wiring sorted out! I actually found the source of the intermittent power loss issues I had at the end of my cross country trip a few years back. The trip that actually parked the bike, and prompted this rebuild because of this and other issues. There was a short on one of the coil wires right by the coil where the insulation had cracked a bit. Also another one at the connector for the main fuse.
Got the coil and horn relays wired in.
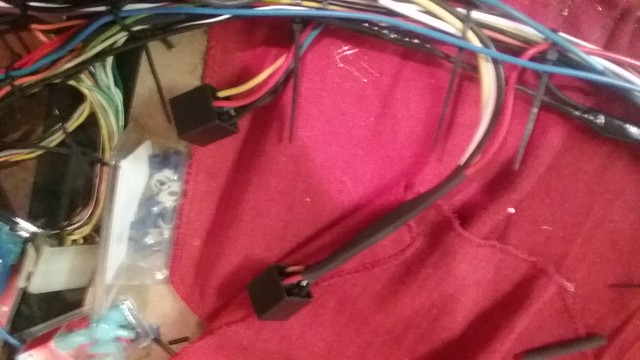 20180522_070237 by samL9, on Flickr
found this handy mod while searching threads on the horn relay mod. A couple of diodes going from the hot on the horn into the turn signal wires that will flash the the turn signals as I honk my horn. another brilliant idea from the pages of TGSR!
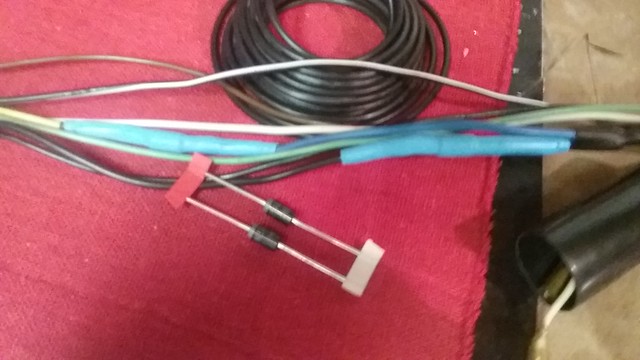 20180522_070343 by samL9, on Flickr
test fitting the coils again to route up the wiring as I was putting the harness on and off the bike to run wires & check that everything was lining up.
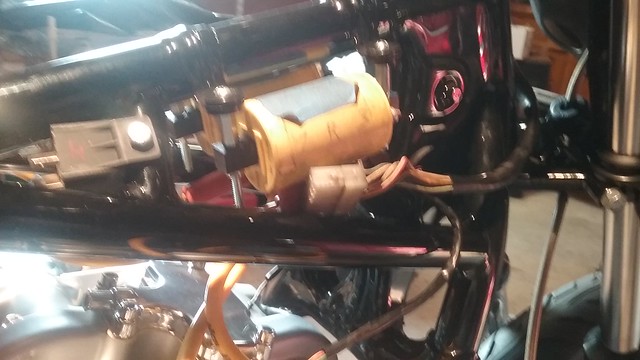 20180522_070518 by samL9, on Flickr
oh, and polished this guy up and got it on finally.
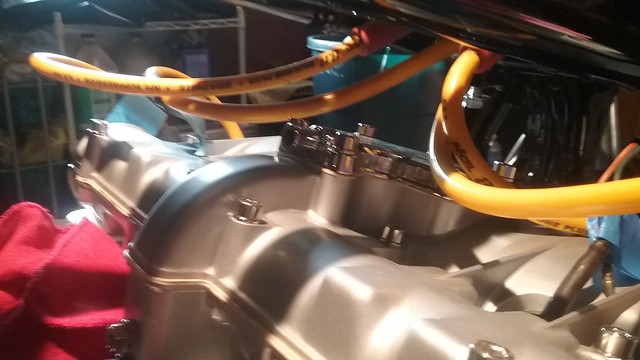 20180522_070552 by samL9, on Flickr
Leave a comment:
-
So this is what I've been up to the last couple of days.
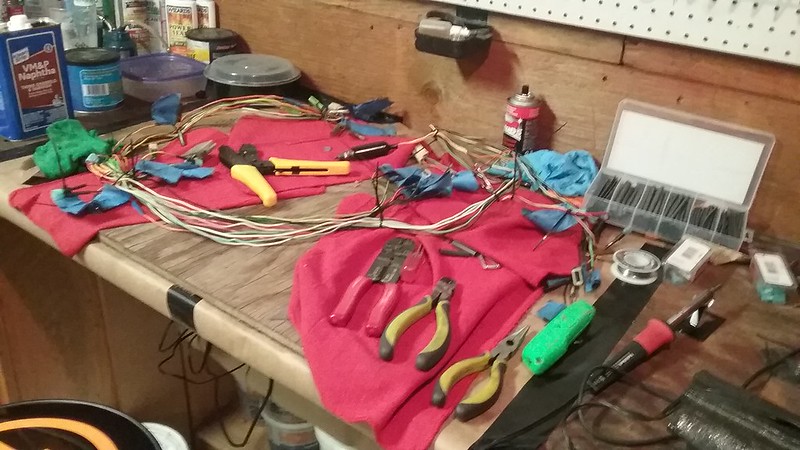 20180512_204000 by samL9, on Flickr
This was after a good wipe down, but before I got to really cutting things up. I now have 80% of my wiring done. Still need to clean up all the switches, etc. And plug it all up to test before I wrap it back up. Posplayer's been a huge help during this part over pm. He's been super patient with my 1001 questions.
Leave a comment:
-
No real pics to post, but I've gotten a bunch of little things done.
I managed to get my side stand bracket on finally. I had destroyed the first few threads on one of the bolt holes trying to muscle the bolt though the powder coat that was in the way... Cross threads are definitely not better than no threads. I got my first tap and die set, and I can't believe how easy it was! I think back to all the cursing and frustration in so many situations, and I can't believe I didn't get a set years ago... Live and learn. The right tool for the right job and all.
Now I just need to find the bolt and nut to put the stand on the bracket. I meticulously sorted and labeled everything in ziploc bags, and in some cases even drew diagrams on little slips of paper that I put in the bags so I would know where everything went. Still, there have been a handful of things that I've had to dig around for. This is one of them.
Makes it so my new favorite thing is throwing away ziploc bags though.
Still waiting on the correct pistons for the front calipers, so for now the brake lines are just dangling. Oh yeah, I got the front MC rebuilt and mounted, and the brake lines all routed up. OK, maybe I will take a few pics and post them later.
I took the carbs out of the box I had them in. They were the first thing I tackled on this project. Looked at them compared to the rest of the bike, and I decided to tidy a few things up. I just reused the same rusty hardware, paint on the bracket was chipped, etc. Not gonna paint the carbs (might do that next time they need to be cleaned), but I stripped the bracket, and am gonna polish it and the caps and float bowls. Zinc plate some of the hardware, and just replace some.
I painted my breather cover, but the leftover engine paint was cr@p from sitting. One can sprayed super dry, and the other wouldn't mix no matter how much I shook it up. It came out nasty, so I stripped it back and am just gonna polish it.
I was looking at the bike, and then looked around at the empty shelves in my garage, and I was feeling all good like "man I'm almost done!" Then I opened up the boxed labeled 'electrics' and I was like "man, I've got sooo much left to do!"
The case for the gauges is all cracked in a bunch of spots. I'm going to attempt my first plastic repair. Should be good practice for the side covers.
Leave a comment:
-
I'm hoping this routing on the brake line won't be in the way of anything... I mistakenly ordered straight ends for the rear instead of angled, so I just made it work...
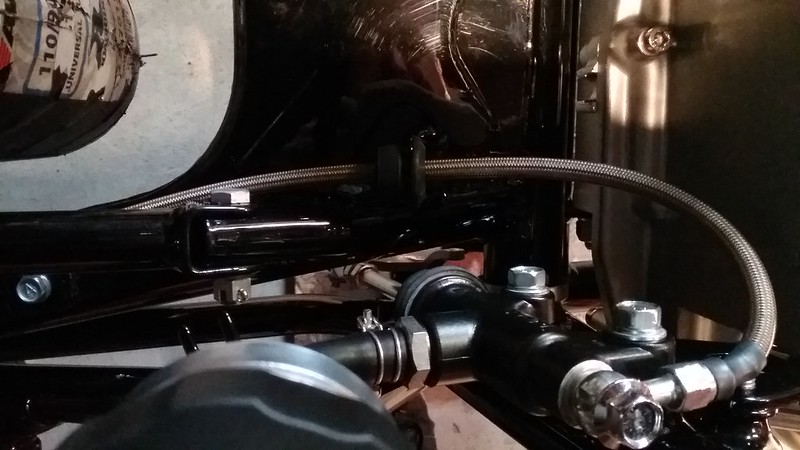 20180406_181856 by samL9, on Flickr
Leave a comment:
-
So I'm about half way through my brakes. Made all the lines with stuff from Earls. Rebuilt the rear caliper and master and threw them on the bike. Just waiting on new pistons to come in to do the front...
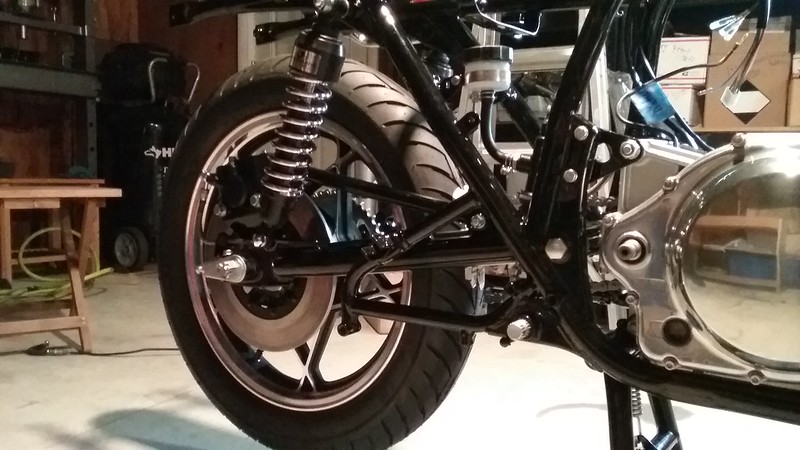 20180406_181740 by samL9, on Flickr
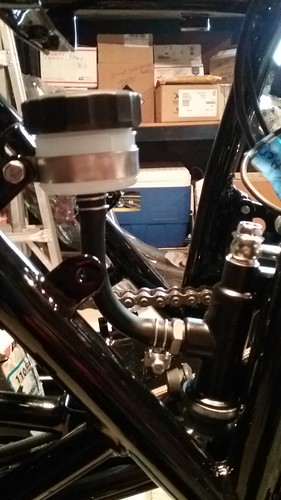 20180406_181811 by samL9, on Flickr
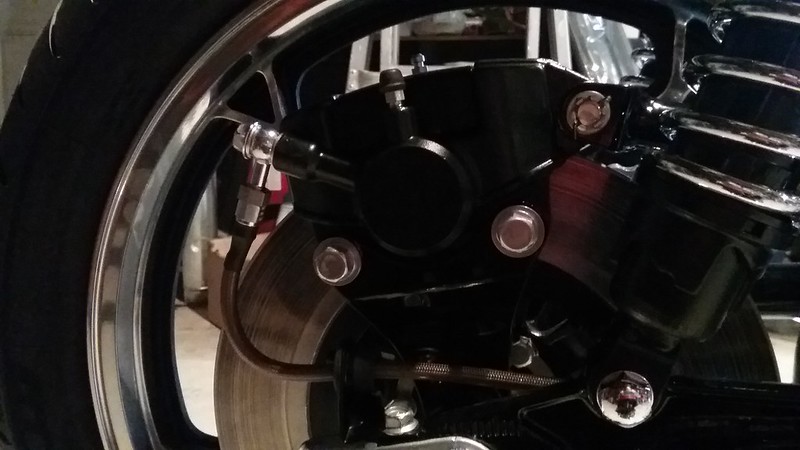 20180406_181824 by samL9, on Flickr
Leave a comment:
-
When I painted my wheels I sped up the masking process by mashing the "spokes" with 1/2" tape and then took an Exacto knife and trimmed away the excess. Much easier than using 1/8" wide tape.
Leave a comment:
-
Actually talking about baking soda, not soda water. You use it like you would sand, except instead of a sand blaster it's a soda blaster. Something like this-->https://www.harborfreight.com/40-lb-...ter-60801.htmlOriginally posted by jibledso View PostThanks for the advice, I never thought about dish soap before, it's actually kind of weak here too. I actually used soda water with little results, I'm sure the machine is better.
Or this --->https://www.youtube.com/watch?v=QZhBQXm4yBY
Leave a comment:
-
Dave, are you talking about the Eastwood 2K in a rattle can, where you pop a seal on the inside of the can to mix the paint and activator? Never used it, but it seems to be an amazing product. If you end up using it, can you let me know how it works out for you?Originally posted by DucatiDave View PostSam mentioned spraying clear over both the painted and "raw" parts of the wheel (polished outside edge of spokes and rim). I have read that clear spray paint needs a primer or basecoat of some sort to make it adhere properly. I have not seen any clear primers, so does anyone have experience spraying clear over the bare metal? It was obviously done that way at the factory but not sure how modern clear may differ. I am looking at either VHT or Eastwood 2K clear.
Thanks.
Leave a comment:
.png)

Leave a comment: