I sanded the outside a bit with a block to see what I'm dealing with. Looks like there are a quite a lot of low spots and dings in addition to the dents and dings I know and love, and am intimitely familiar with after owning the bike for 10+ years lol. I'm thinking I'll just do a skim coat of filler over the entire tank. I'd like to use Ospho on the rust, but I've read bad things about phosphoric acid under body filler, so I'm going to wait until I talk to the guy at the paint store when I buy everything today or tomorrow.
Announcement
Collapse
No announcement yet.
78 GS 750 Rebuild
Collapse
X
-
...oh well. Onwards and upwards. Either way, the coating looks good inside.
I sanded the outside a bit with a block to see what I'm dealing with. Looks like there are a quite a lot of low spots and dings in addition to the dents and dings I know and love, and am intimitely familiar with after owning the bike for 10+ years lol. I'm thinking I'll just do a skim coat of filler over the entire tank. I'd like to use Ospho on the rust, but I've read bad things about phosphoric acid under body filler, so I'm going to wait until I talk to the guy at the paint store when I buy everything today or tomorrow.Last edited by Sam 78 GS750; 07-31-2018, 08:50 AM.
-
Skim coating the entire tank is not a bad thing. Maybe start with filling the deepest dents and dings first with one application, then follow that up with a thinner coat over the whole tank. It'll give you the desired final appearance. You've done such nice work on your bike to this point, it deserves the commitment. The first thing people will notice is the body work and paint. It sets the bar for the whole project.1979 GS1000S,
1982 Honda CX500 Turbo, 1982 Honda MB5 w/CR80 motor, 1977 Honda "nekid" Goldwing, 1976 Honda CB550F cafe', 1972 Honda XL250 cafe'
Comment
-
I'll try that. I had planned on just skim coating everything from the start, but it makes sense to tackle the trouble spots with one coat then another all over.Originally posted by nvr2old View PostSkim coating the entire tank is not a bad thing. Maybe start with filling the deepest dents and dings first with one application, then follow that up with a thinner coat over the whole tank. It'll give you the desired final appearance. You've done such nice work on your bike to this point, it deserves the commitment. The first thing people will notice is the body work and paint. It sets the bar for the whole project.
I definitely understand what Pete was talking about at one point in his Kat thread about leaving paint for last. Since I'm so close to finishing the project, there's definitely the temptation to rush through this. It would be a shame though... I've spent great attention to detail on the cosmetics of things no one will ever see. Why do a half ass job on the most important cosmetic items. Especially since I sprung for top shelf paints and materials...
Comment
-
I am a bit stumped on where to start though. Like I said before, the radiator shop let my tank sit before letting me know it was done. There's quite a bit of surface rust. Most of it I can sand, but some I can't like behind the tank badge area. I had planned on using Ospho.
I picked up Evercoat body filler, and the paint rep said phosphoric acid would be fine under it. I called the Evercoat hotline to confirm though and their rep said phosphoric acid is a no-go under their fillers. She wouldn't recommend another rust converter either...
What a rep on a hotline can/can't recommend and what works in the real world is sometimes different though...
Is there another rust converter I can use under this filler and be ok, or is there a filler that you know won't have issues with phosphoric acid?Last edited by Sam 78 GS750; 08-02-2018, 12:44 PM.
Comment
-
I hit the tank today with my random orbital sander, roloc discs on my drill, and sandpaper by hand... It's better, but I still don't feel warm and fuzzy about putting body filler on top of it or painting just yet.
This was after a bit of sanding
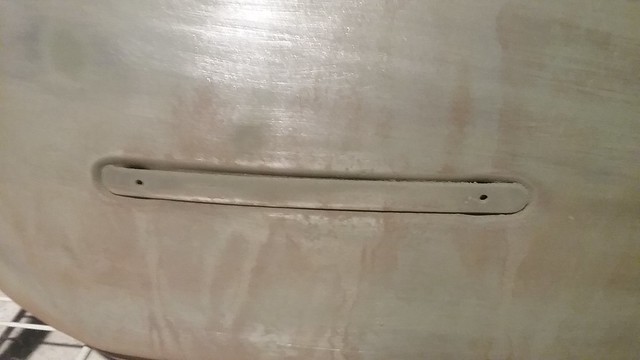 20180801_003521 by samL9, on Flickr
and underneath. again, after sanding for a bit. I'm kicking myself for taking it back like this, but I figured it would come off fairly easily. This seems like way more than flash rust from sitting in the shop for a couple of days before I picked it up.
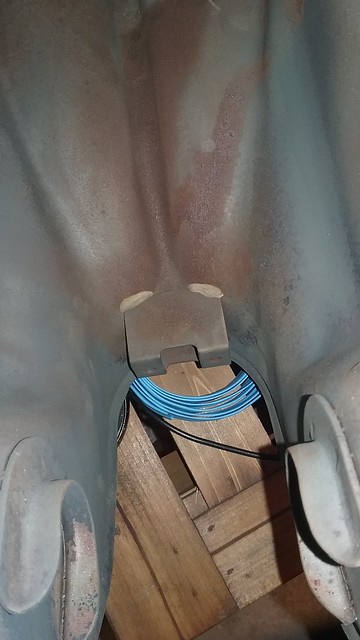 20180801_003815 by samL9, on Flickr
How it sits now after a good while working on it. Like I said, much better but still questionable in spots.
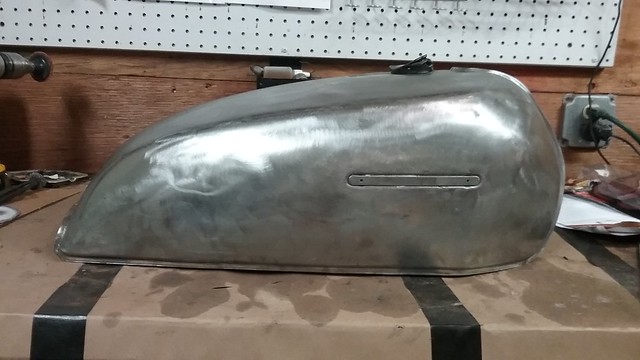 20180802_201954 by samL9, on Flickr
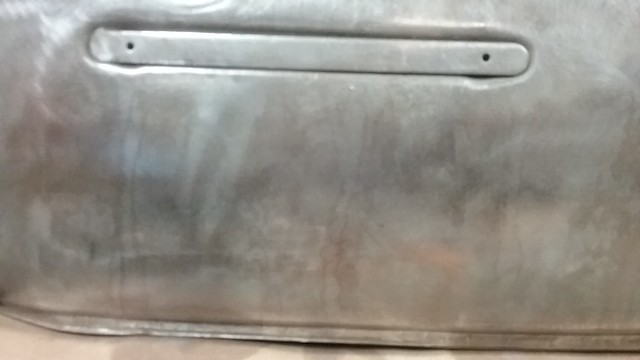 20180802_202058 by samL9, on Flickr
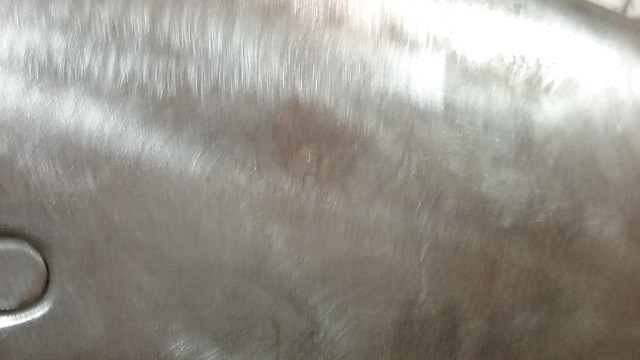 20180802_202122 by samL9, on Flickr
and underneath
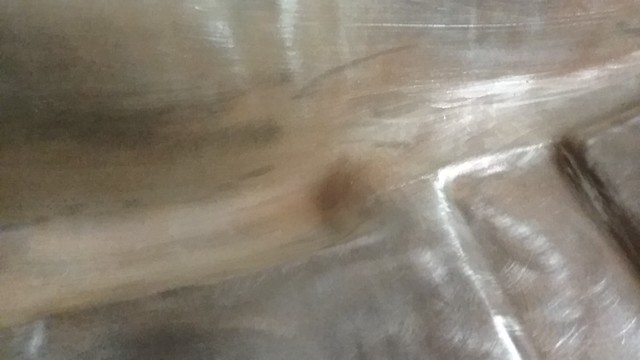 20180802_202153 by samL9, on Flickr
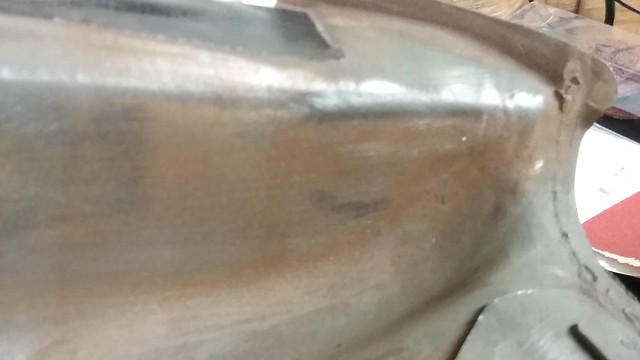 20180802_202211 by samL9, on Flickr
Comment
-
Obviously I have to hit the underside a bit better, but am I being overly cautious on the rest? I'm thinking leaving any rust would be a bad idea. What you can't see in the pics is that there are spots where there's some pitting, and tiny spots of rust at the bottom of the pits...
I'm thinking I should be safe to use Ospho on the underside, since there won't be any filler there. I'm wondering if I can spot treat the trouble areas on the rest of the tank and then clean it thoroughly and maybe re-sand and not have issues with filler over the acid treatment.
Comment
-
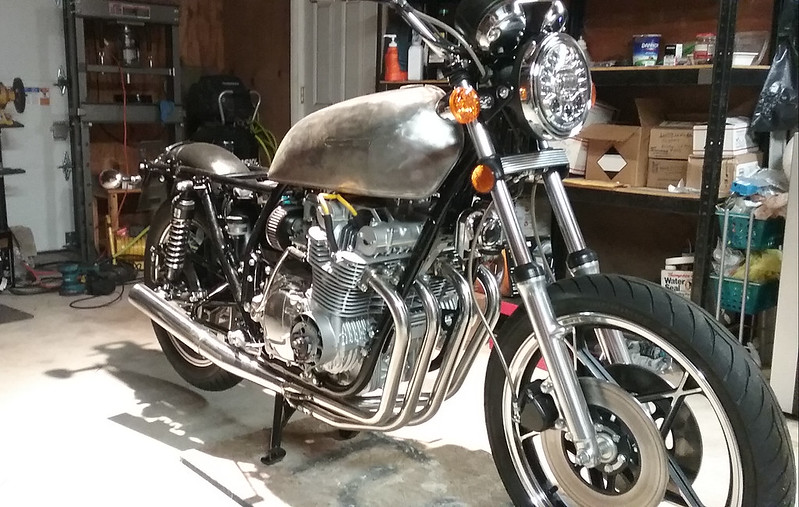
...oh yeah, and just because. Maybe I should just clear coat it and call it a day. Actually looks pretty good bare metal.
As you can see, I sorted out my tachometer bezel fiasco. Bought a non-working assembly off ebay for super cheap, knocked off the cobwebs (literally) and carefully removed the bezel and put it on my tach.
 20180802_202611 by samL9, on Flickr
Comment
-
You've got the tank surface in good shape. Maybe go over it with a wire wheel in a drill. Follow that up with hand sanding it with some dry 80 grit to give it some tooth. Clean the whole tank with some acetone, and you're ready to go. That will give you a great base and starting point for the filler. If it's going to sit awhile before starting the body work, spray the whole tank with some epoxy primer that you can get in a spray can at your local auto paint store. The longer it sits bare, the more opportunity it has to continue to flash rust. Epoxy primer will seal it.Last edited by nvr2old; 08-04-2018, 12:23 PM.1979 GS1000S,
1982 Honda CX500 Turbo, 1982 Honda MB5 w/CR80 motor, 1977 Honda "nekid" Goldwing, 1976 Honda CB550F cafe', 1972 Honda XL250 cafe'
Comment
-
It does seem like I'm fighting a losing battle here with rust. I don't get it all, so it sits overnight. In the morning there's more flash rust...
The rep at the paint store recommended an etch primer, which would have to go over the body filler. So it would be filler on bare metal, etch primer, primer surfacer, base coat, clear coat. Those were the products and sequence he recommended since I said I would be starting with bare metal...
Is filler on top of etch primer advisable, or should I take the etch primer back and get an epoxy primer in the same product line?
Comment
-
ohhhhh.... I just re-read this. I missed the spray can part. So you're saying either move quick with the body filler on bare metal, or get a spray can of epoxy primer, since most of it will be sanded off when I do the body work any way... do I have that right?Originally posted by nvr2old View Postepoxy primer that you can get in a spray can at your local auto paint store.
Comment
-
Yes. Epoxy primer to seal the bare metal. You can do your body work right on top of it. If you spray it with the epoxy primer and it sits for more then 24 hrs. you'll need to scuff it up again before applying filler. 180 grit will work for that. No etch primer needed if you prepare the bare metal surface with 80 grit before spraying the epoxy. Once you get the body work done, go straight to a urethane high-build primer.Originally posted by Sam 78 GS750 View Postohhhhh.... I just re-read this. I missed the spray can part. So you're saying either move quick with the body filler on bare metal, or get a spray can of epoxy primer, since most of it will be sanded off when I do the body work any way... do I have that right?1979 GS1000S,
1982 Honda CX500 Turbo, 1982 Honda MB5 w/CR80 motor, 1977 Honda "nekid" Goldwing, 1976 Honda CB550F cafe', 1972 Honda XL250 cafe'
Comment
-
OK, so I took the tank back to the radiator shop last week to redo. There was some gunk in the coating, and there were a few spots where the coating was missing and already starting to rust. They reblasted, recoated, and it's in much better shape now.
On to the paint prep. I sanded with 80 grit, and started the body work. I thought that I had to move quickly with the case sealer when assembling the bottom end of the engine, but this body filler has almost zero working time. On my first attempt, it started to set and was unworkable before I could even spread it around where it needed to go! I quickly wiped it all back to bare metal with acetone before it could set completely.
2nd attempt, I worked with smaller batches and did a spot at a time. It was a bit better, but I still wasn't able to cover the tank completely. I had also planned on putting it on, and then scraping most of it off just leaving a thin coat. Didn't happen. It started to set up while it was still on super thick. Oh well, a LOT of sanding later and I have it to where it's mostly bare metal with just the dents and dings with filler in them.
I'm about to try my 3rd attempt with this stuff. The plan is to do a skim coat, and hopefully I can pull it off. I'm going to try using a bit less hardener, and see if that give me a bit more working time.
1st coat
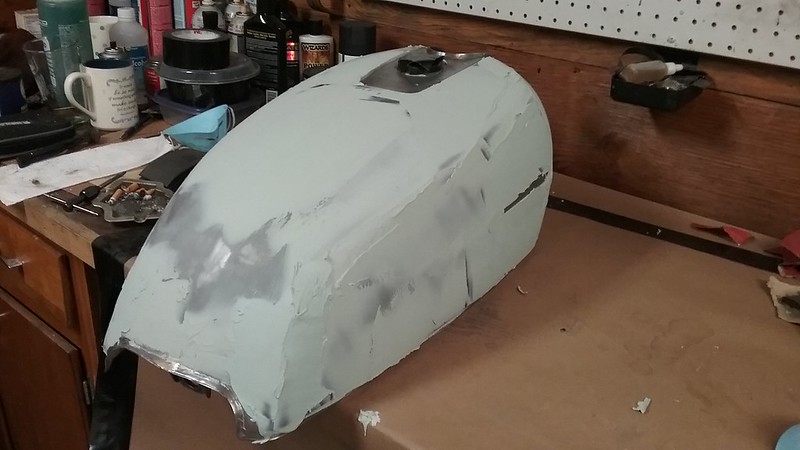 20180810_130159 by samL9, on Flickr
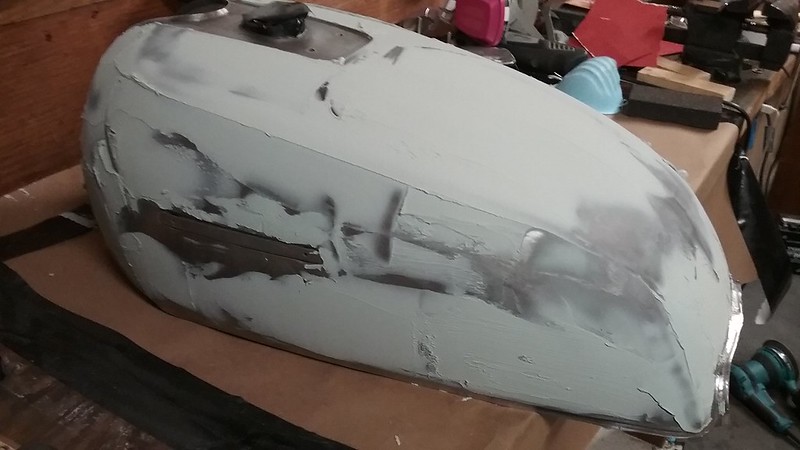 20180810_130213 by samL9, on Flickr
...and after a ton of sanding.


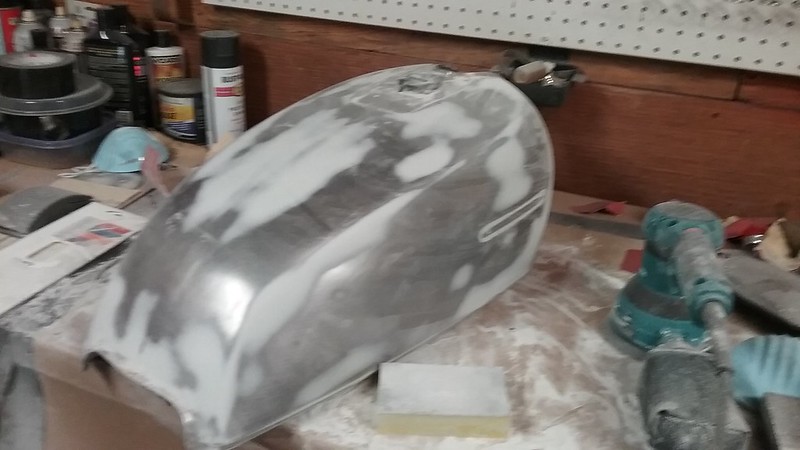 20180810_162928 by samL9, on Flickr
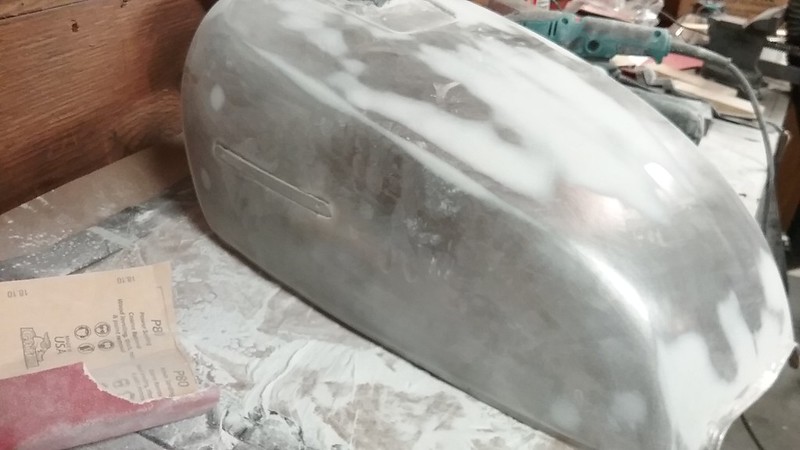 20180810_162942 by samL9, on Flickr
Did a bit more sanding after this point, and it's in pretty good shape for a skim coat now. Like I said, hopefully I can pull it off. My respirator is definitely getting a good workout this weekend with all the body filler dust flying around.
Comment
-
I'm not even going to post a picture of how horrible this last attempt turned out. I got the whole thing covered, but it was not a pretty sight. I've been sanding for a while, and I'm starting to get it looking like a motorcycle tank again.
So I've come to the conclusion that I should not try to be a sculptor. This reminds me of spackle. I do great with nails holes and small cracks etc., but when I try to skim coat a whole wall it's kind of a mess and I have to sand a lot.
Also, I've learned that I kind of suck at block sanding. I'm down to the metal in some spots, and it's still thick and really uneven in other spots. Could be more my uneven application of filler than my sanding technique though...
In other words, I'm having a blast and this is going great.
Comment
-
Ok, I'll post a photo. Here's what it looked like on the last attempt. Got a lot of this knocked down, but man are my sanding muscles sore...
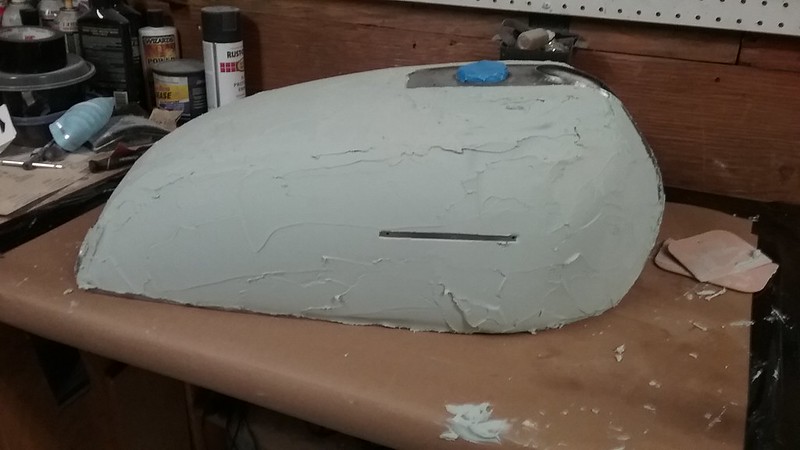 20180811_200308 by samL9, on Flickr
Comment
.png)
Comment