.png "Powered by vBulletin")

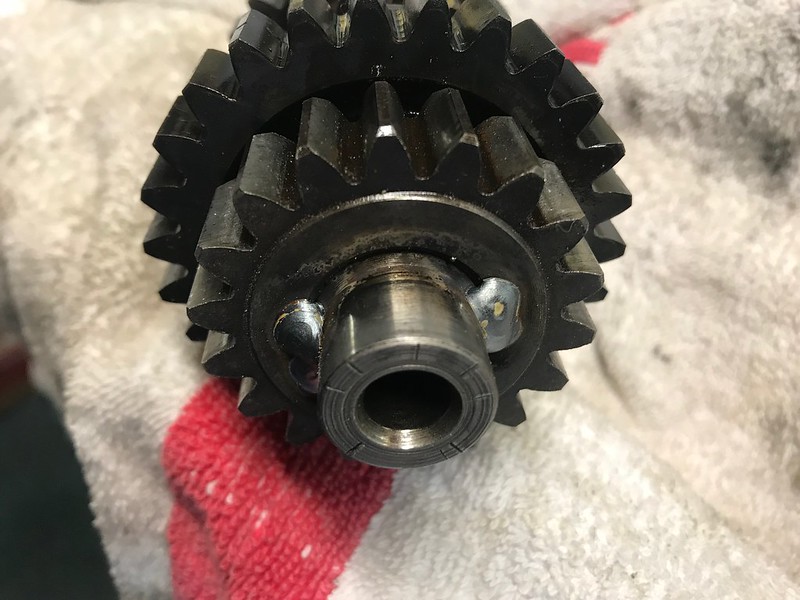
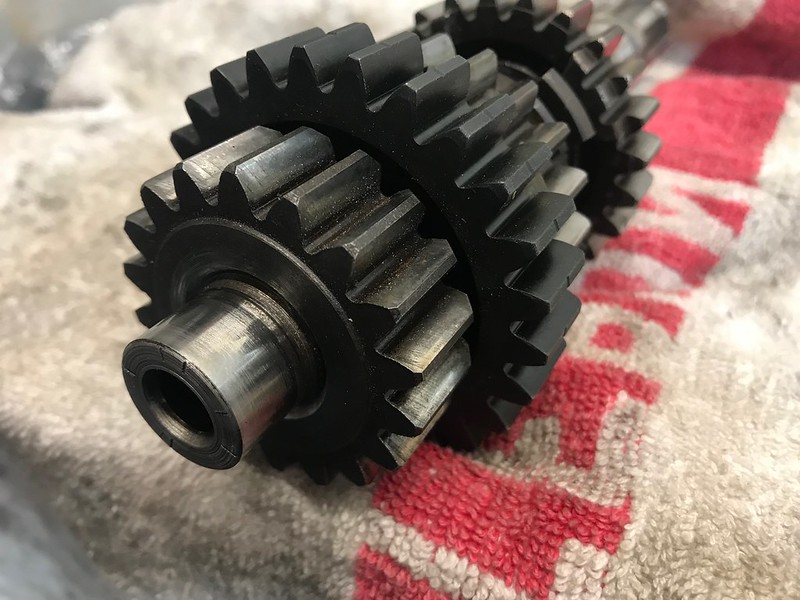
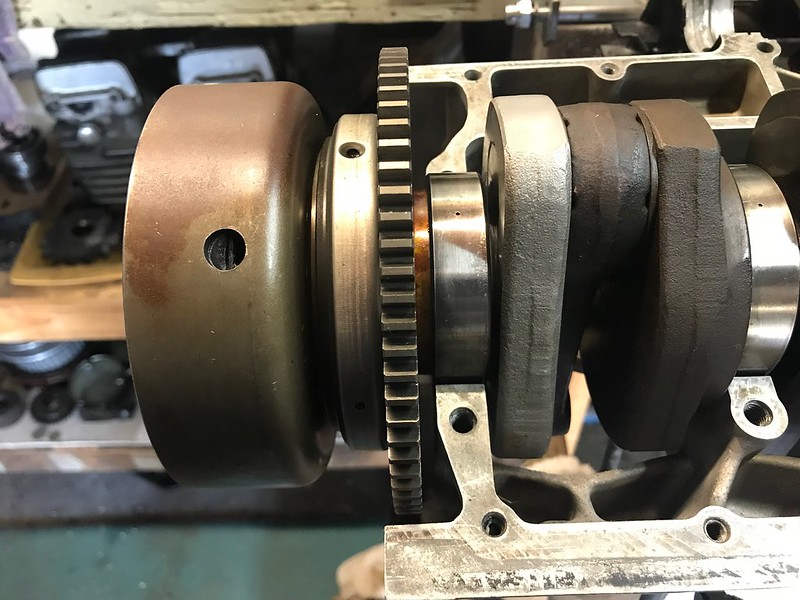
Second gear's all welded up!
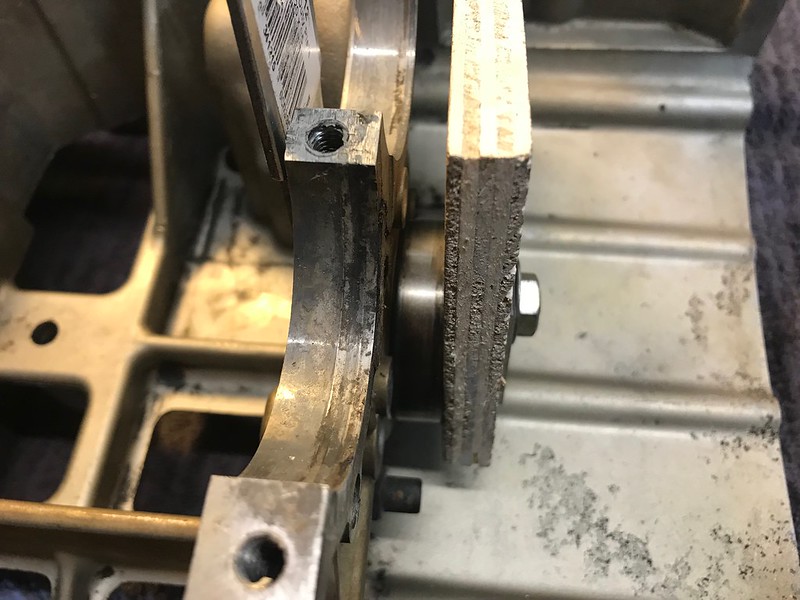
The job ended up a little... chunkier... than I anticipated and it did encroach on the bearing surface, but the guys who did it are auto restoration guys and this sort of work is not their forte. They just did two opposite sides to avoid overheating it, and they let it cool naturally to prevent it going brittle as well. They're certainly good solid welds!
 Untitled by starpoint73, on Flickr
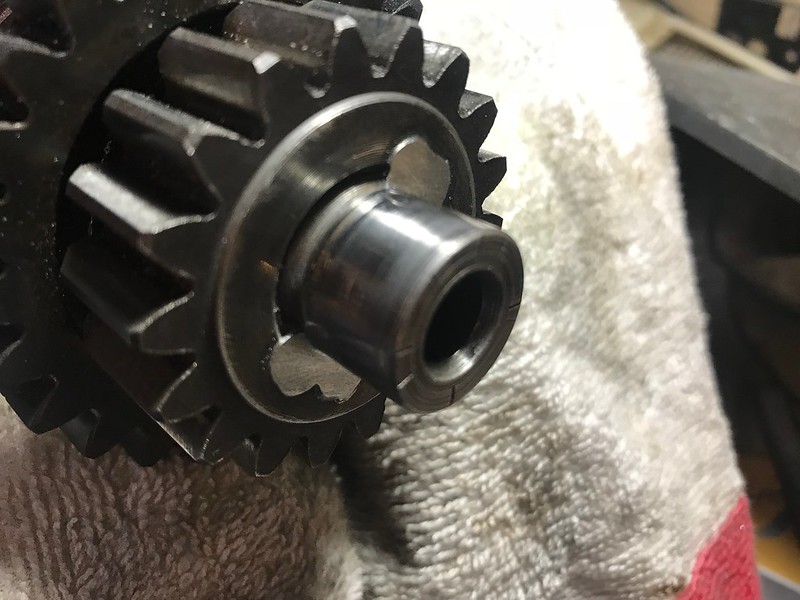
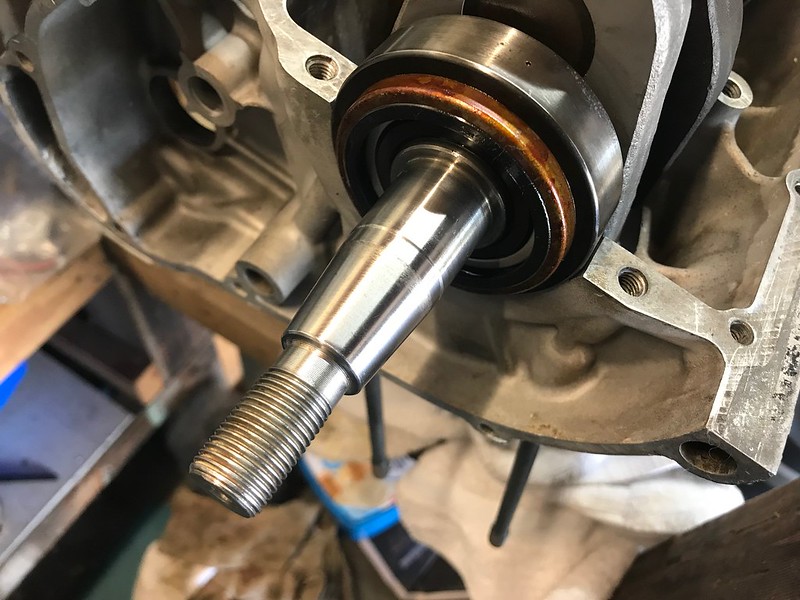
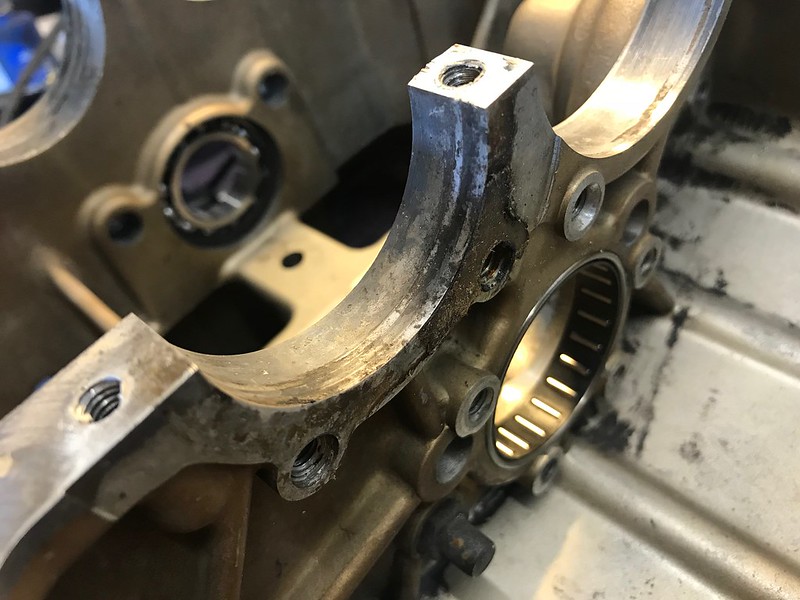
About 45 minutes taking care with a file got it all sorted and the bearing goes on properly with just finger pressure as it should, so definitely no screw ups from the welding job or my filing which is excellent.
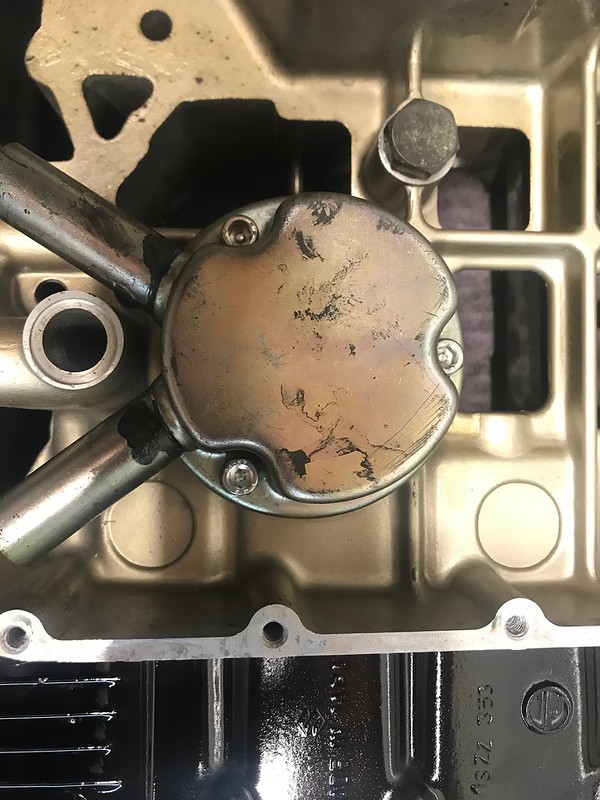
I haven't forgotten the wave washers either, it's only a test fit with the bearing and I'll get those on once the bearing on the other side is pressed on.
 Untitled by starpoint73, on Flickr
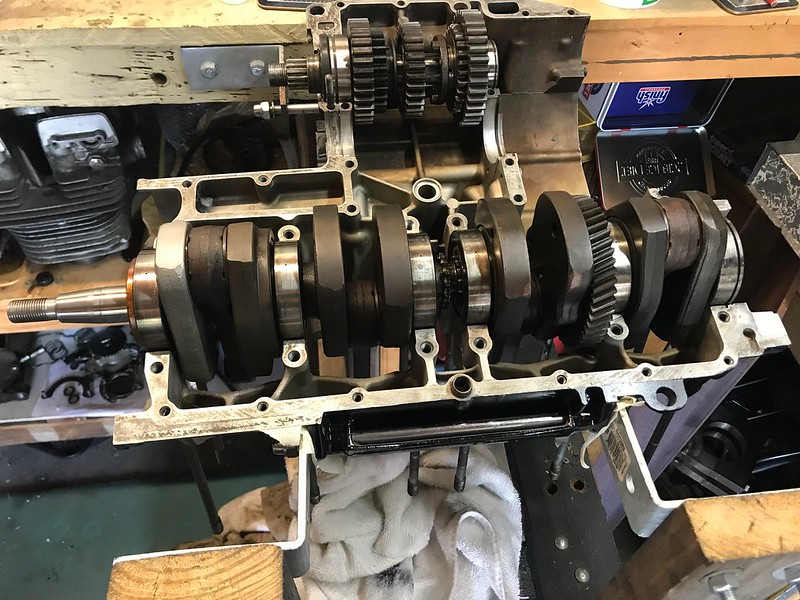
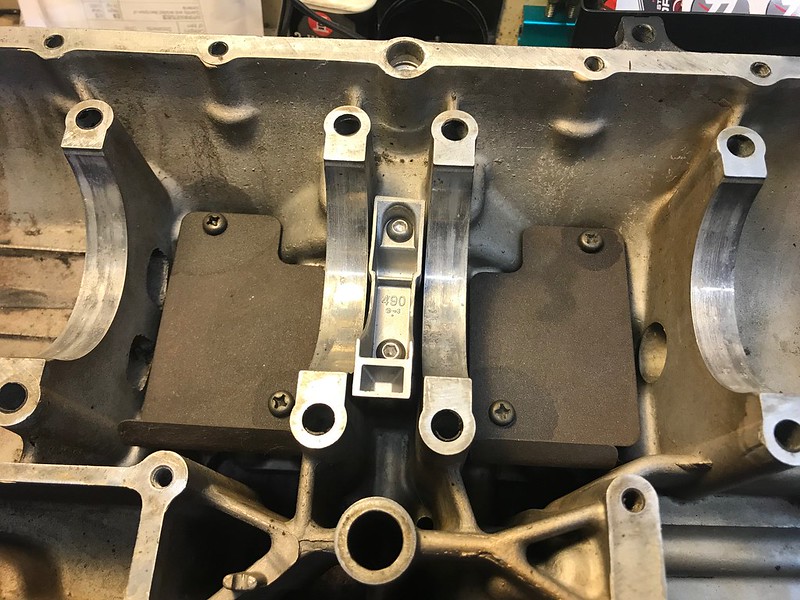
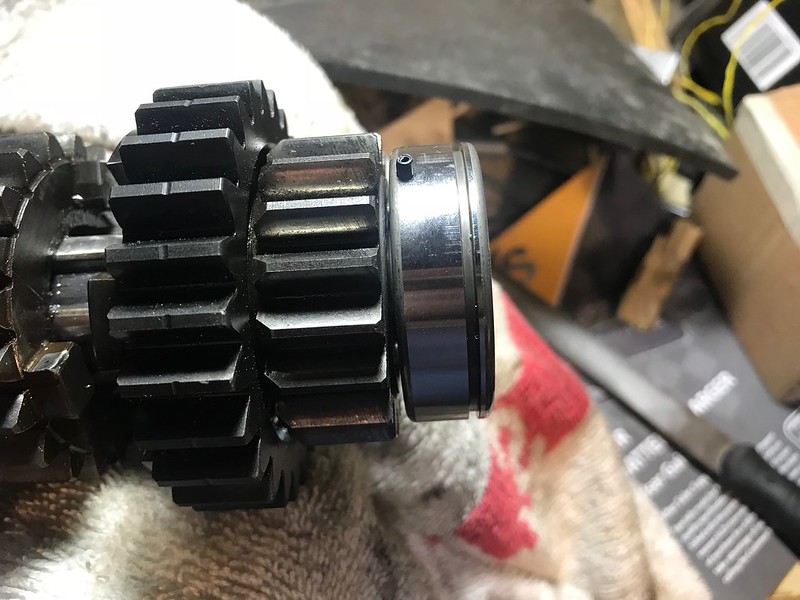 Untitled by starpoint73, on Flickr
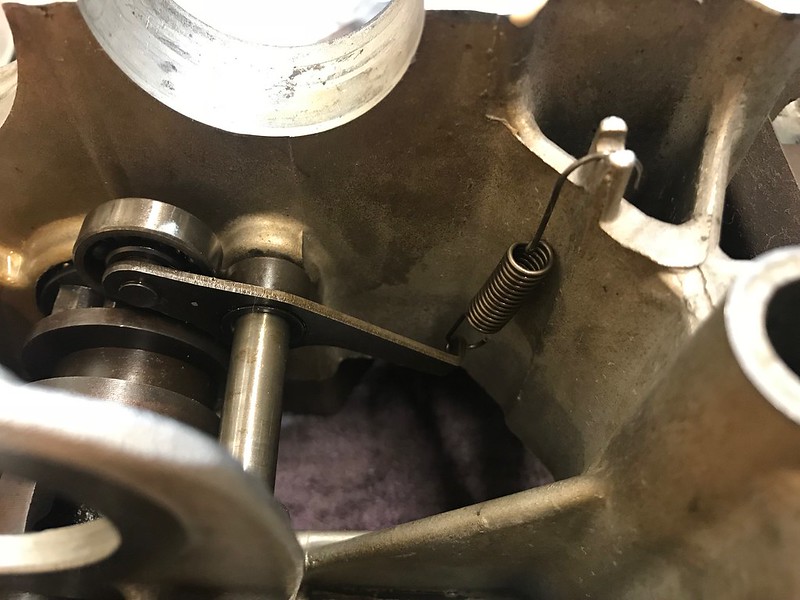
As best I can tell without the other bearing on, the two shafts seem to line up and sit nicely so I should be good to go once the other bearing is sorted.
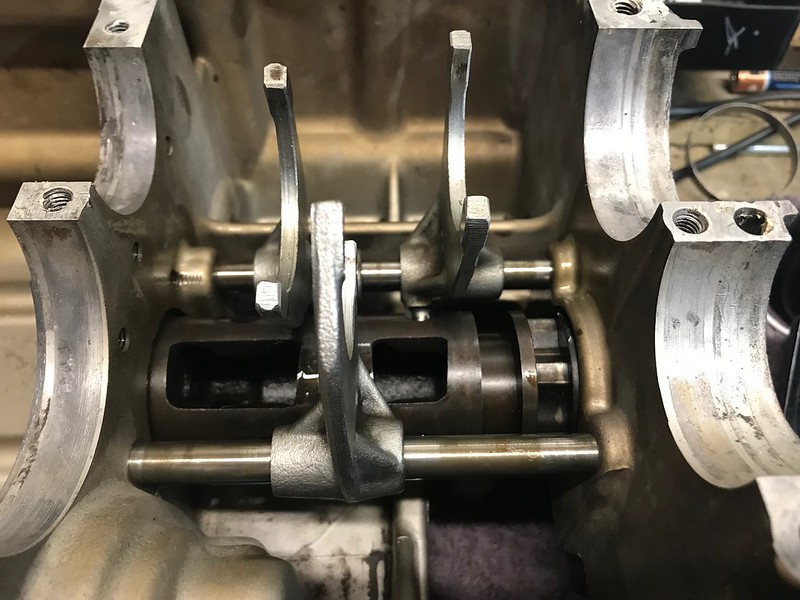
 Untitled by starpoint73, on Flickr
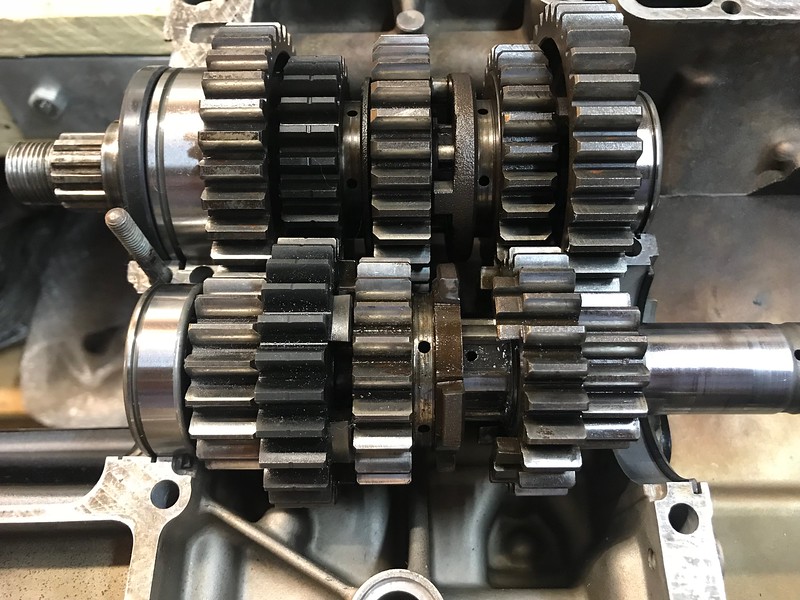
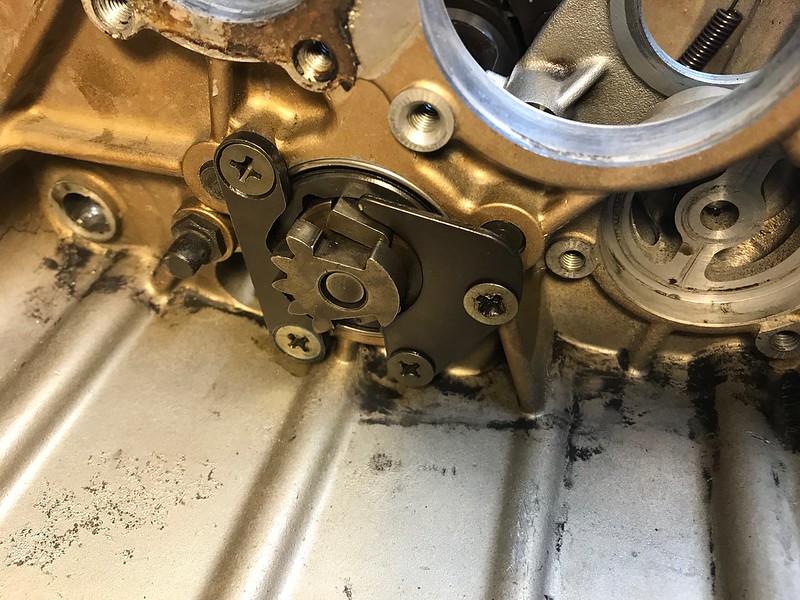
I've chucked the countershaft in the freezer and will leave it there until tomorrow night, then I'll sneak the other bearing into the oven for a bit so it expands and in theory it should be nice and easy to install.


Leave a comment: